
How to Upload Contact and Schedule Broadcast for WhatsApp Unofficial API
Navigate to https://app.wabot.my/dashboard
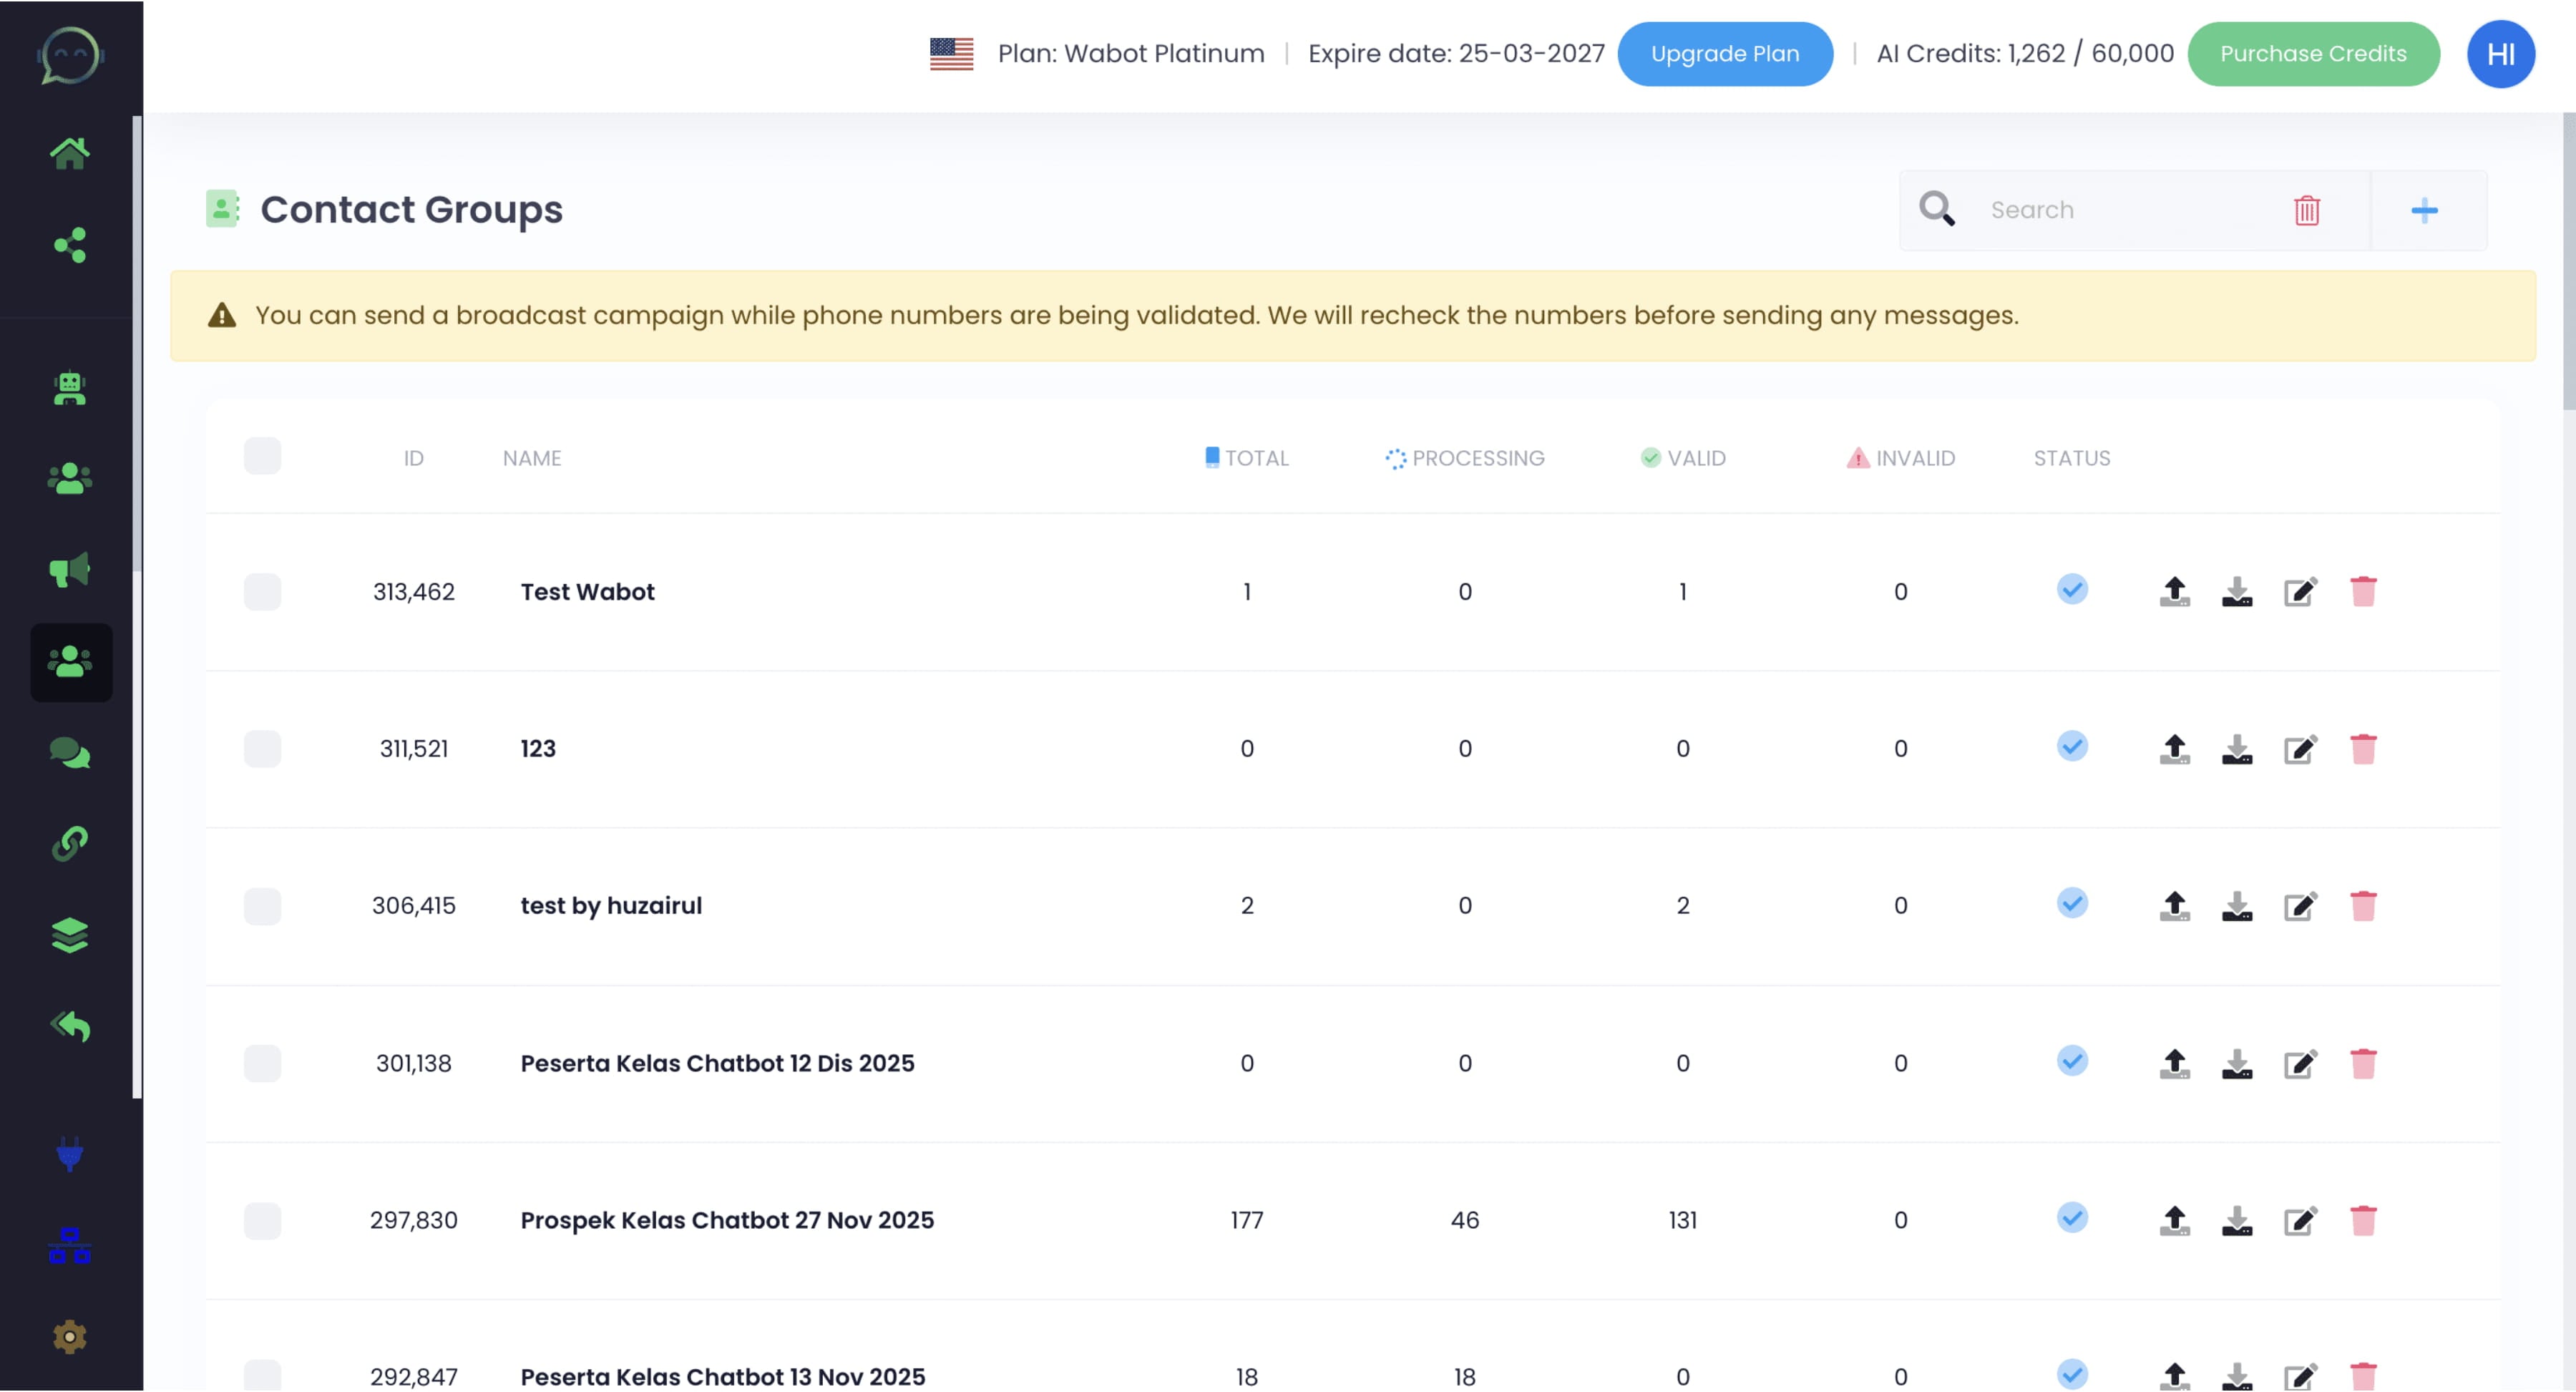
Create Contact Group
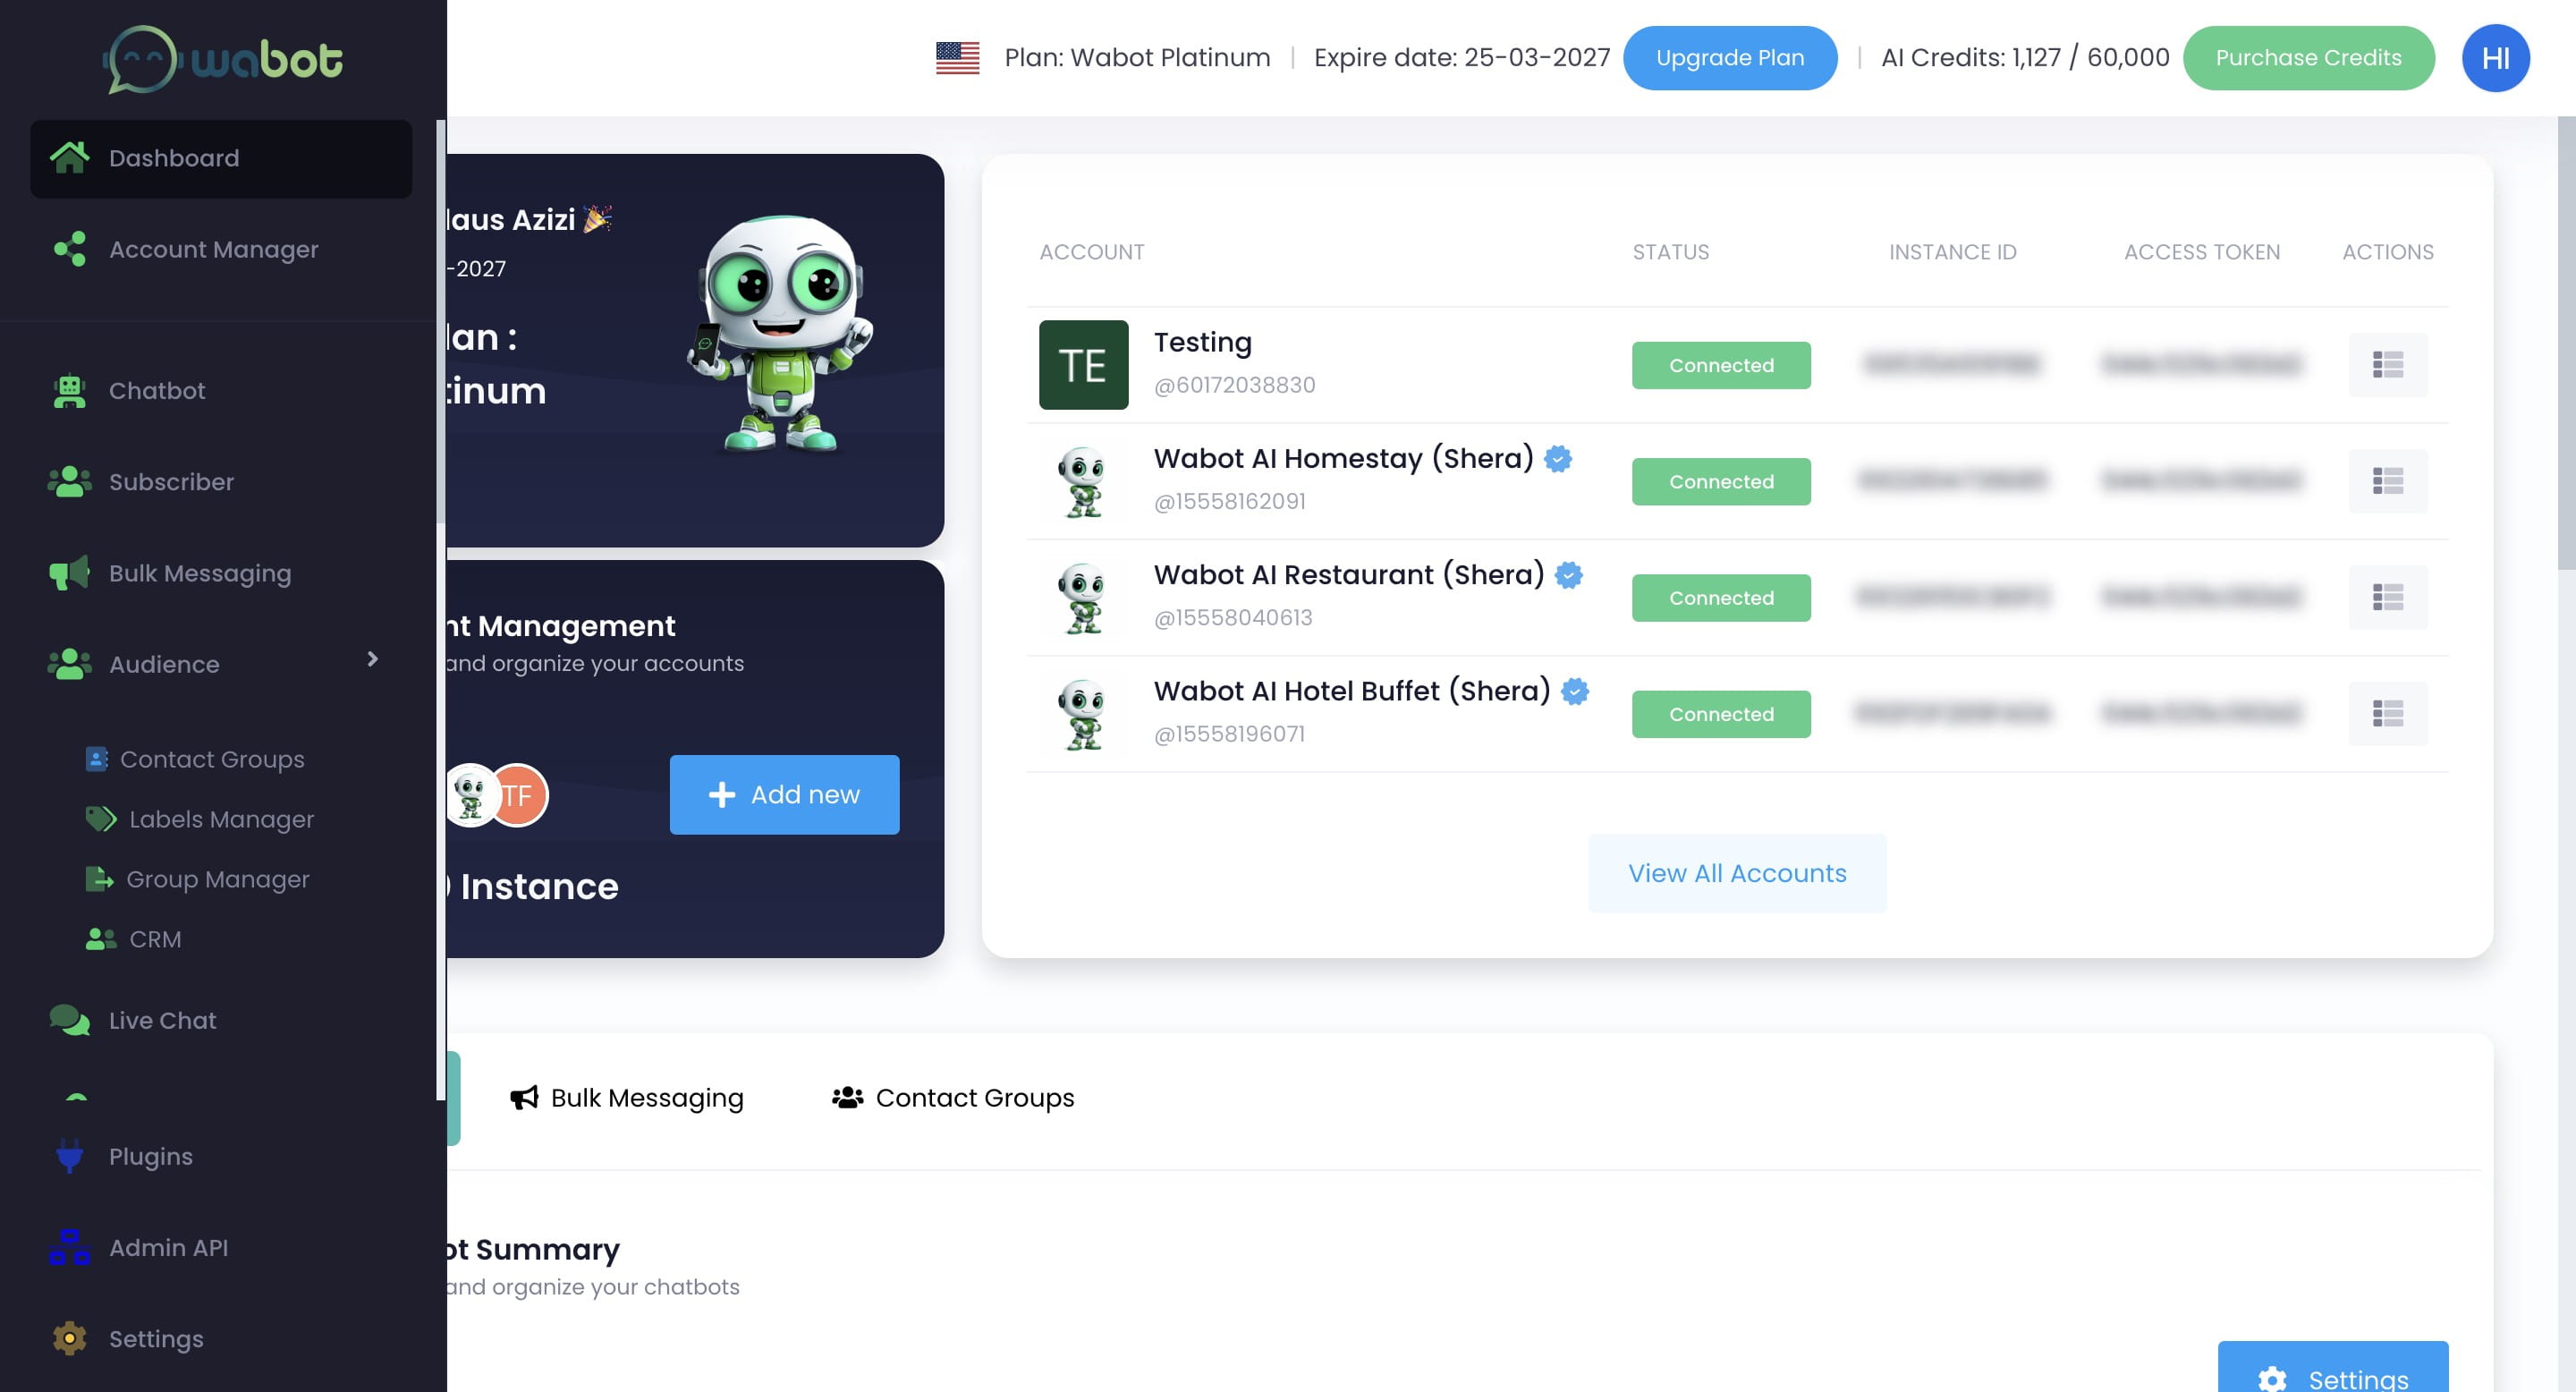
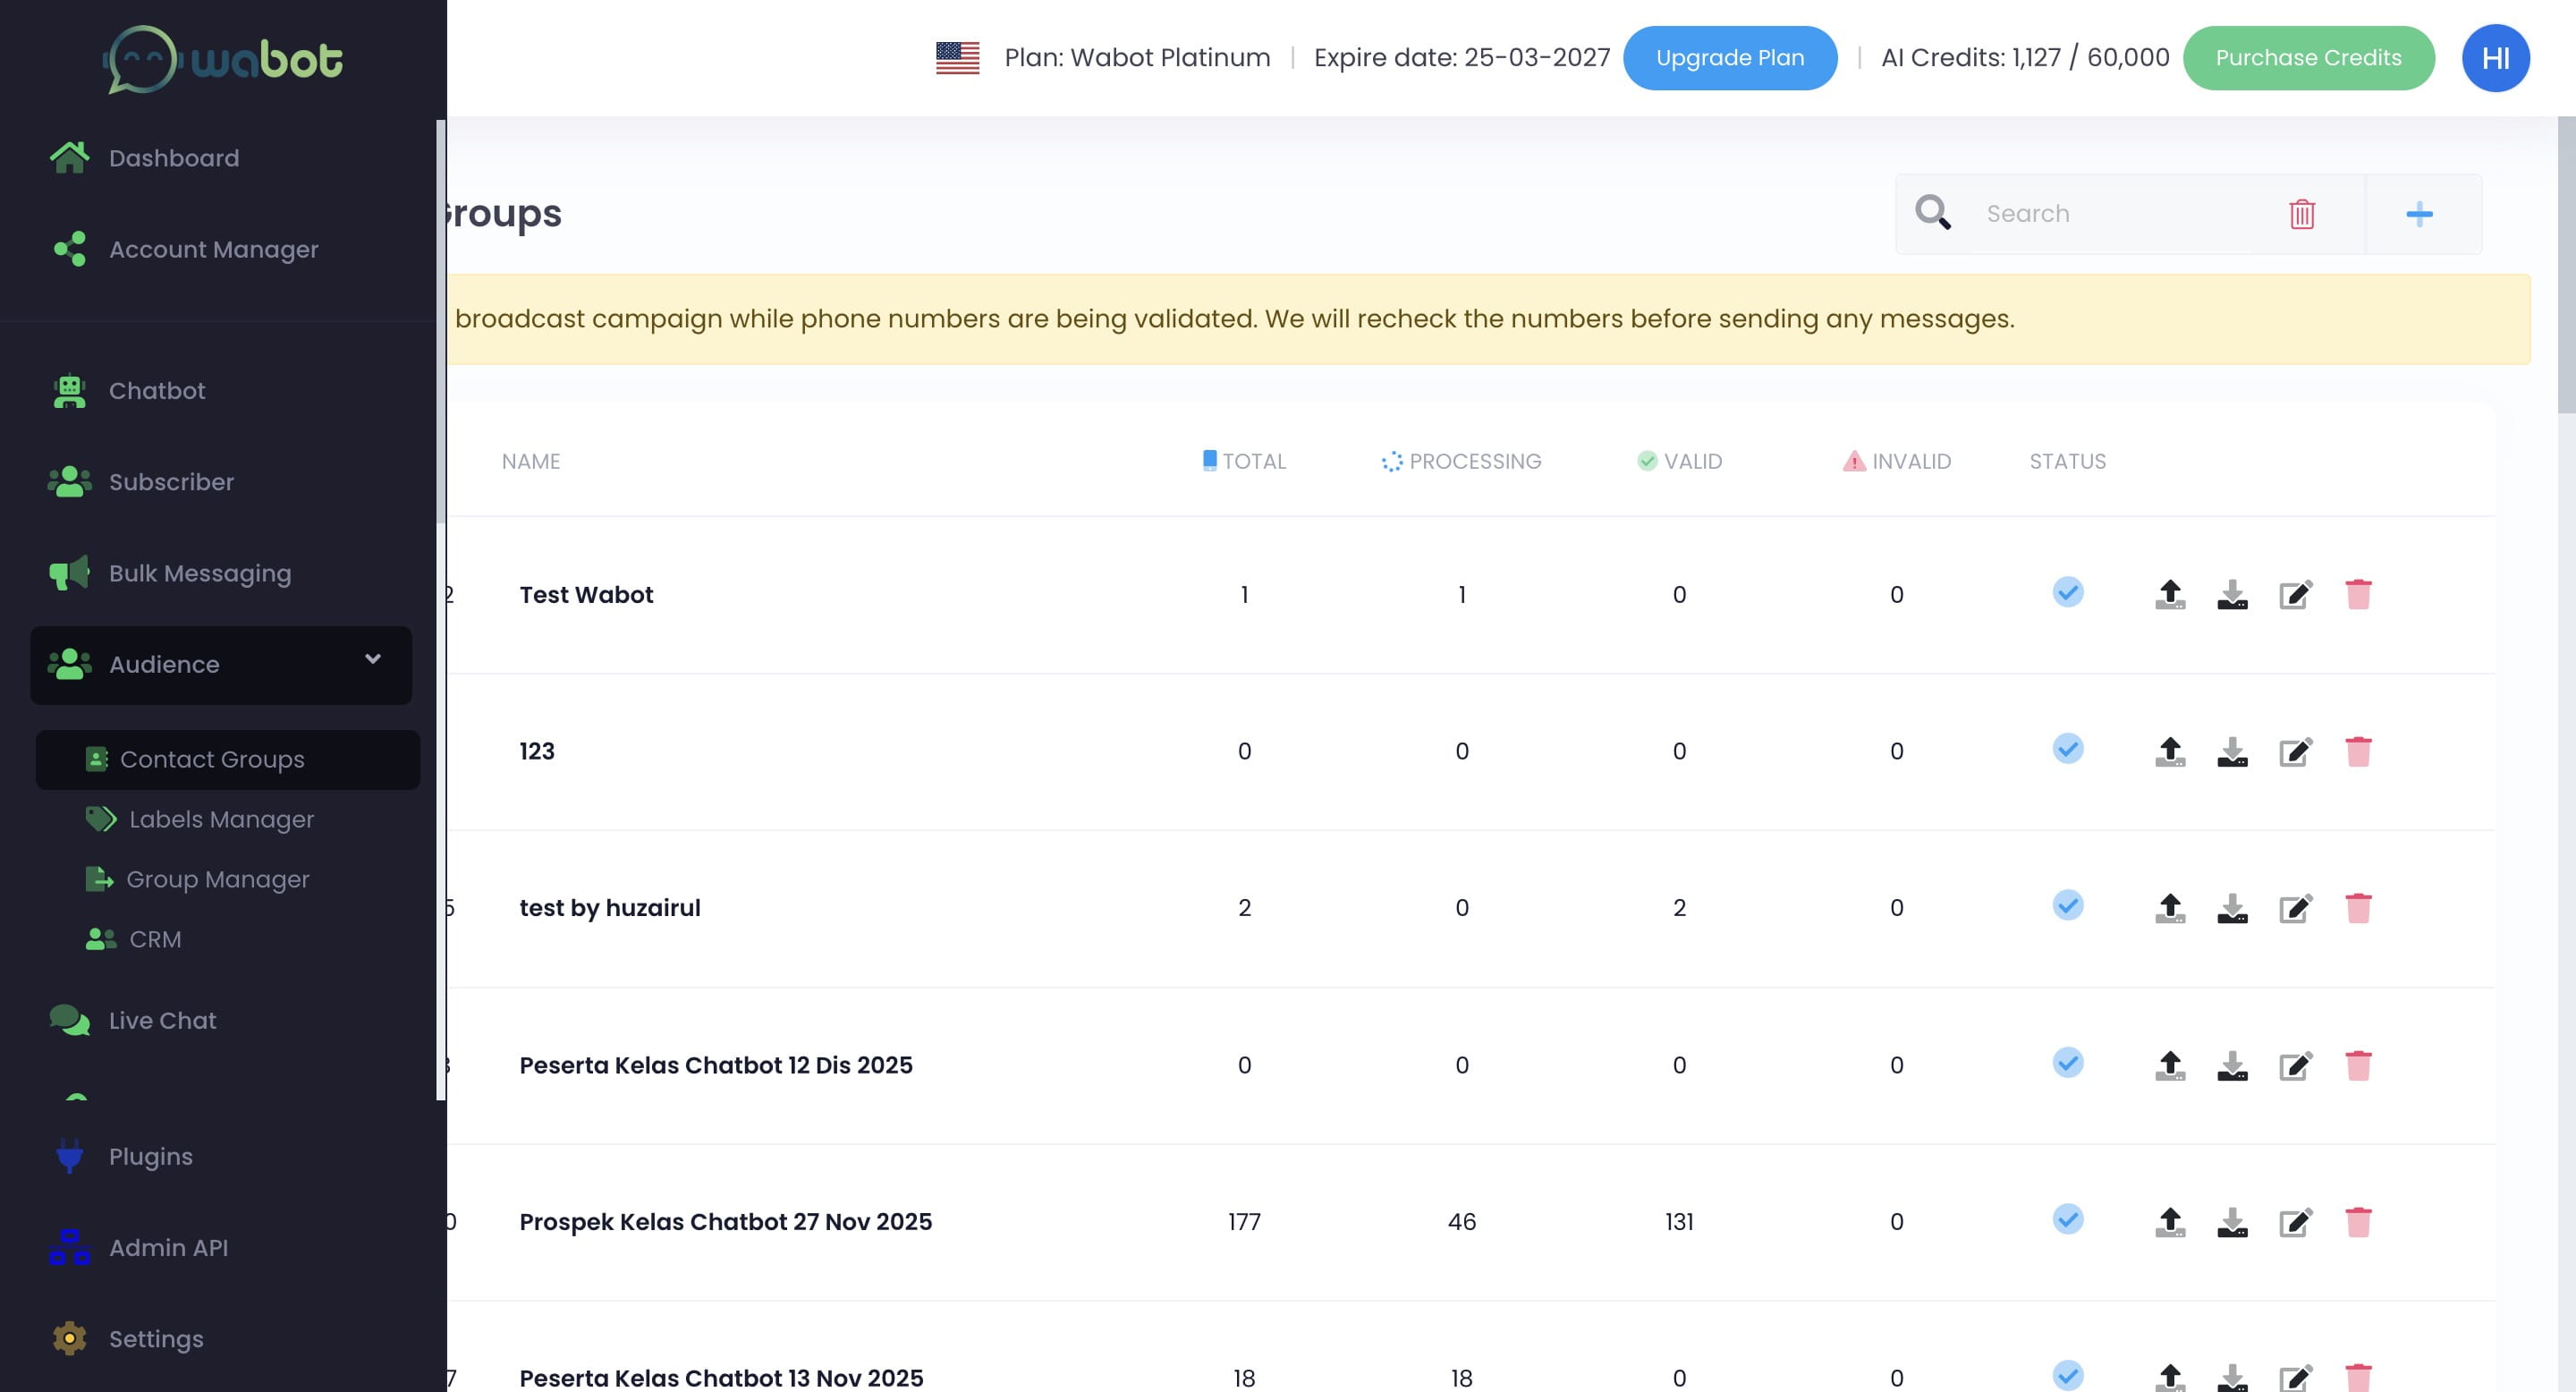
Click on "Audience"

Click on "Contact Groups"
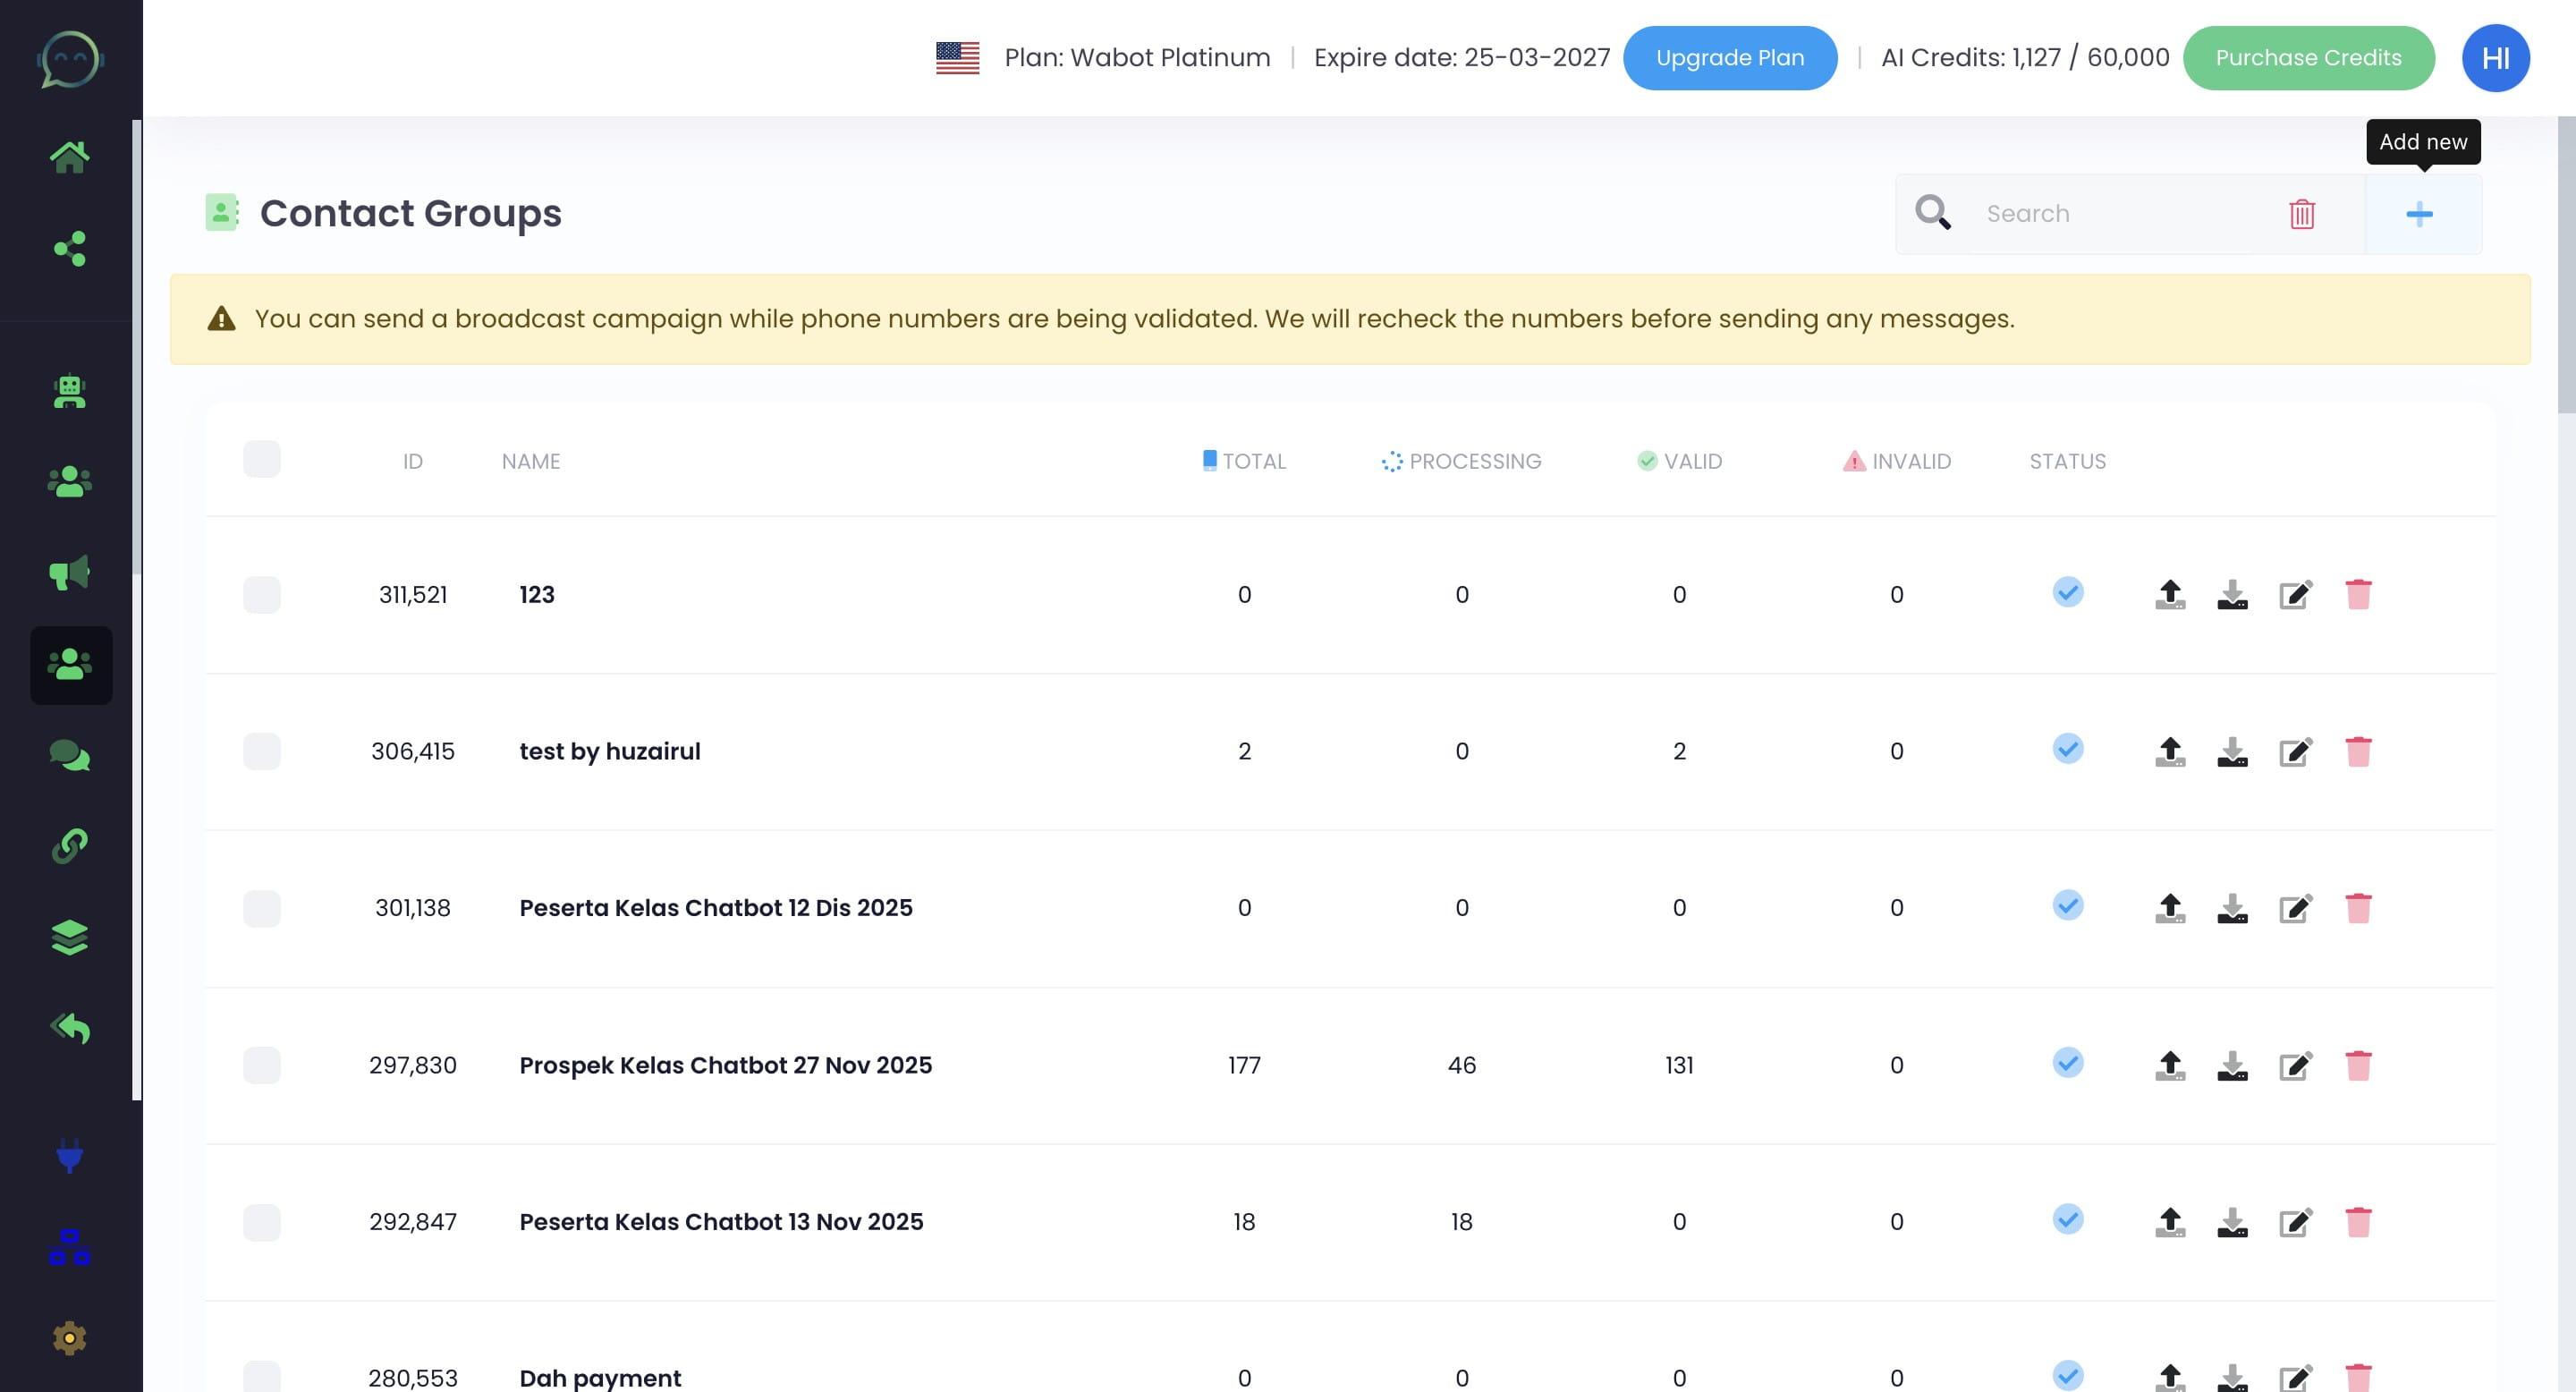
Click this icon to add contact group
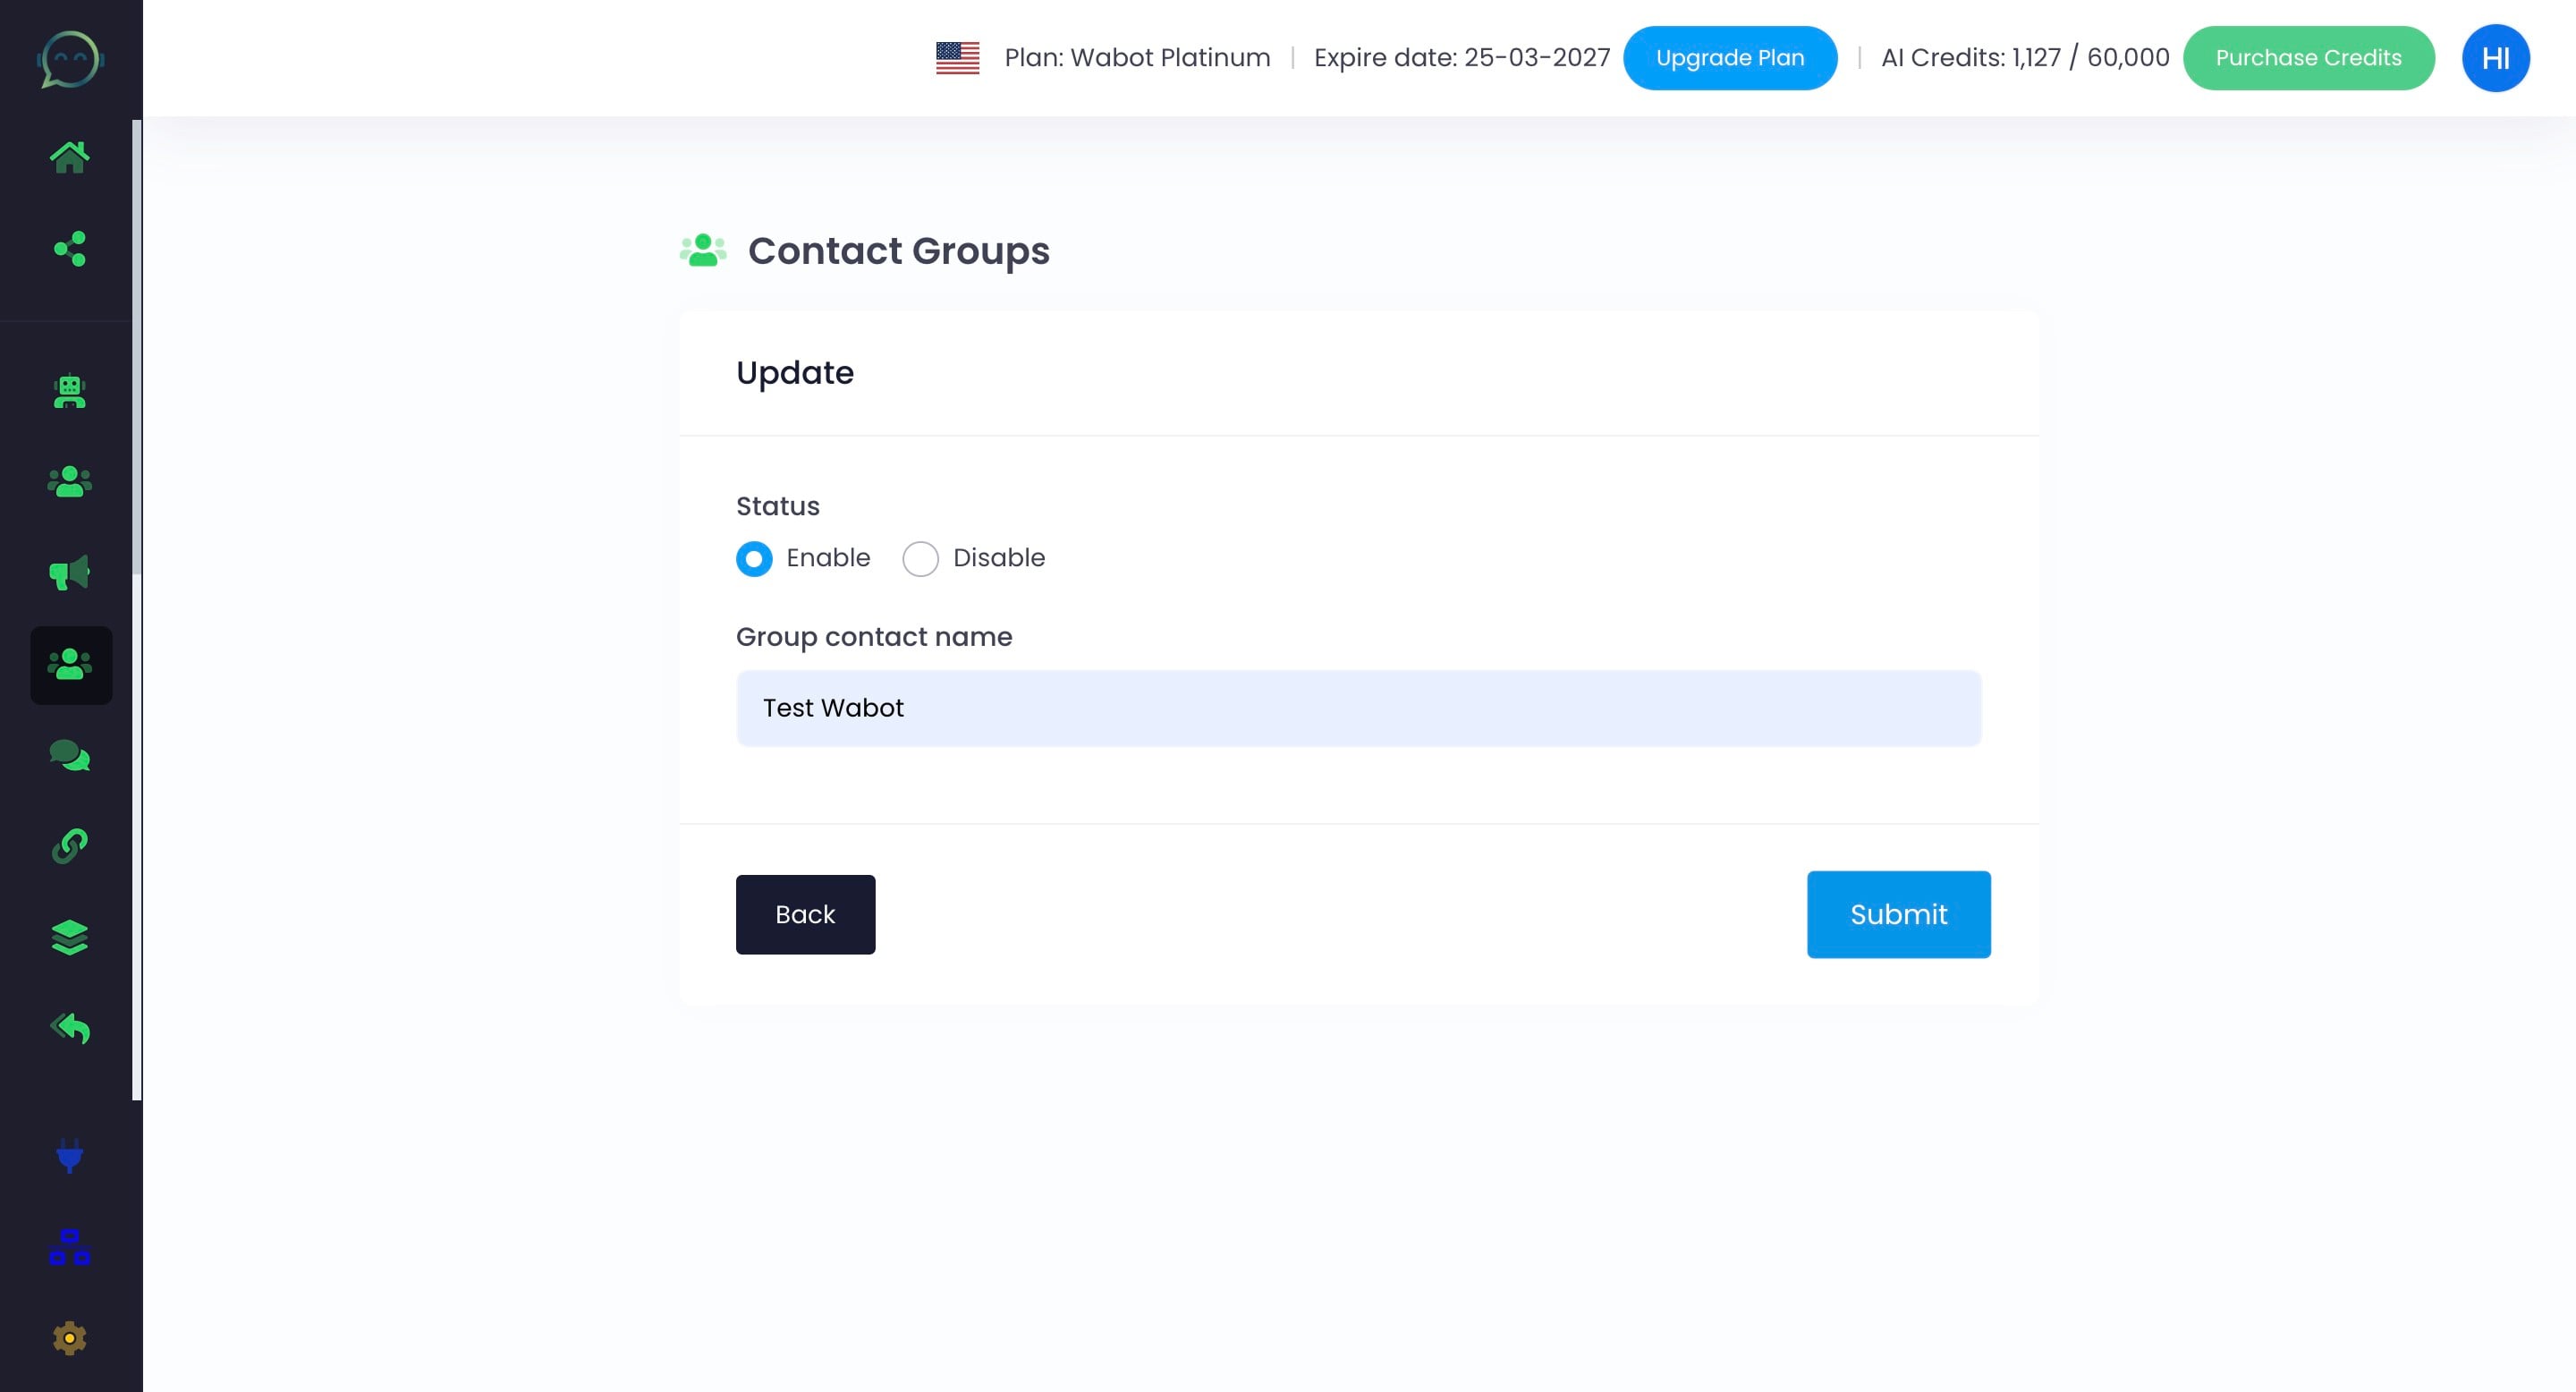
Name the contact group
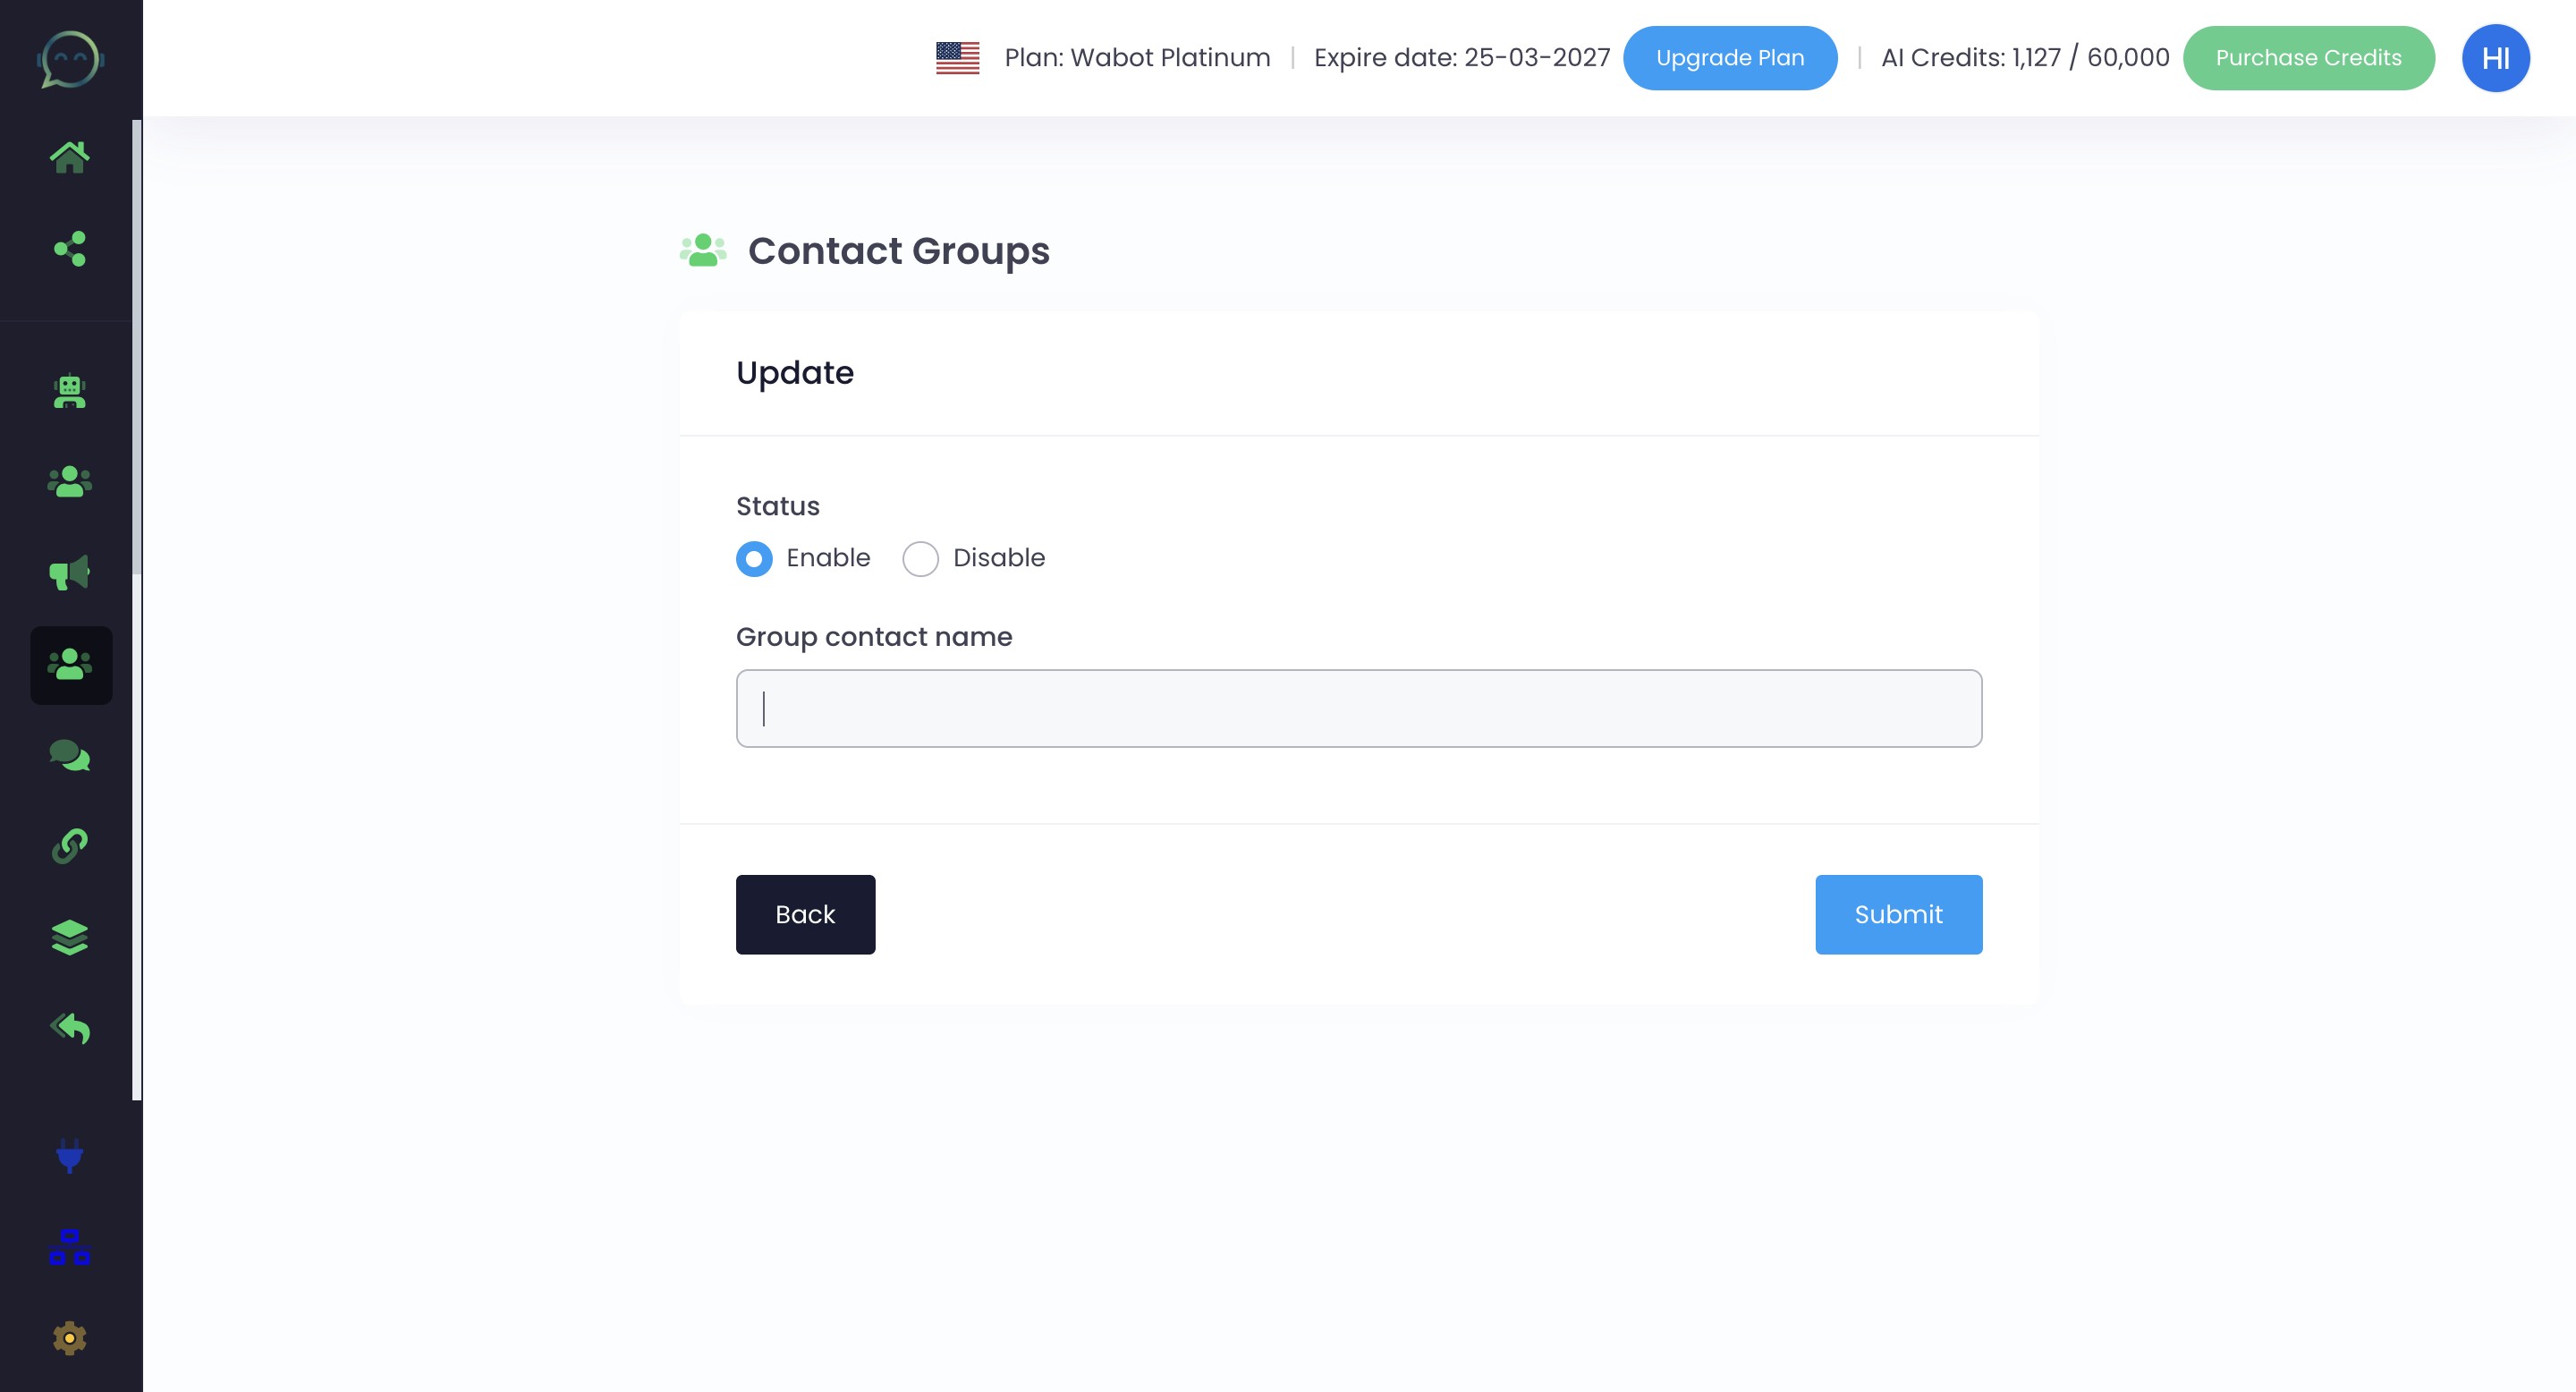
Click on "Submit"
Click this icon to import contact
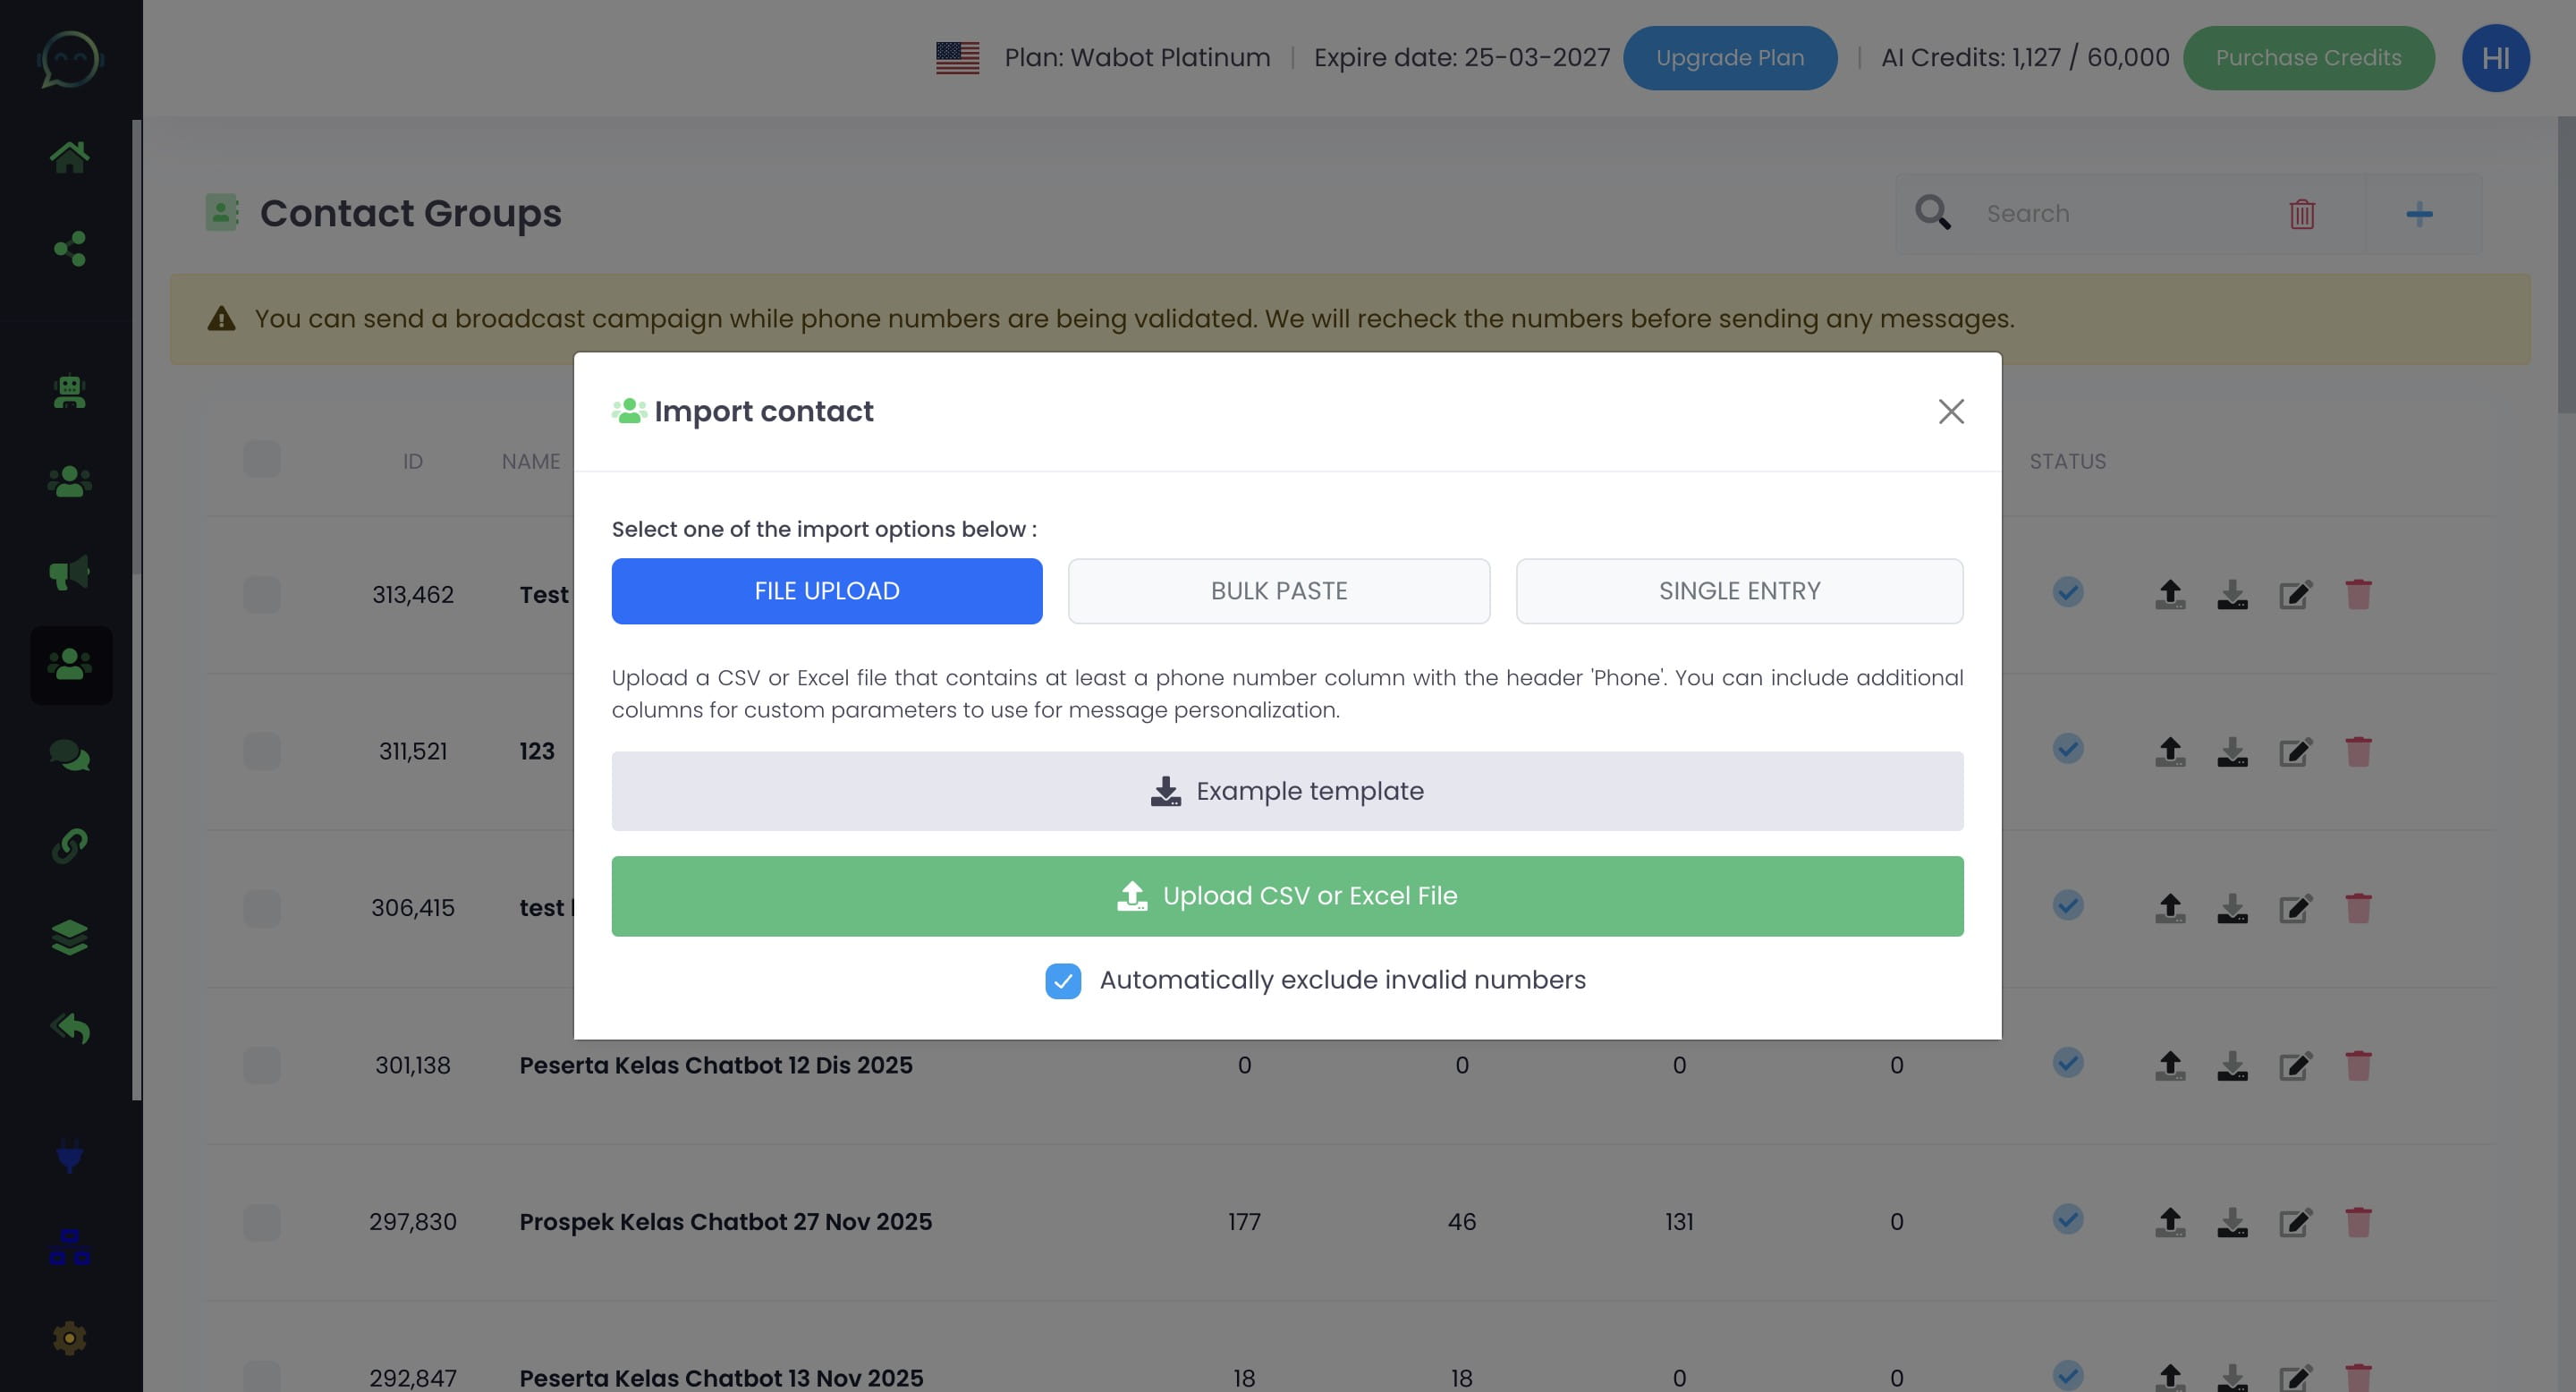
There are 3 ways to upload contact:
-
- File upload
-
- Bulk paste
-
- Single entry
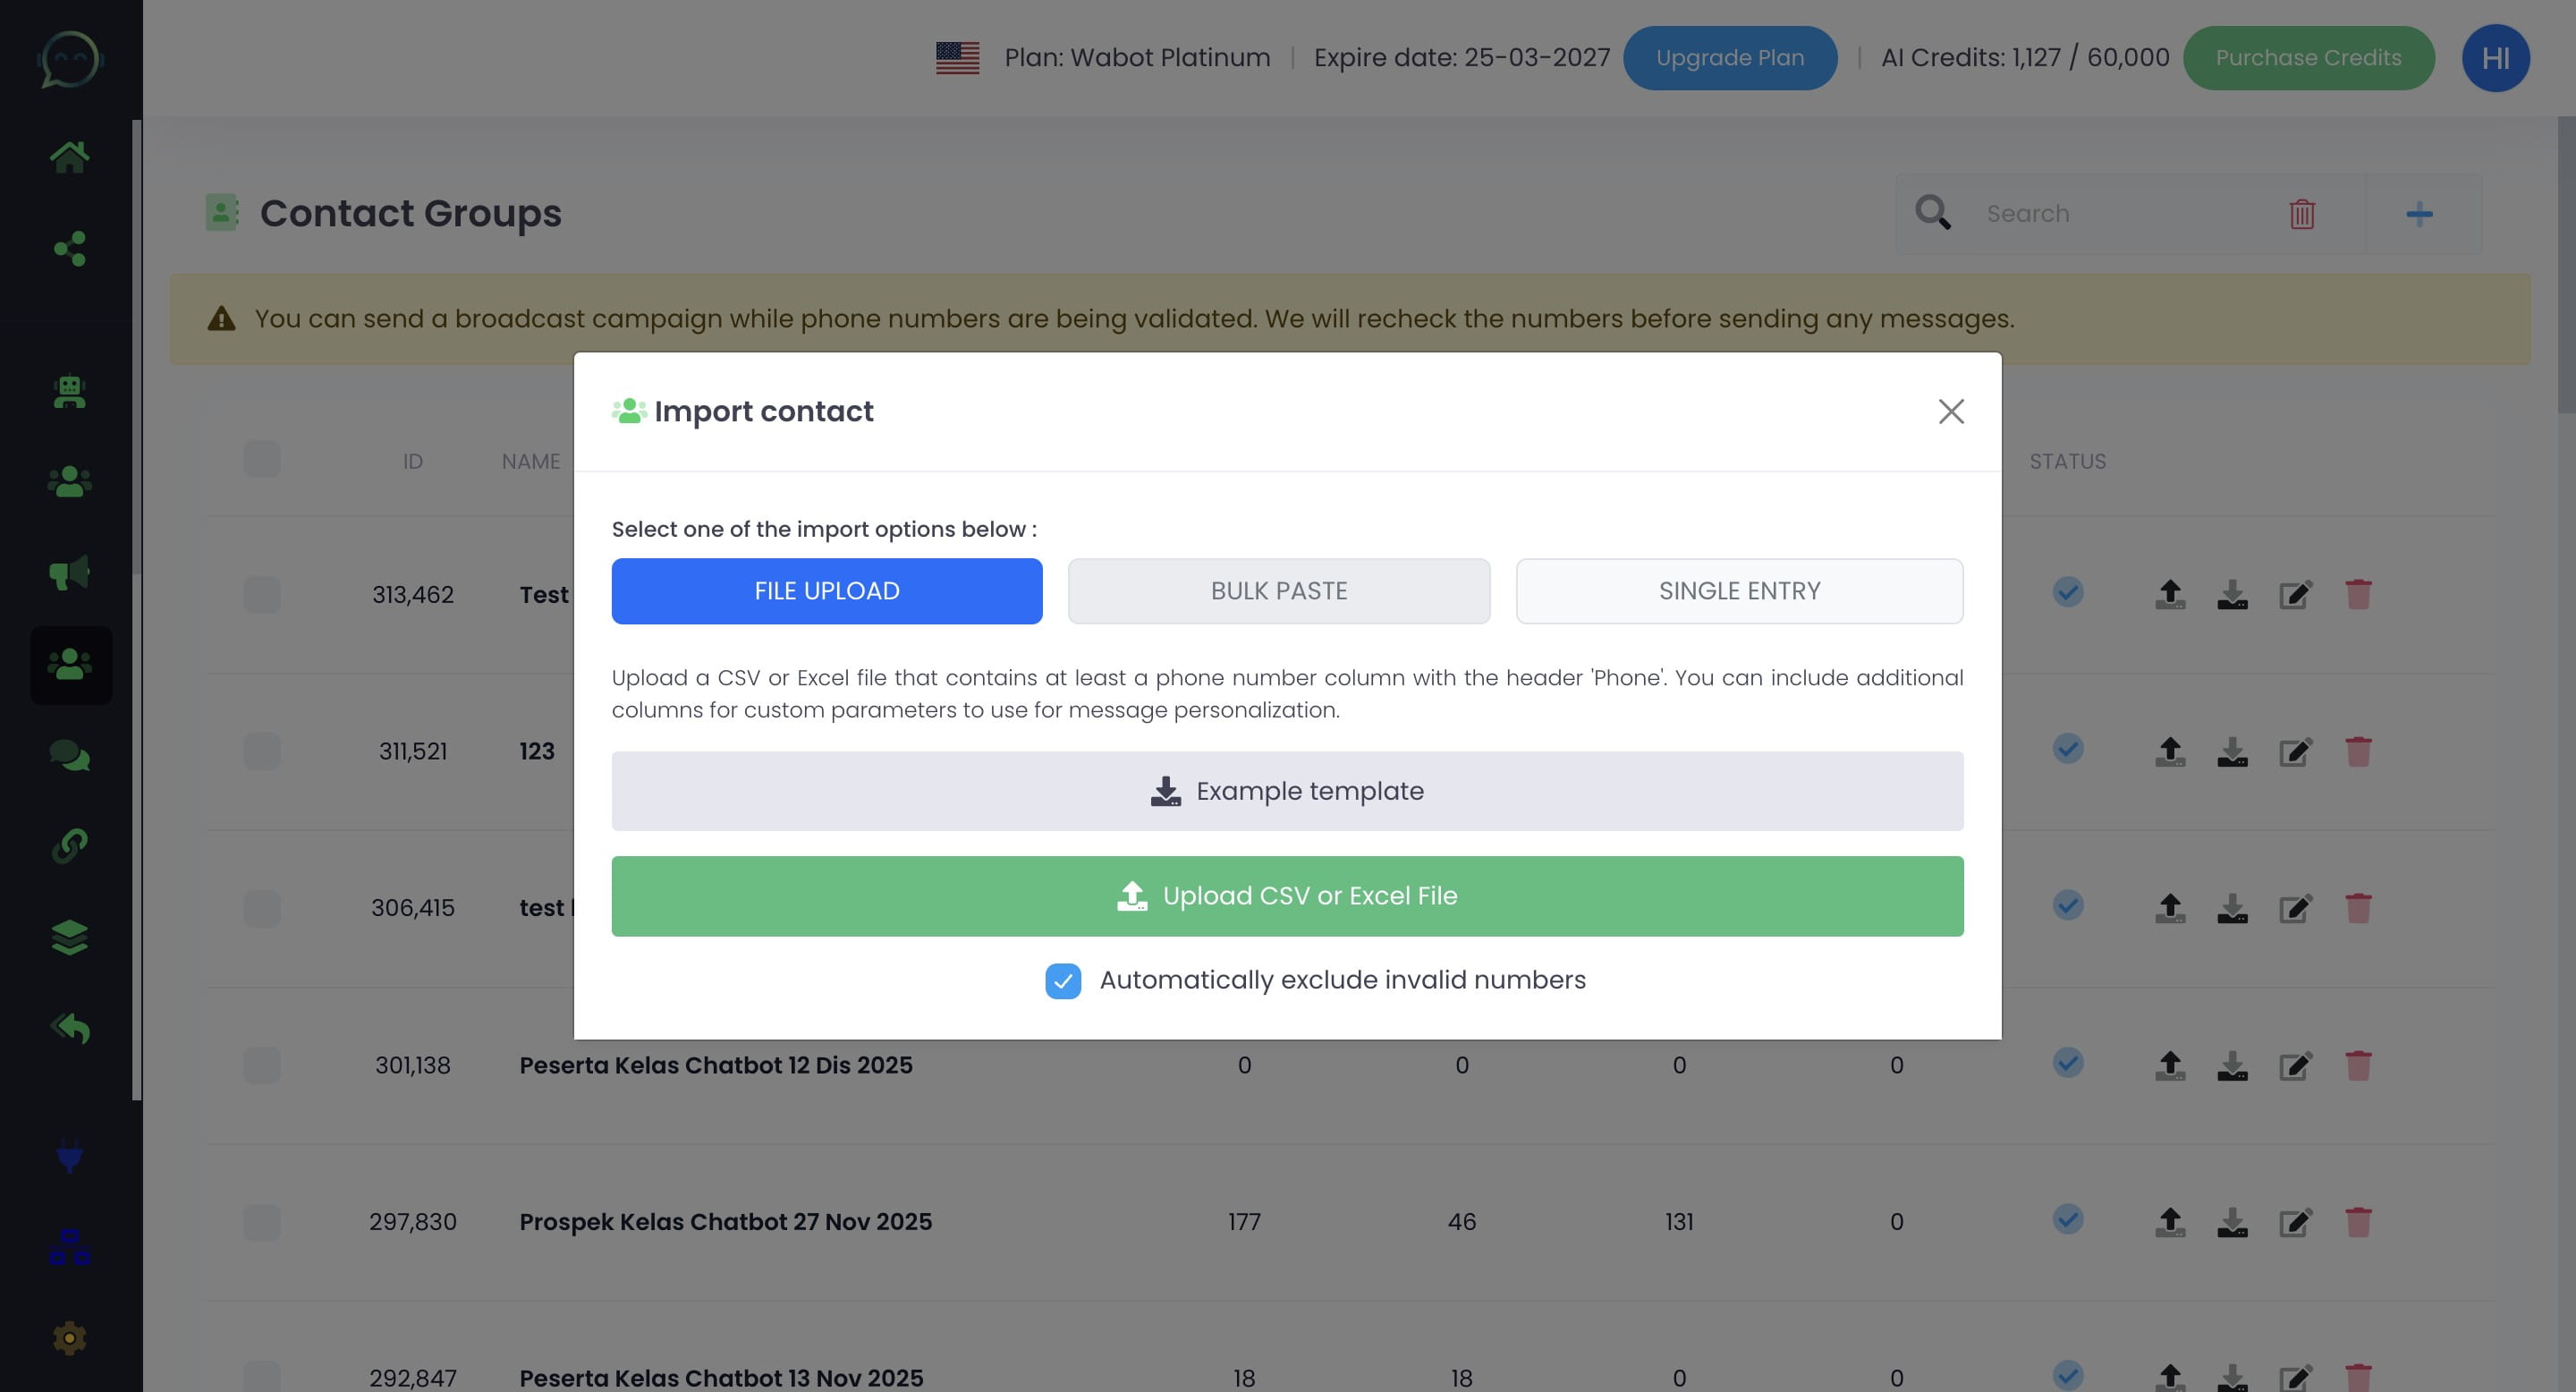
Click on "File Upload" to add contacts by uploading a file (CSV or Excel file)

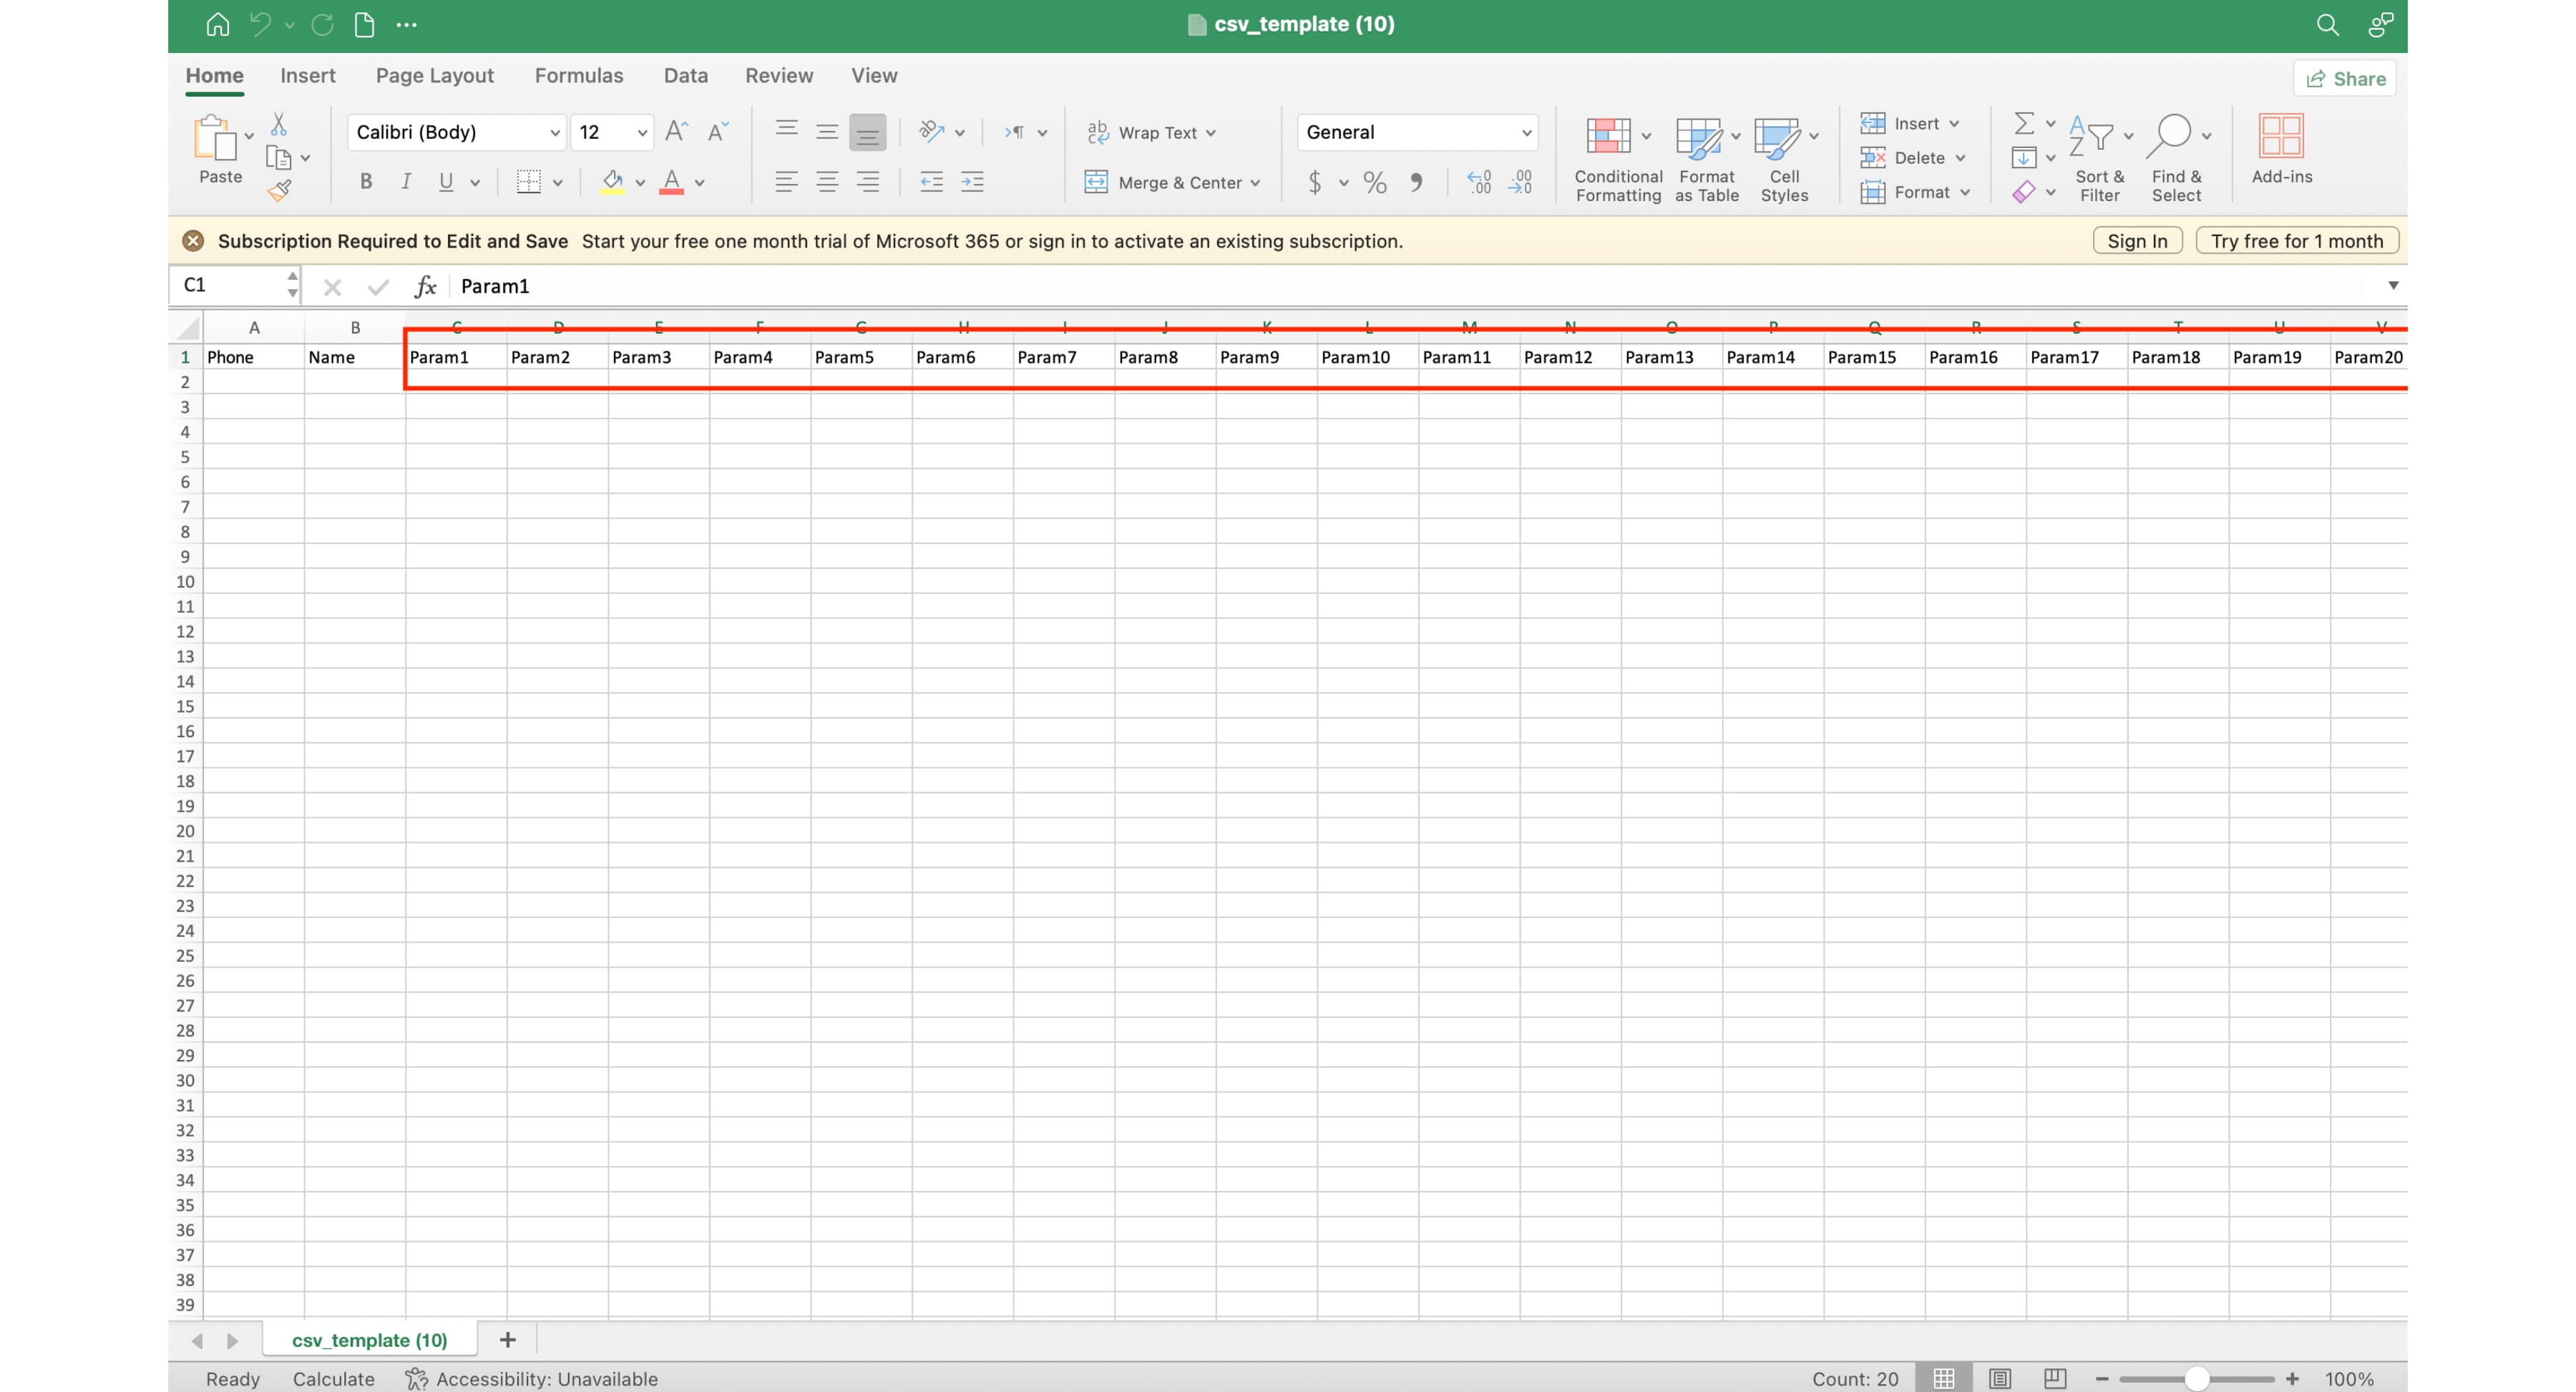
You can also download the example template to see the row arrangement on your data
You can add the row based on the information you want to mention in the blast message. As for the "Param" row, you can simple delete if not needed
Click here to upload file
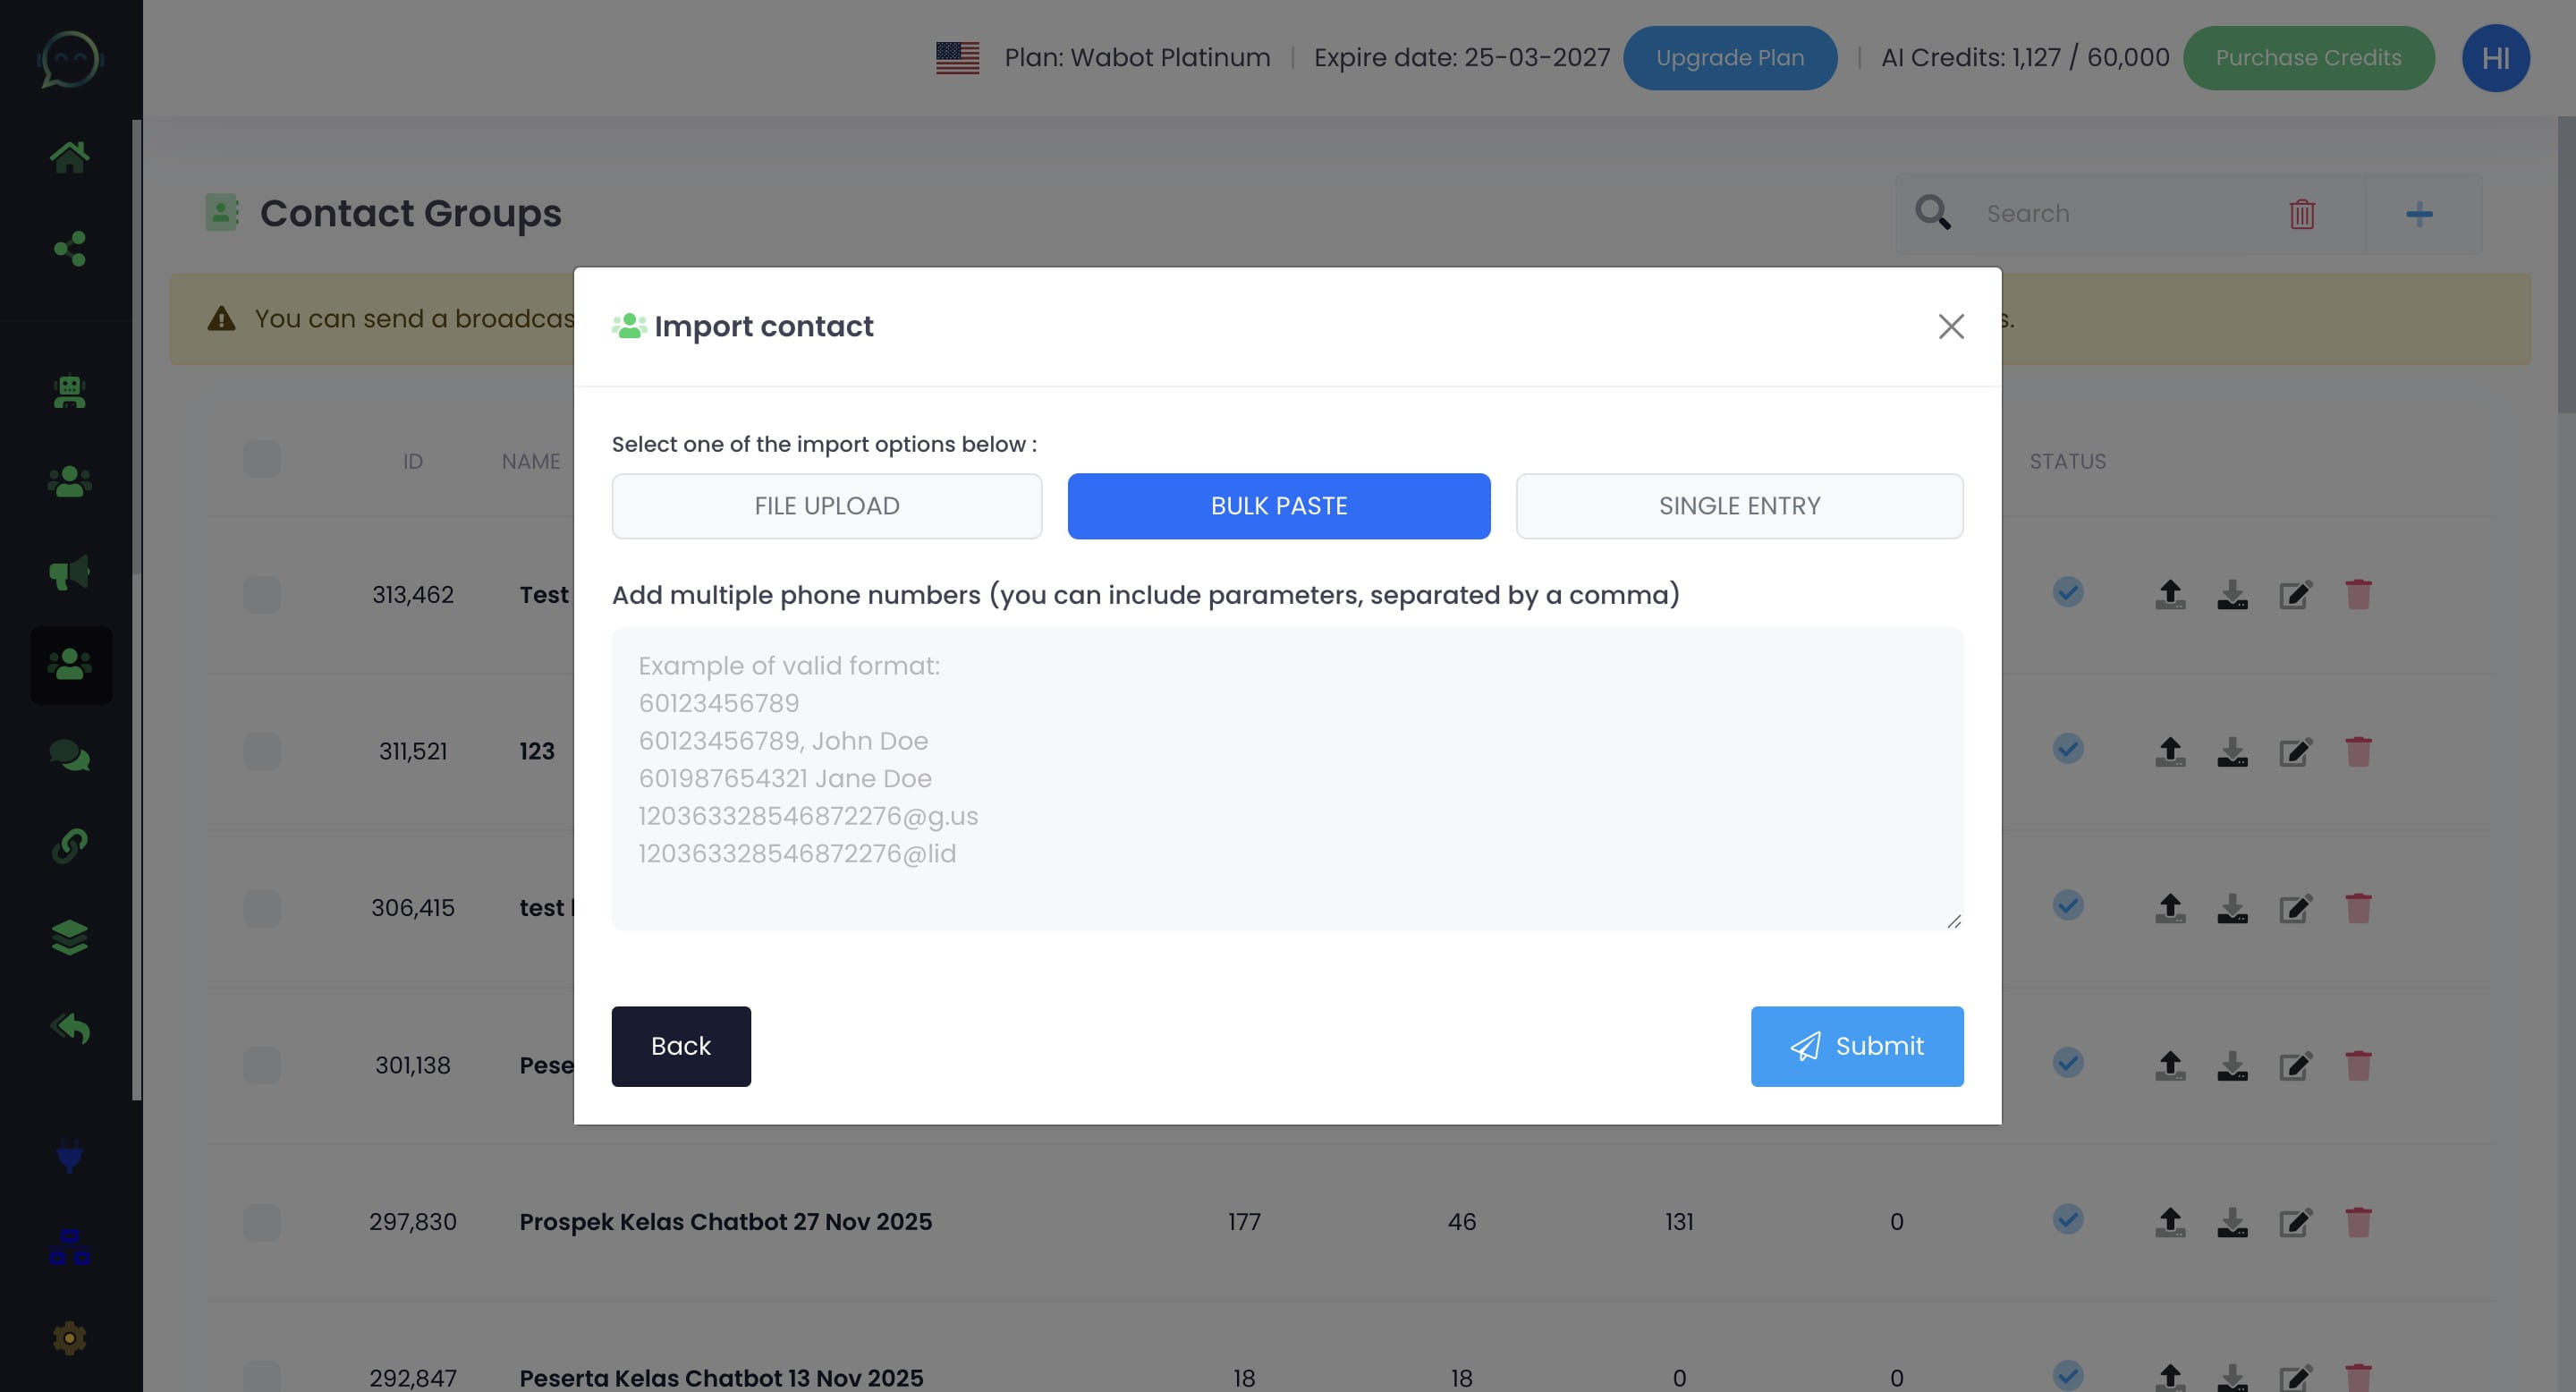
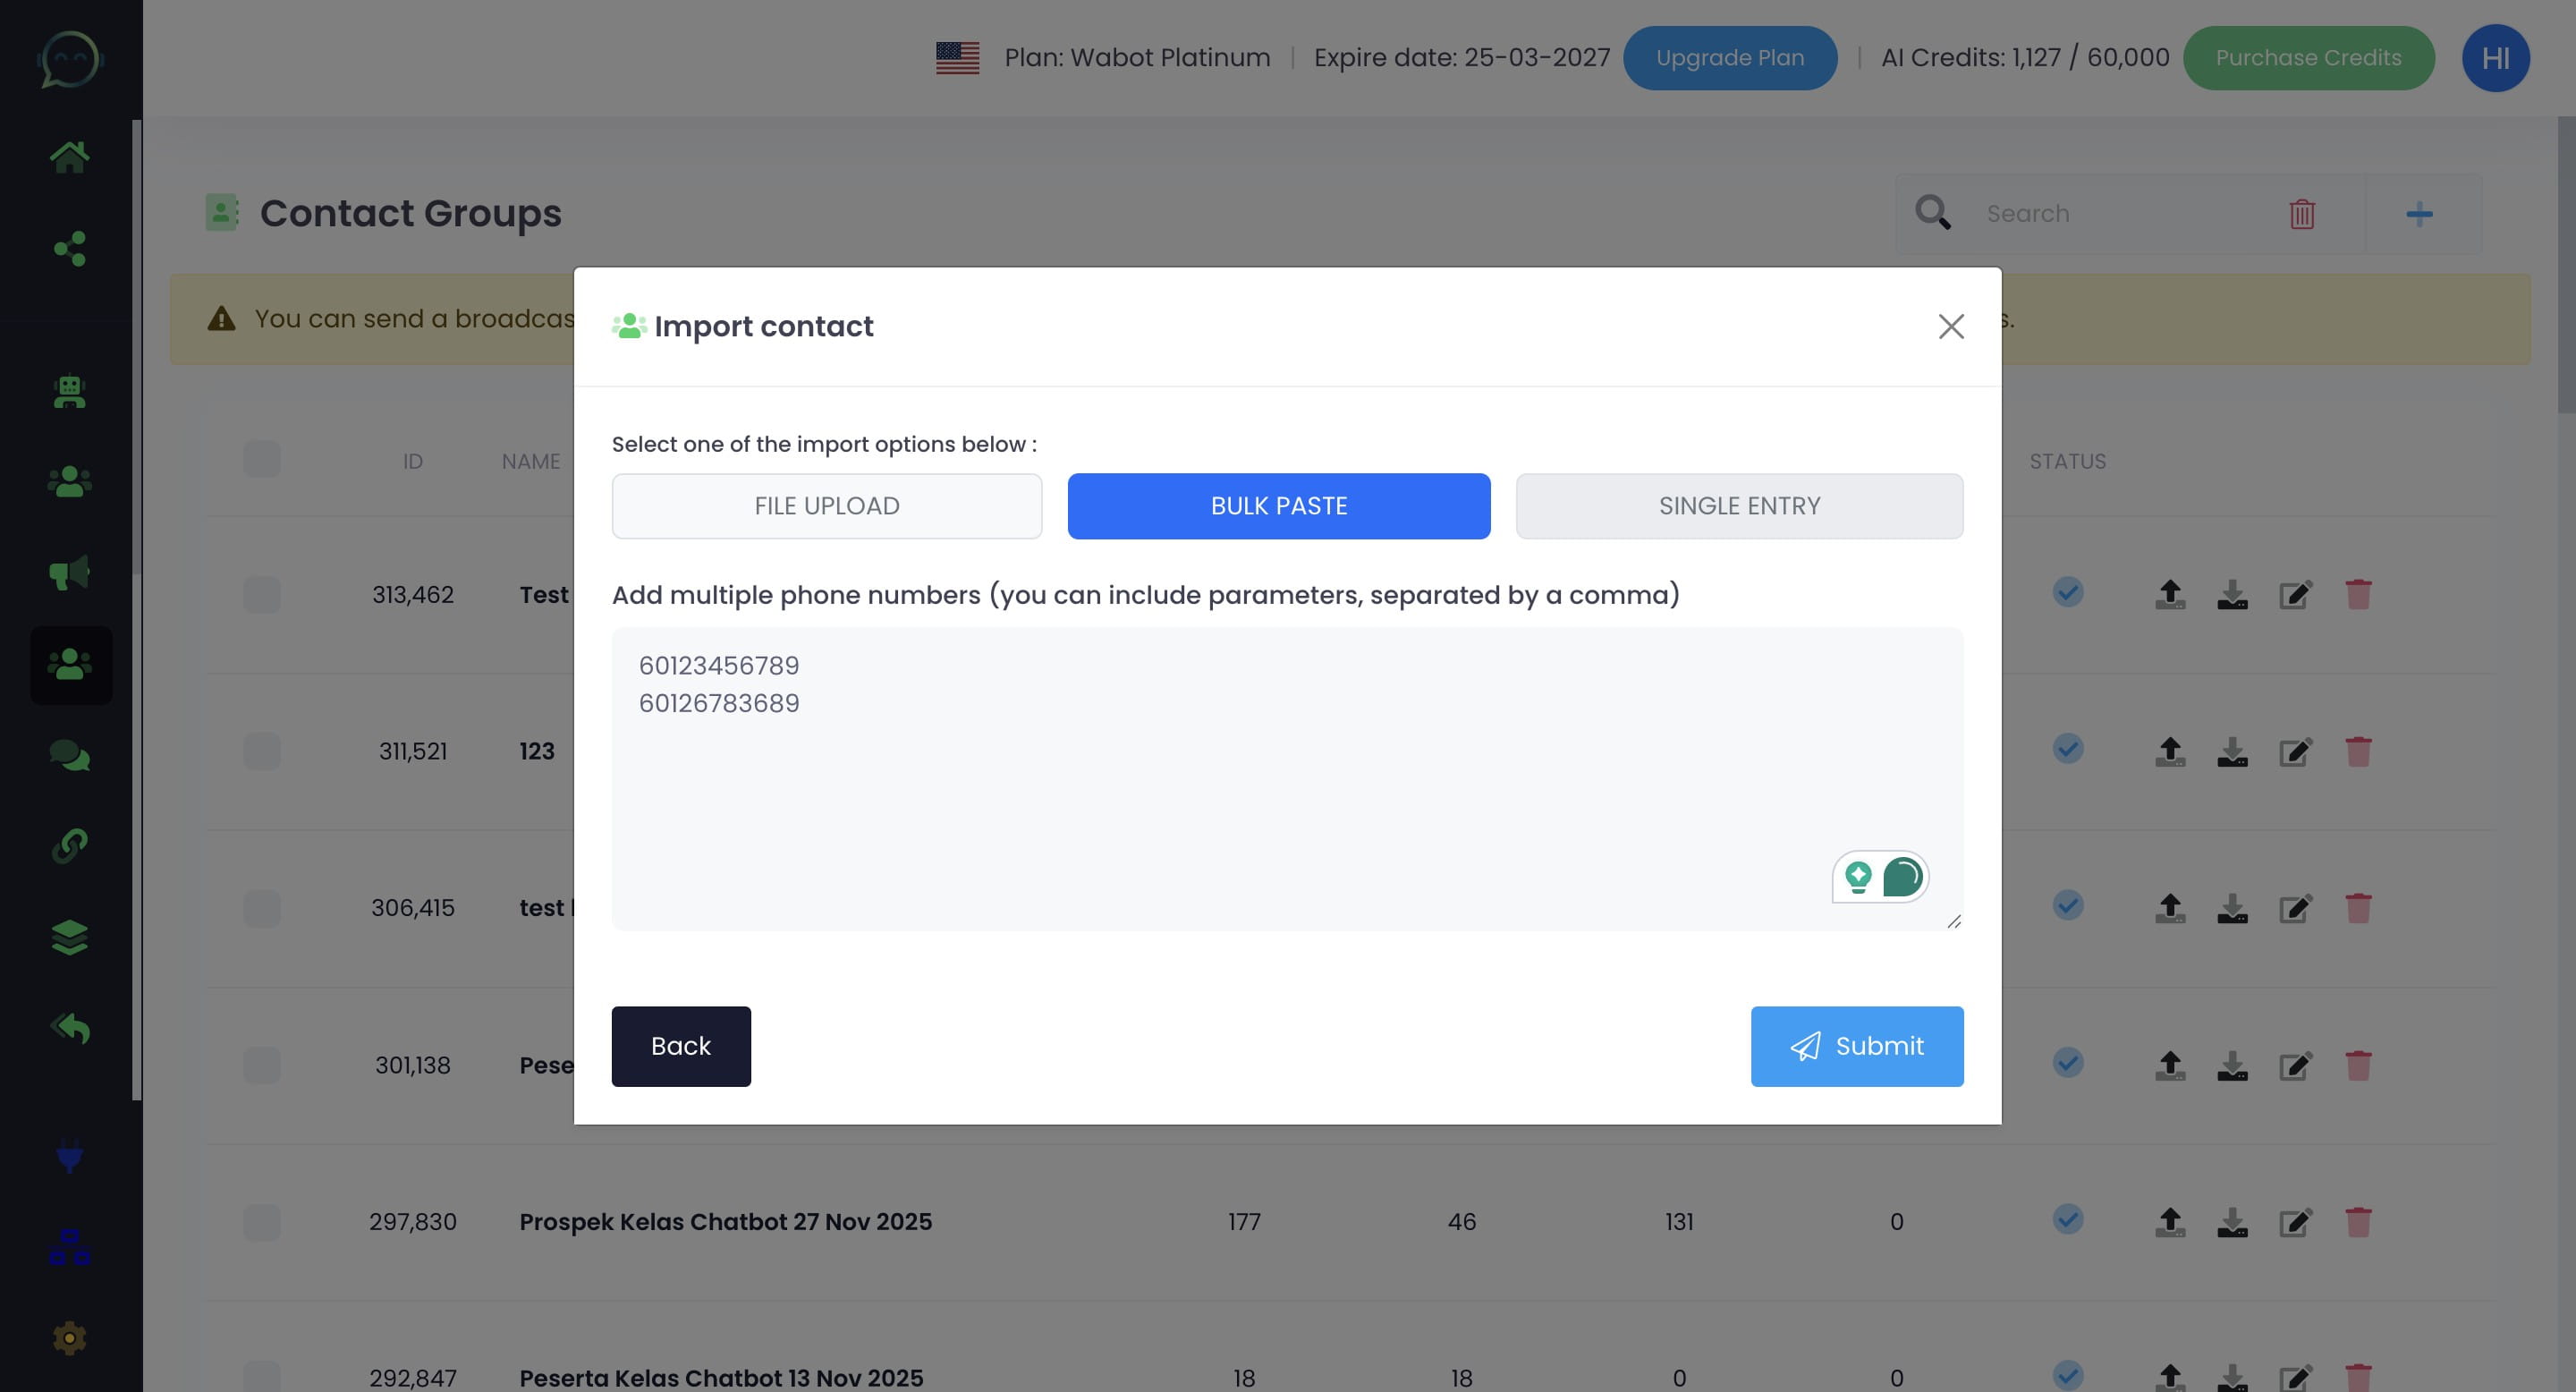
Click on "Bulk Paste" to paste multiple entries
Kindly write or paste the phone number here
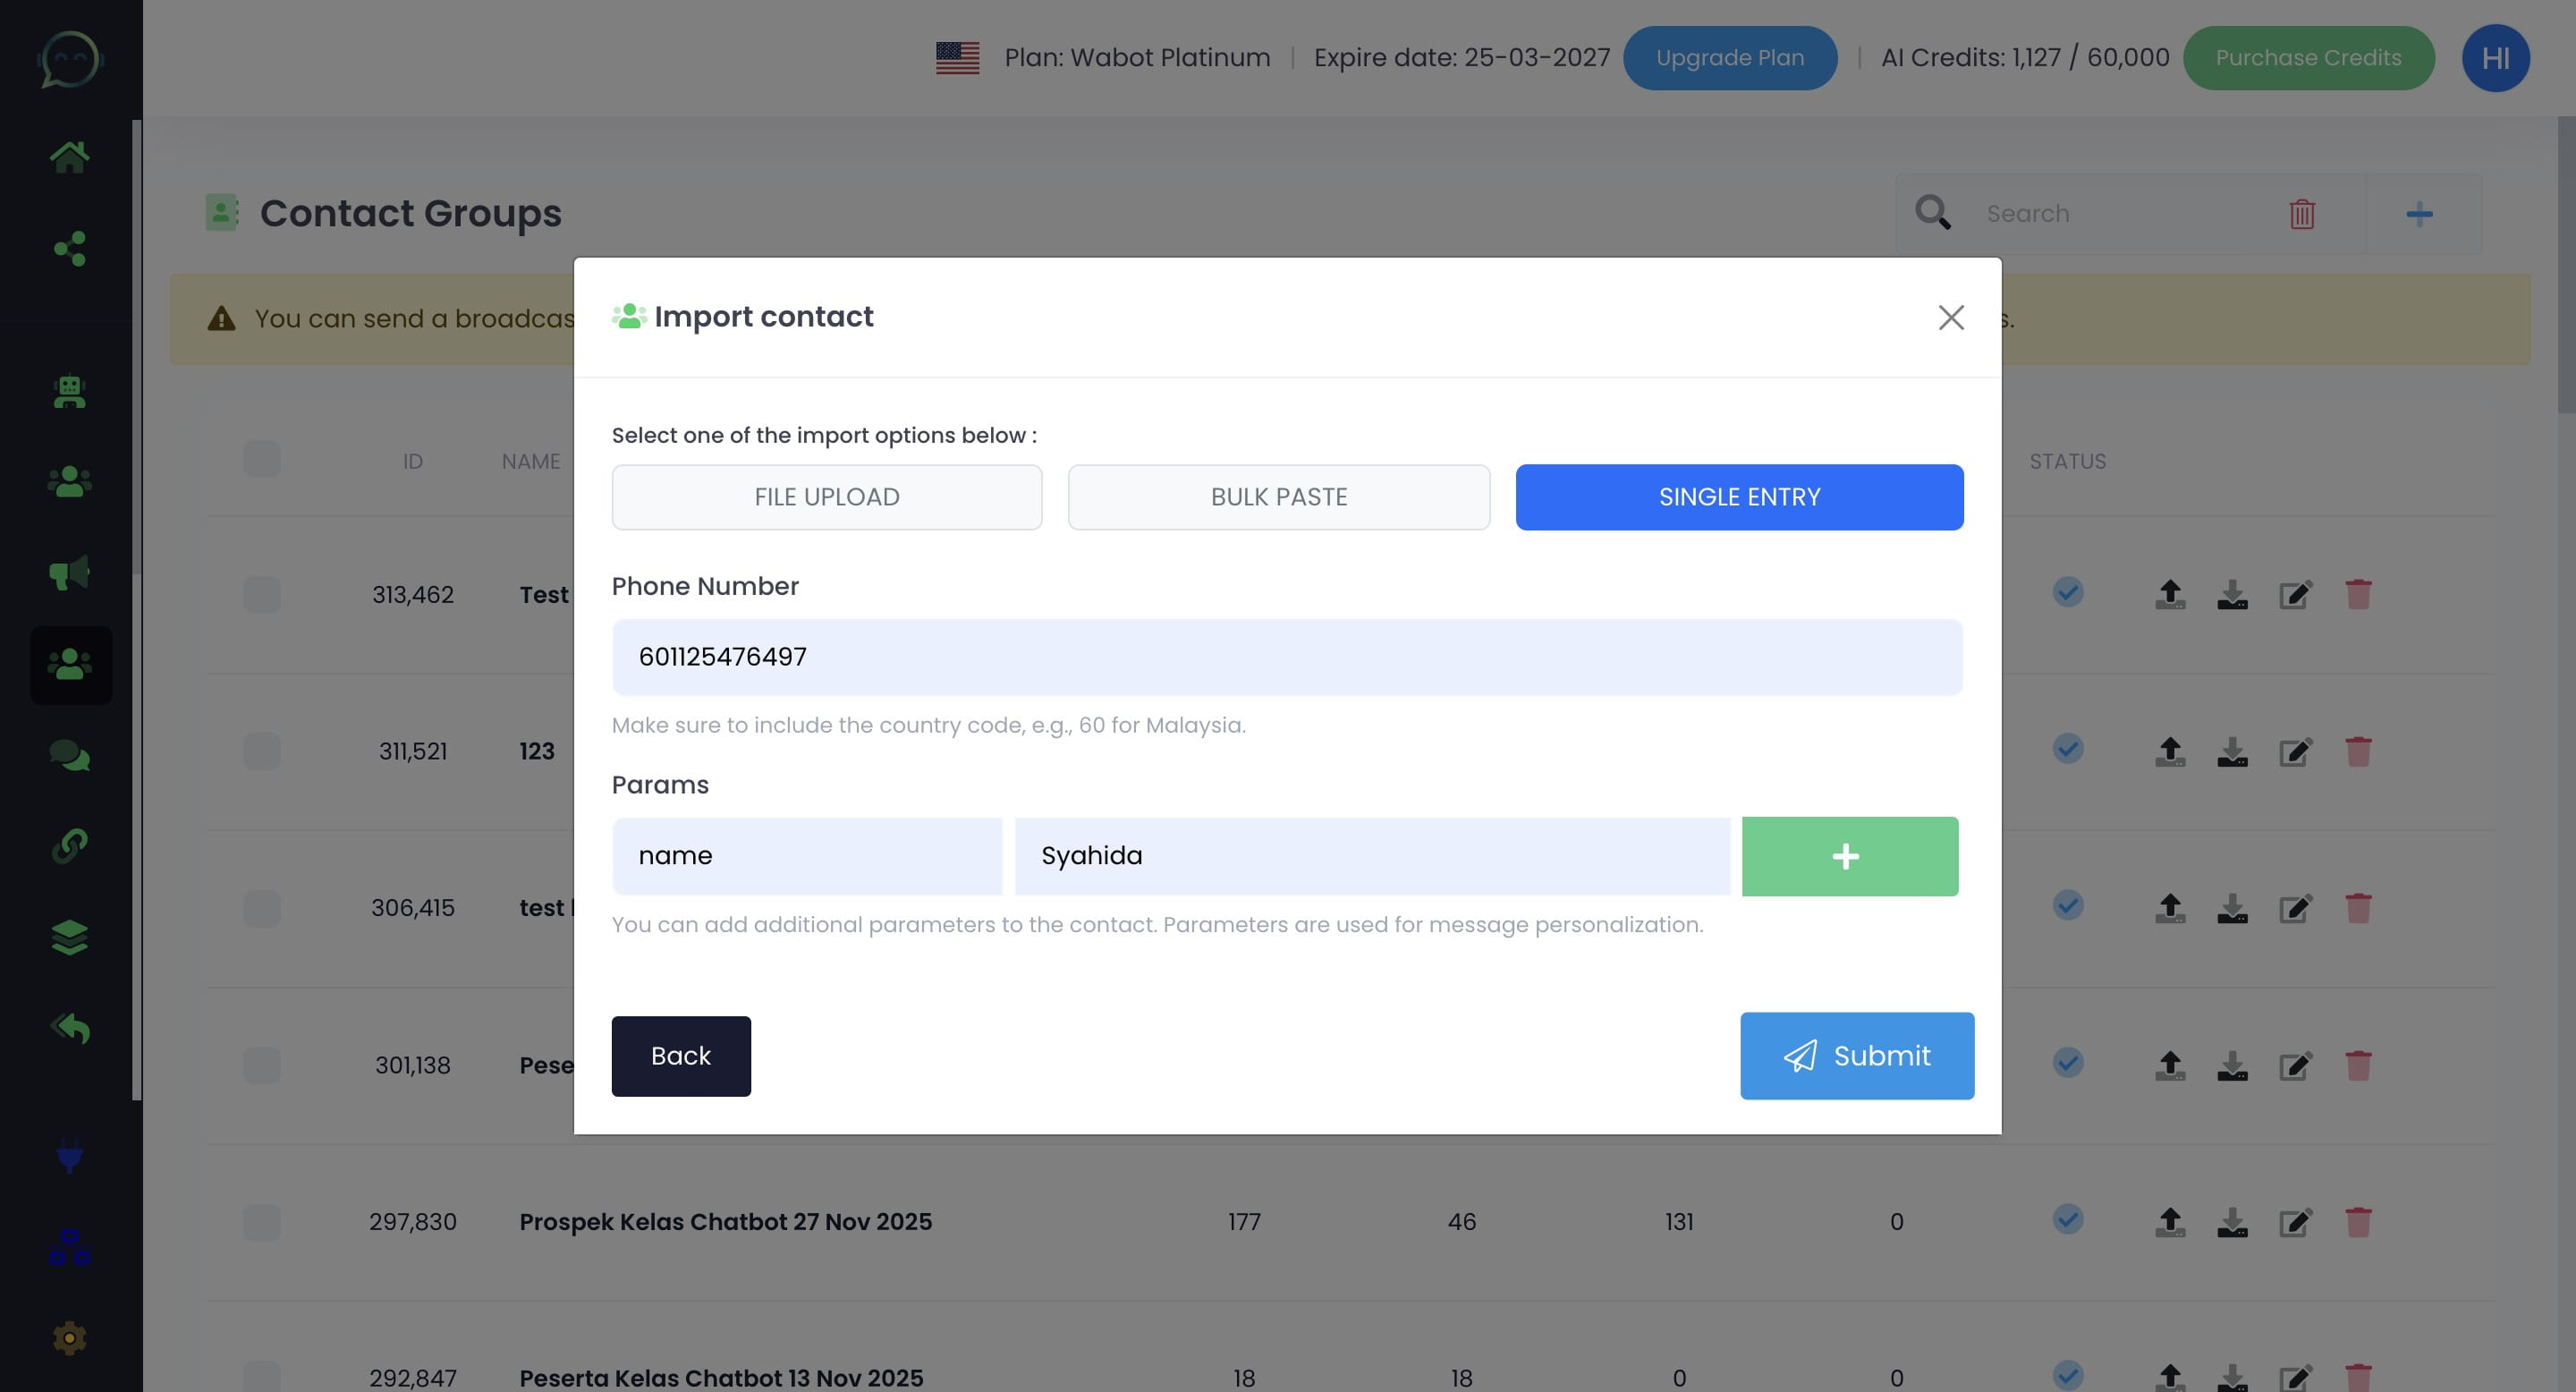
Click on "Single Entry" to enter one contact at a time
Insert the phone number

Enter the parameters as needed
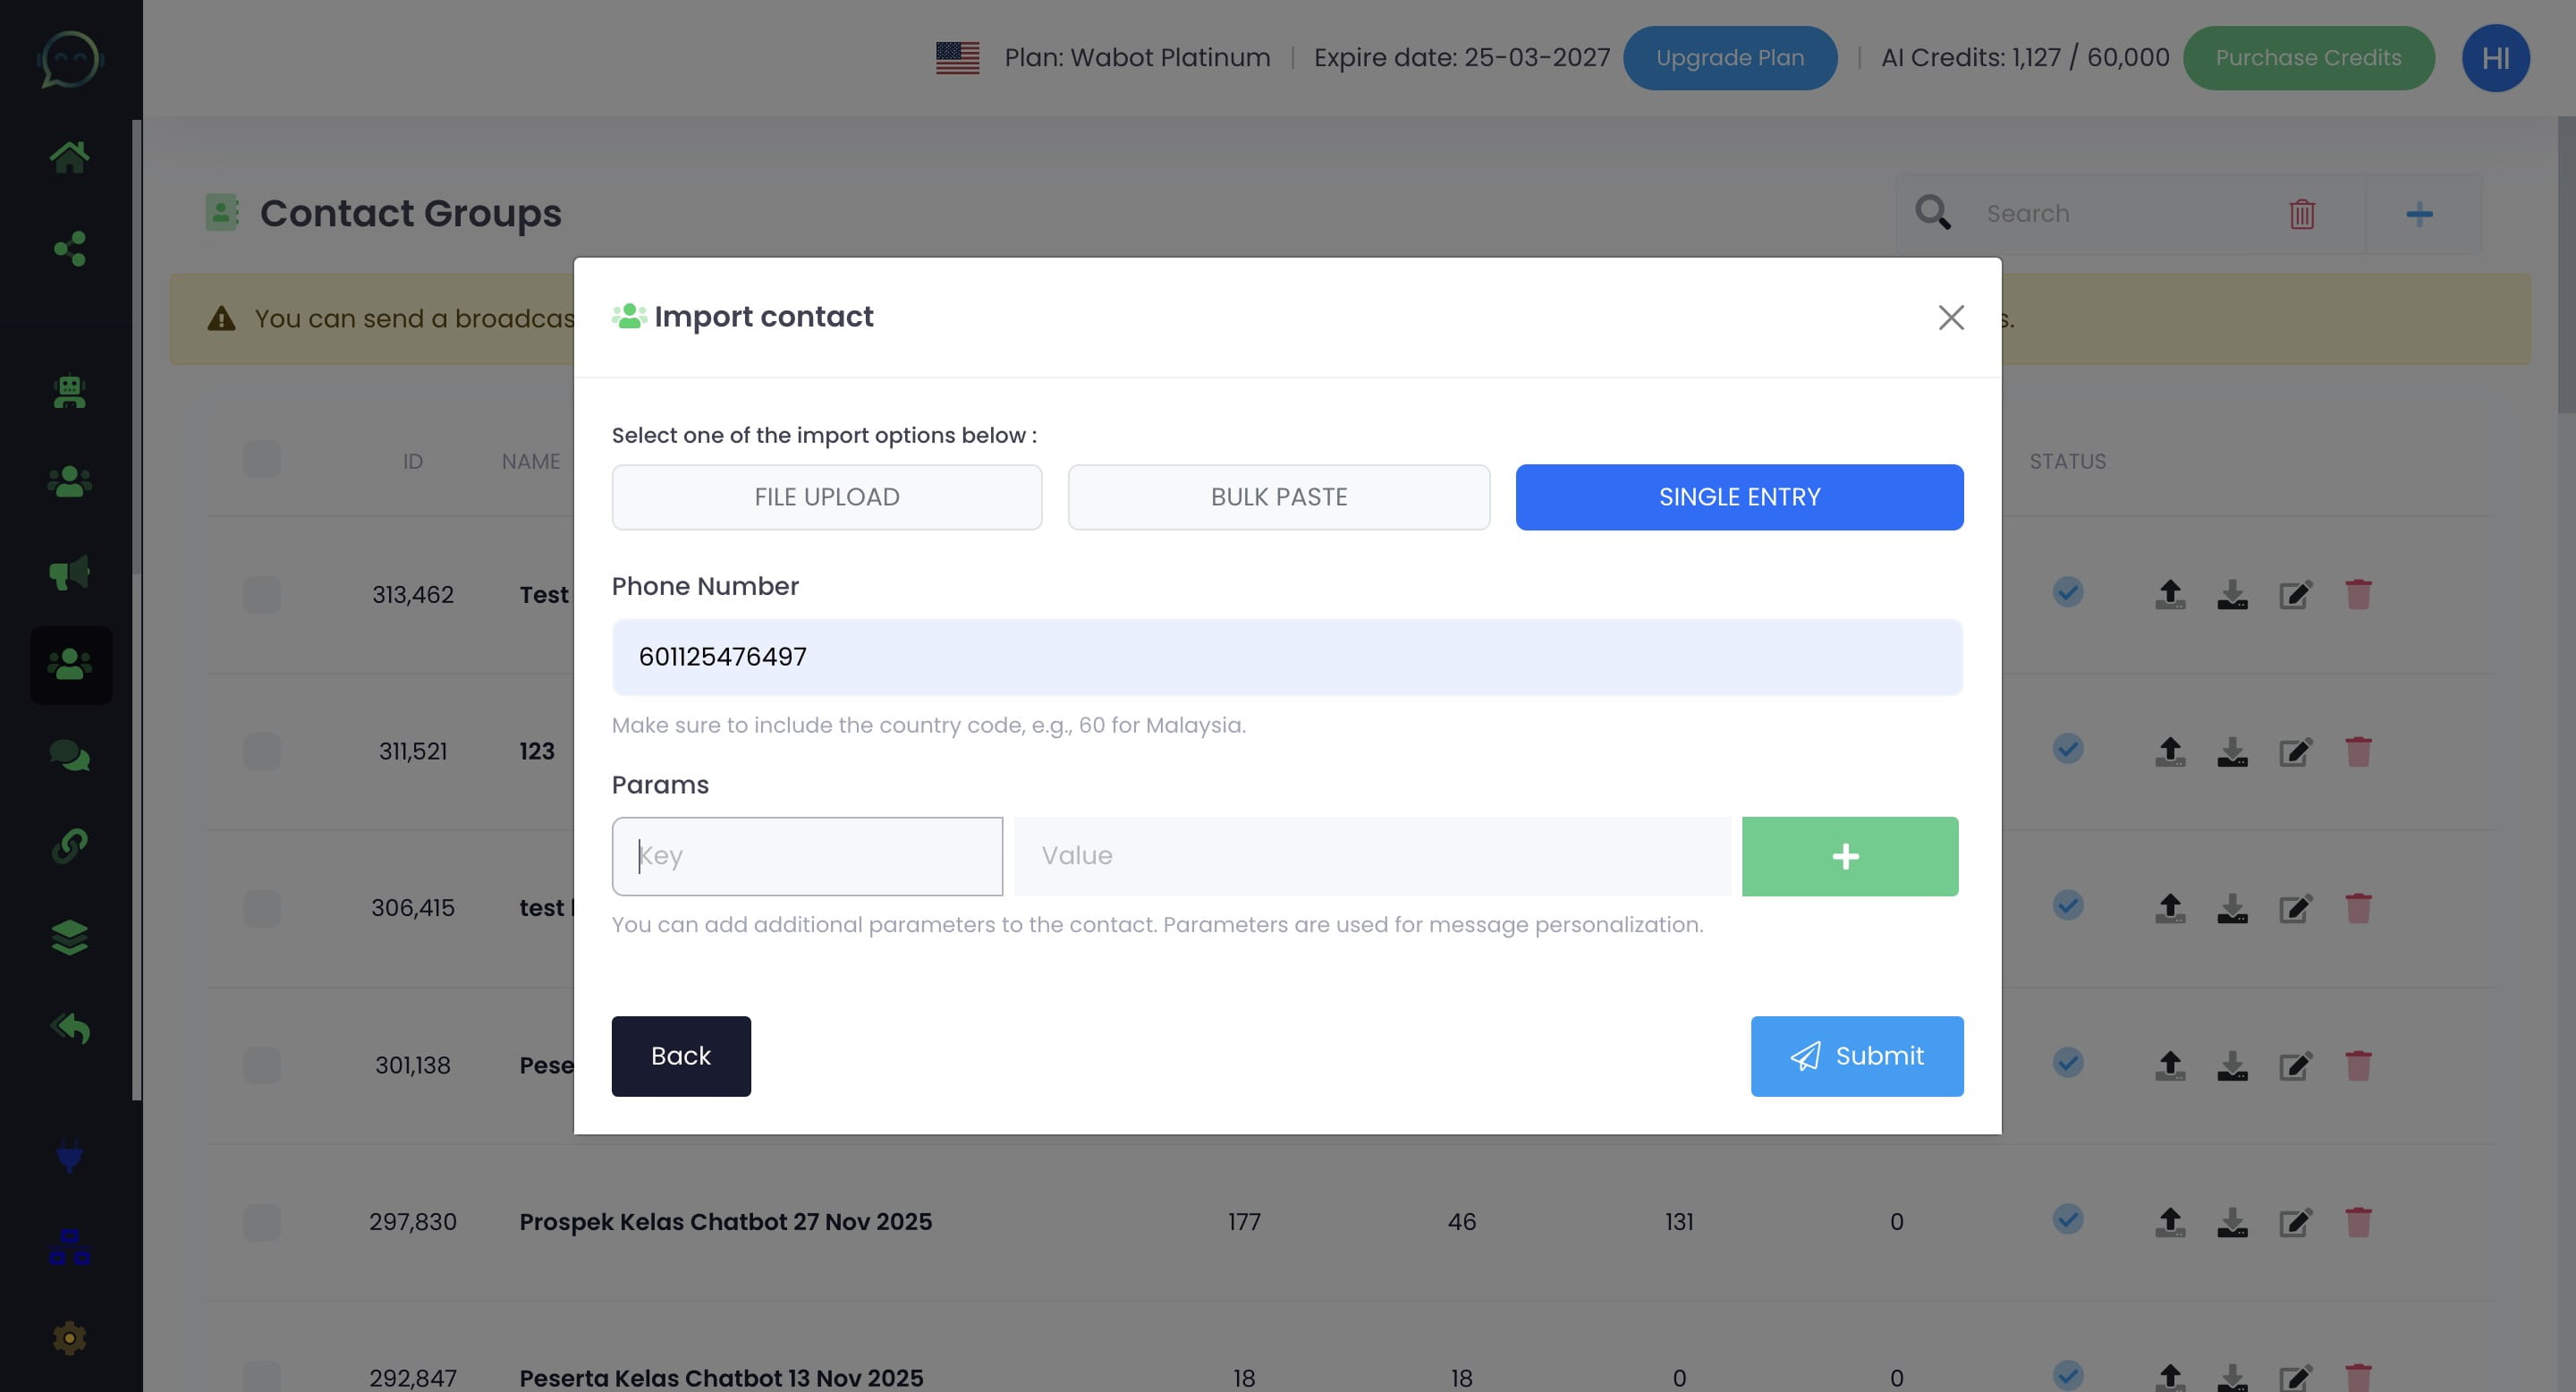
Value means the example for the parameter

Click "Submit"
Creating Bulk Messaging Campaign
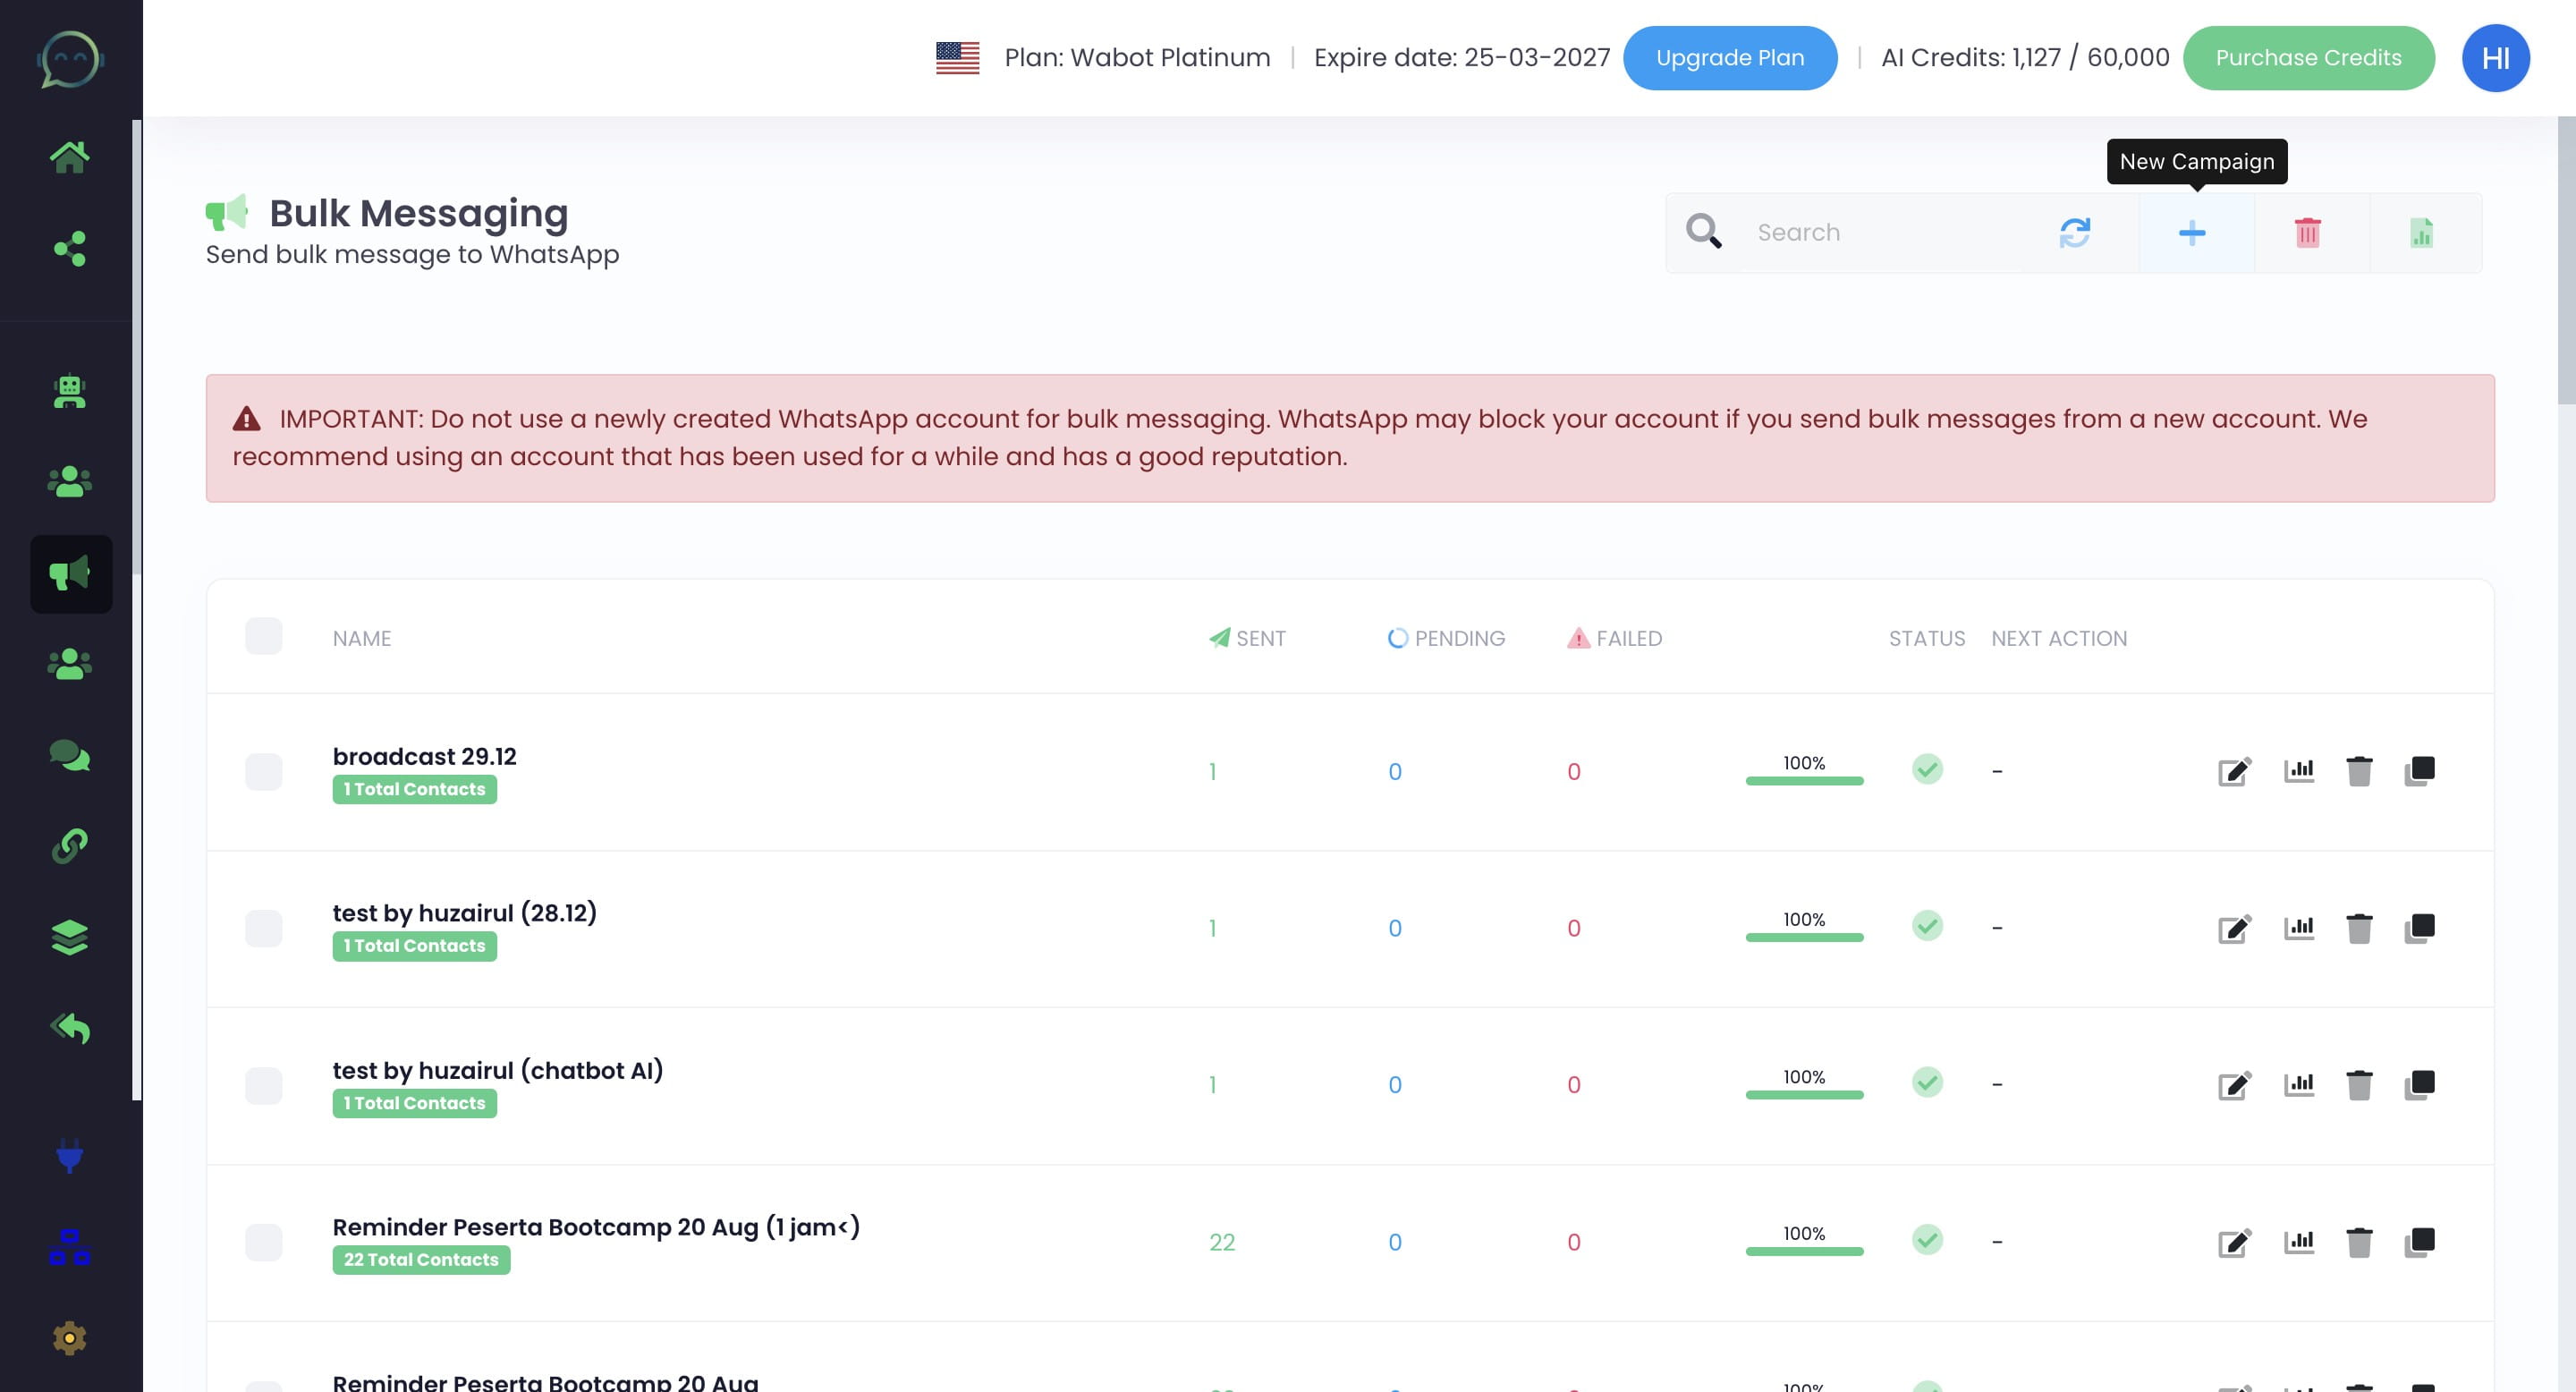
Click on "Bulk Messaging"
Click this icon to add new campaign
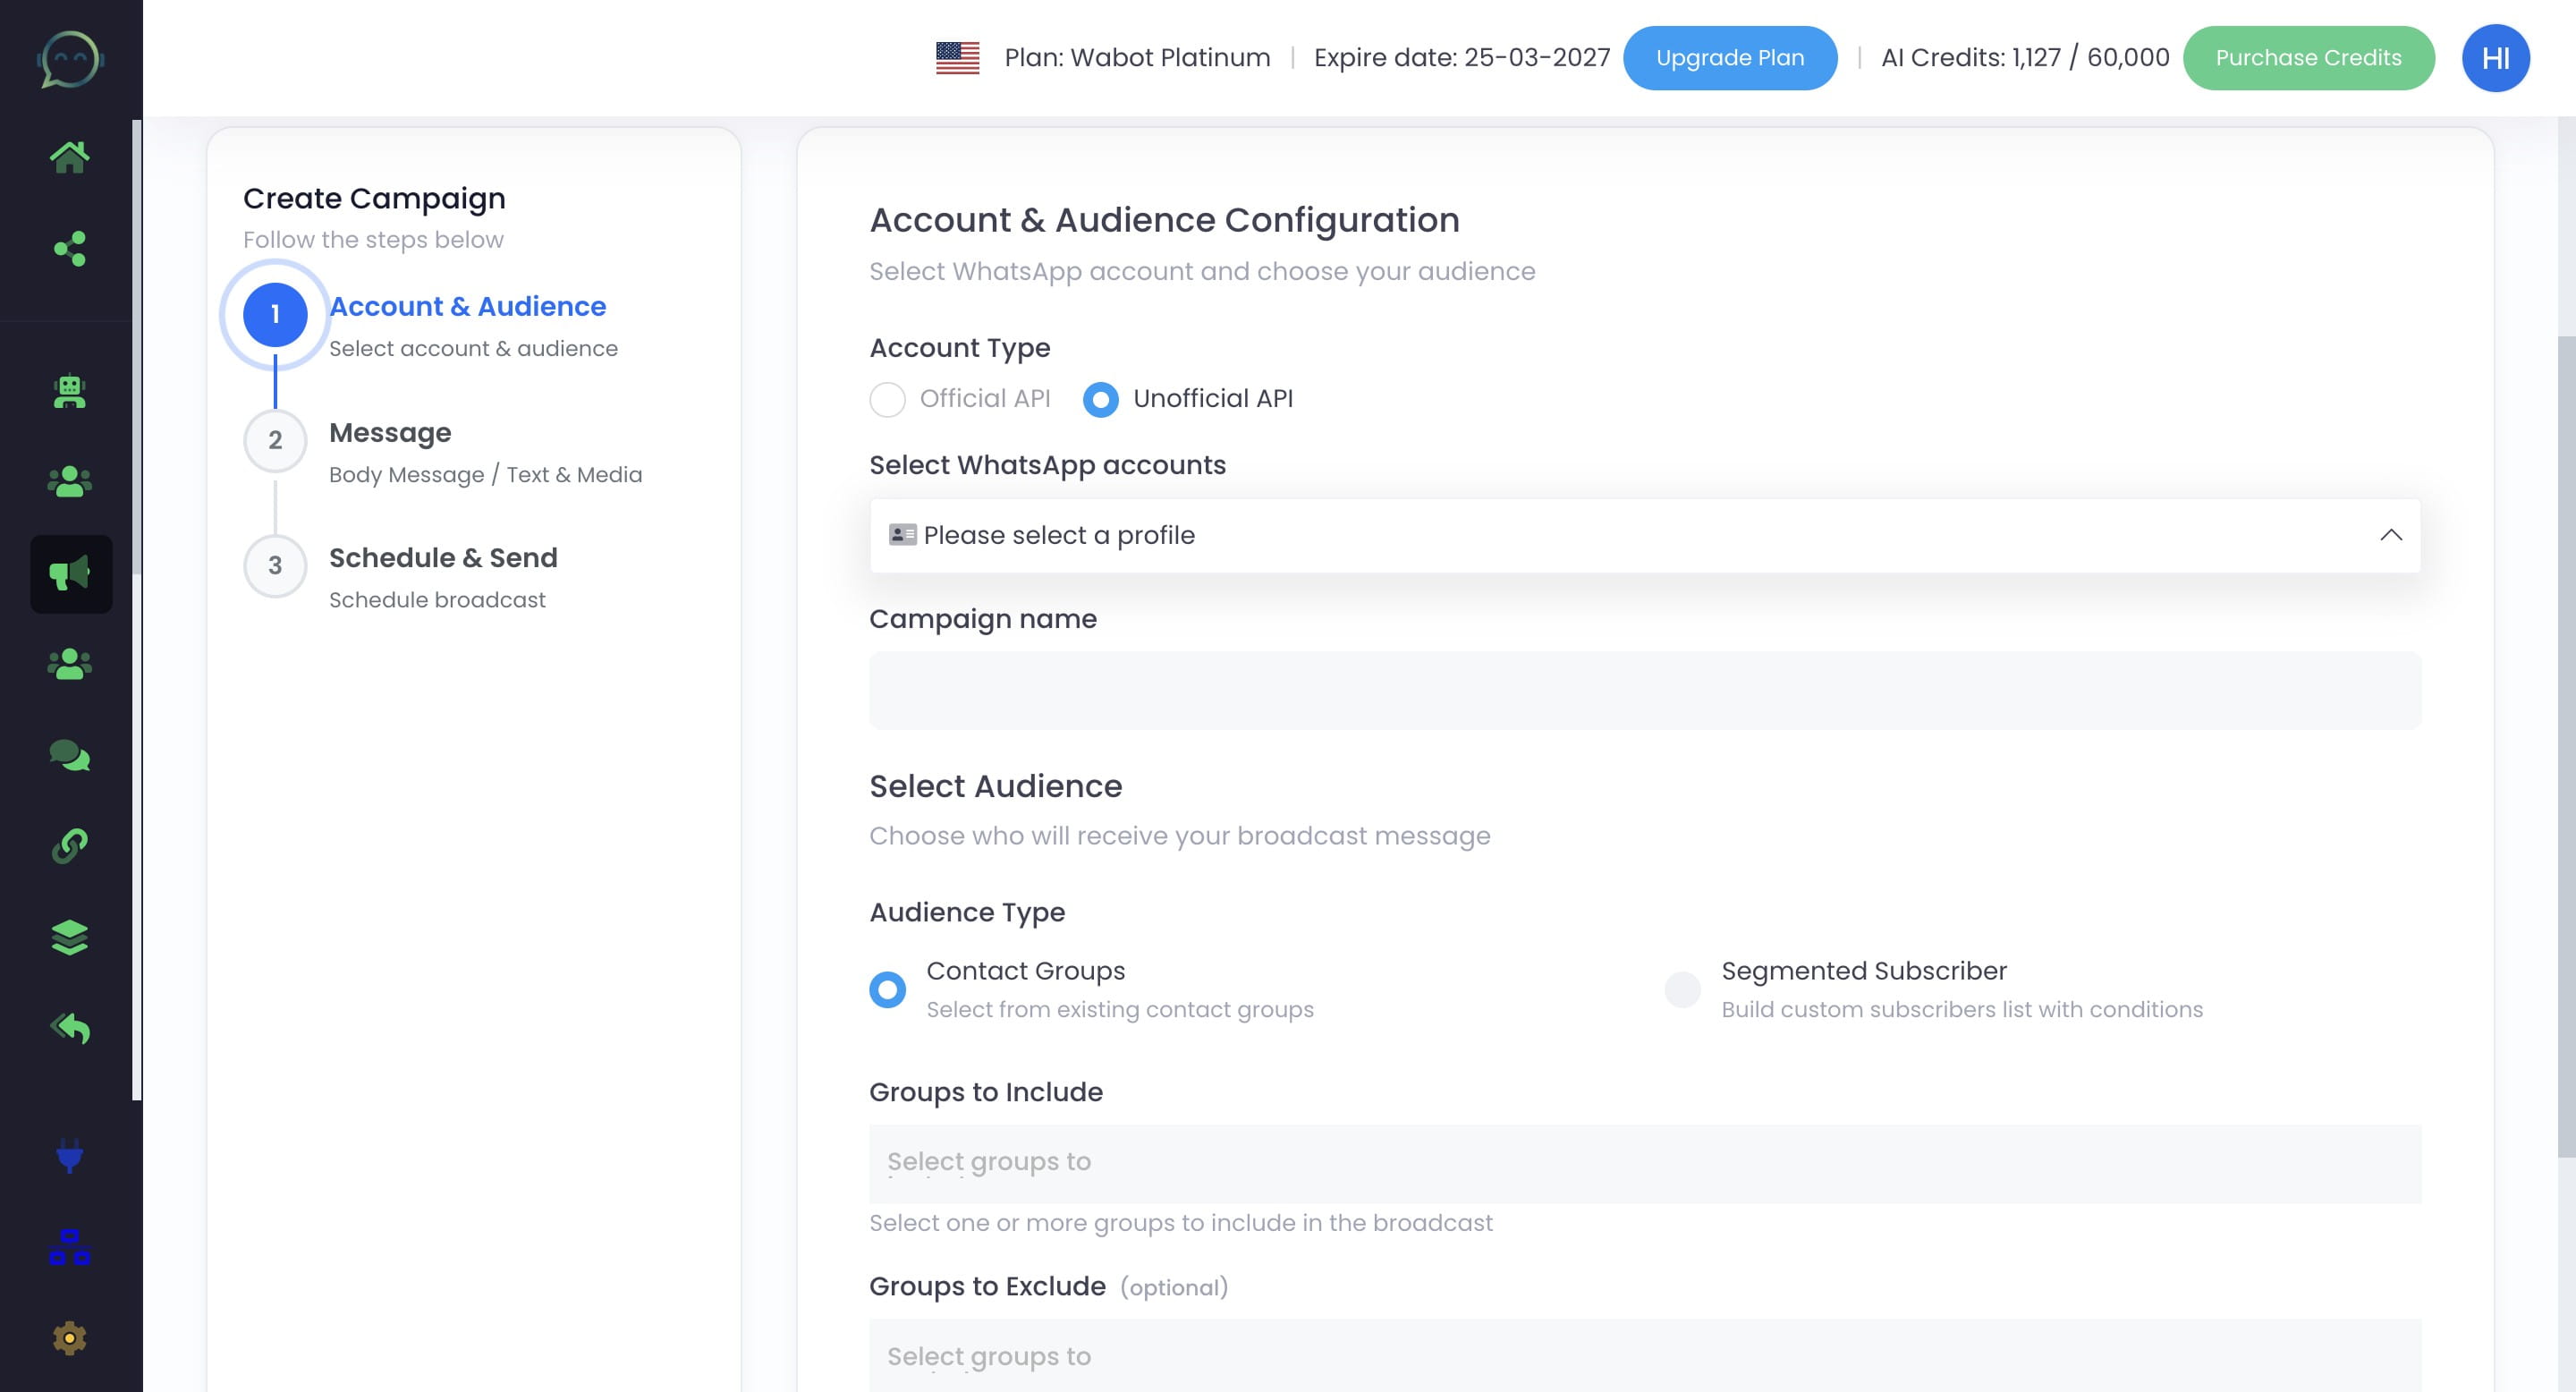
Click Unofficial API

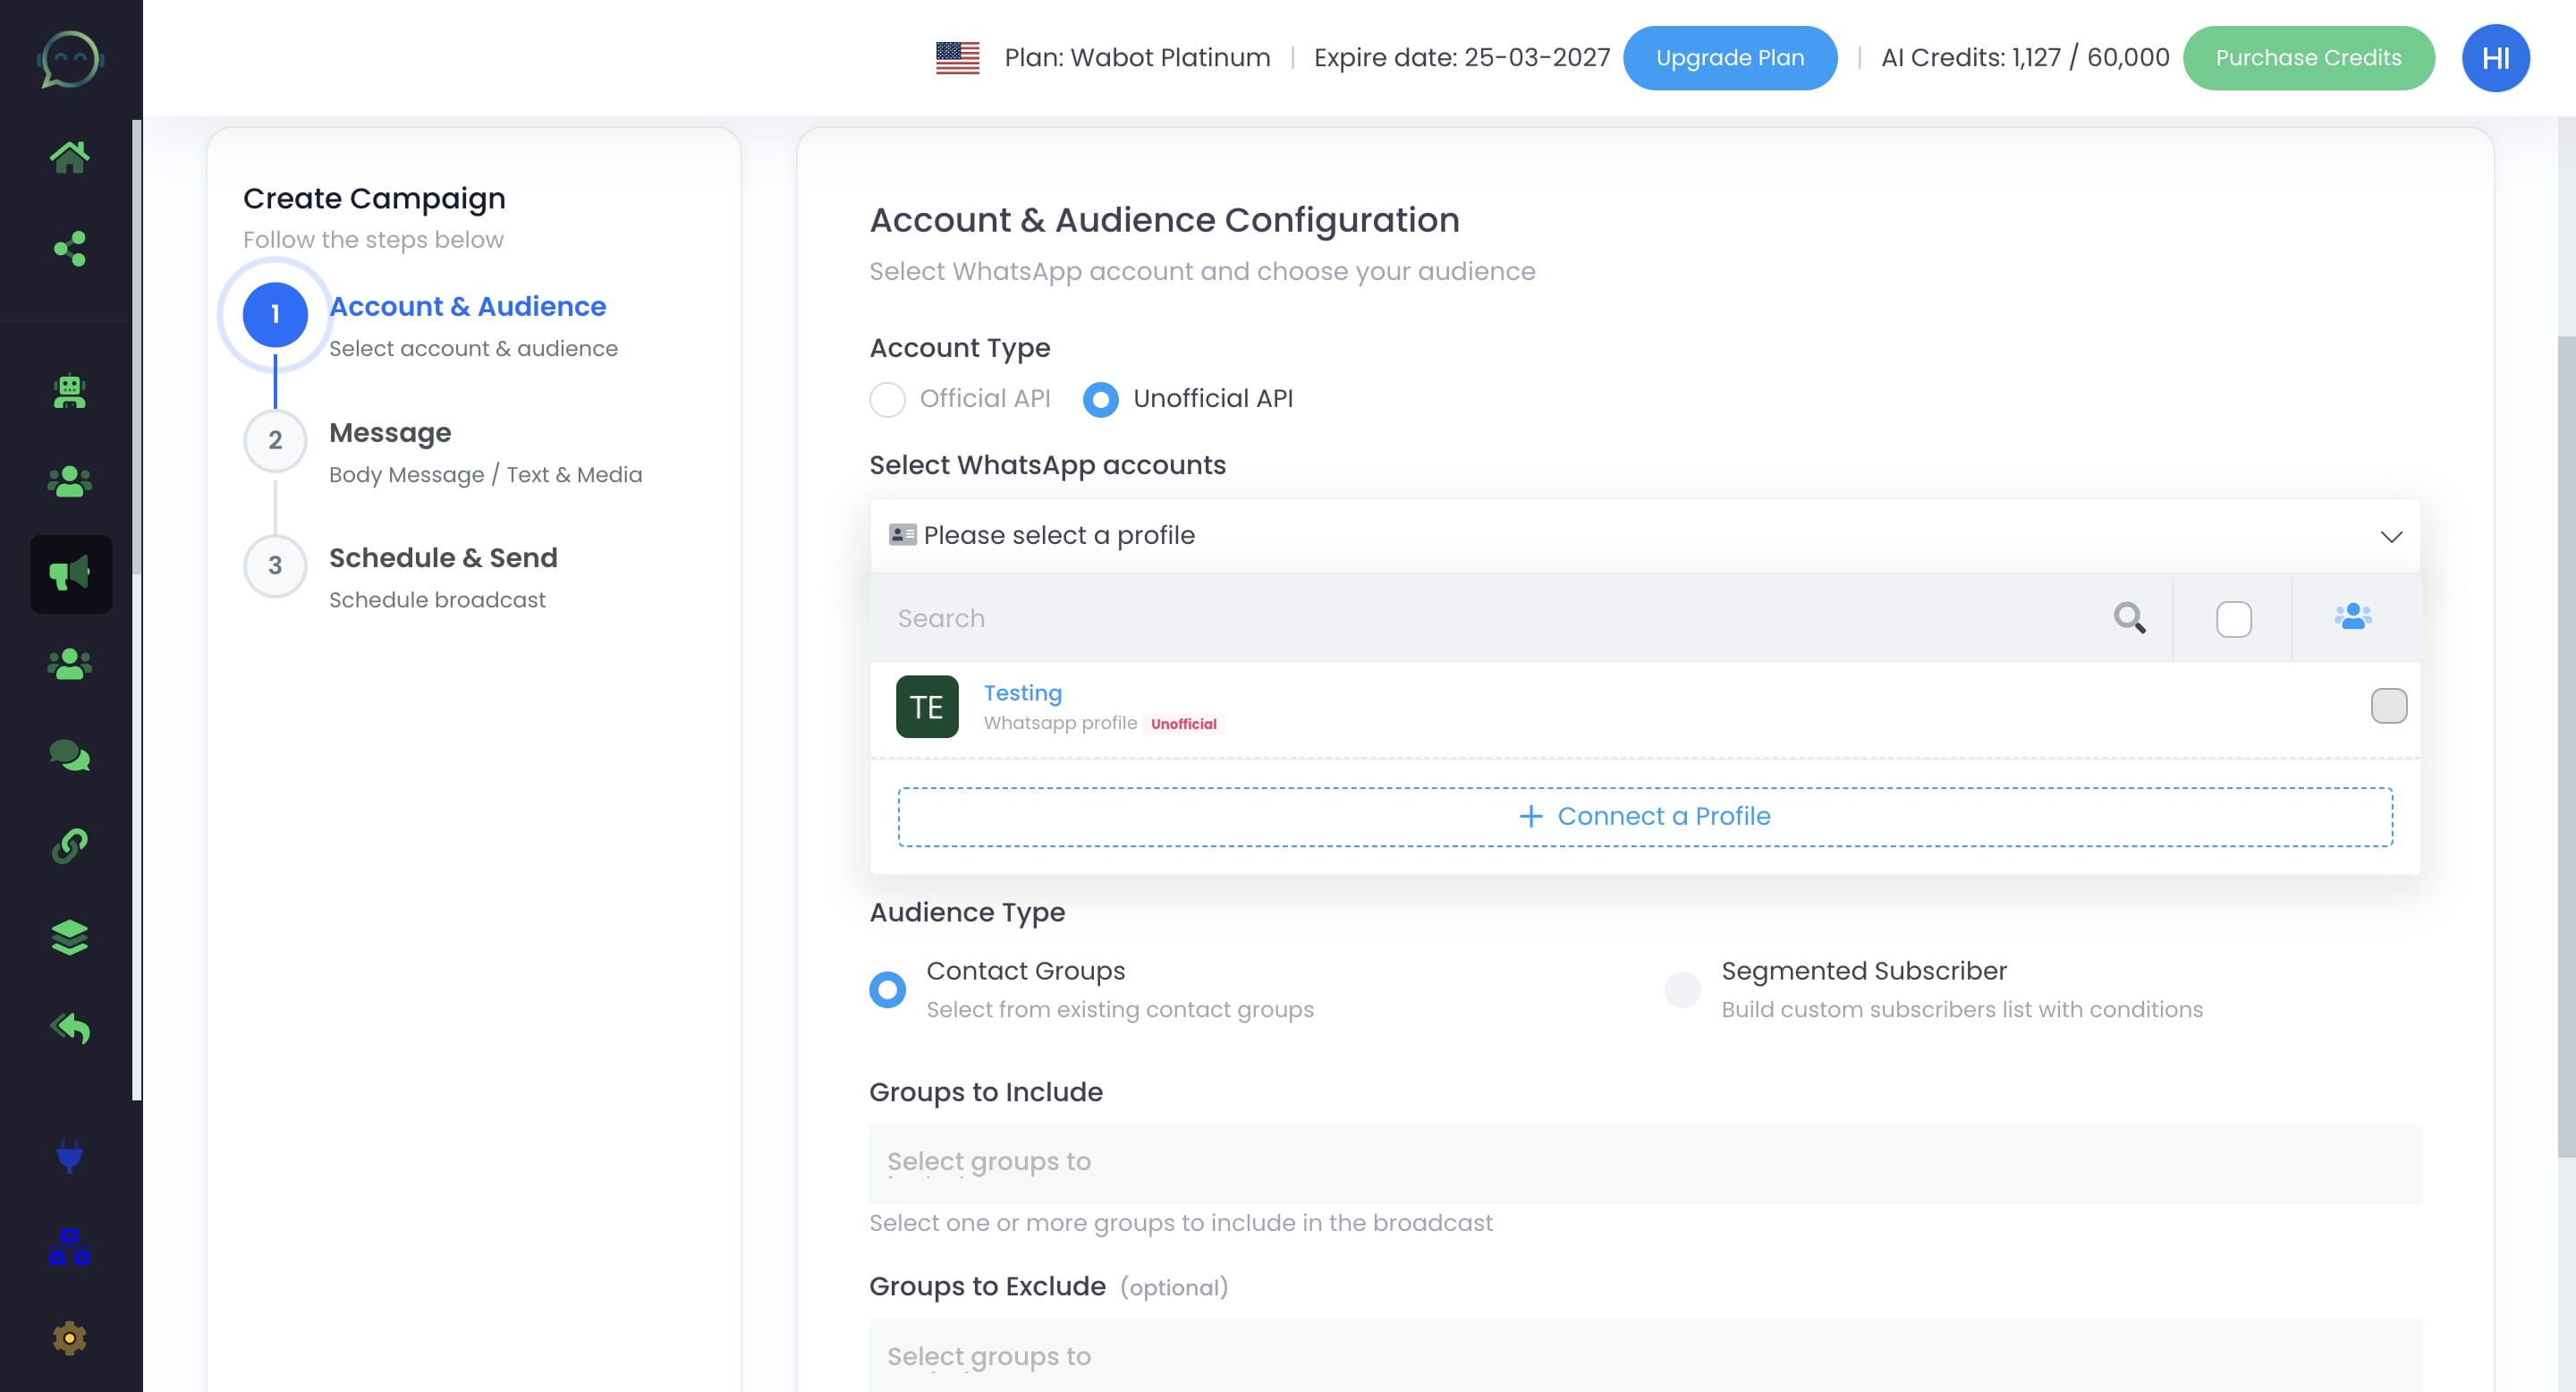
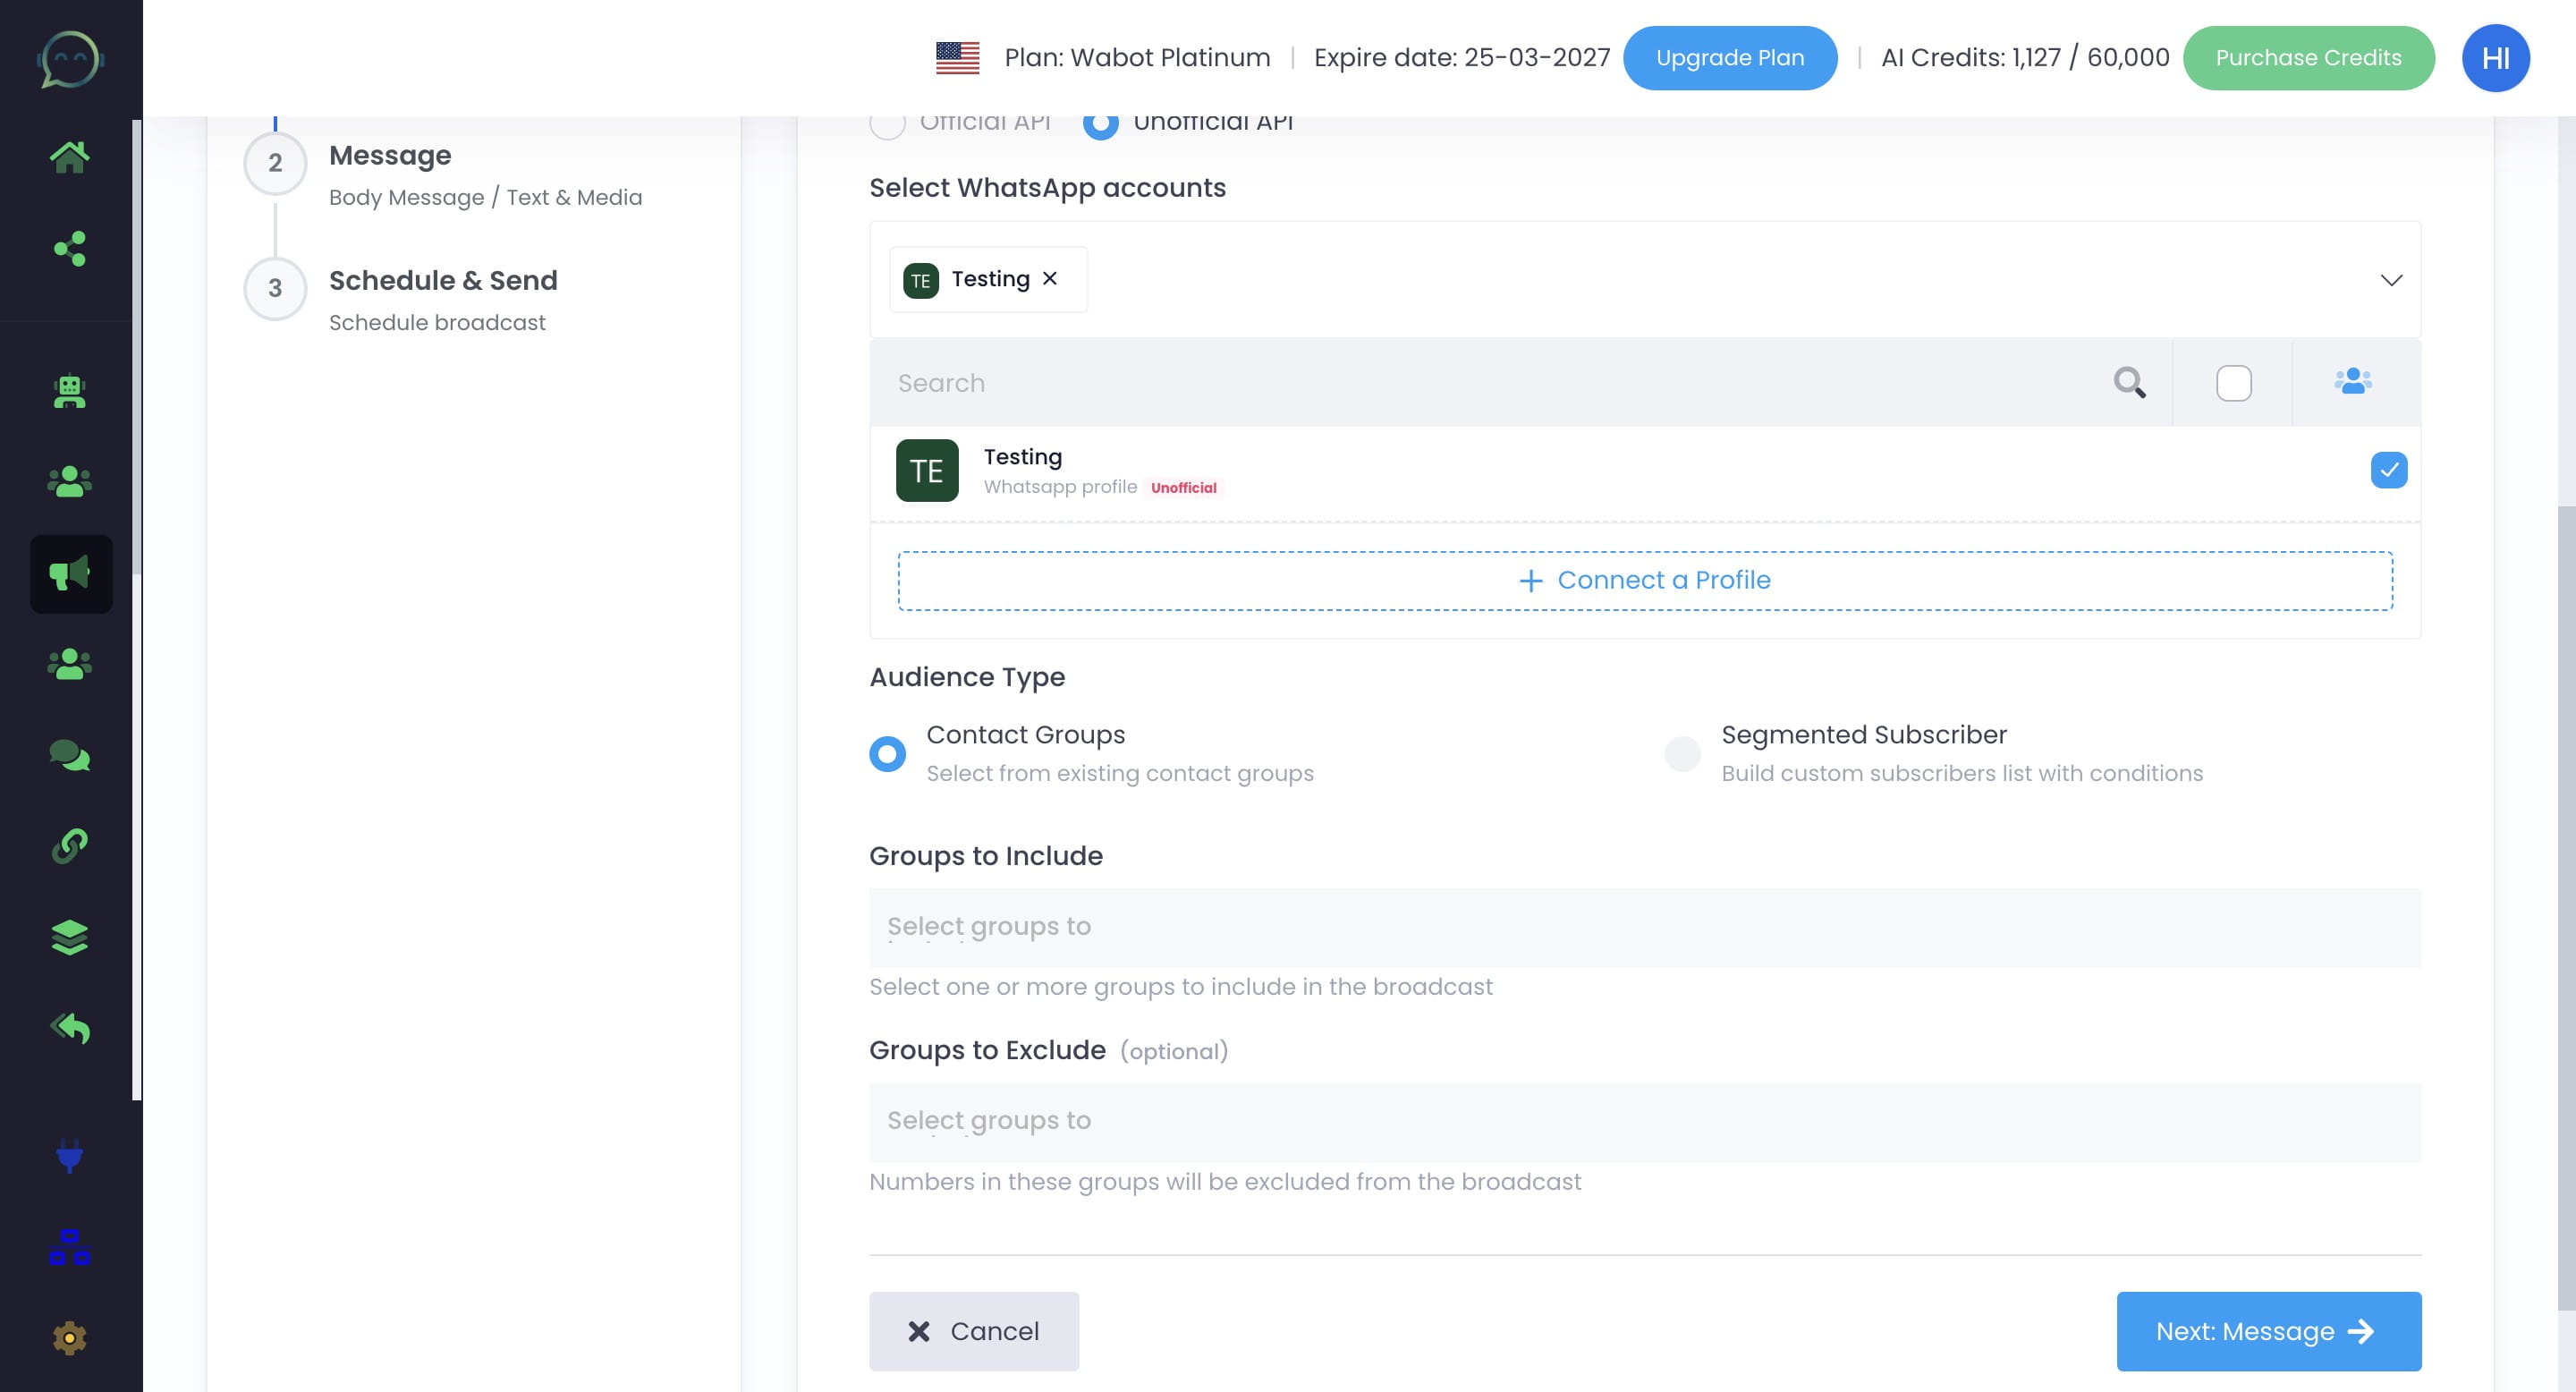
Click here to select the WhatsApp profile for blasting
Click on the profile
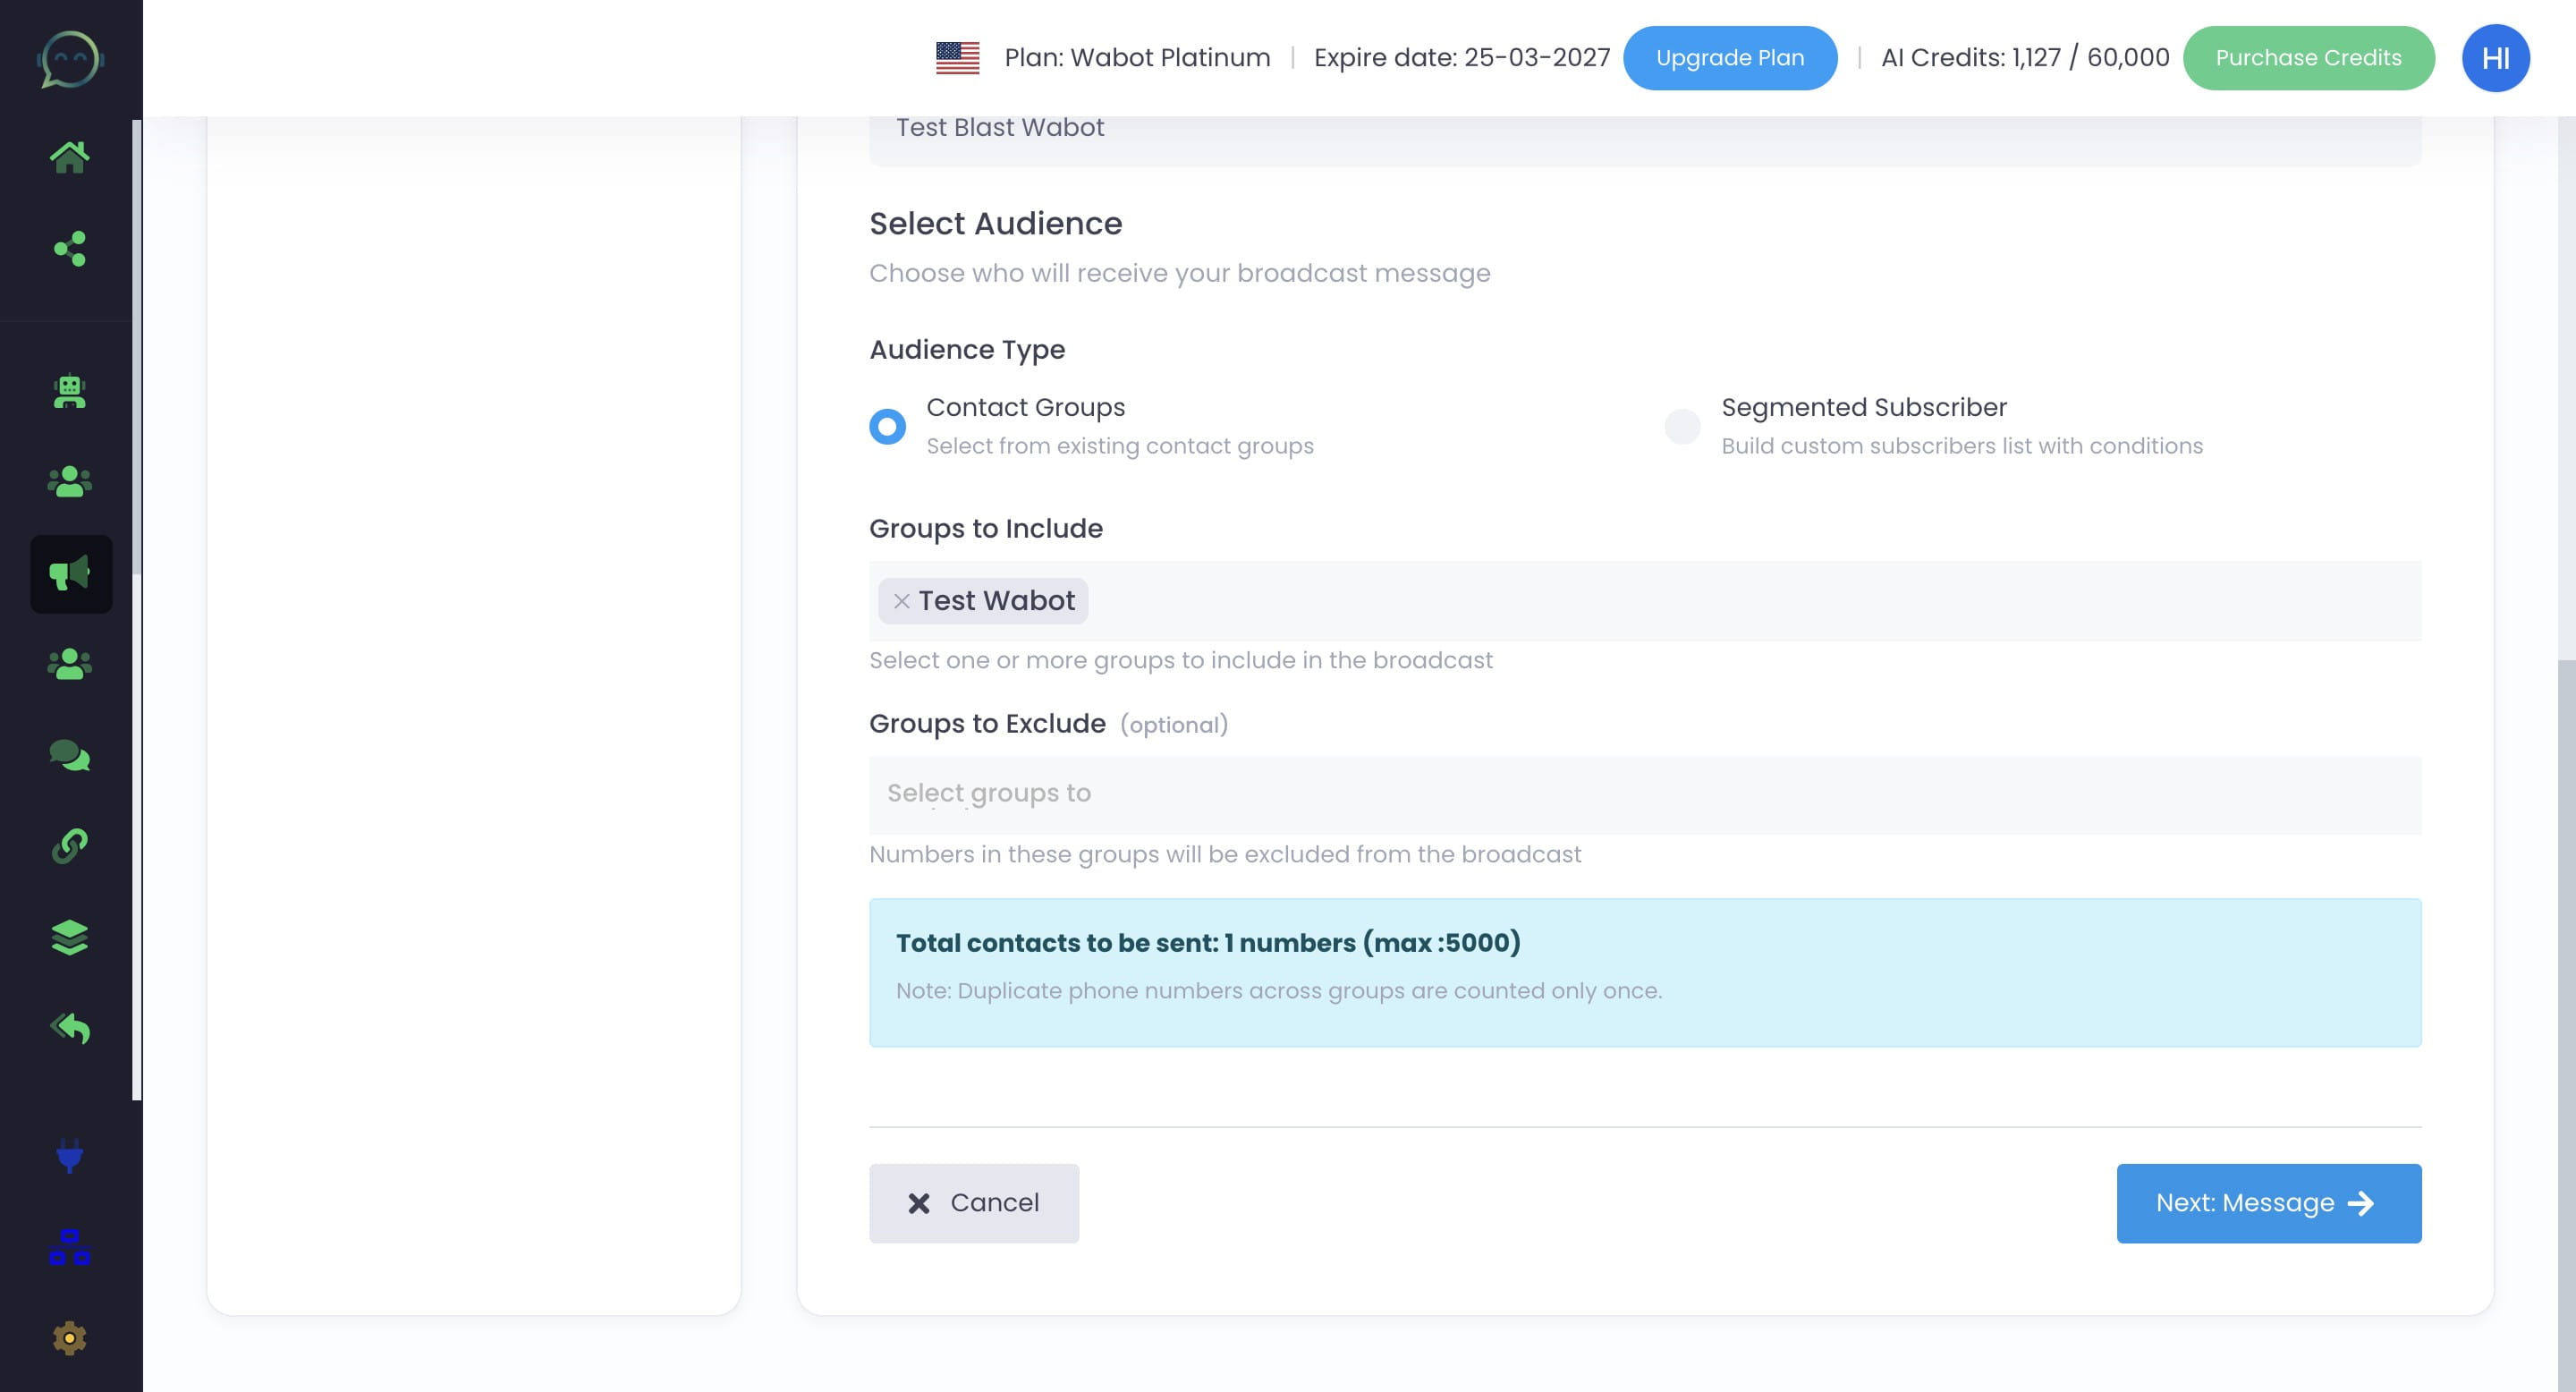
Click on "Contact Groups"
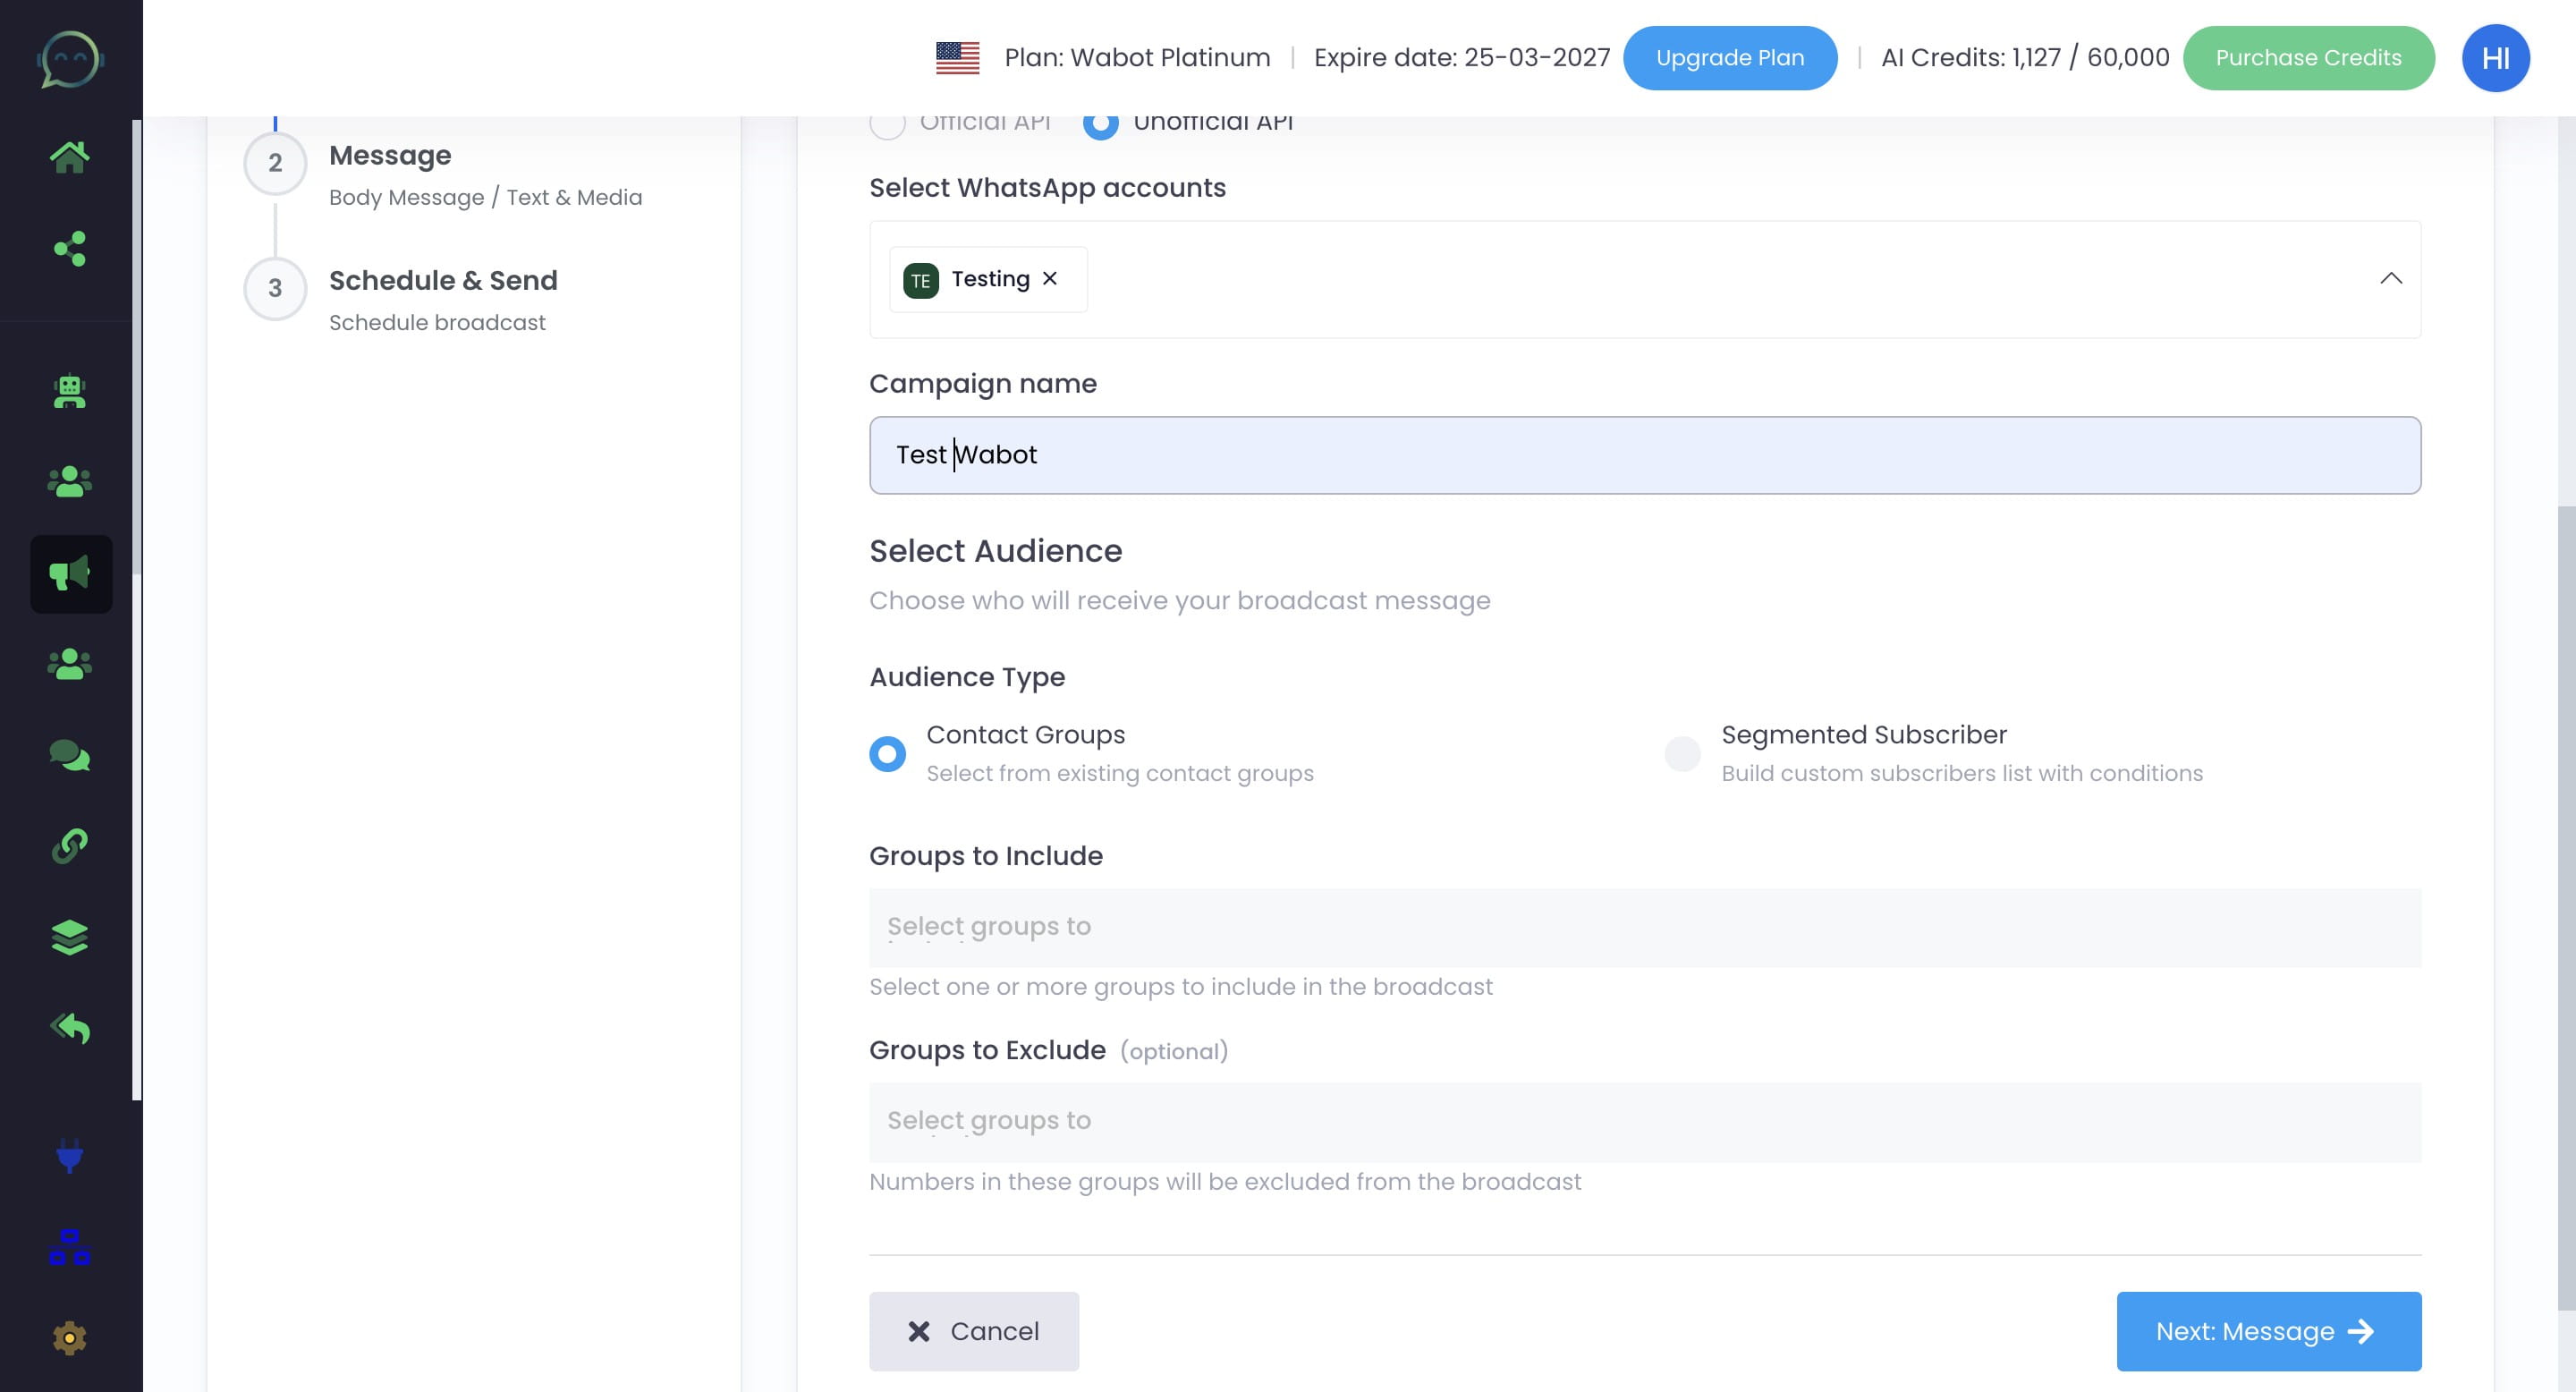
Enter the campaign name
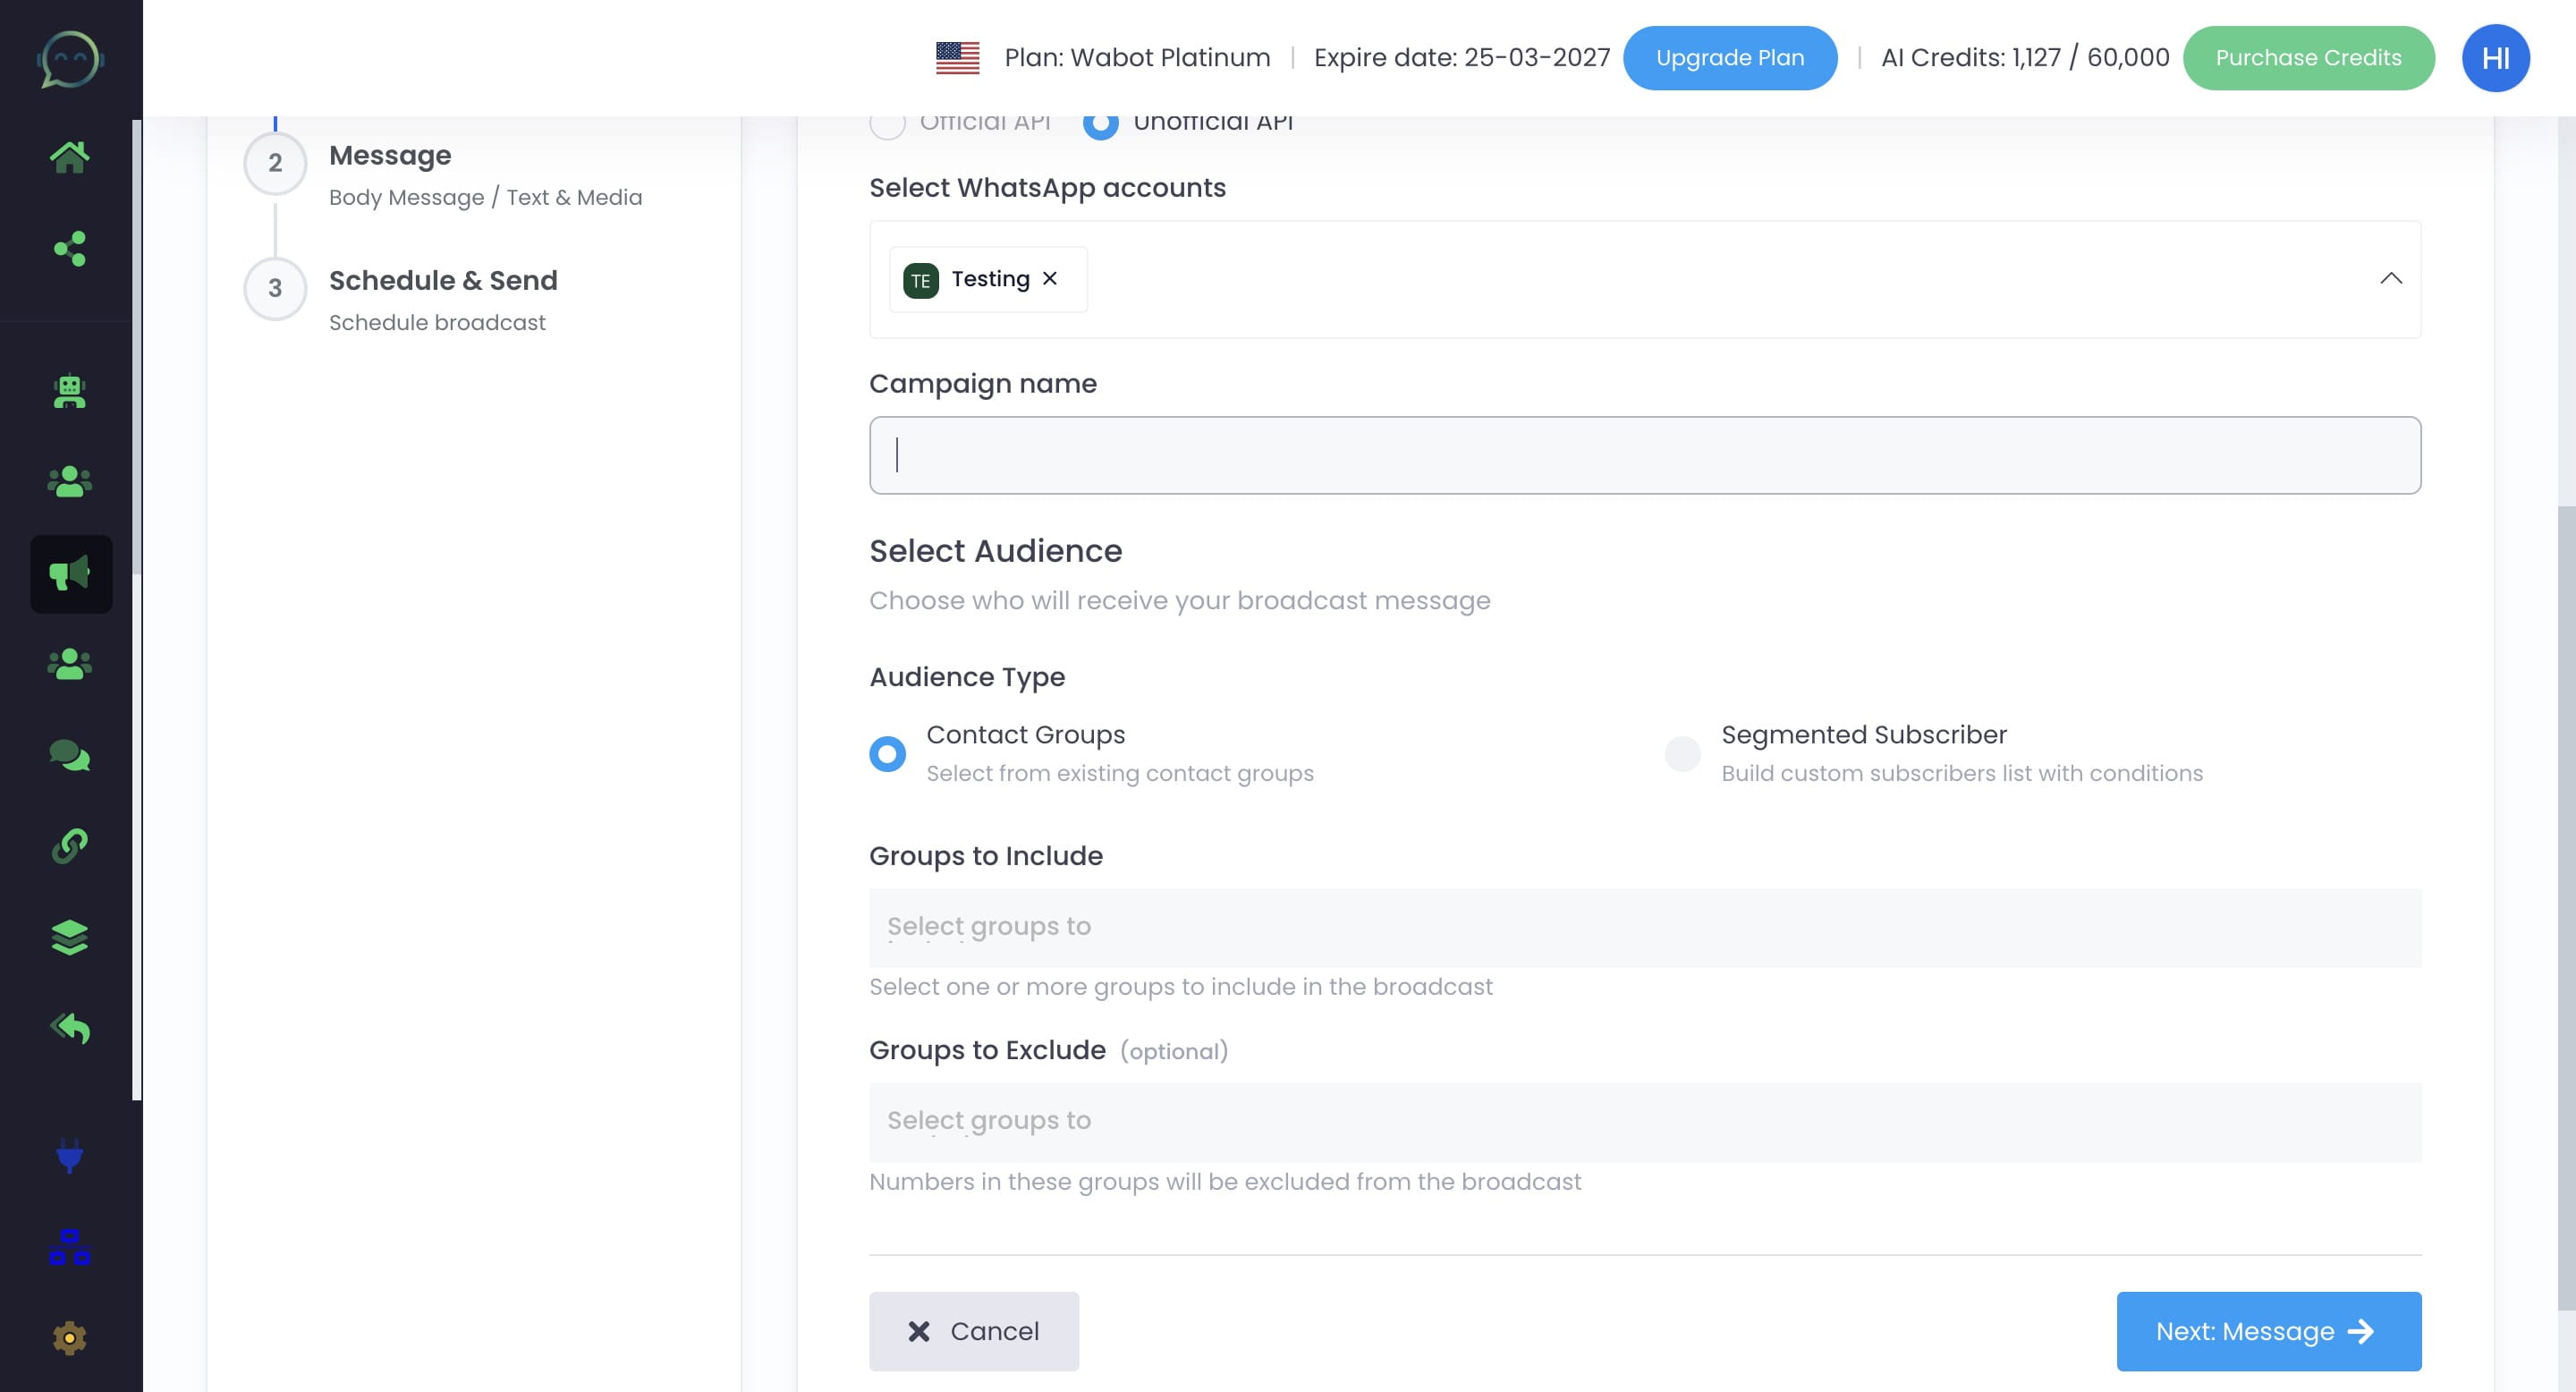
Select contact groups
Click to choose contact group
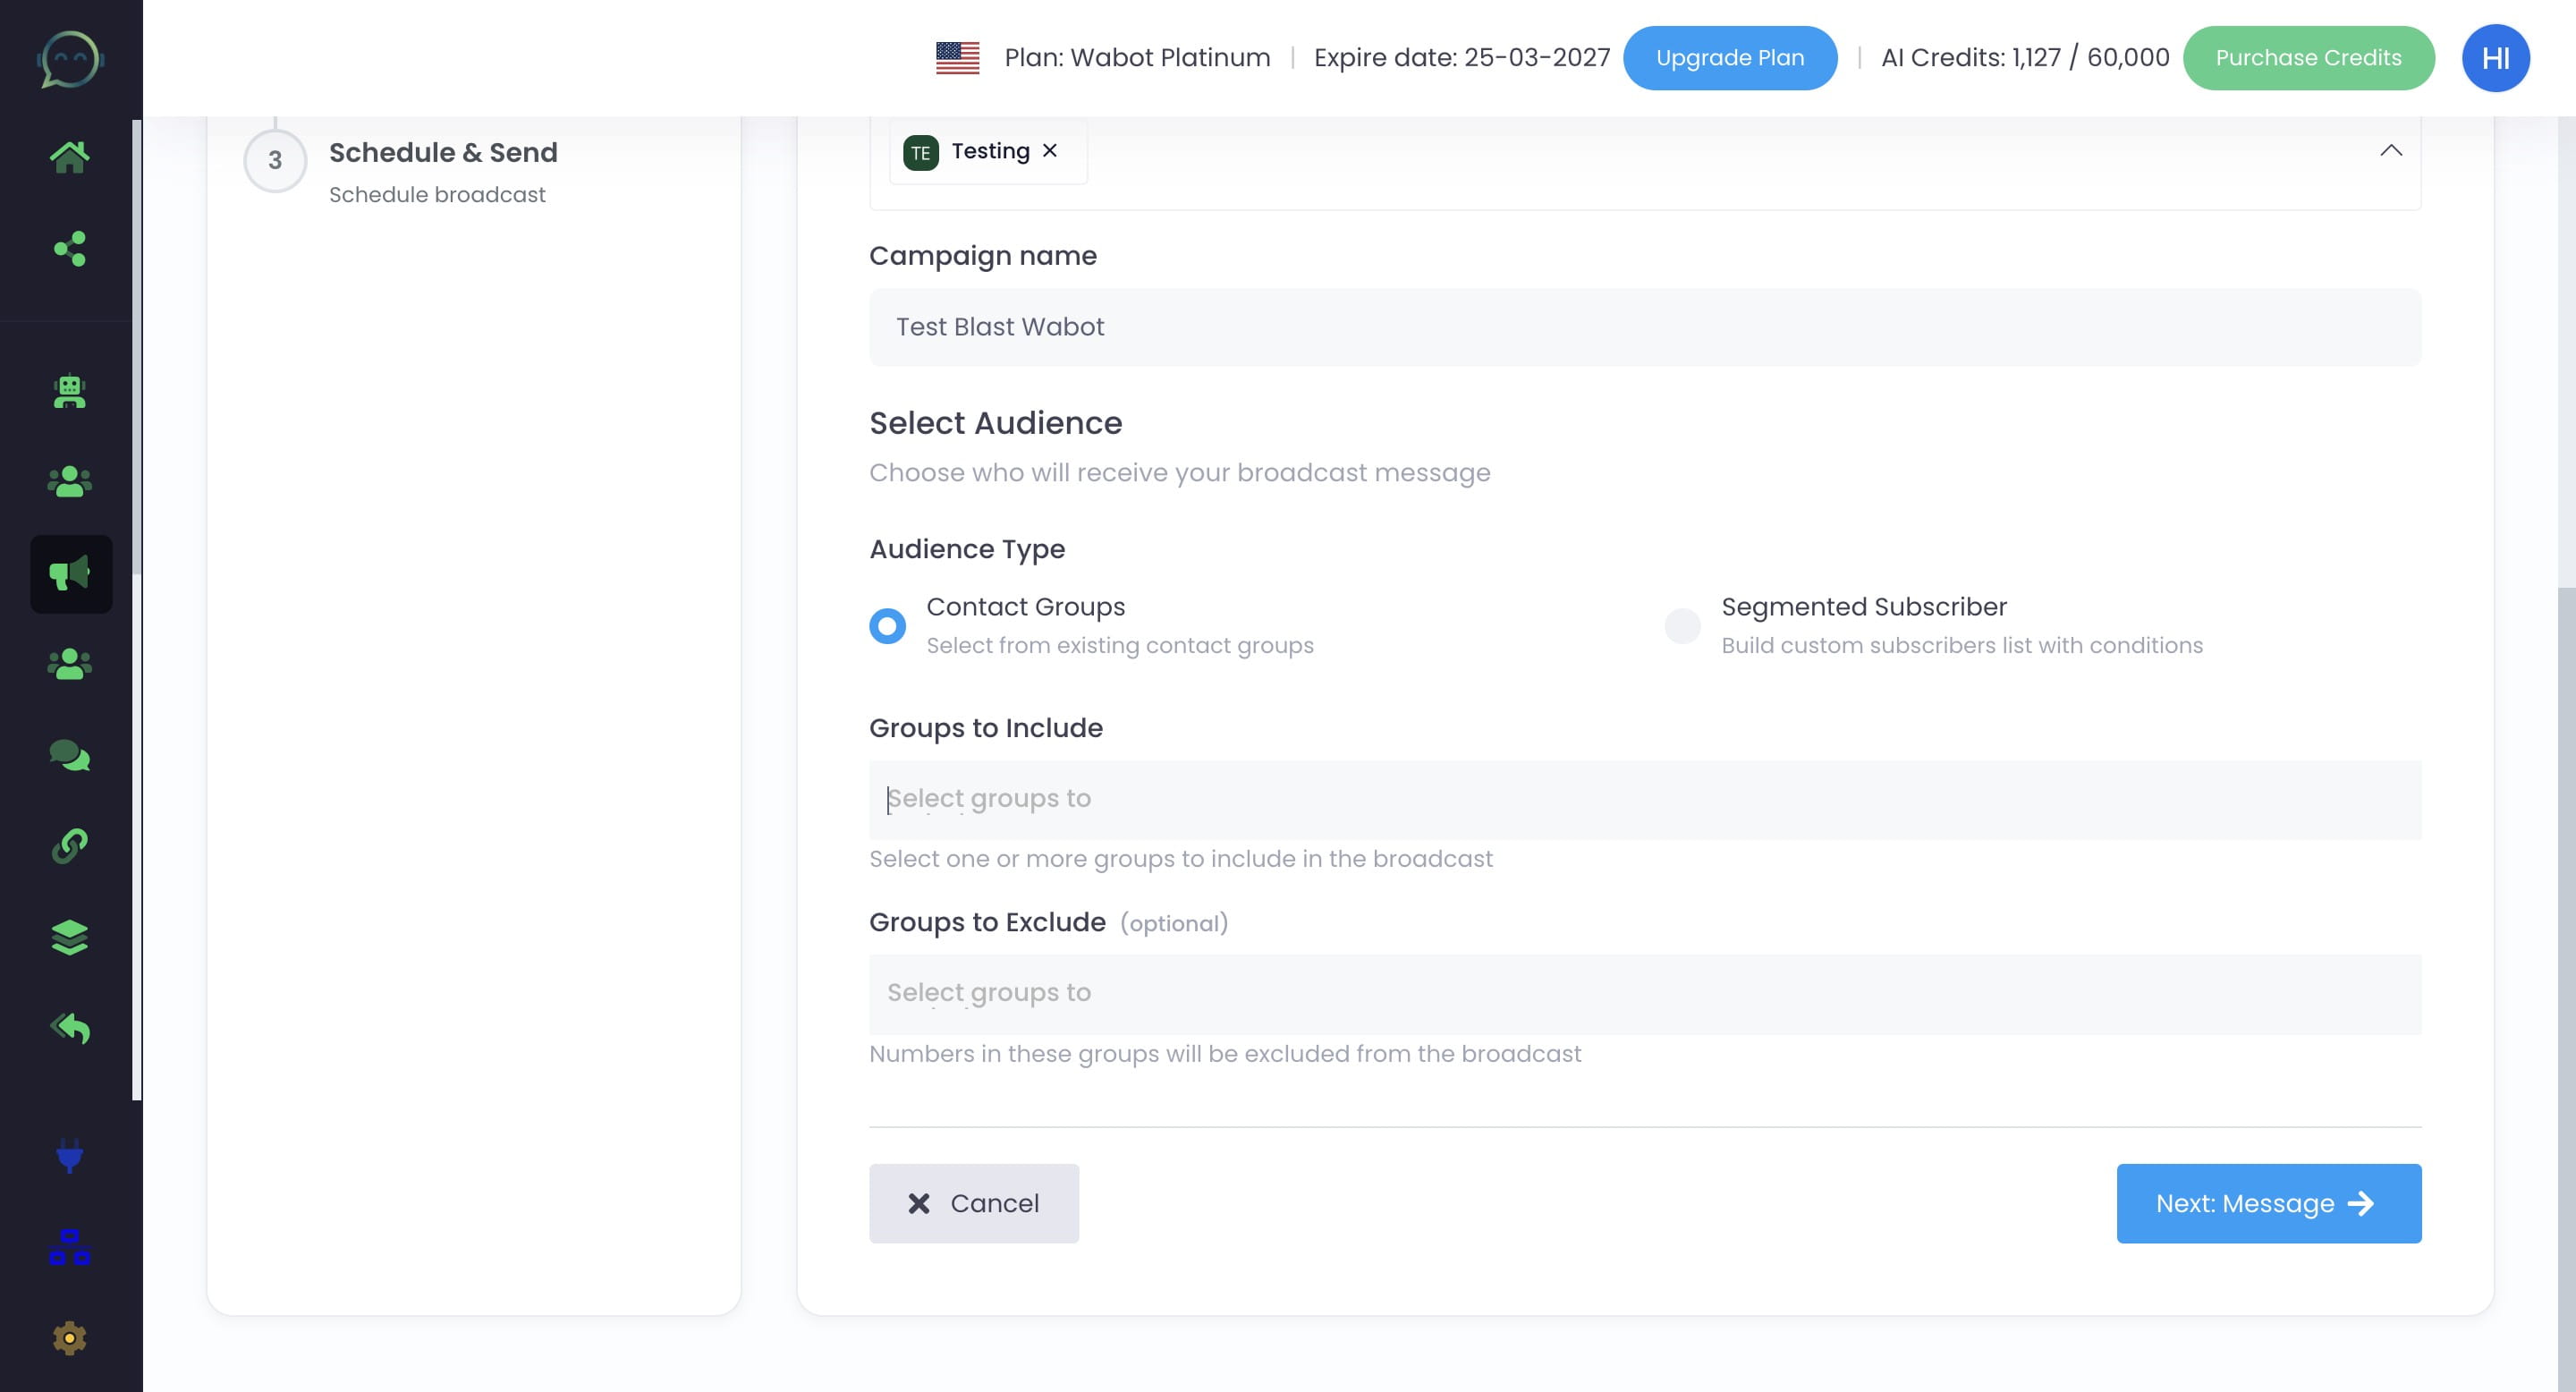
You can also exclude certain contact groups

Click on "Next: Message"
Click here to choose single or multiple messages
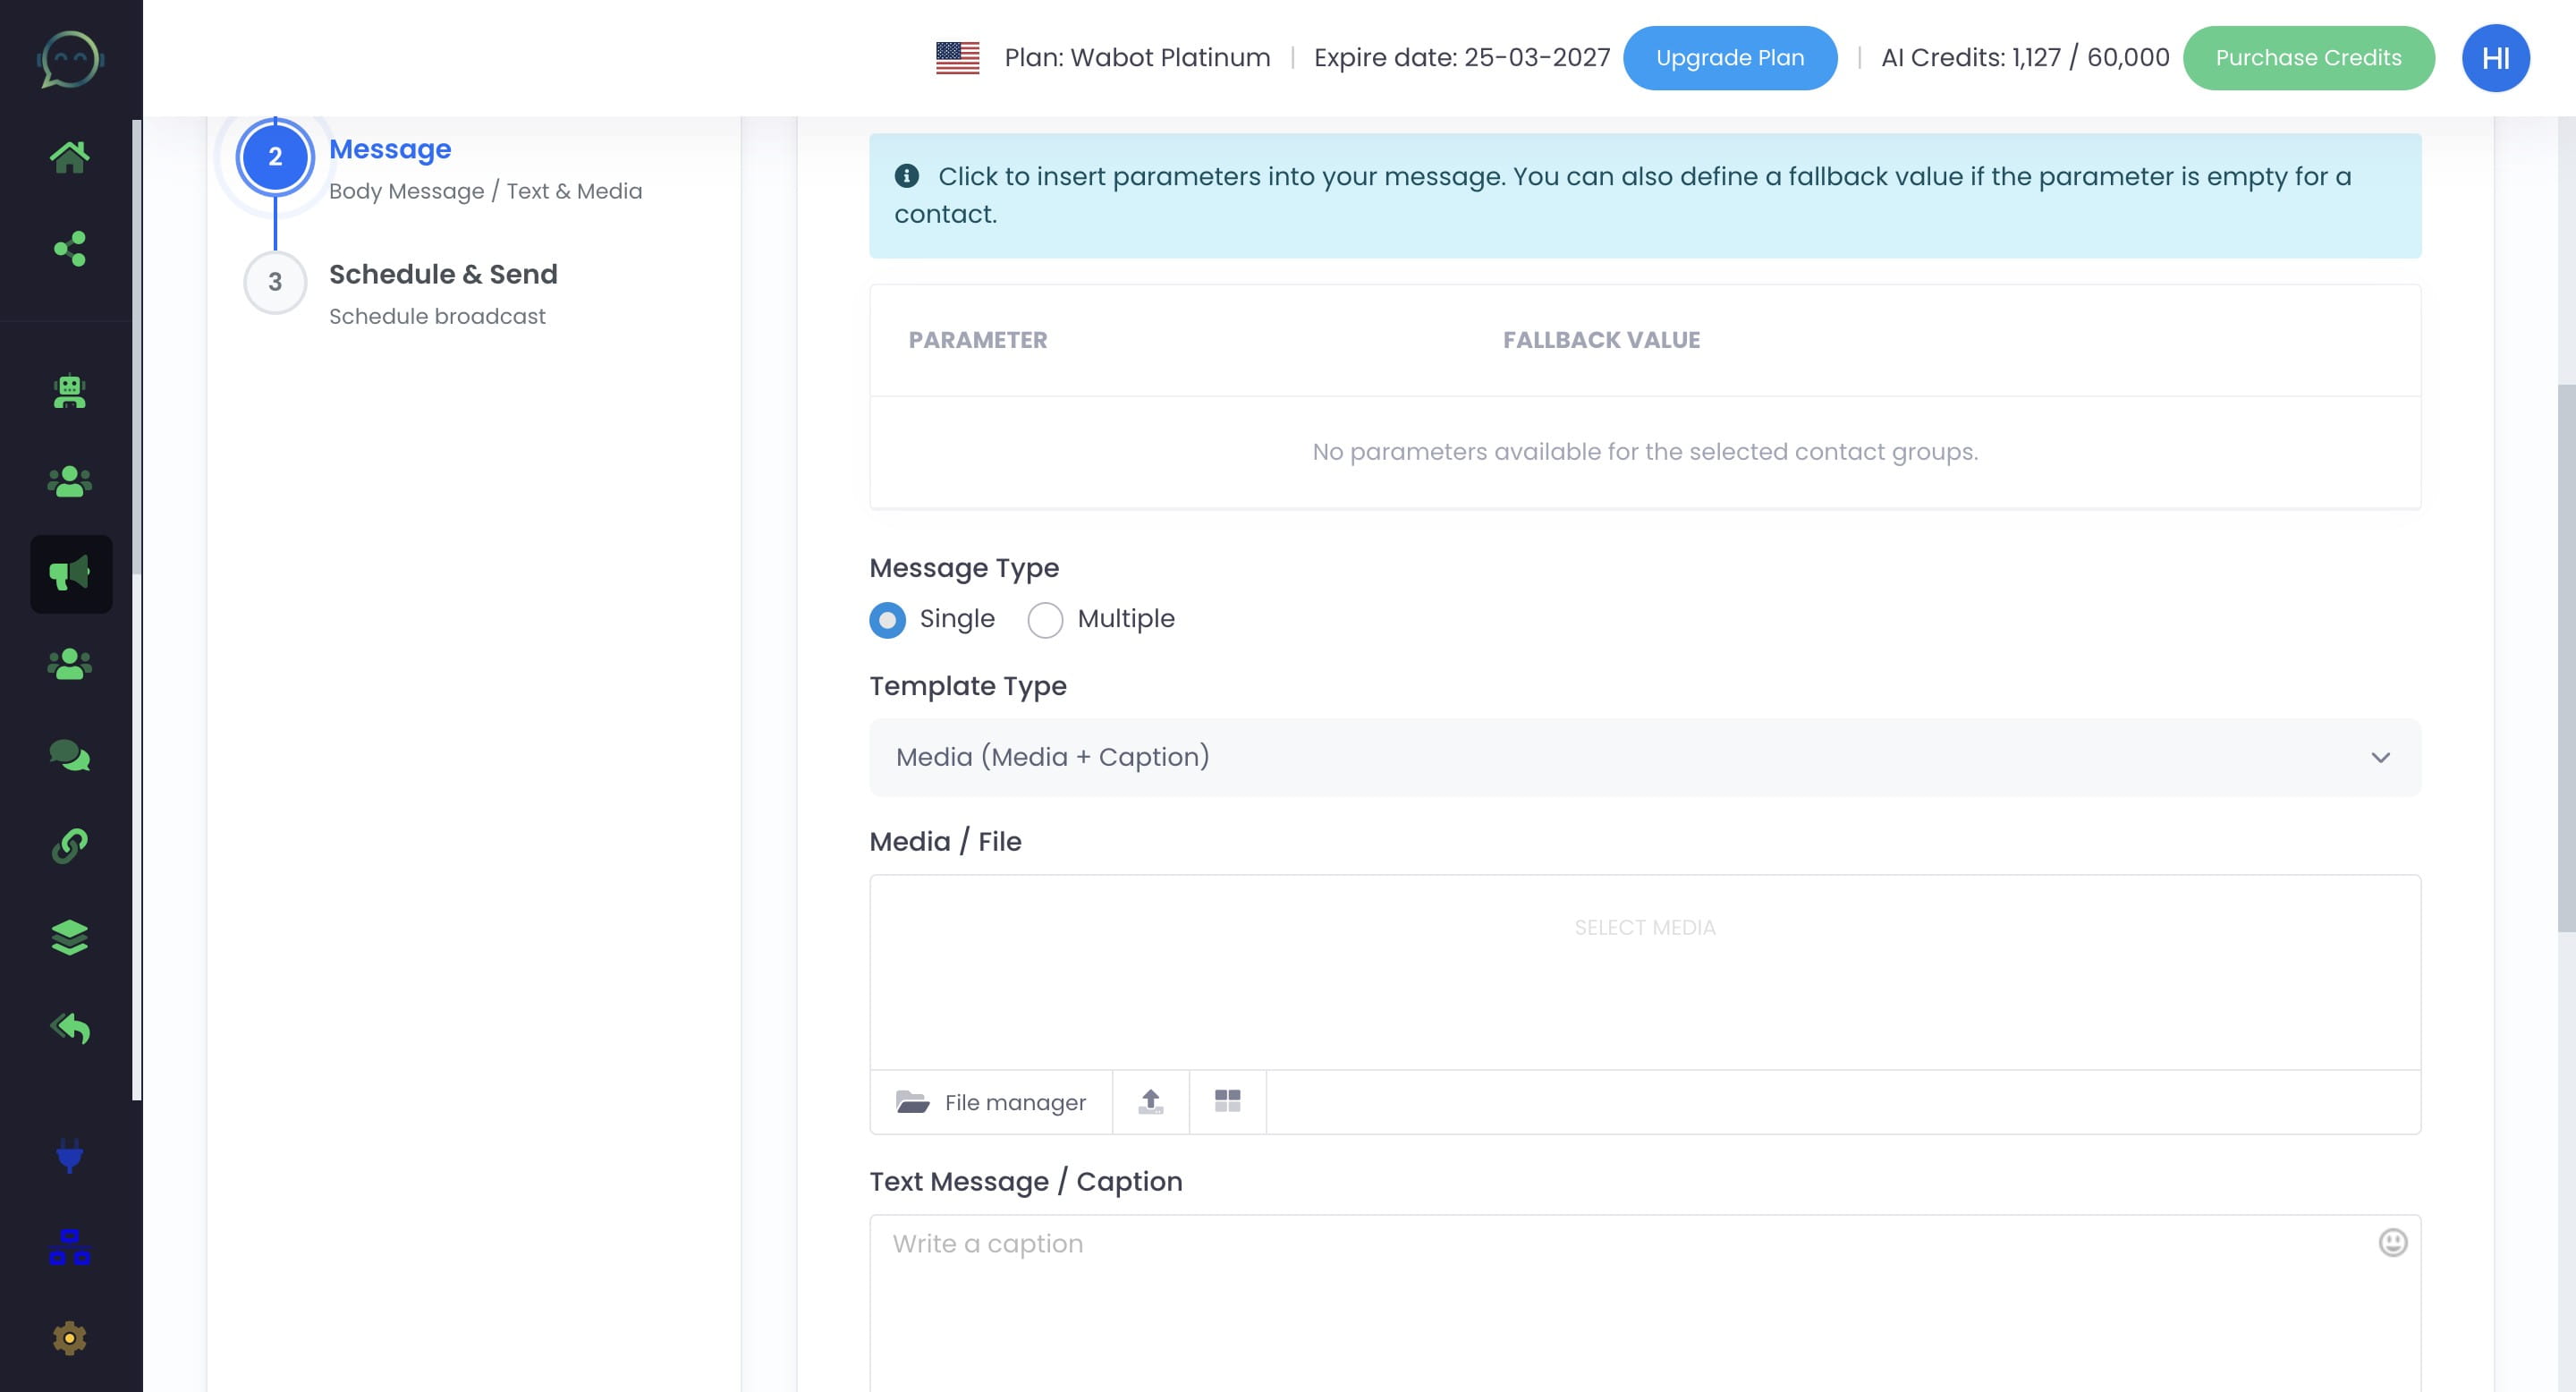
Single message means you only send 1 message at a time. Multiple messages mean that you can send more than 1 message at once
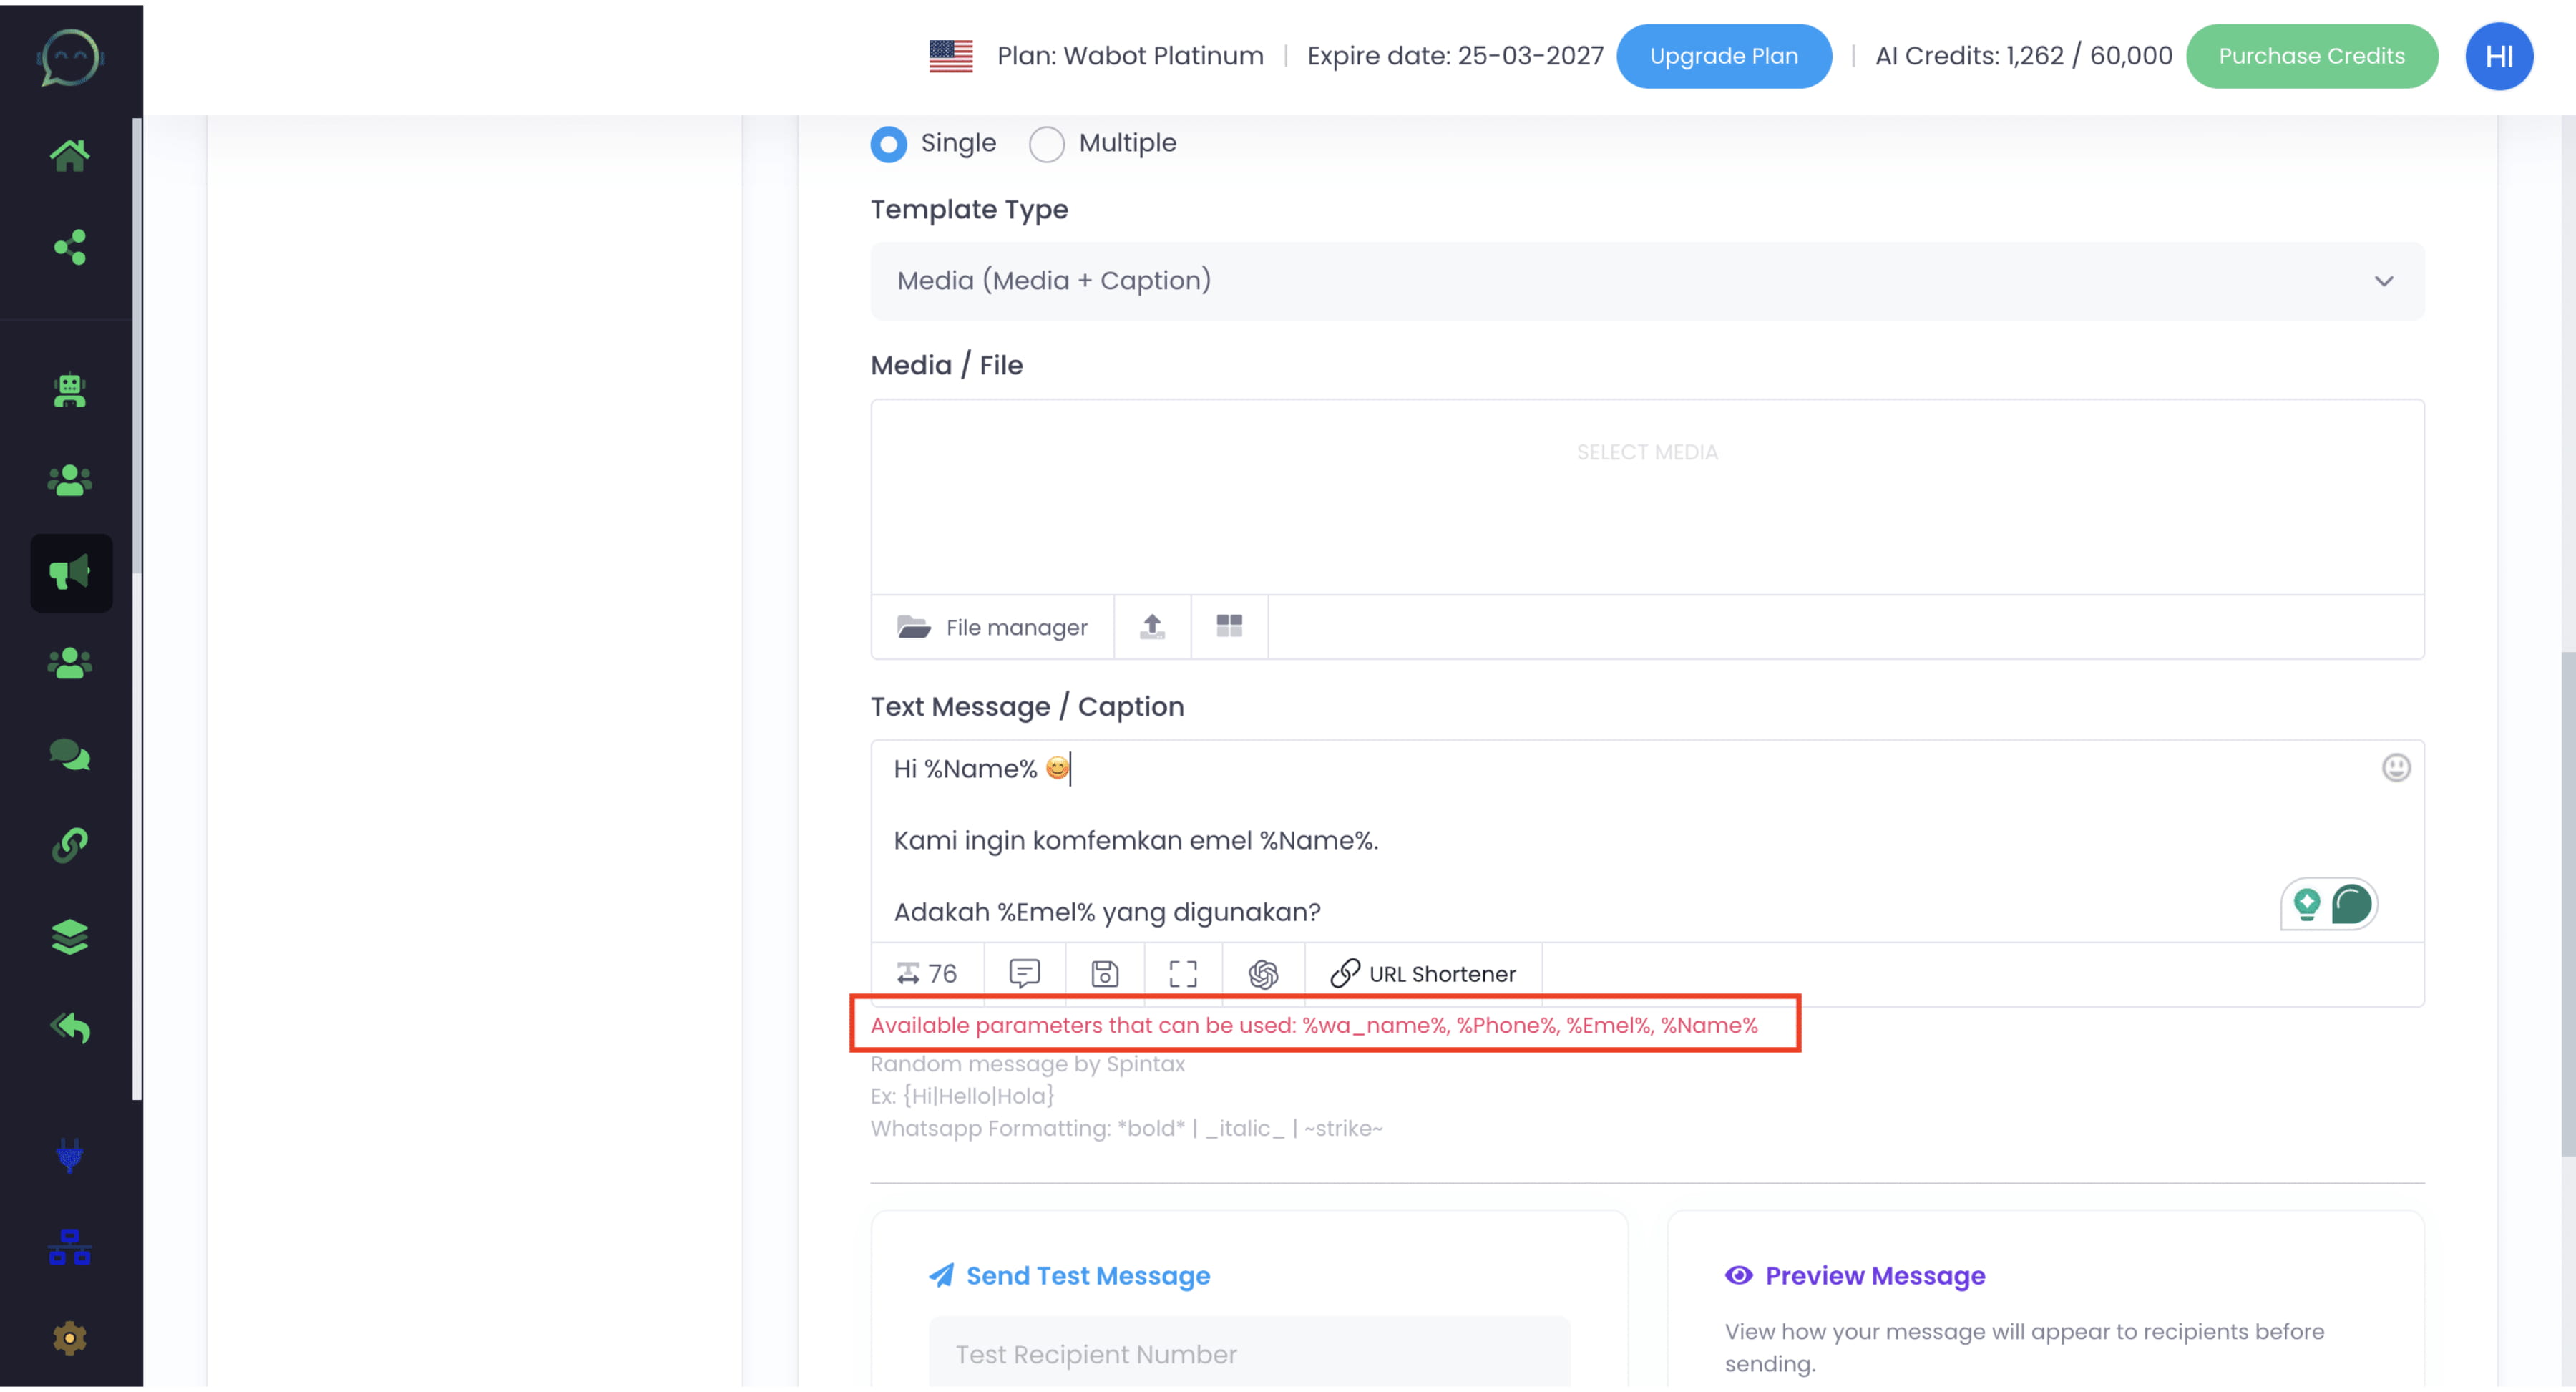
Choose template type based on your preference
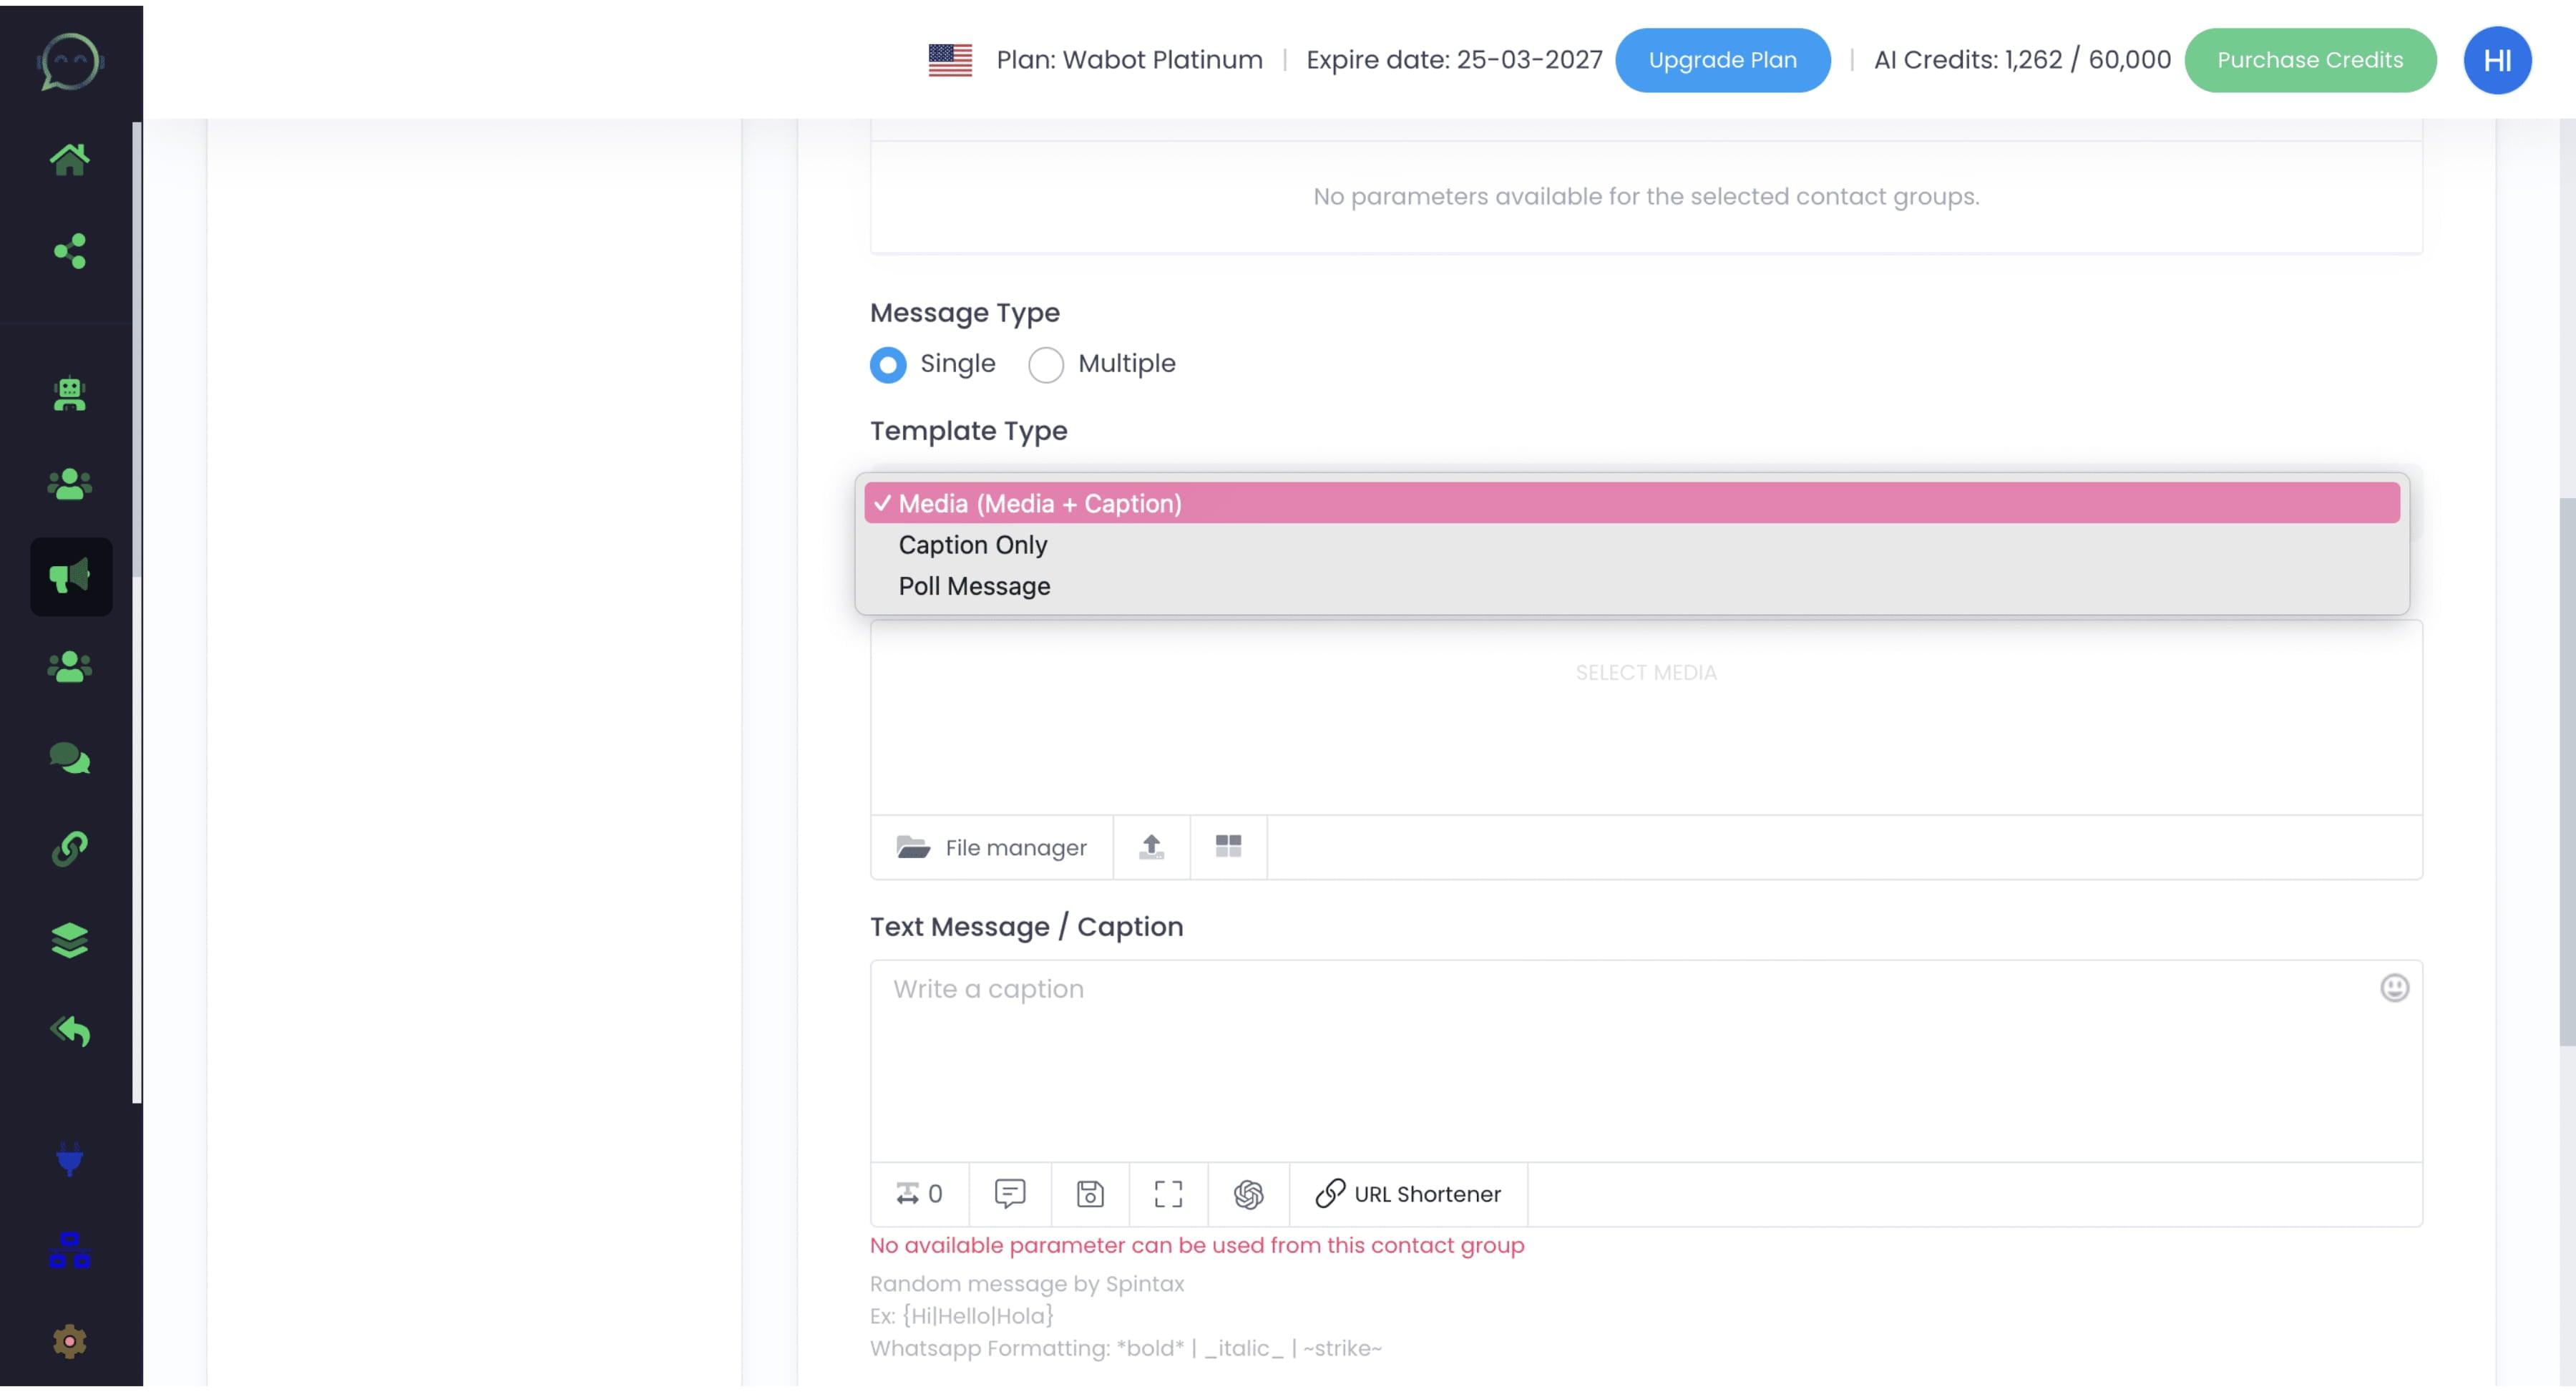
- Media + Caption allows you to send text message along with media (images/video/audio)
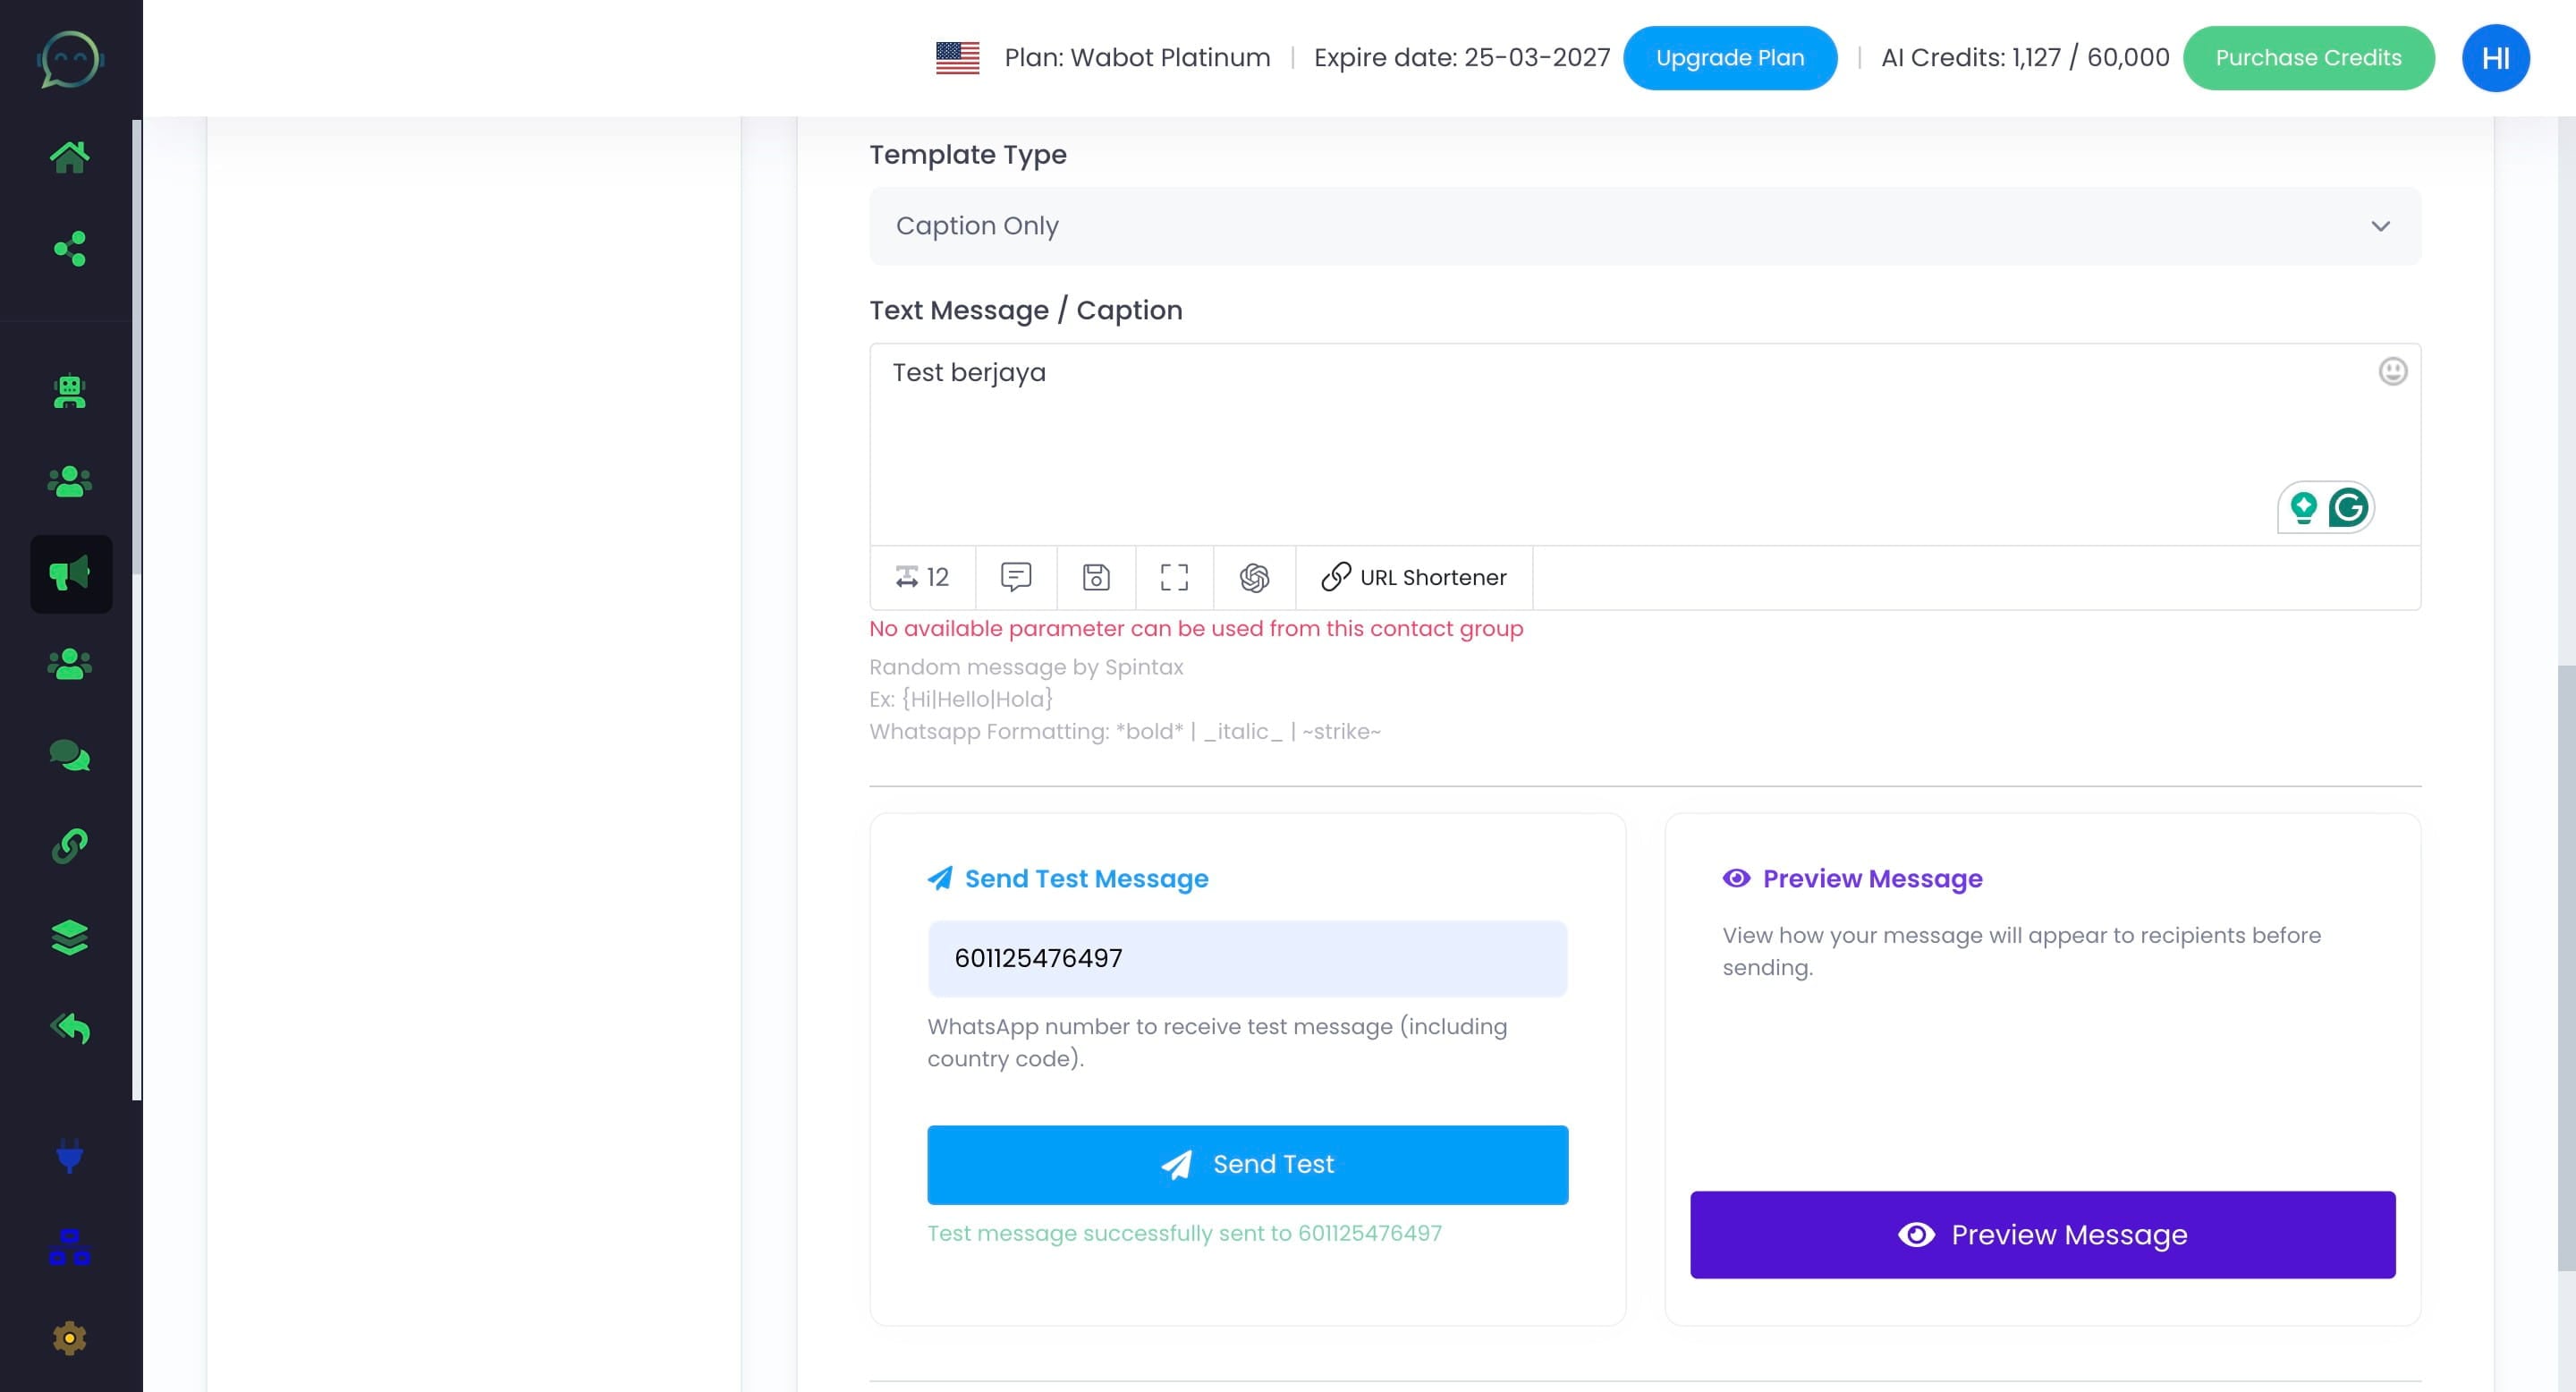
- Caption only allows you to send text message without any media
- Poll message can be used when doing survey
Insert the caption
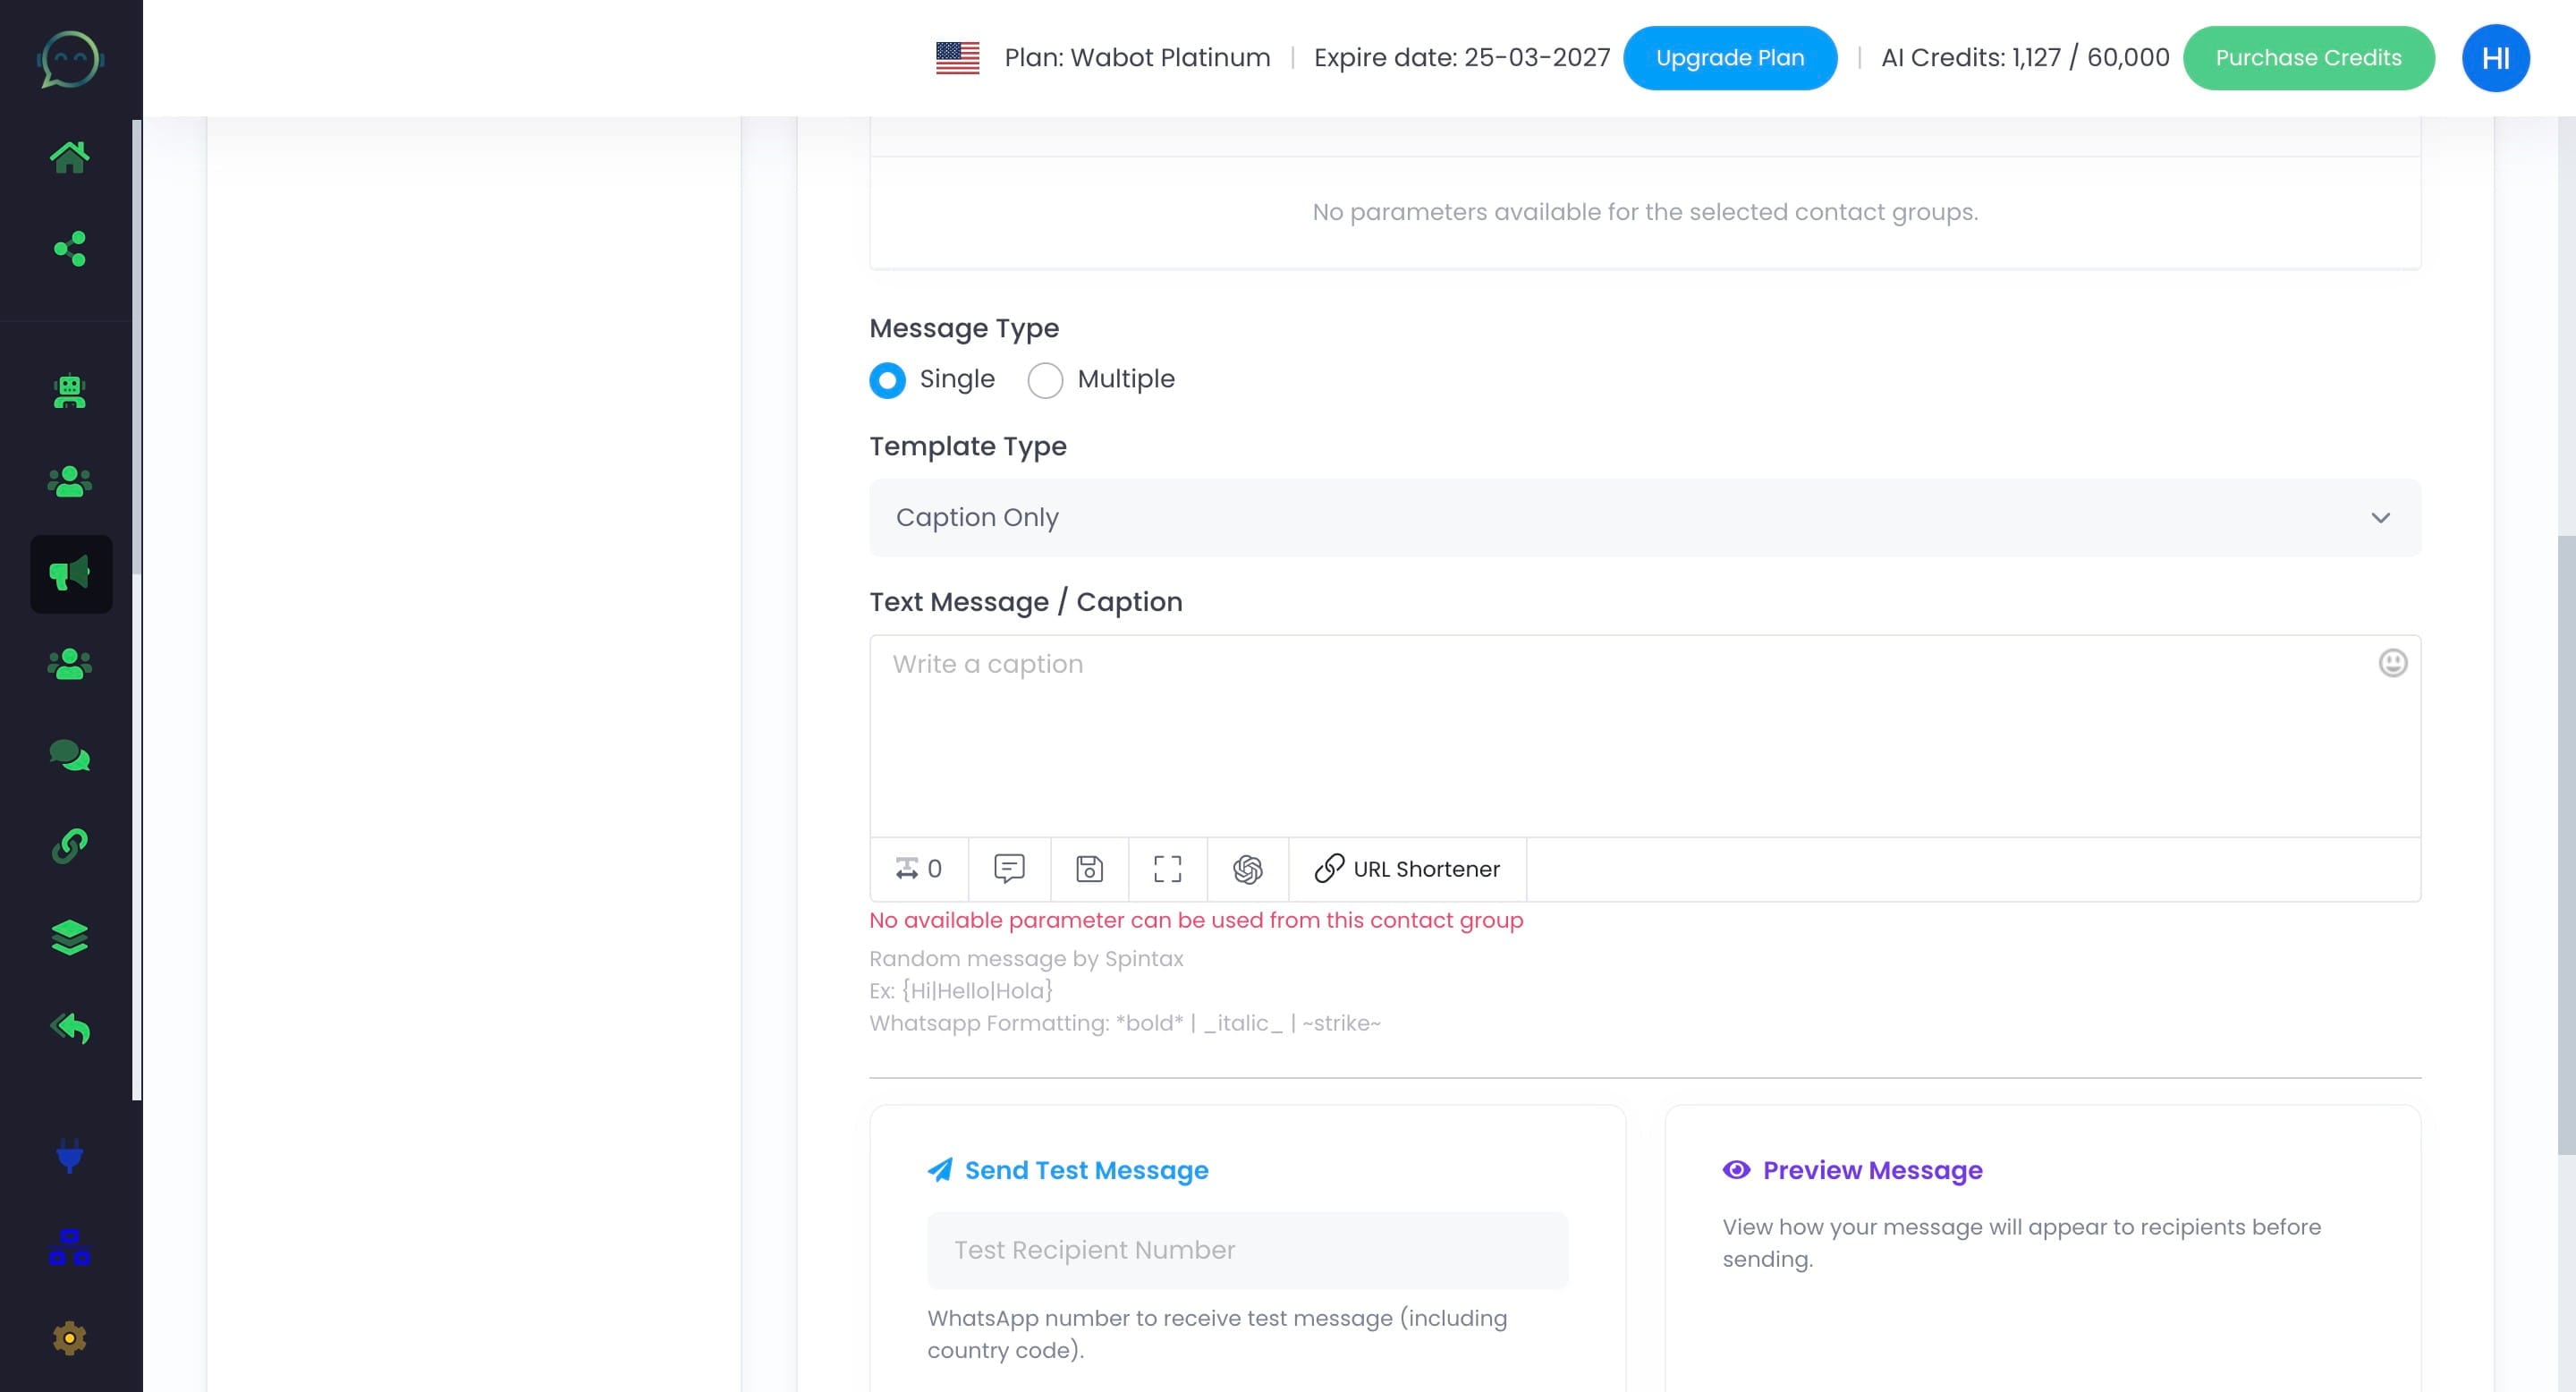
You can include the customer’s information by inserting the available parameters below the text message box. Remember to upload the information along with the phone number in the contact group so that the parameter will be displayed.
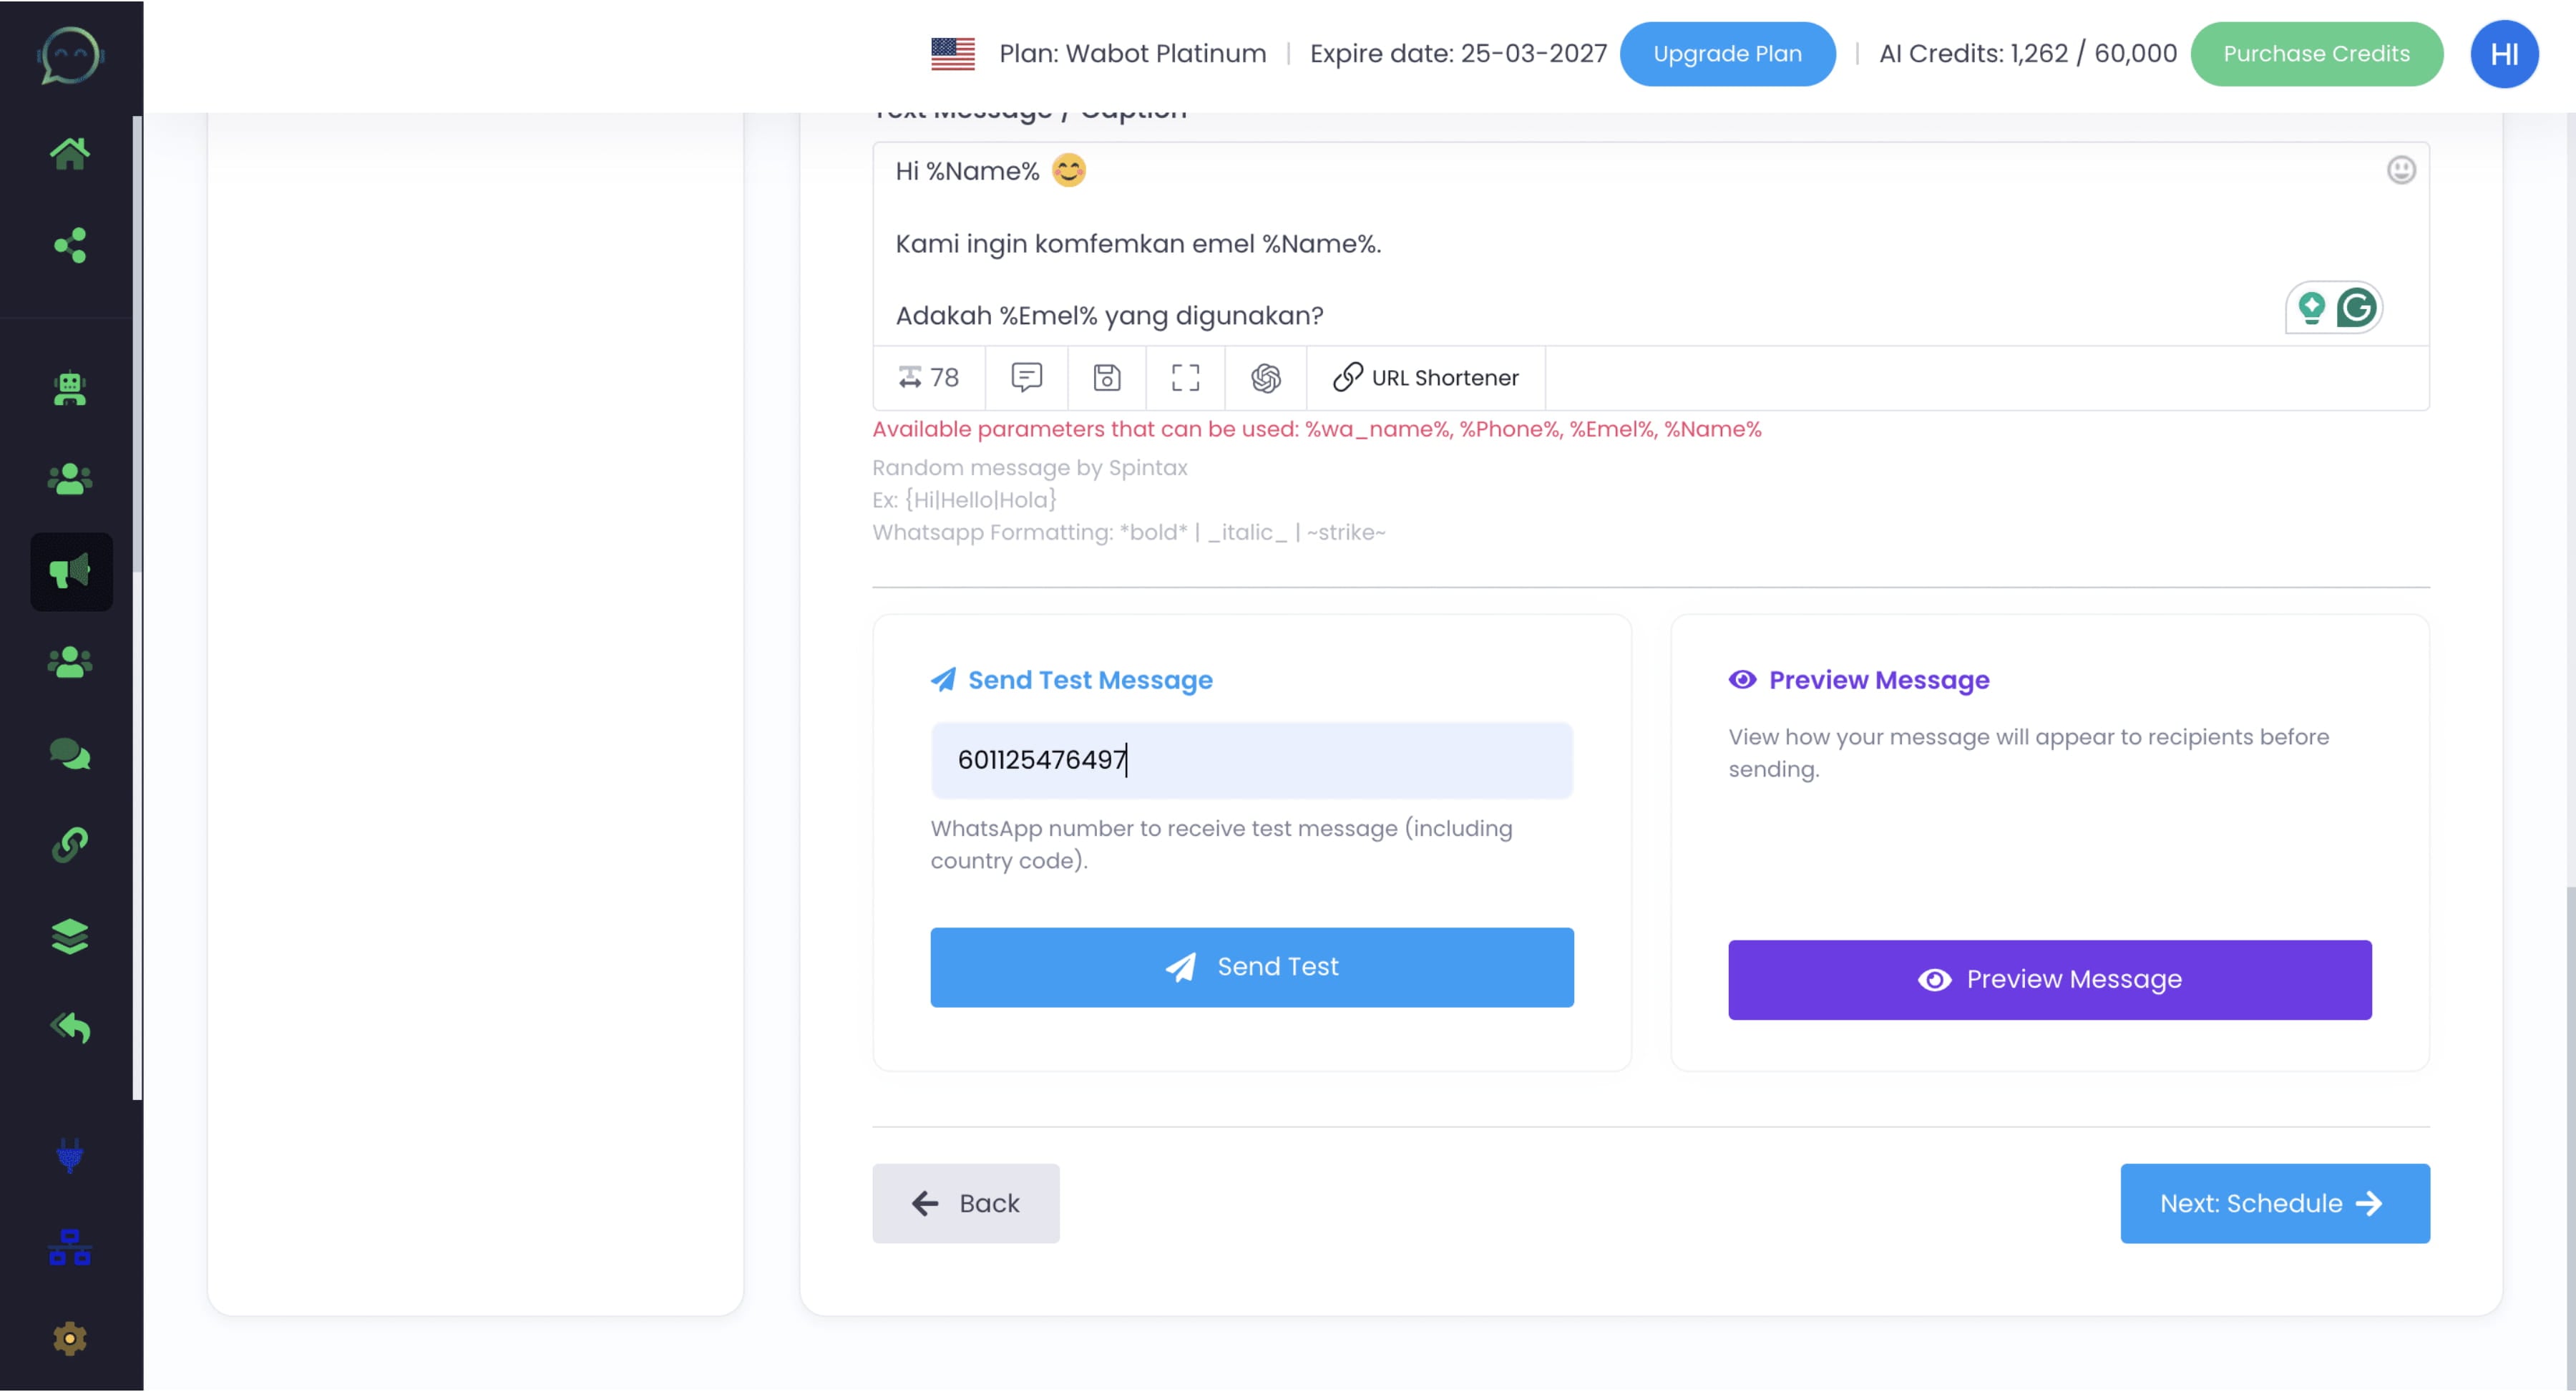
You can send a test message before the actual blast. Insert the phone number here with country code
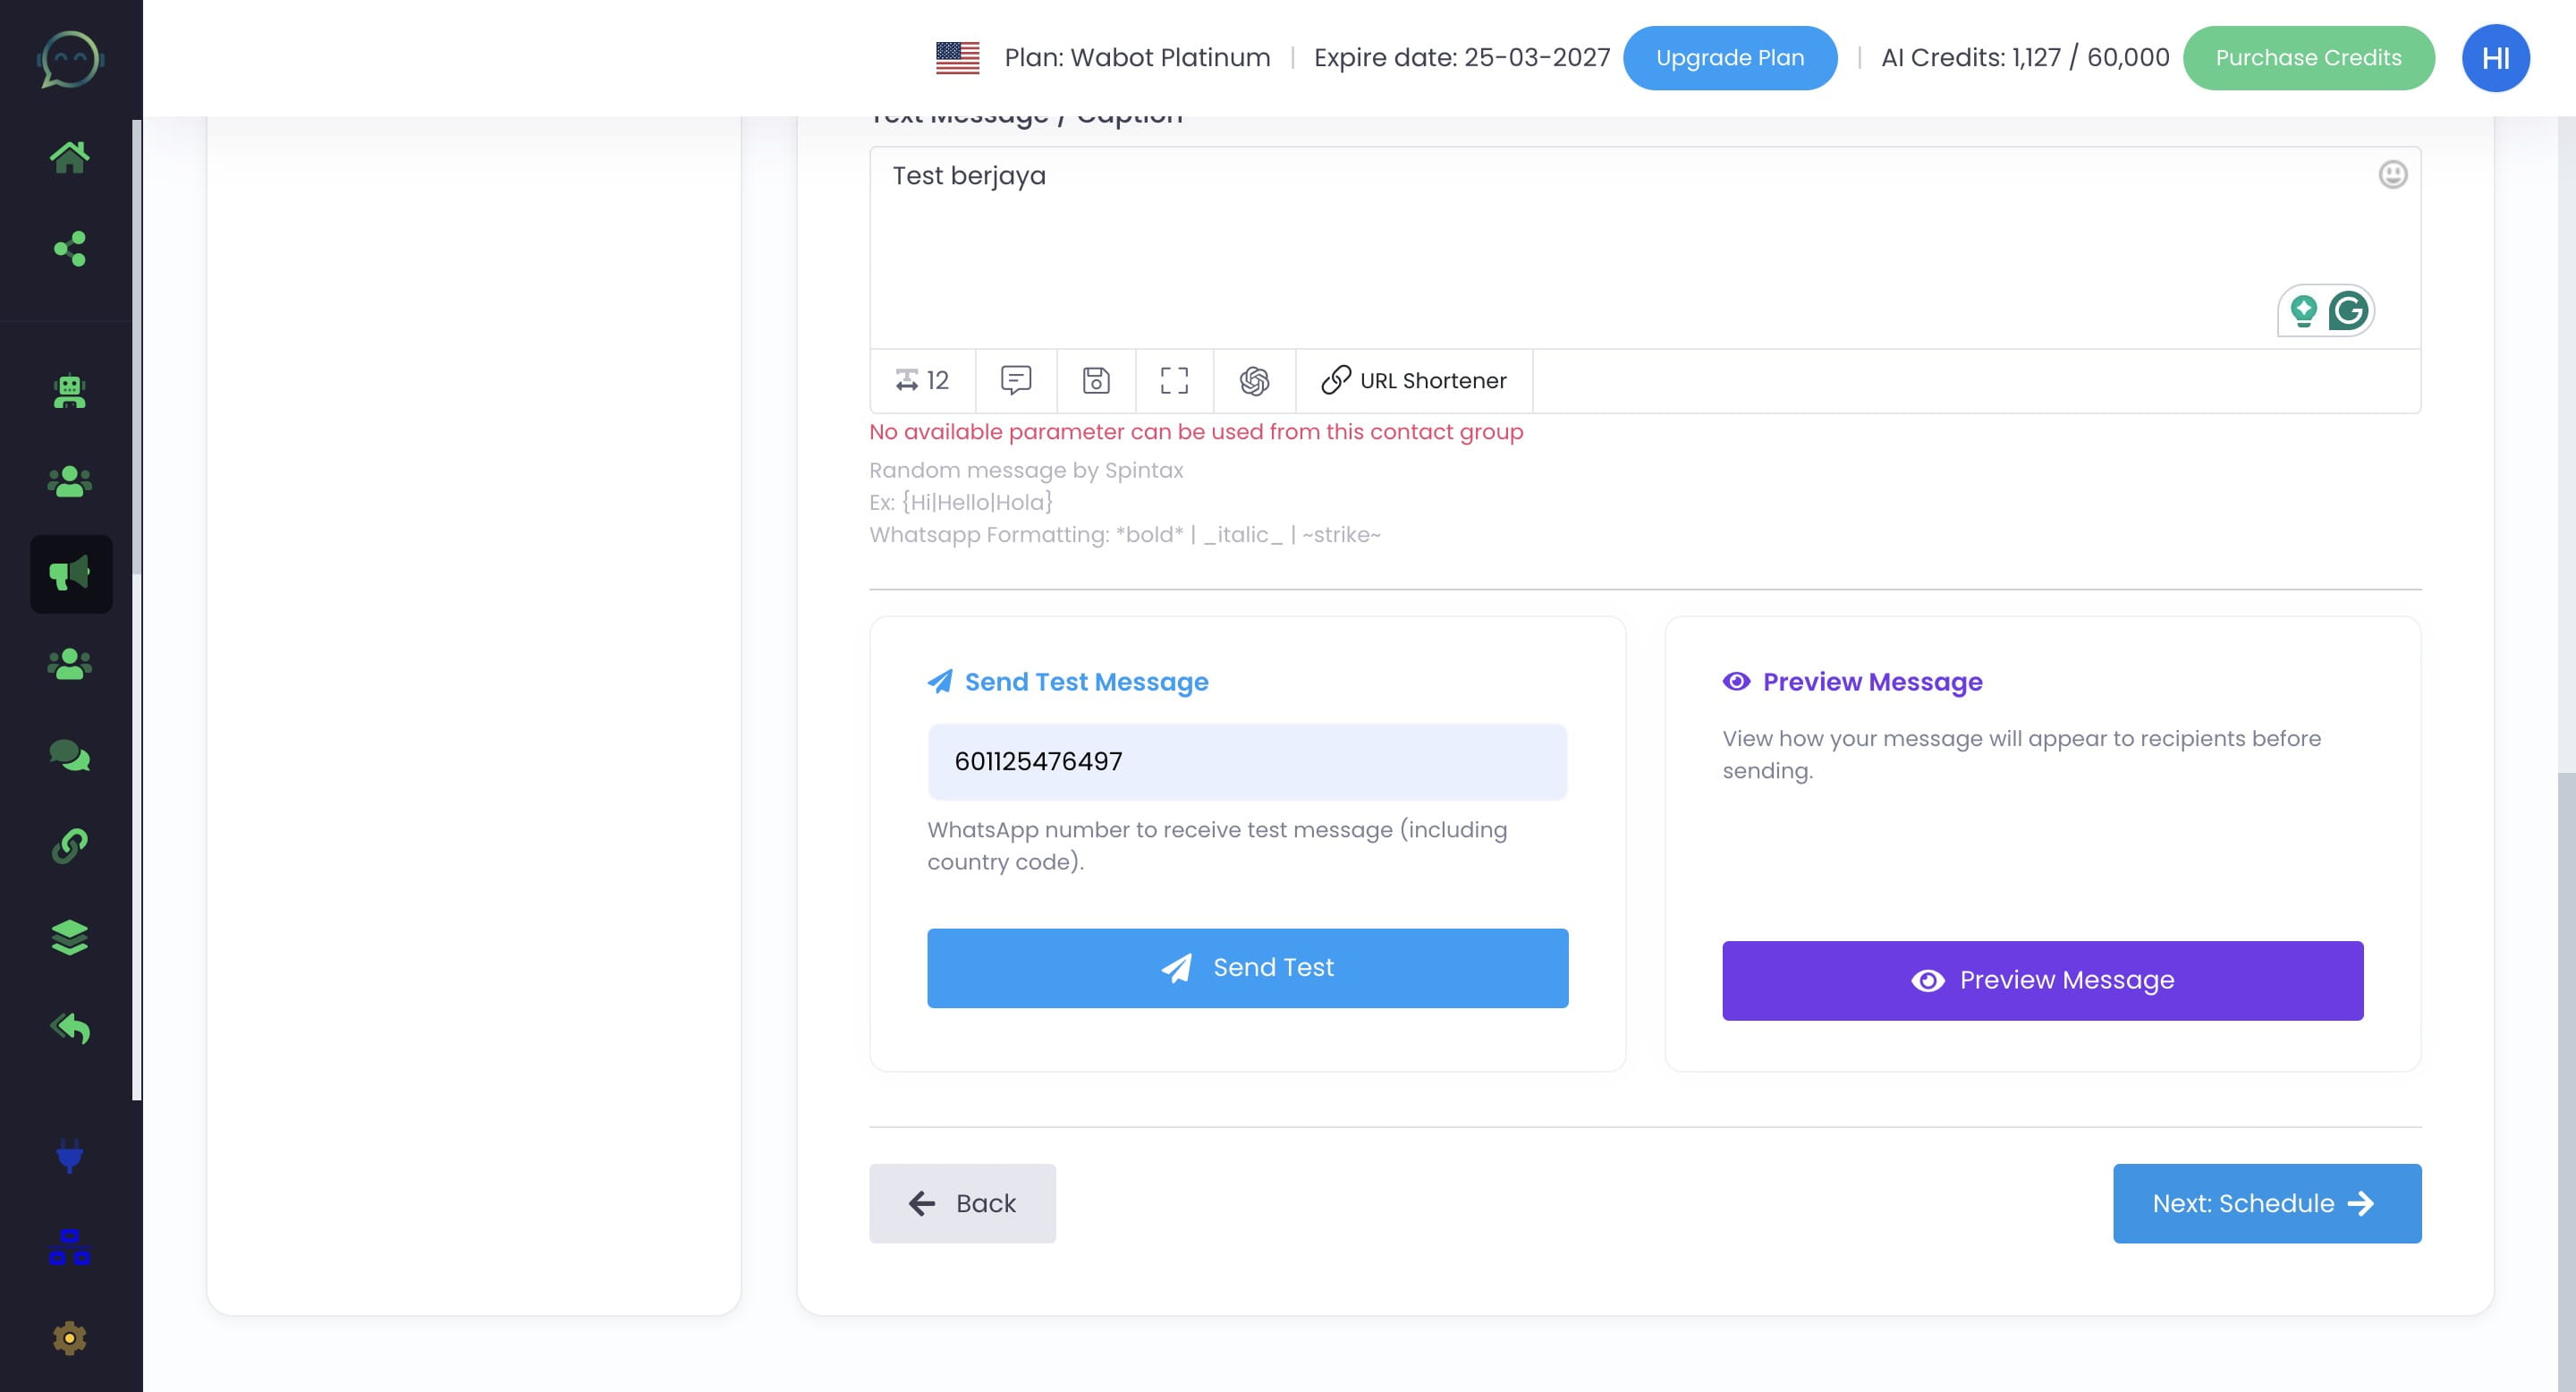
Click this icon to preview the message
Basically, this is how the message will appear to the recipient

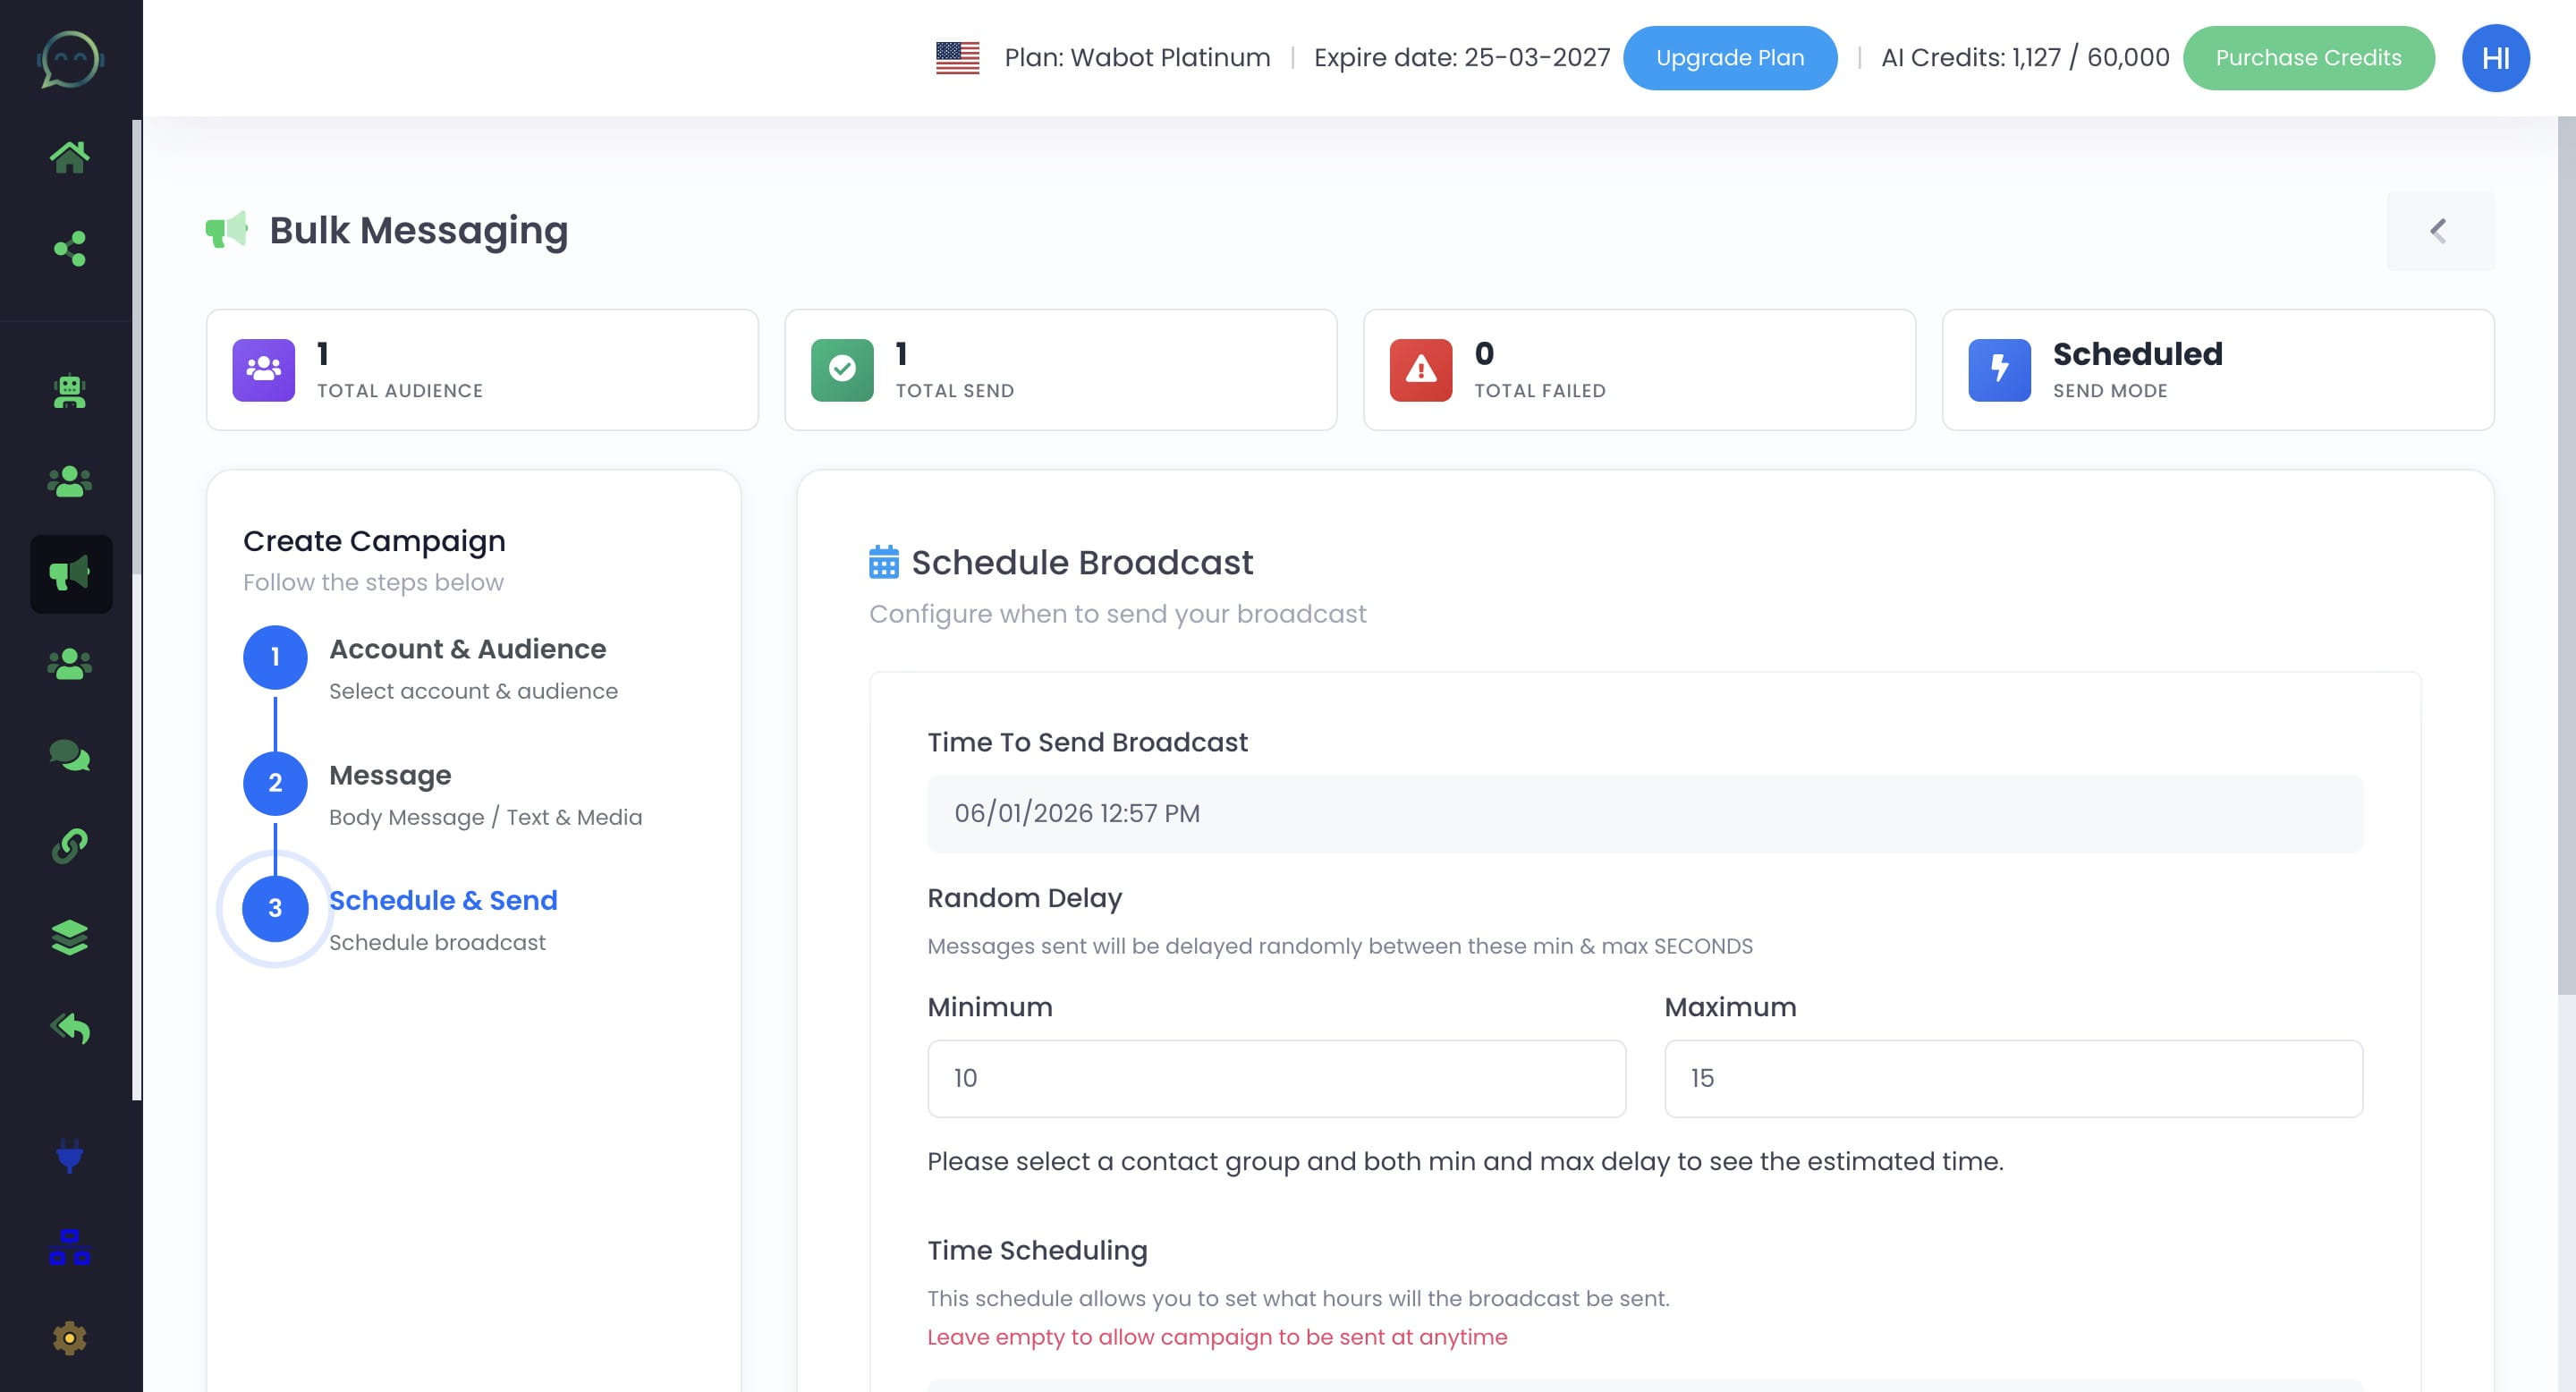
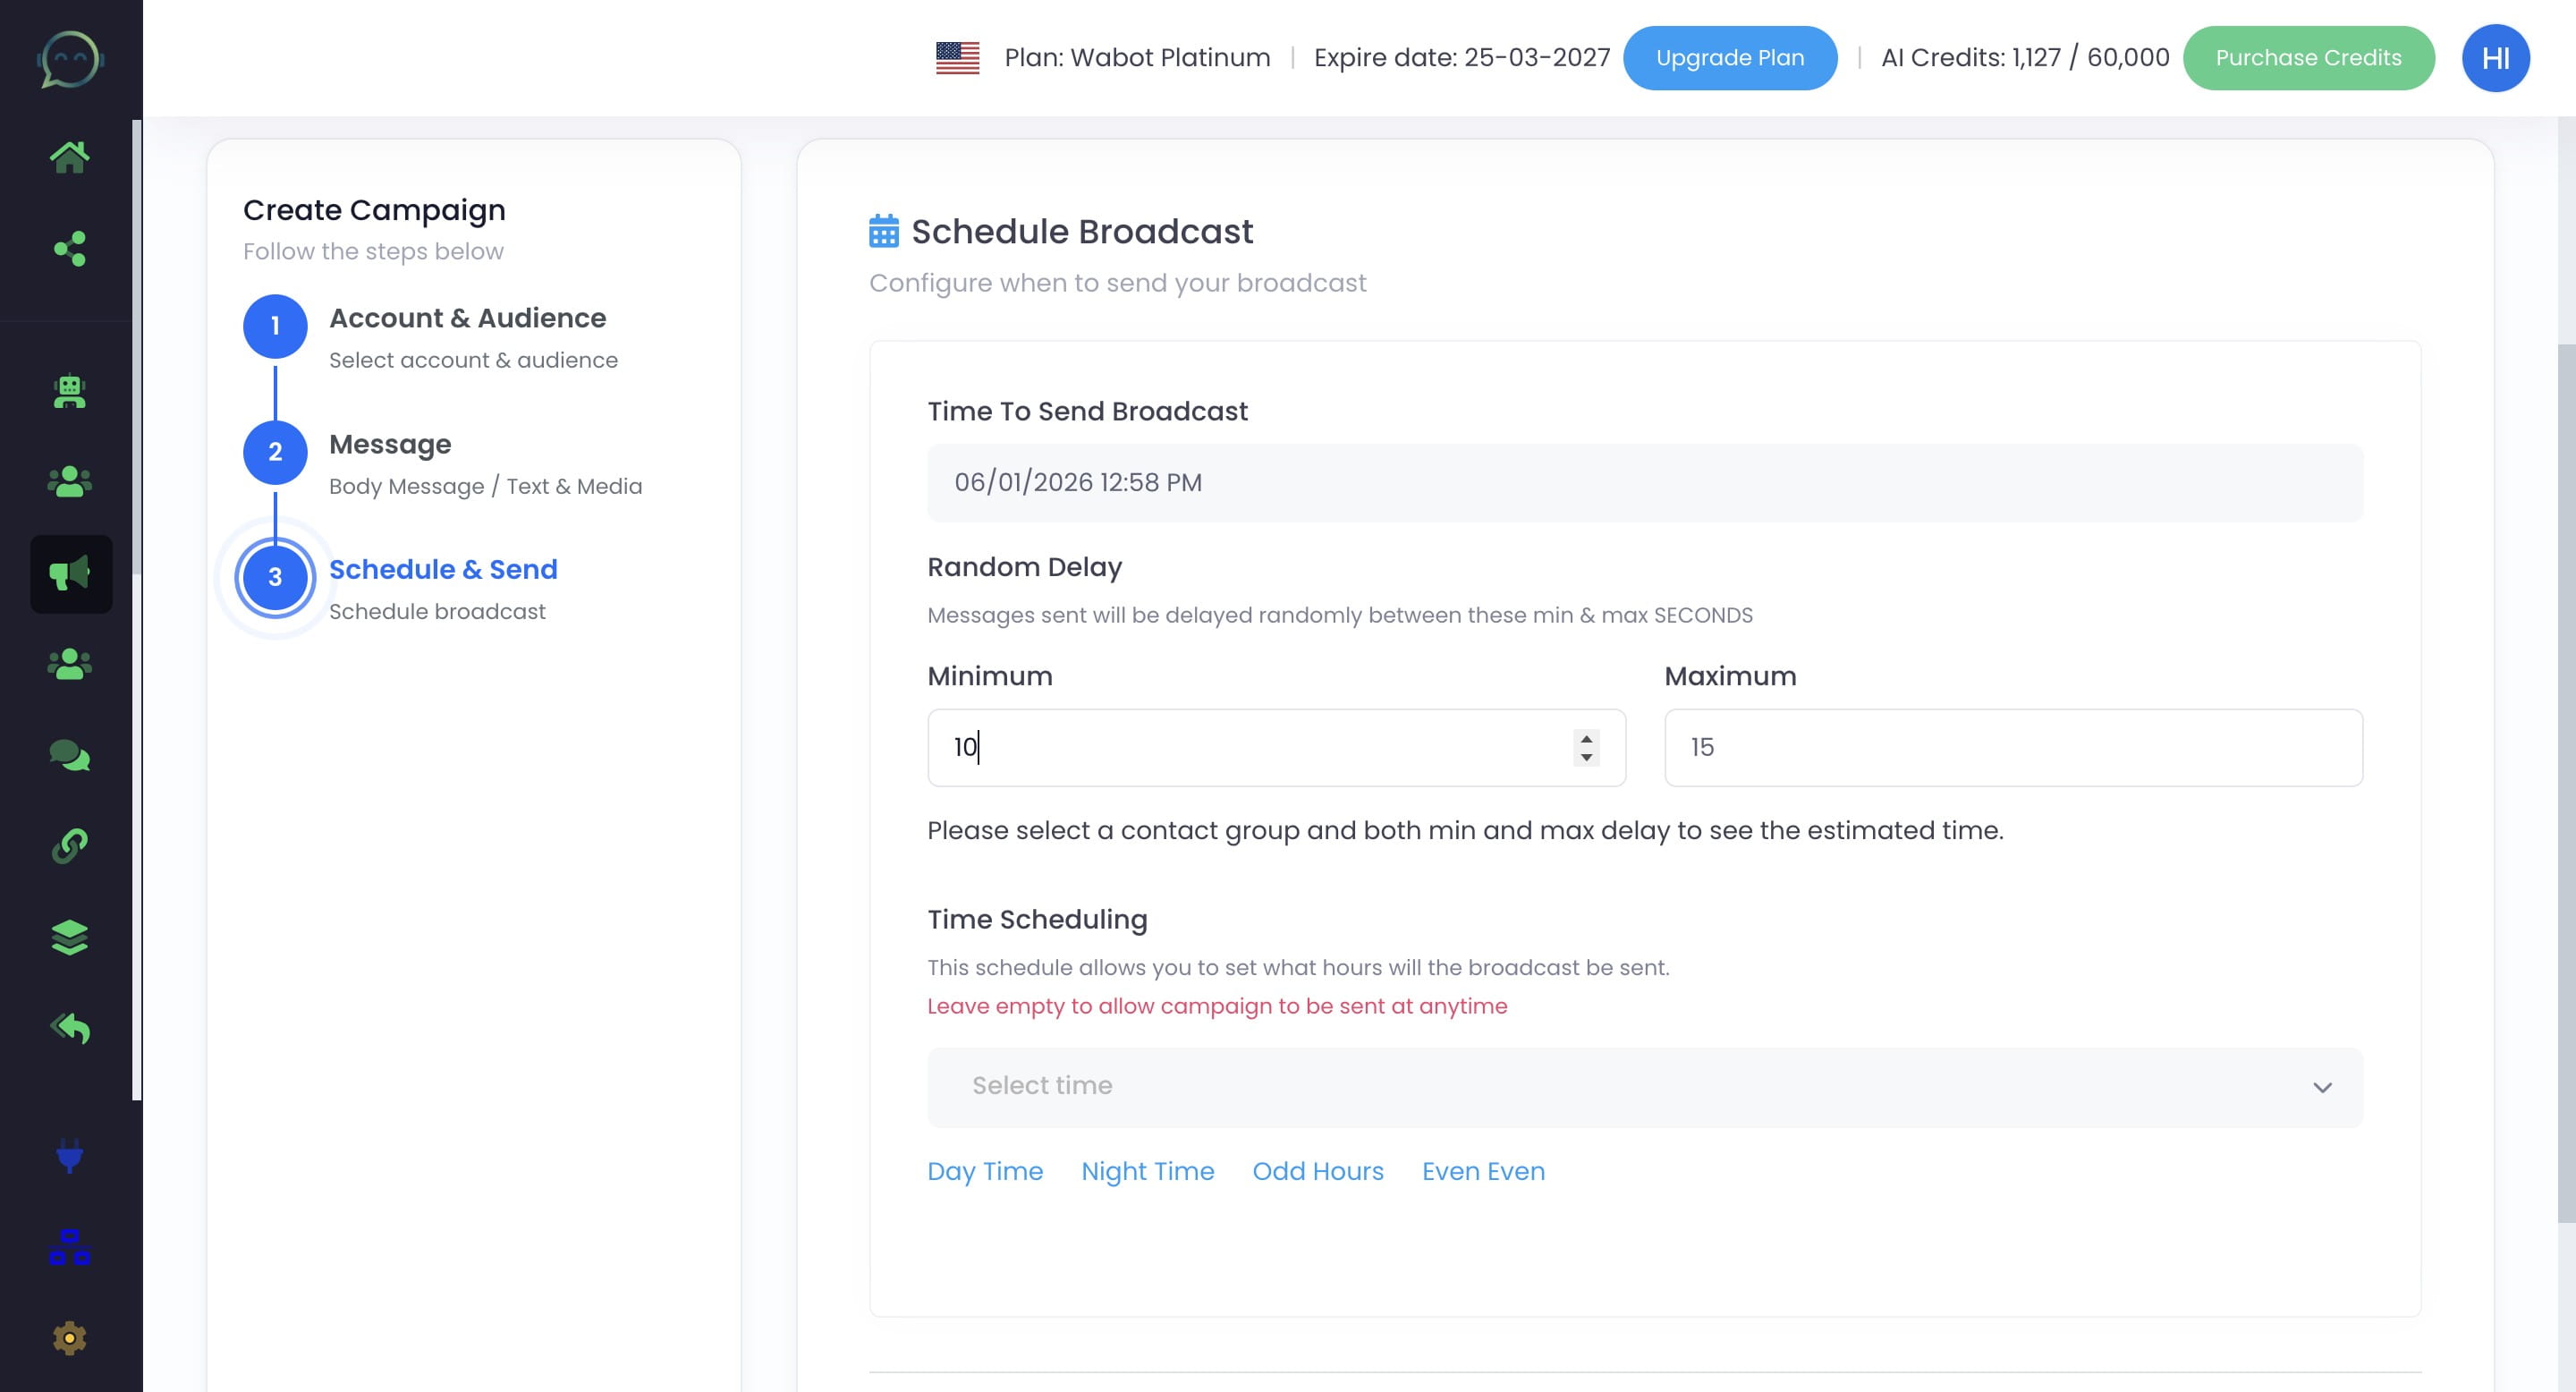
Click on "Next: Schedule"
Click here to choose the blast timing
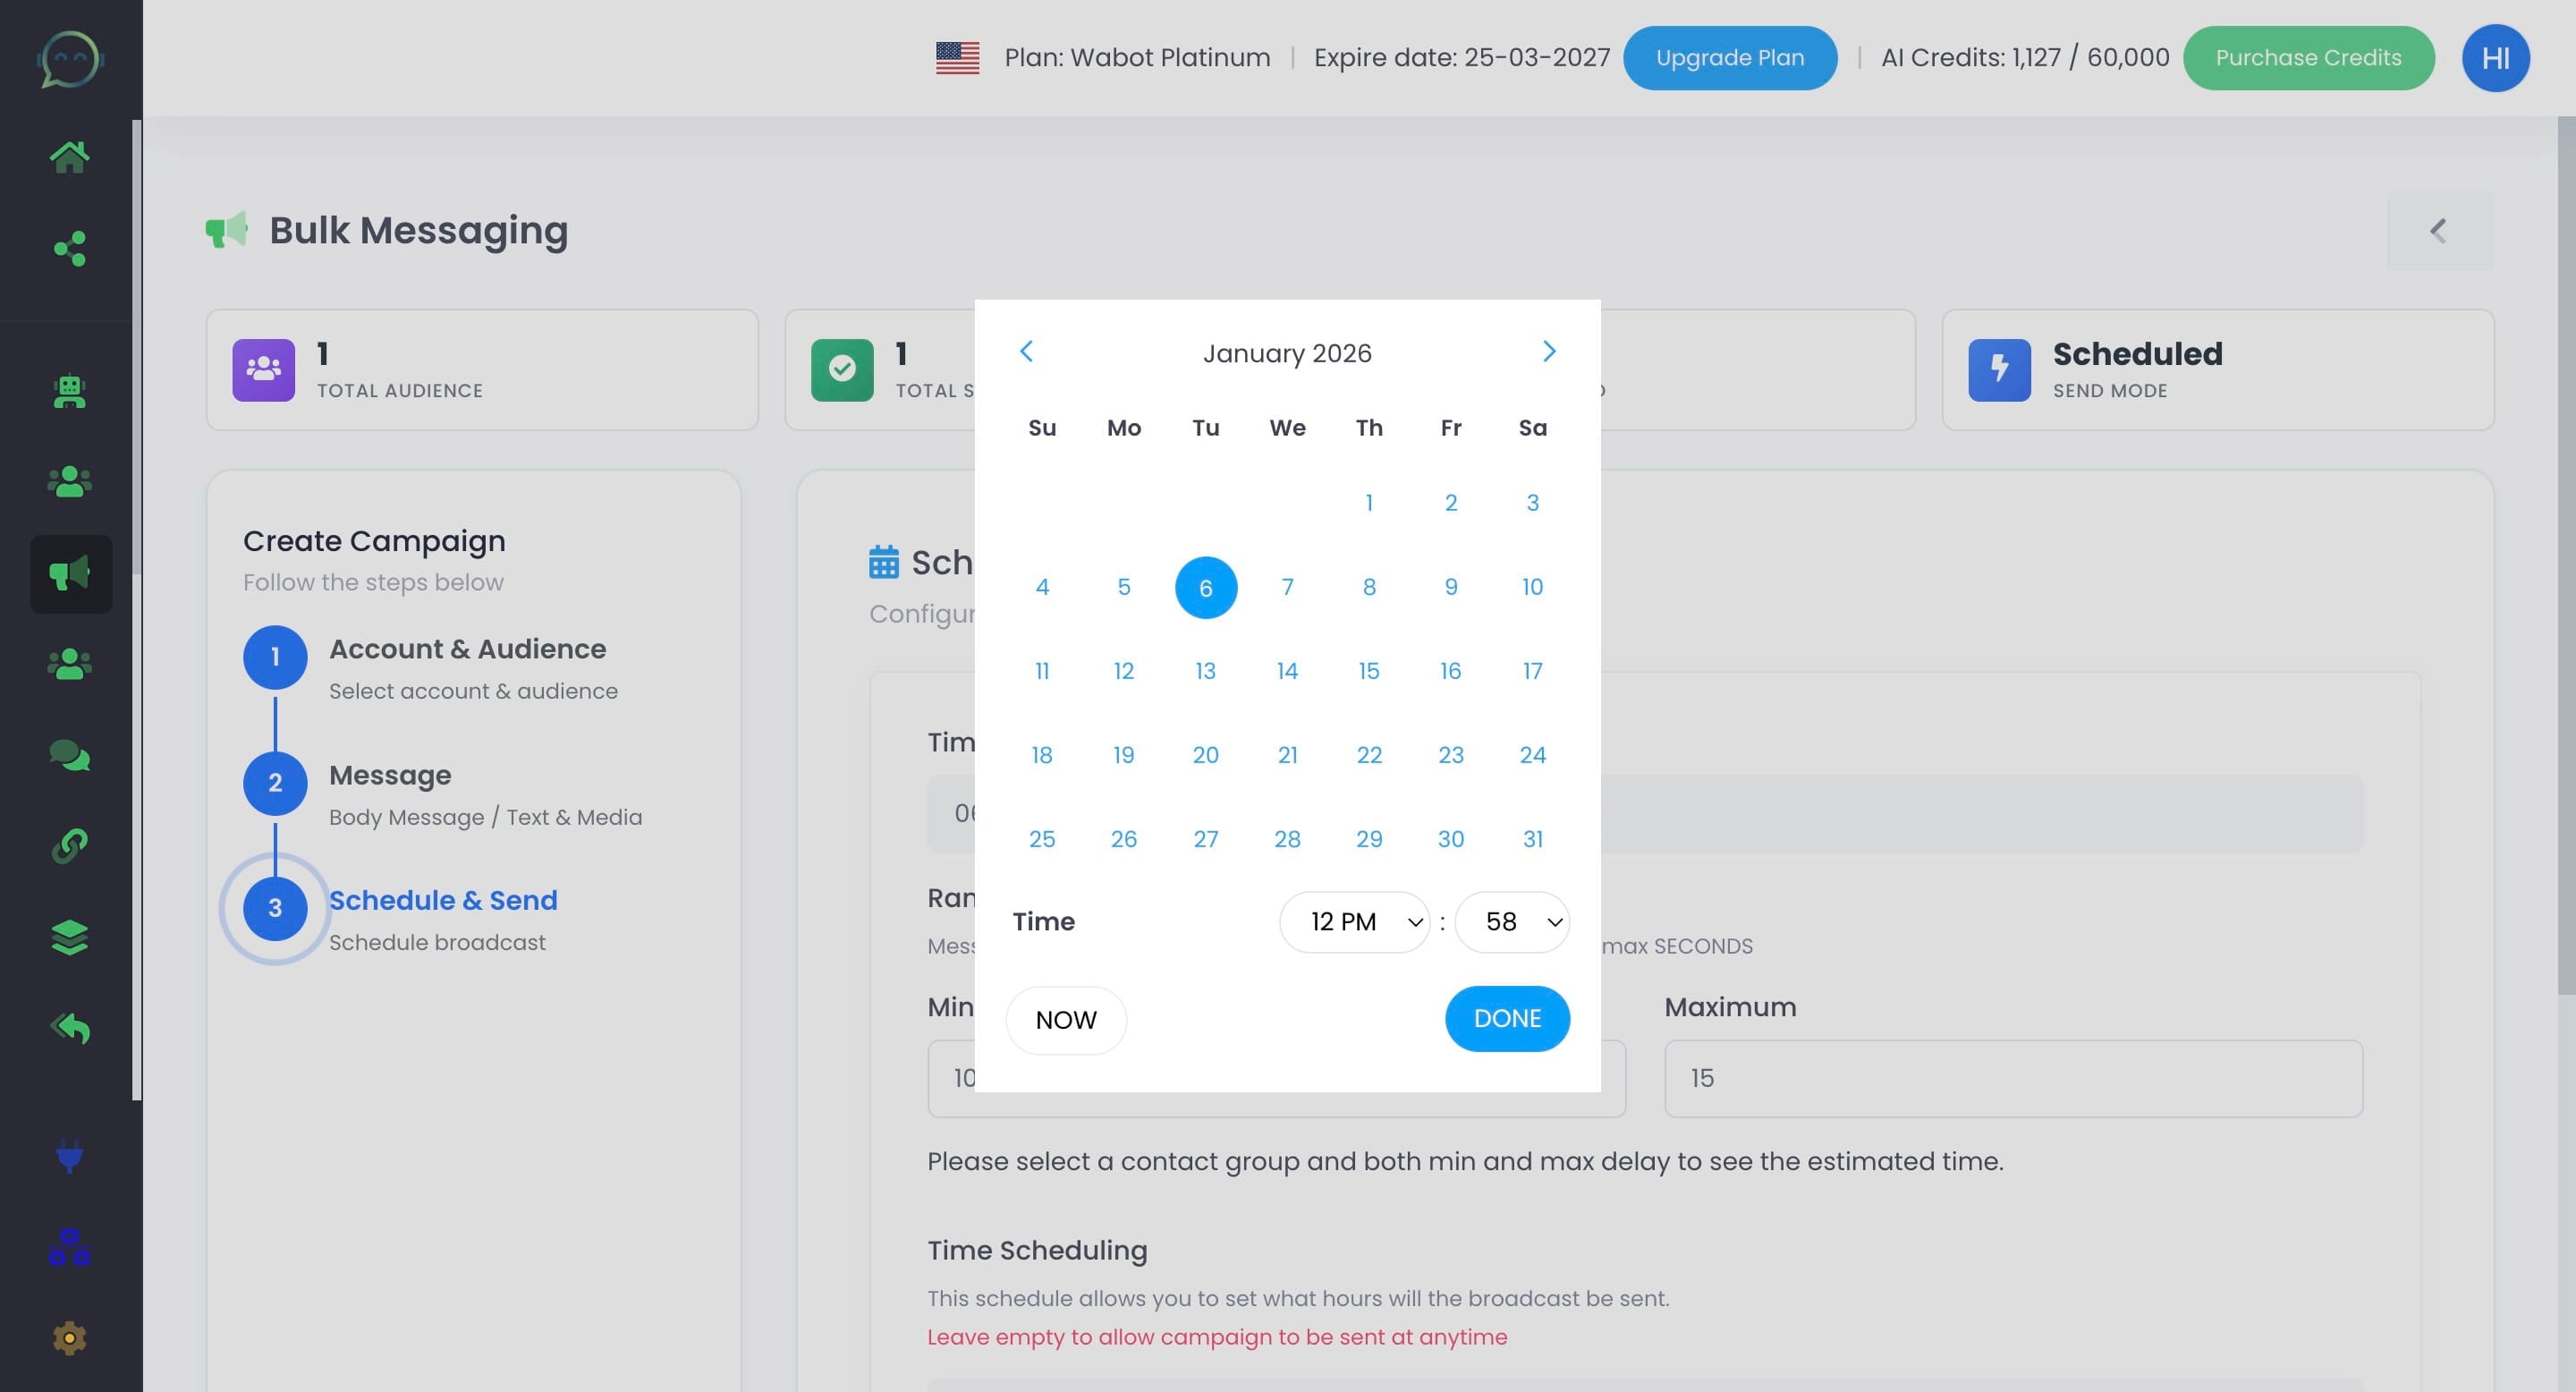
Click on the date and time
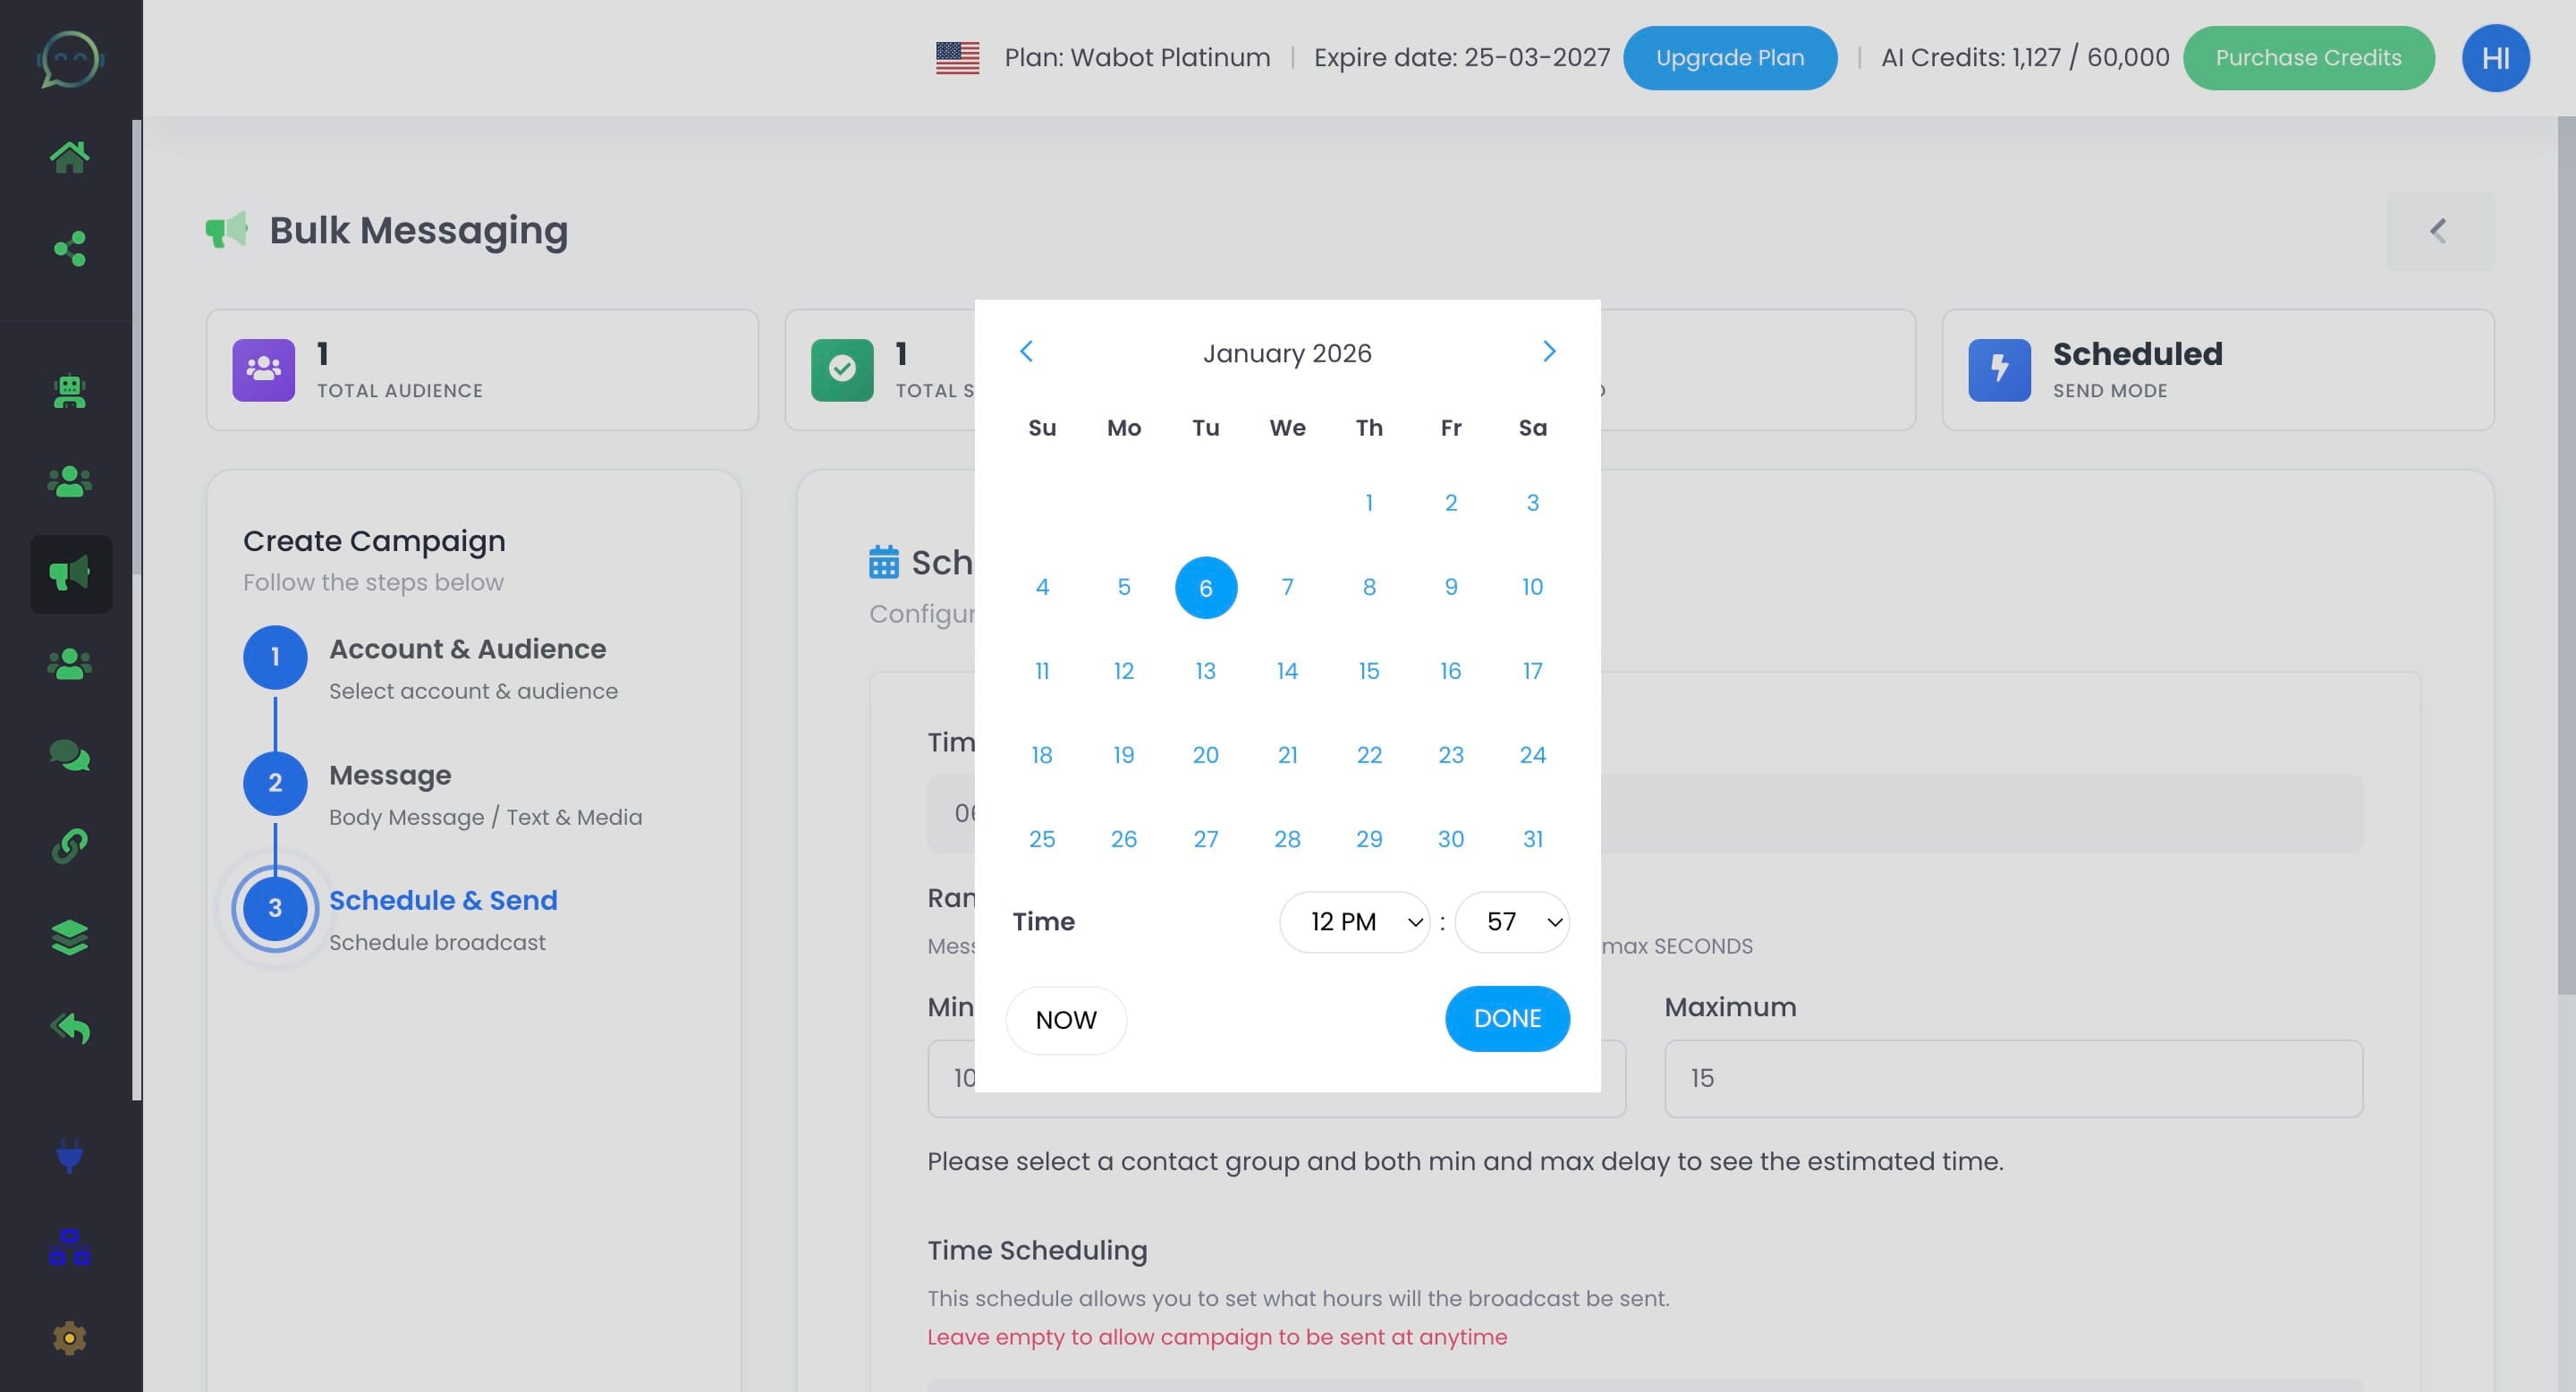
Or you can click on "Now" to blast immediately
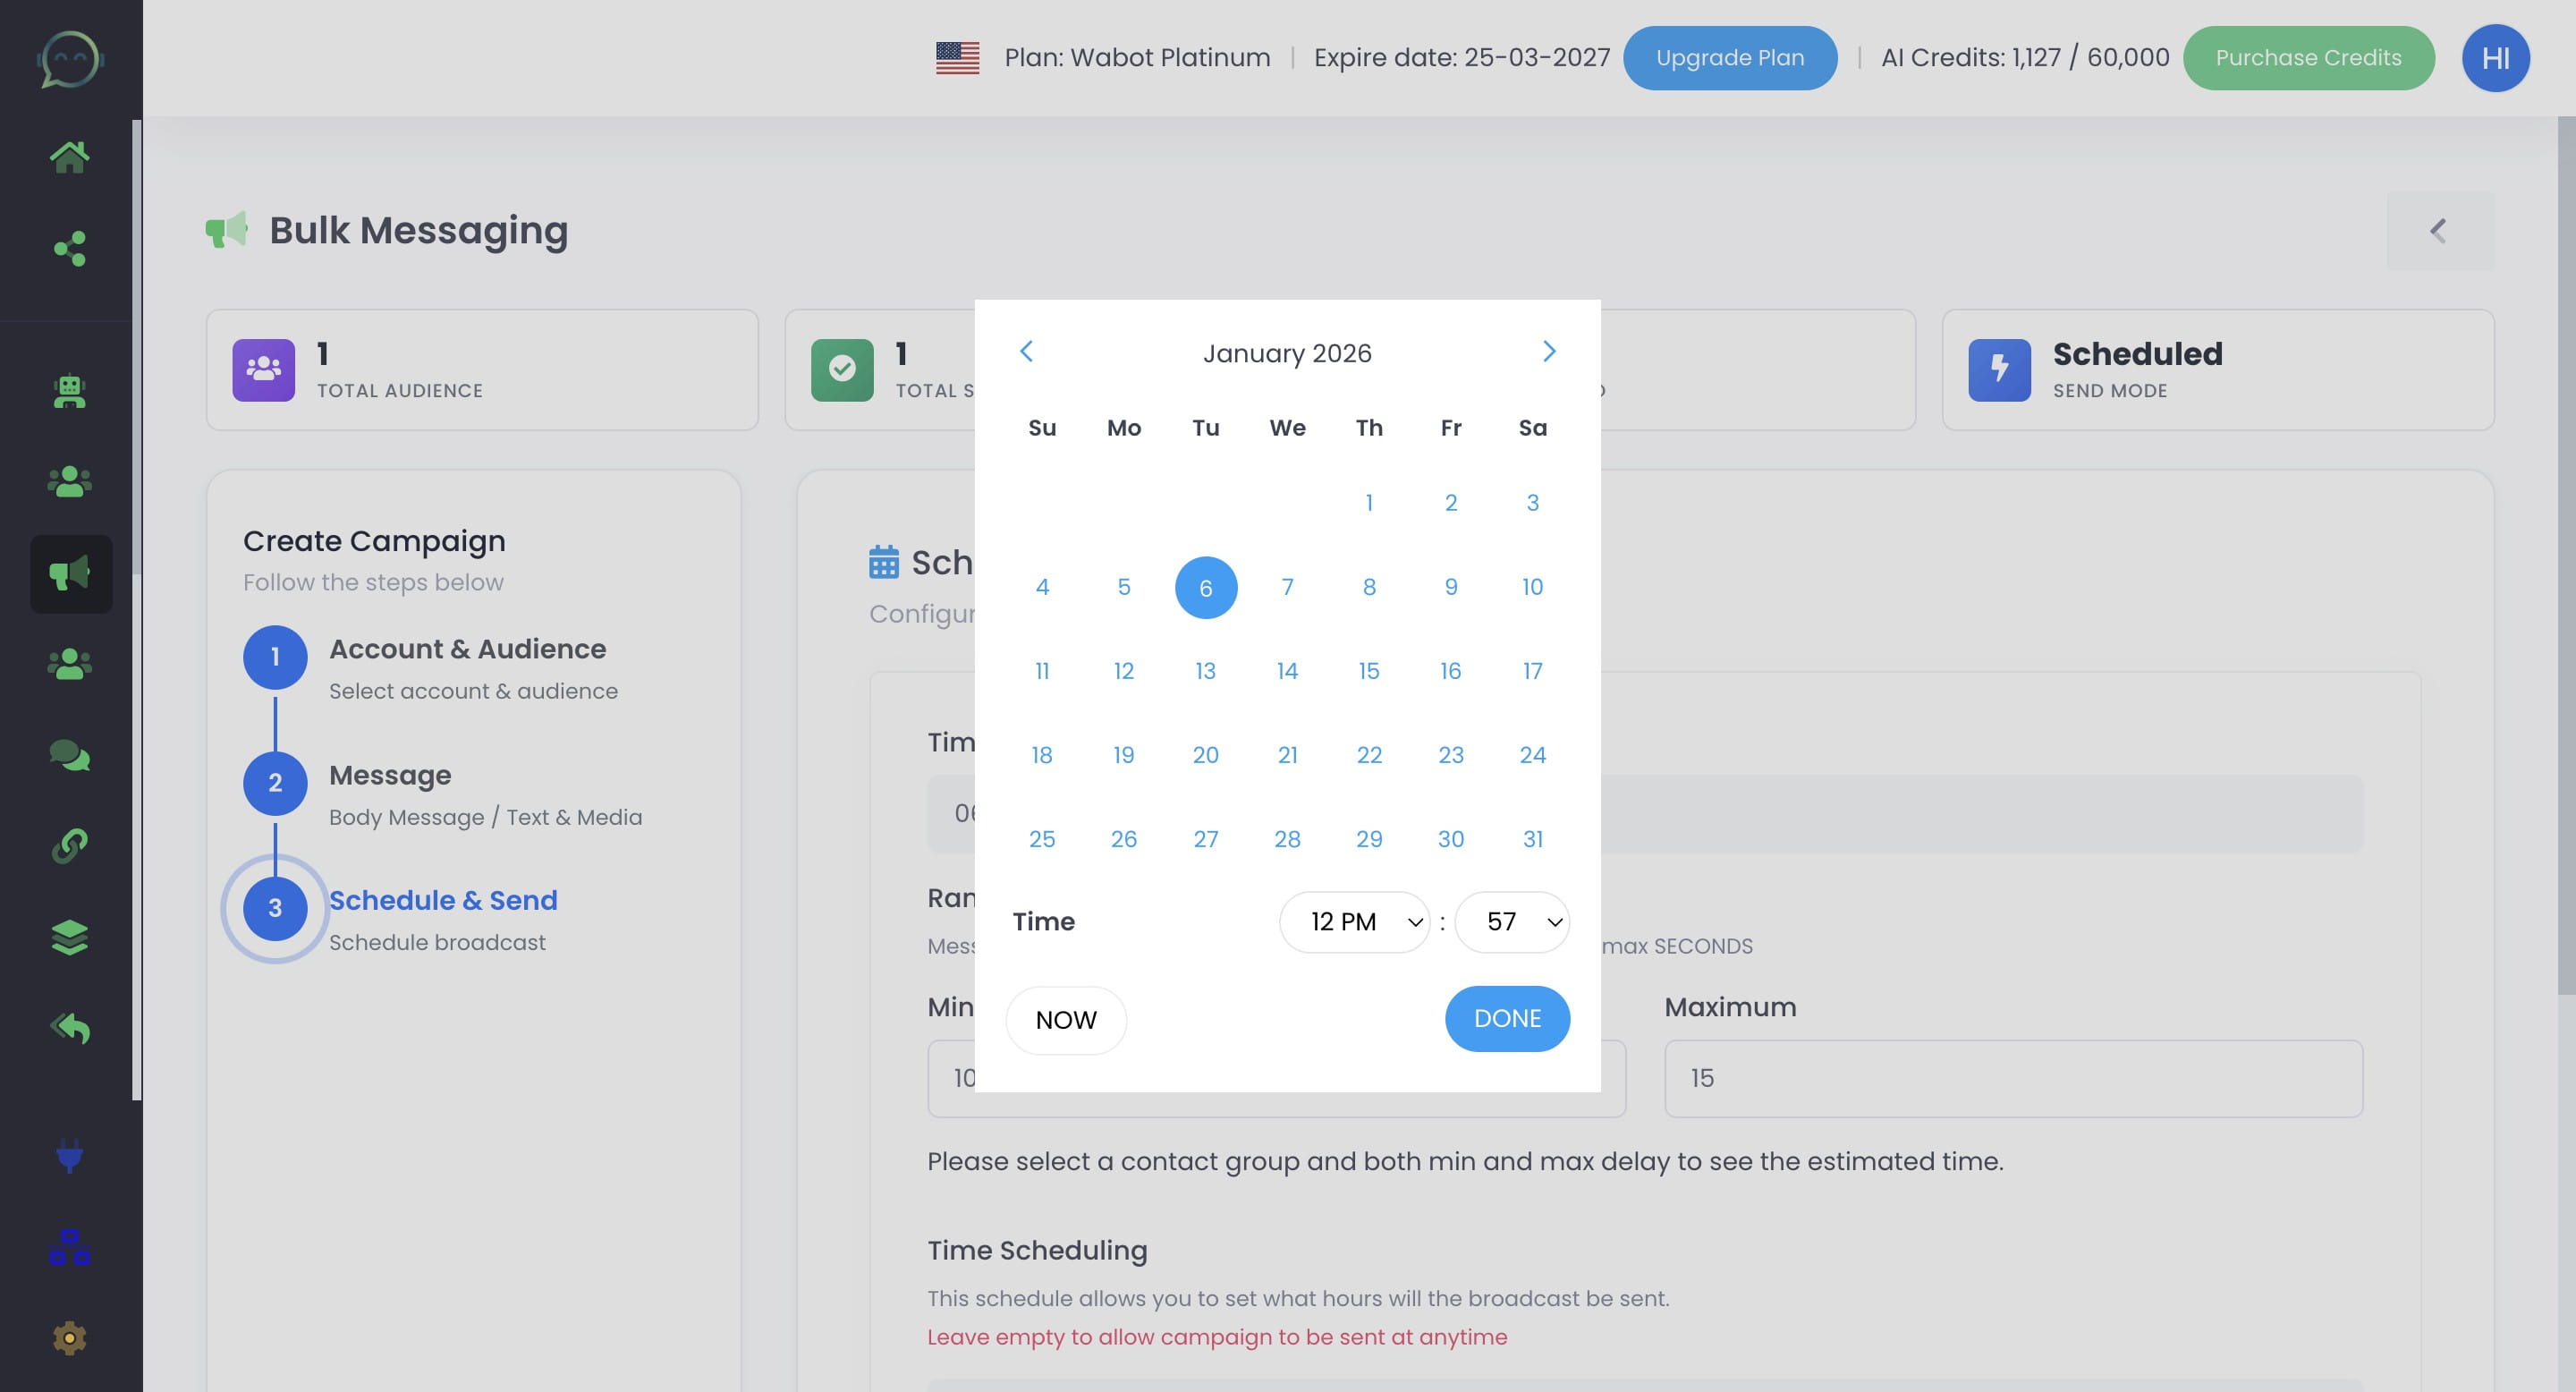
Click on "Done"
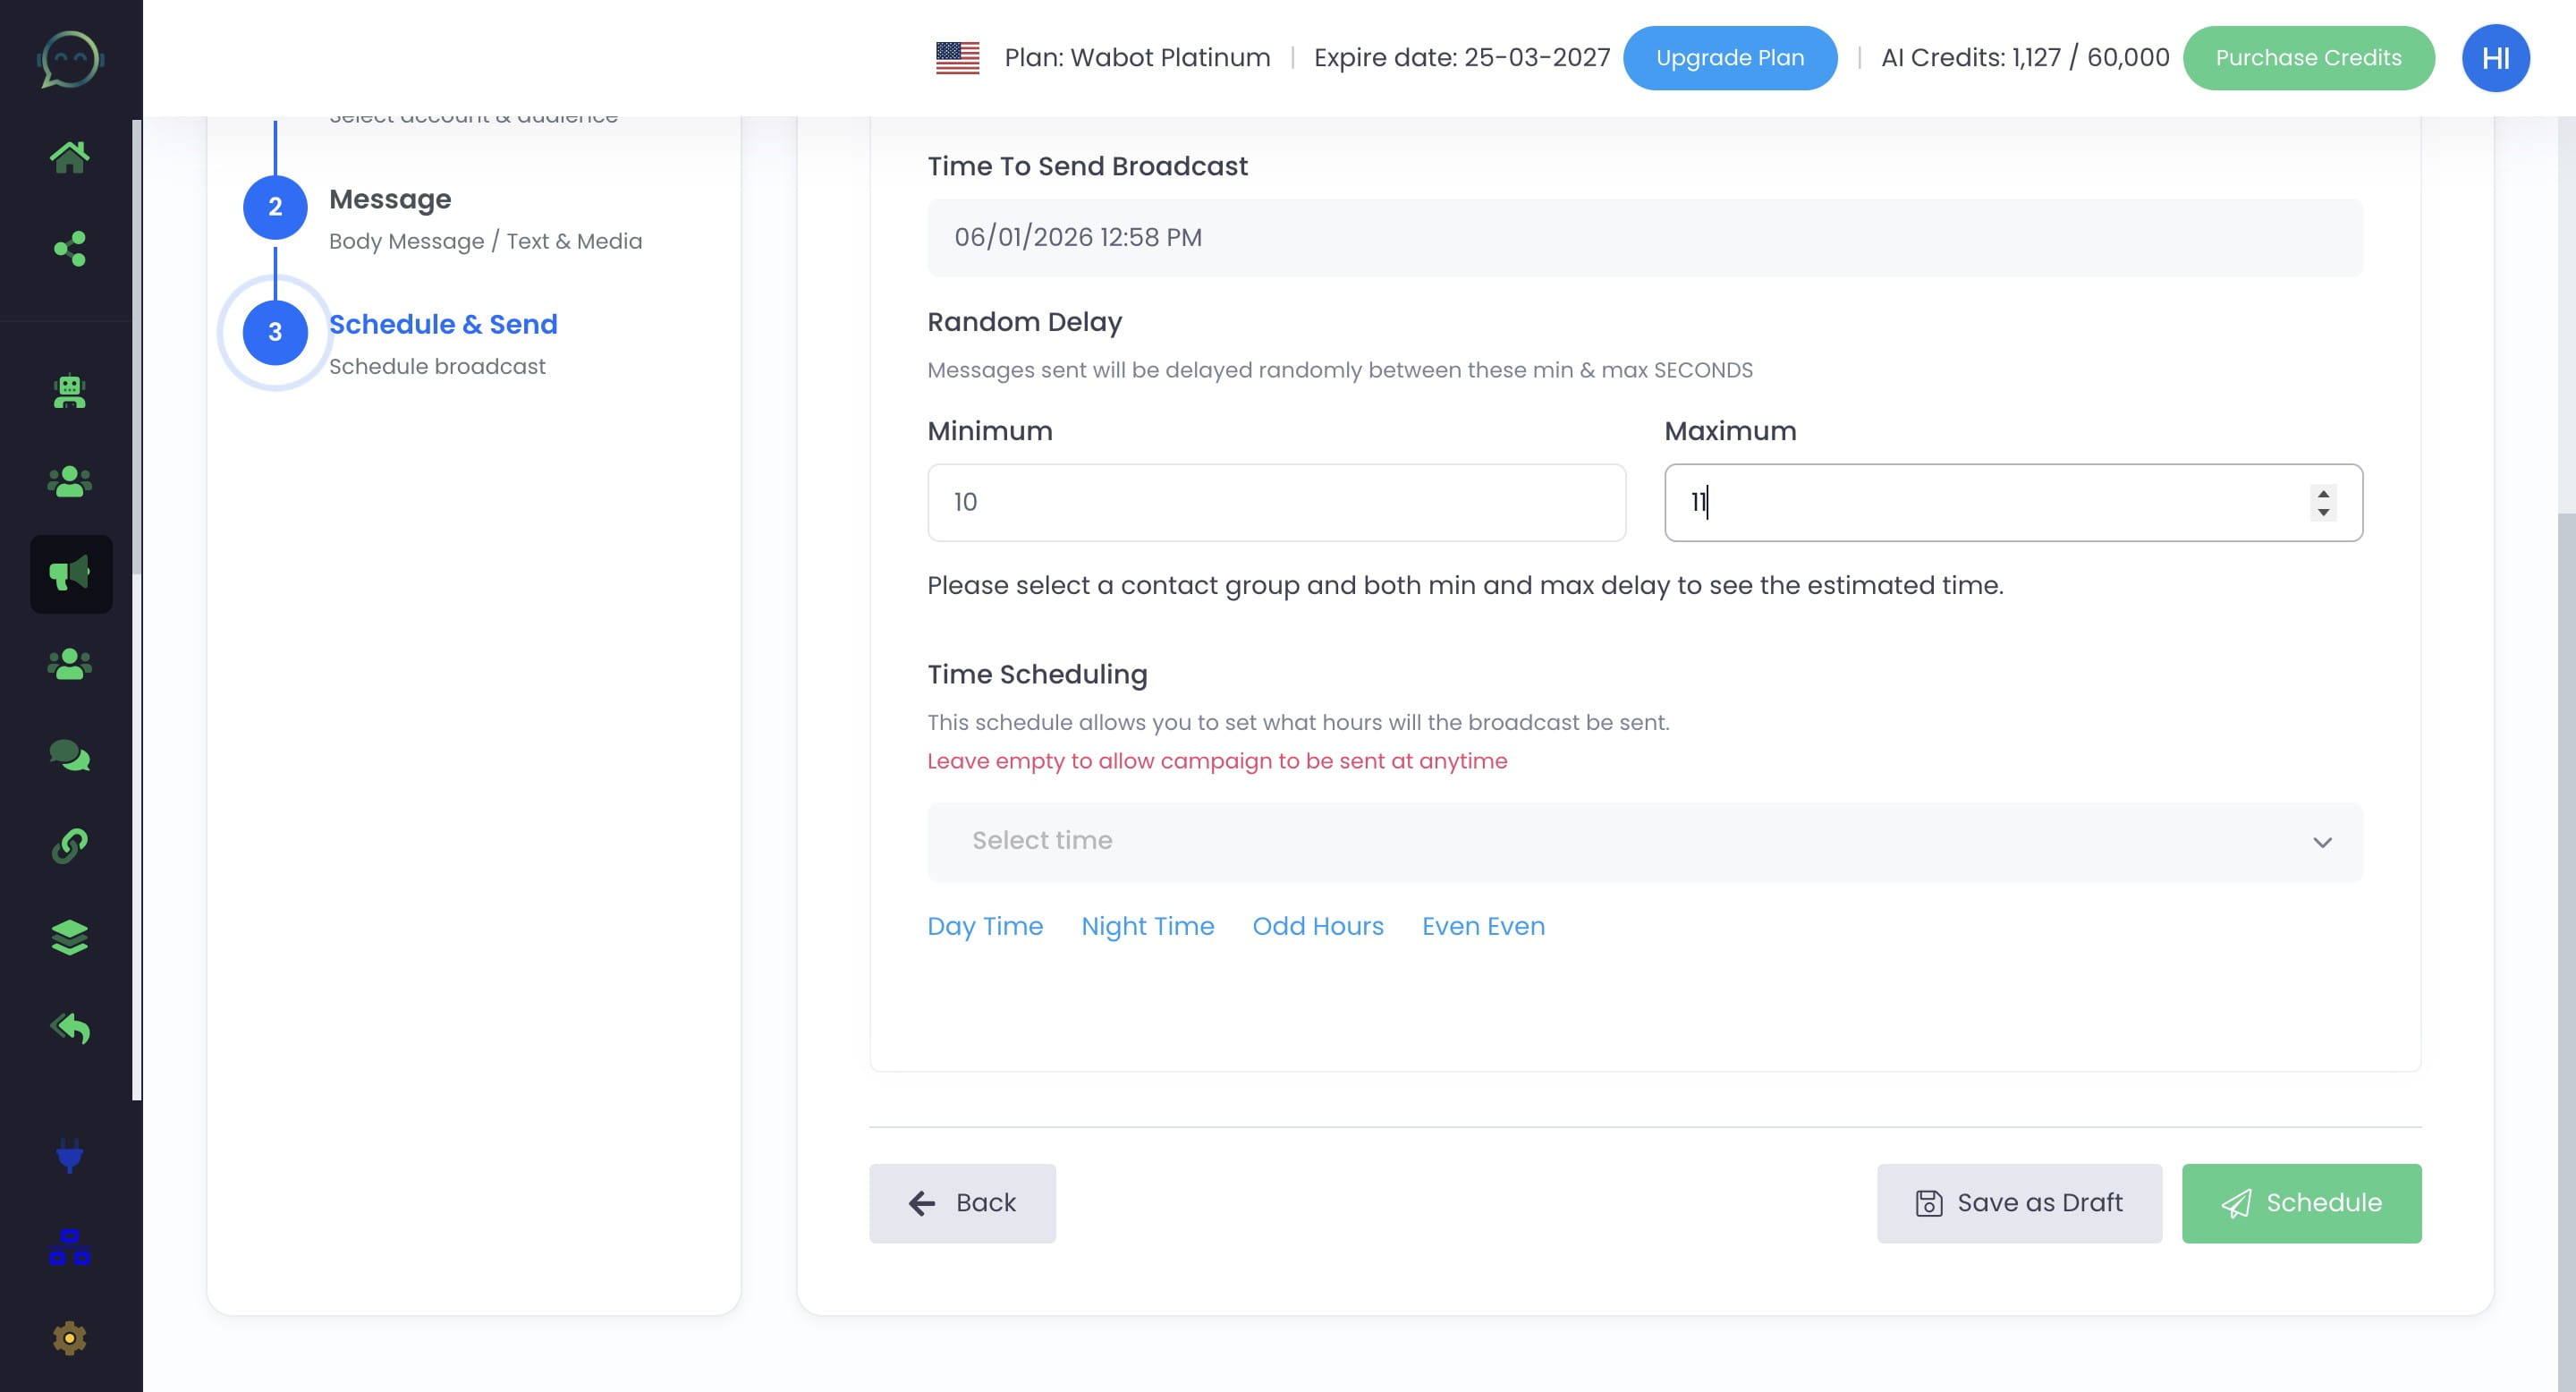
Set the preferred delay
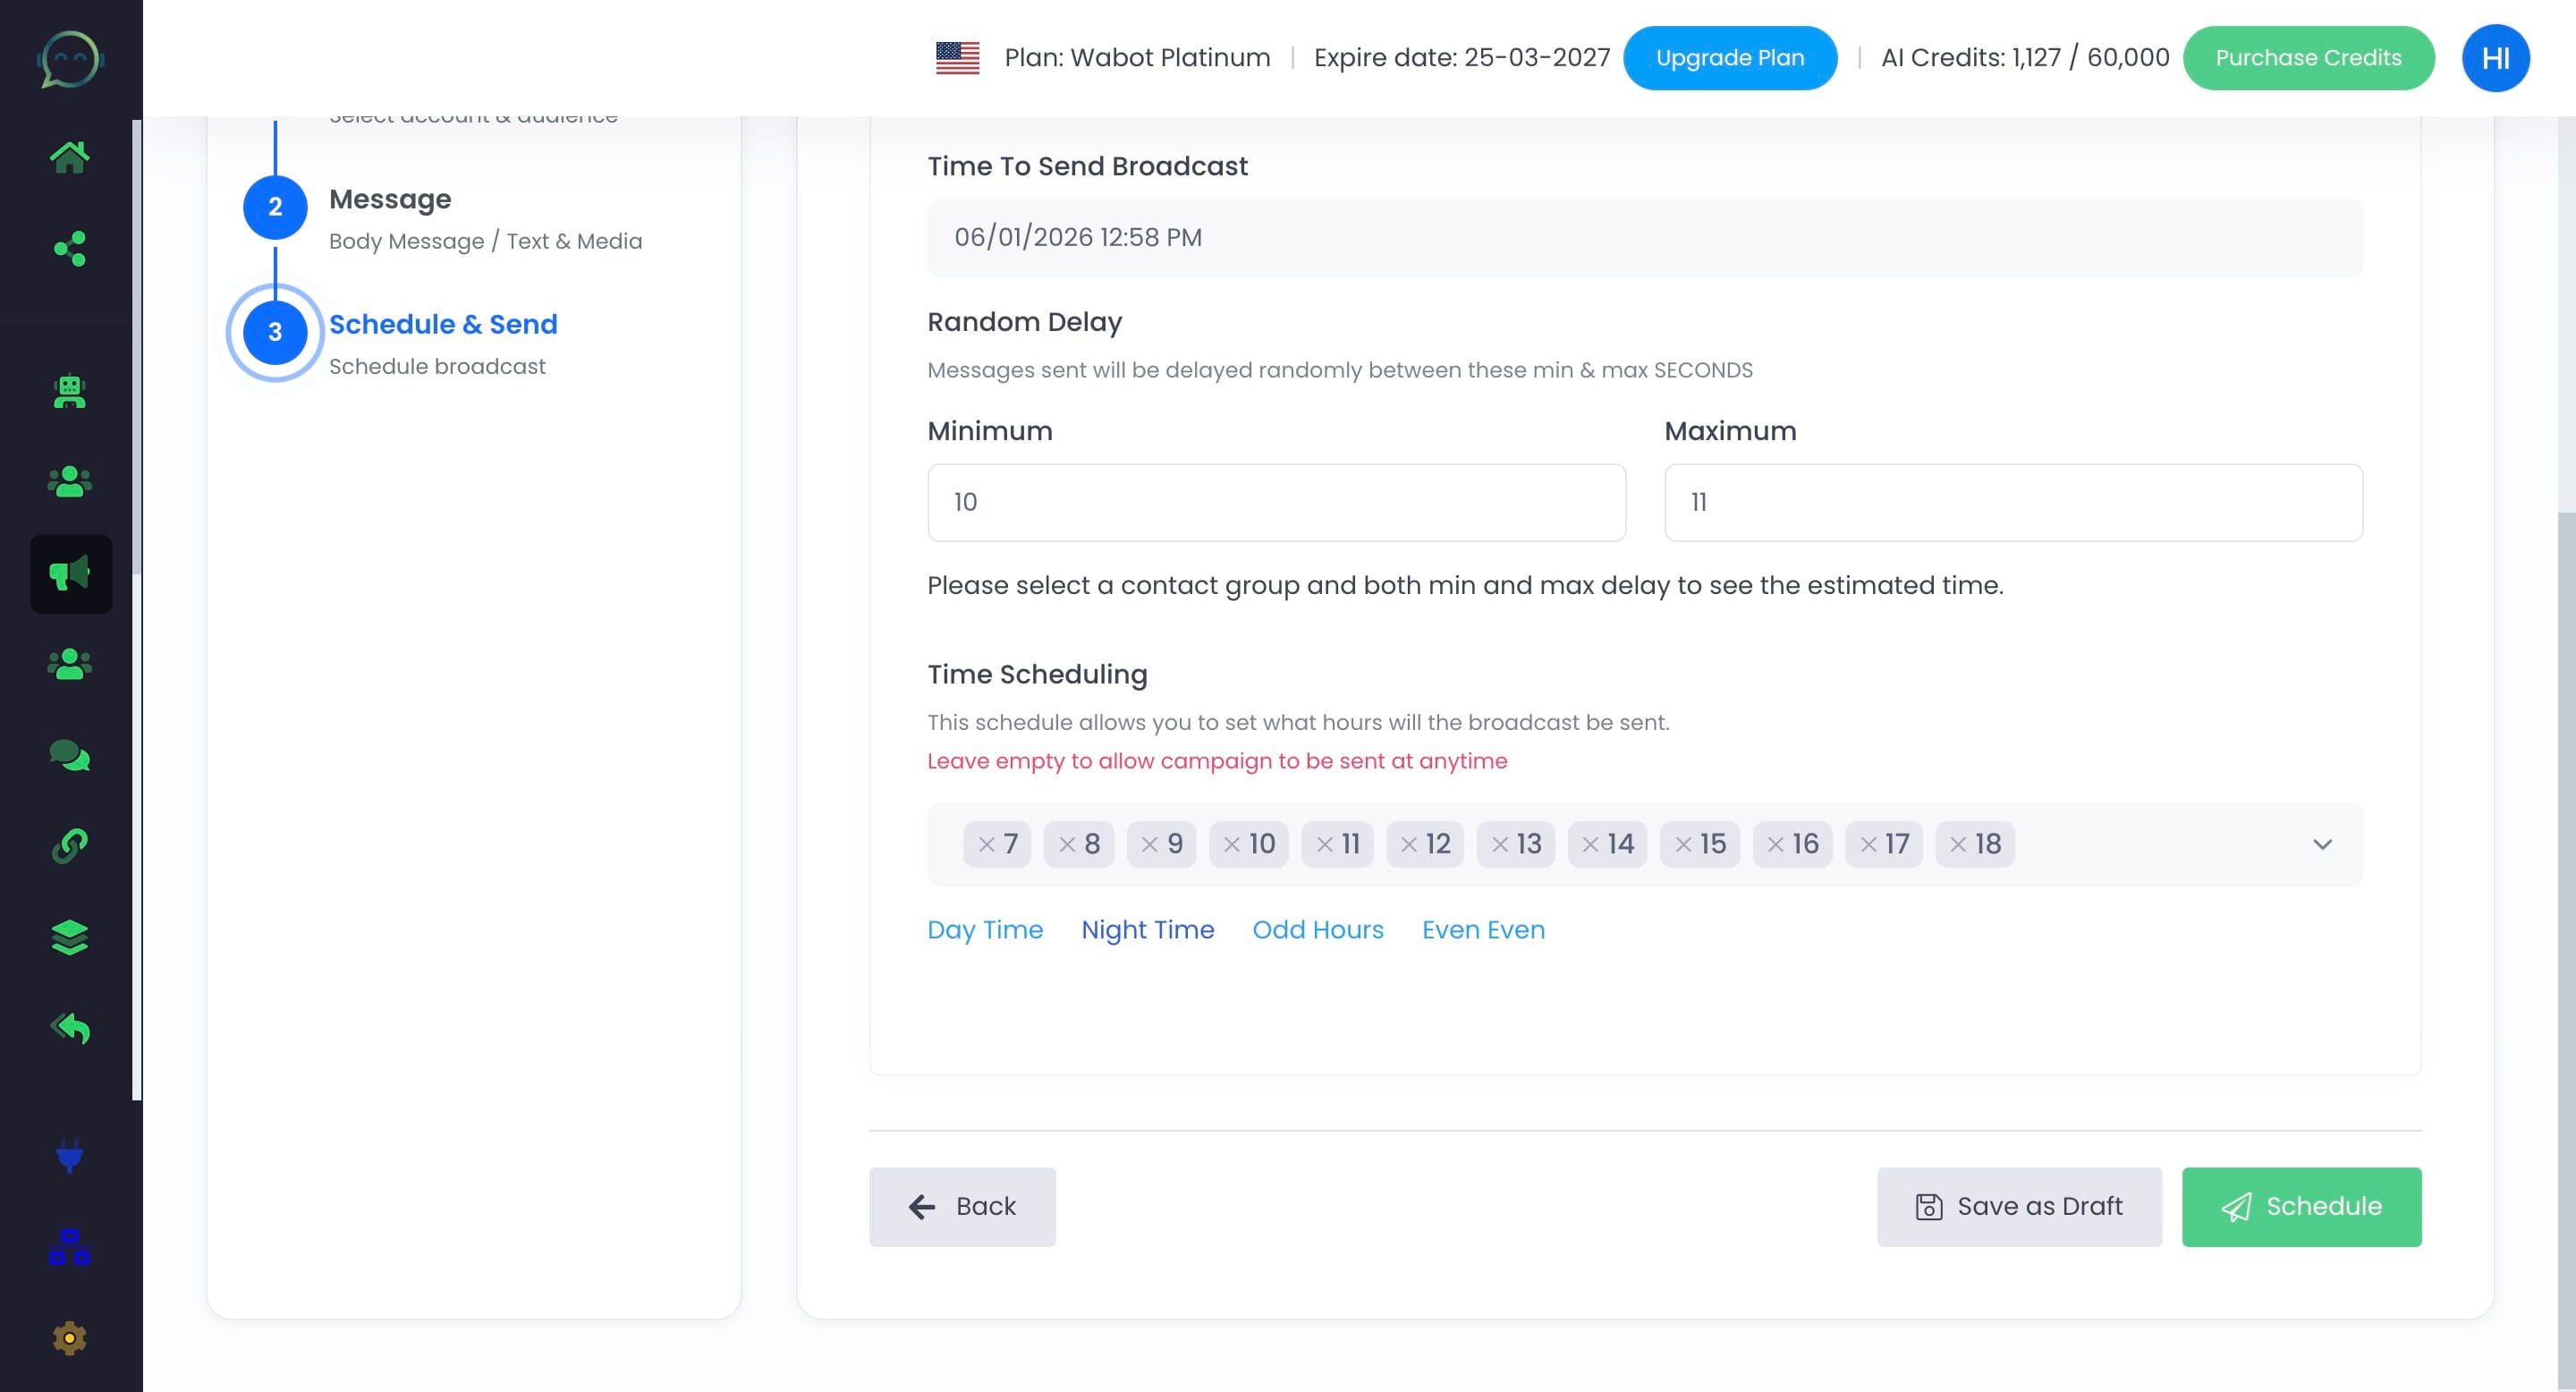
You can also manually schedule the blast based on the preferred hours (24 hours format)
Click on "Day Time" to only blast during the day
Click on "Night Time" to only blast during the night

Select “Odd Hours” to trigger blasts only during odd-numbered hours (with 1-hour intervals)
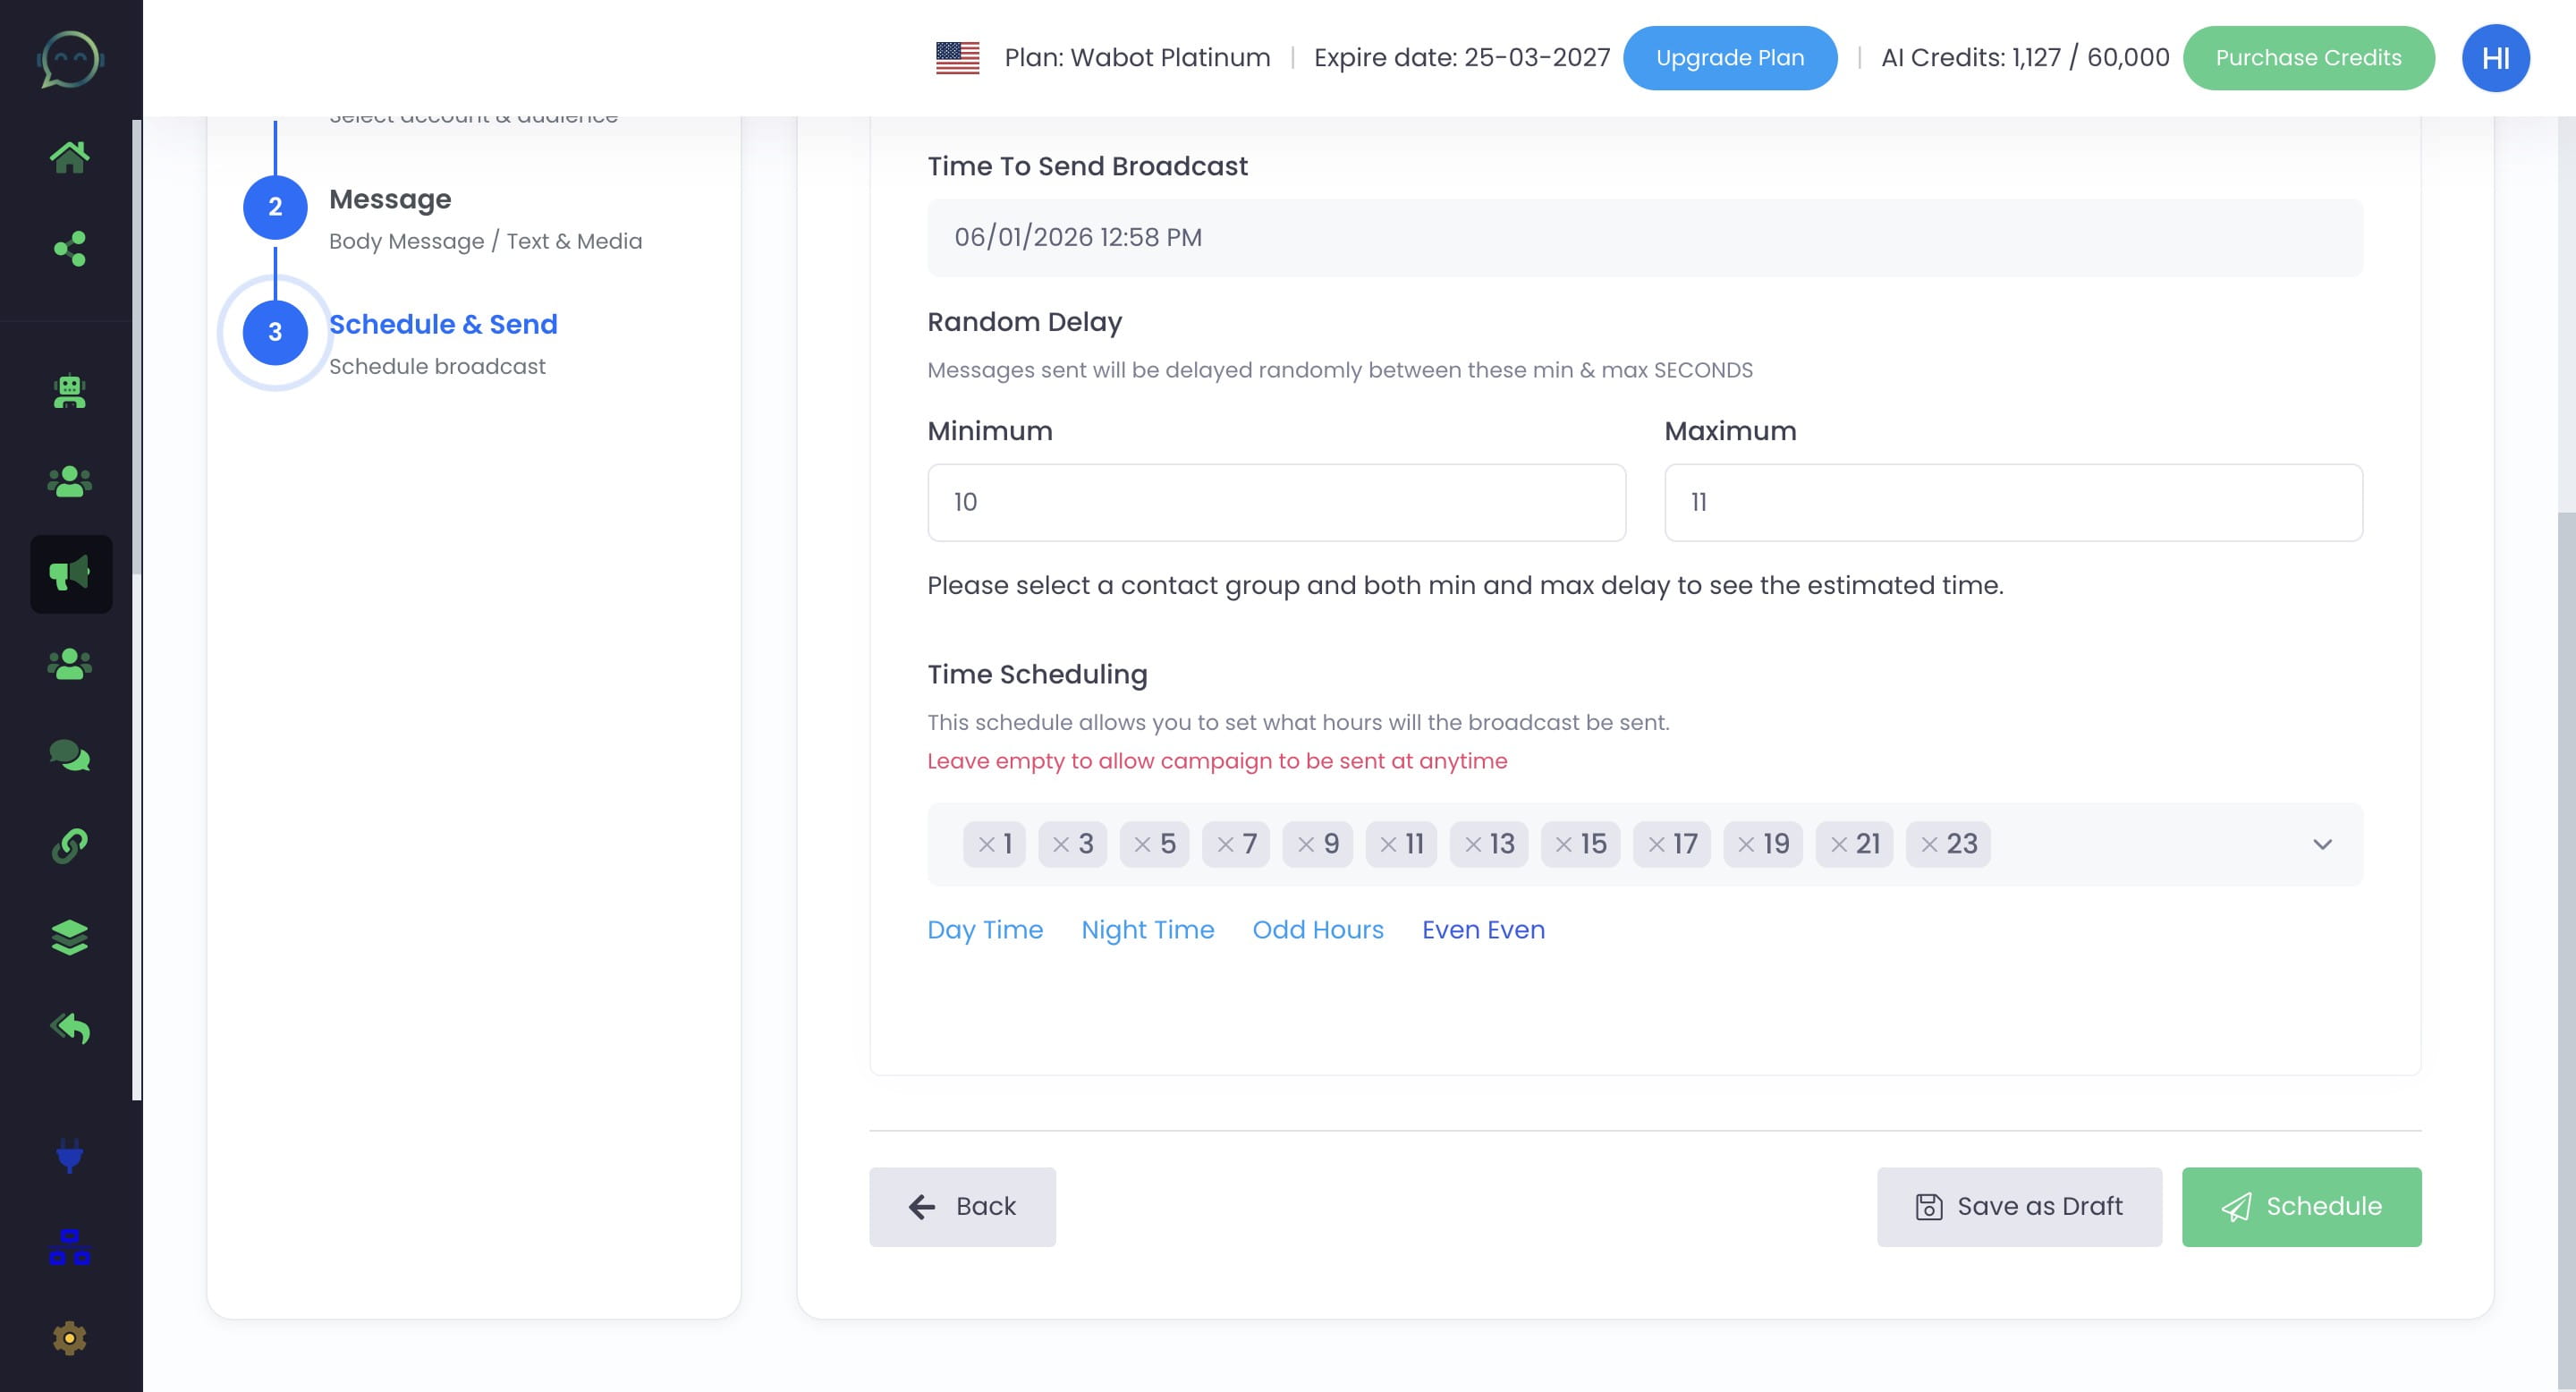
Select “Even Even” to trigger blasts only during even-numbered hours (with 1-hour intervals)

Click on schedule and you are done 🚀
