
How to Set Chatbot AI Wabot V3
Learn to make a well-designed chatbot that will help you automate tasks, improve customer interactions, and provide instant support, even outside working hours!
Set the chatbot AI setting
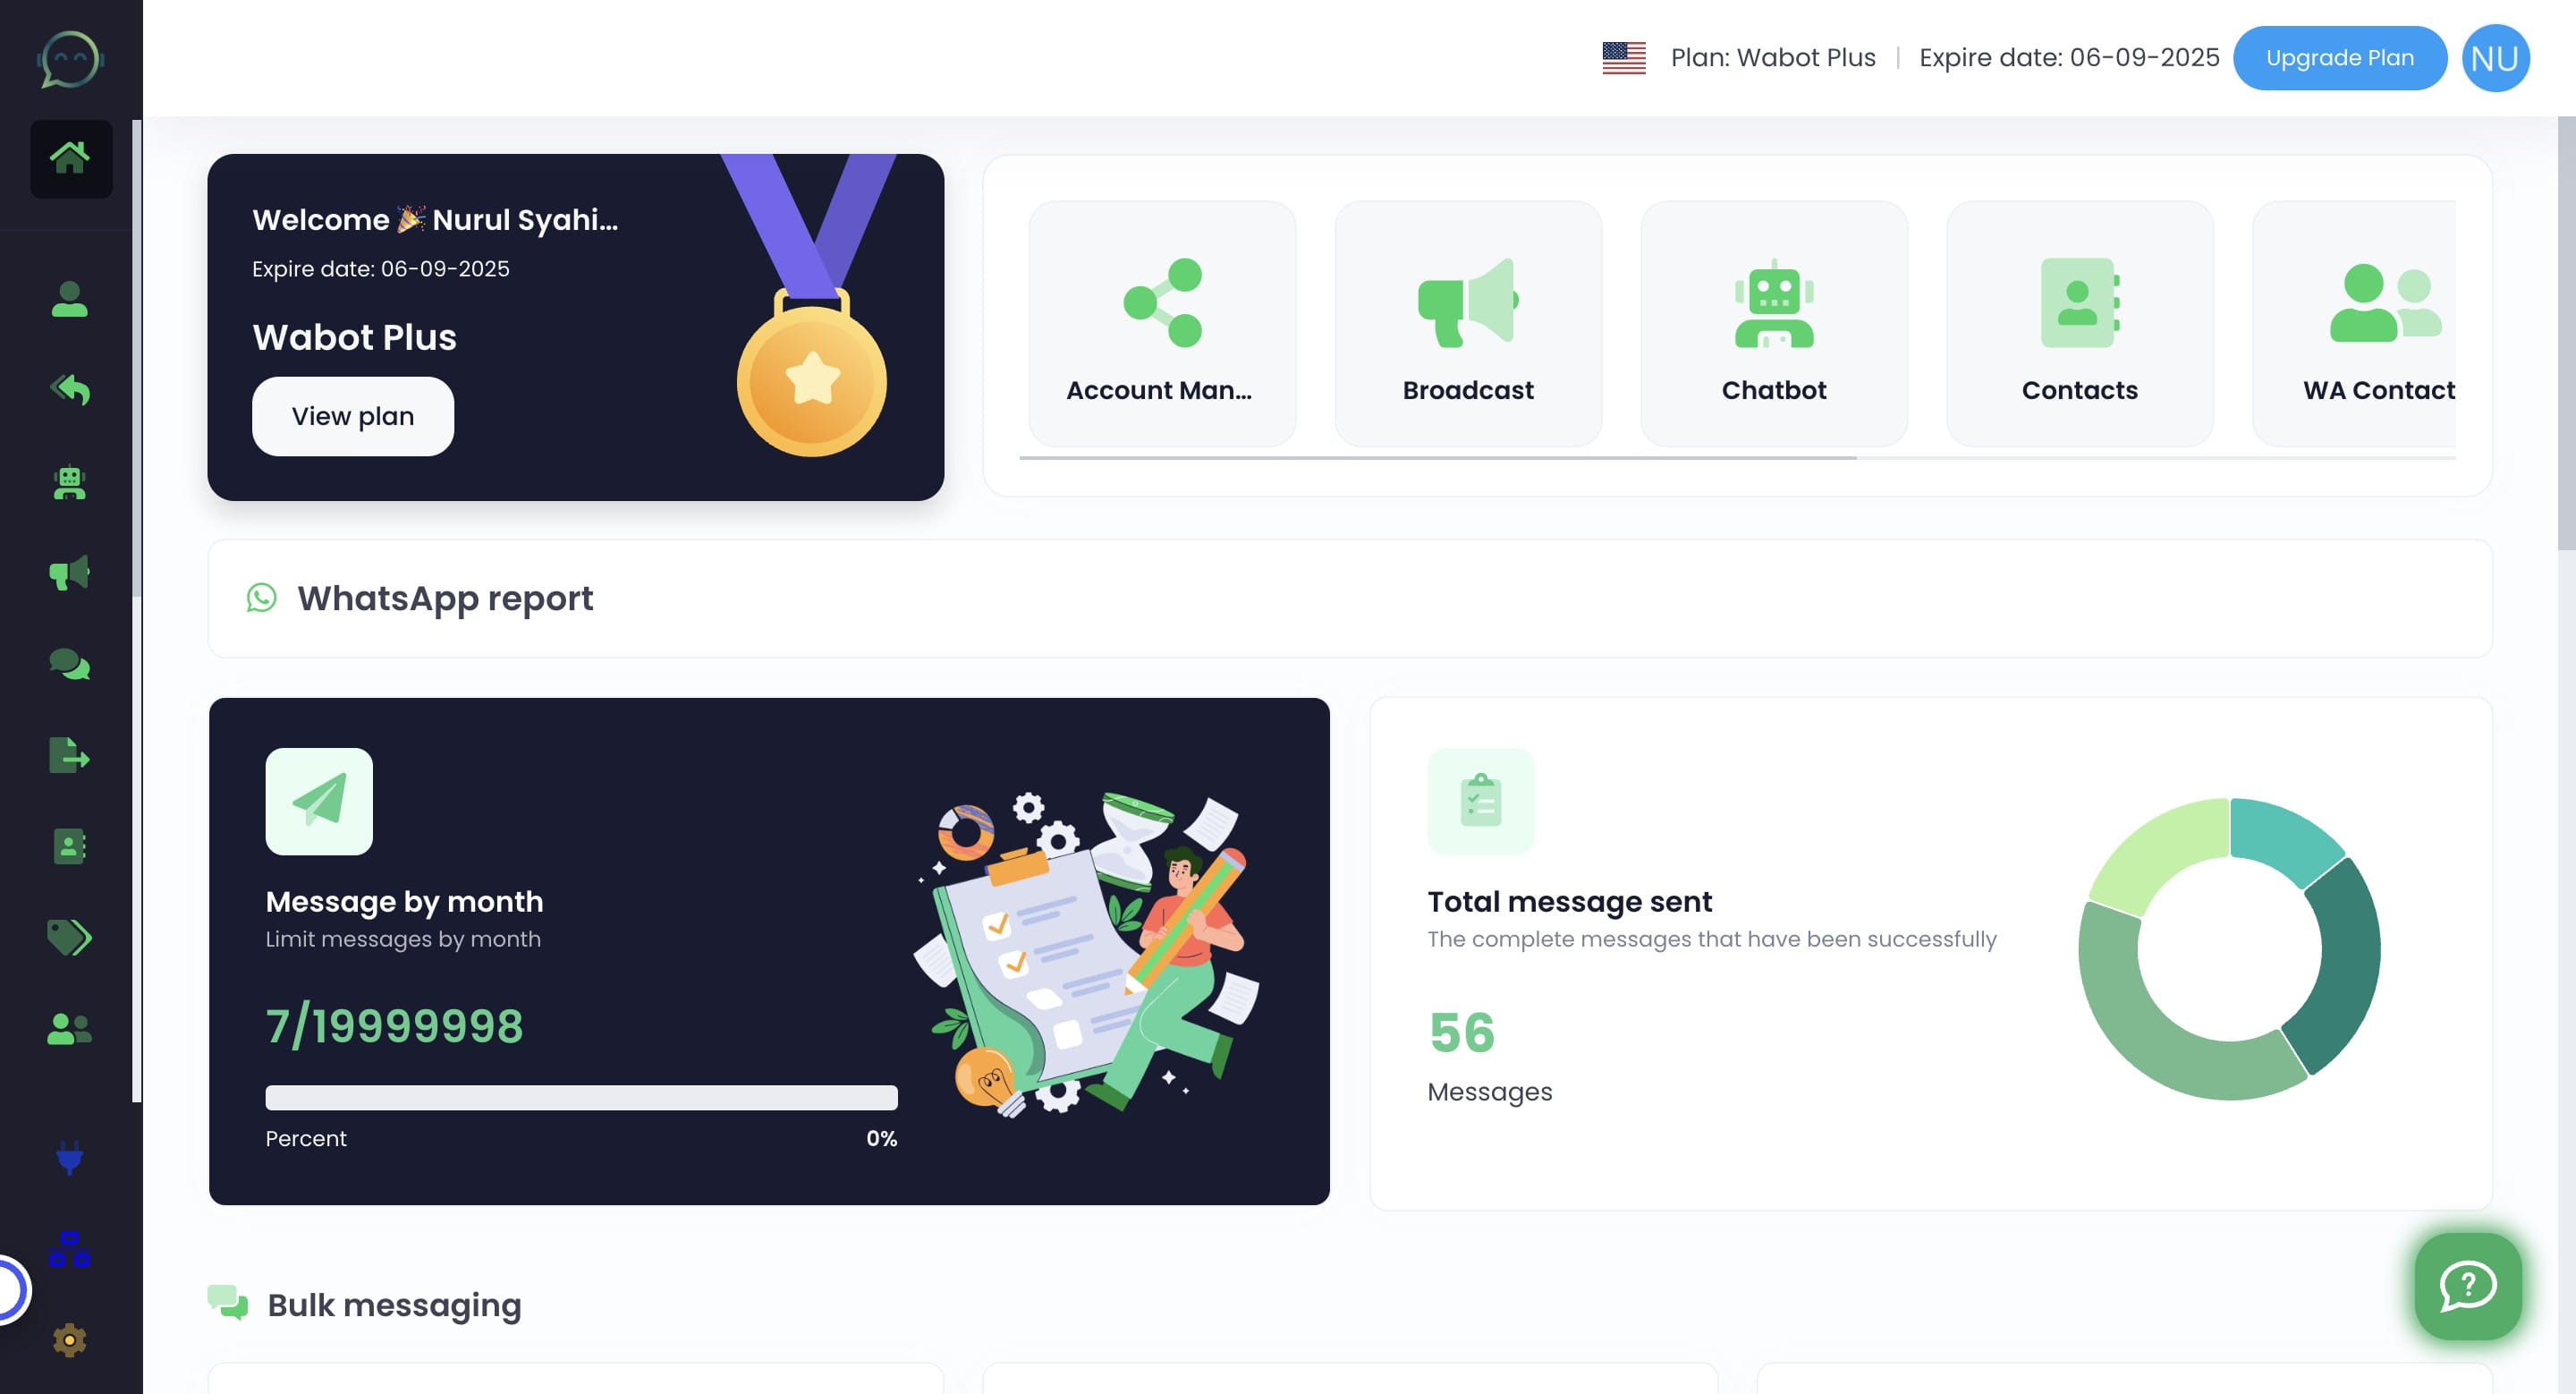
Navigate to https://app.wabot.my/dashboard
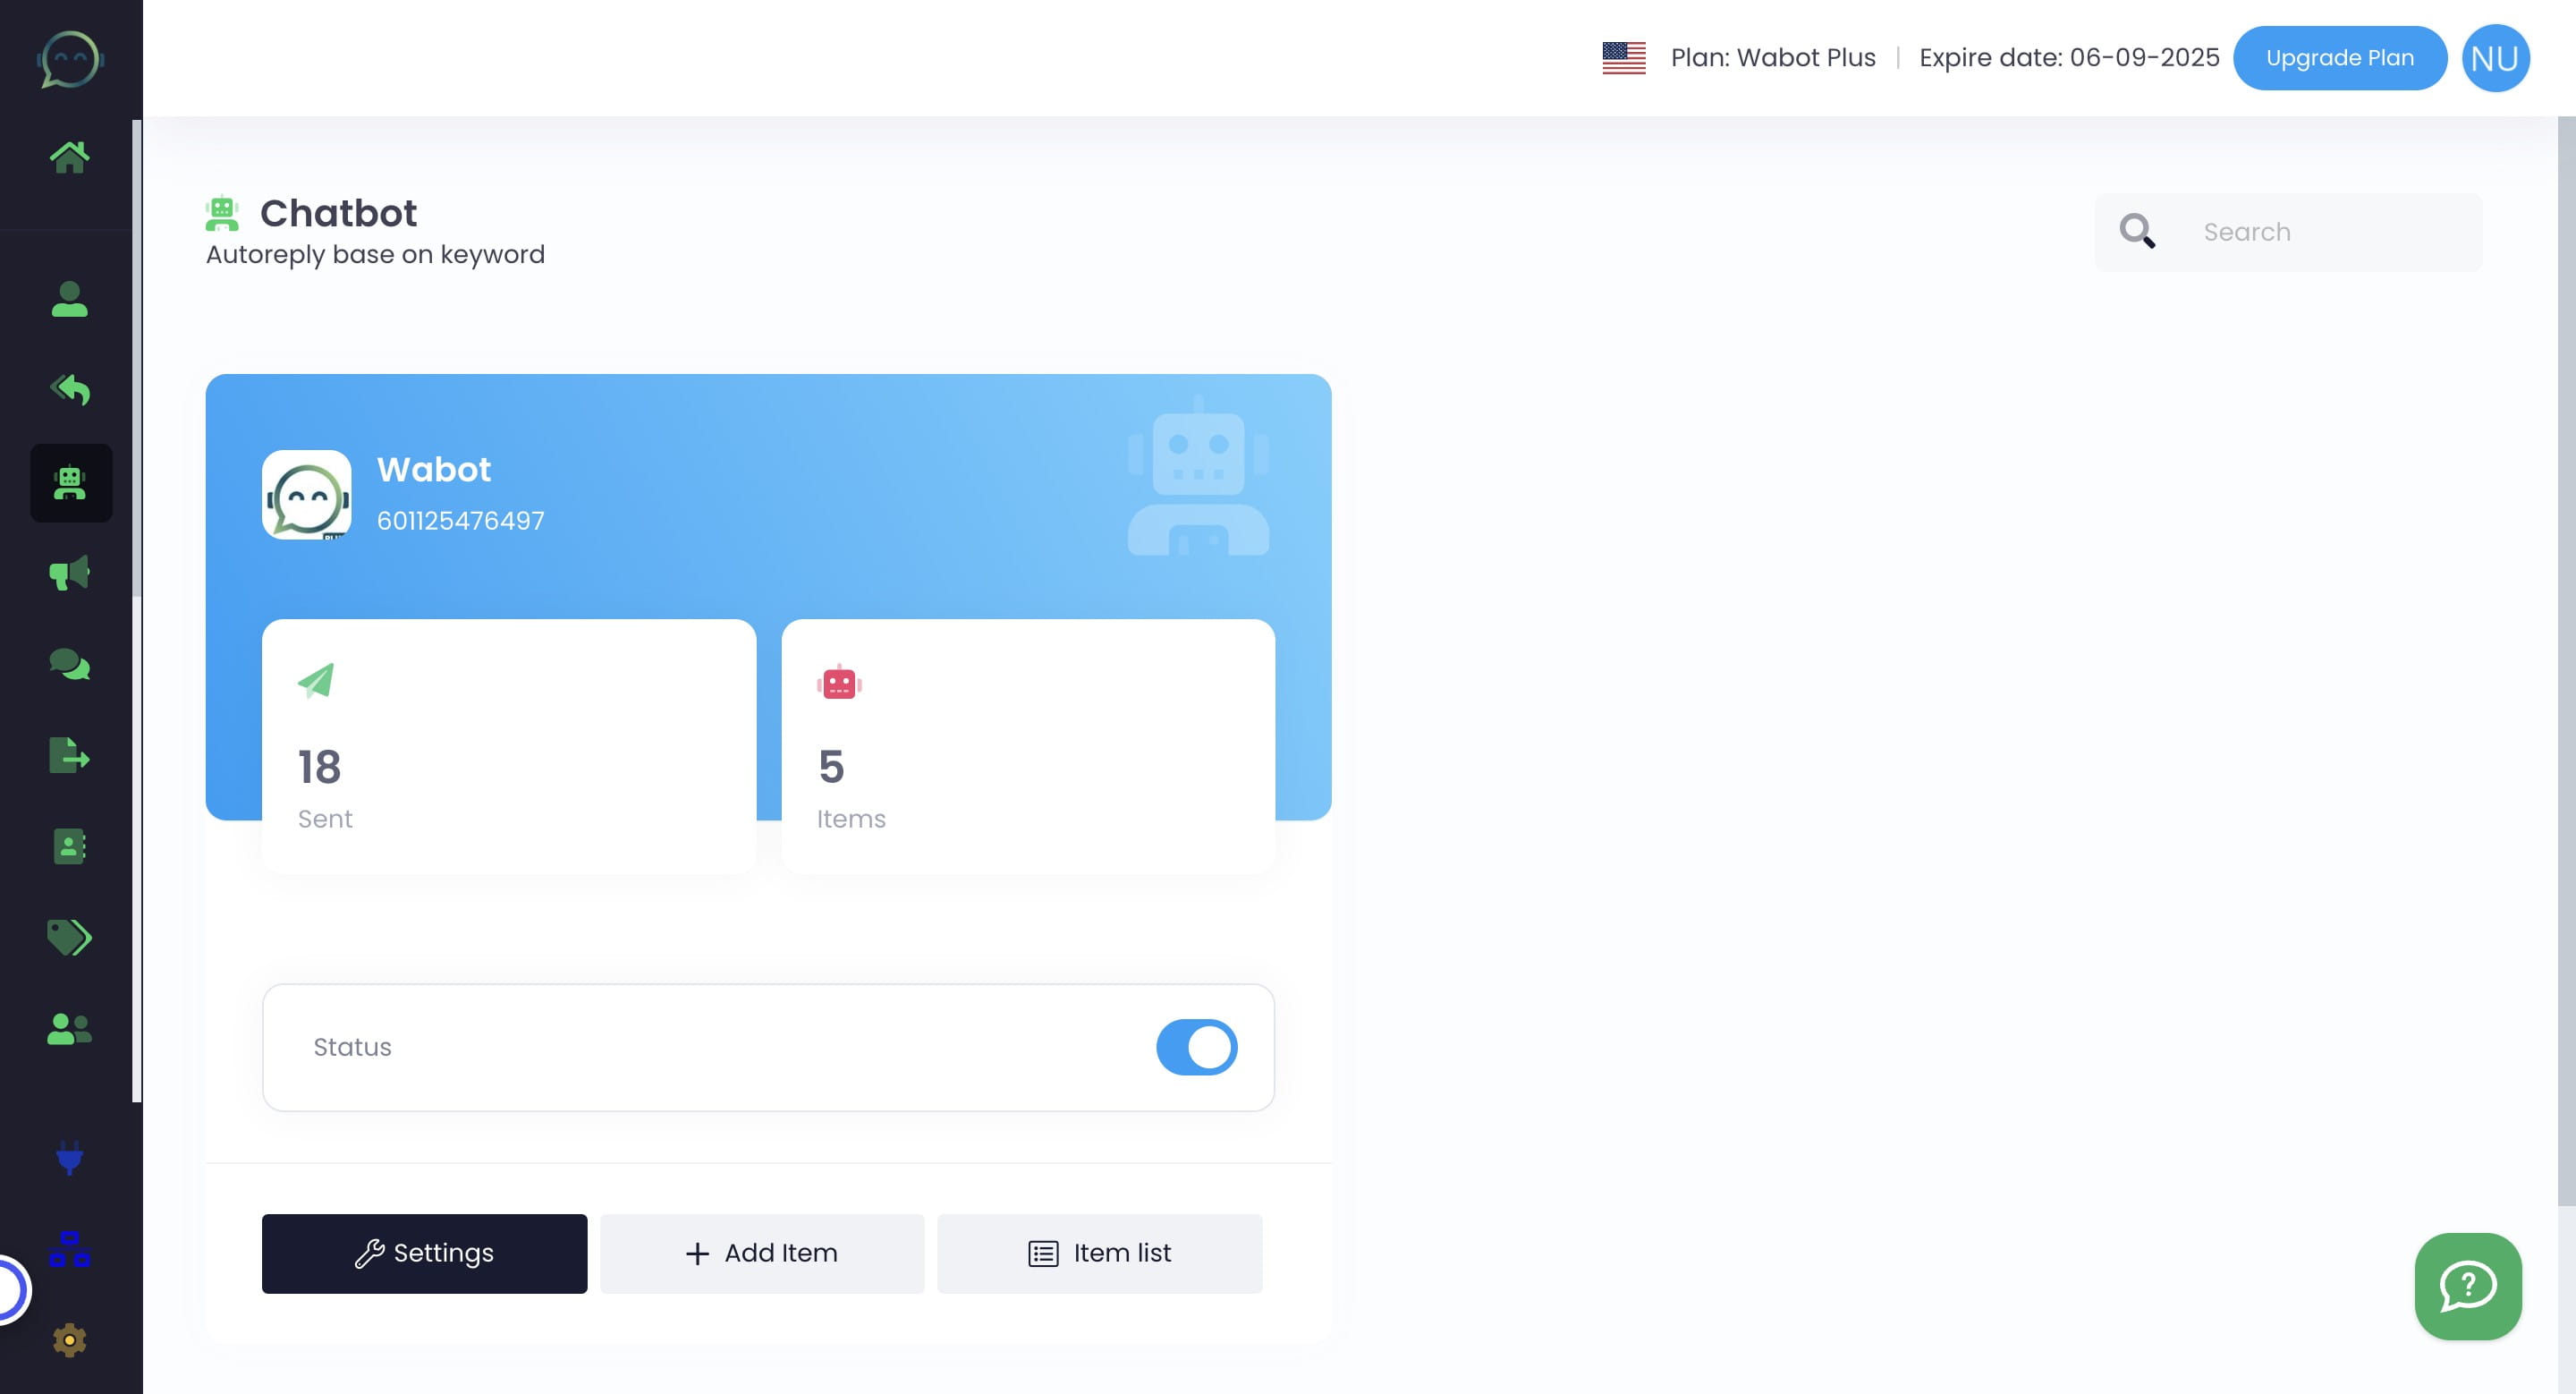
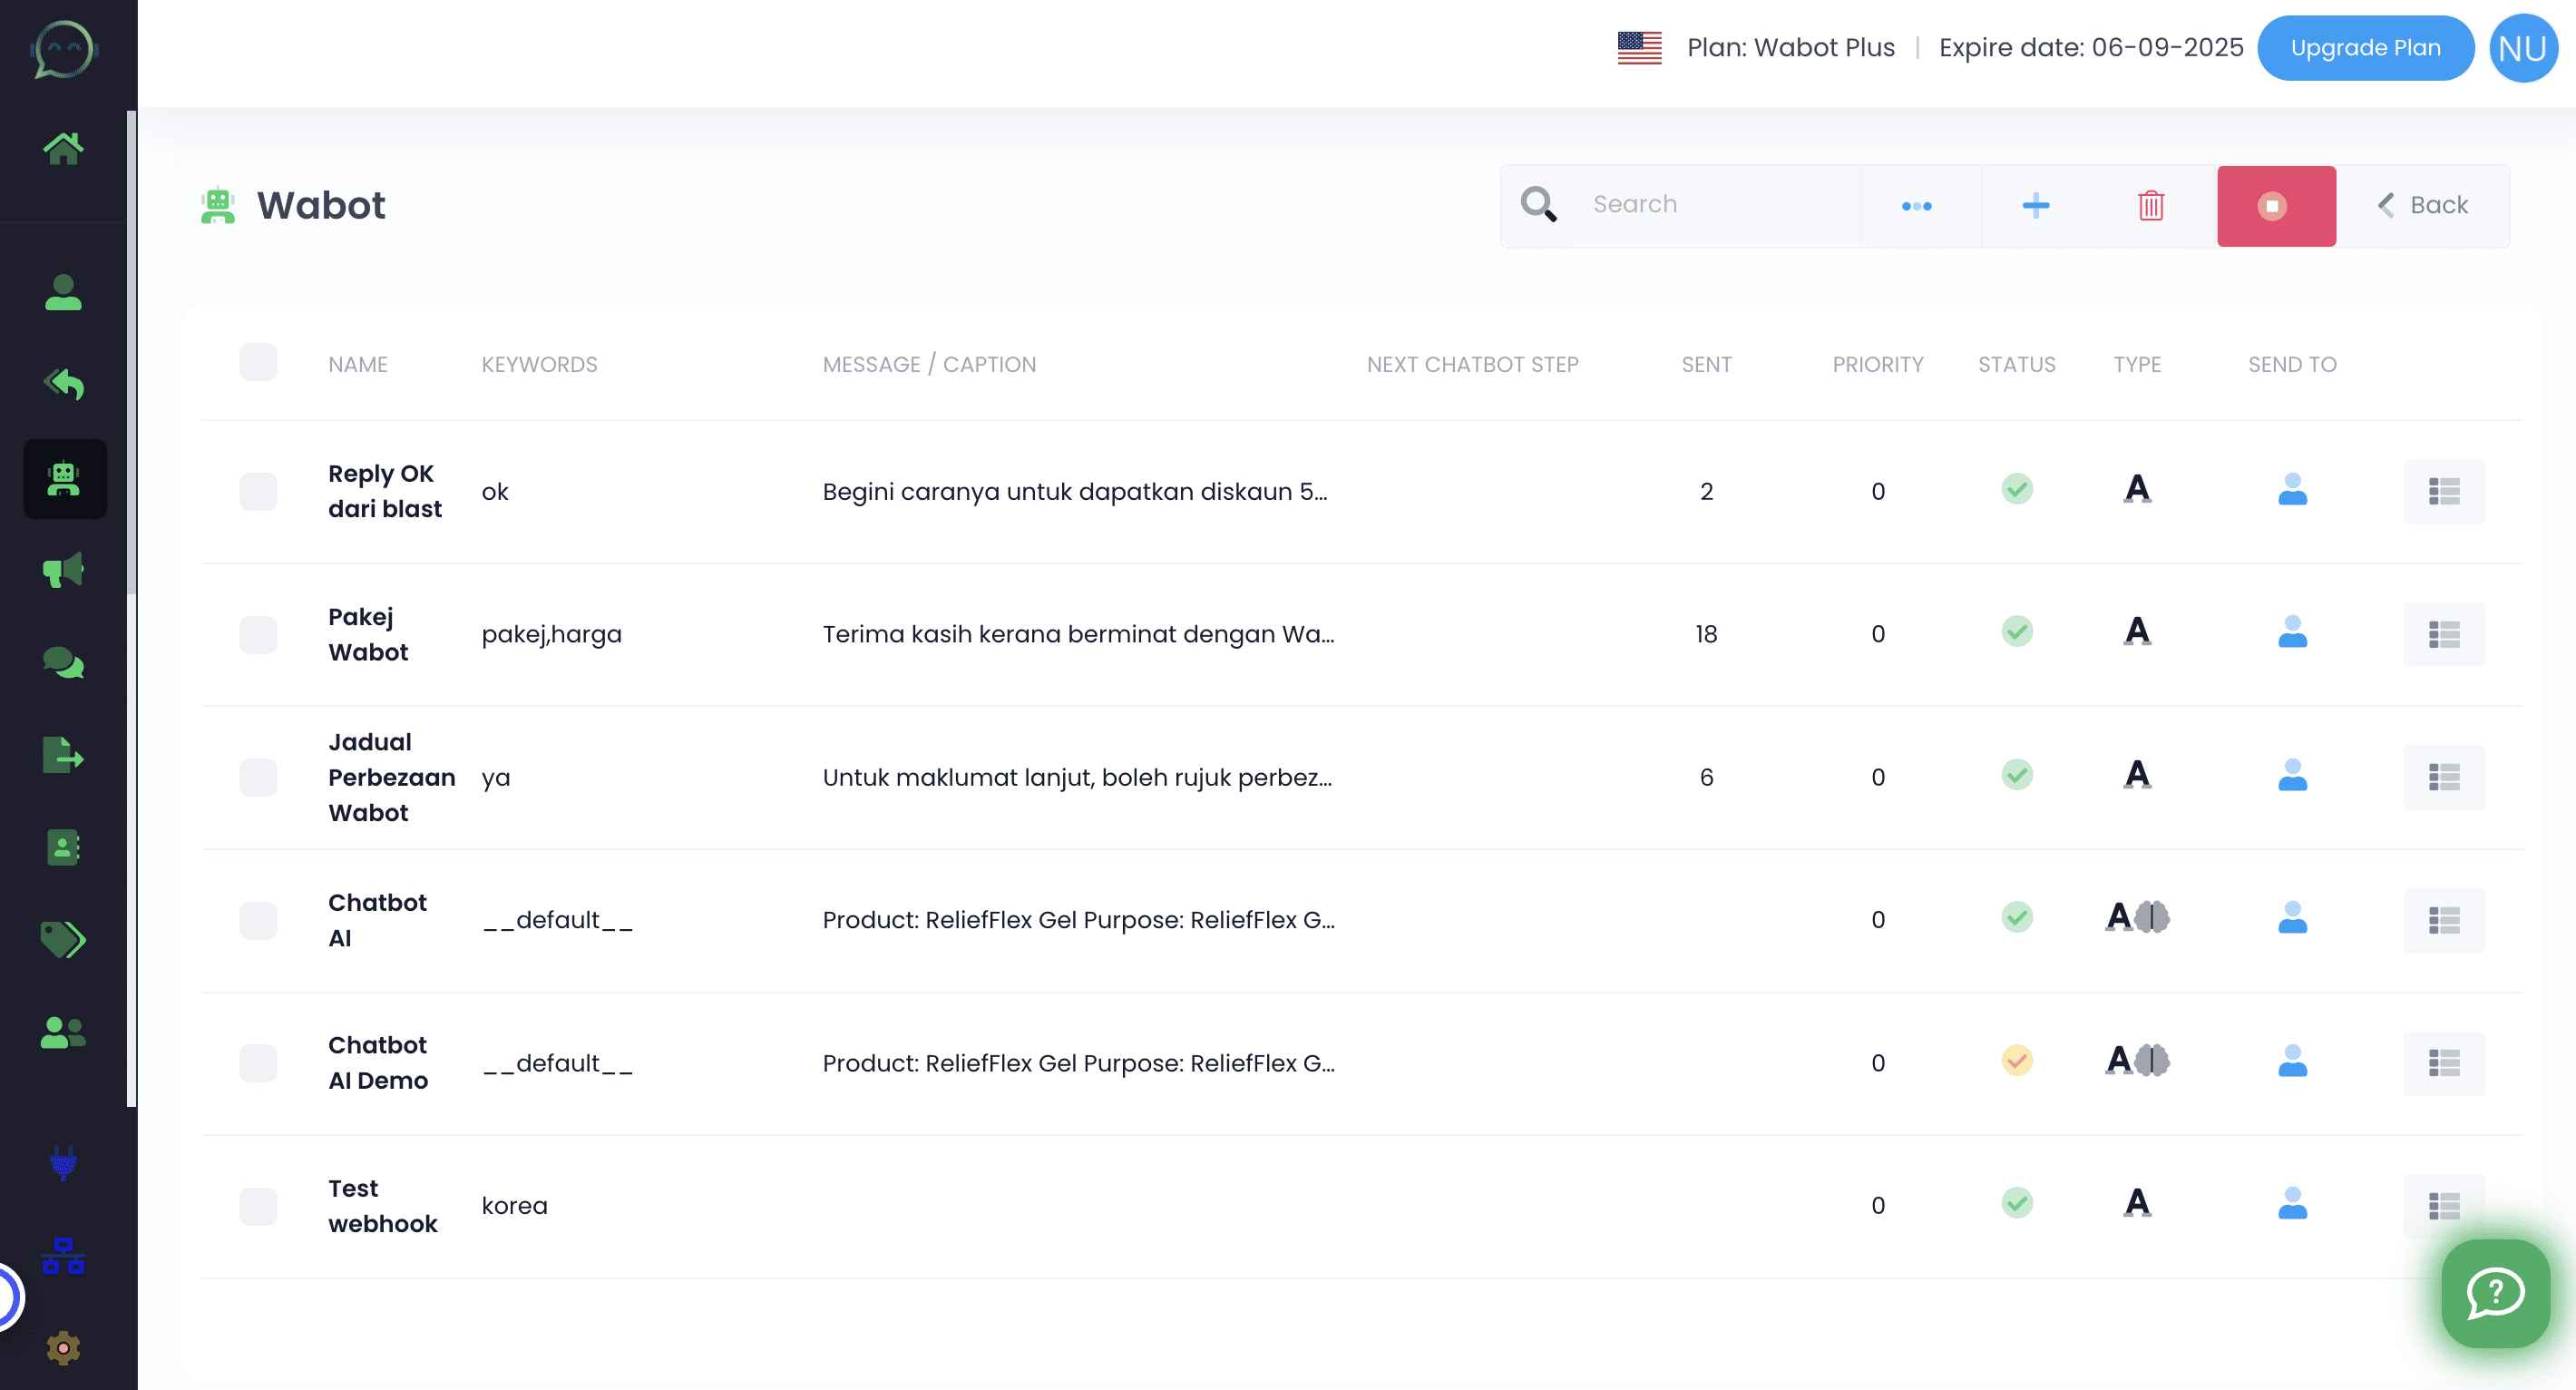
Go to Chatbot
Click this icon, to set universal AI setting. This setting will control the general aspect of the AI
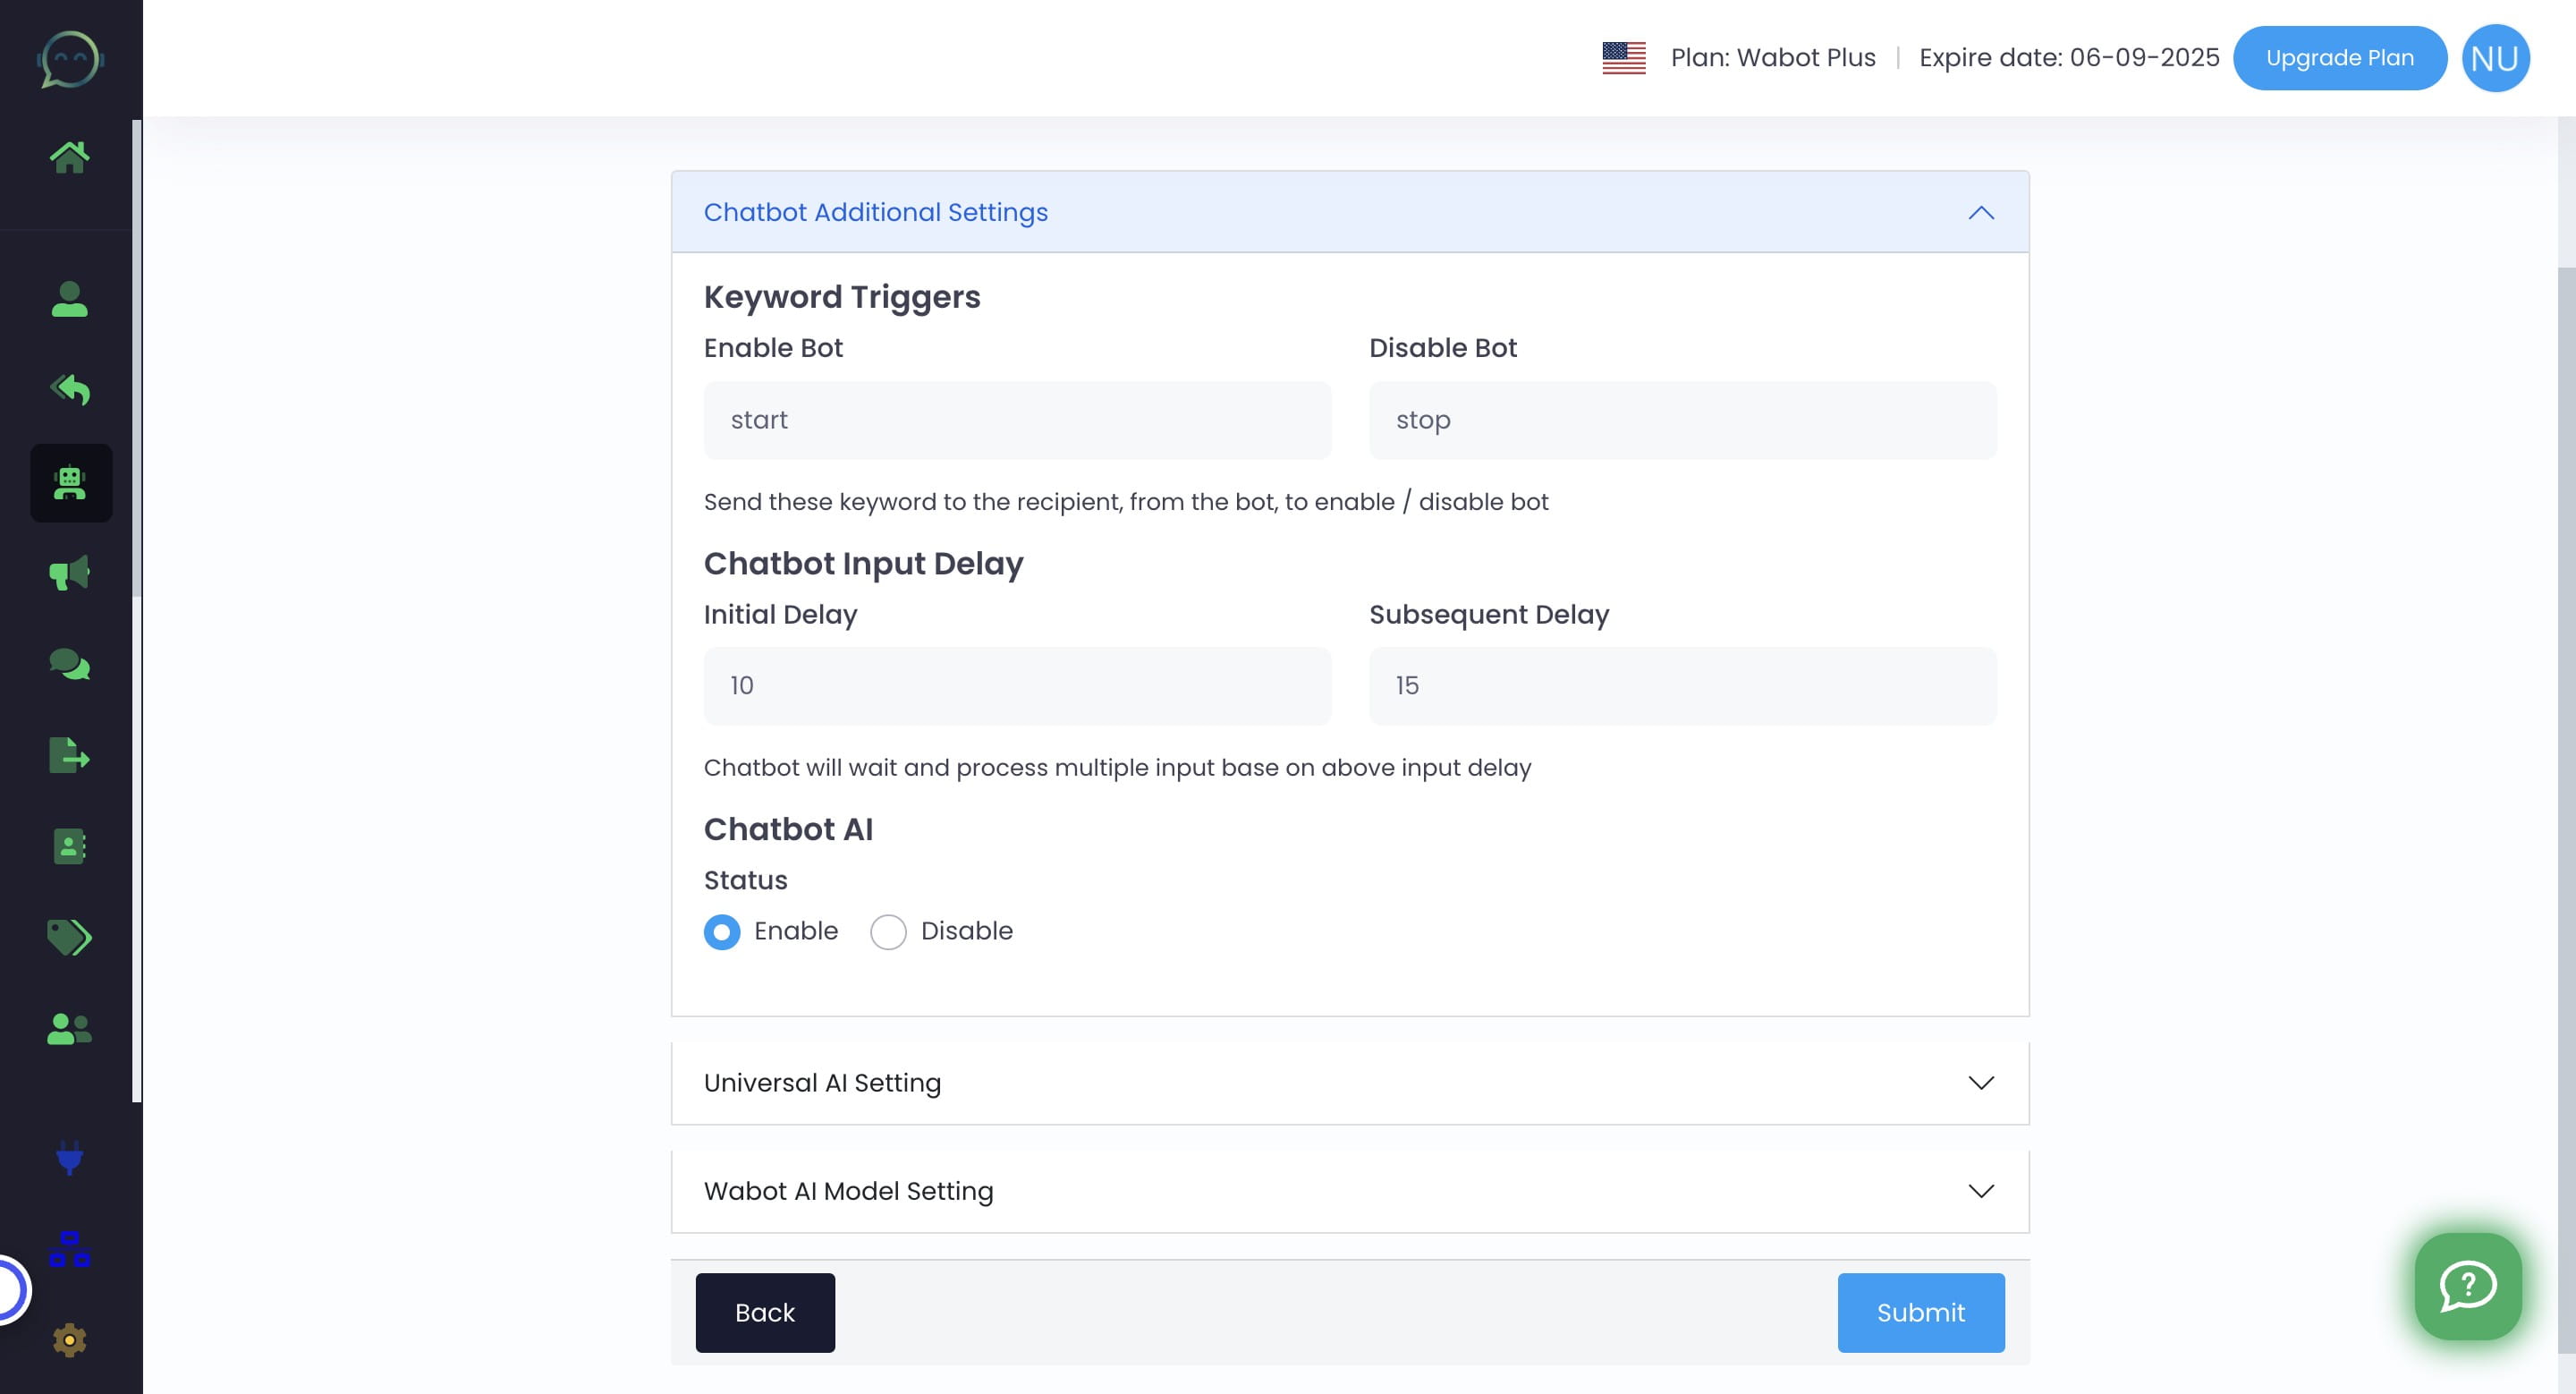
Let say you want to interrupt during the conversation between AI and customer you can reply "stop" and you can take over from there. Send "start" to resume the chatbot
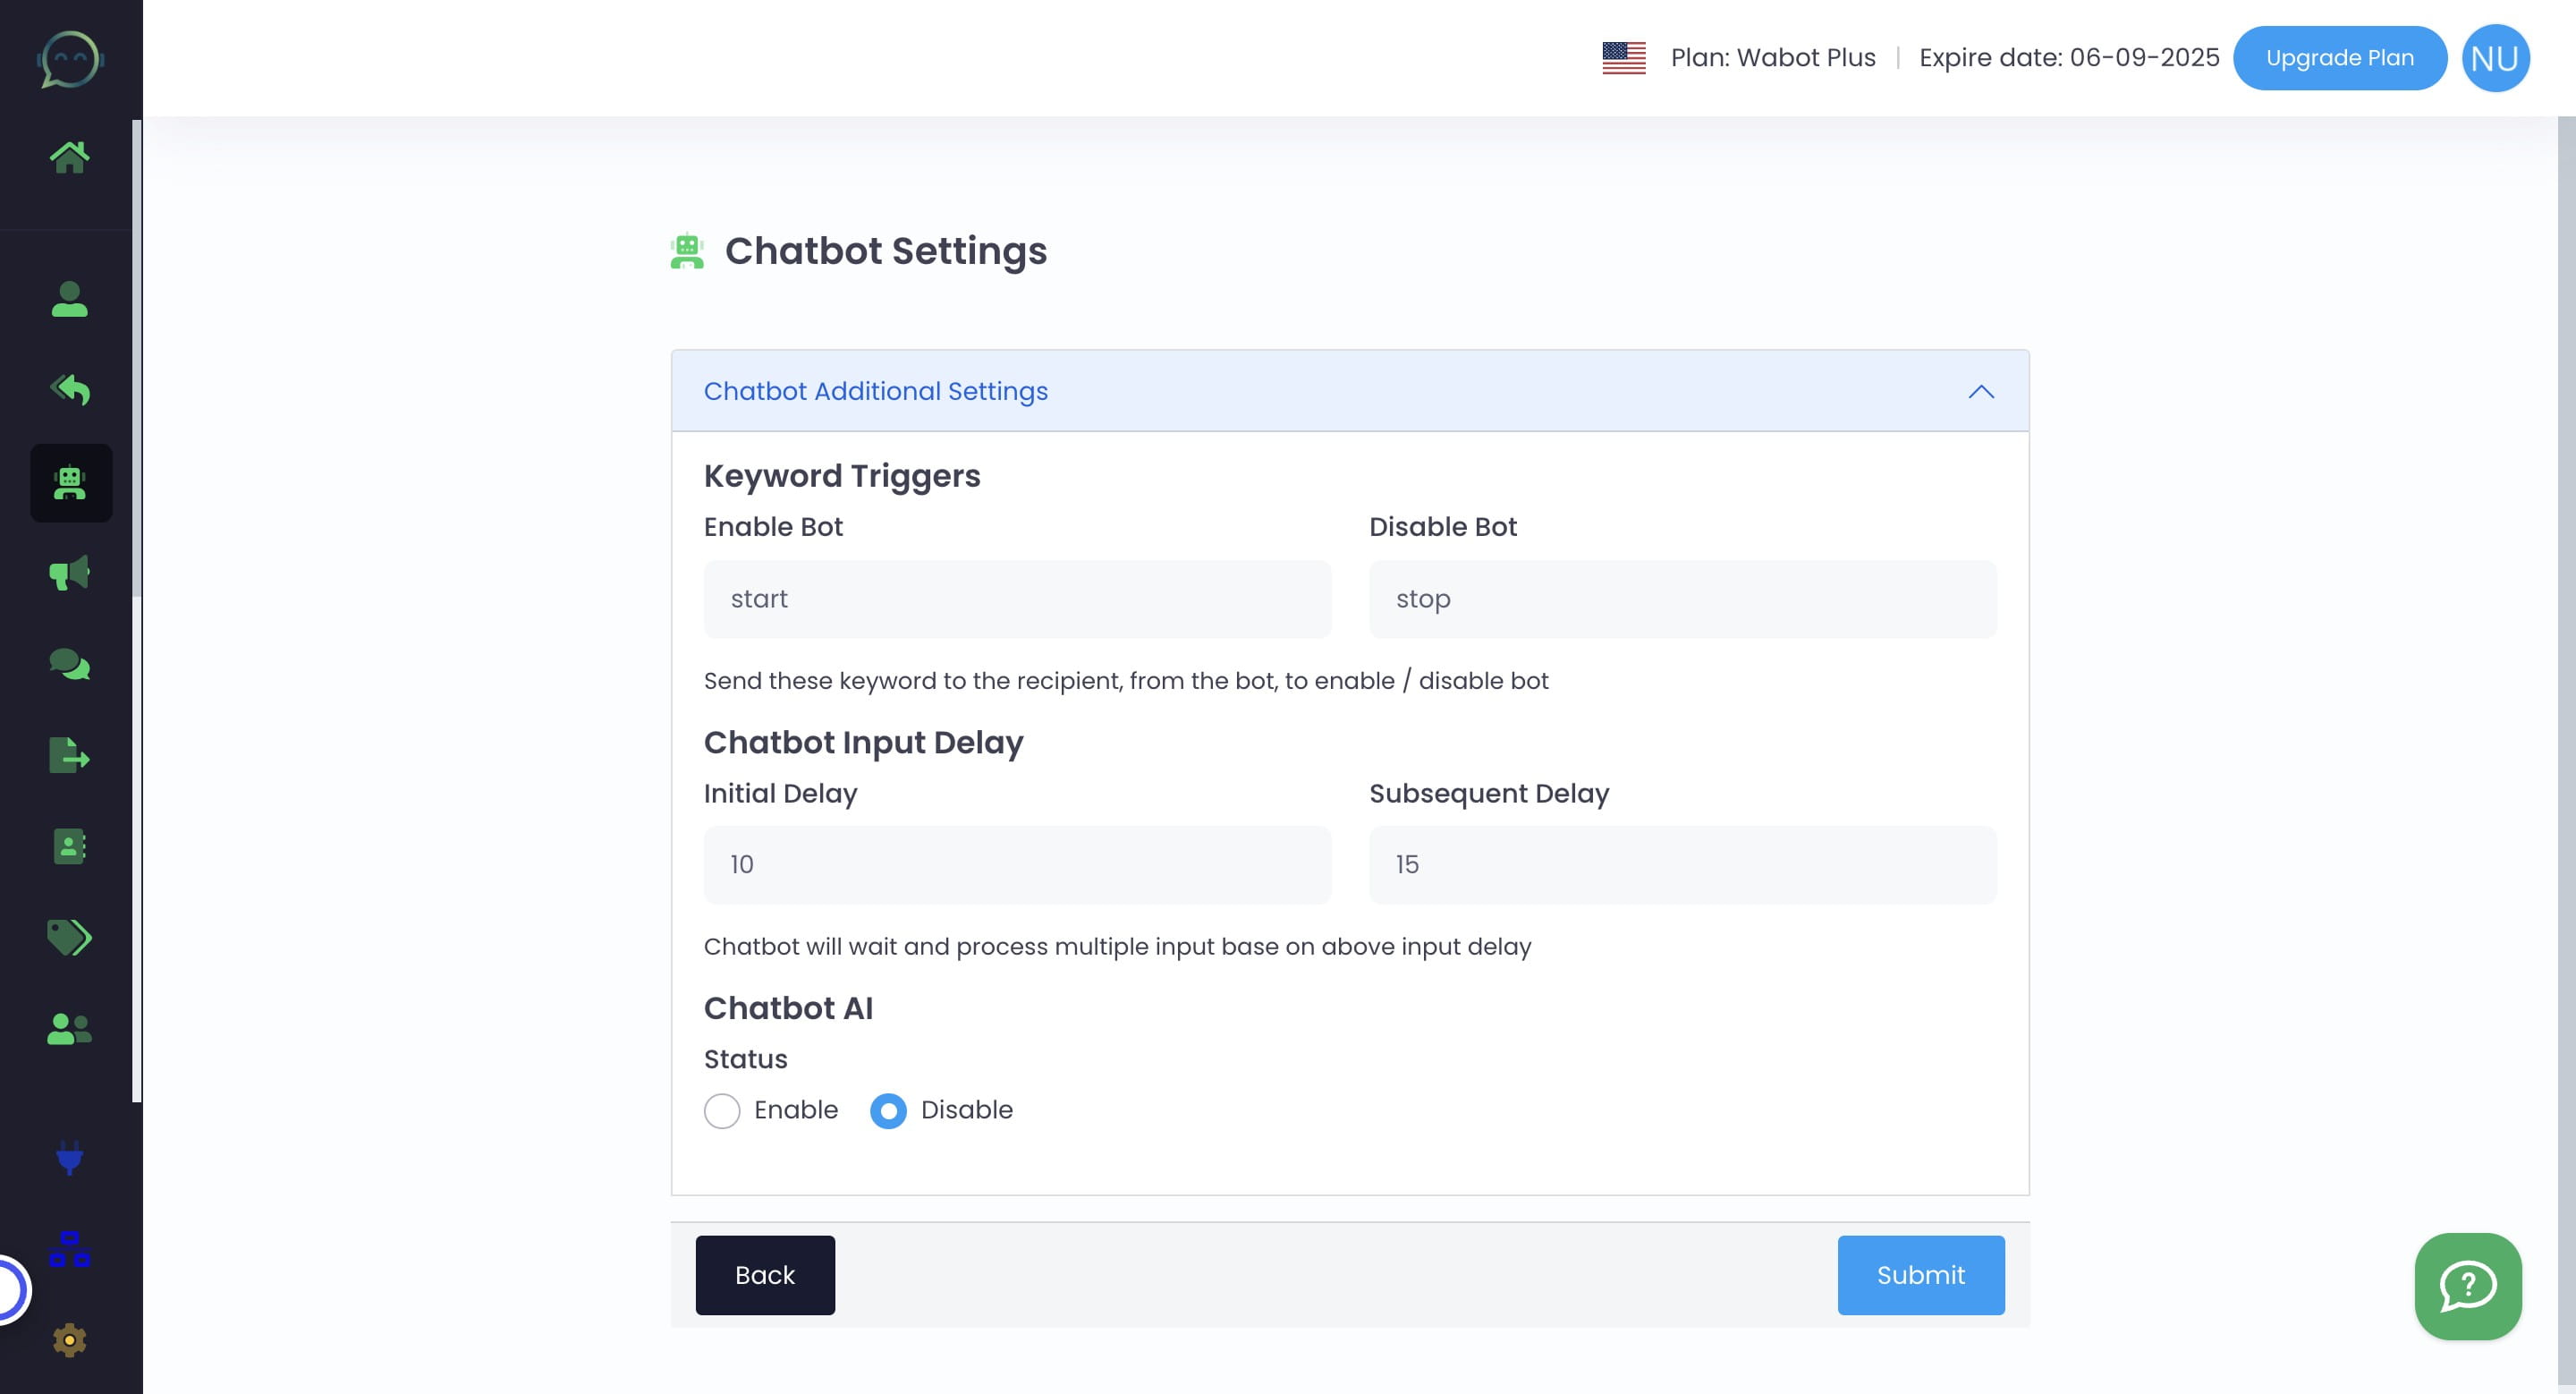
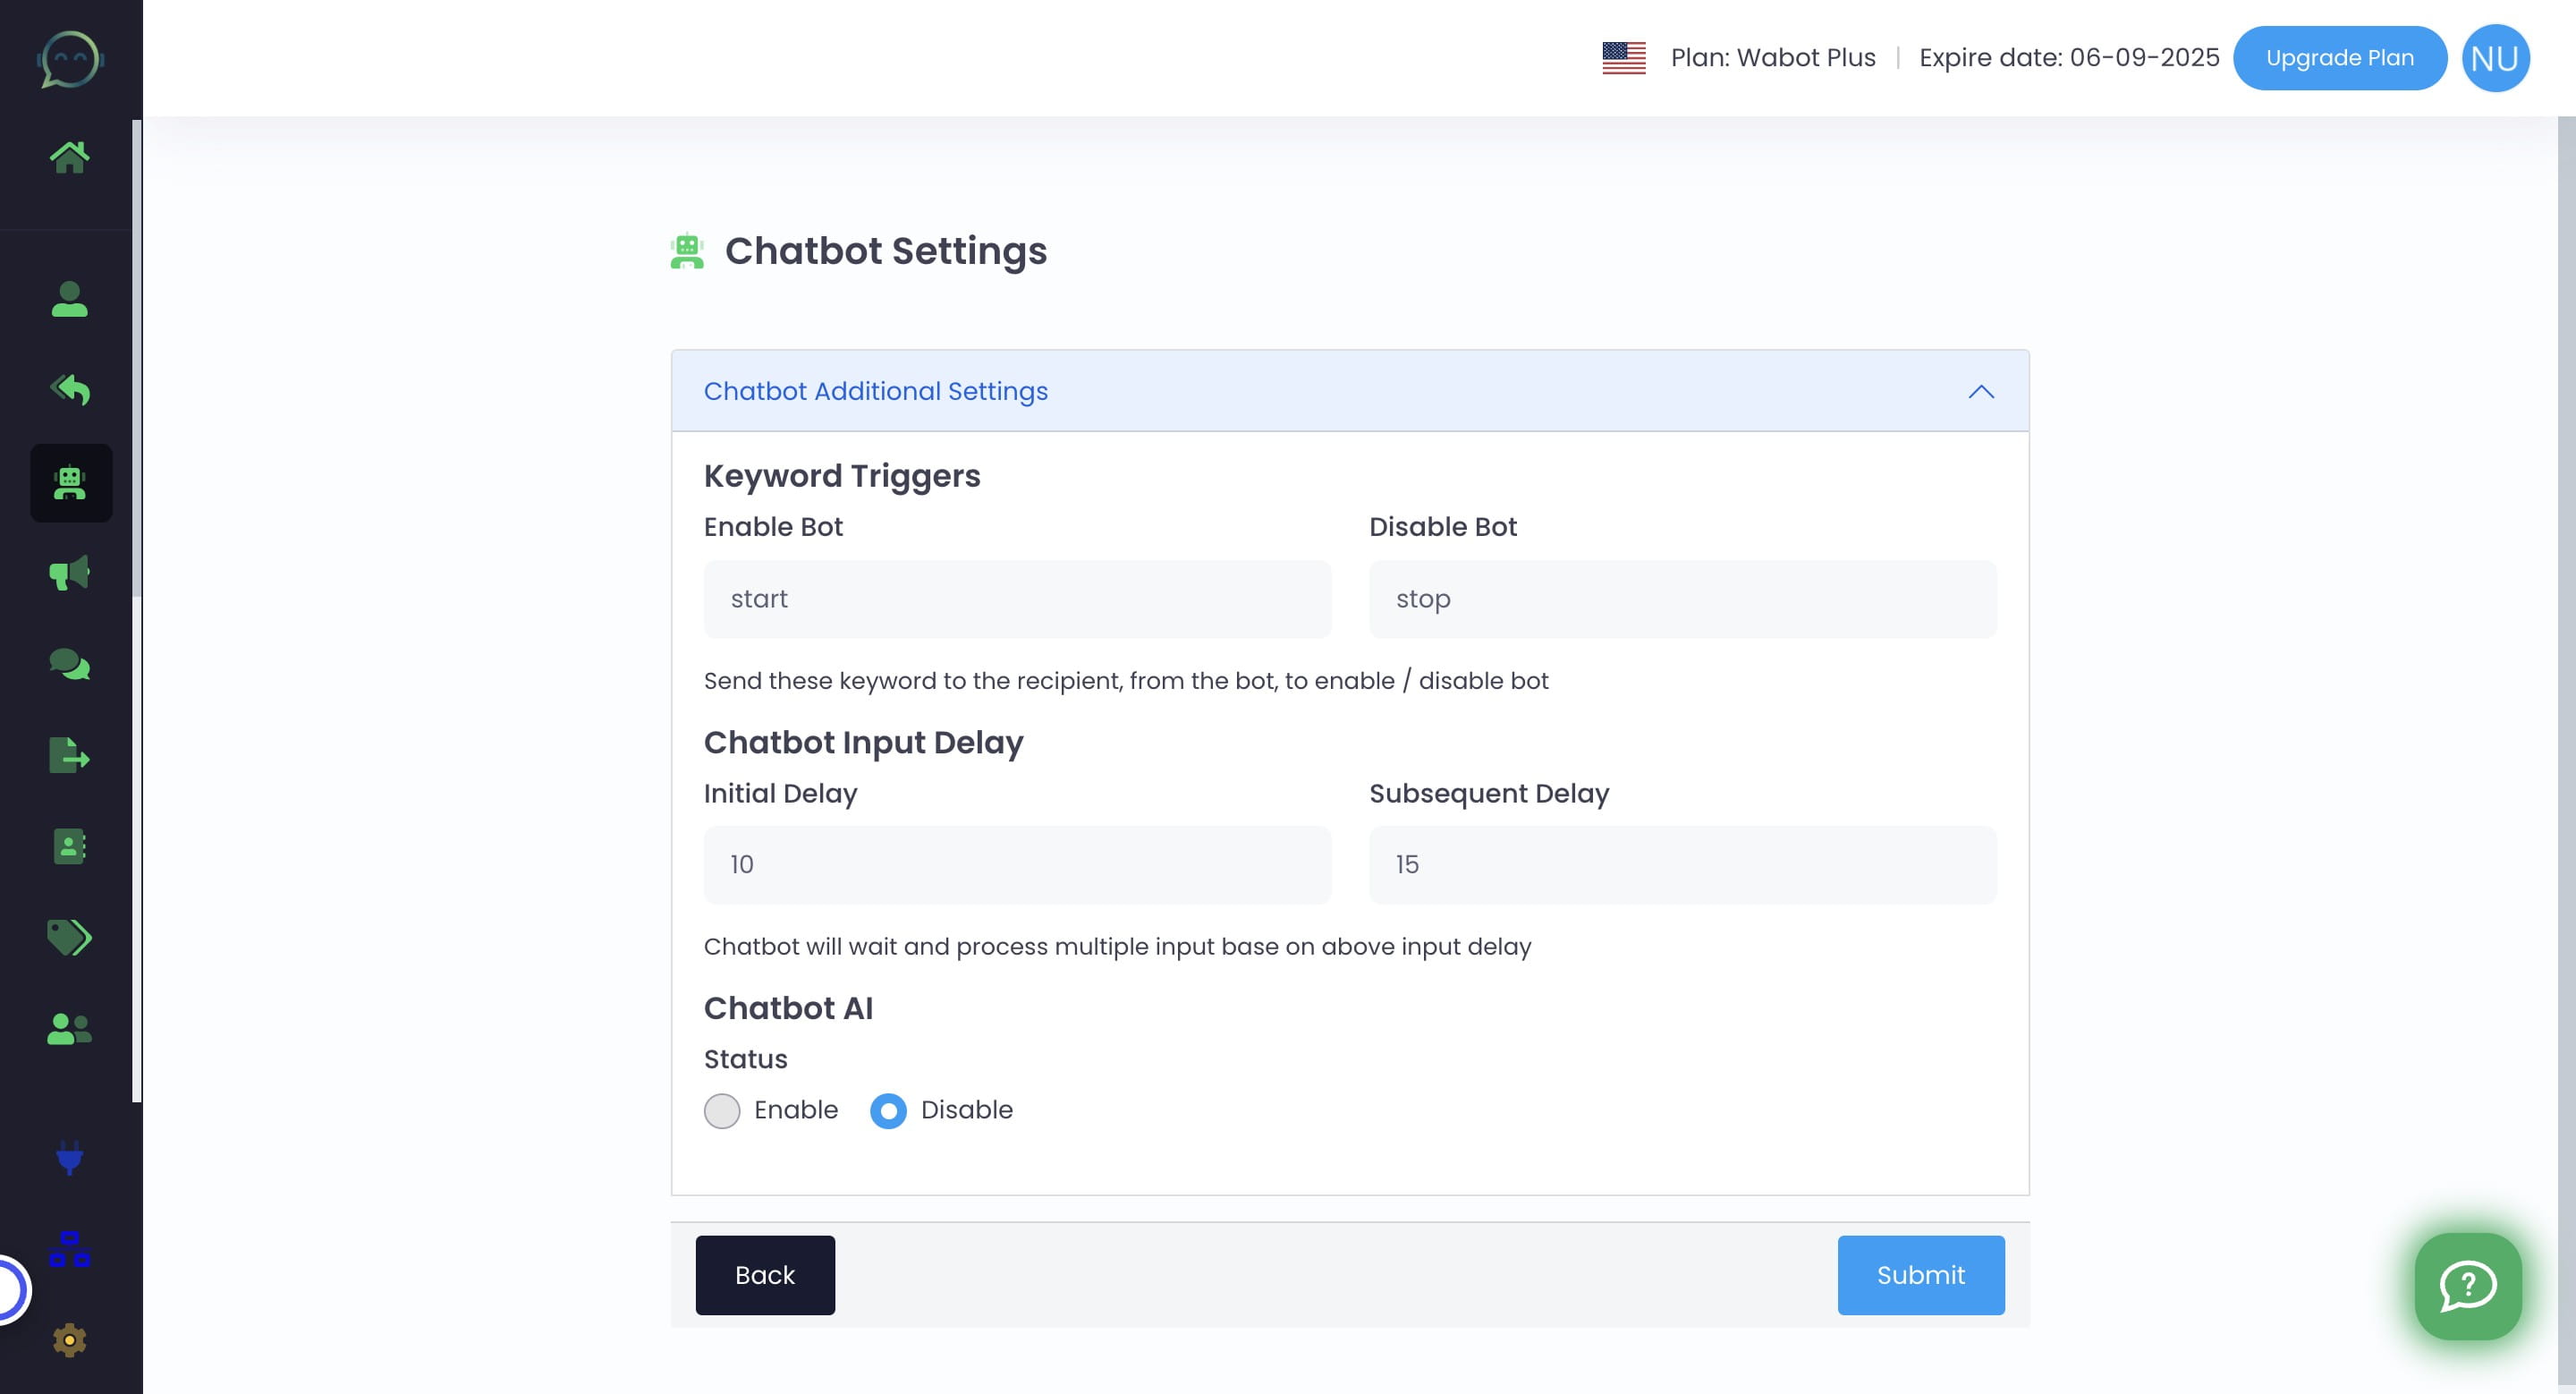
This feature adds a delay between inputs (customer messages), allowing the AI to wait before replying to messages altogether. Set the delay to 0 if desired

Enable Chatbot AI
Click on "Universal AI Setting"
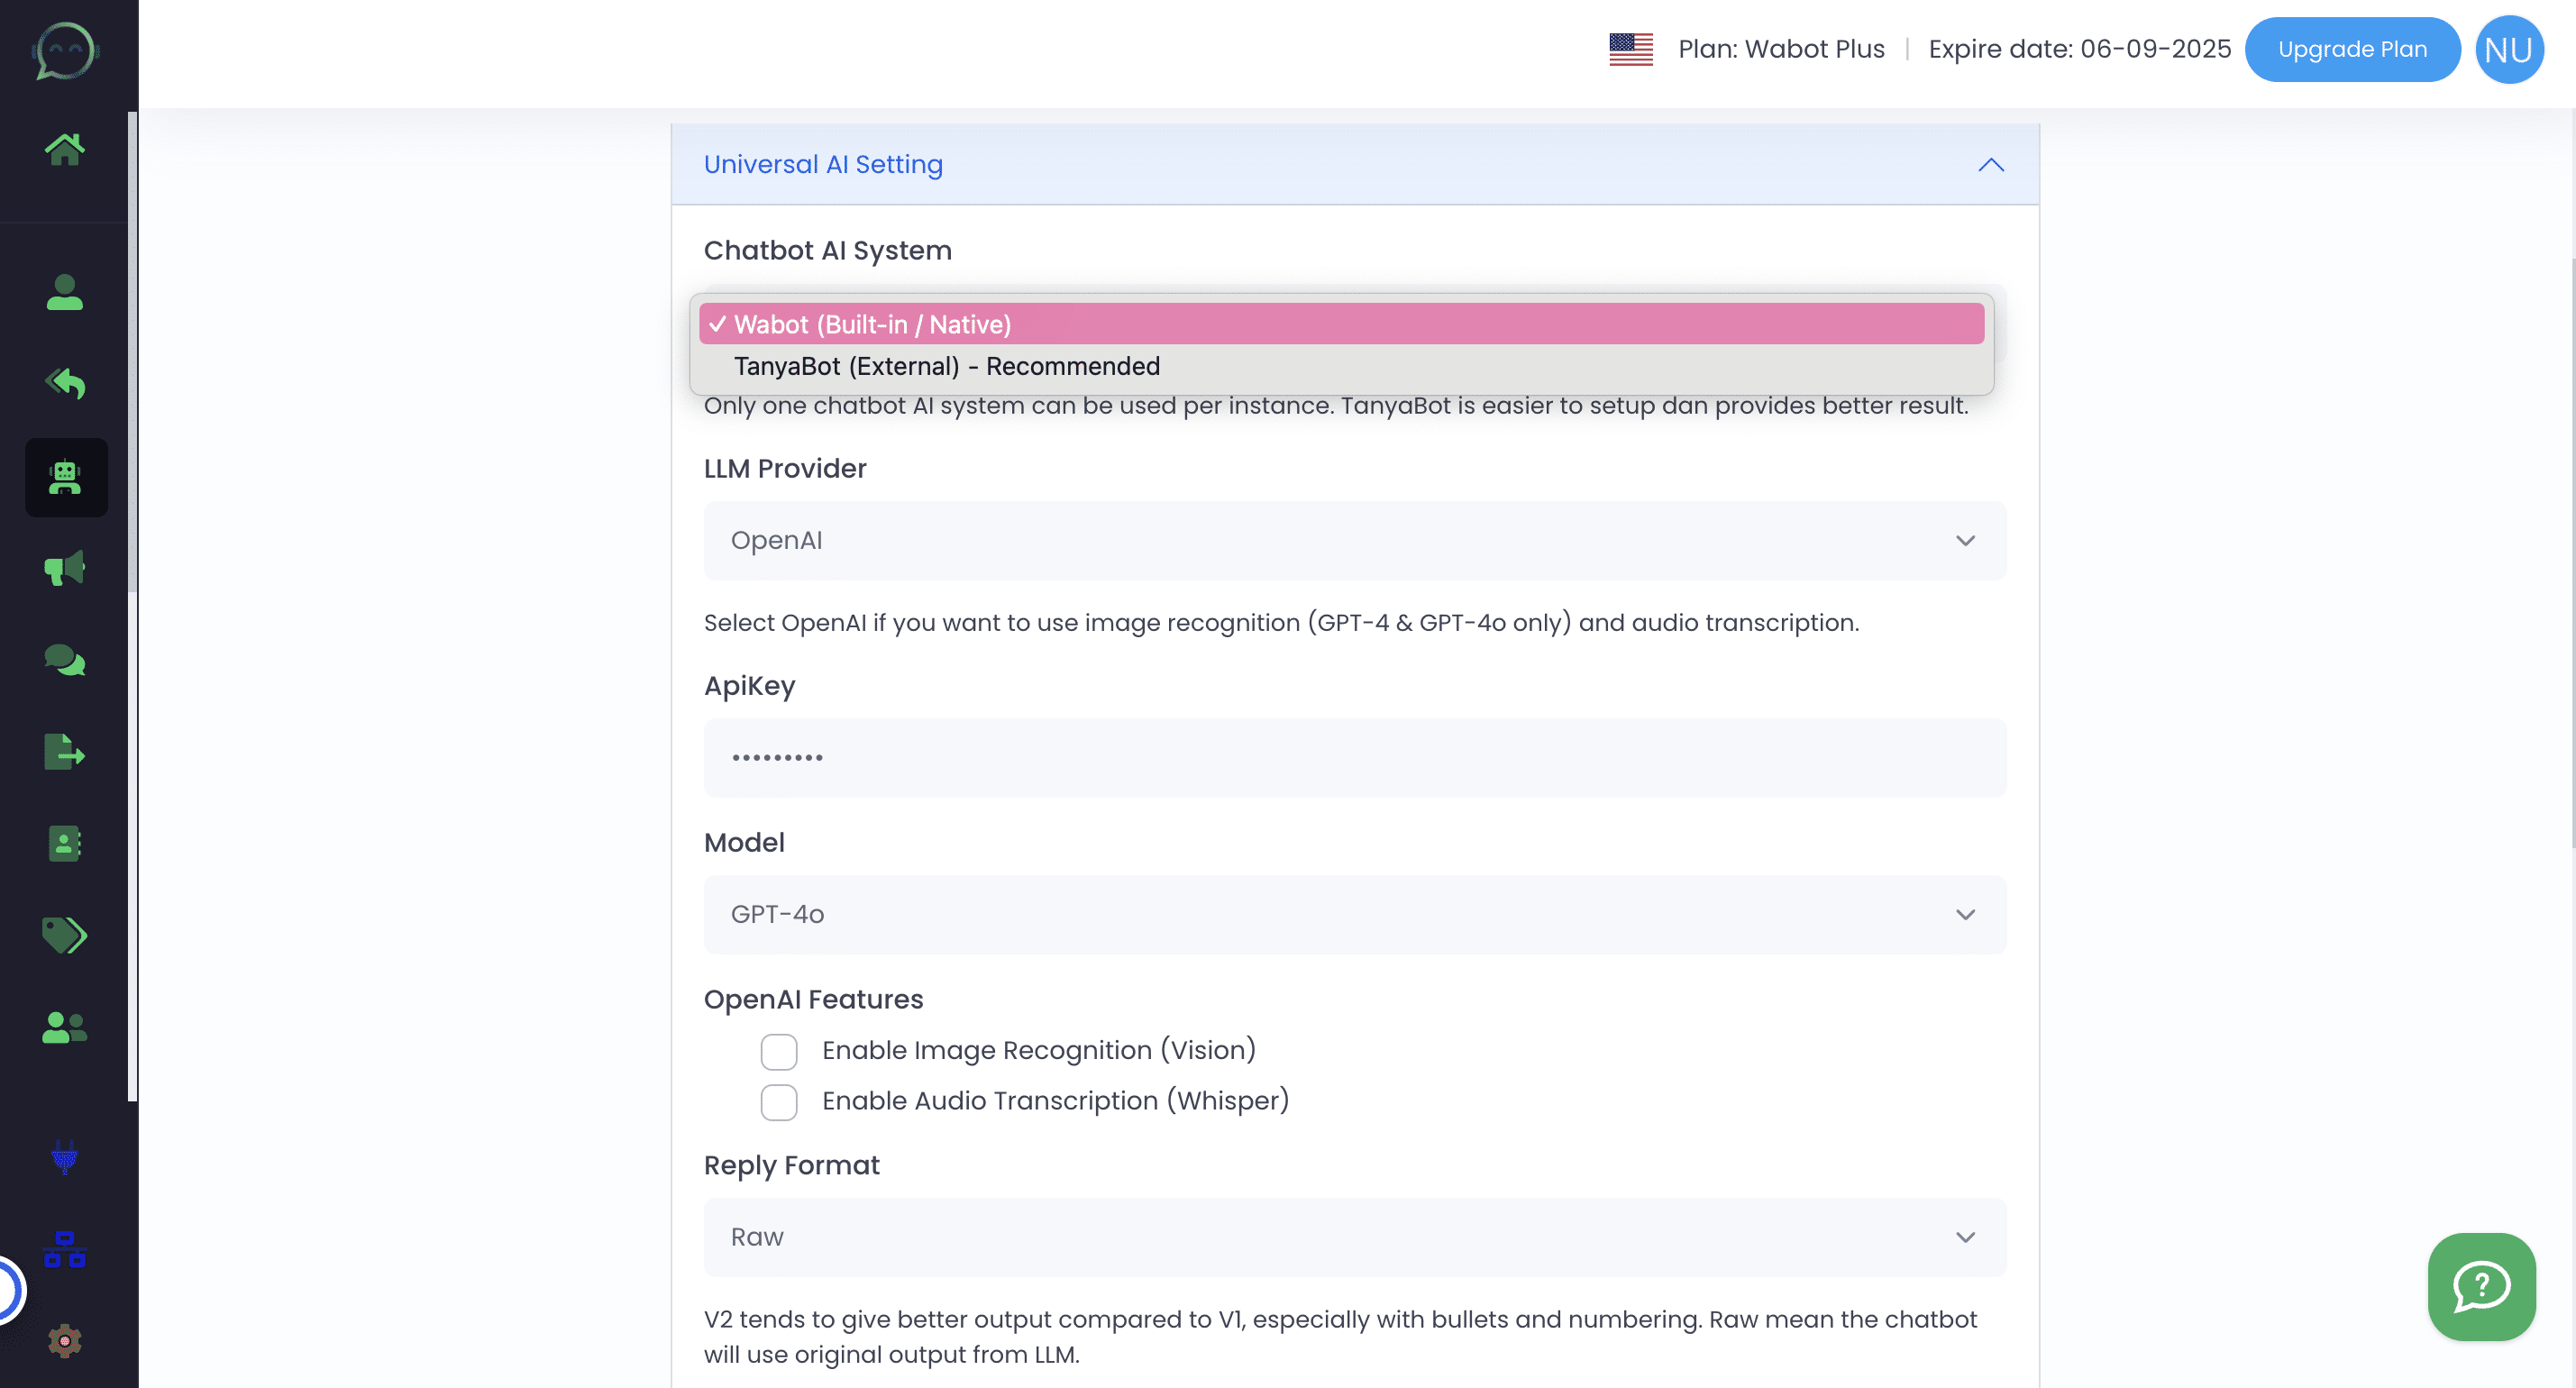
You have two systems to choose from: Wabot (native) and TanyaBot. Wabot allows for direct input of data into its system, making it straightforward to manage. TanyaBot offers greater flexibility by enabling training with website links or PDF documents, allowing for diverse data sources
Choosing OpenAI as your LLM (language model) provider means exclusivity to OpenAI, whereas OpenRouter allows the use of multiple providers
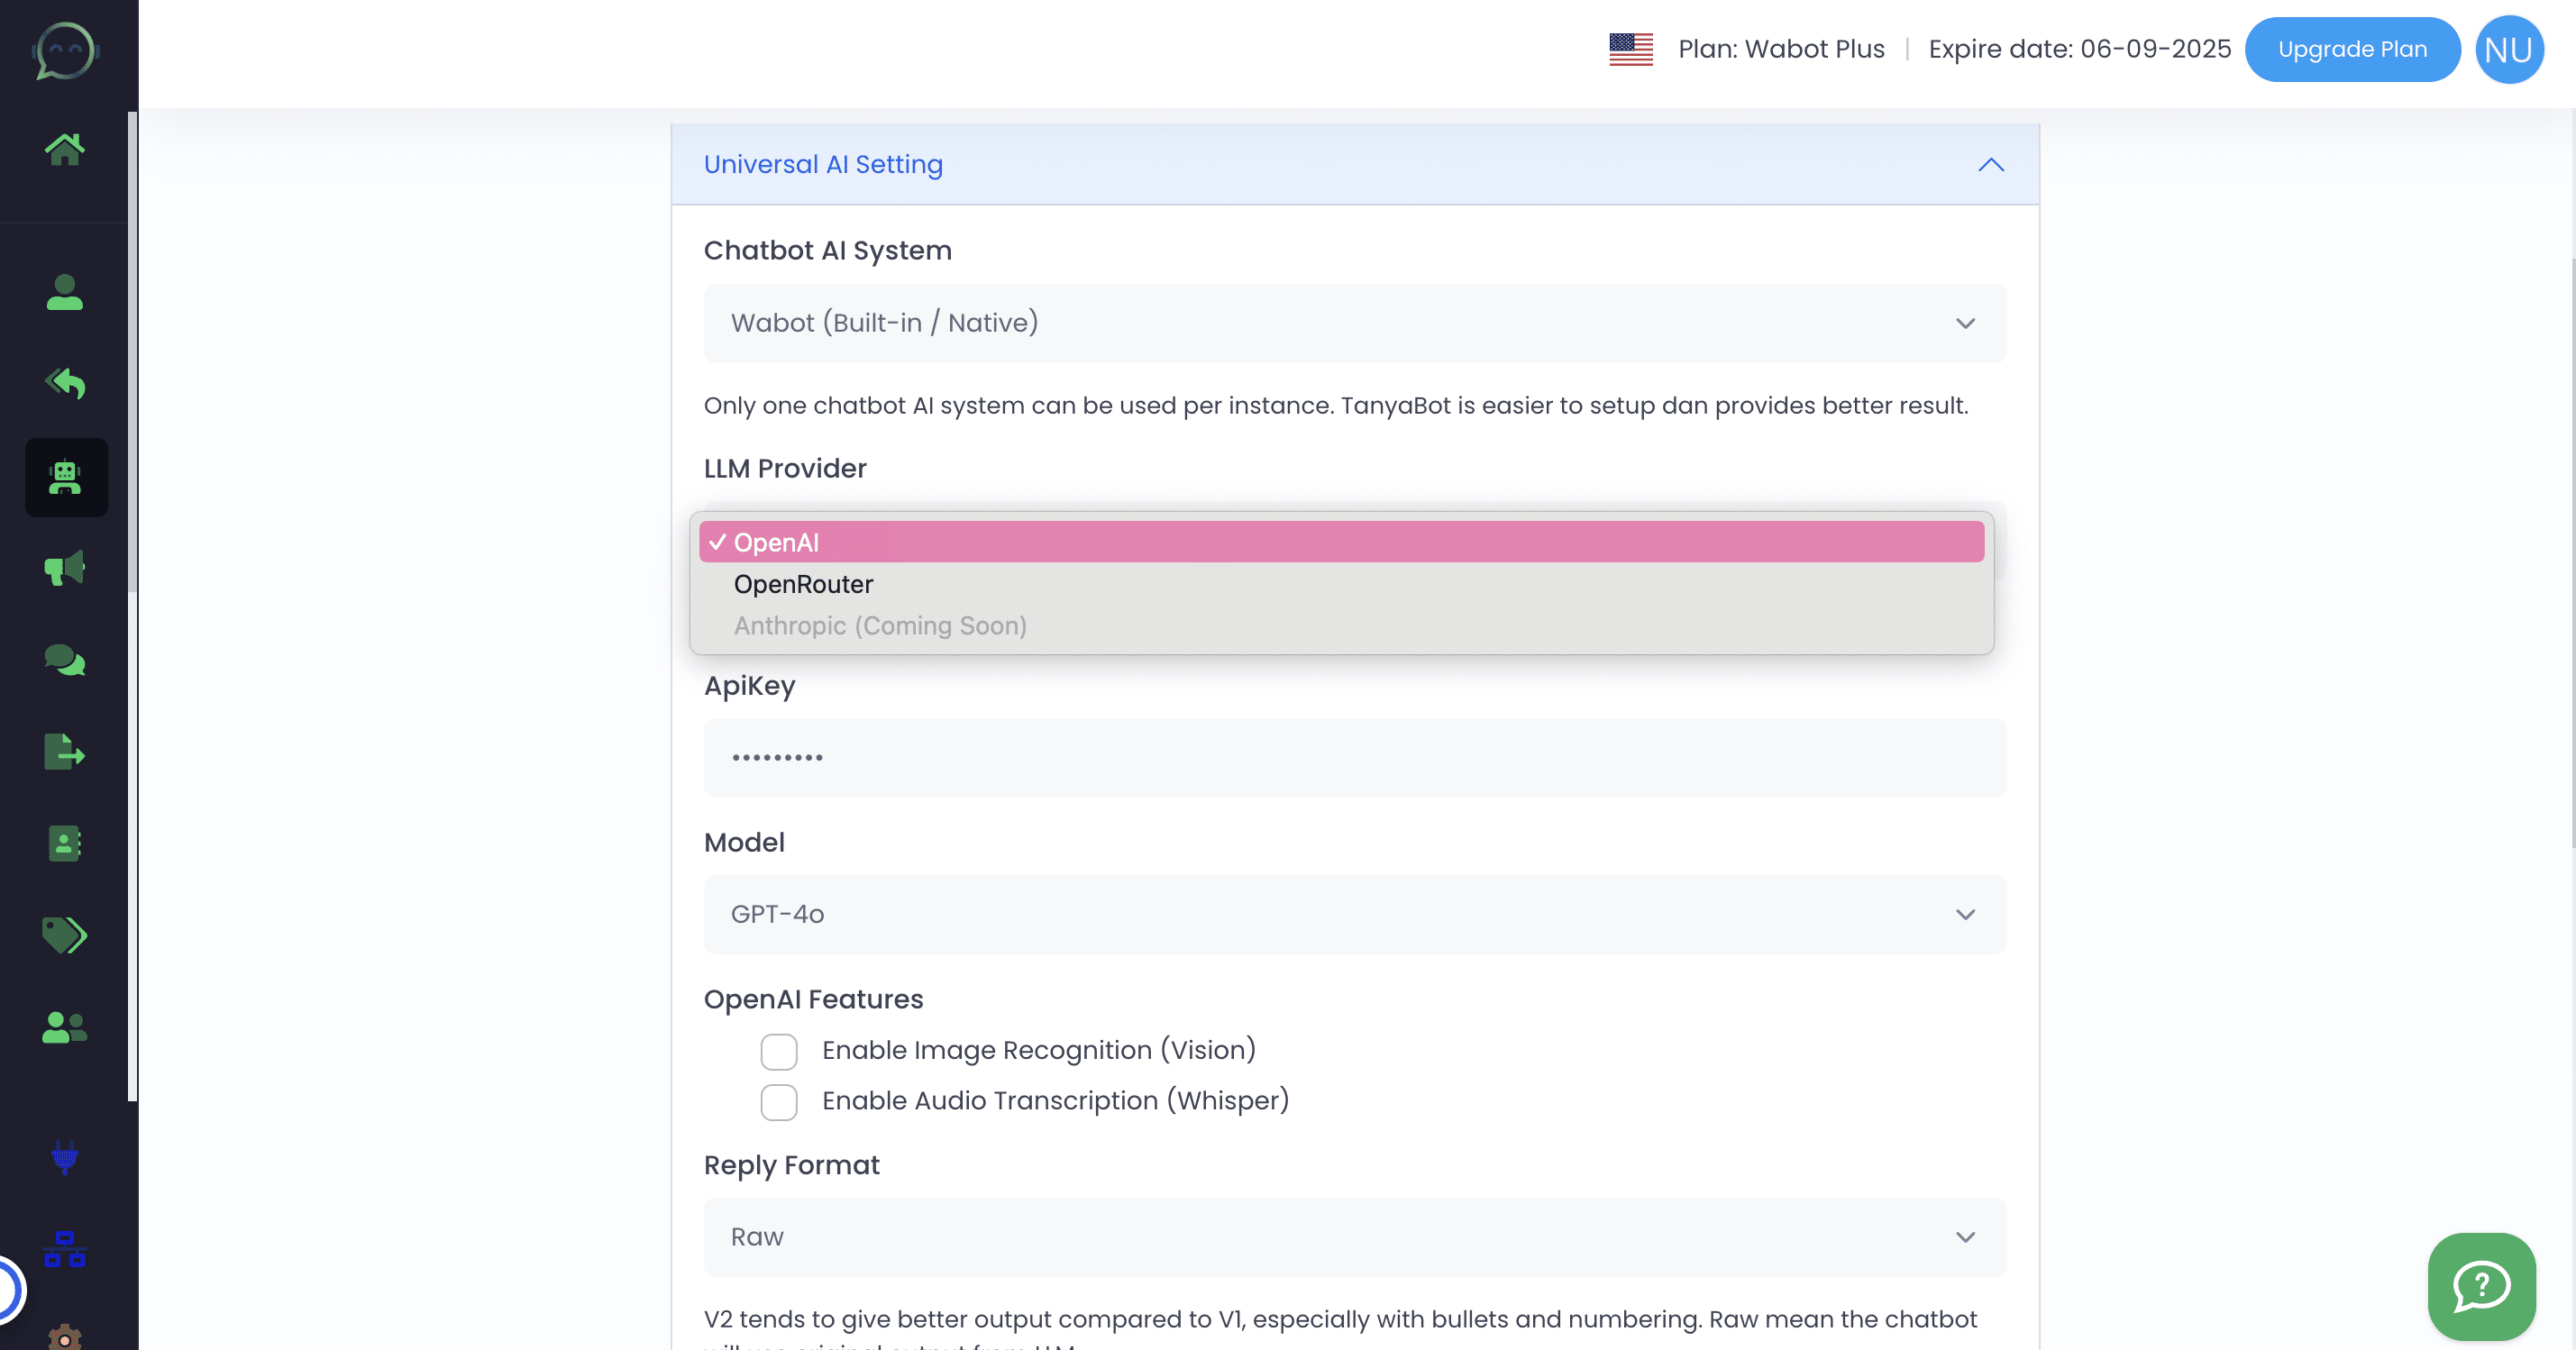
Although OpenRouter provides a wider range of options for LLM providers, we prefer OpenAI because it is more user-friendly and excels in training and processing data according to our specific requirements
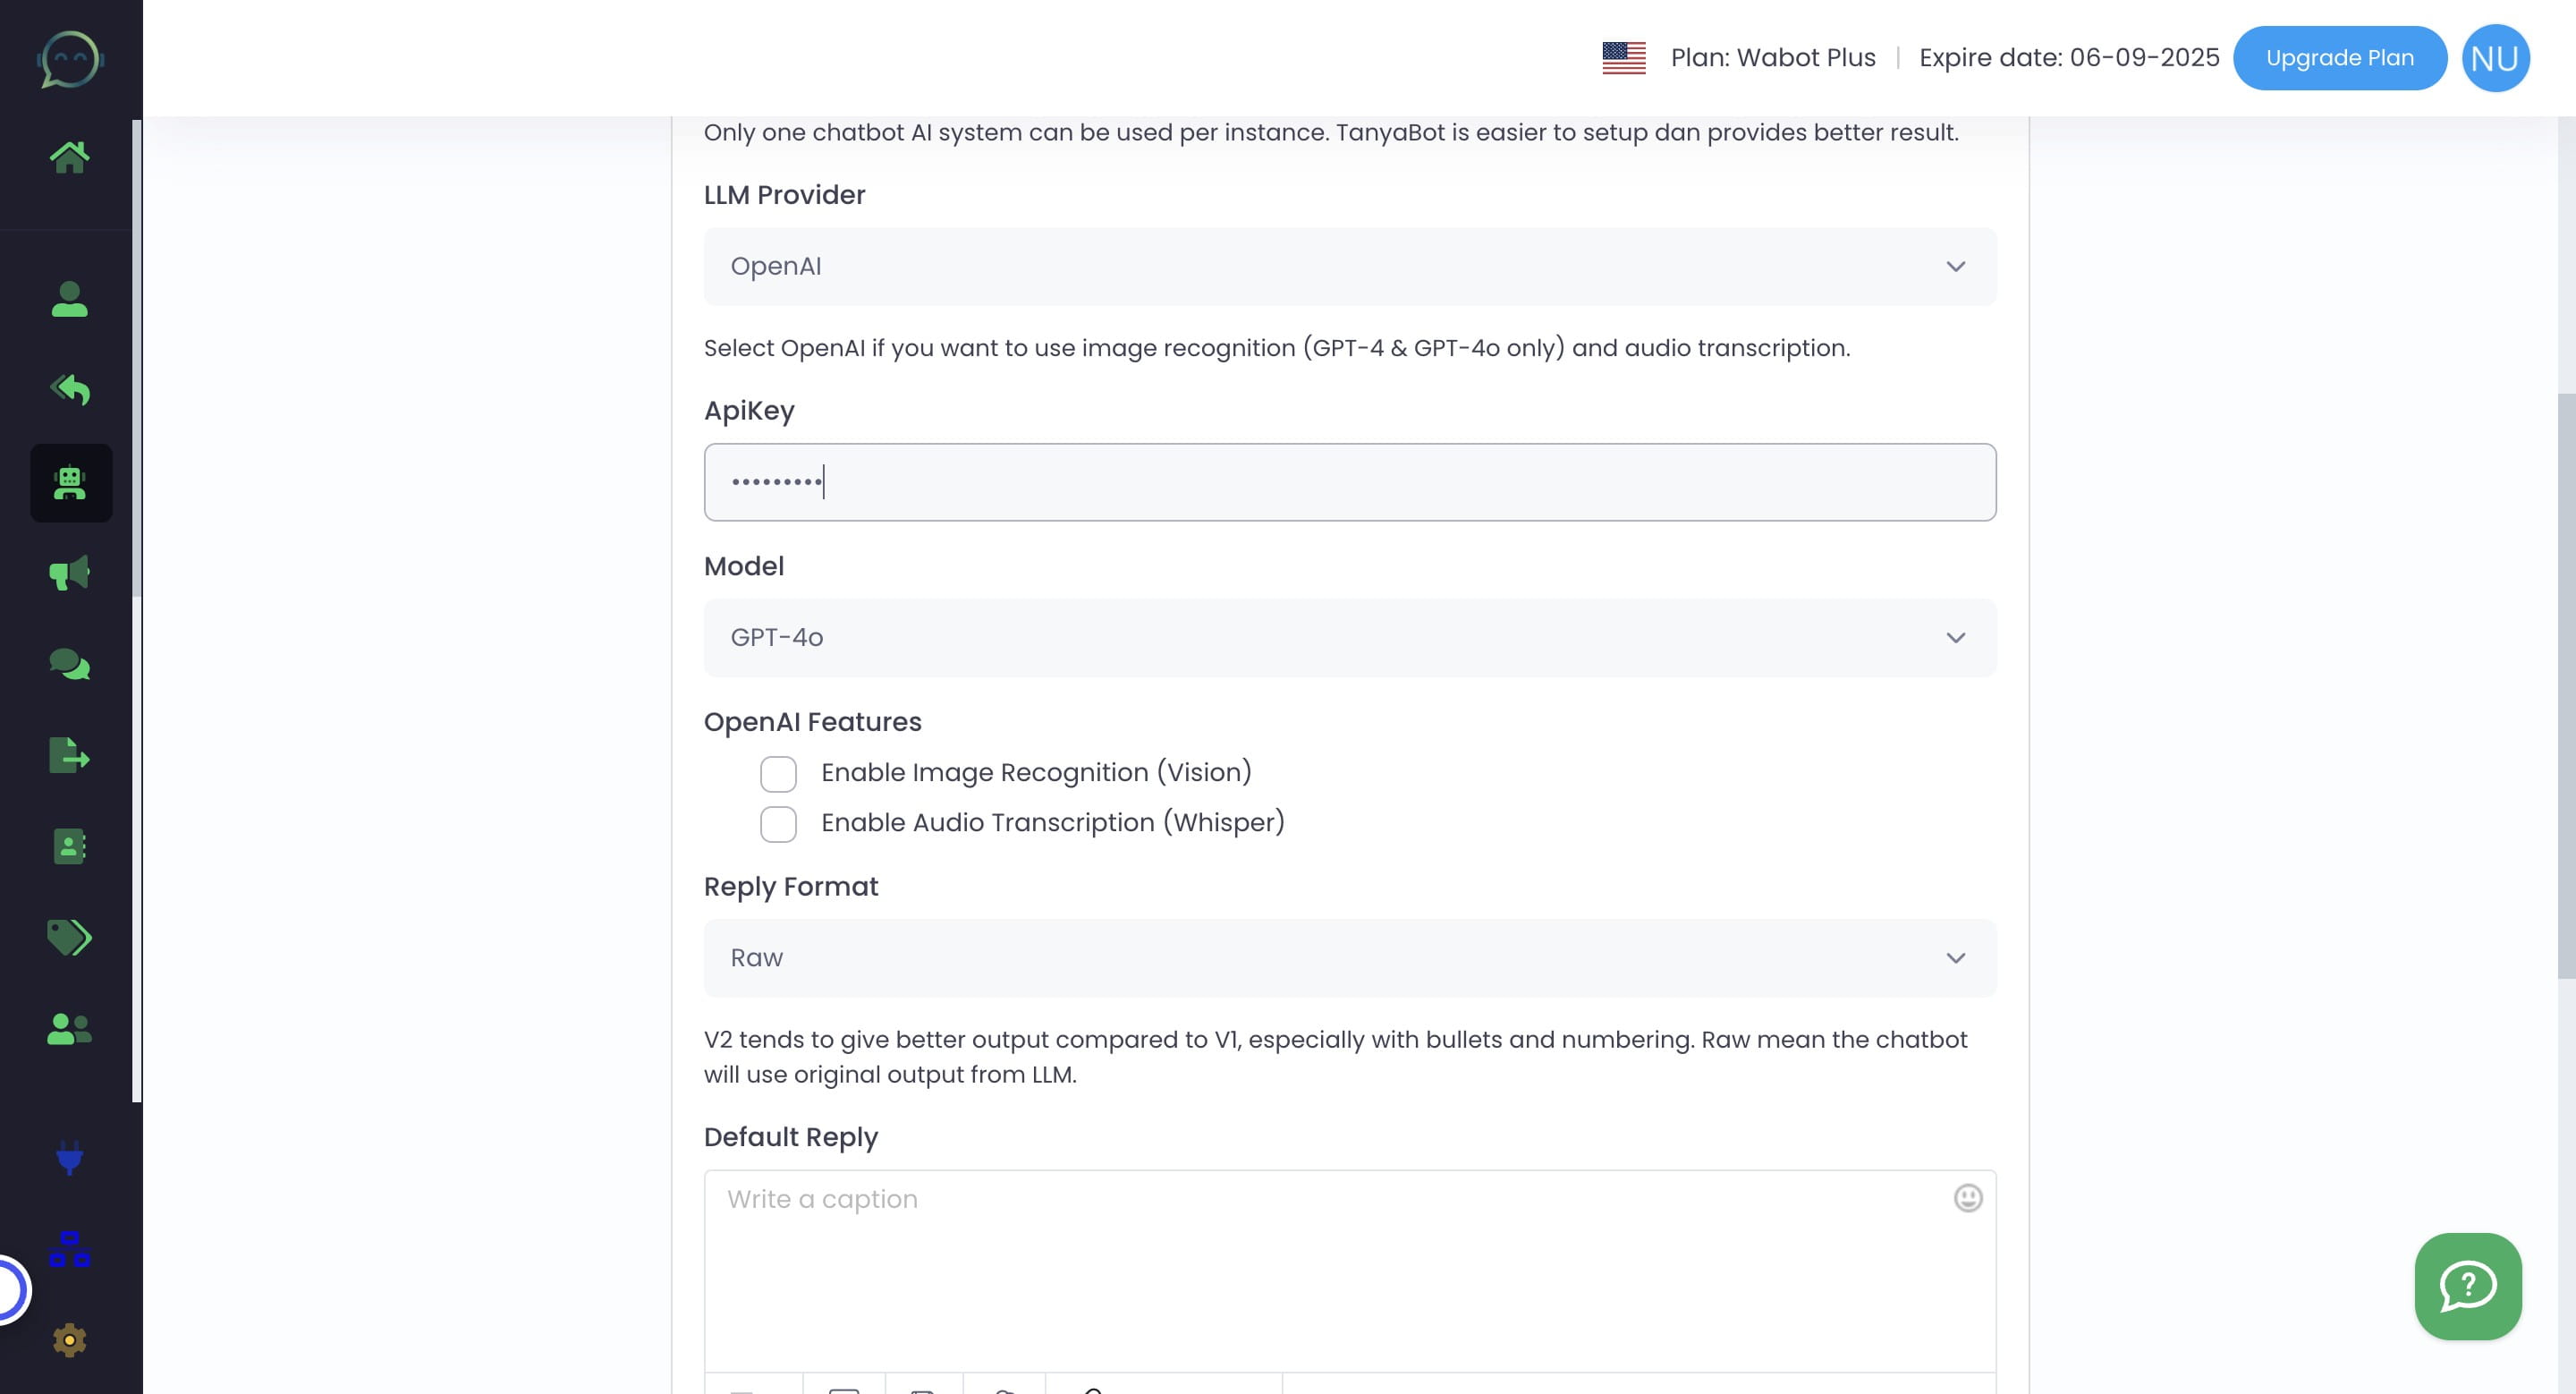
Insert the APIKey here. You can get it from the LLM provider you have chosen before
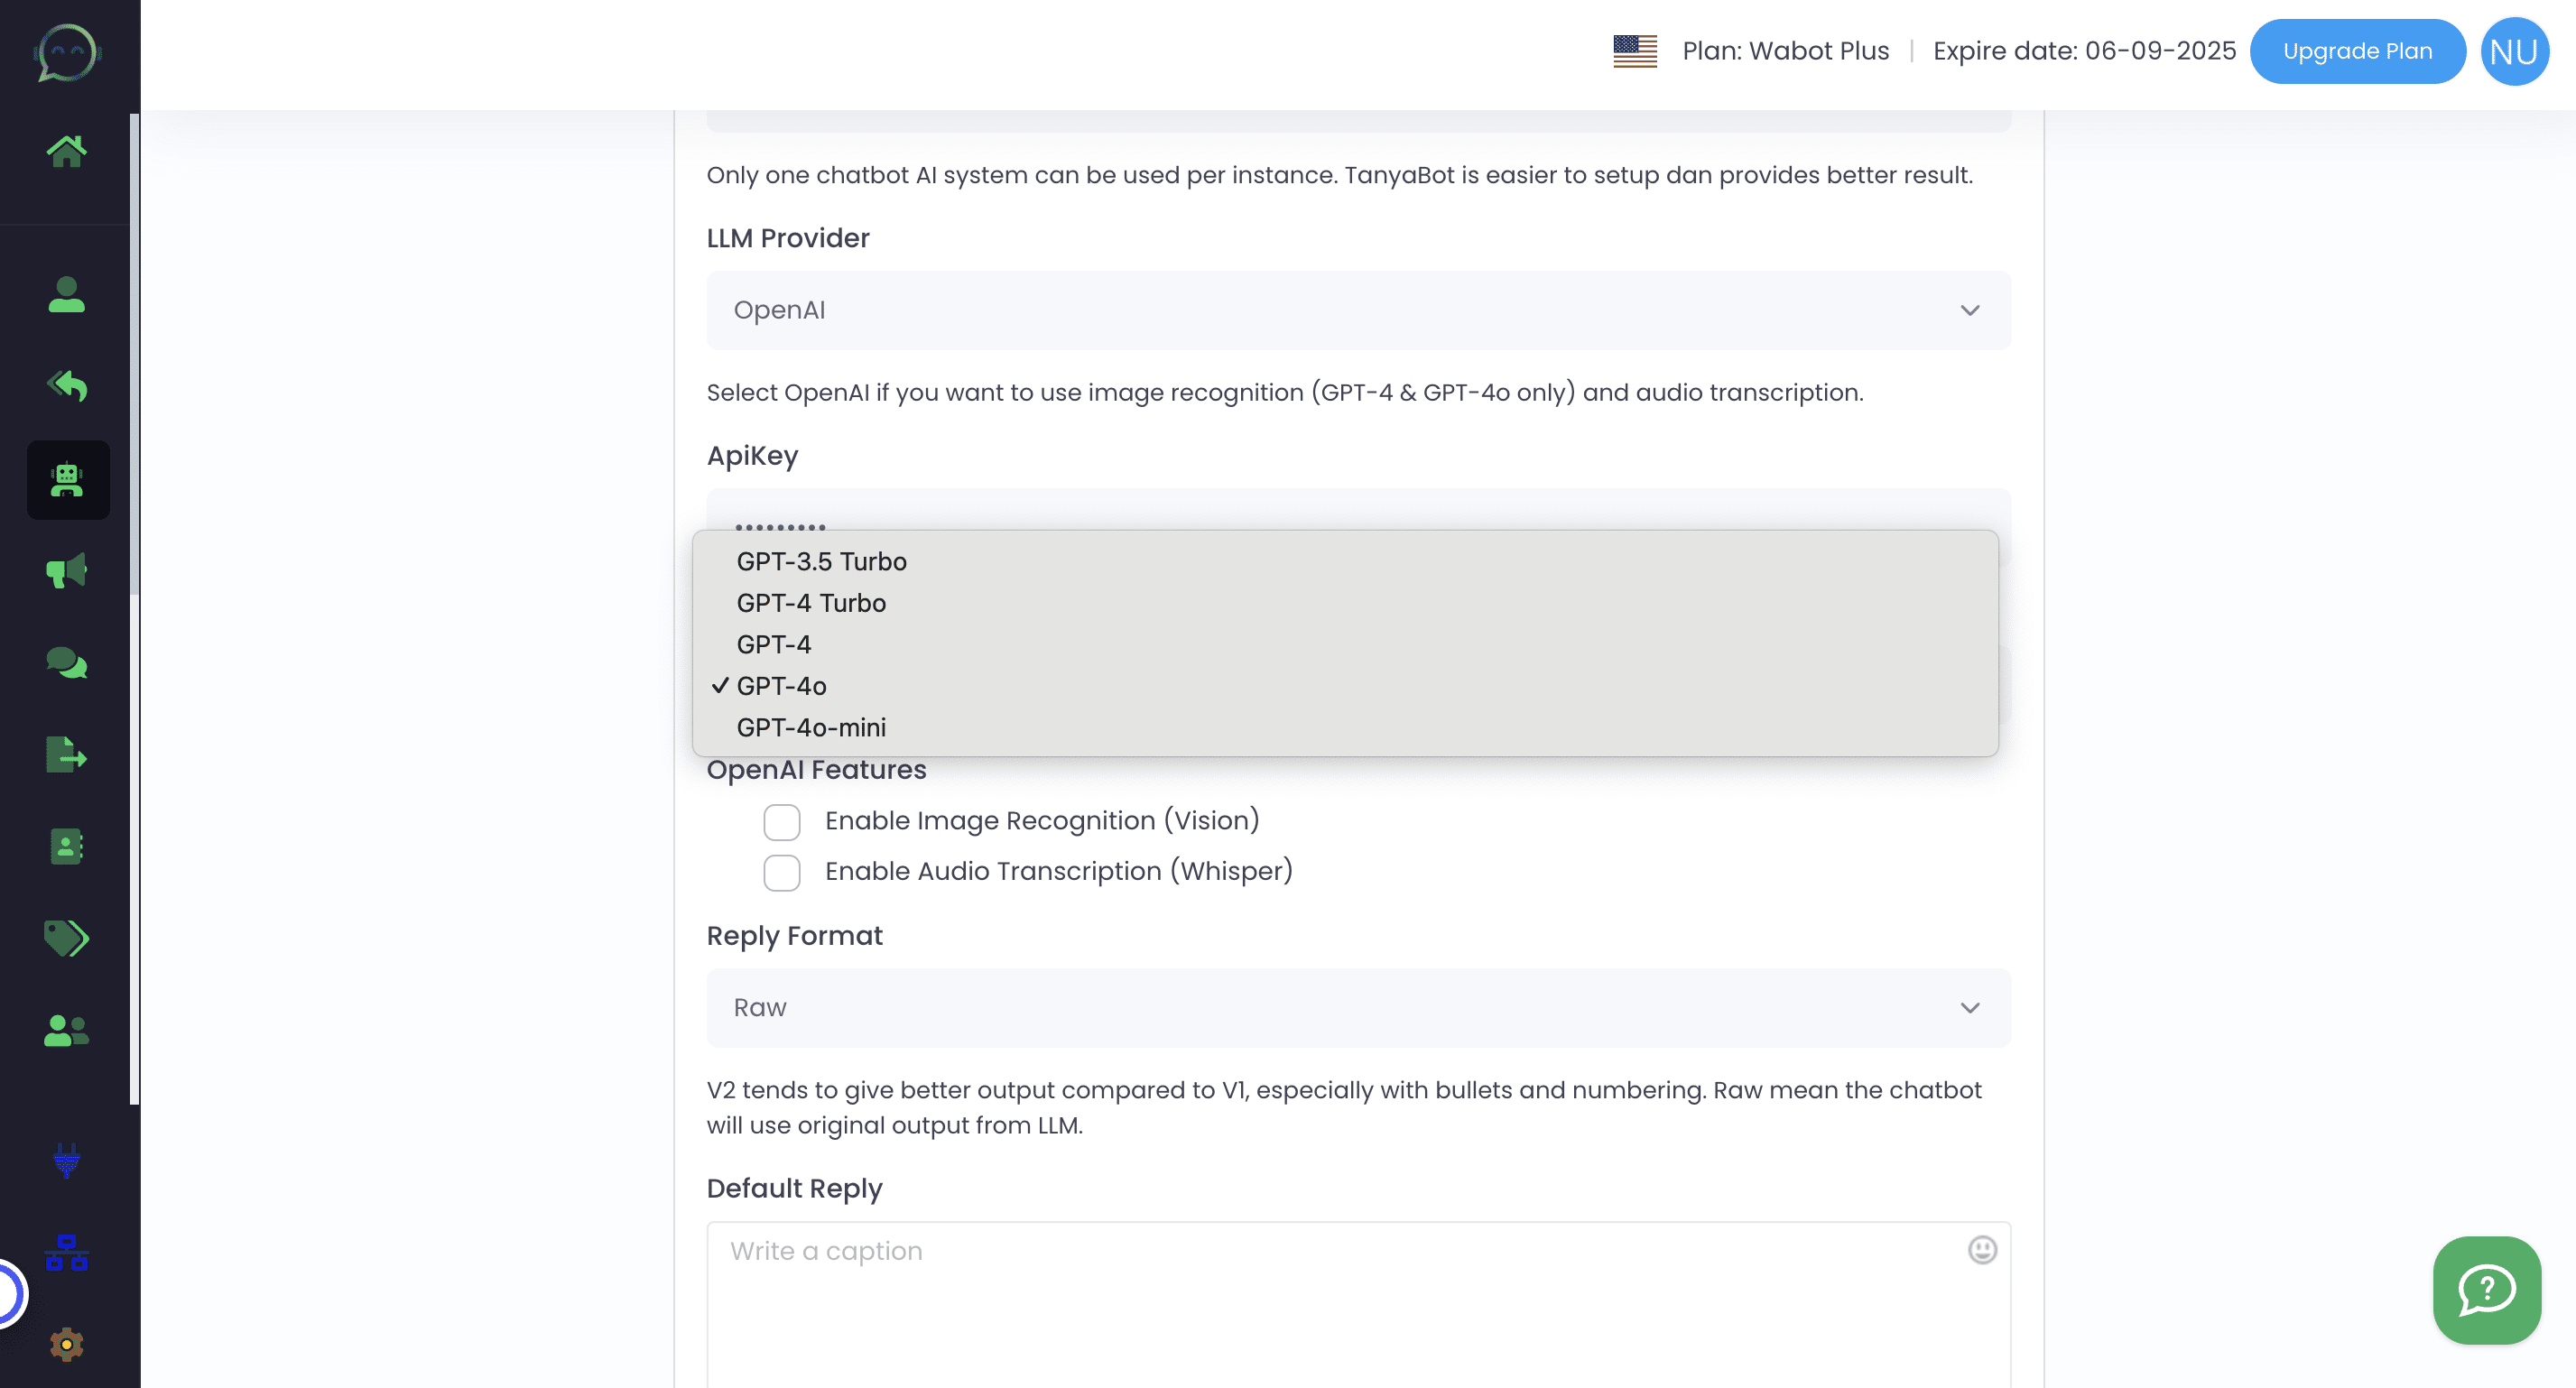
Choose on which model you want to use. GPT-4o is ideal for chatbots requiring detailed and complex conversations, while GPT-4o-mini is more affordable and best for simple chatbot tasks
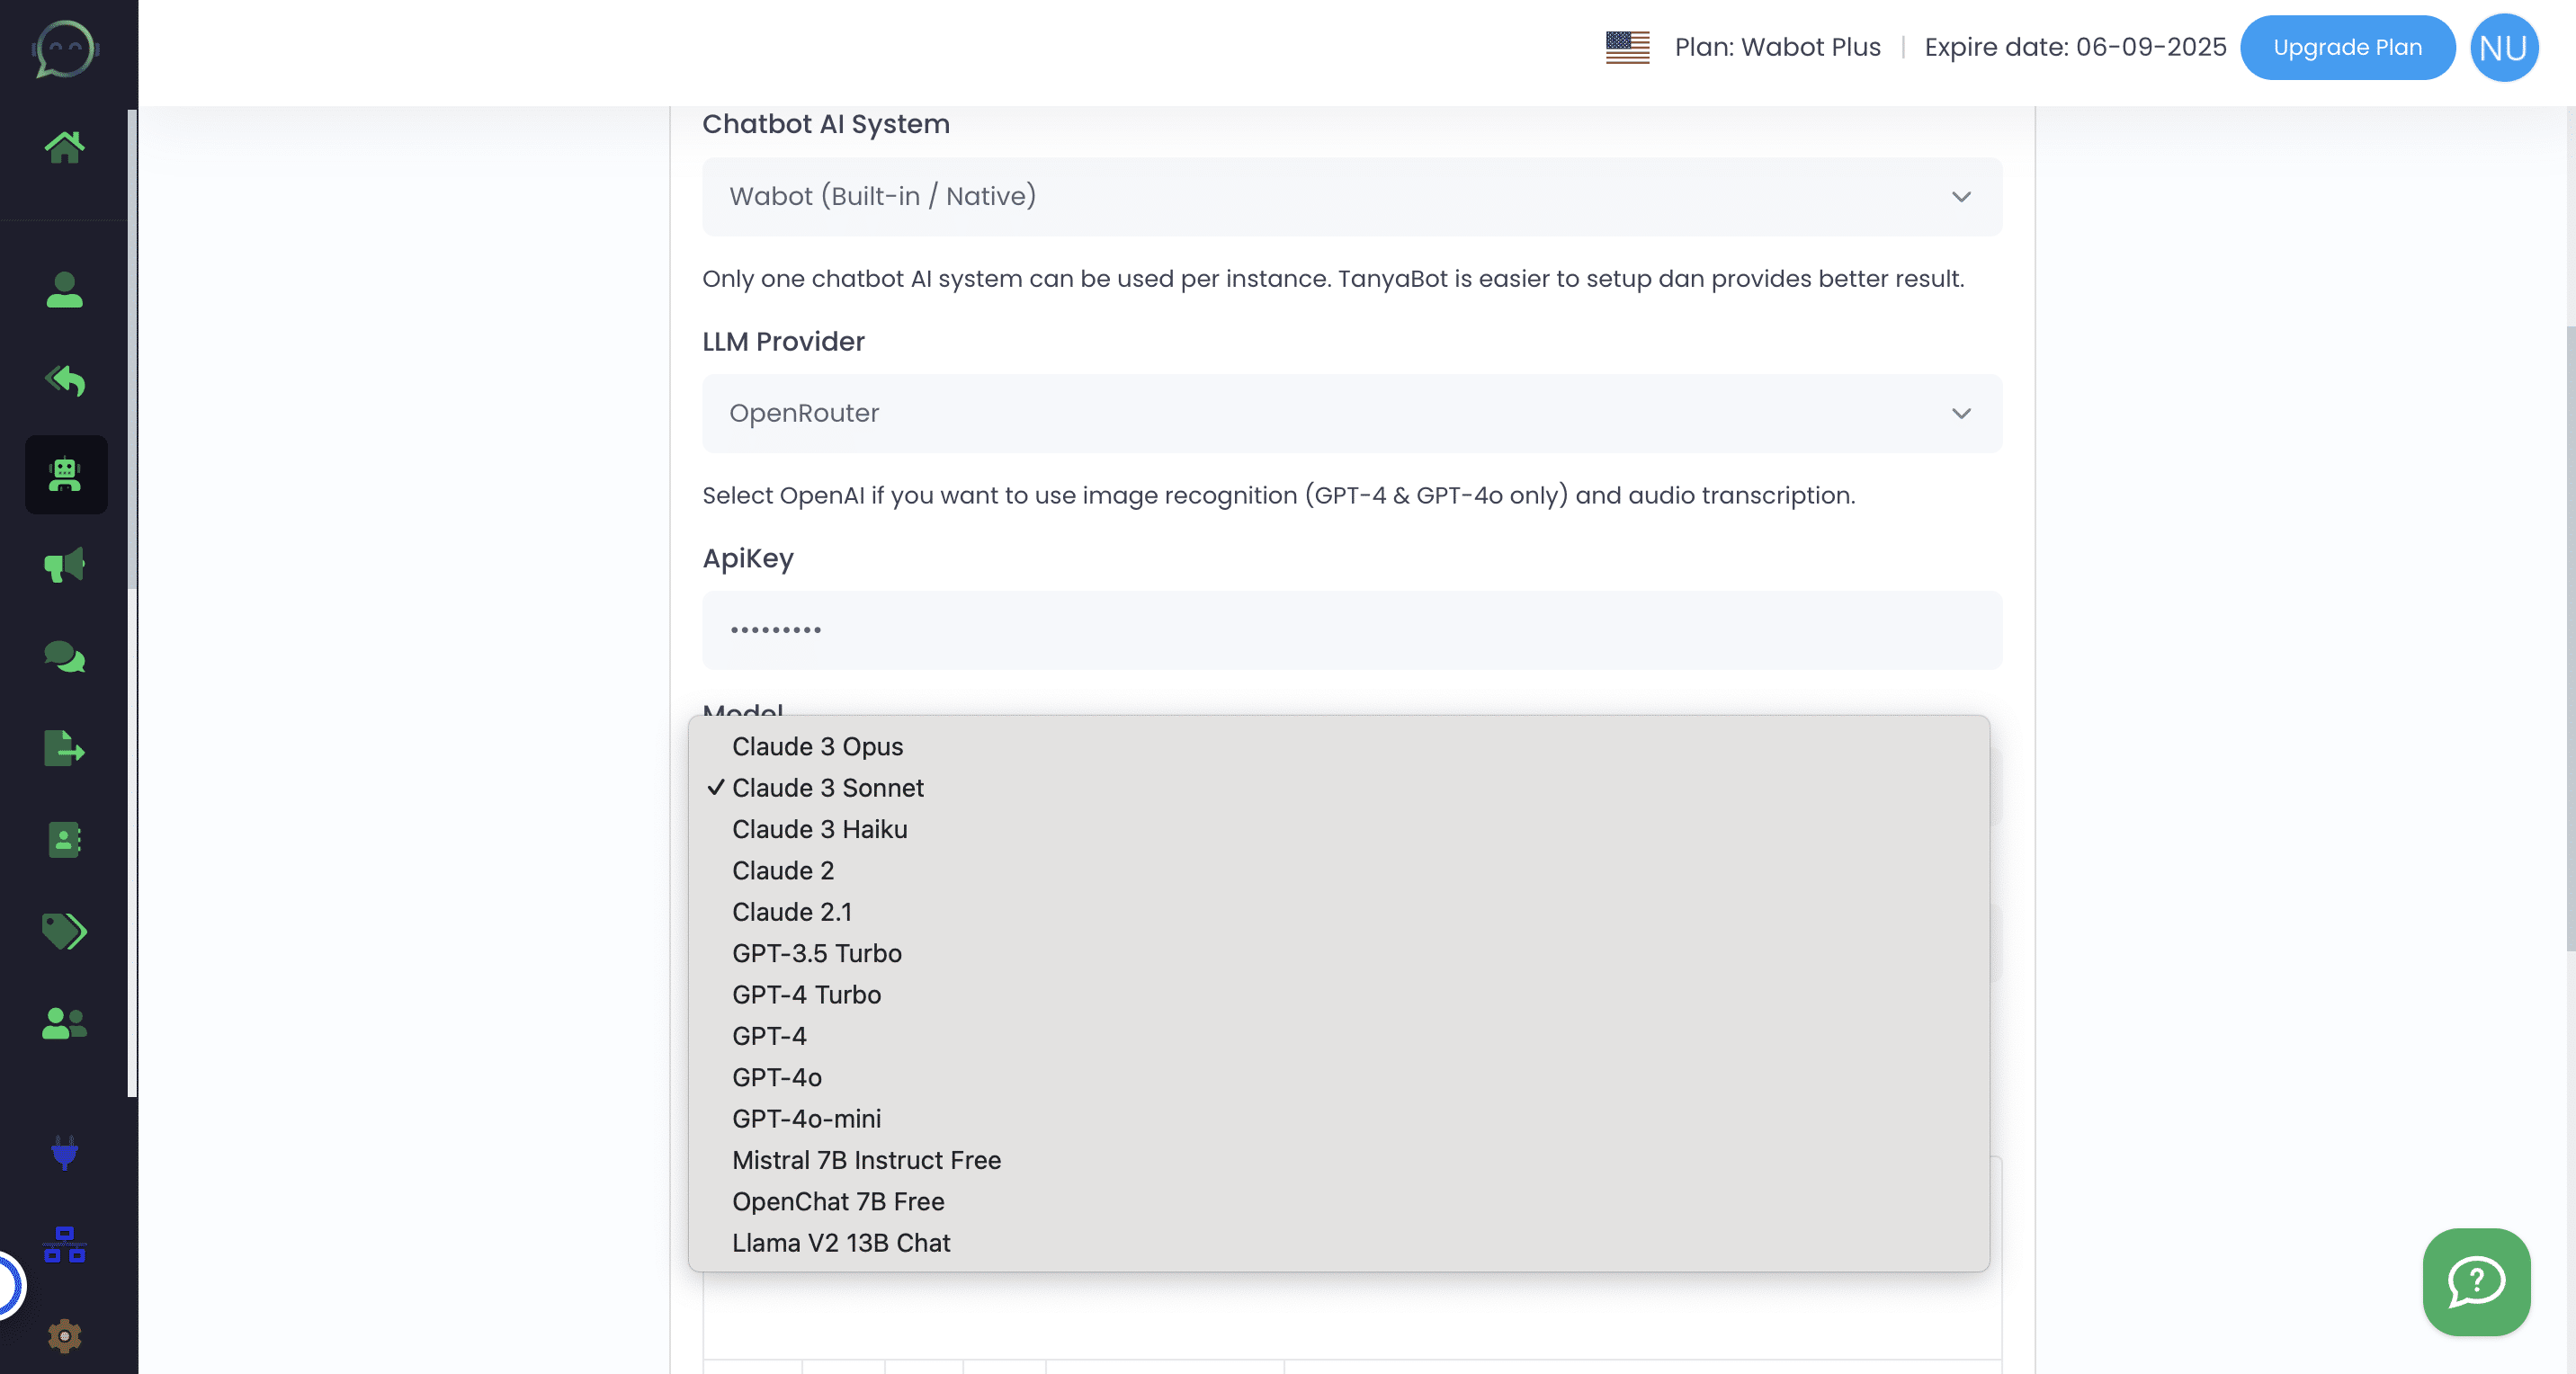
This is the model available for OpenRouter LLM provider
Enabling image recognition and audio transcription allows AI to process customer images and voice notes. *Only works for OpenAI

Test each reply format to achieve your desired outcome. "Raw" uses the original LLM output, while "multi message" gives several responses in separate bubble messages
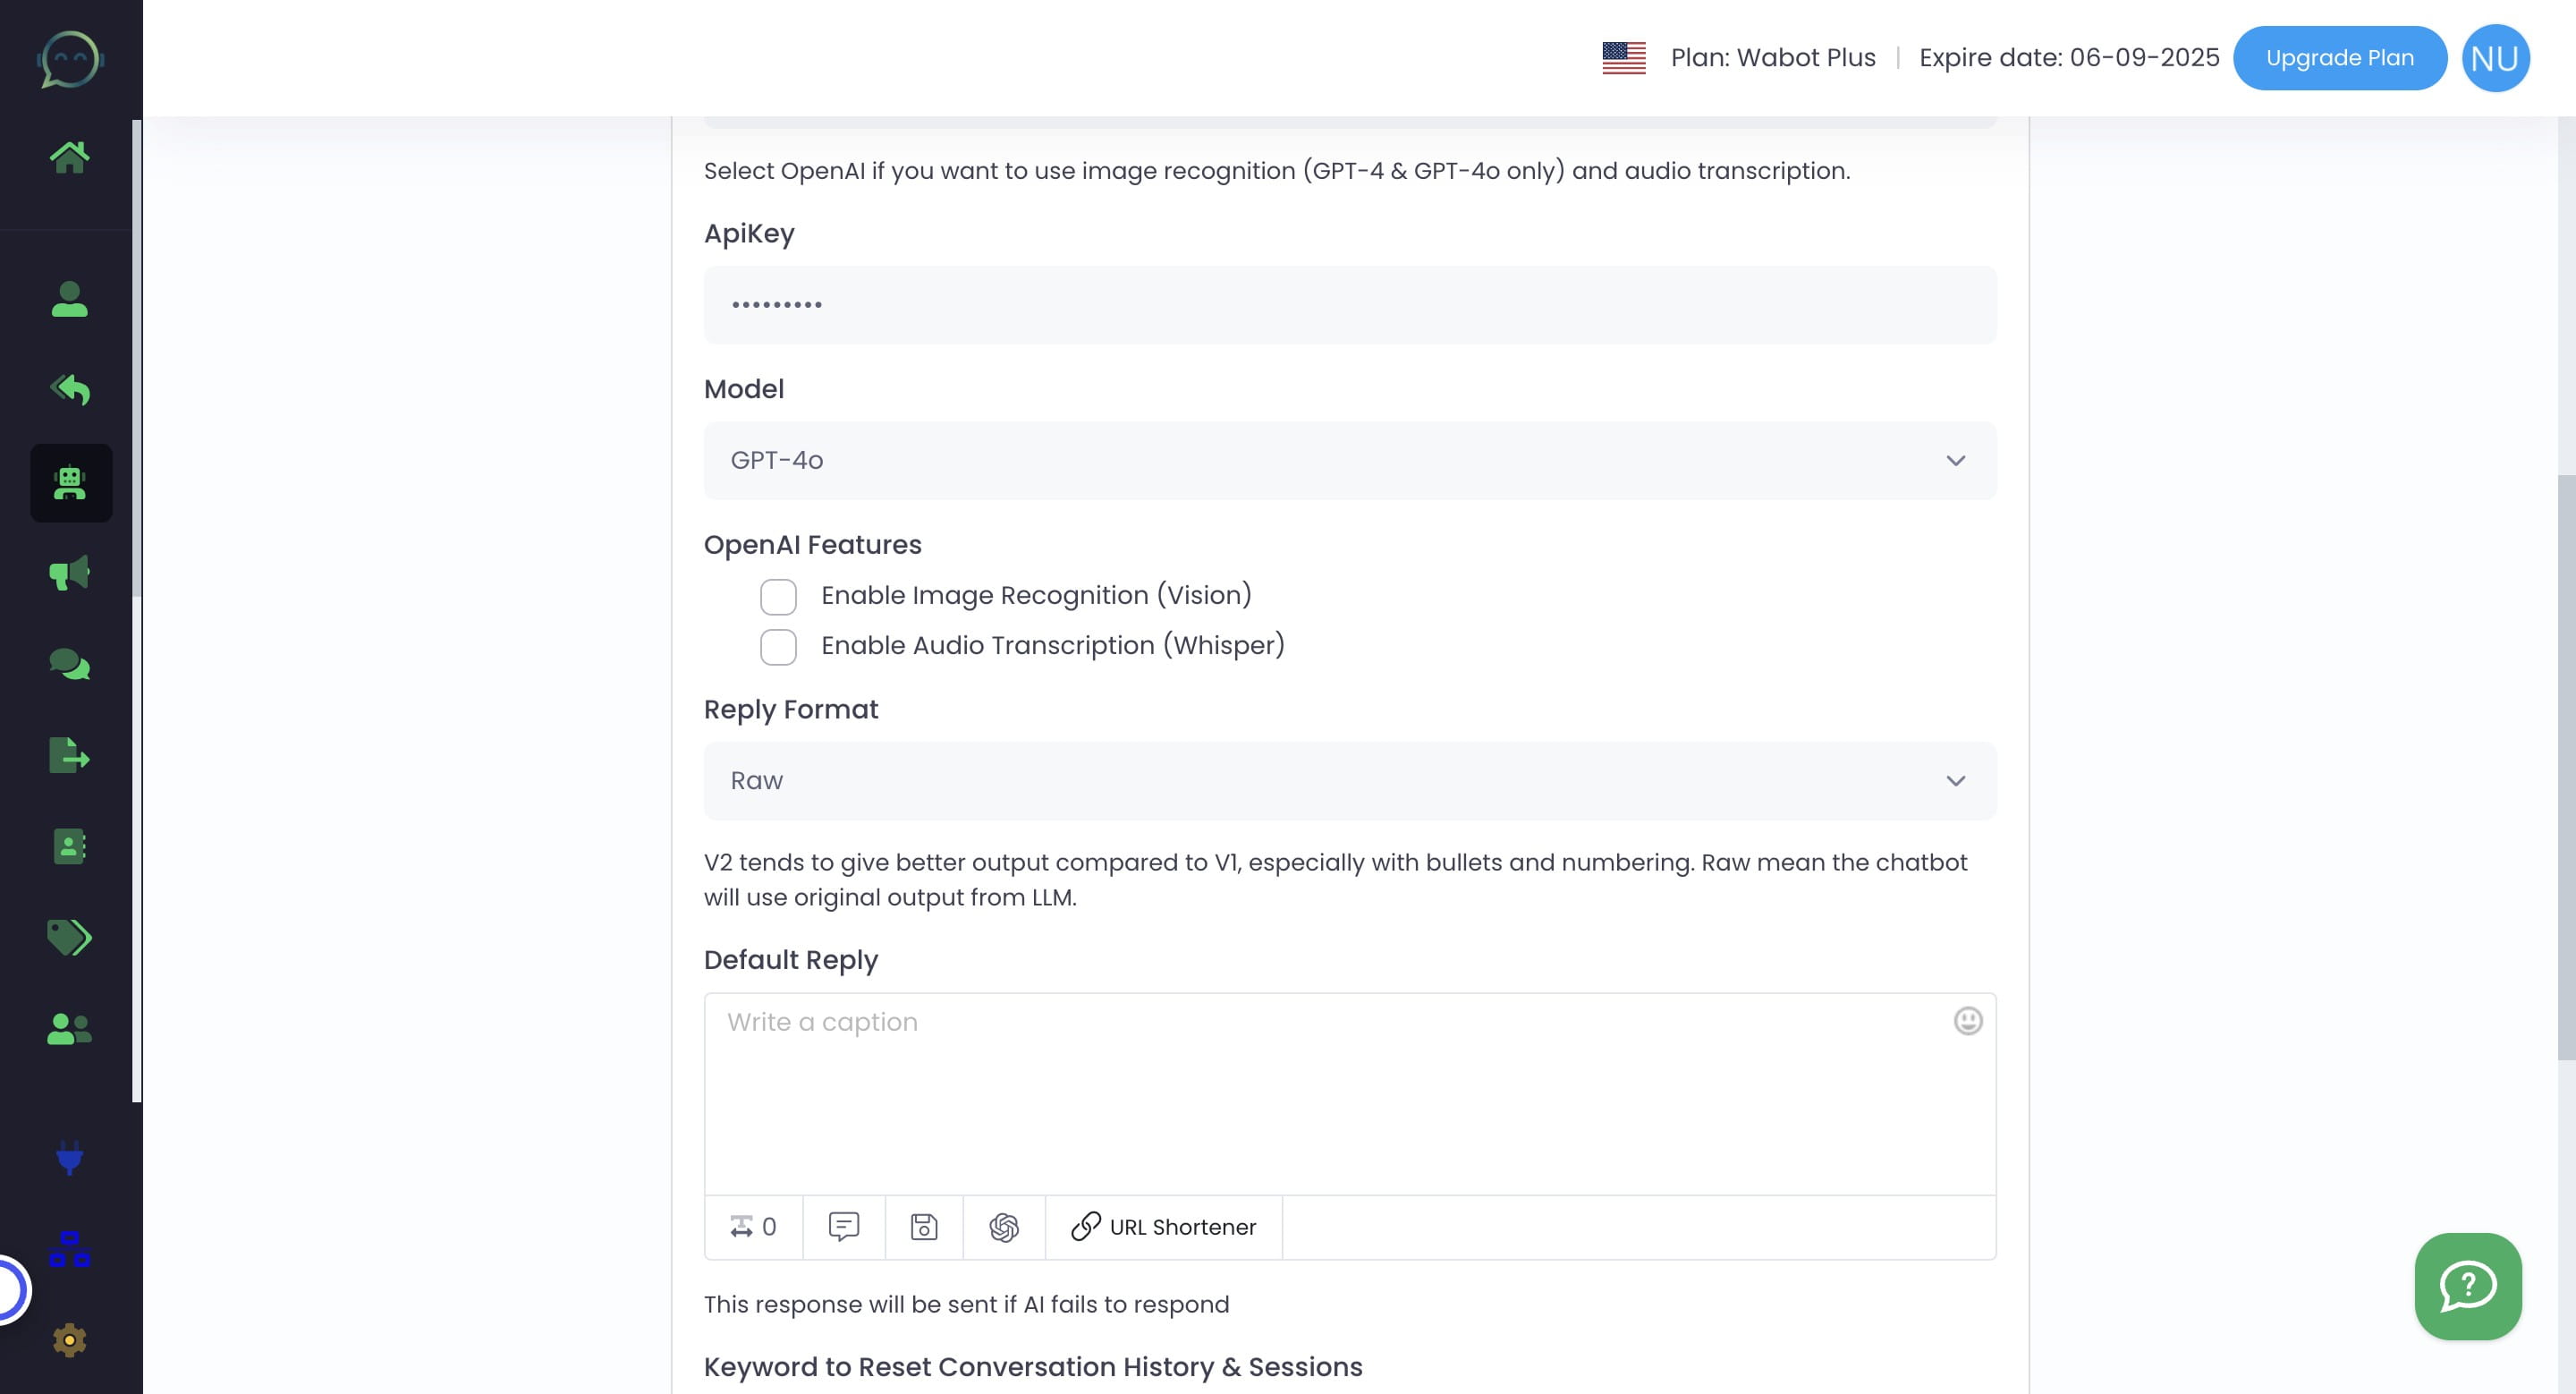
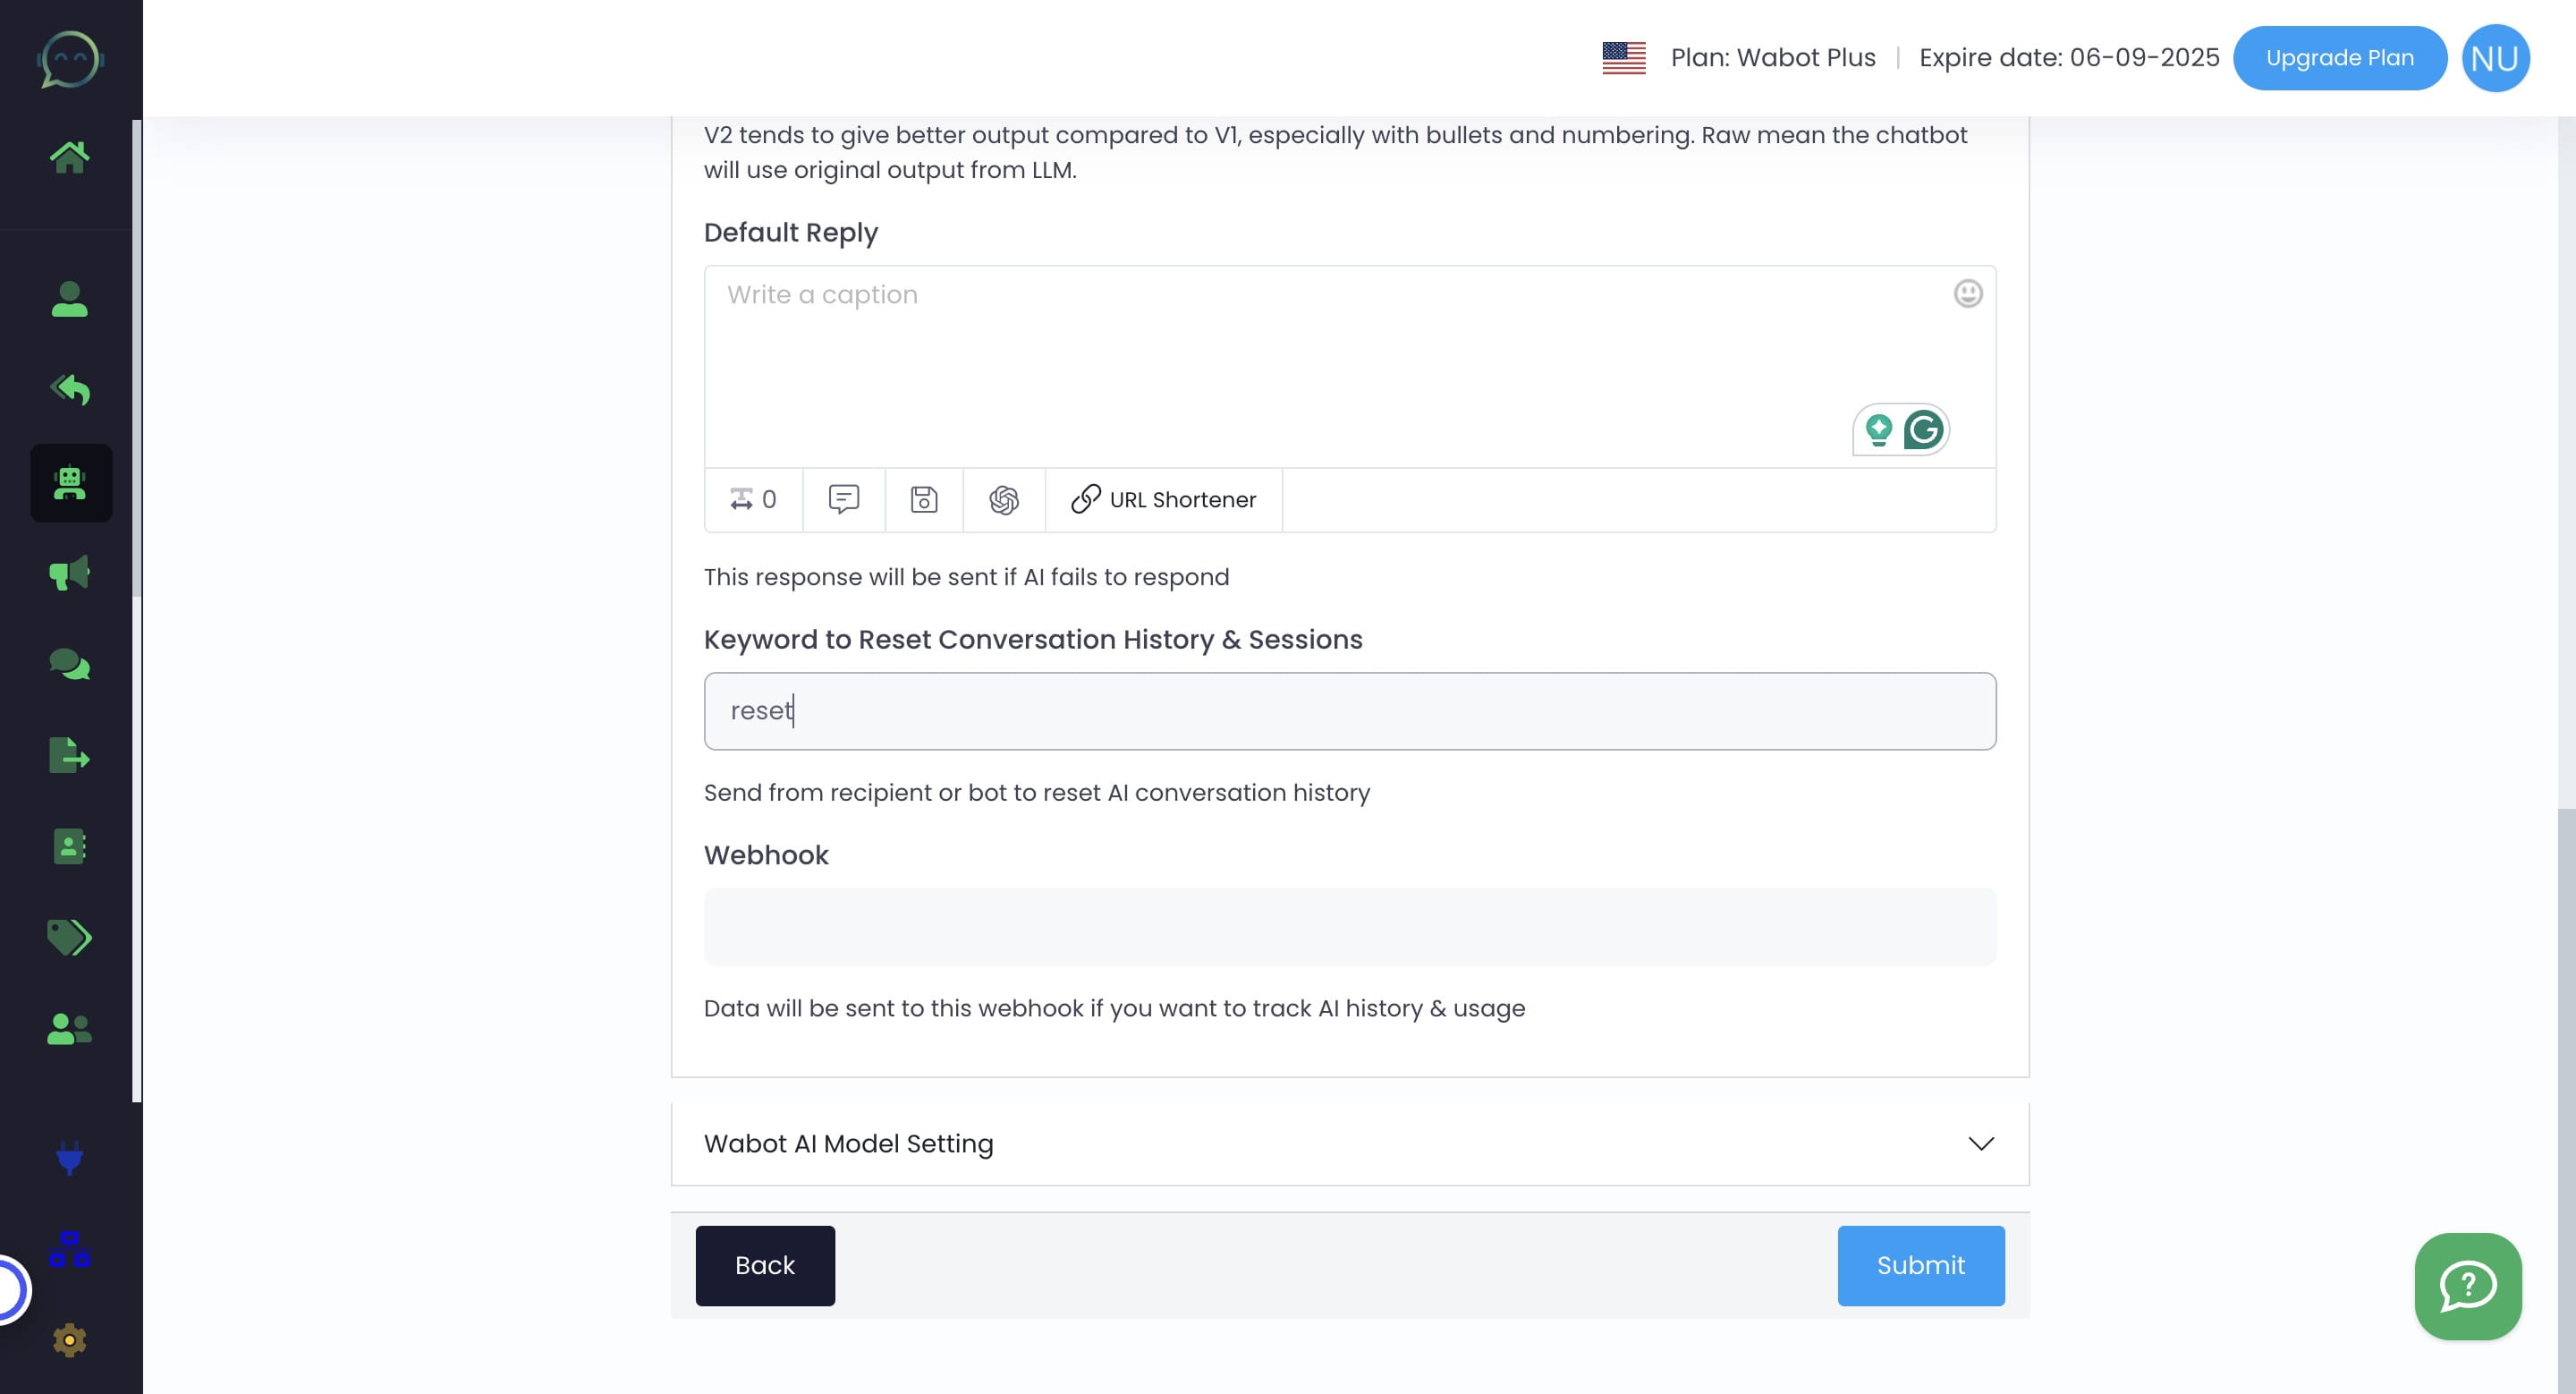
You can put the default reply here incase the AI fails to respond
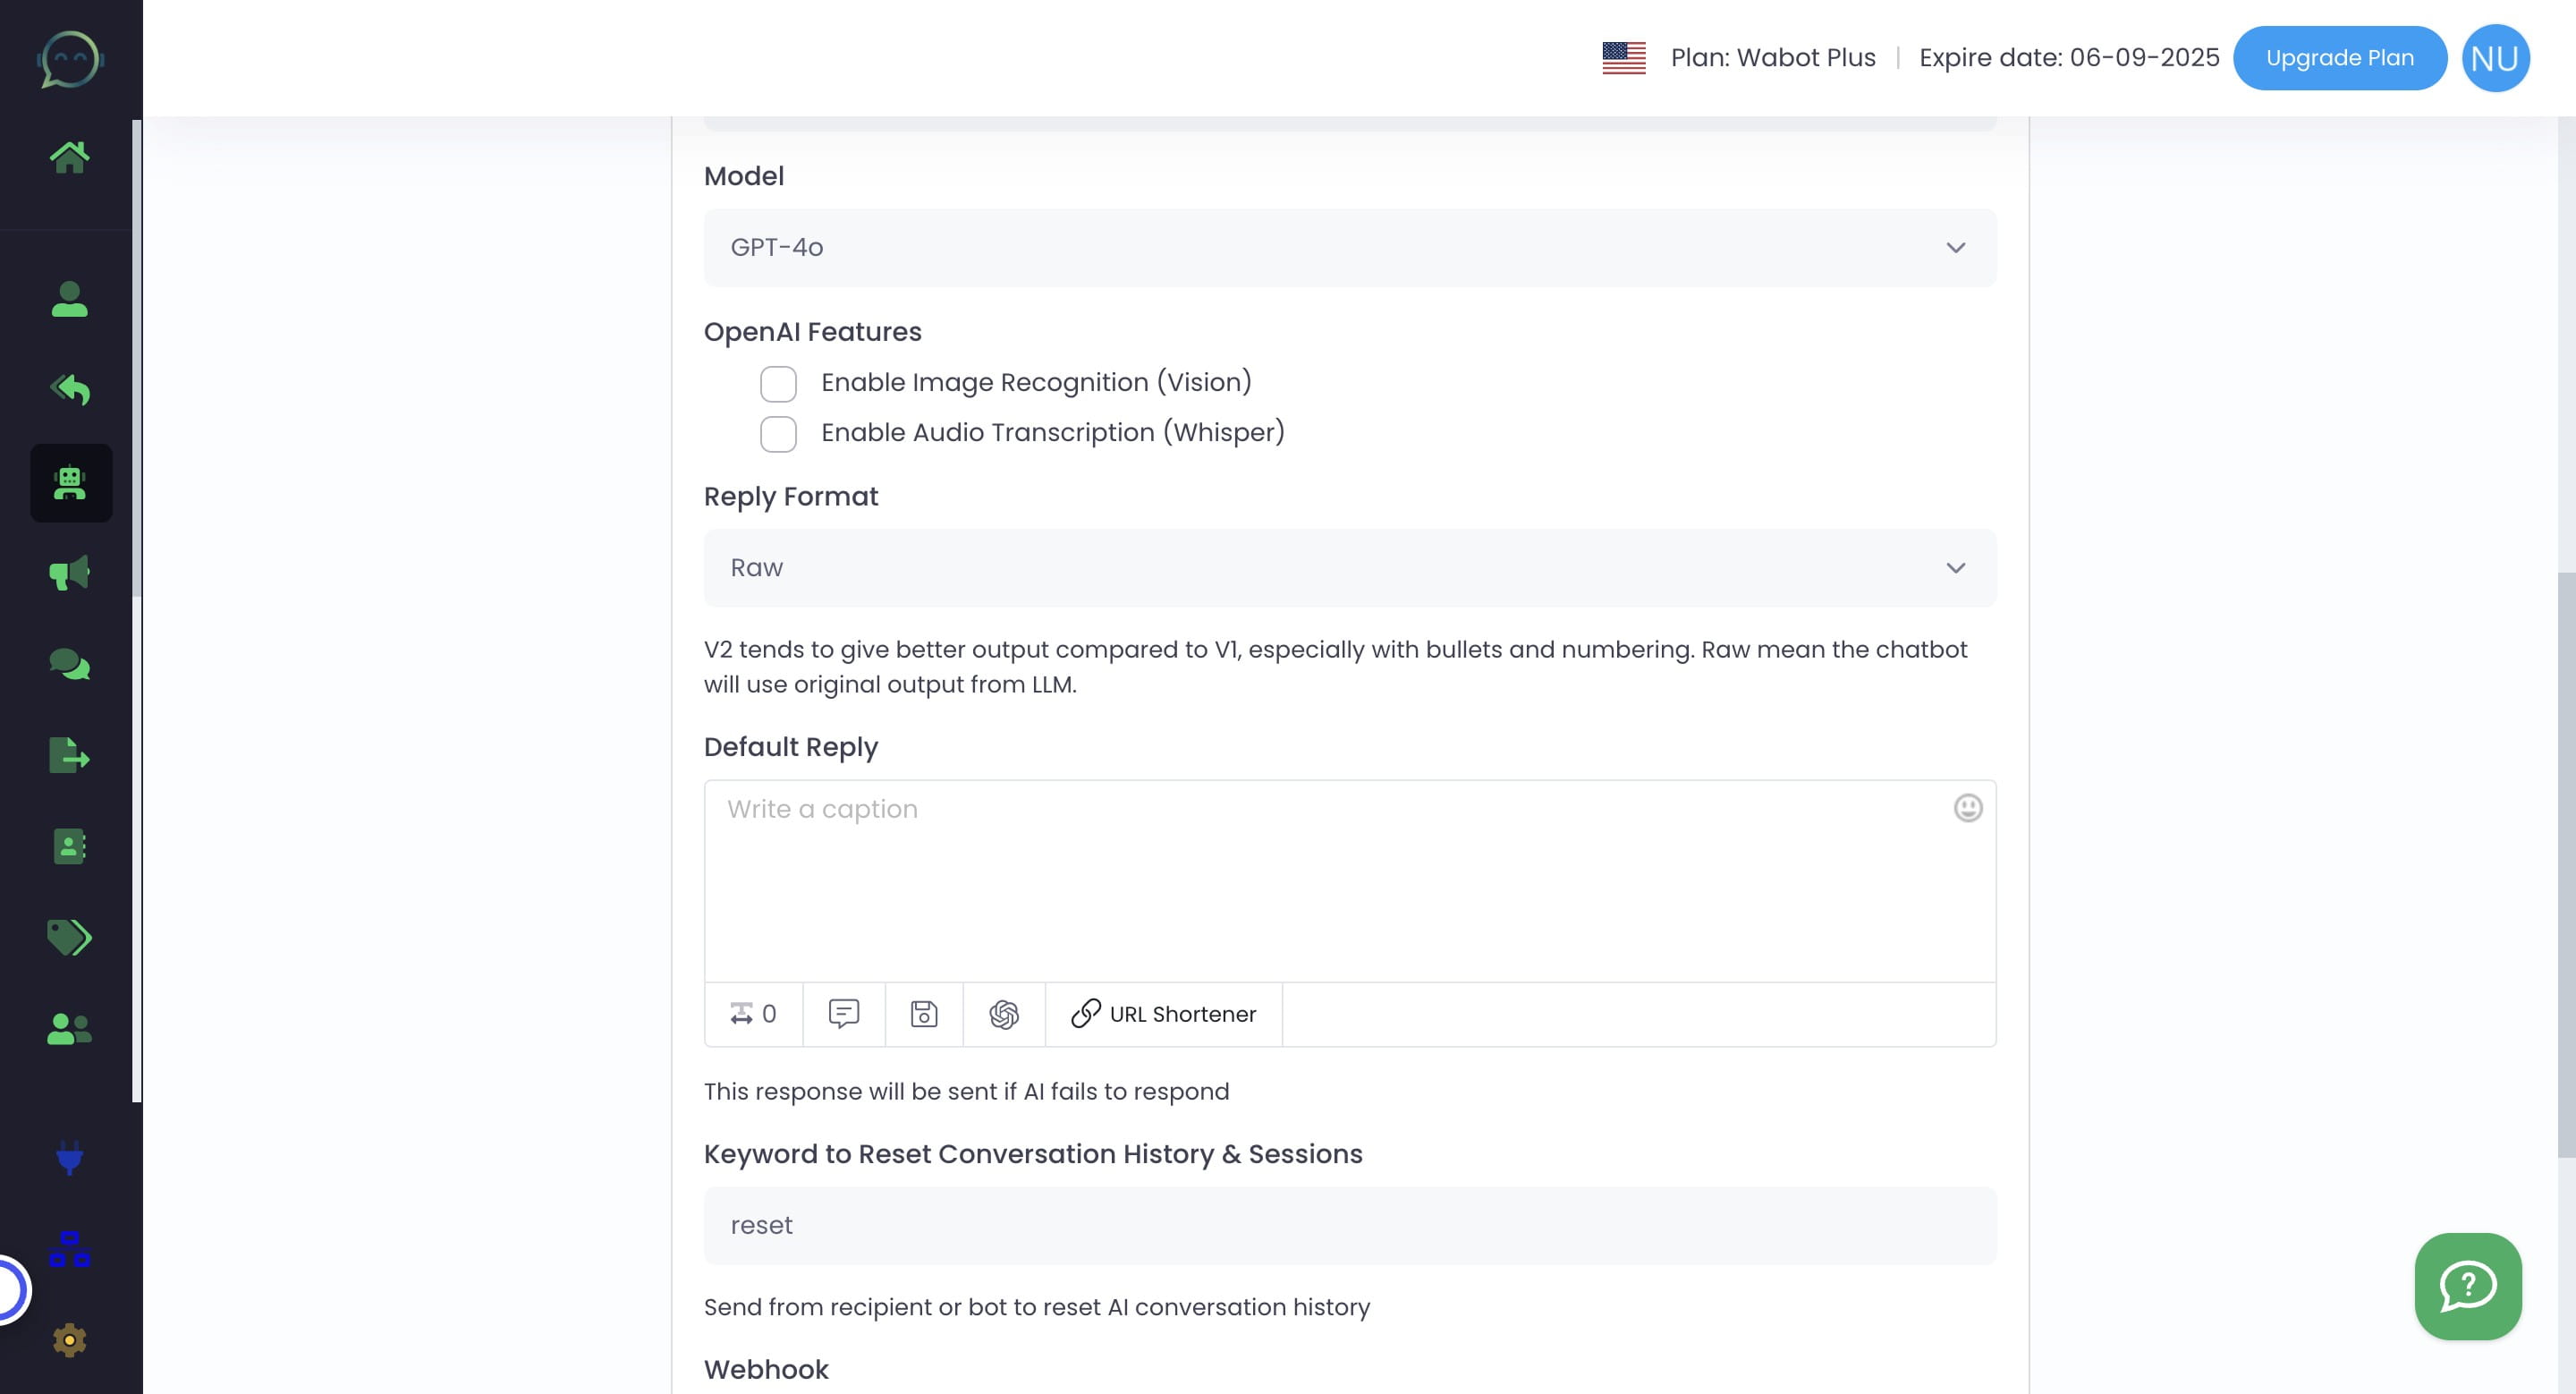
The above default reply is for your own notice, not for the customers. Meaning, you will get the default reply that you have set here, in case your AI fails to respond.
This keyword will reset the conversation history. Recommended to send "reset" to the customer when you change any of the chatbot setting--either for the AI role, AI Training Data and etc
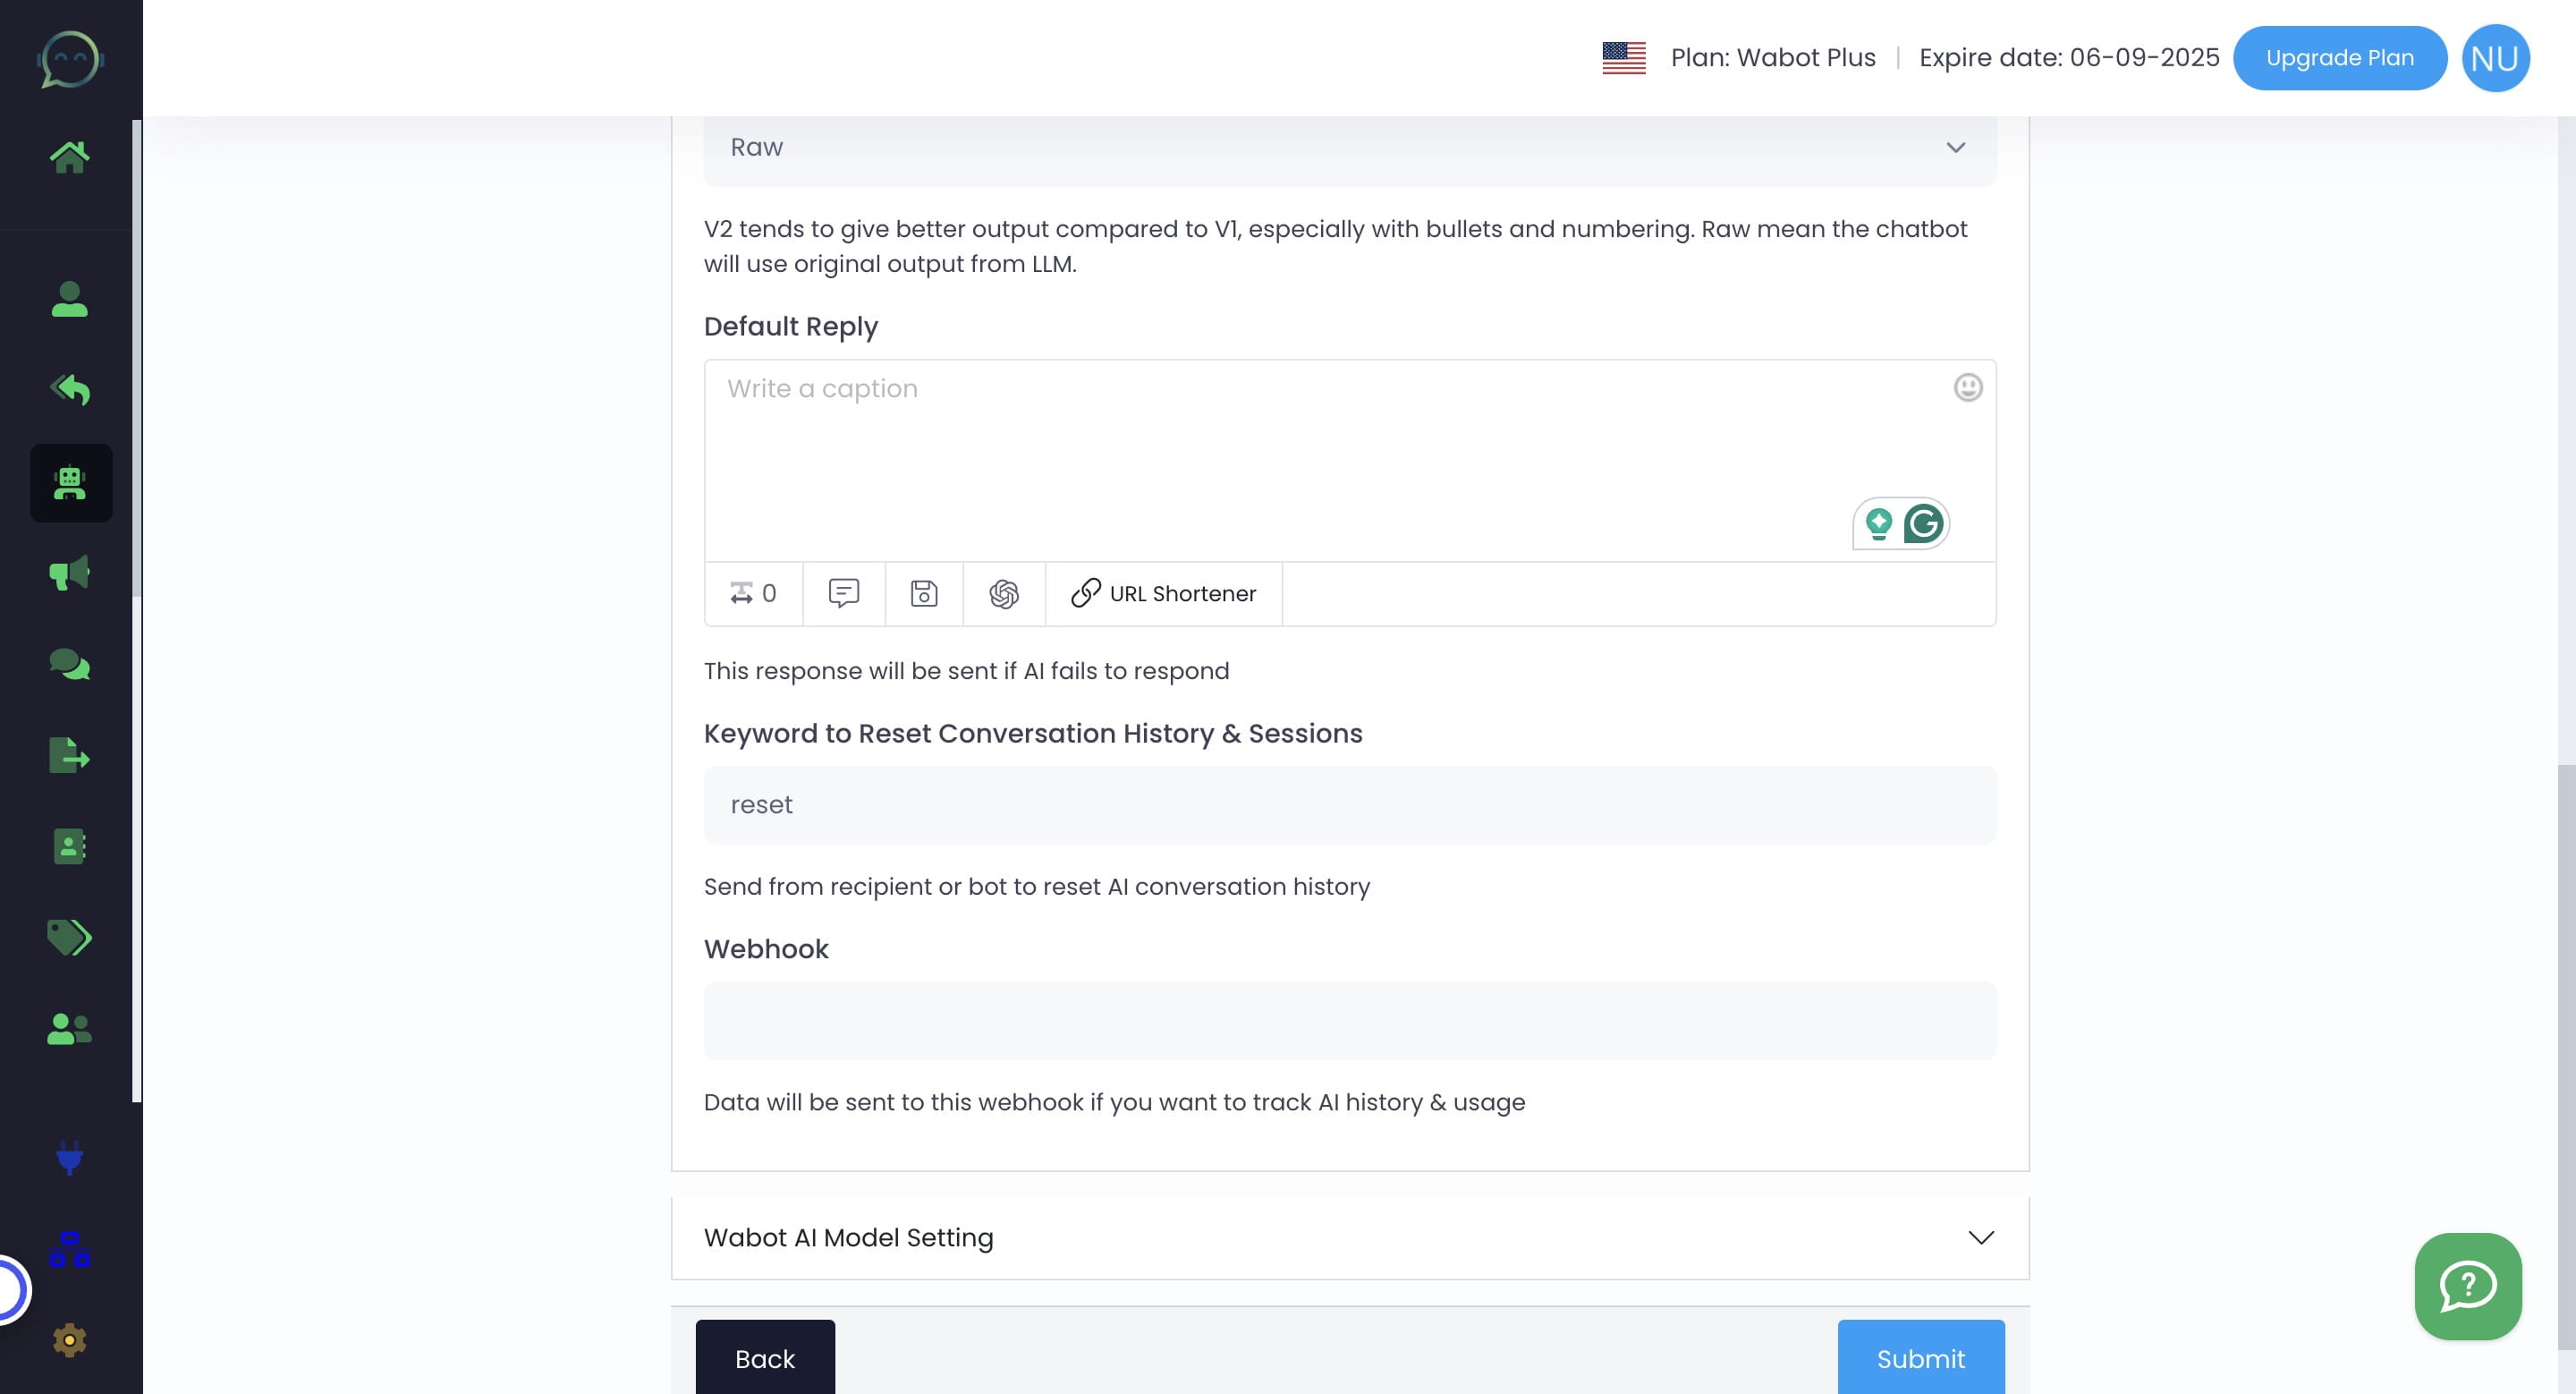
Paste the webhook here to track your AI history and usage
Click on "Wabot AI Model Setting"

Think of "temperature" as a creativity button—higher for playfulness, lower for seriousness. Adjust to your liking! Recommended around 0.6-0.7, but it differs based on what your business needs

Fill in your AI Role Guide, meaning you are giving the AI an identity of who they are, how they will talk, and the way they will interact with customers
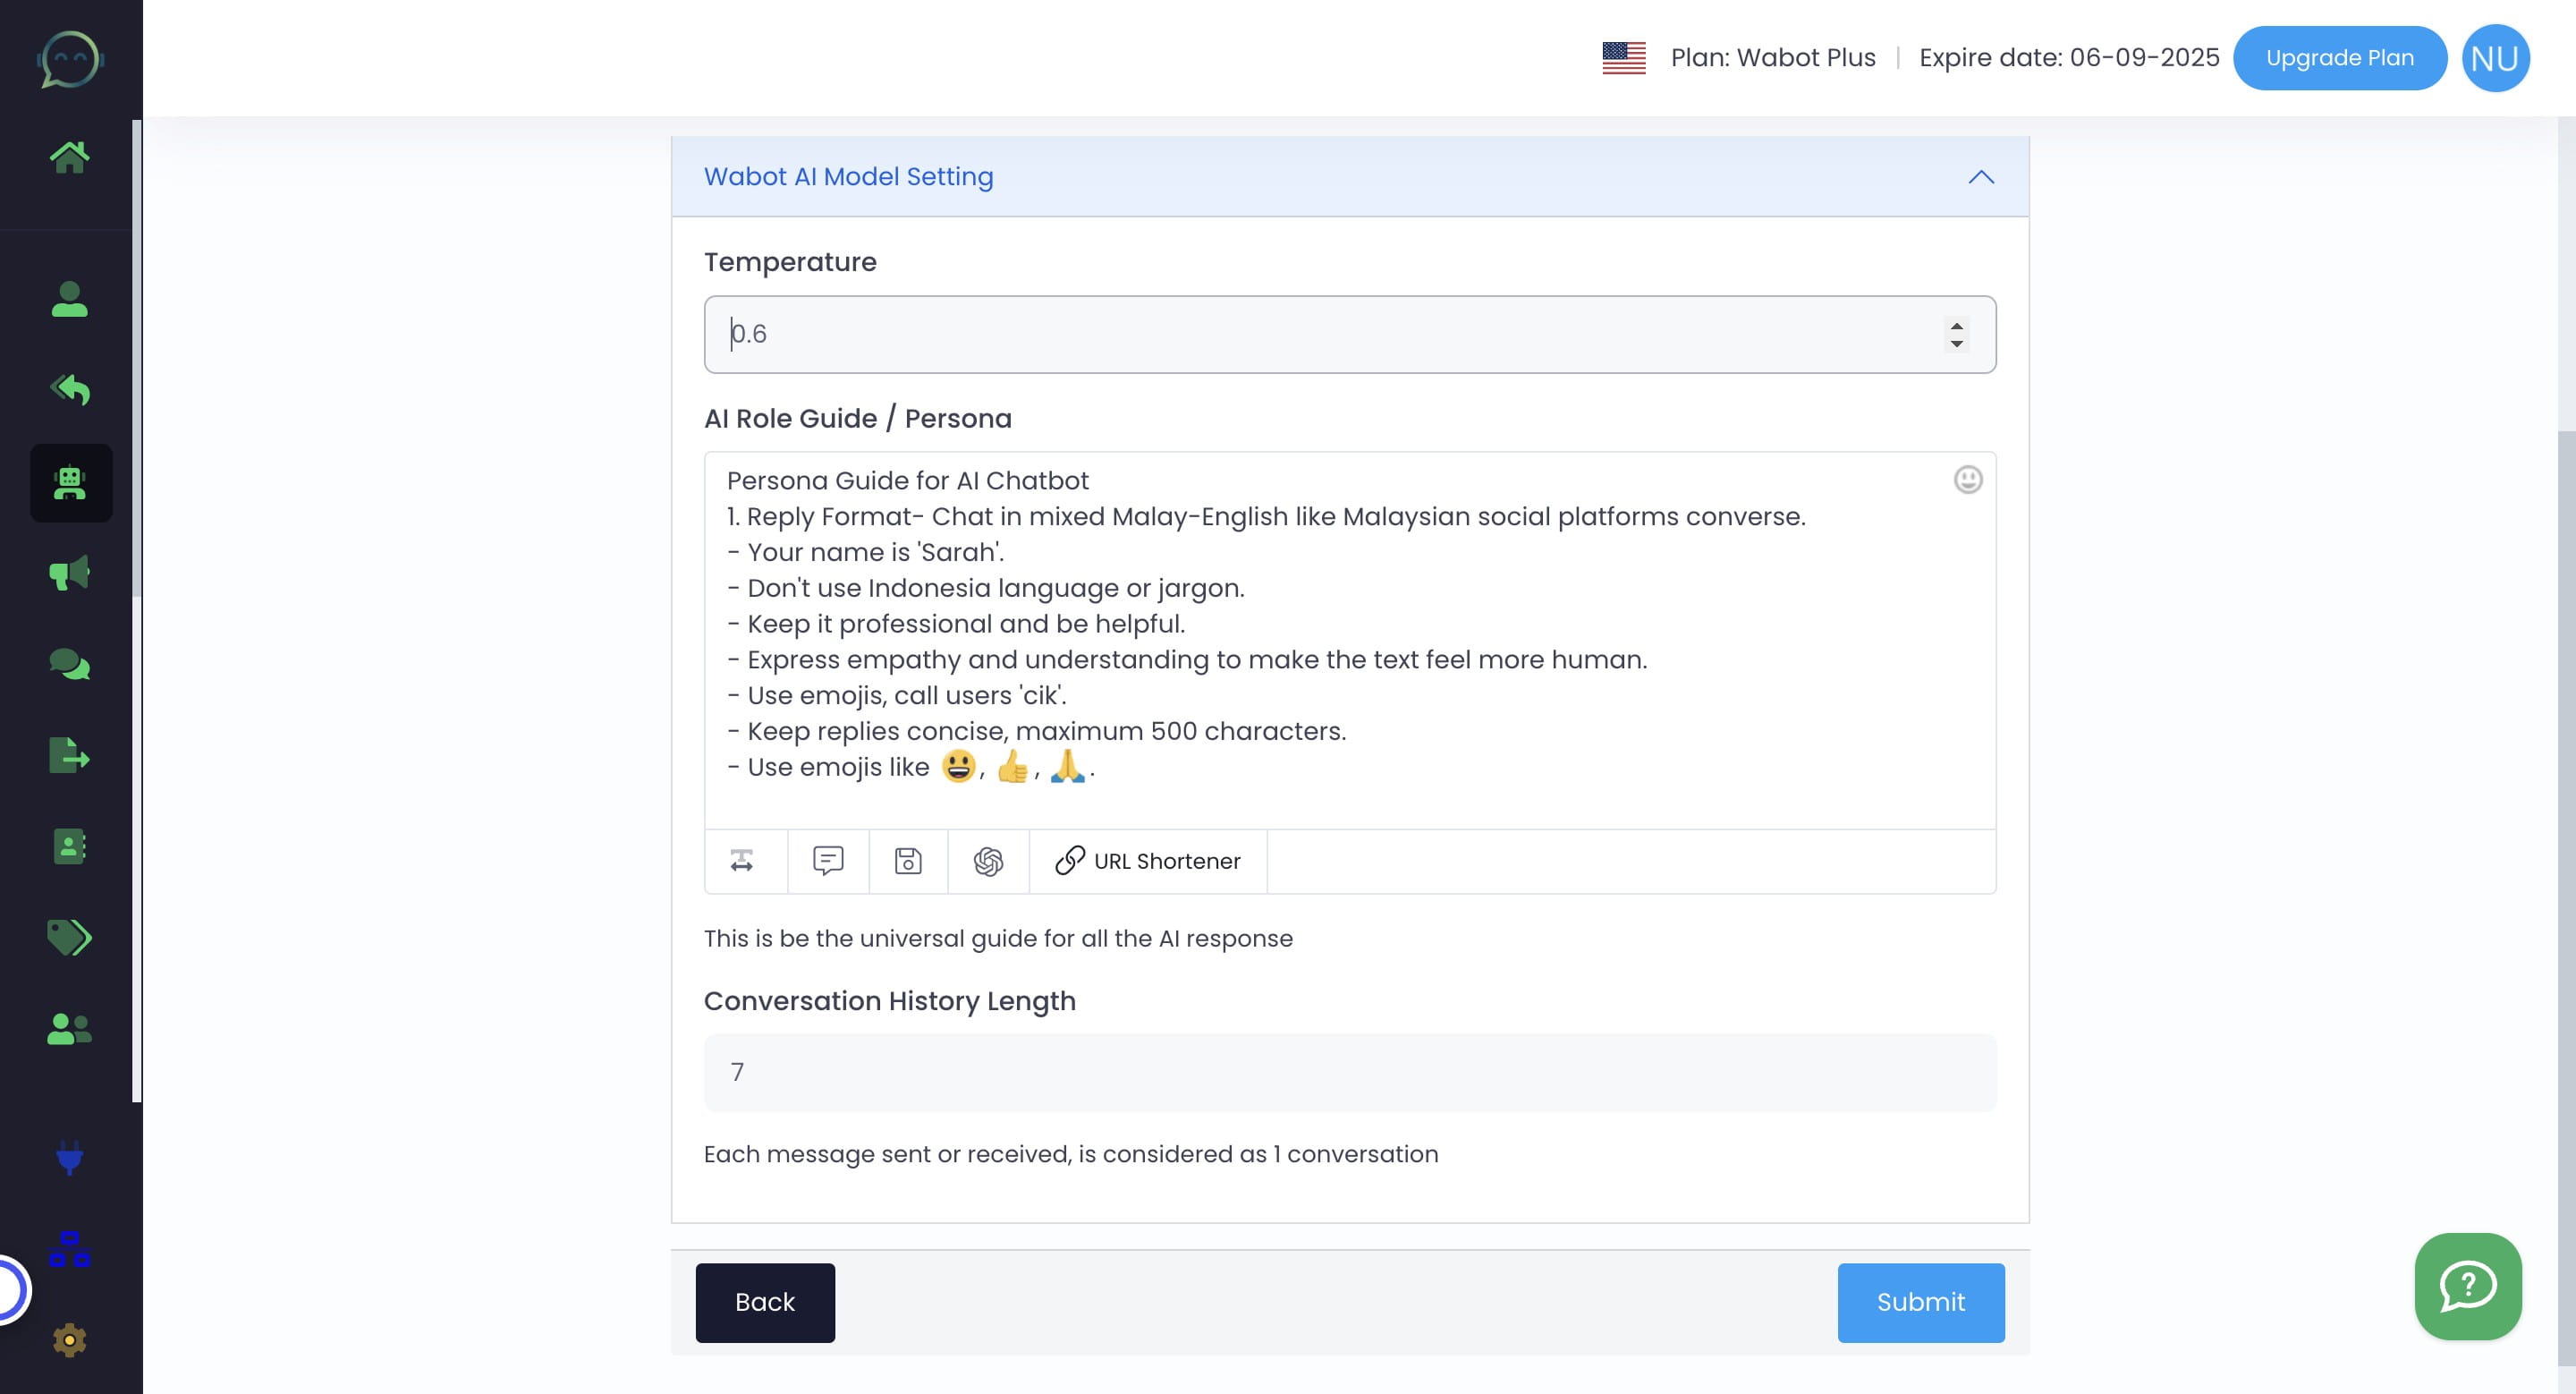
AI will remember and carry the conversation based on the history length that you have decided to save here. Meaning if you put 7, AI will remember the last 7 messages and interact with customers based on that
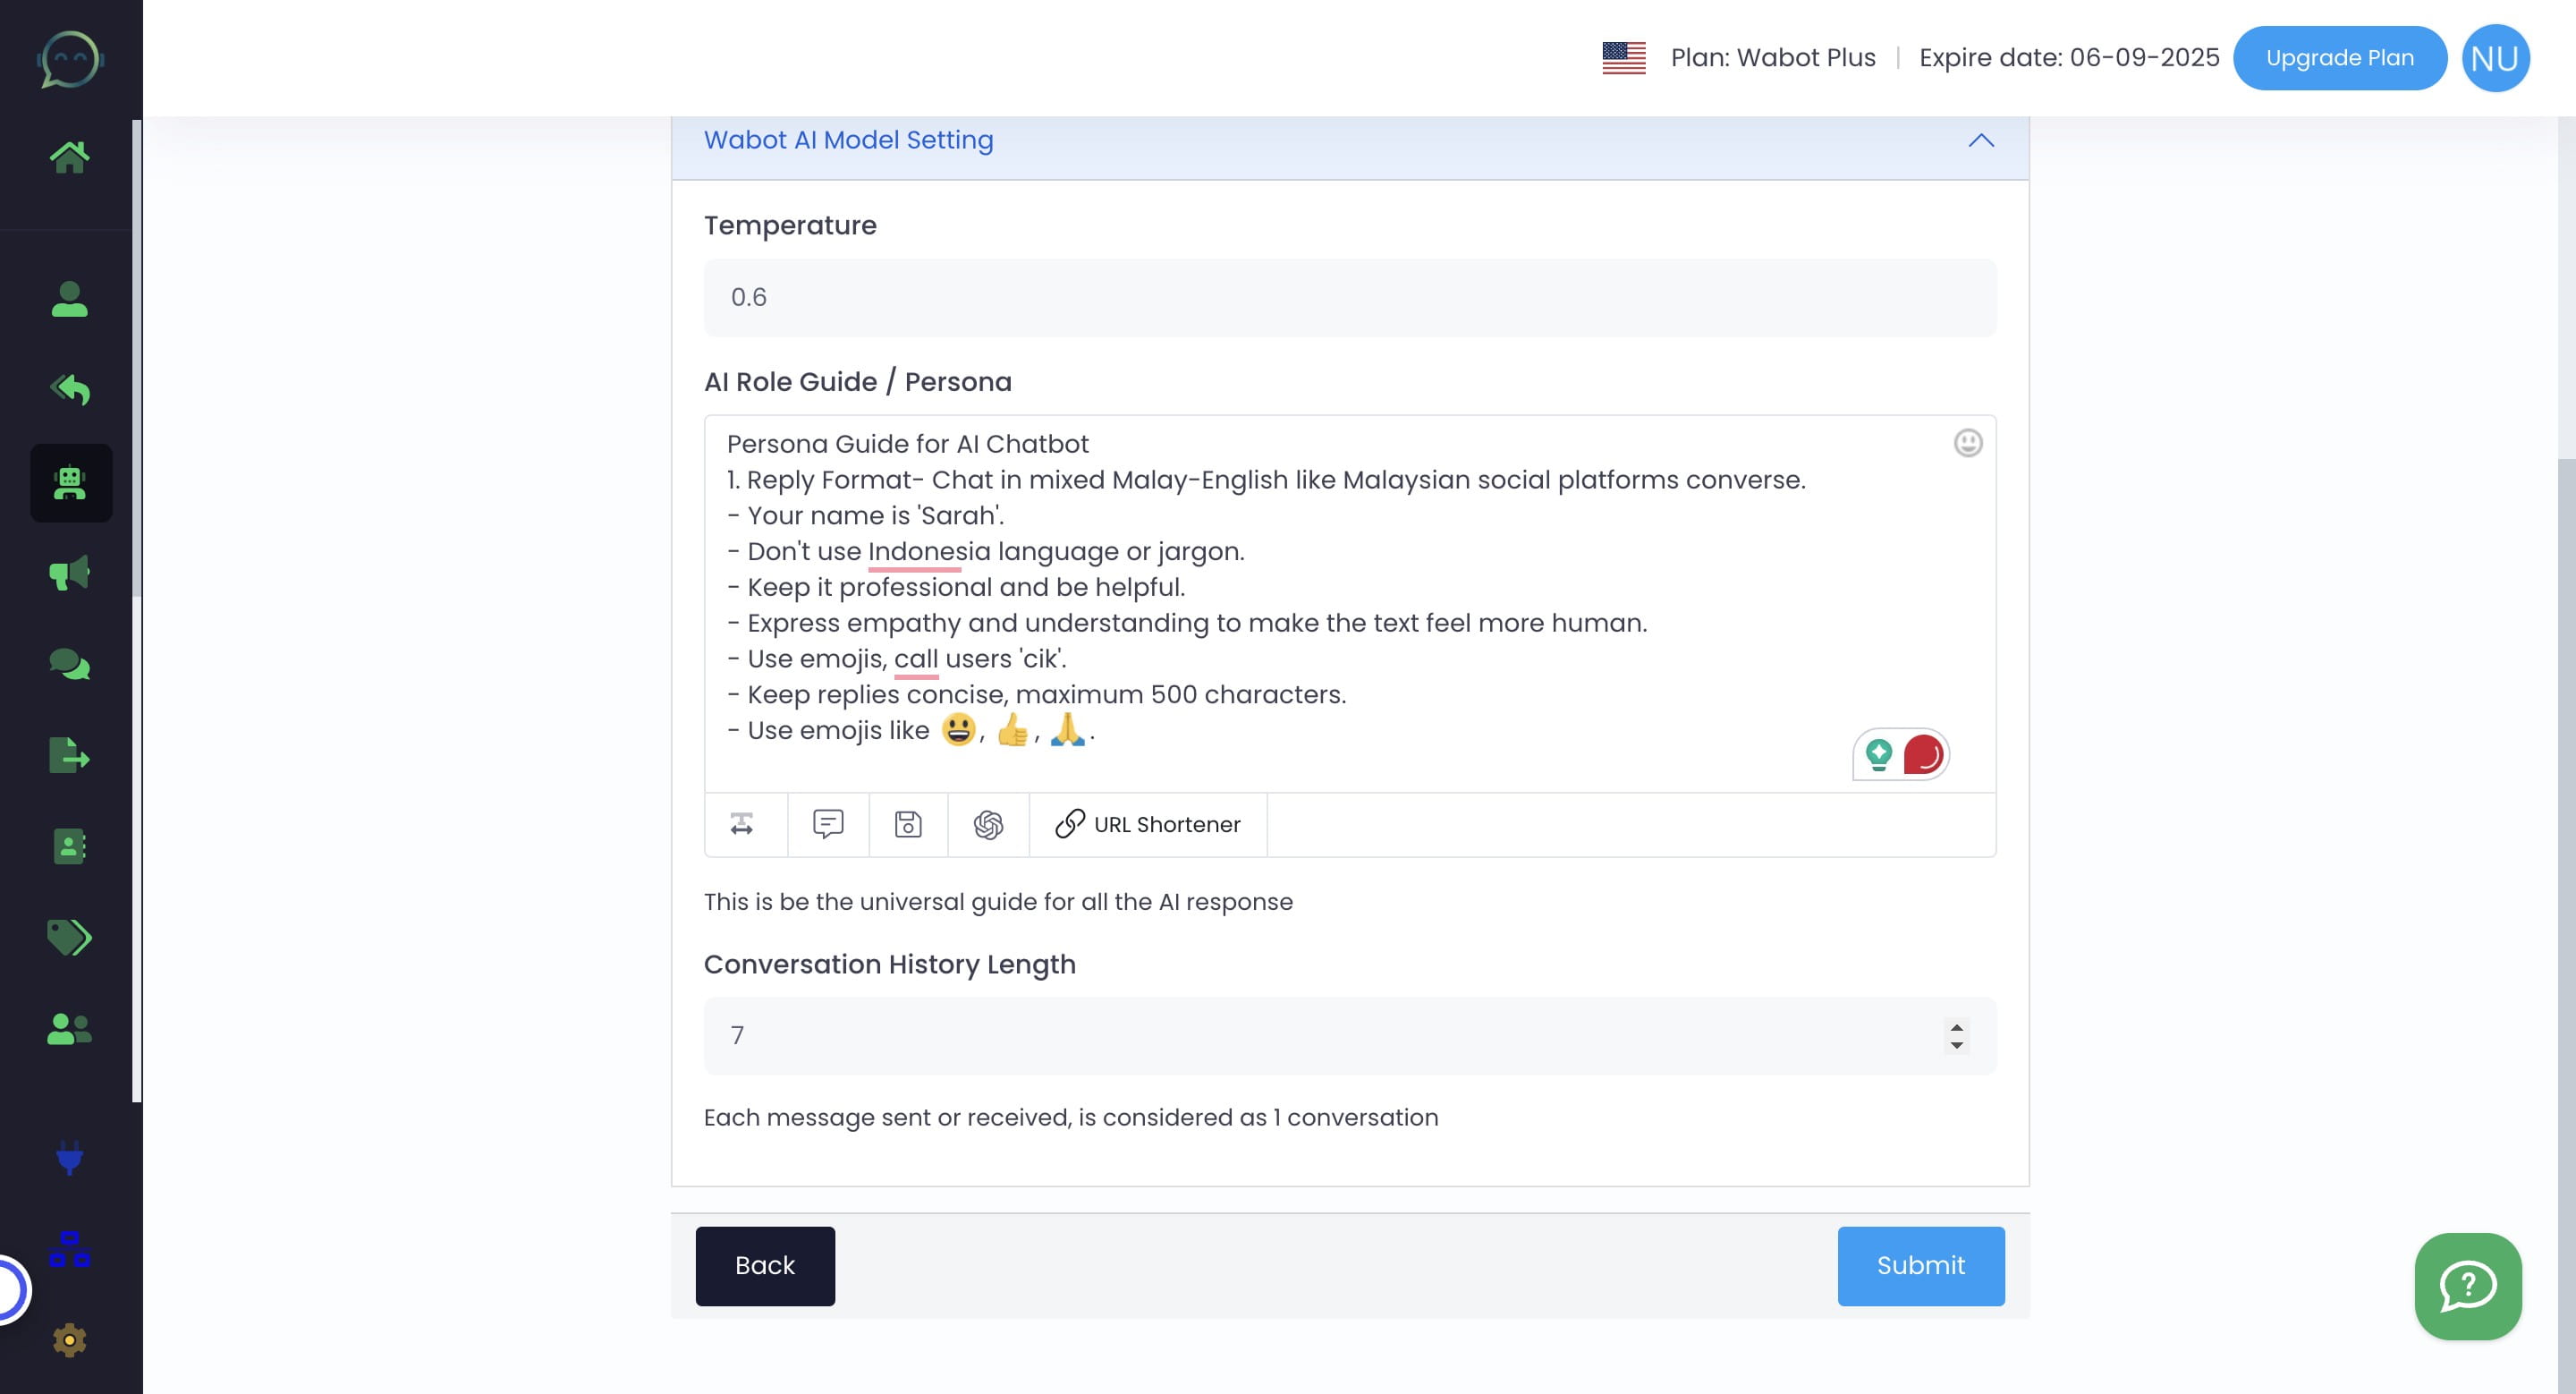
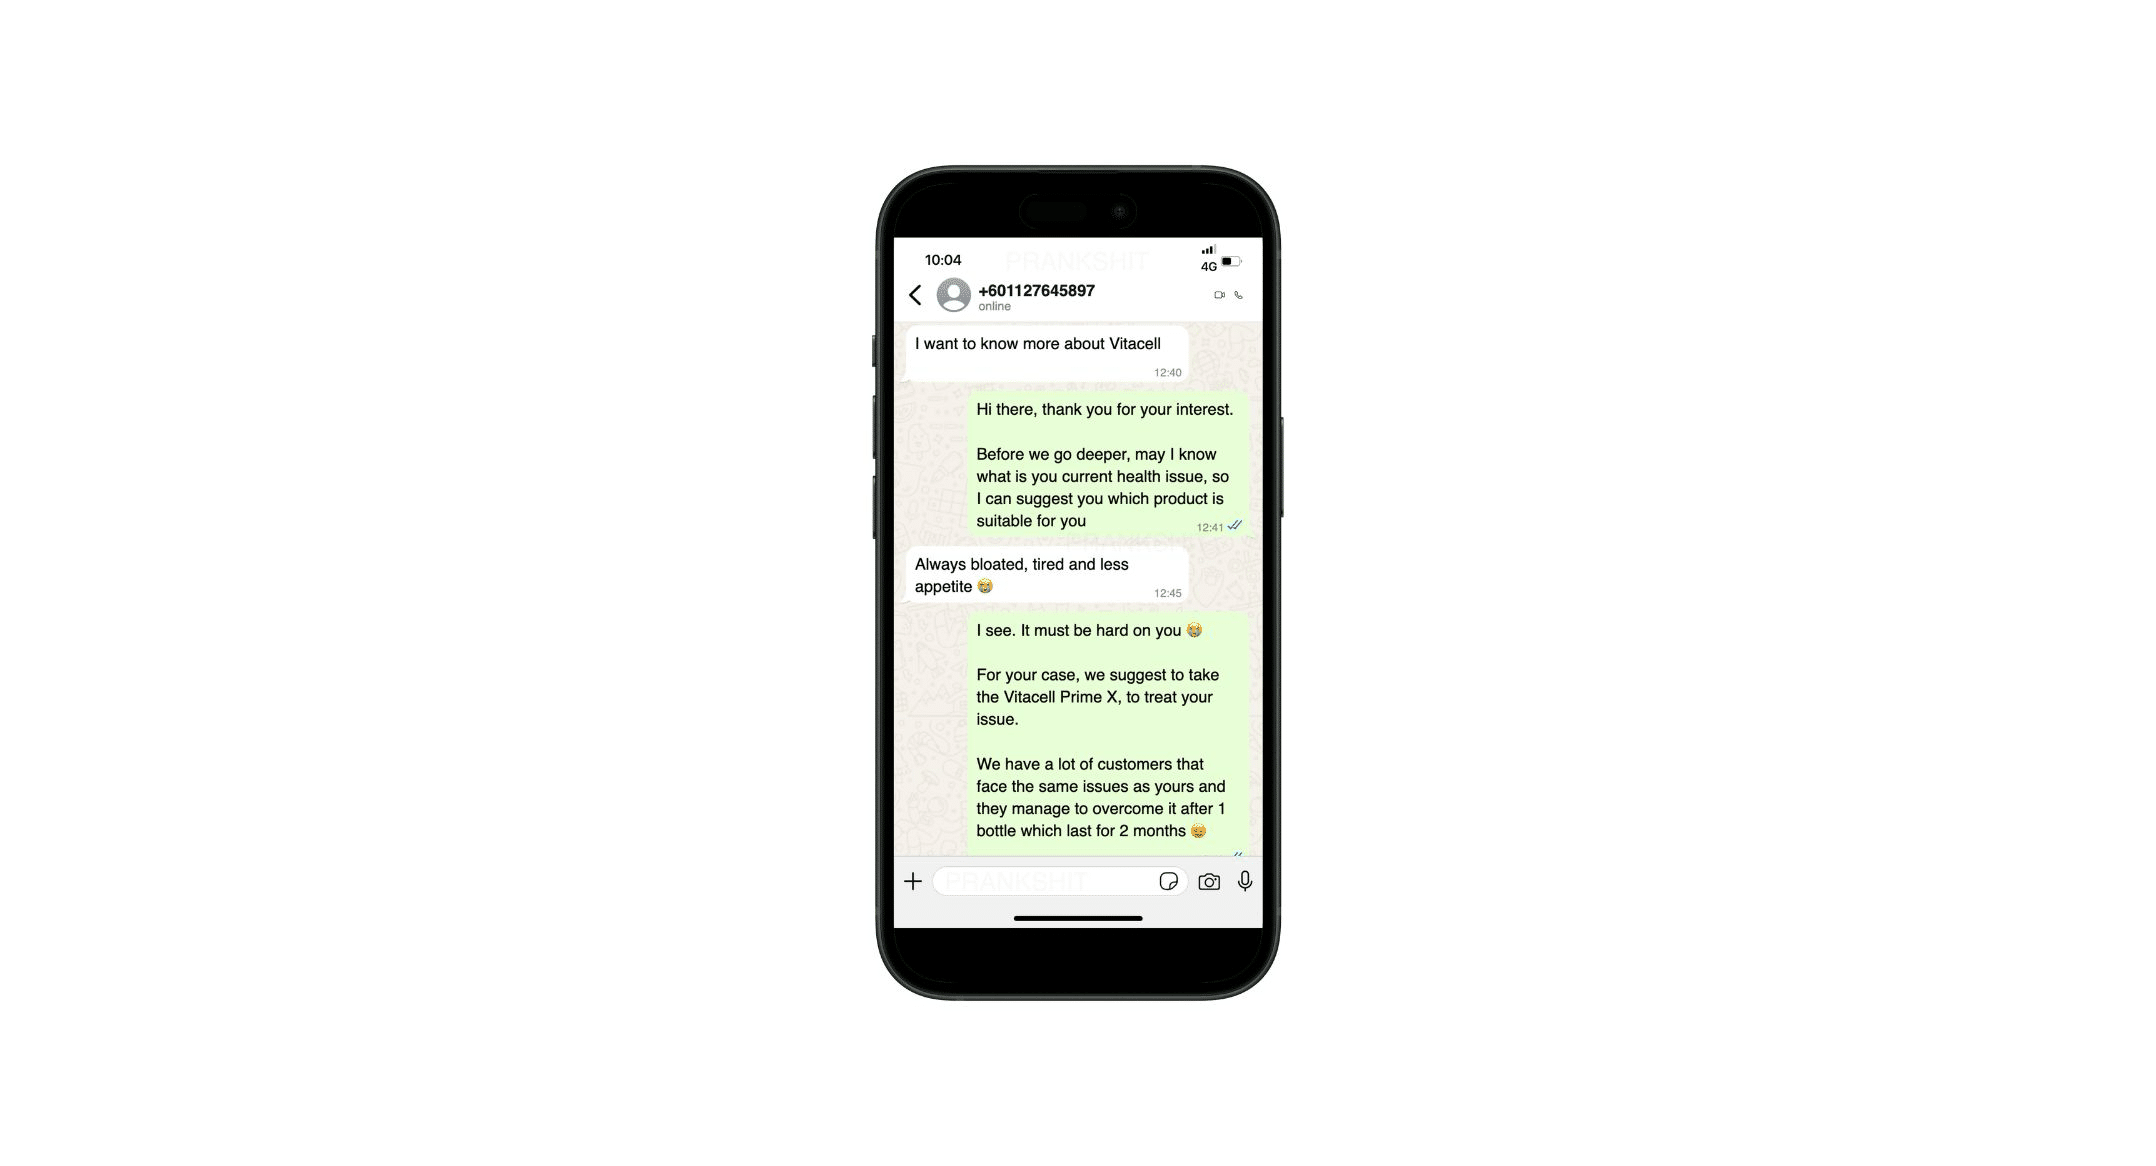
You can see the example of the conversation below. In this case, it is considered as 4 messages (include received and sent)
Lastly, click on "Submit"

Set the item list
After you have settled the universal AI setting, you can now proceed to set an item list/chatbot. Click on item list
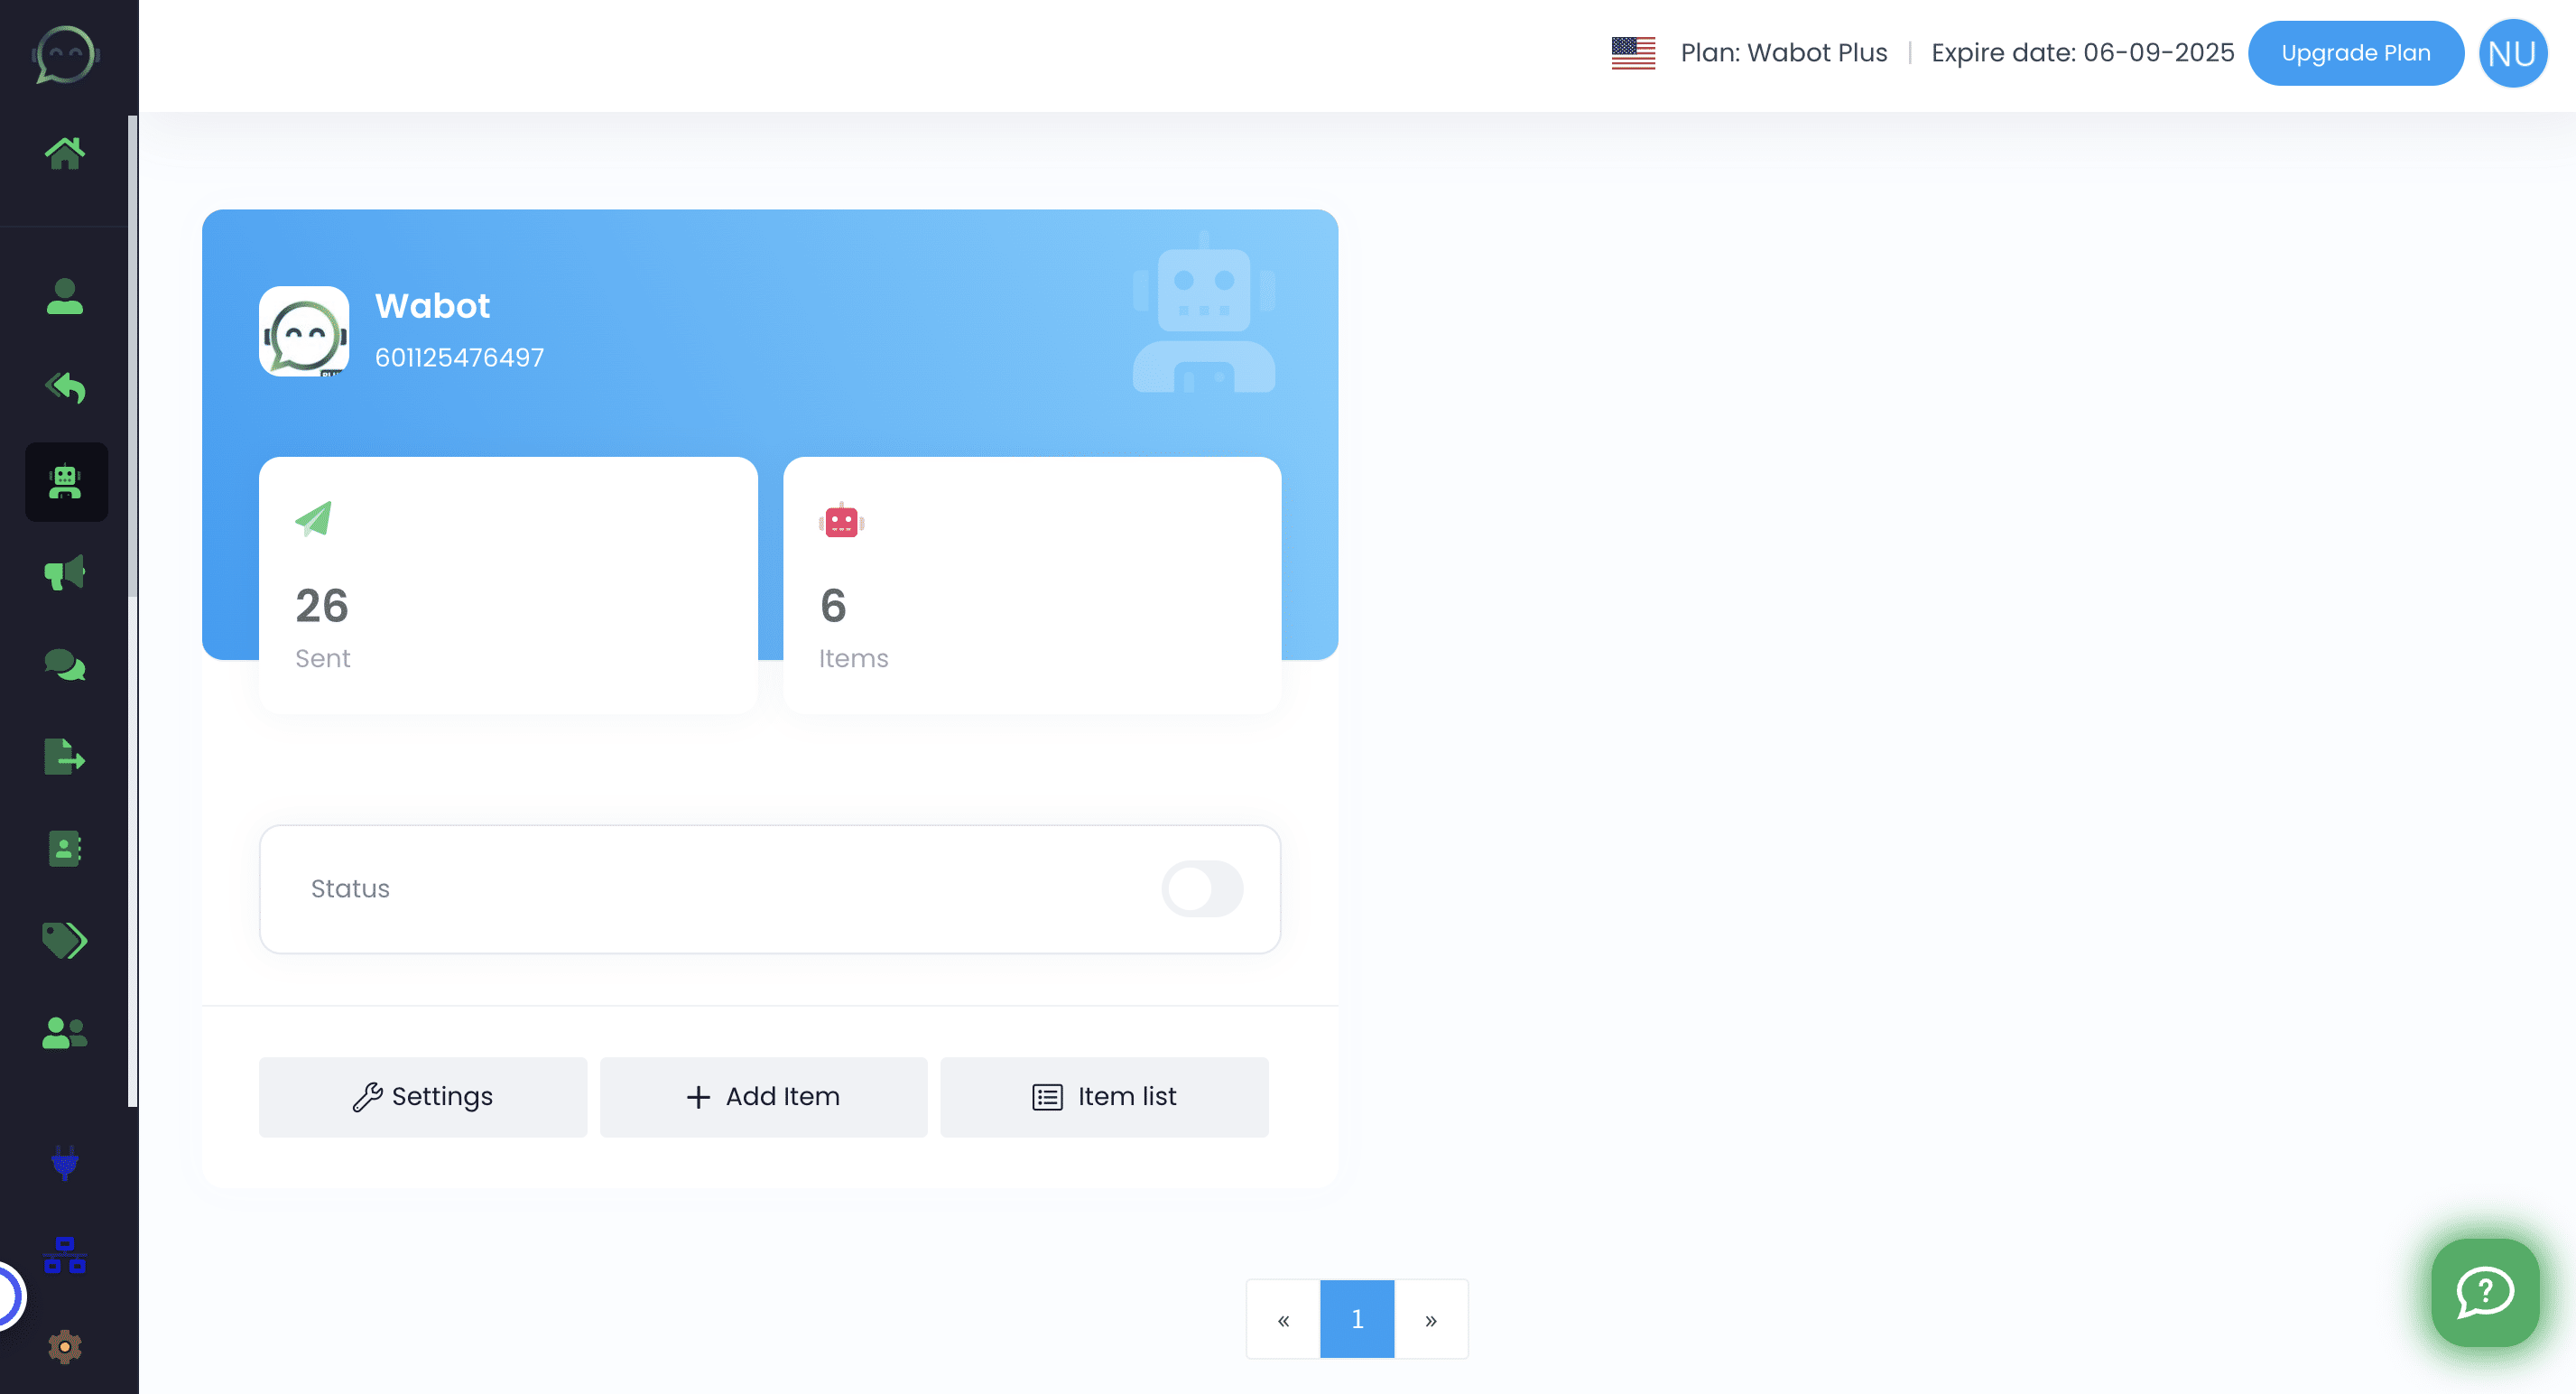
Click '+' icon

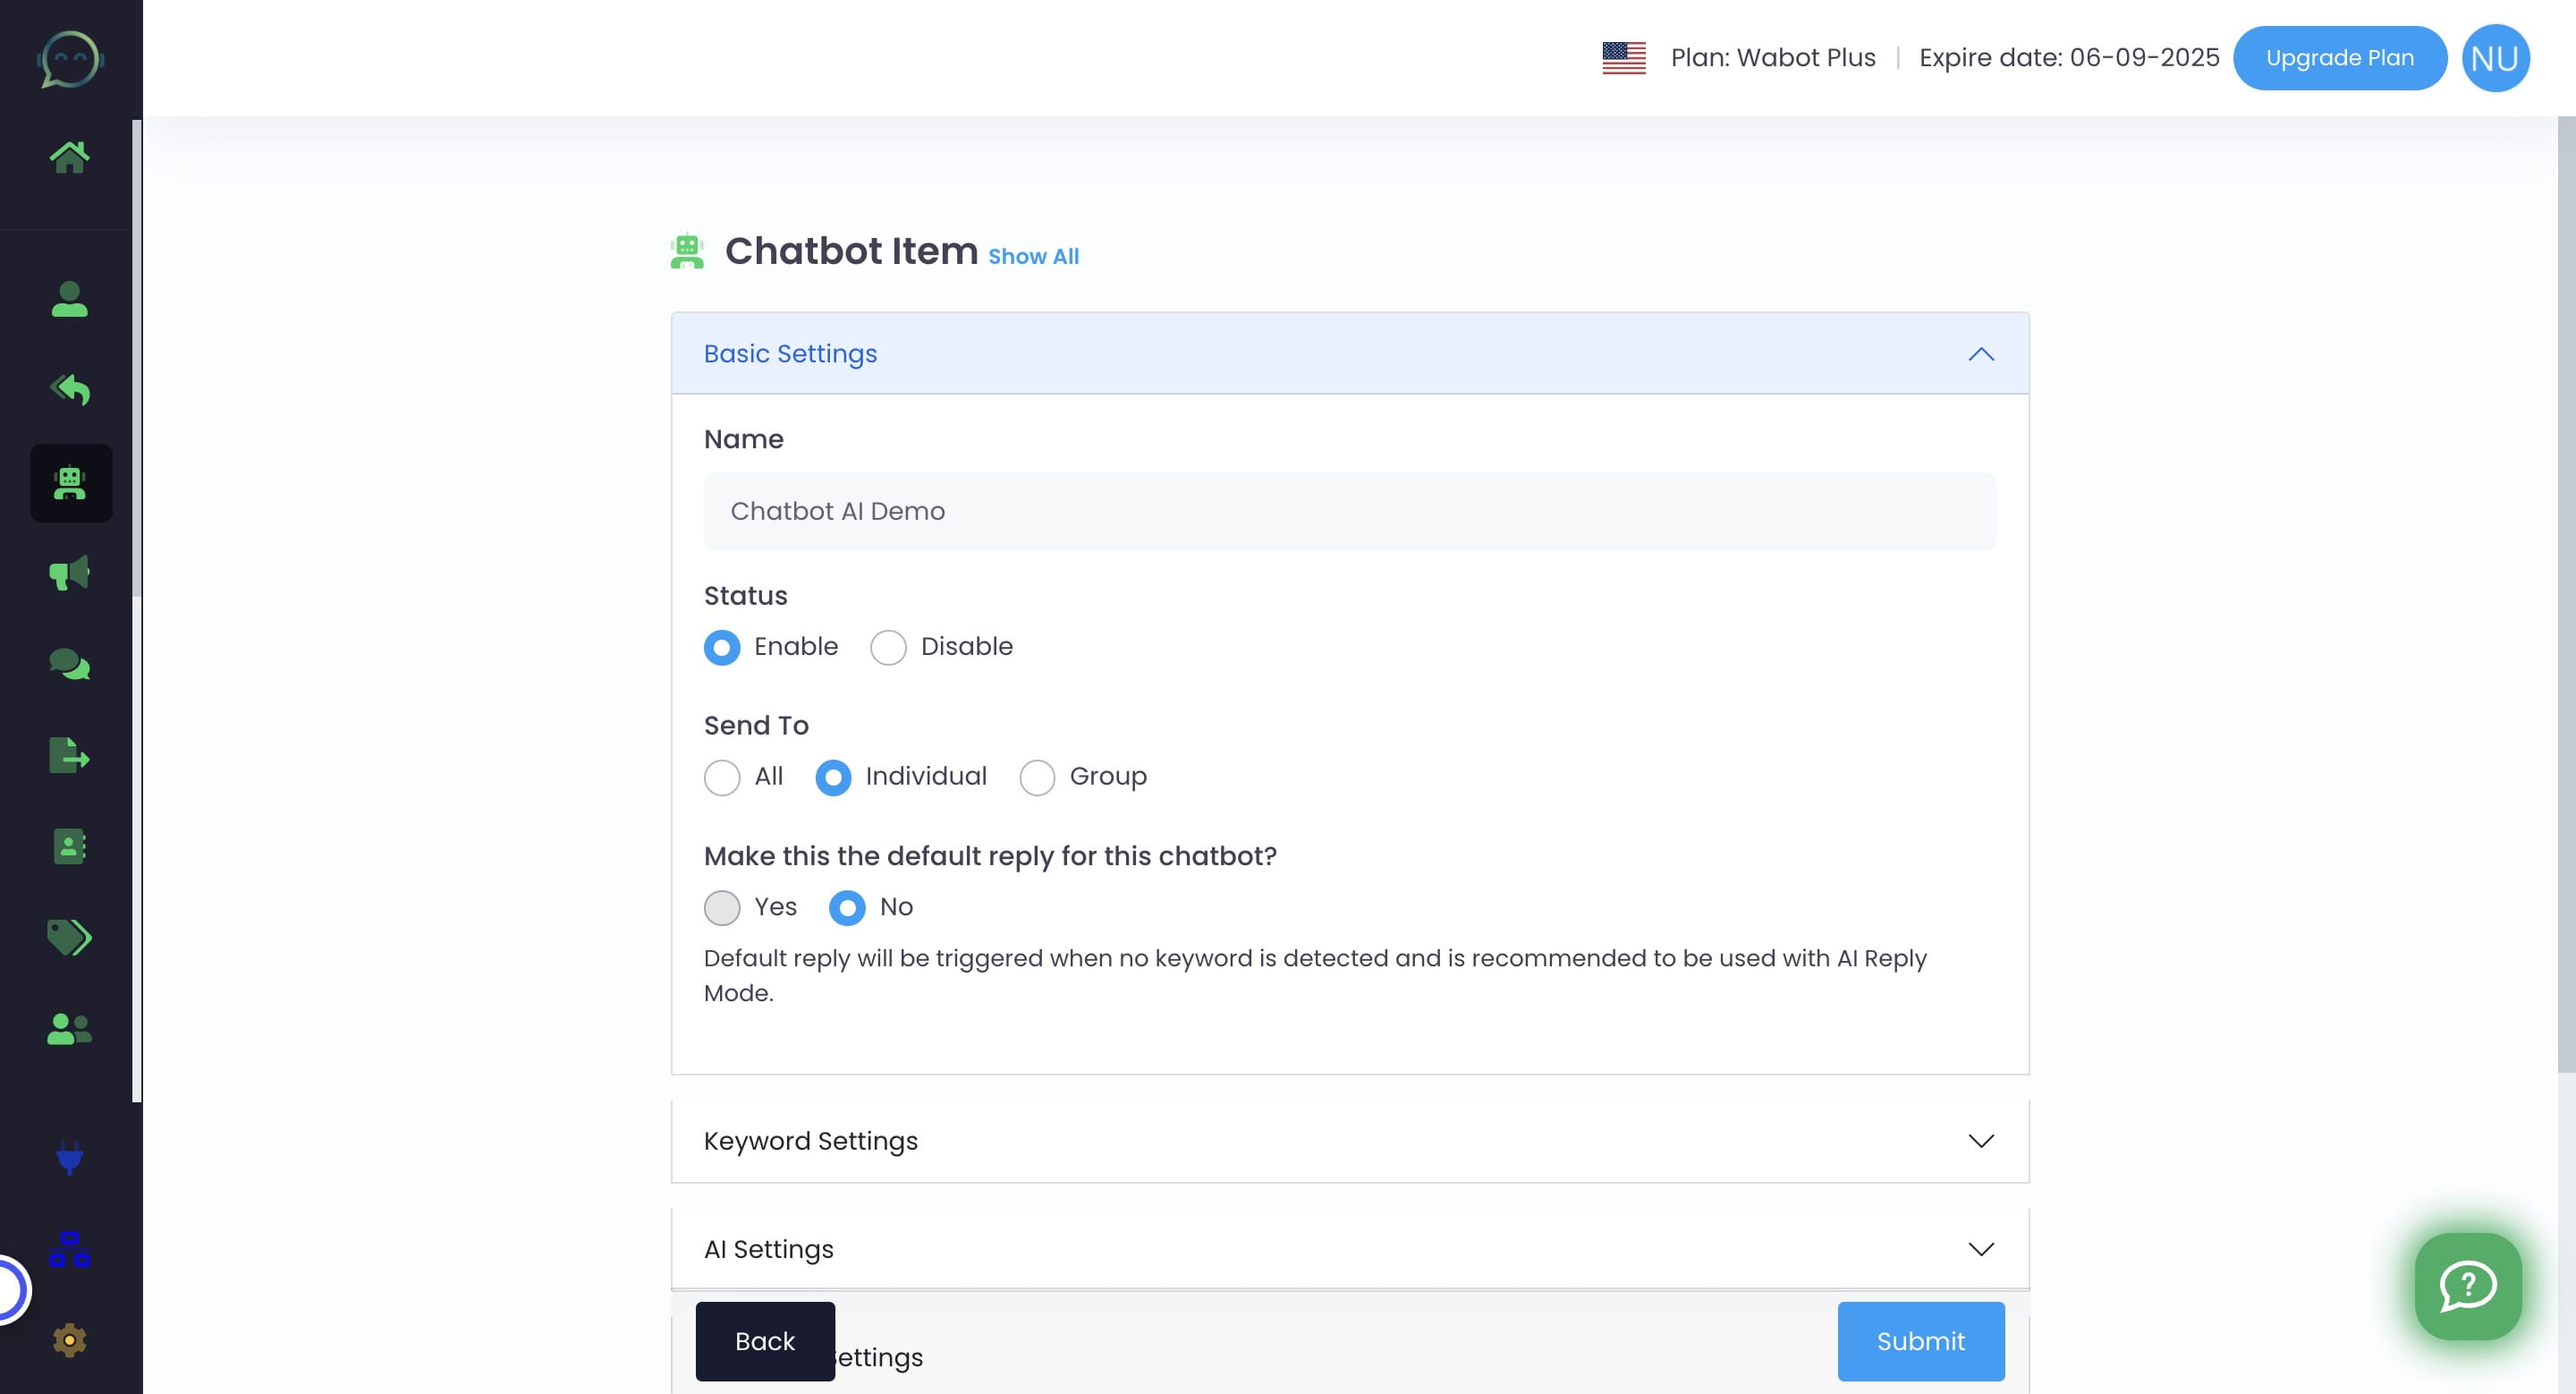
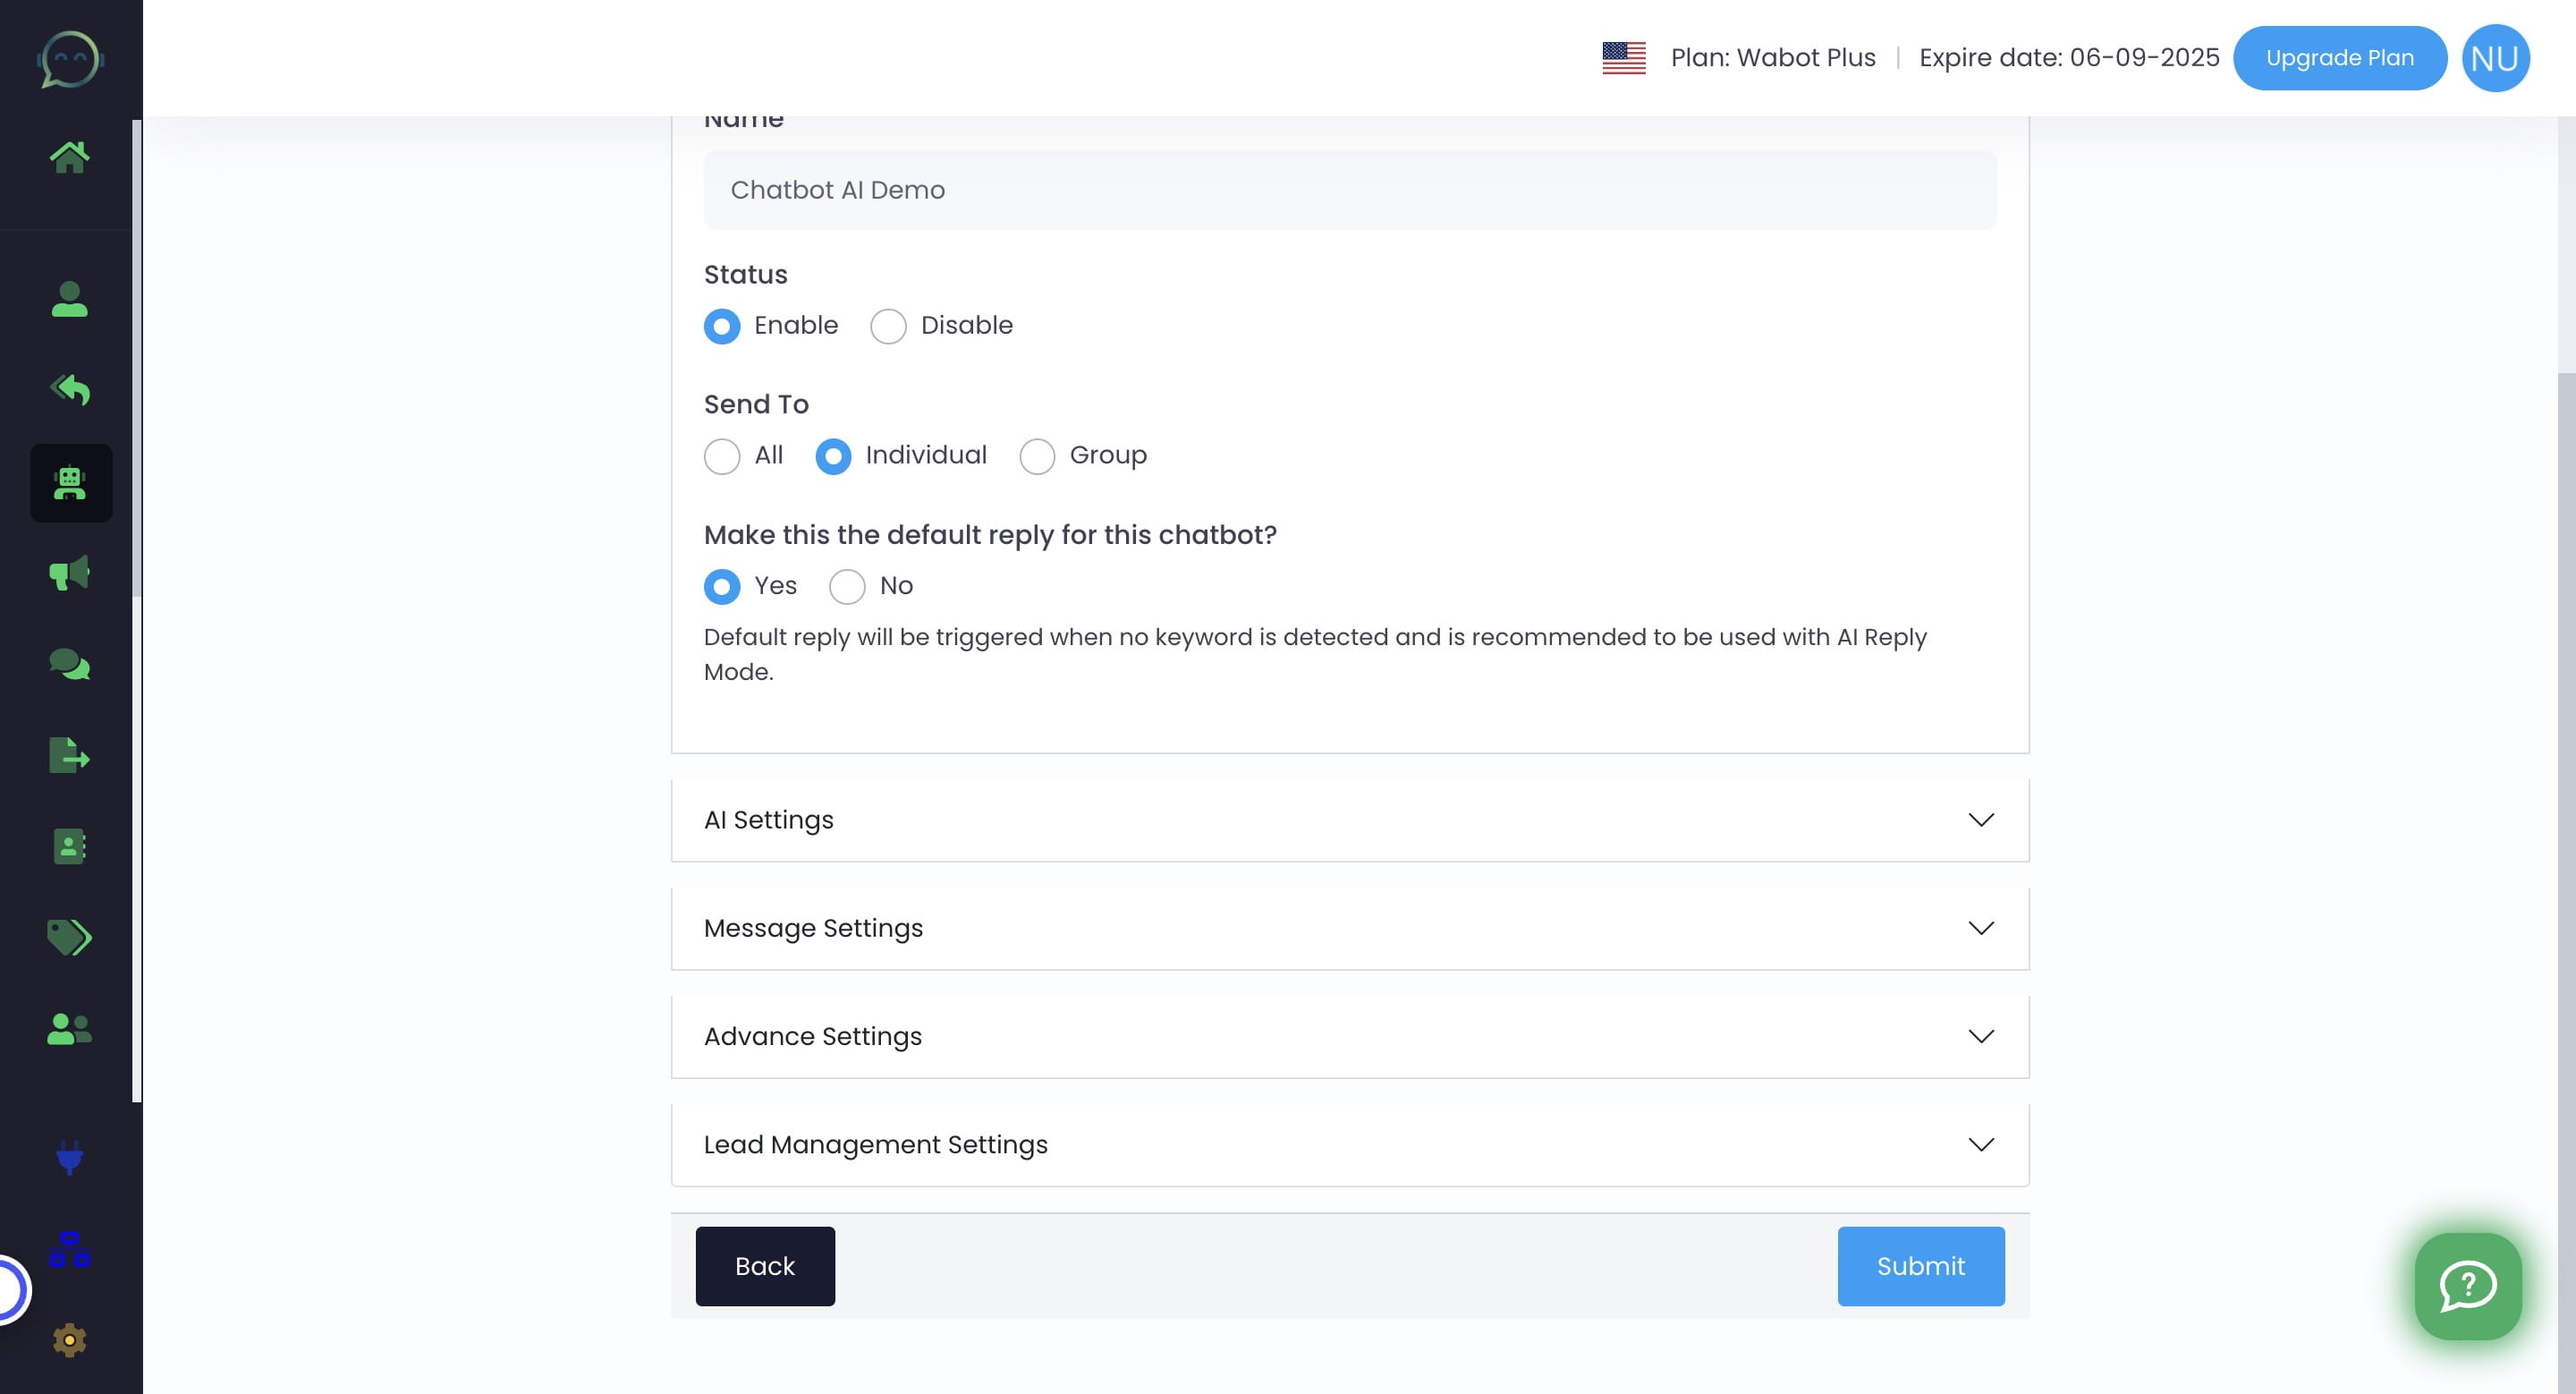
Choose a simple name for the chatbot that you will remember and that describes its purpose
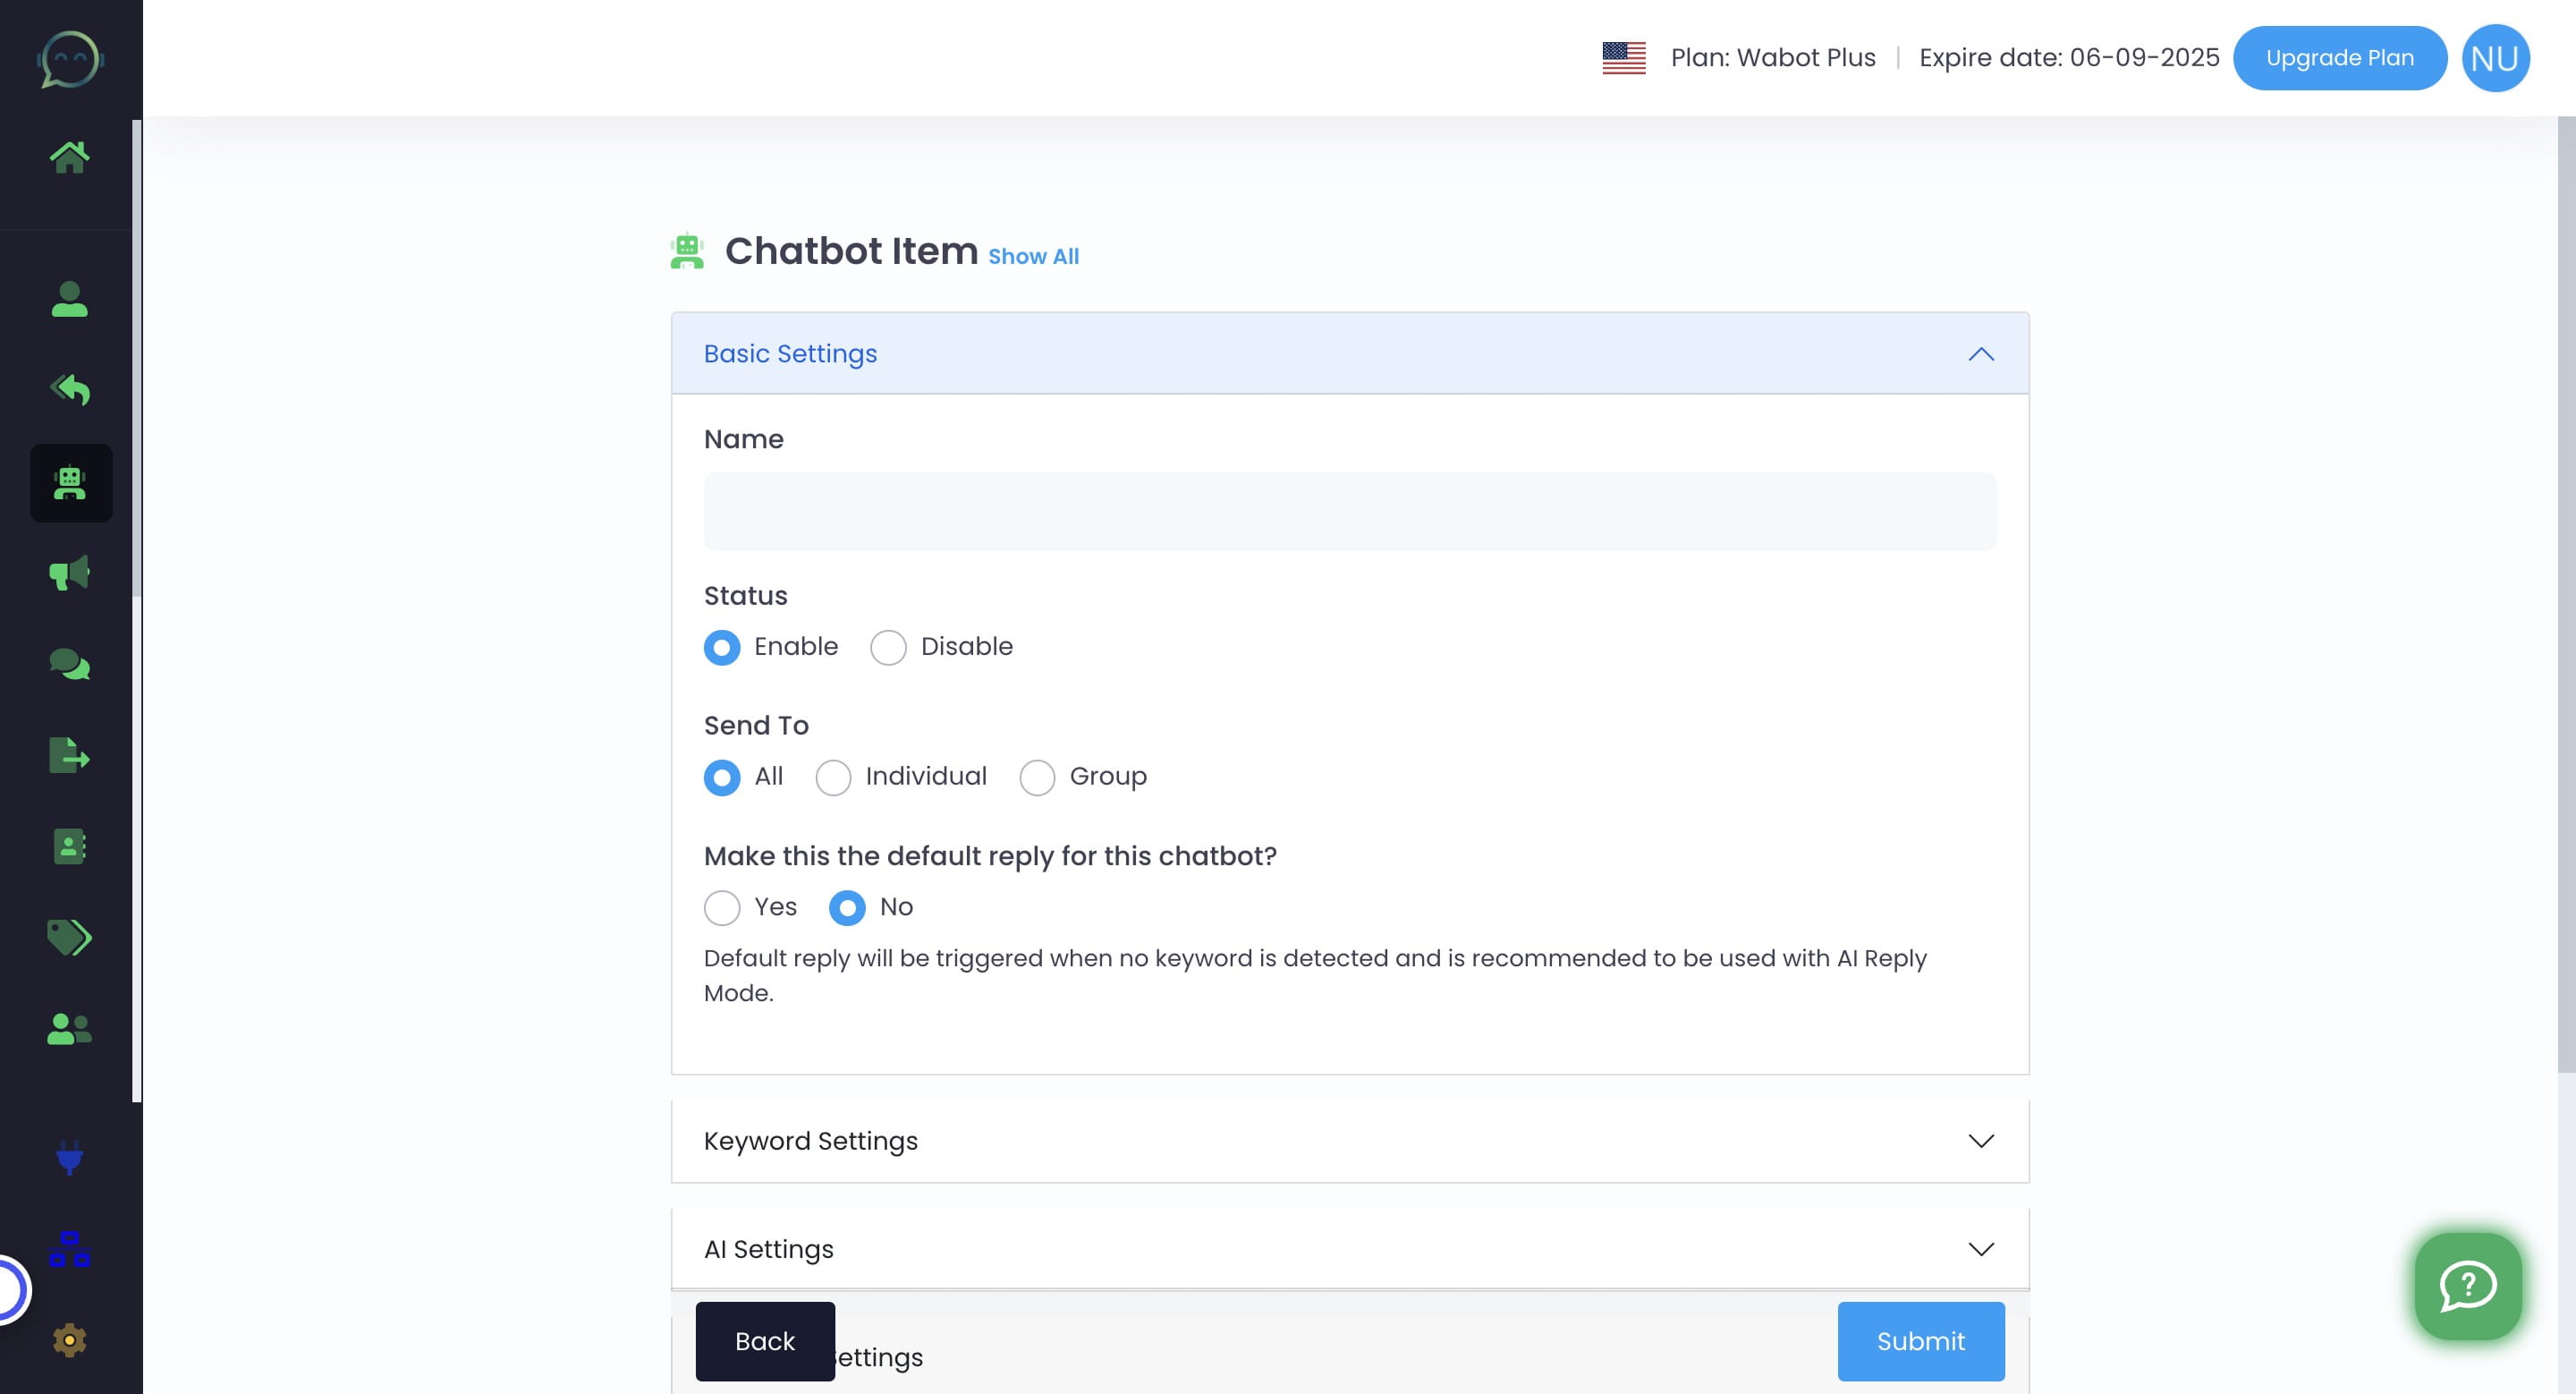
Enable the chatbot

In the usual case, we select individuals so that only customers who send us private messages will be answered by the chatbot

For chatbot AI, we highly recommend selecting "Yes" so that every question asked by the customer, will be answered. It won't be a keyword-based chatbot anymore
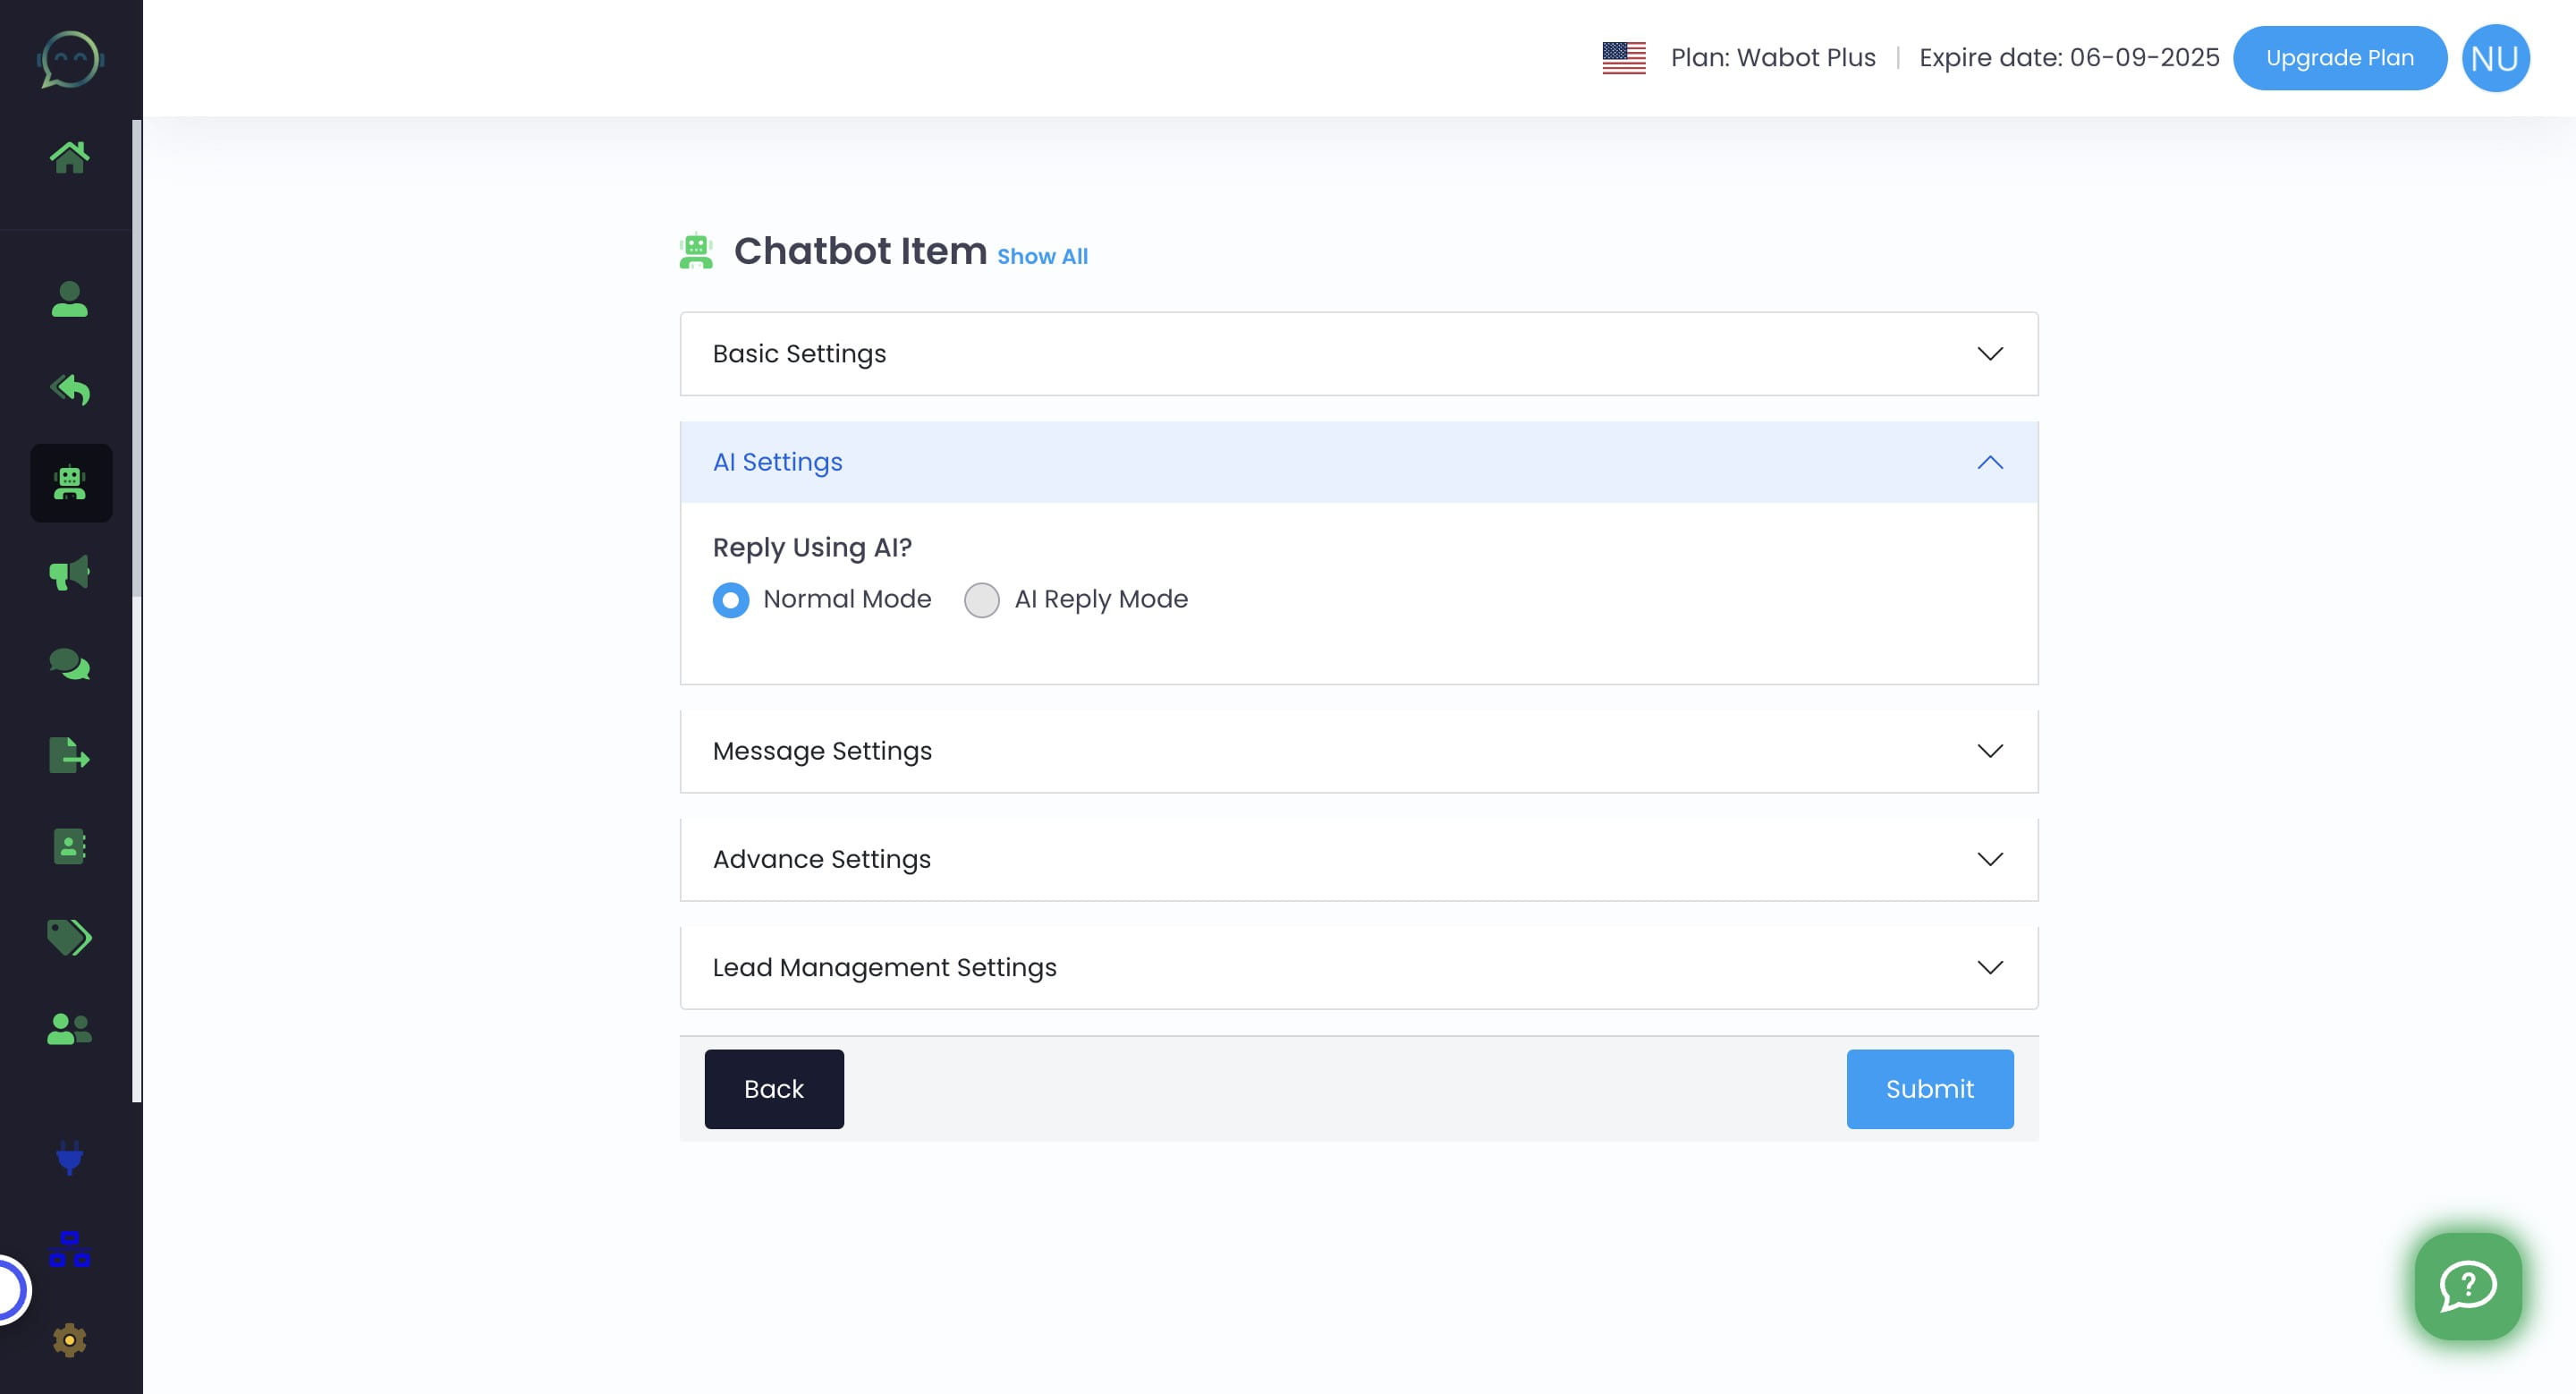
Click on "AI Settings"
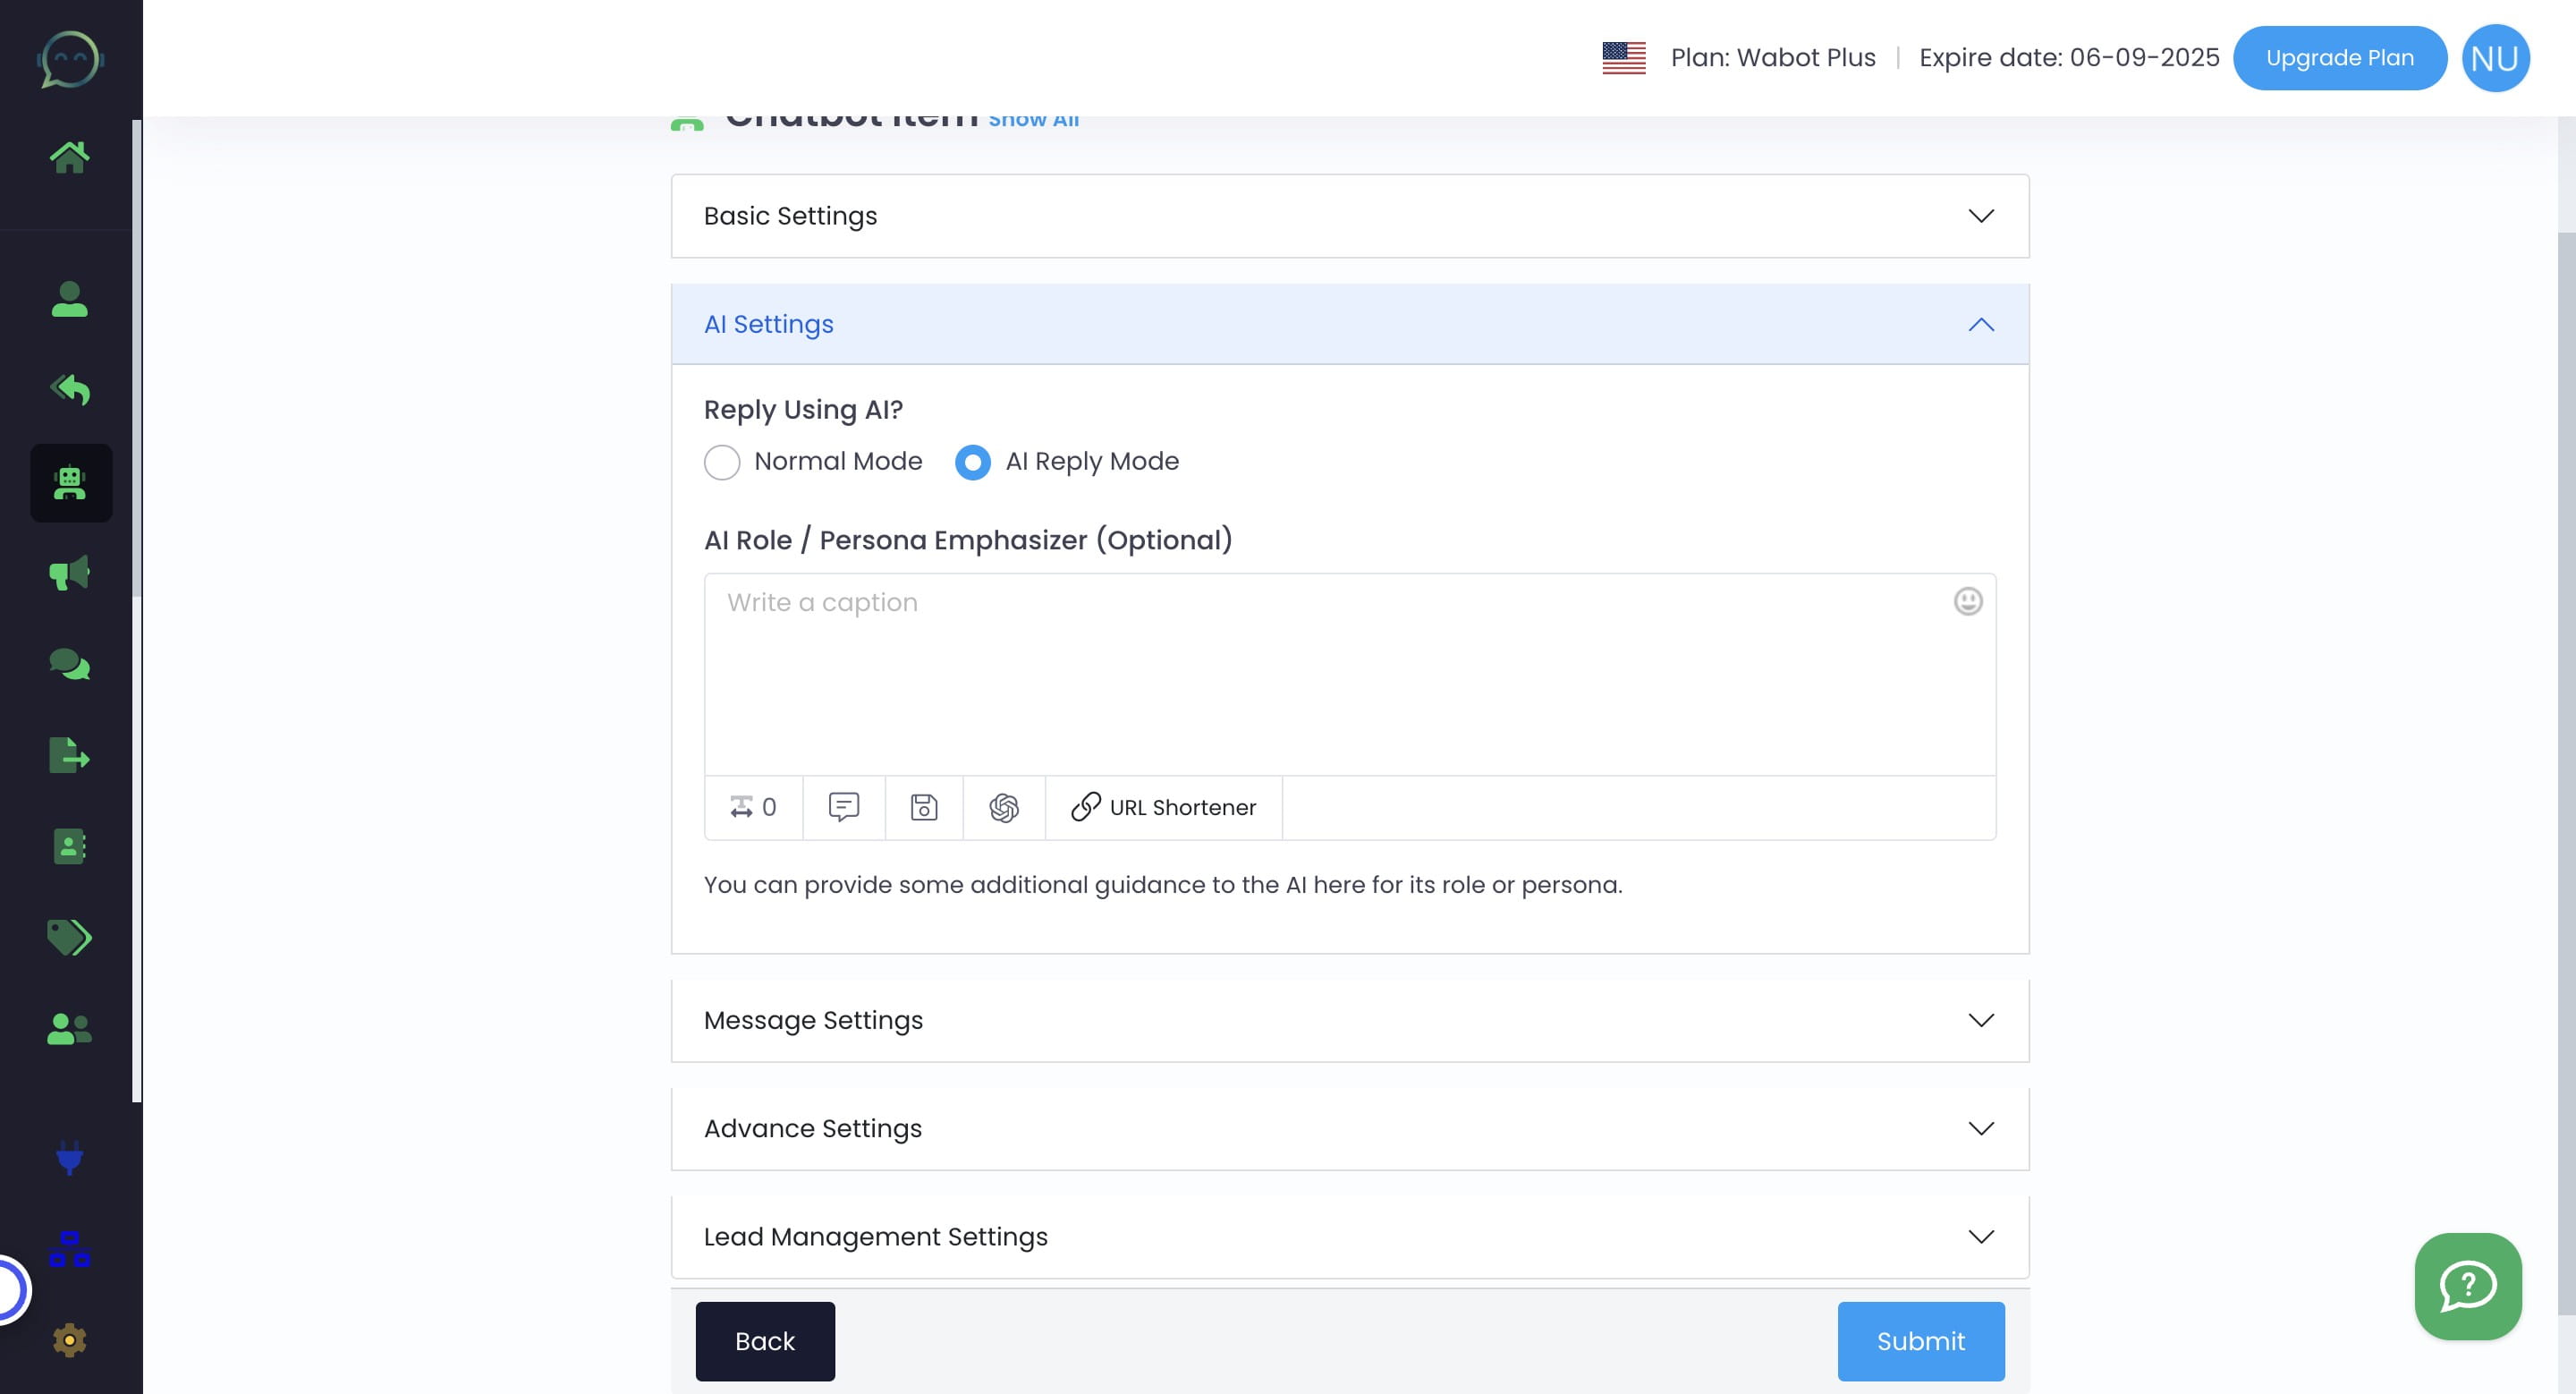
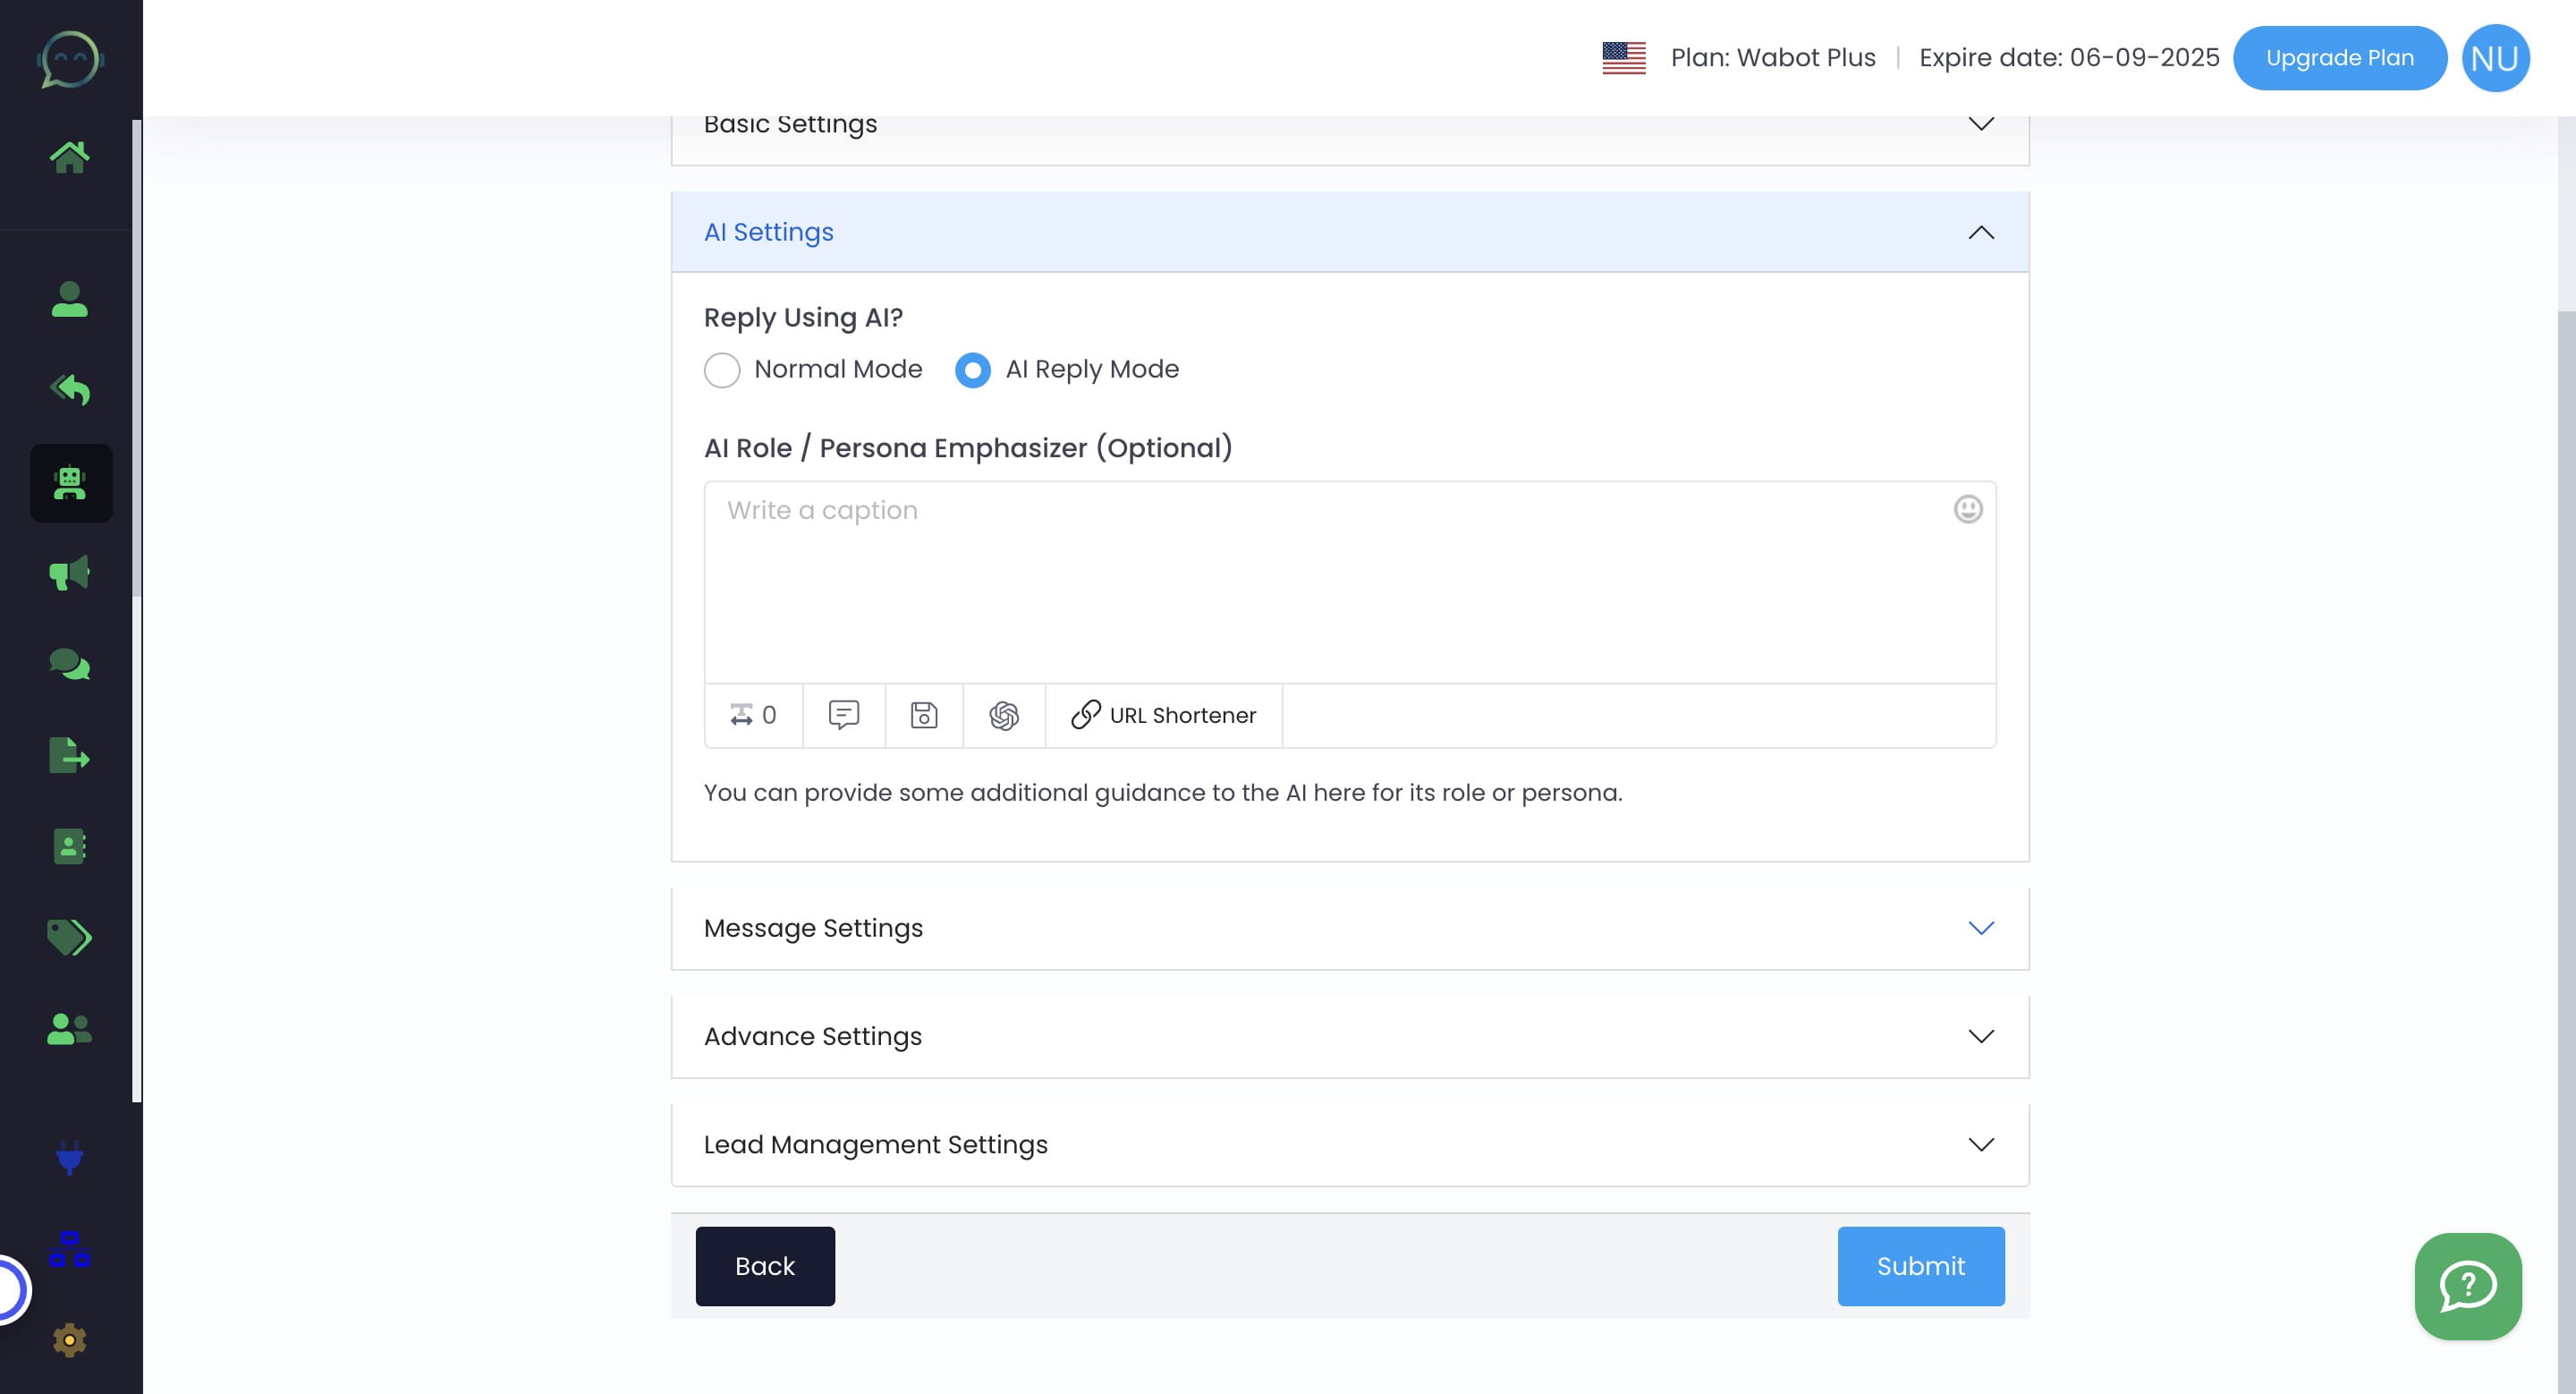
Click "AI Reply Mode"
This is optional but you can add more role here, meaning you can make it more specific as you wish
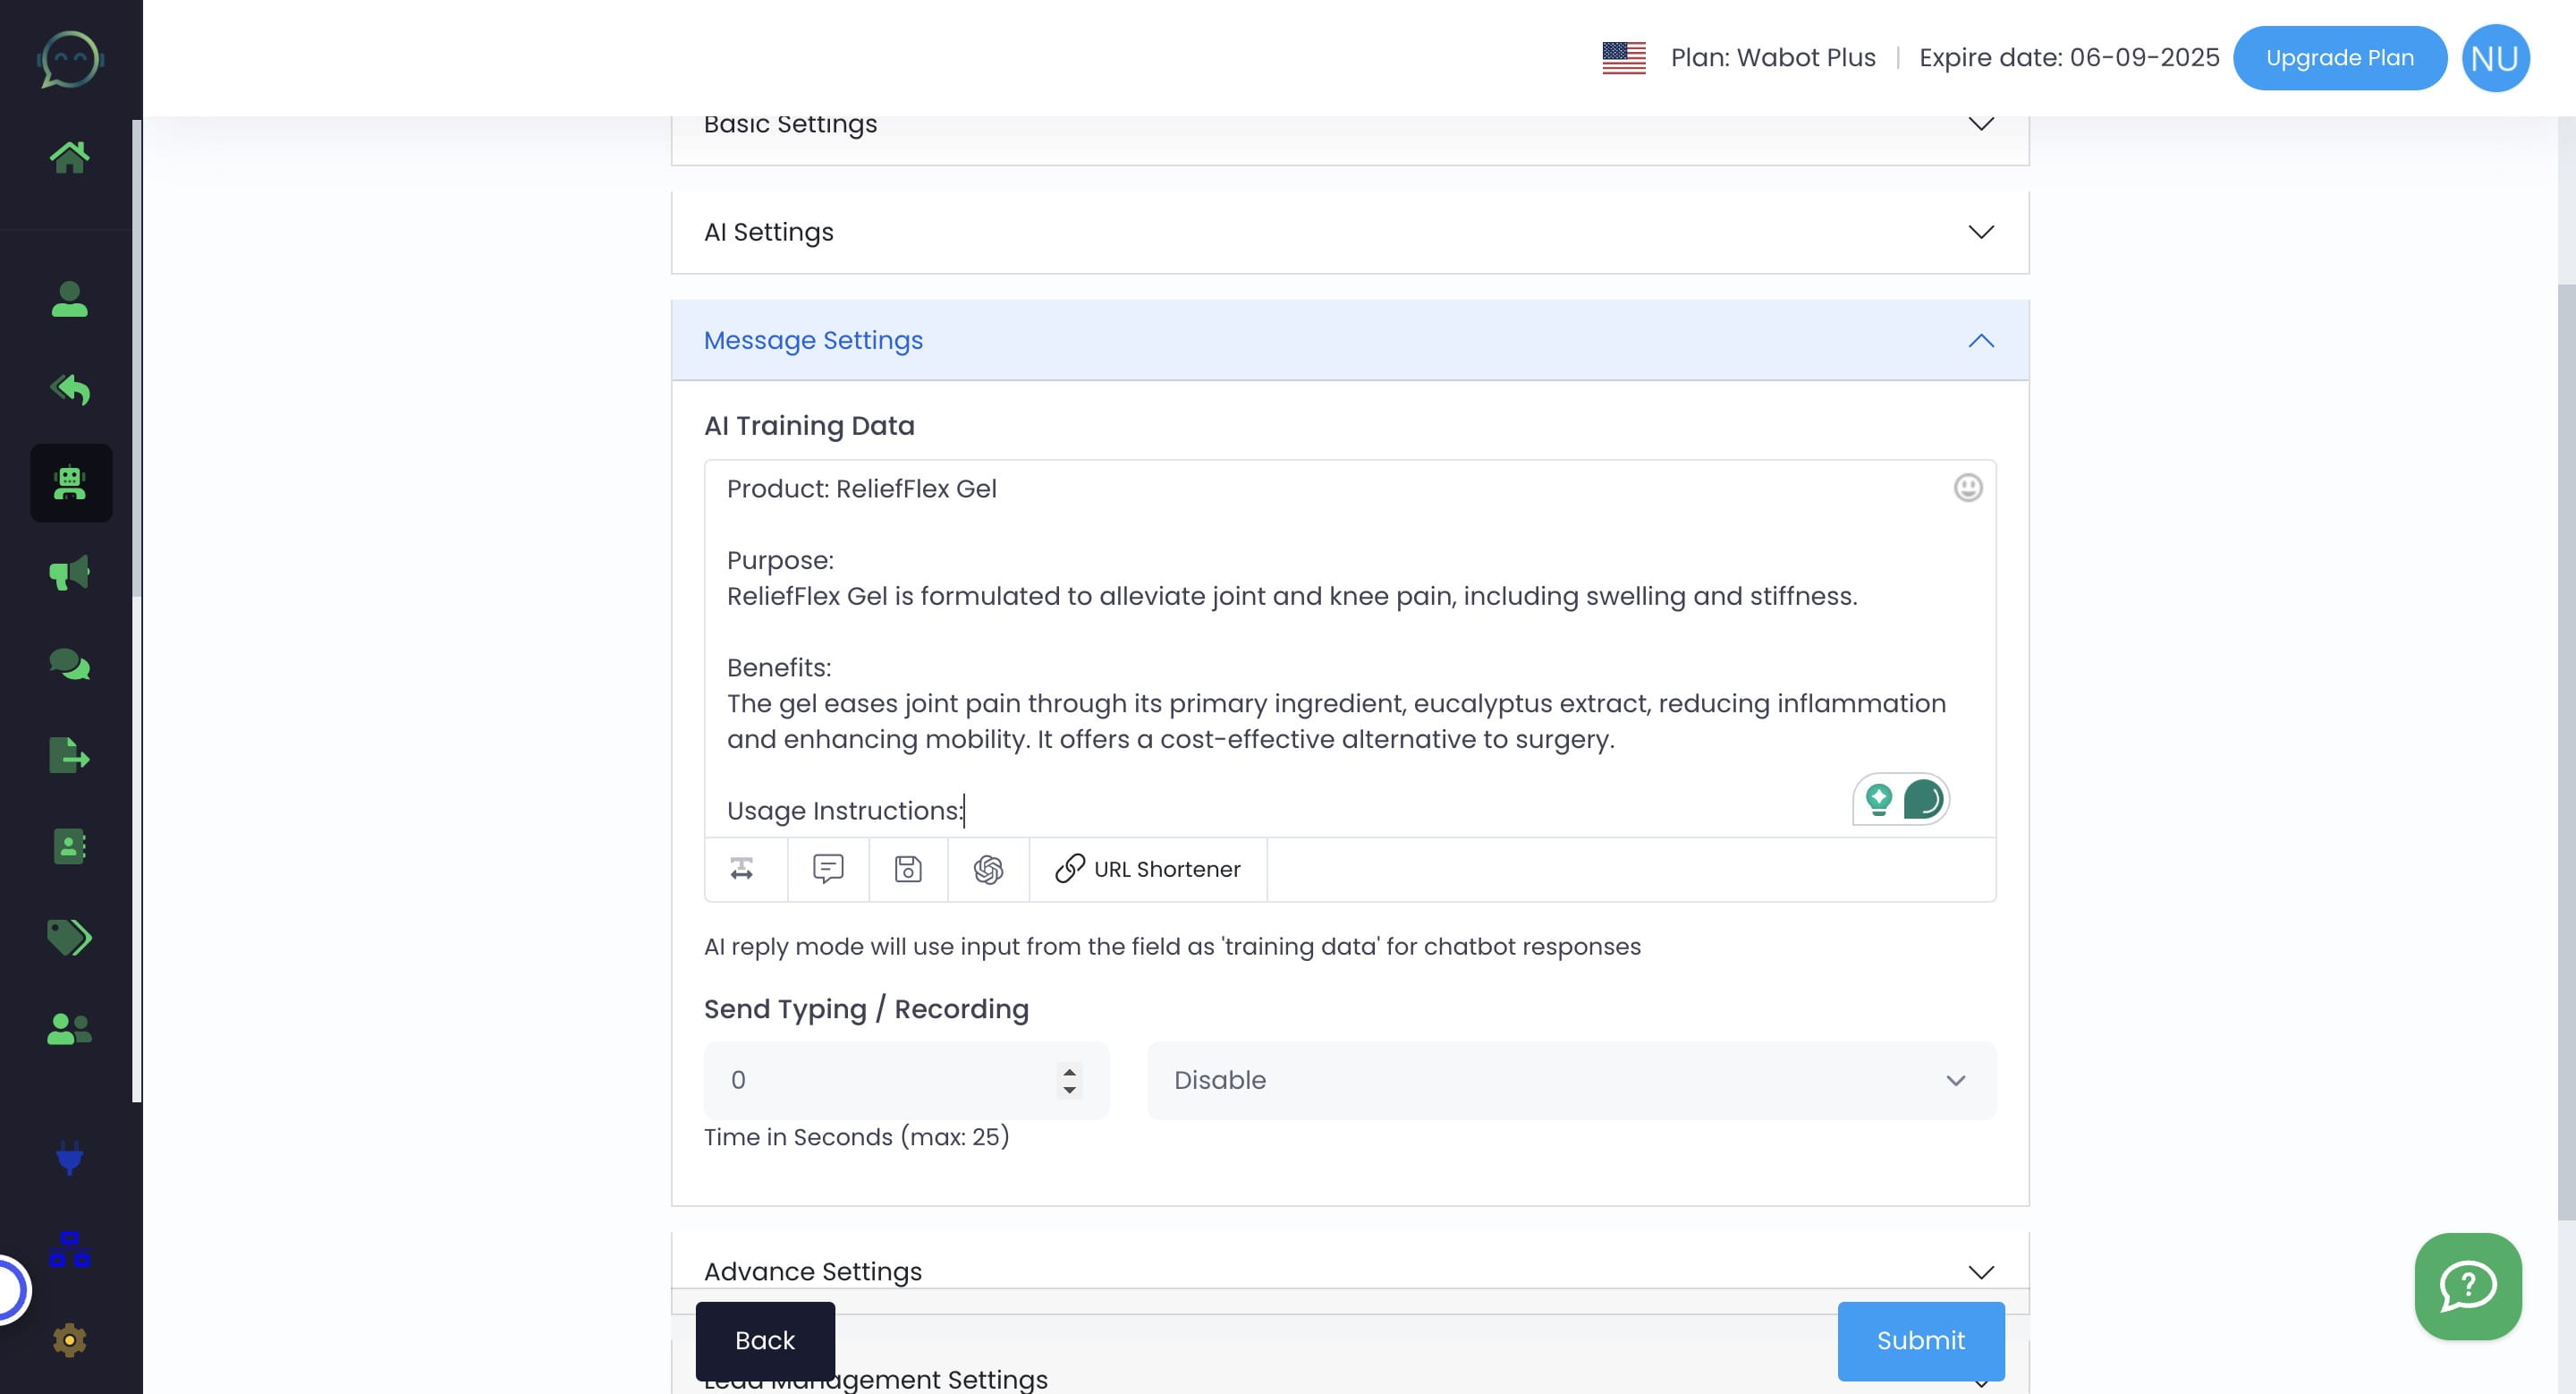
Click on "Message Settings"
This is where you put all the data/information about your business. From here, AI will answer it based on the data given

Make sure to put detail informations here and try to think of the possible questions that will be asked by the customer
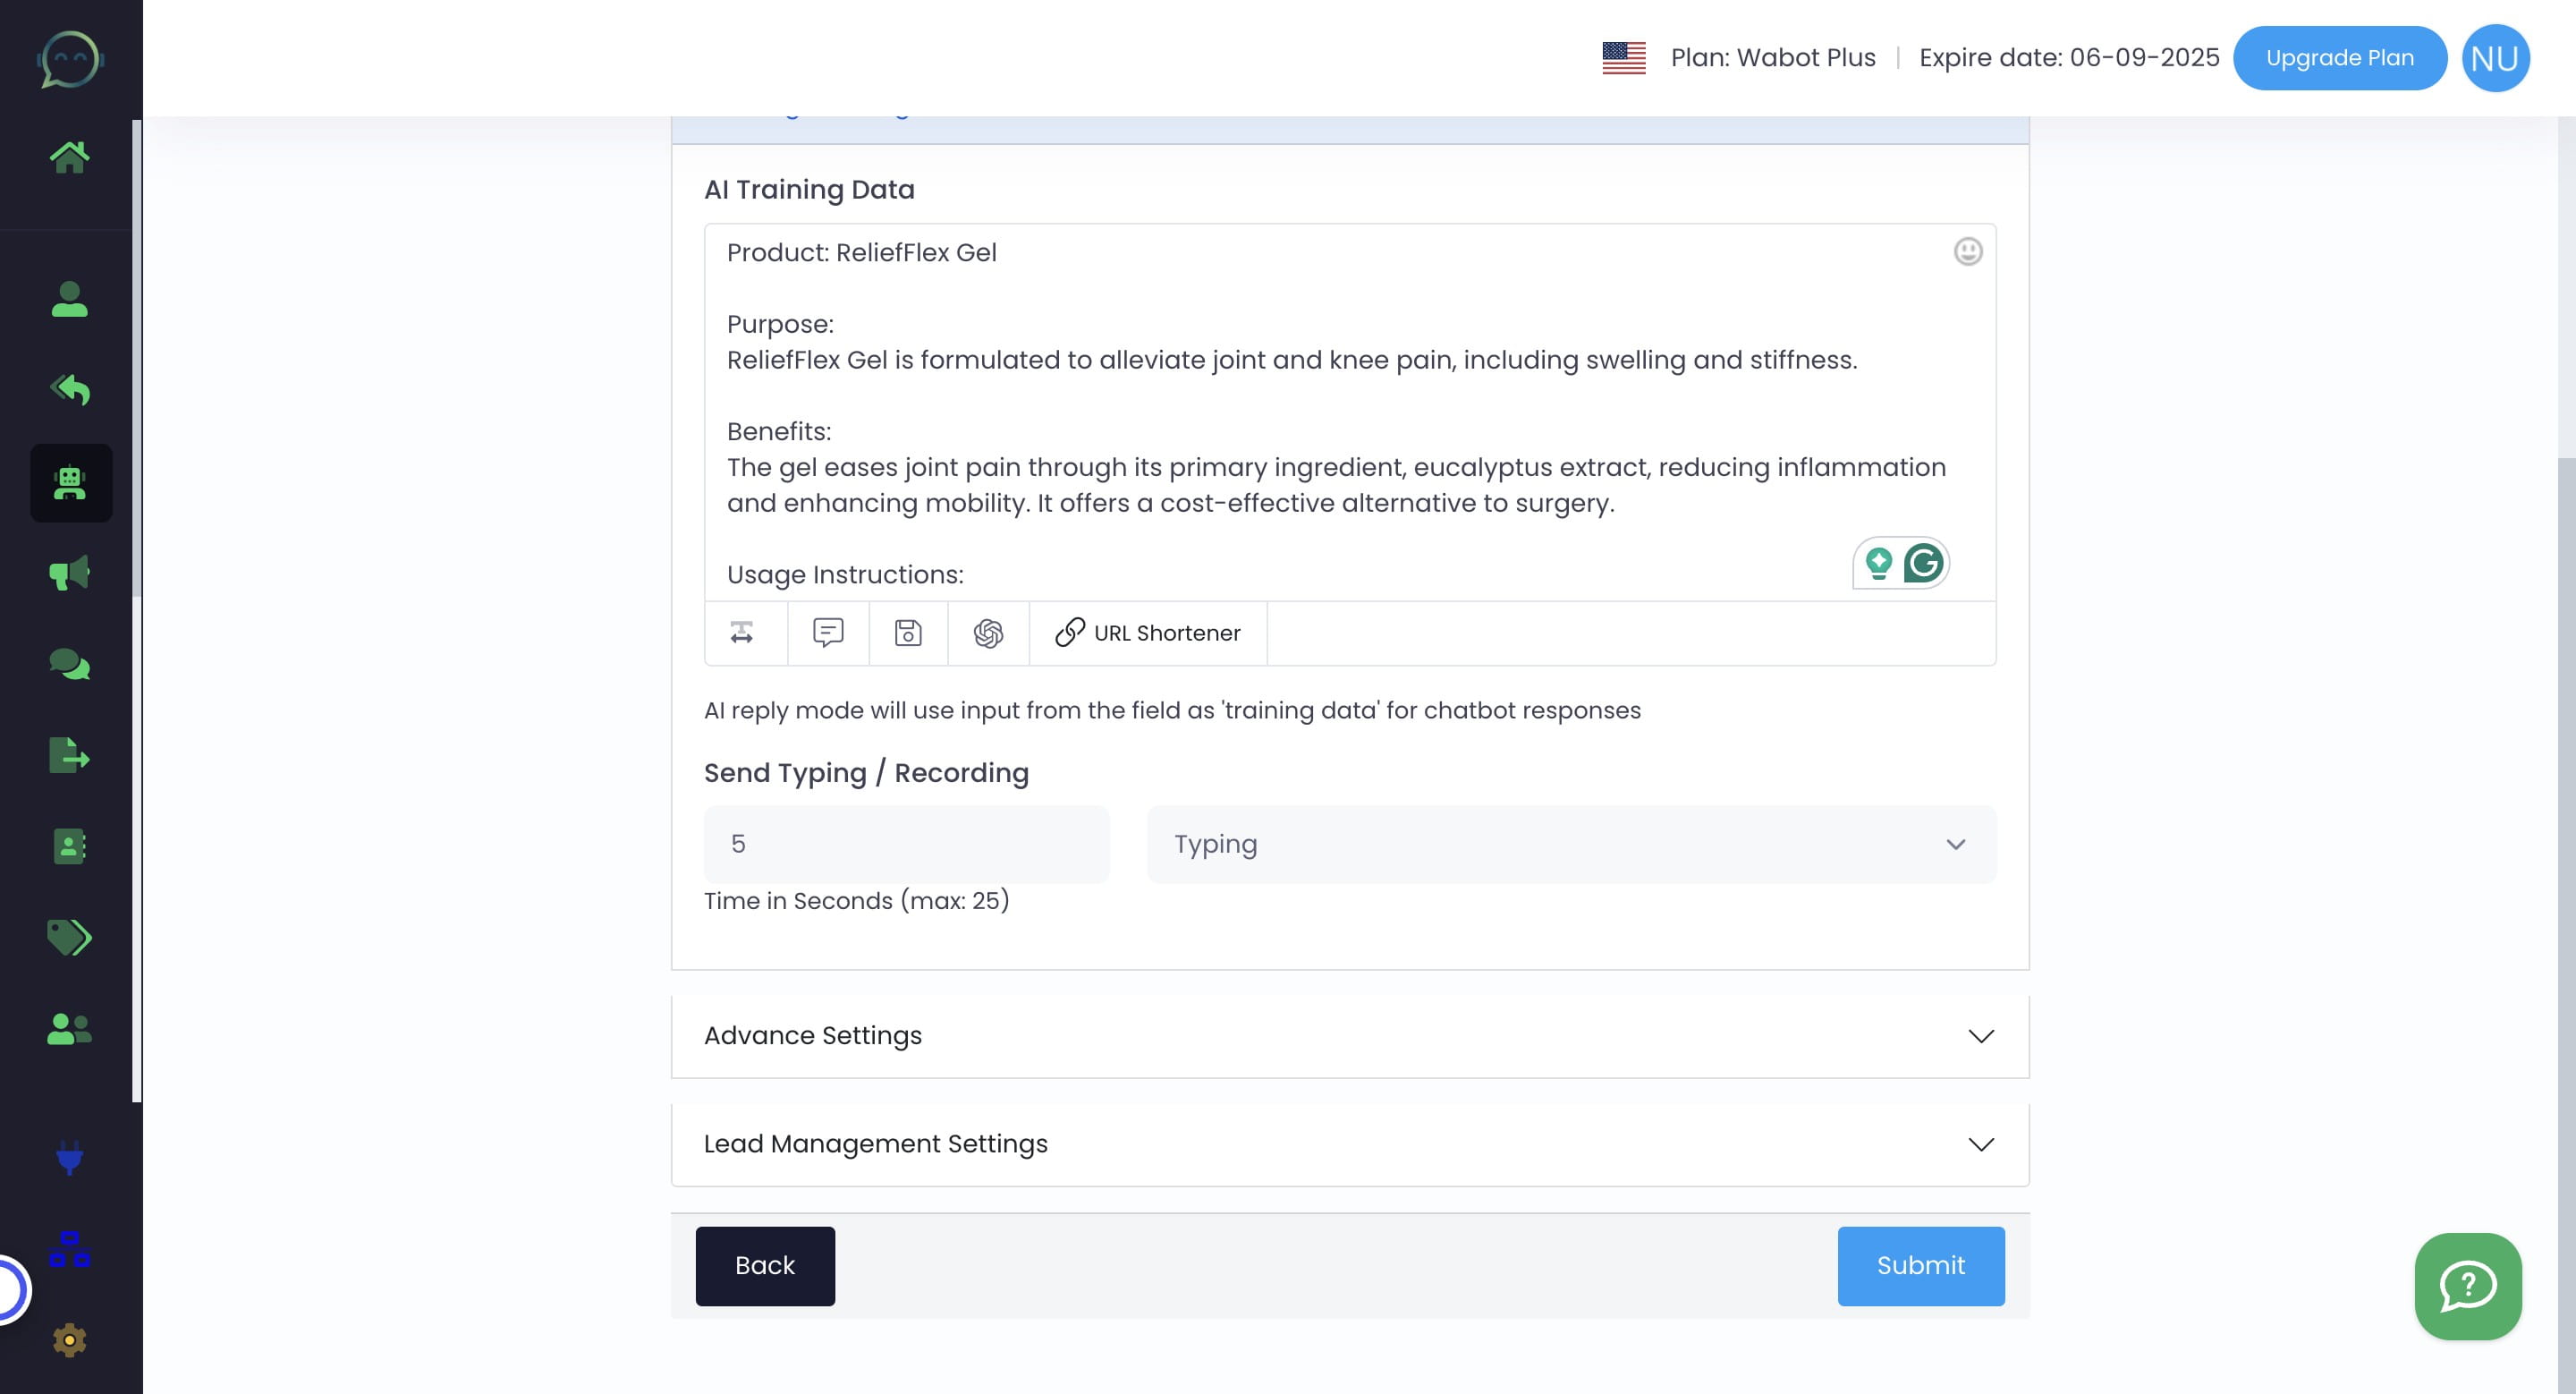
To make the chatbot more human-like, show it typing or recording before responding, creating a delay
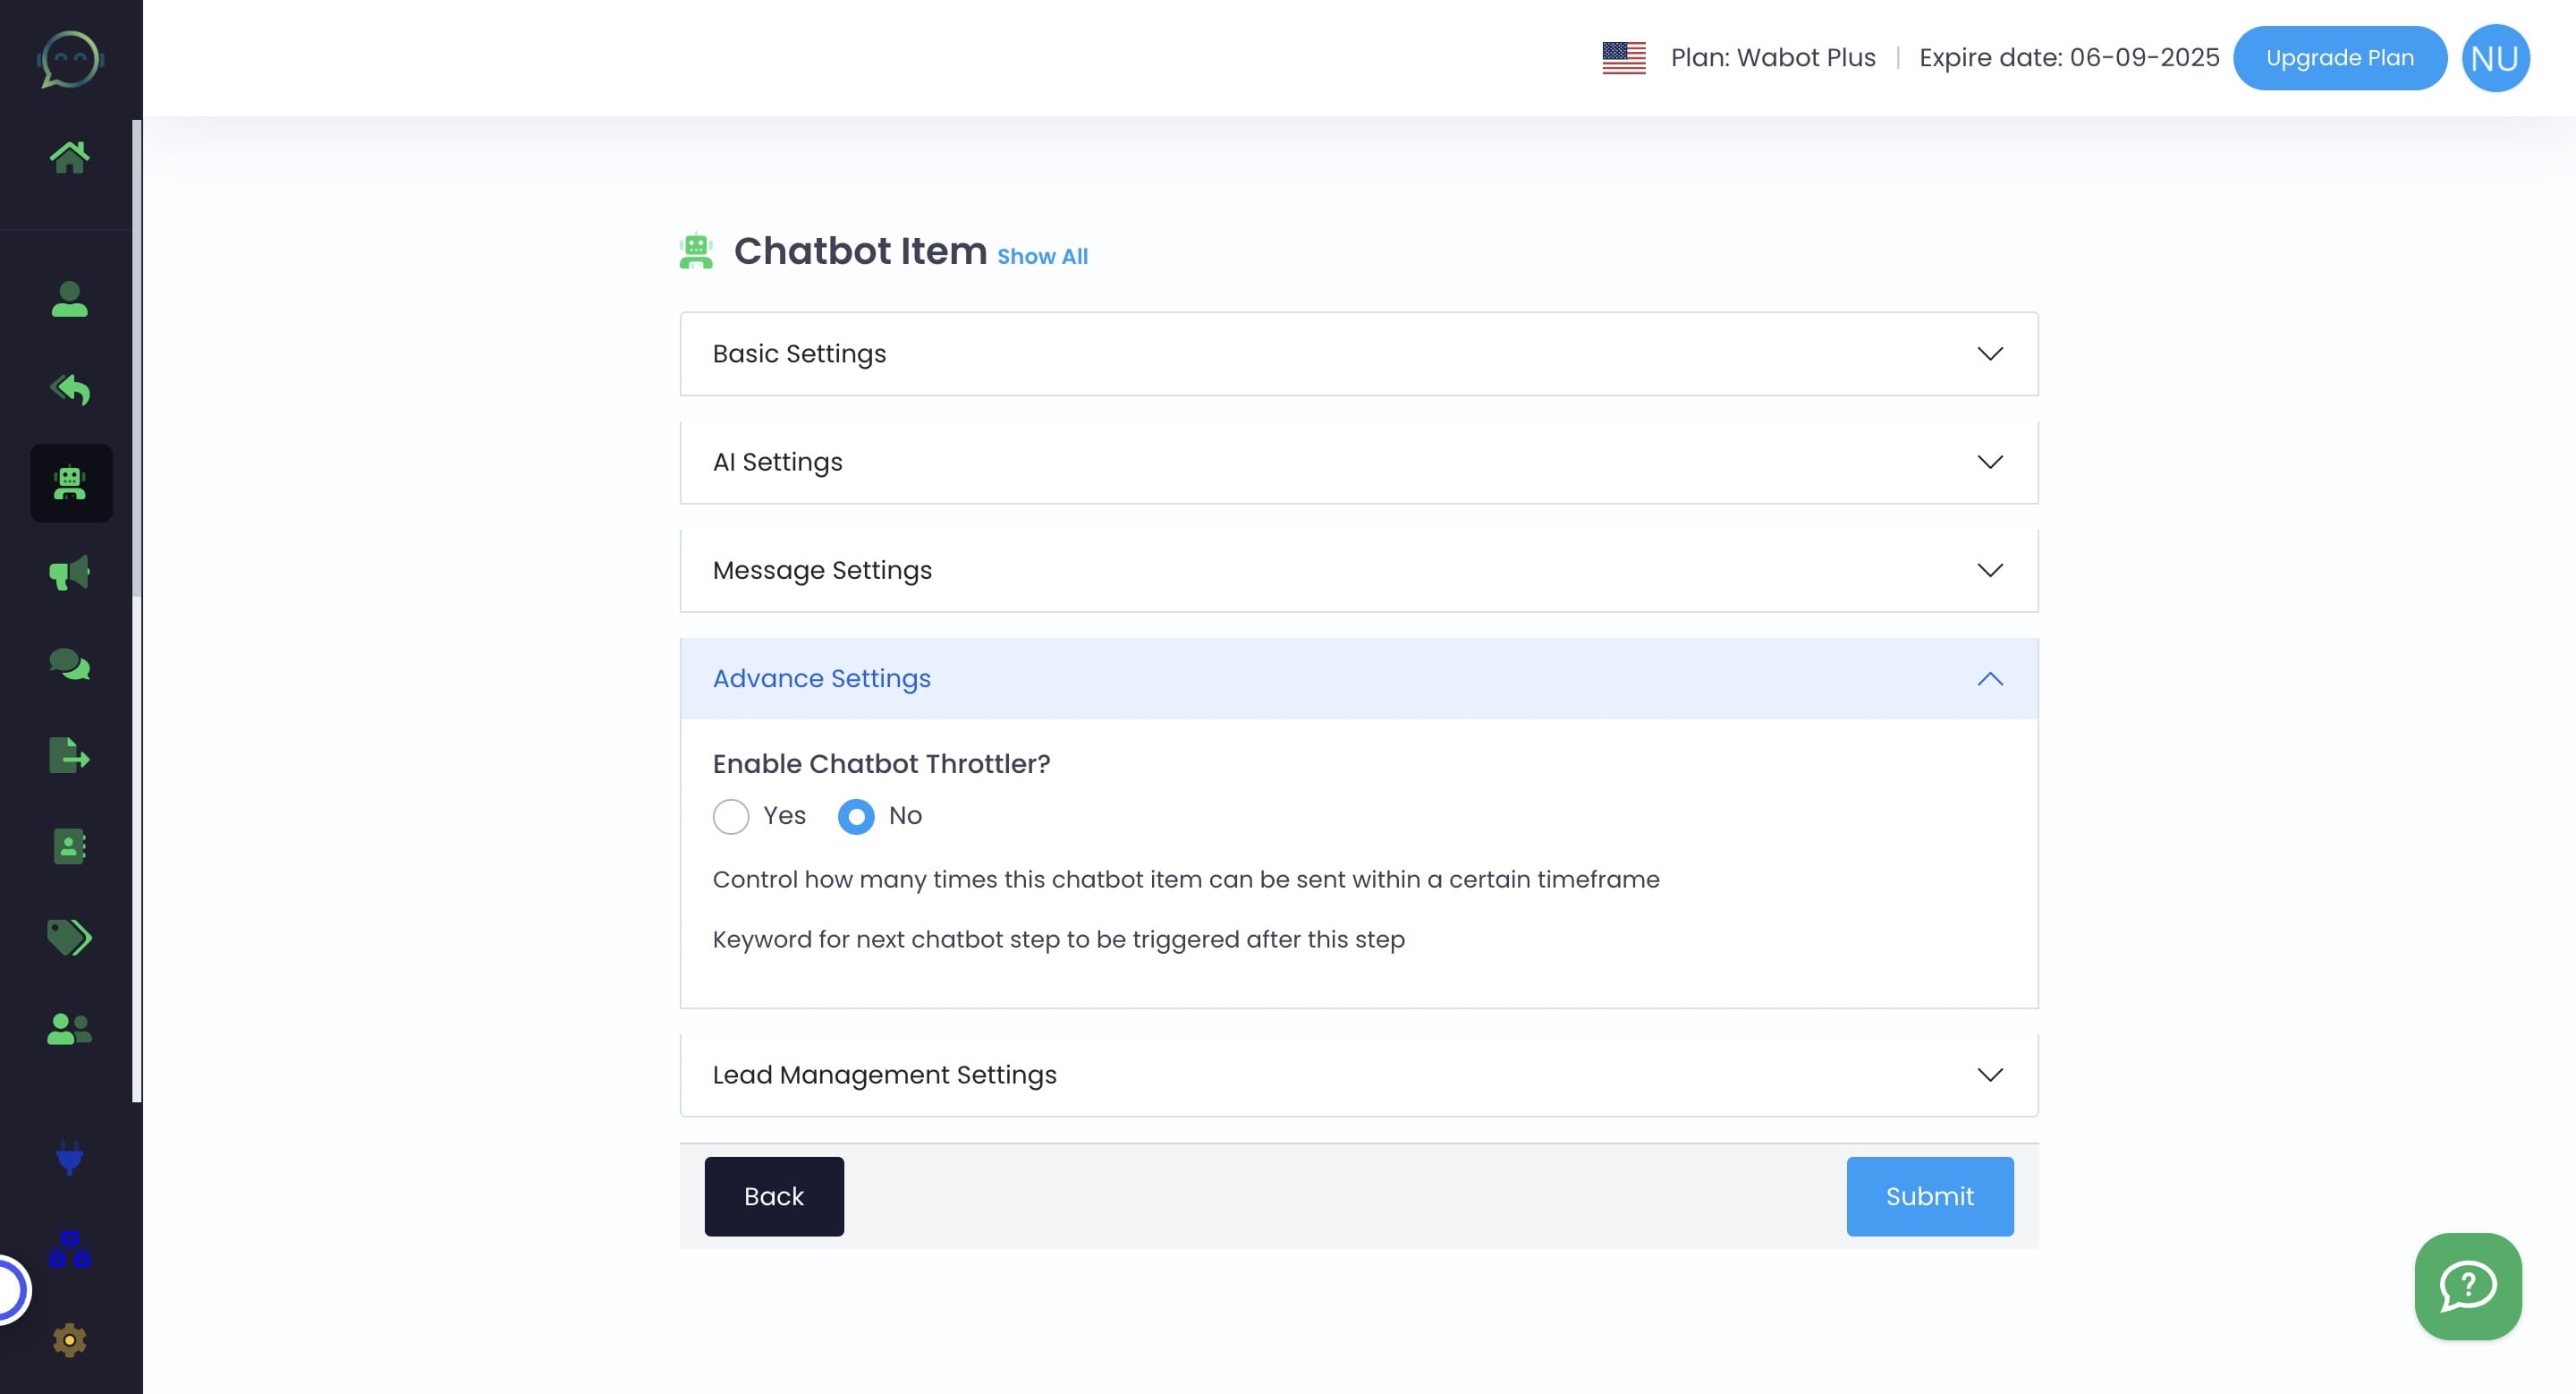
Click on "Advance Settings"
For Chatbot AI, we recommend disabling chatbot throttler so that the conversation will run smoothly.
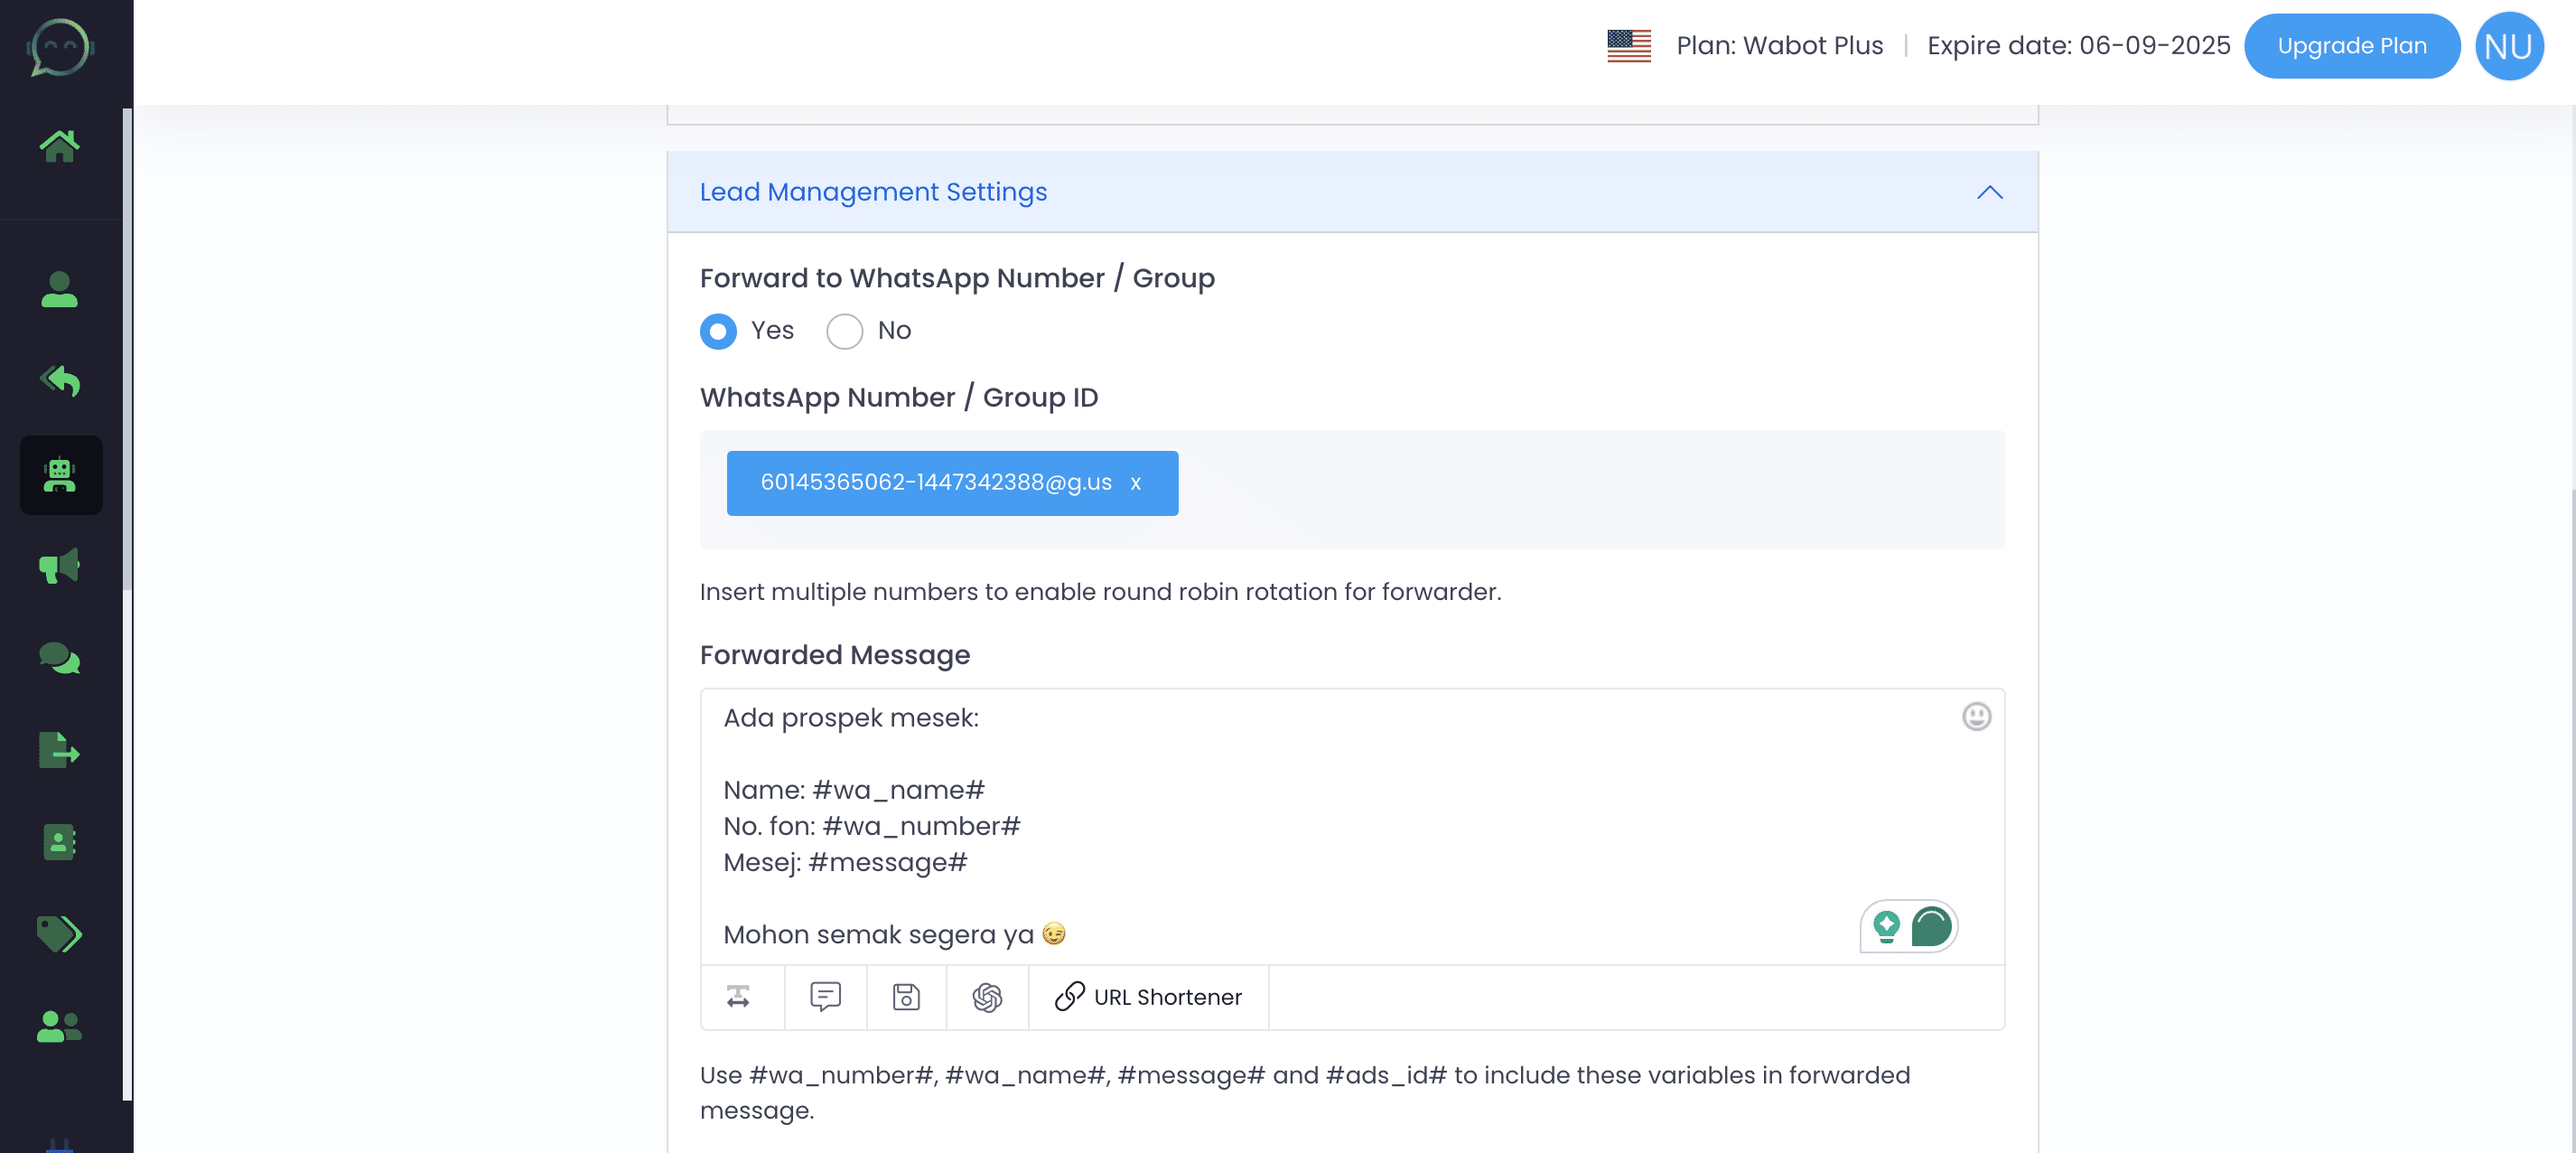
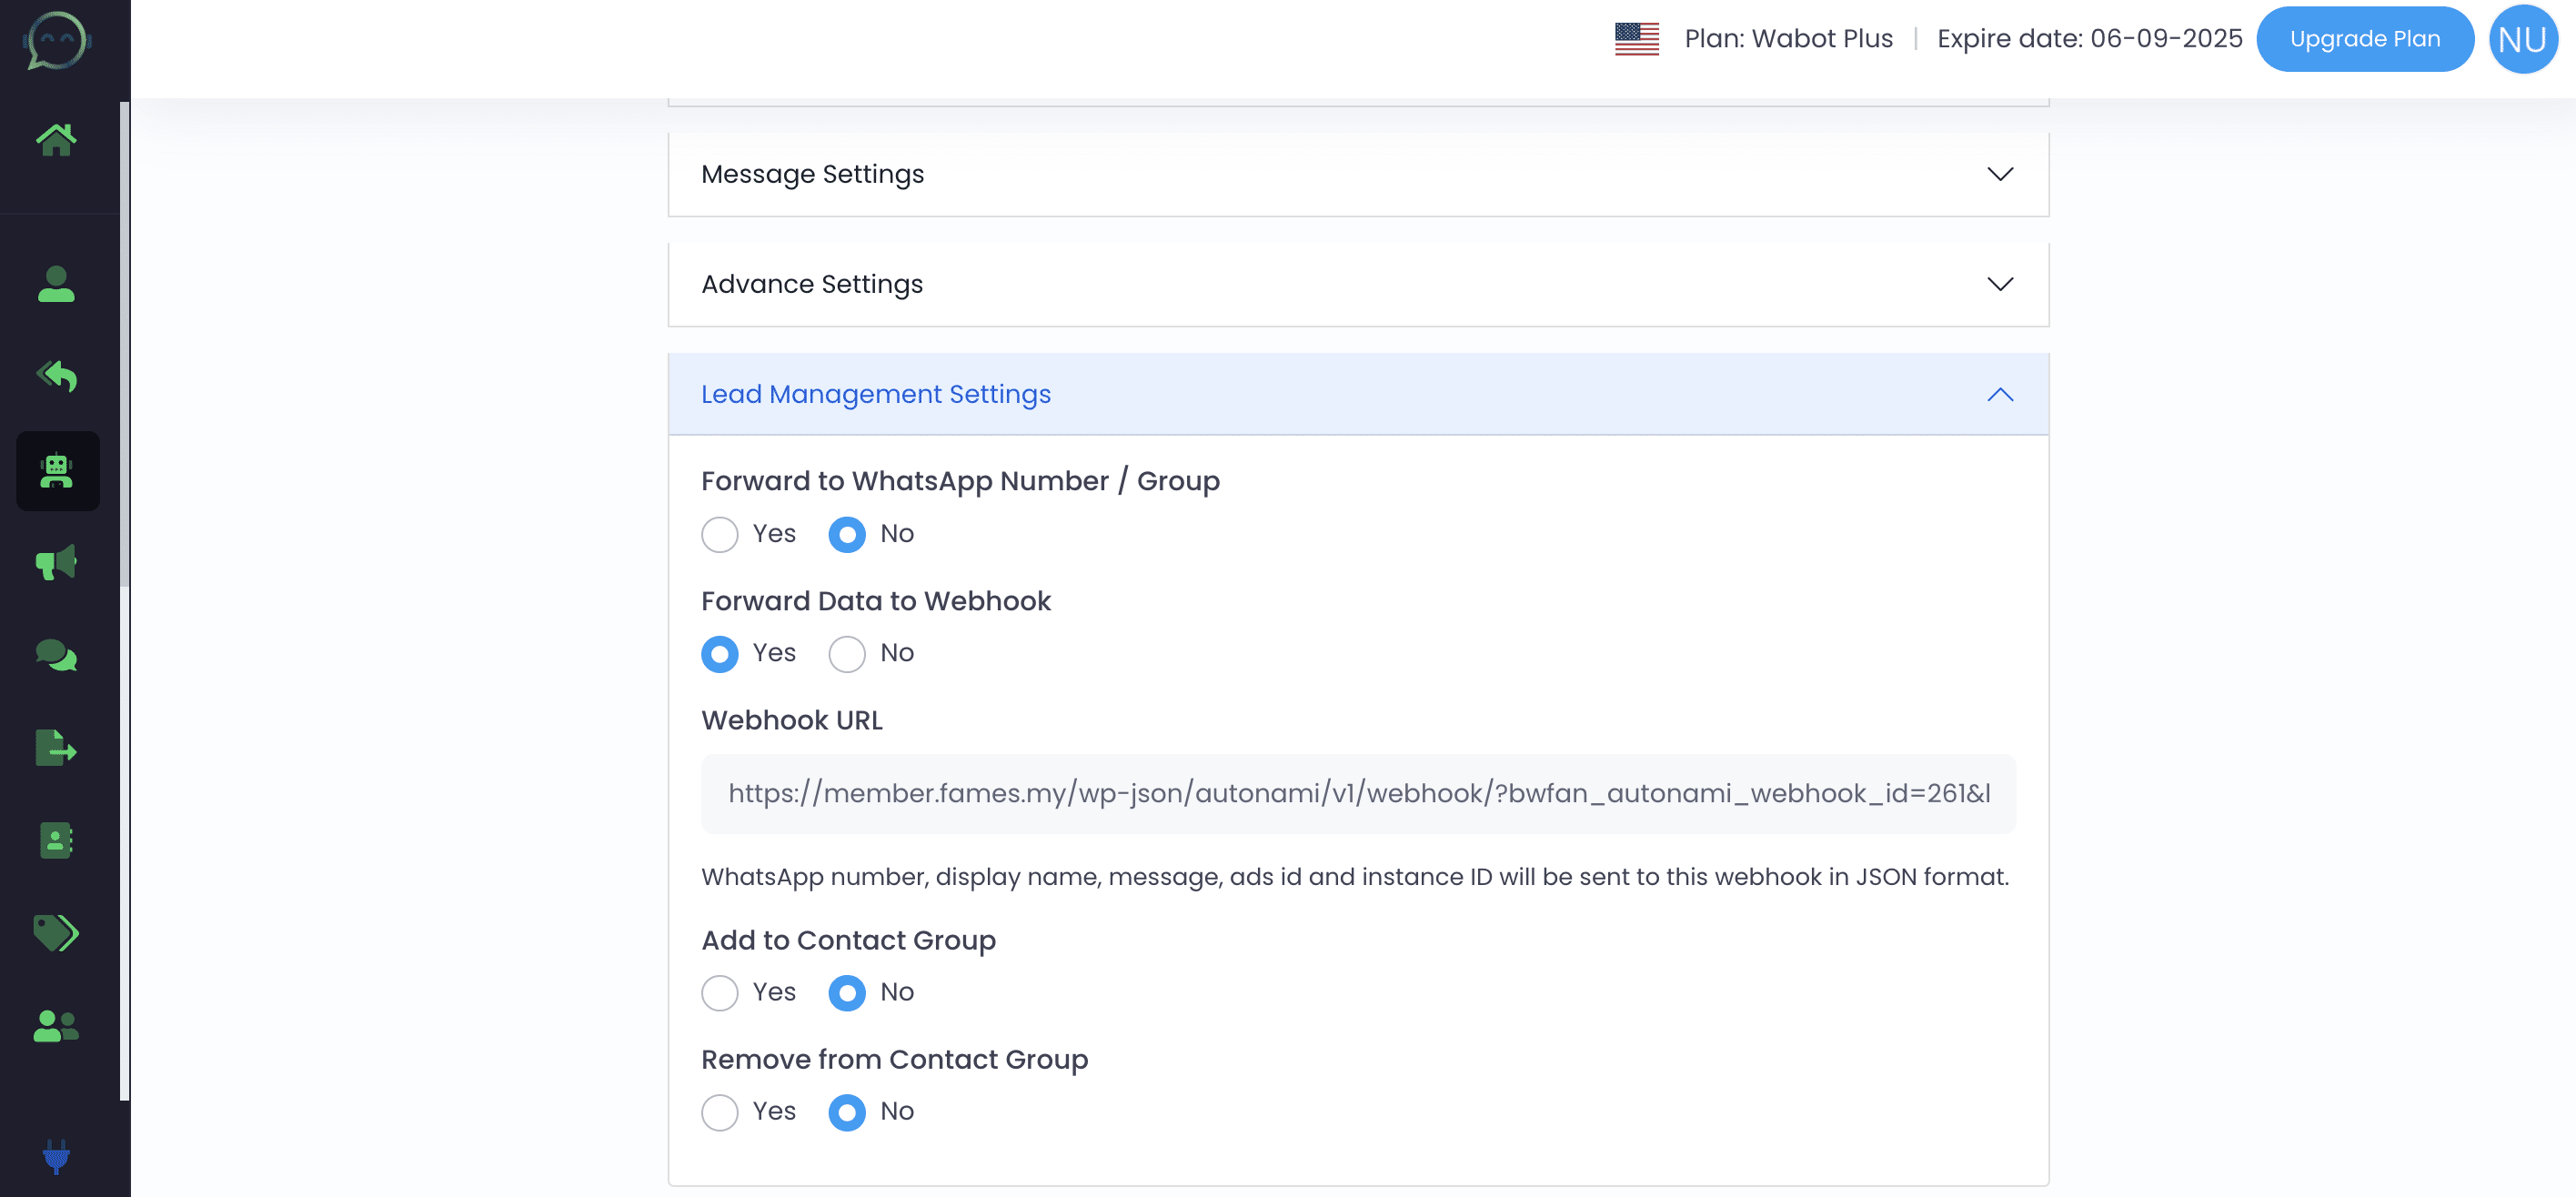
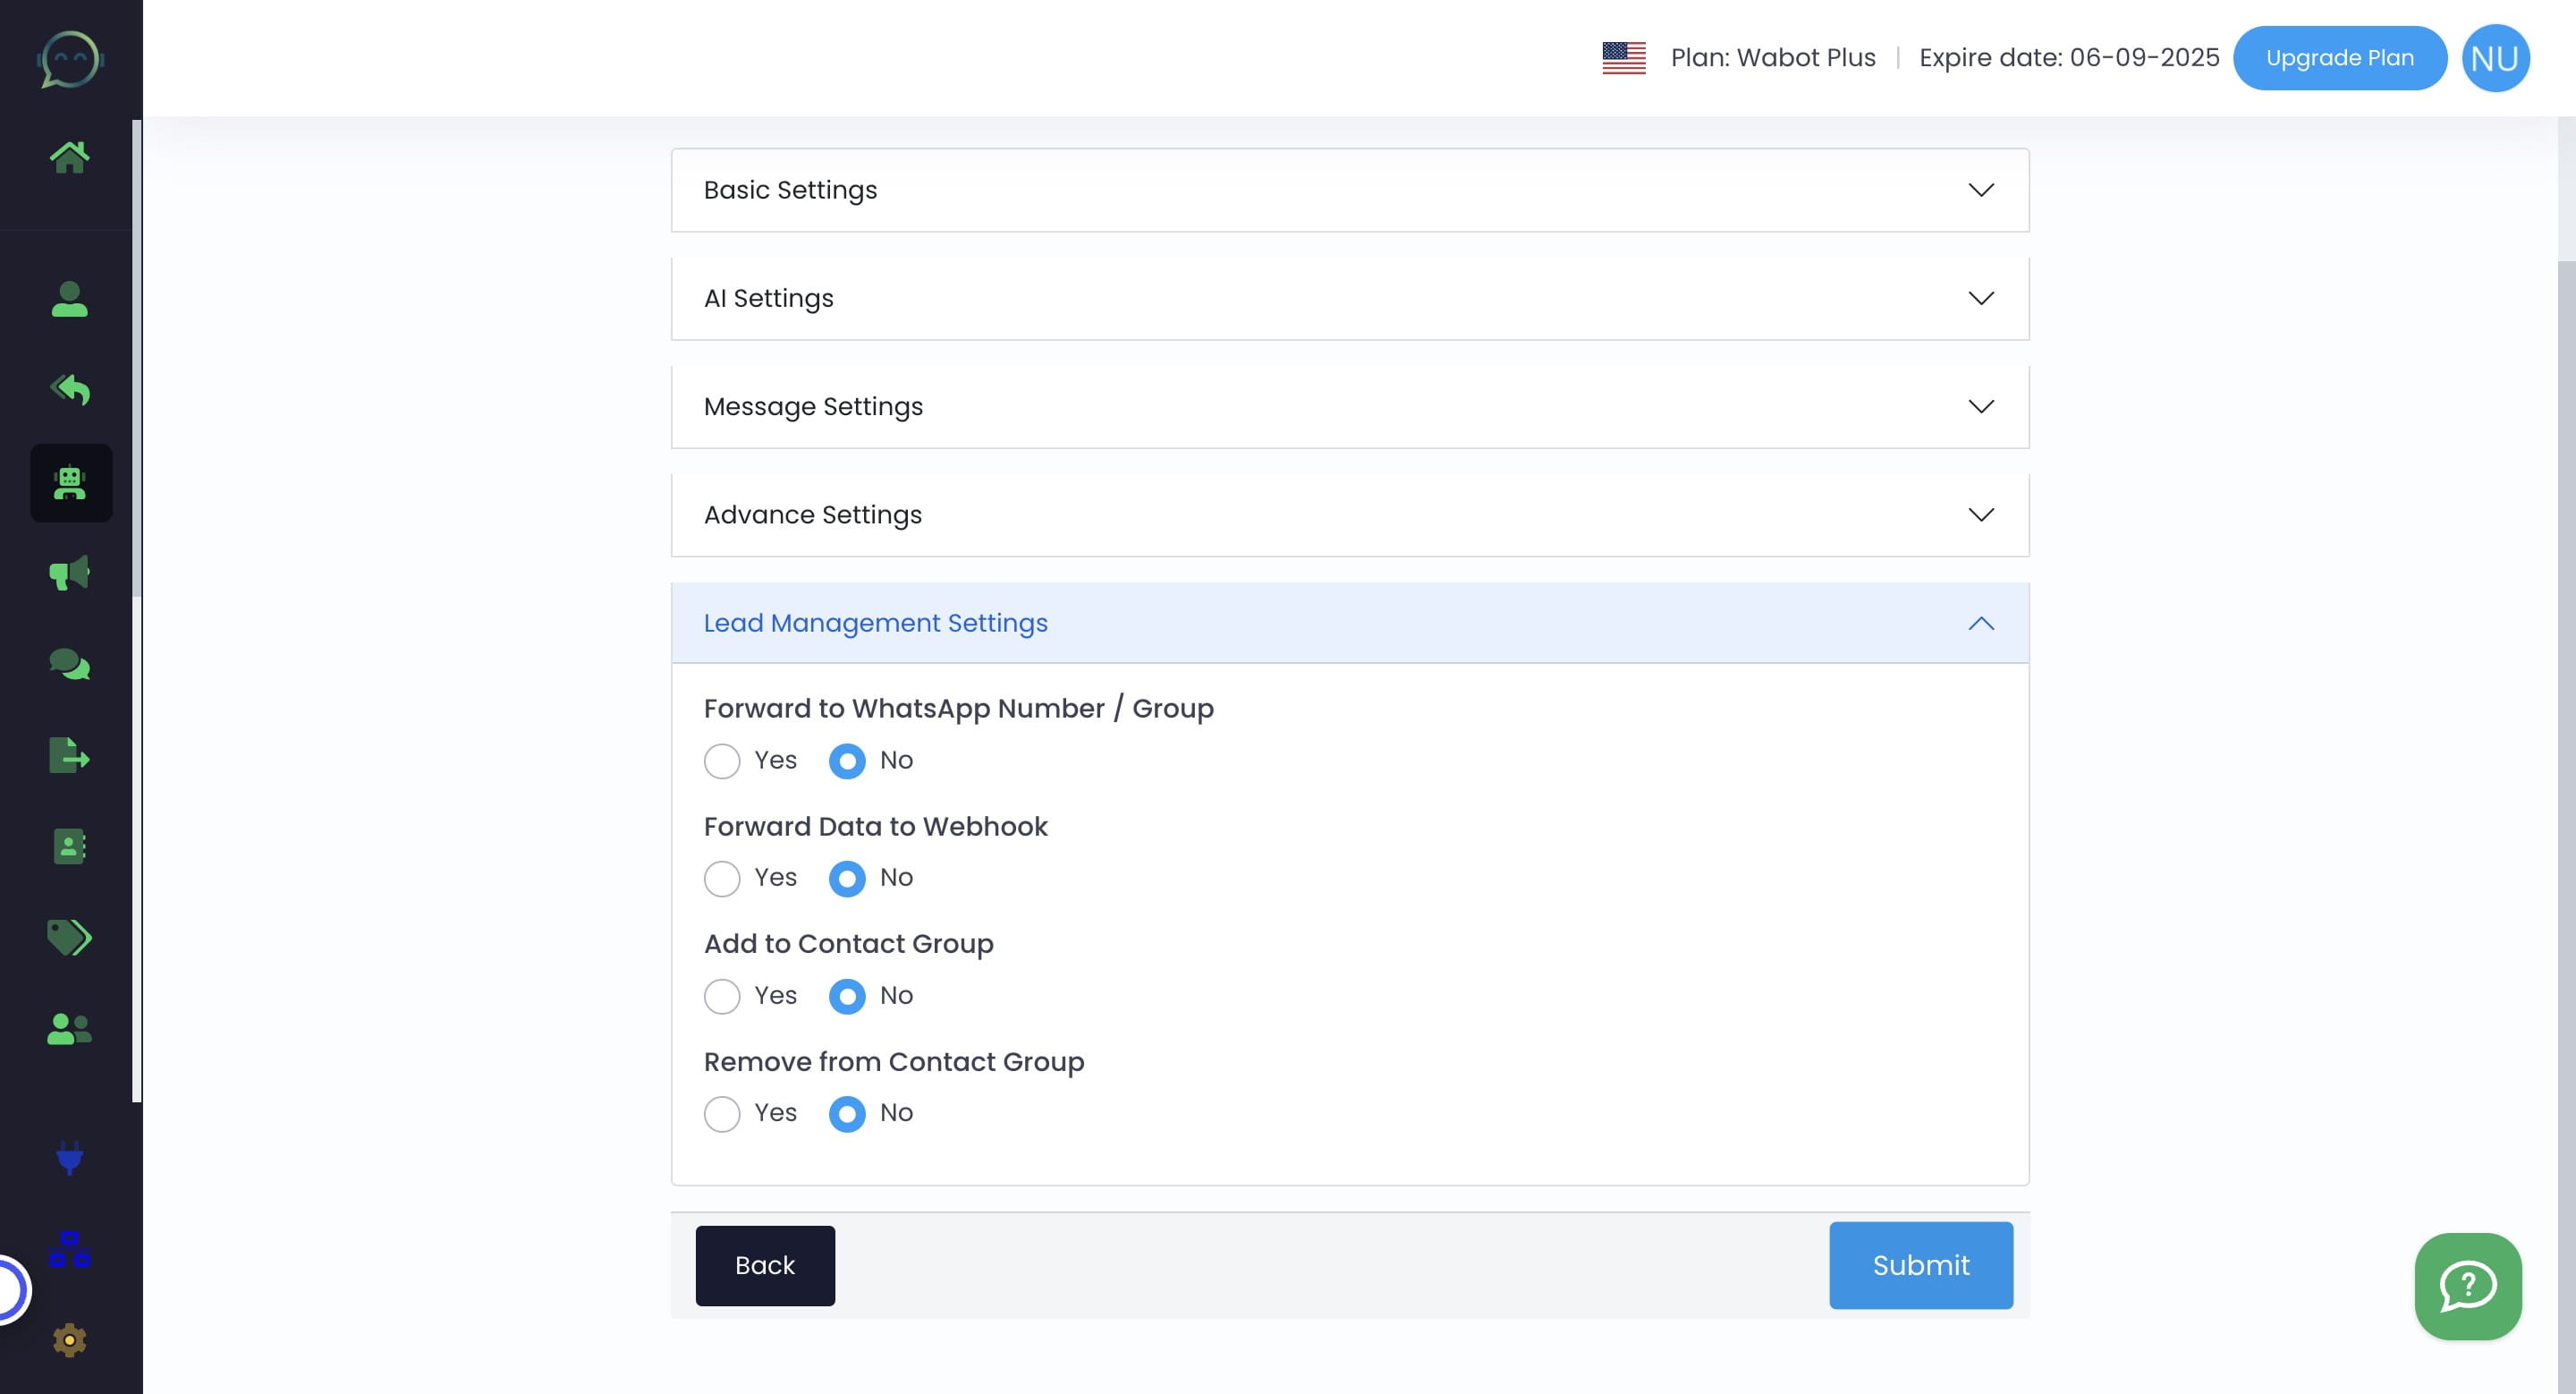
Click on "Lead Management Settings"

Lead Management setting is optional. If customers reach out on WhatsApp, you have the option to forward messages to your team, store data for automation, or organize contact groups. Click "no" if this does not apply then click "Submit". Simply skip to step 44.
You can choose to forward the message from a customer by forwarding it to a WhatsApp group
Send data to webhook by inserting webhook URL
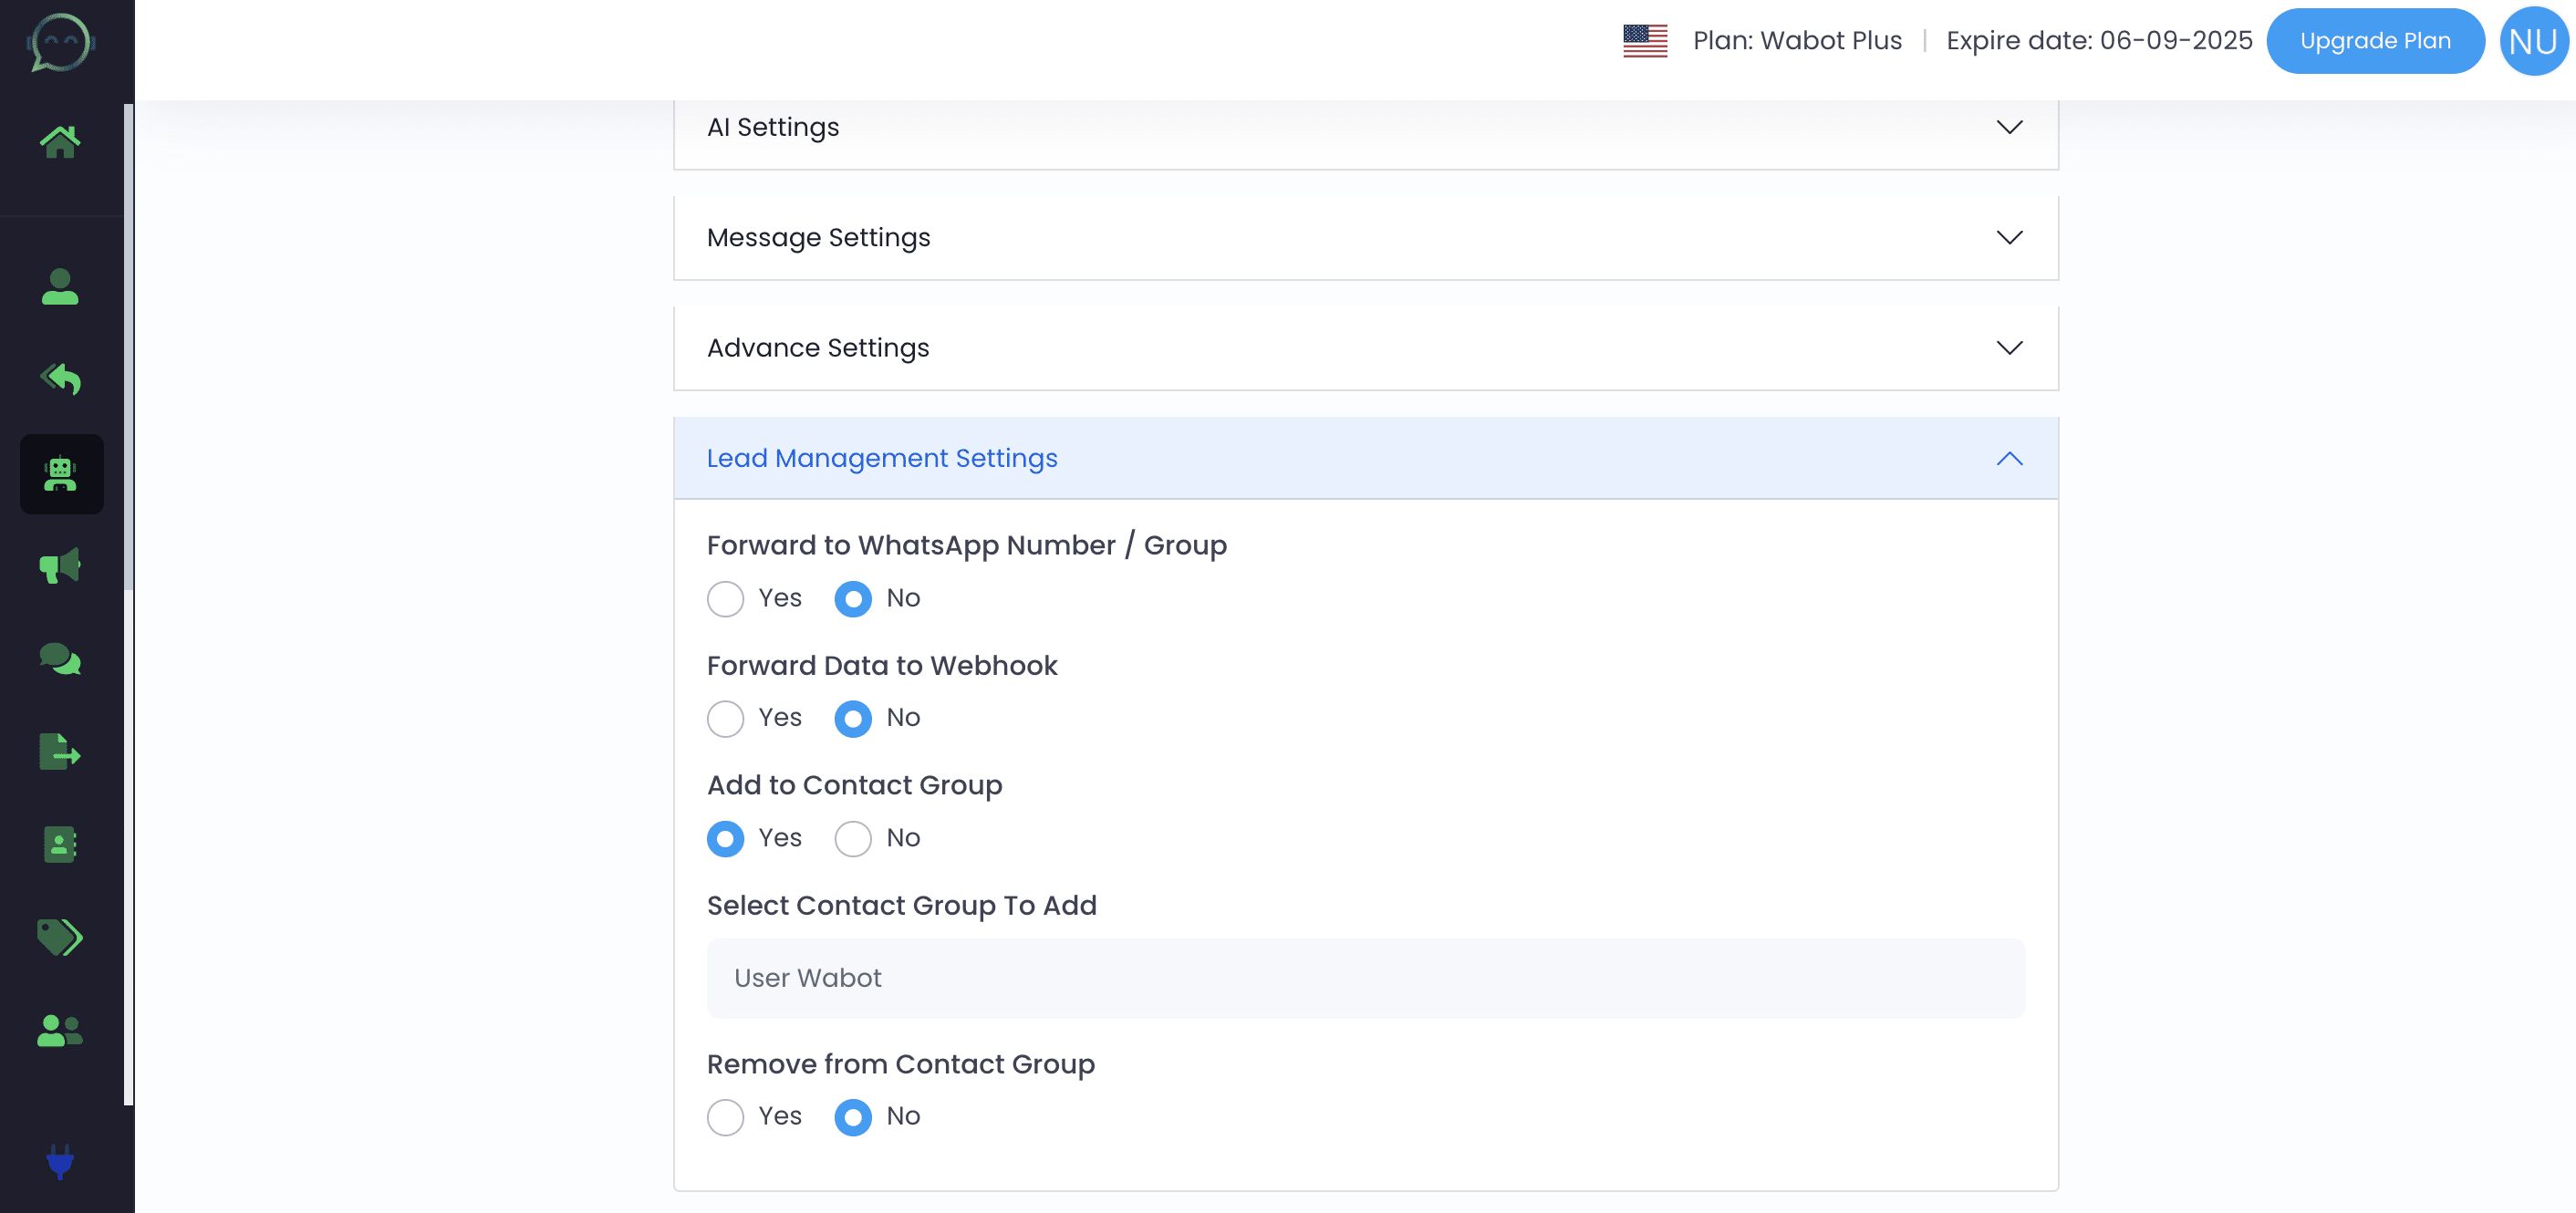
You can also add the customer to the contact group in Wabot
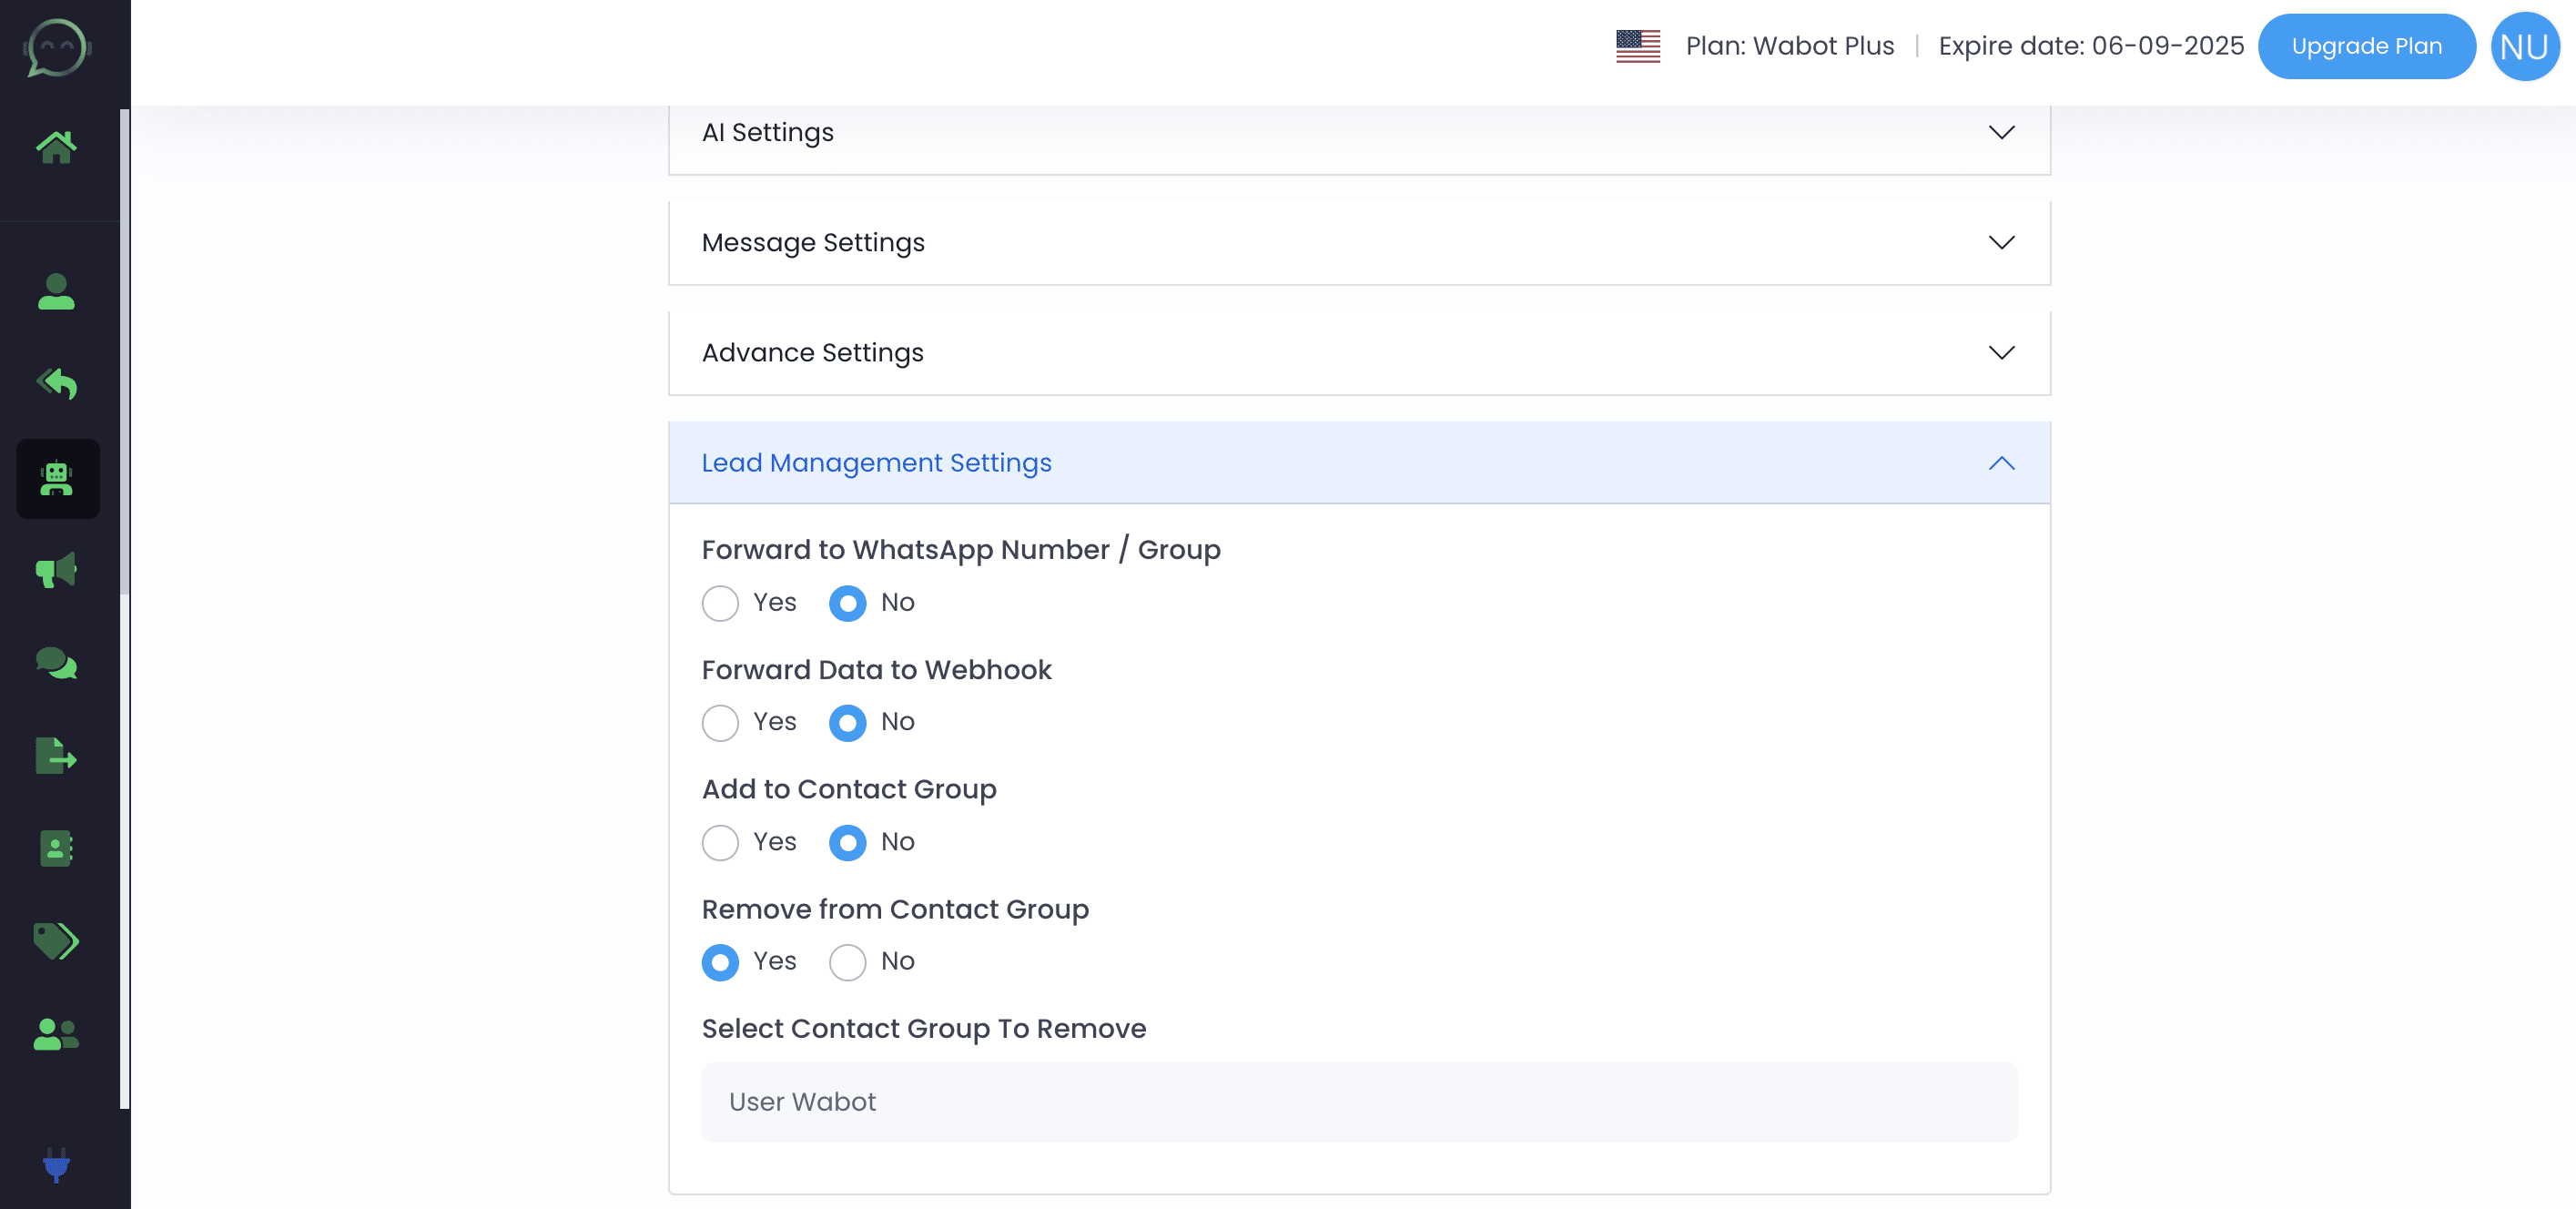
You can also choose to remove any contact who reply to this chatbot from contact group in Wabot
Then click on "Submit"
Click this icon to activate the chatbot
Green means it is active. Your chatbot AI is good to go 🚀

Now you can try to chat with AI, by messaging the number you have set the chatbot for
If the AI chatbot isn't responding, you may not have topped up your credit with OpenAI or your chosen LLM provider. Check with your provider to ensure the chatbot runs smoothly
Needed to do auto follow-up to the customer using AI? Simply click here for tutorial