
How to create broadcast campaign in Wabot Pro
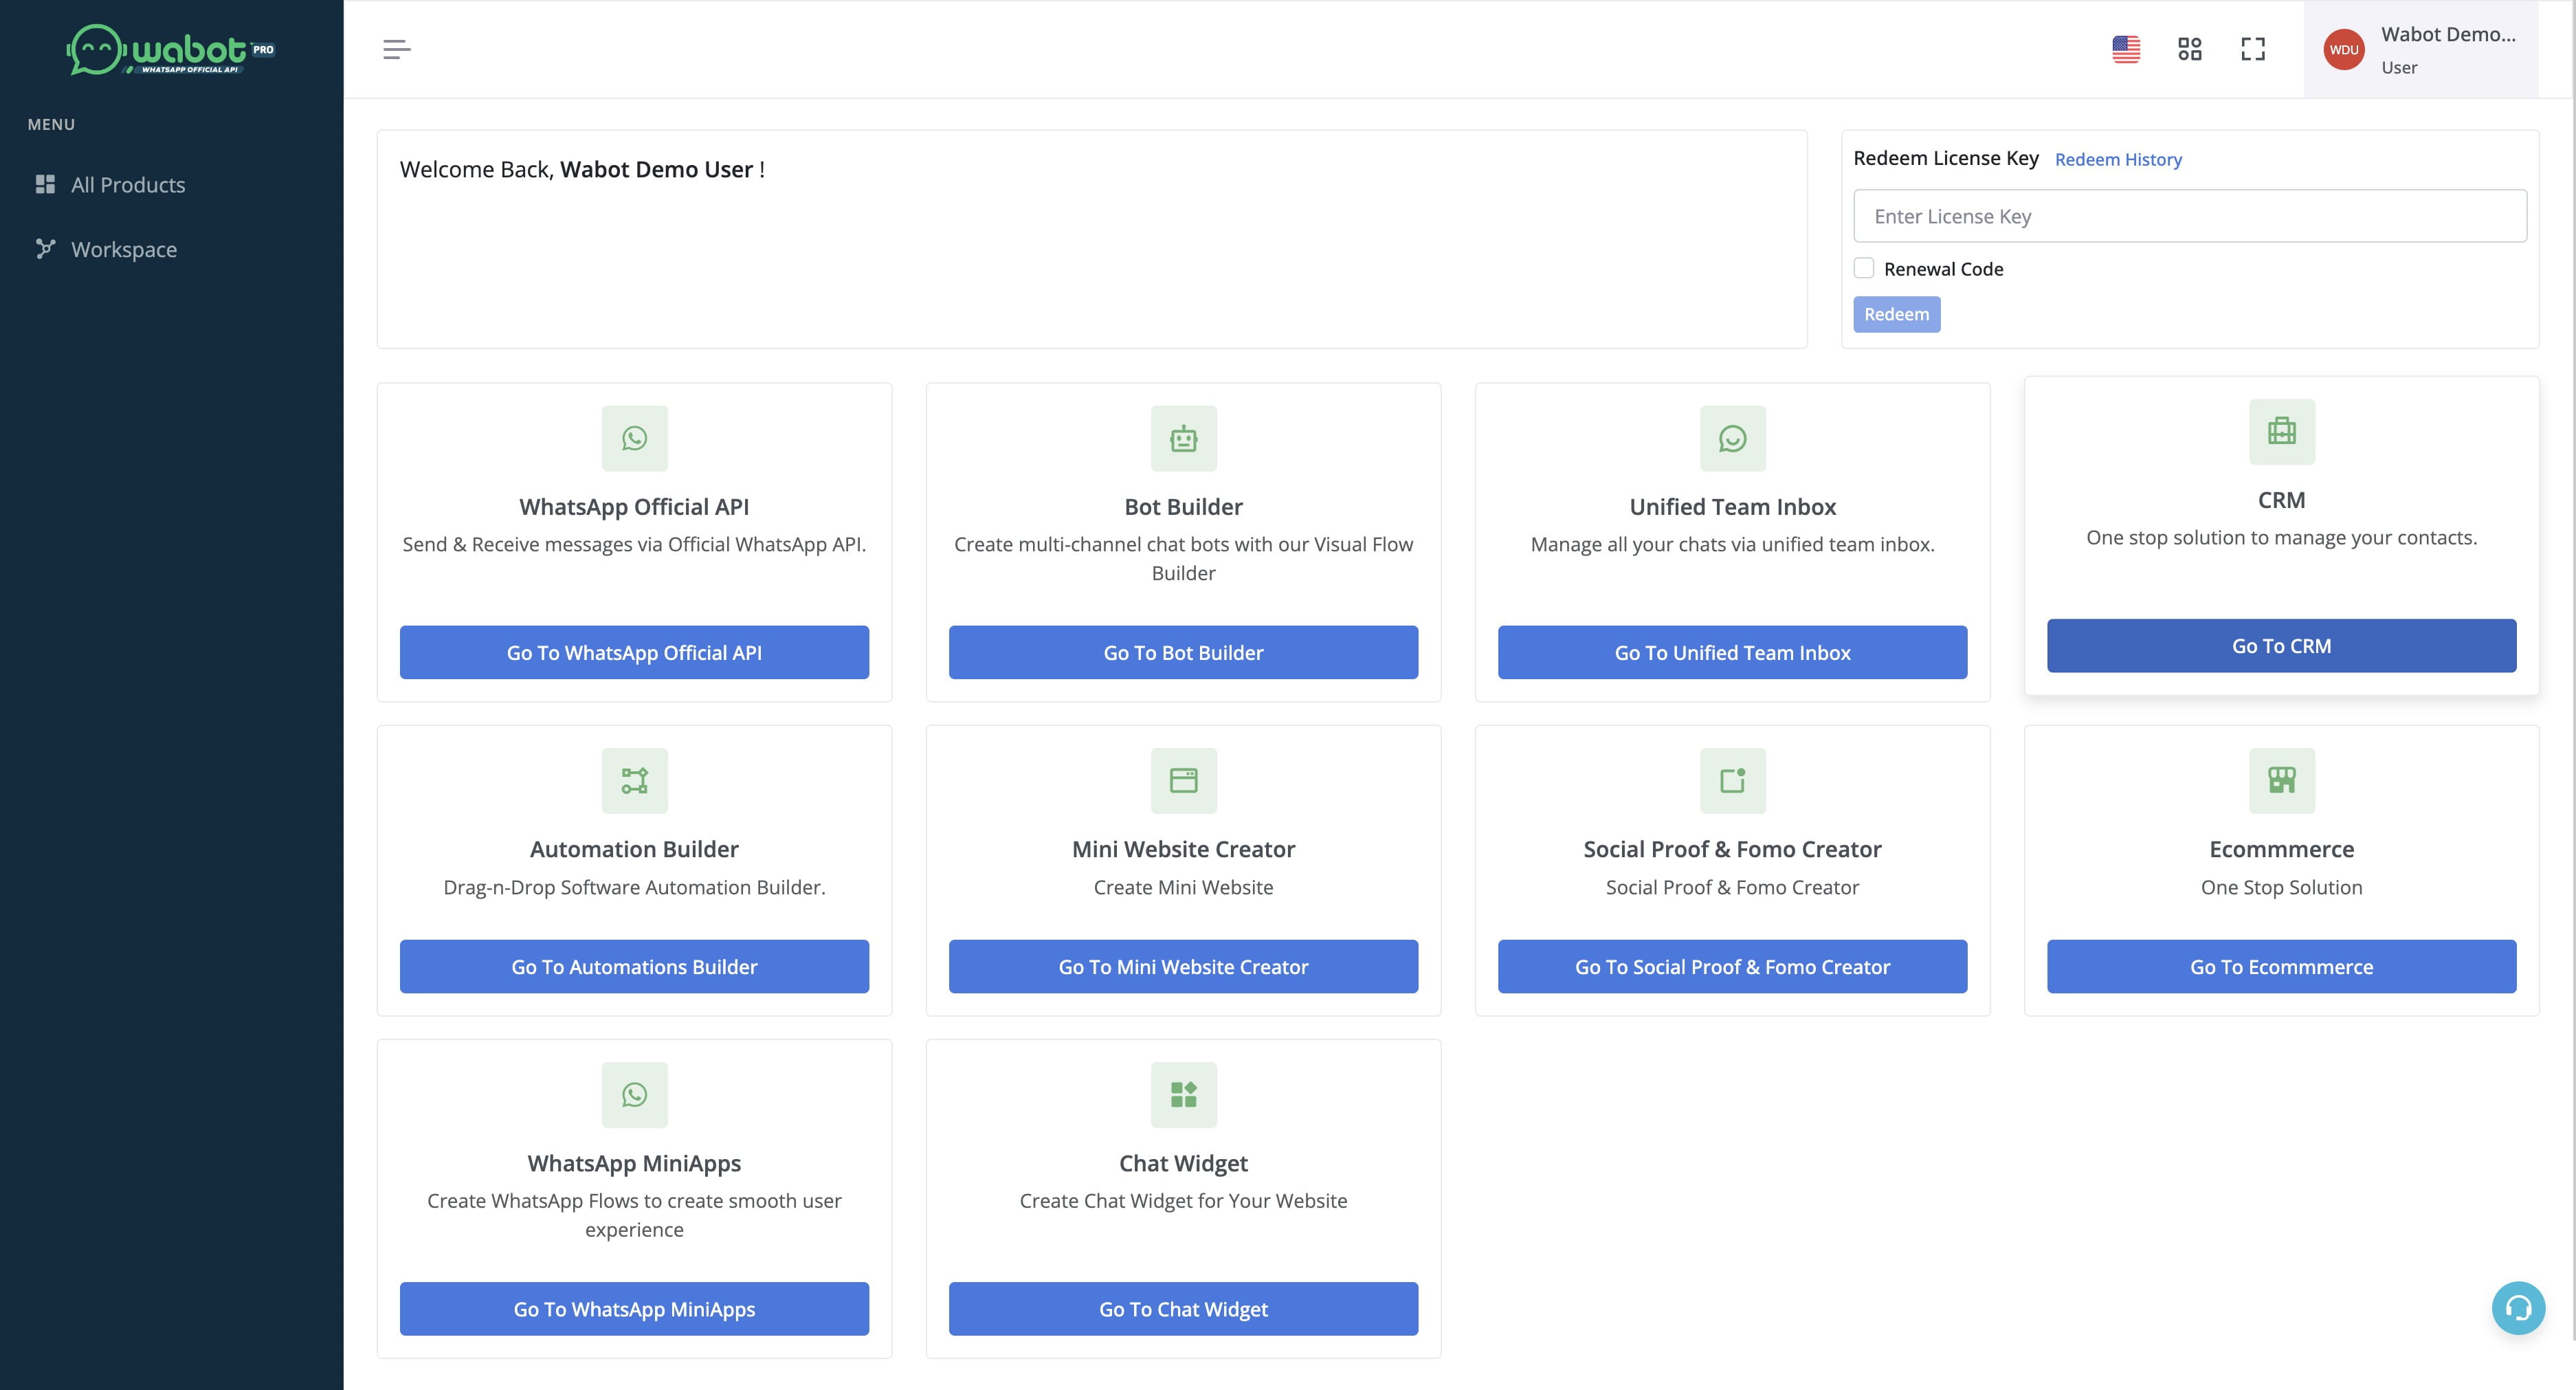
Click on "Go To CRM"
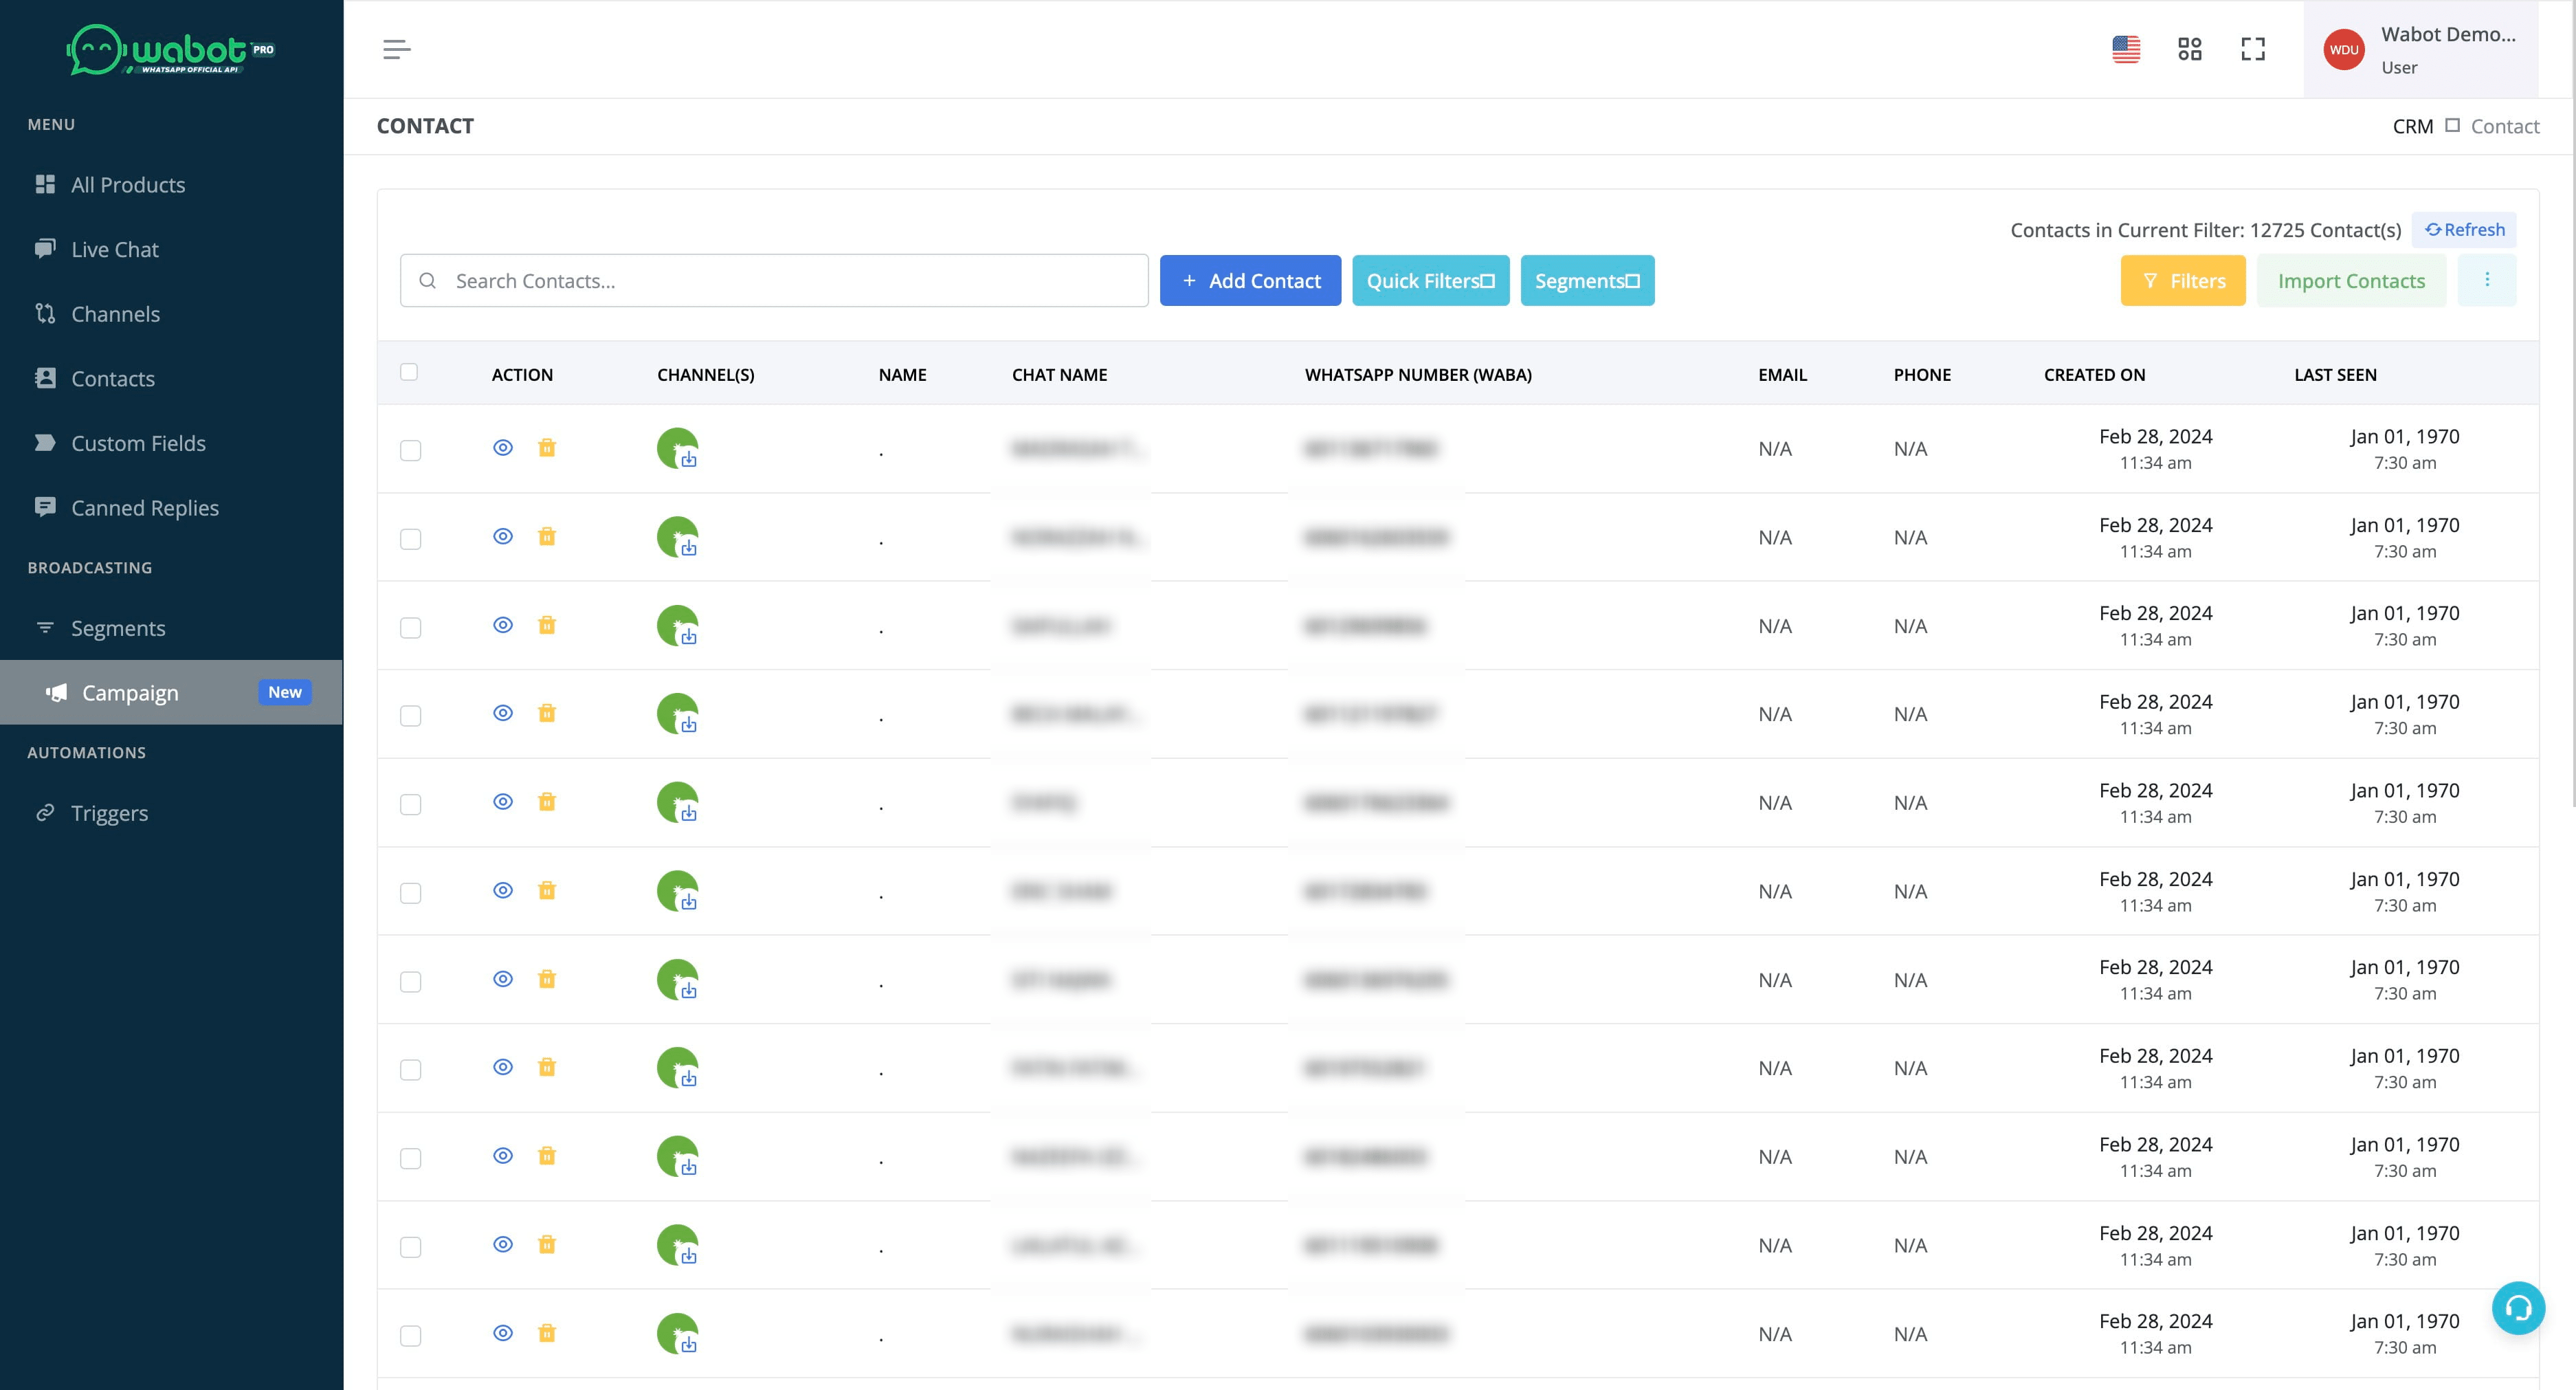
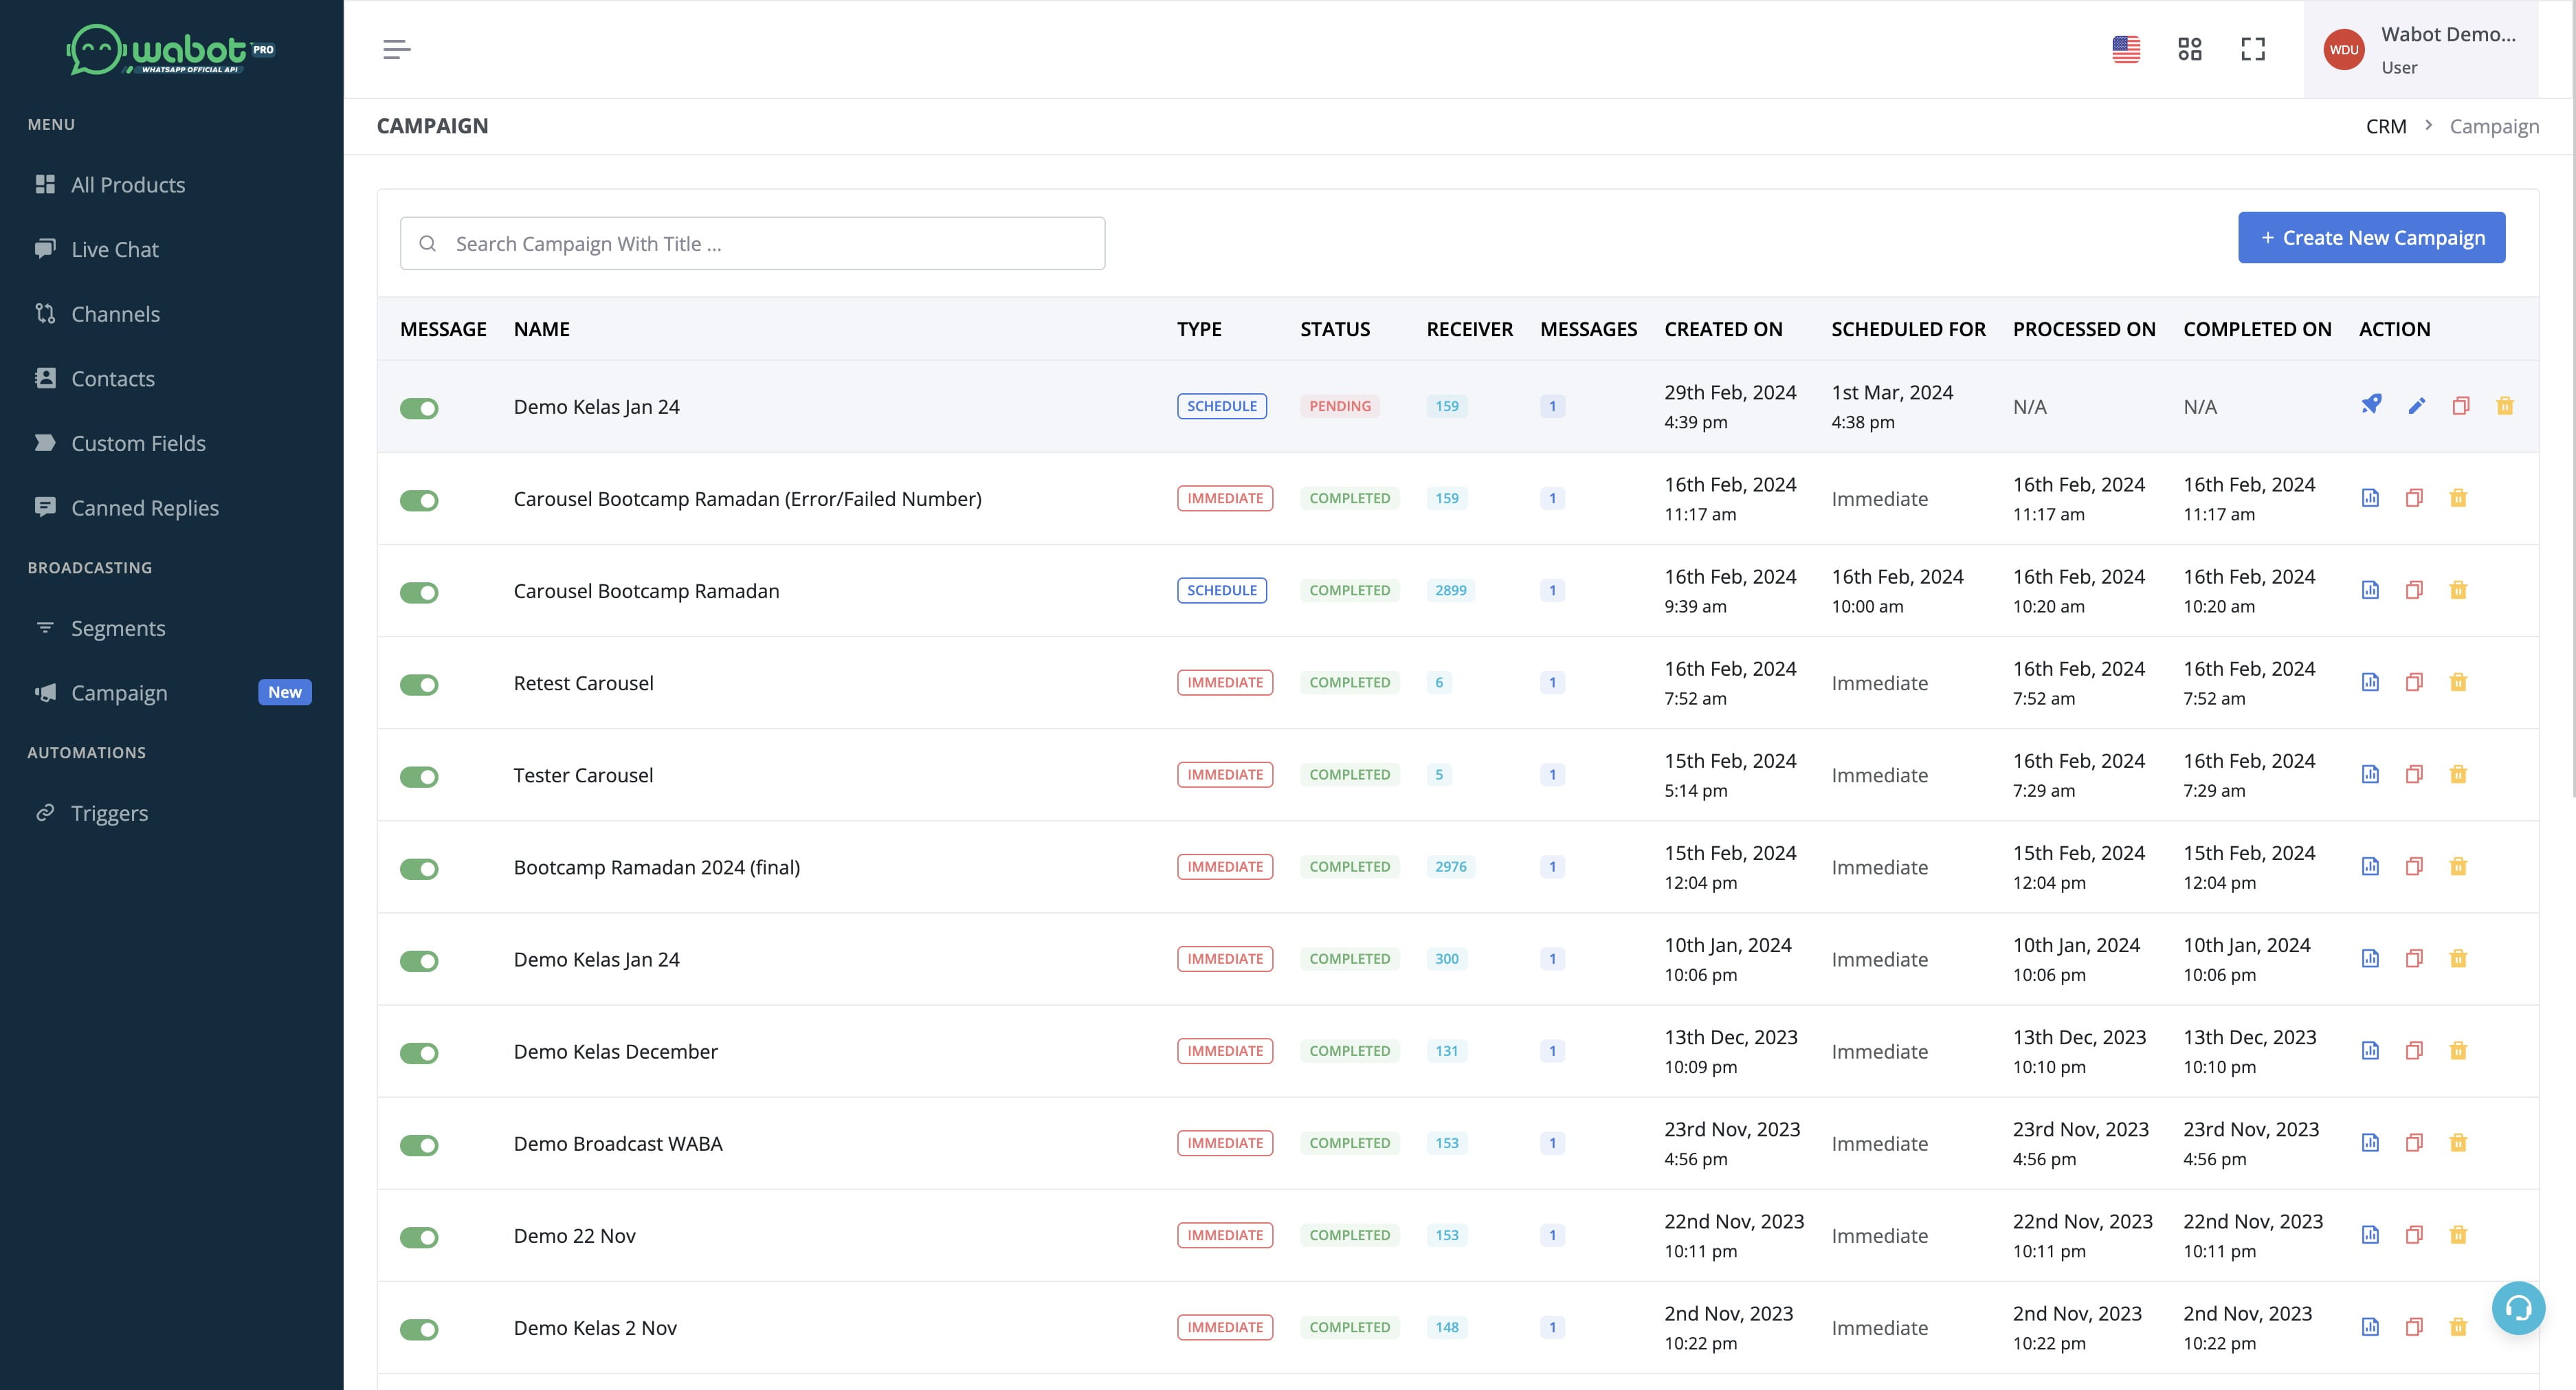
Click on "Campaign"
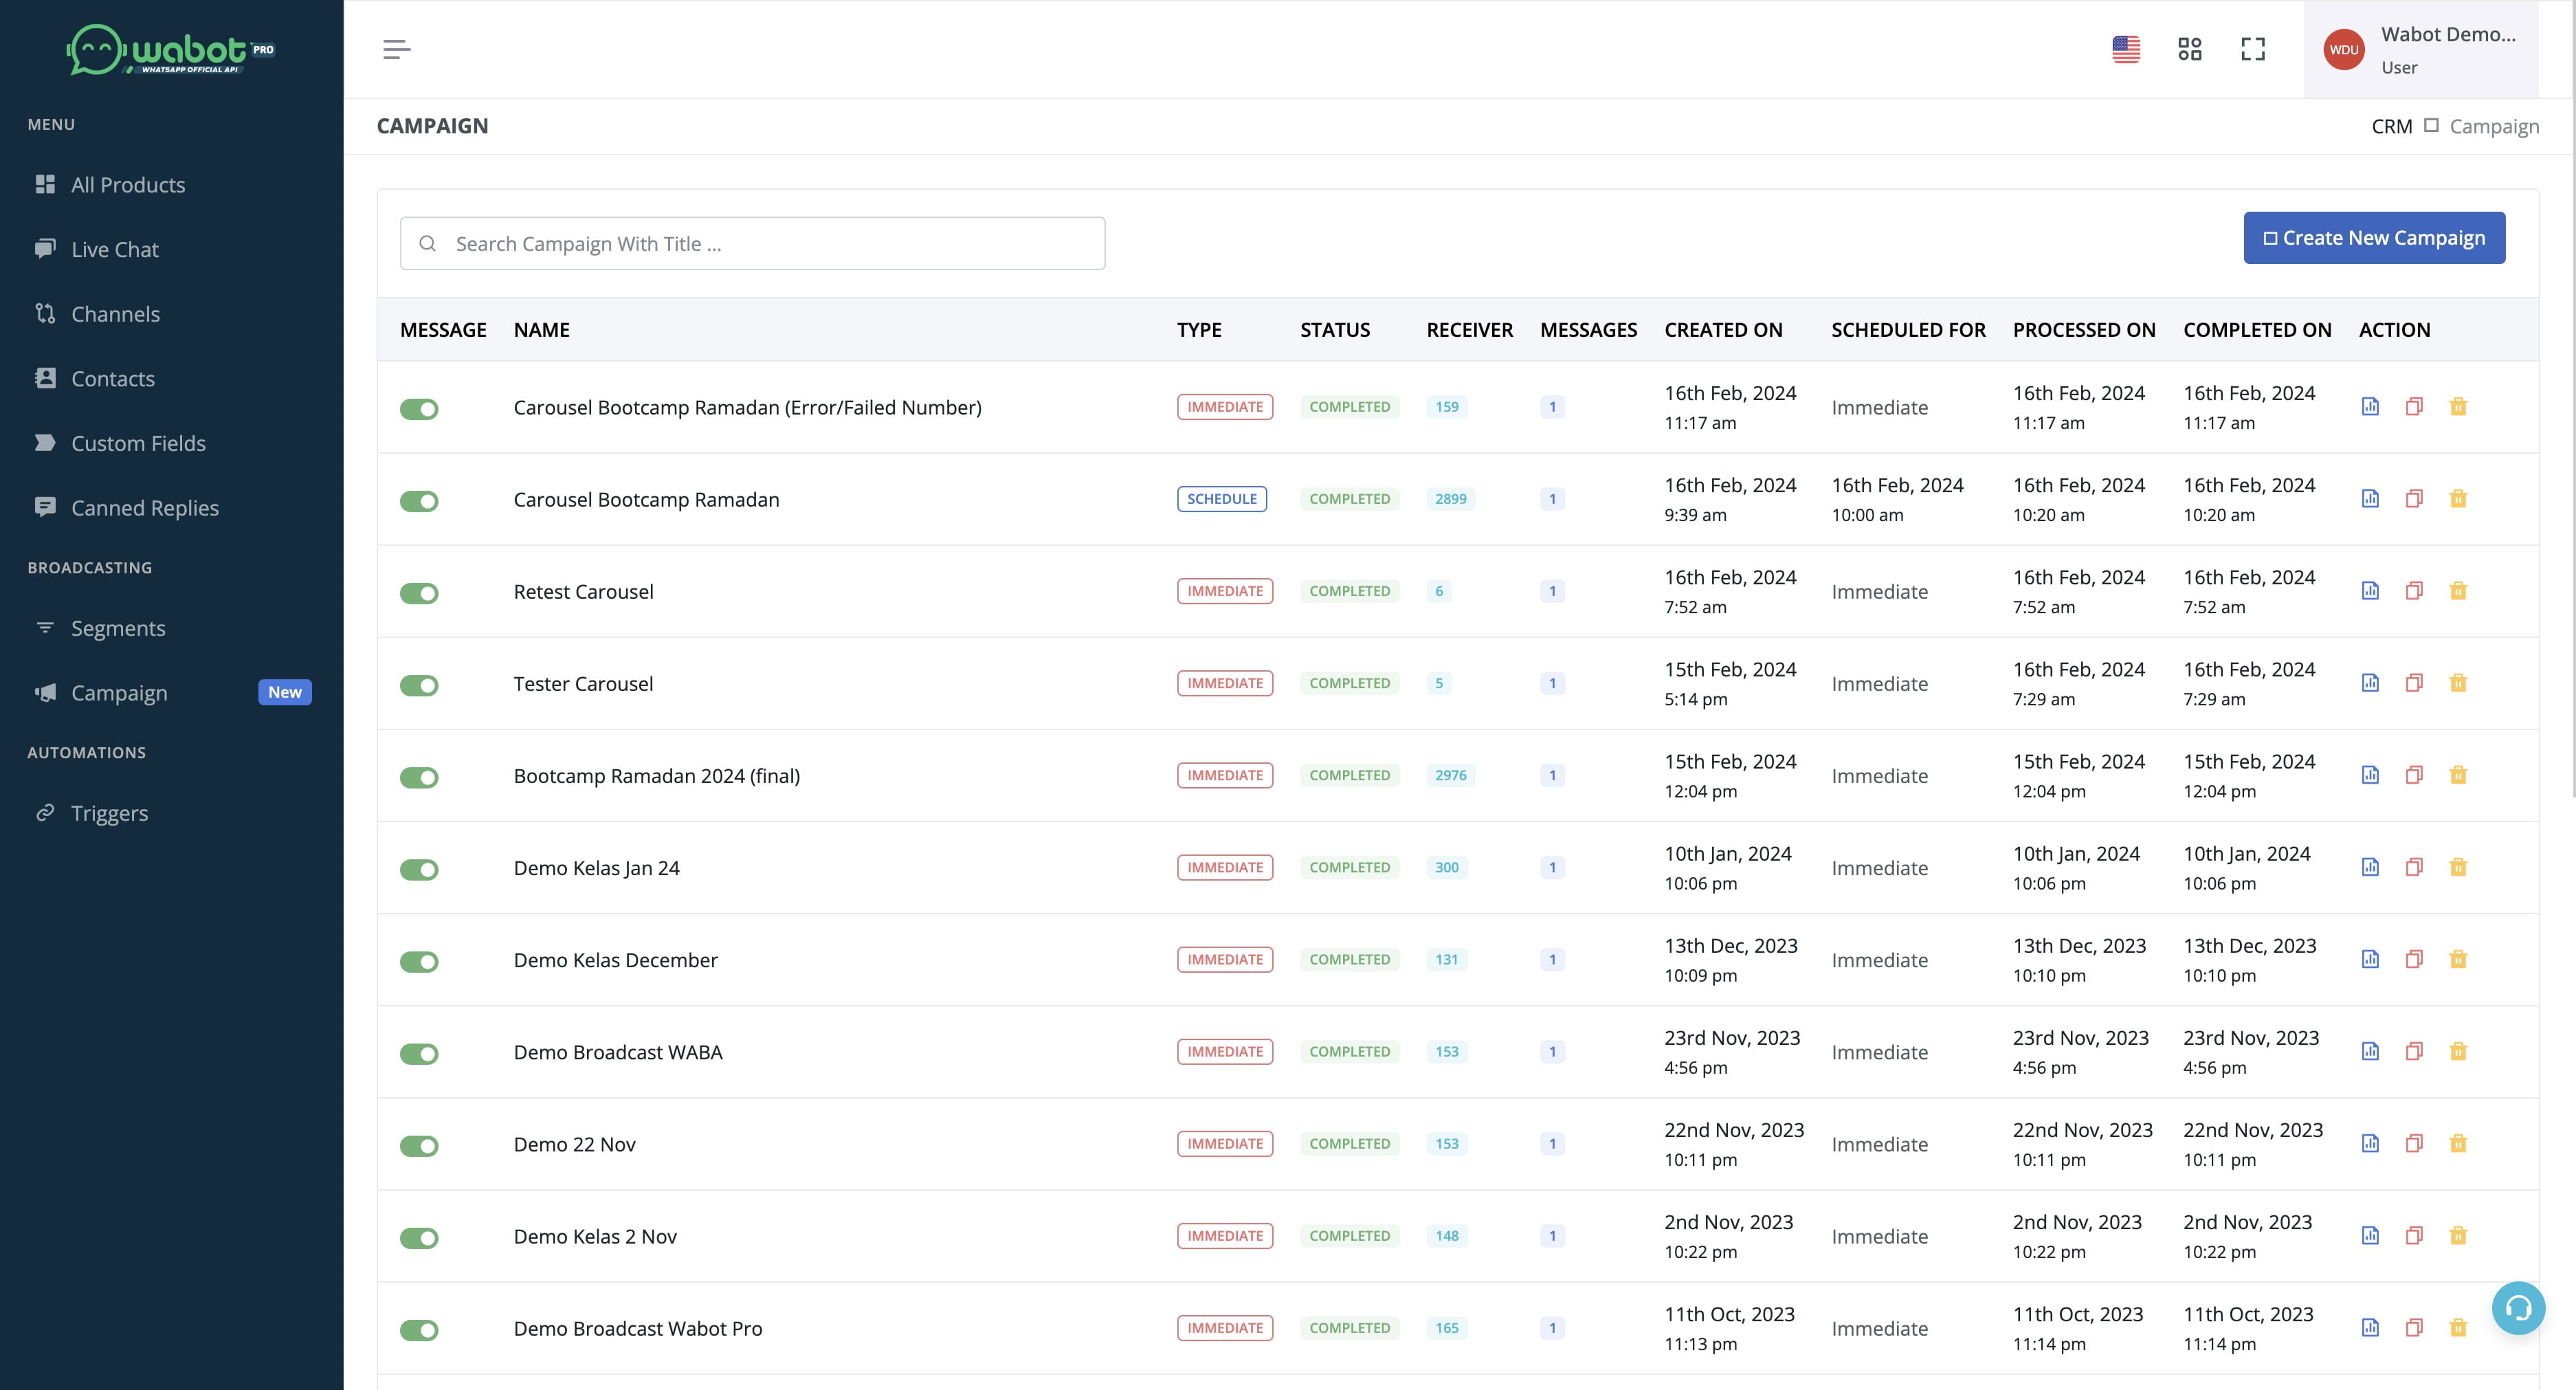
Click this icon
Click here

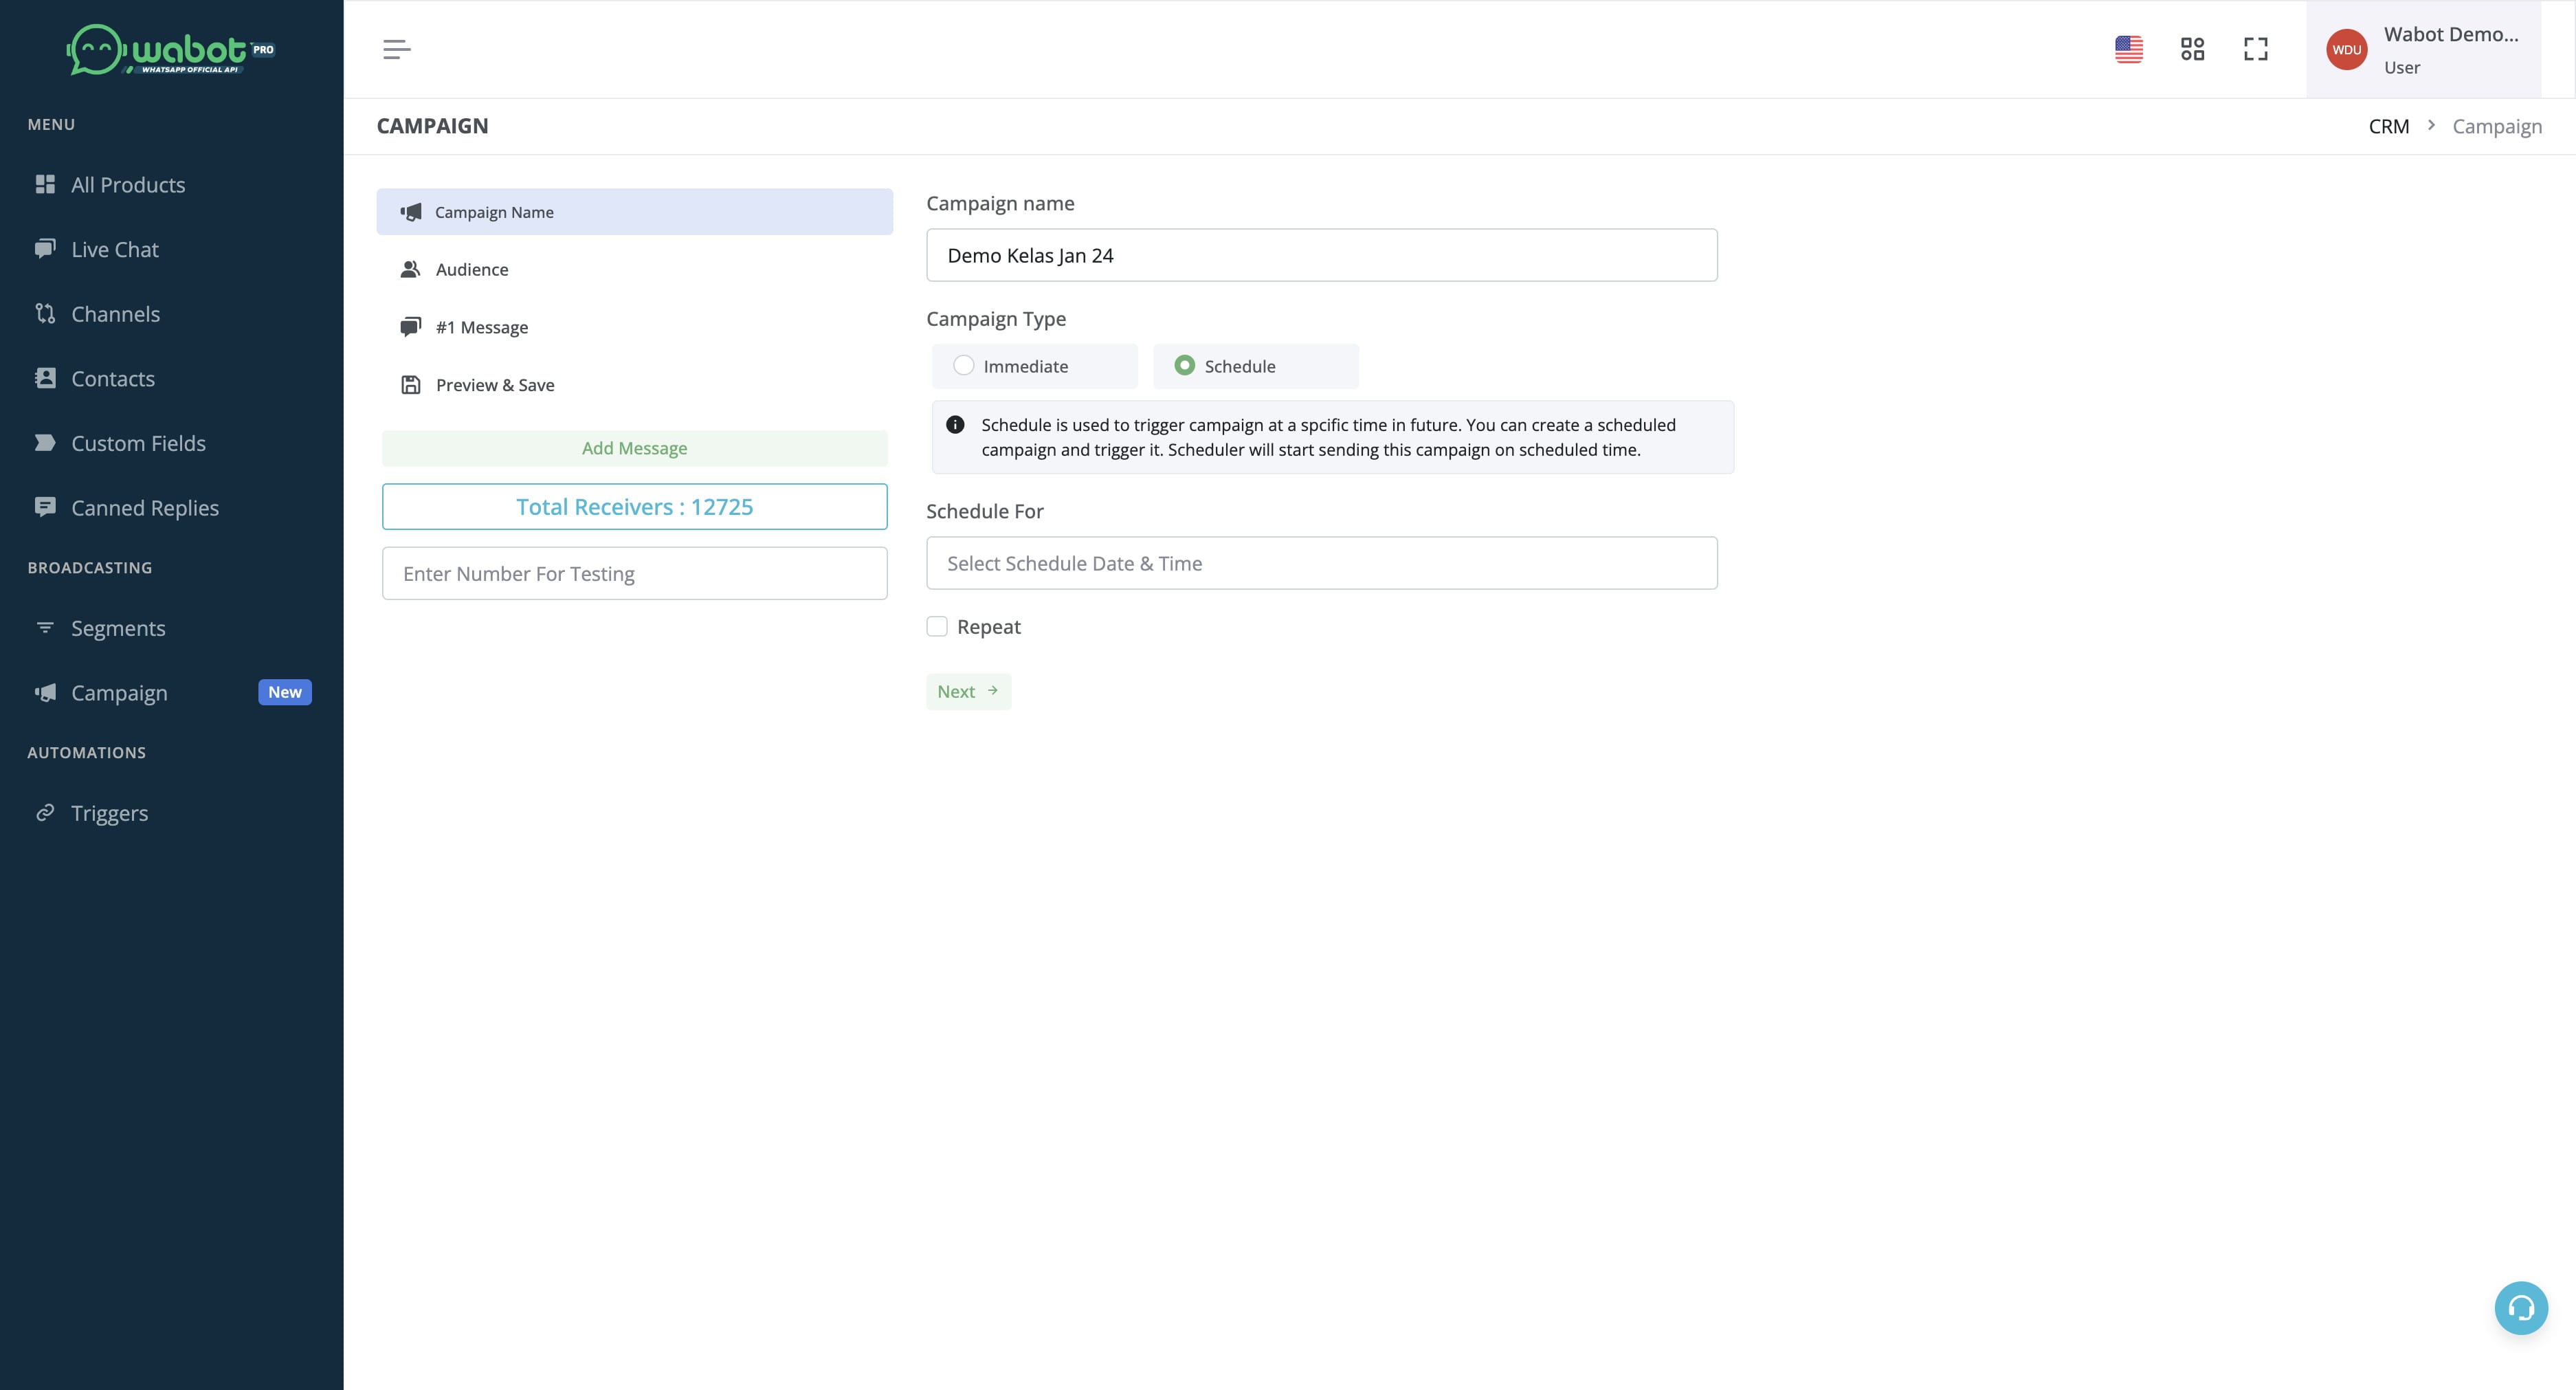
Choose "Immediate" if you want to start broadcast now. Choose "Schedule" if you want to schedule in future date/time.
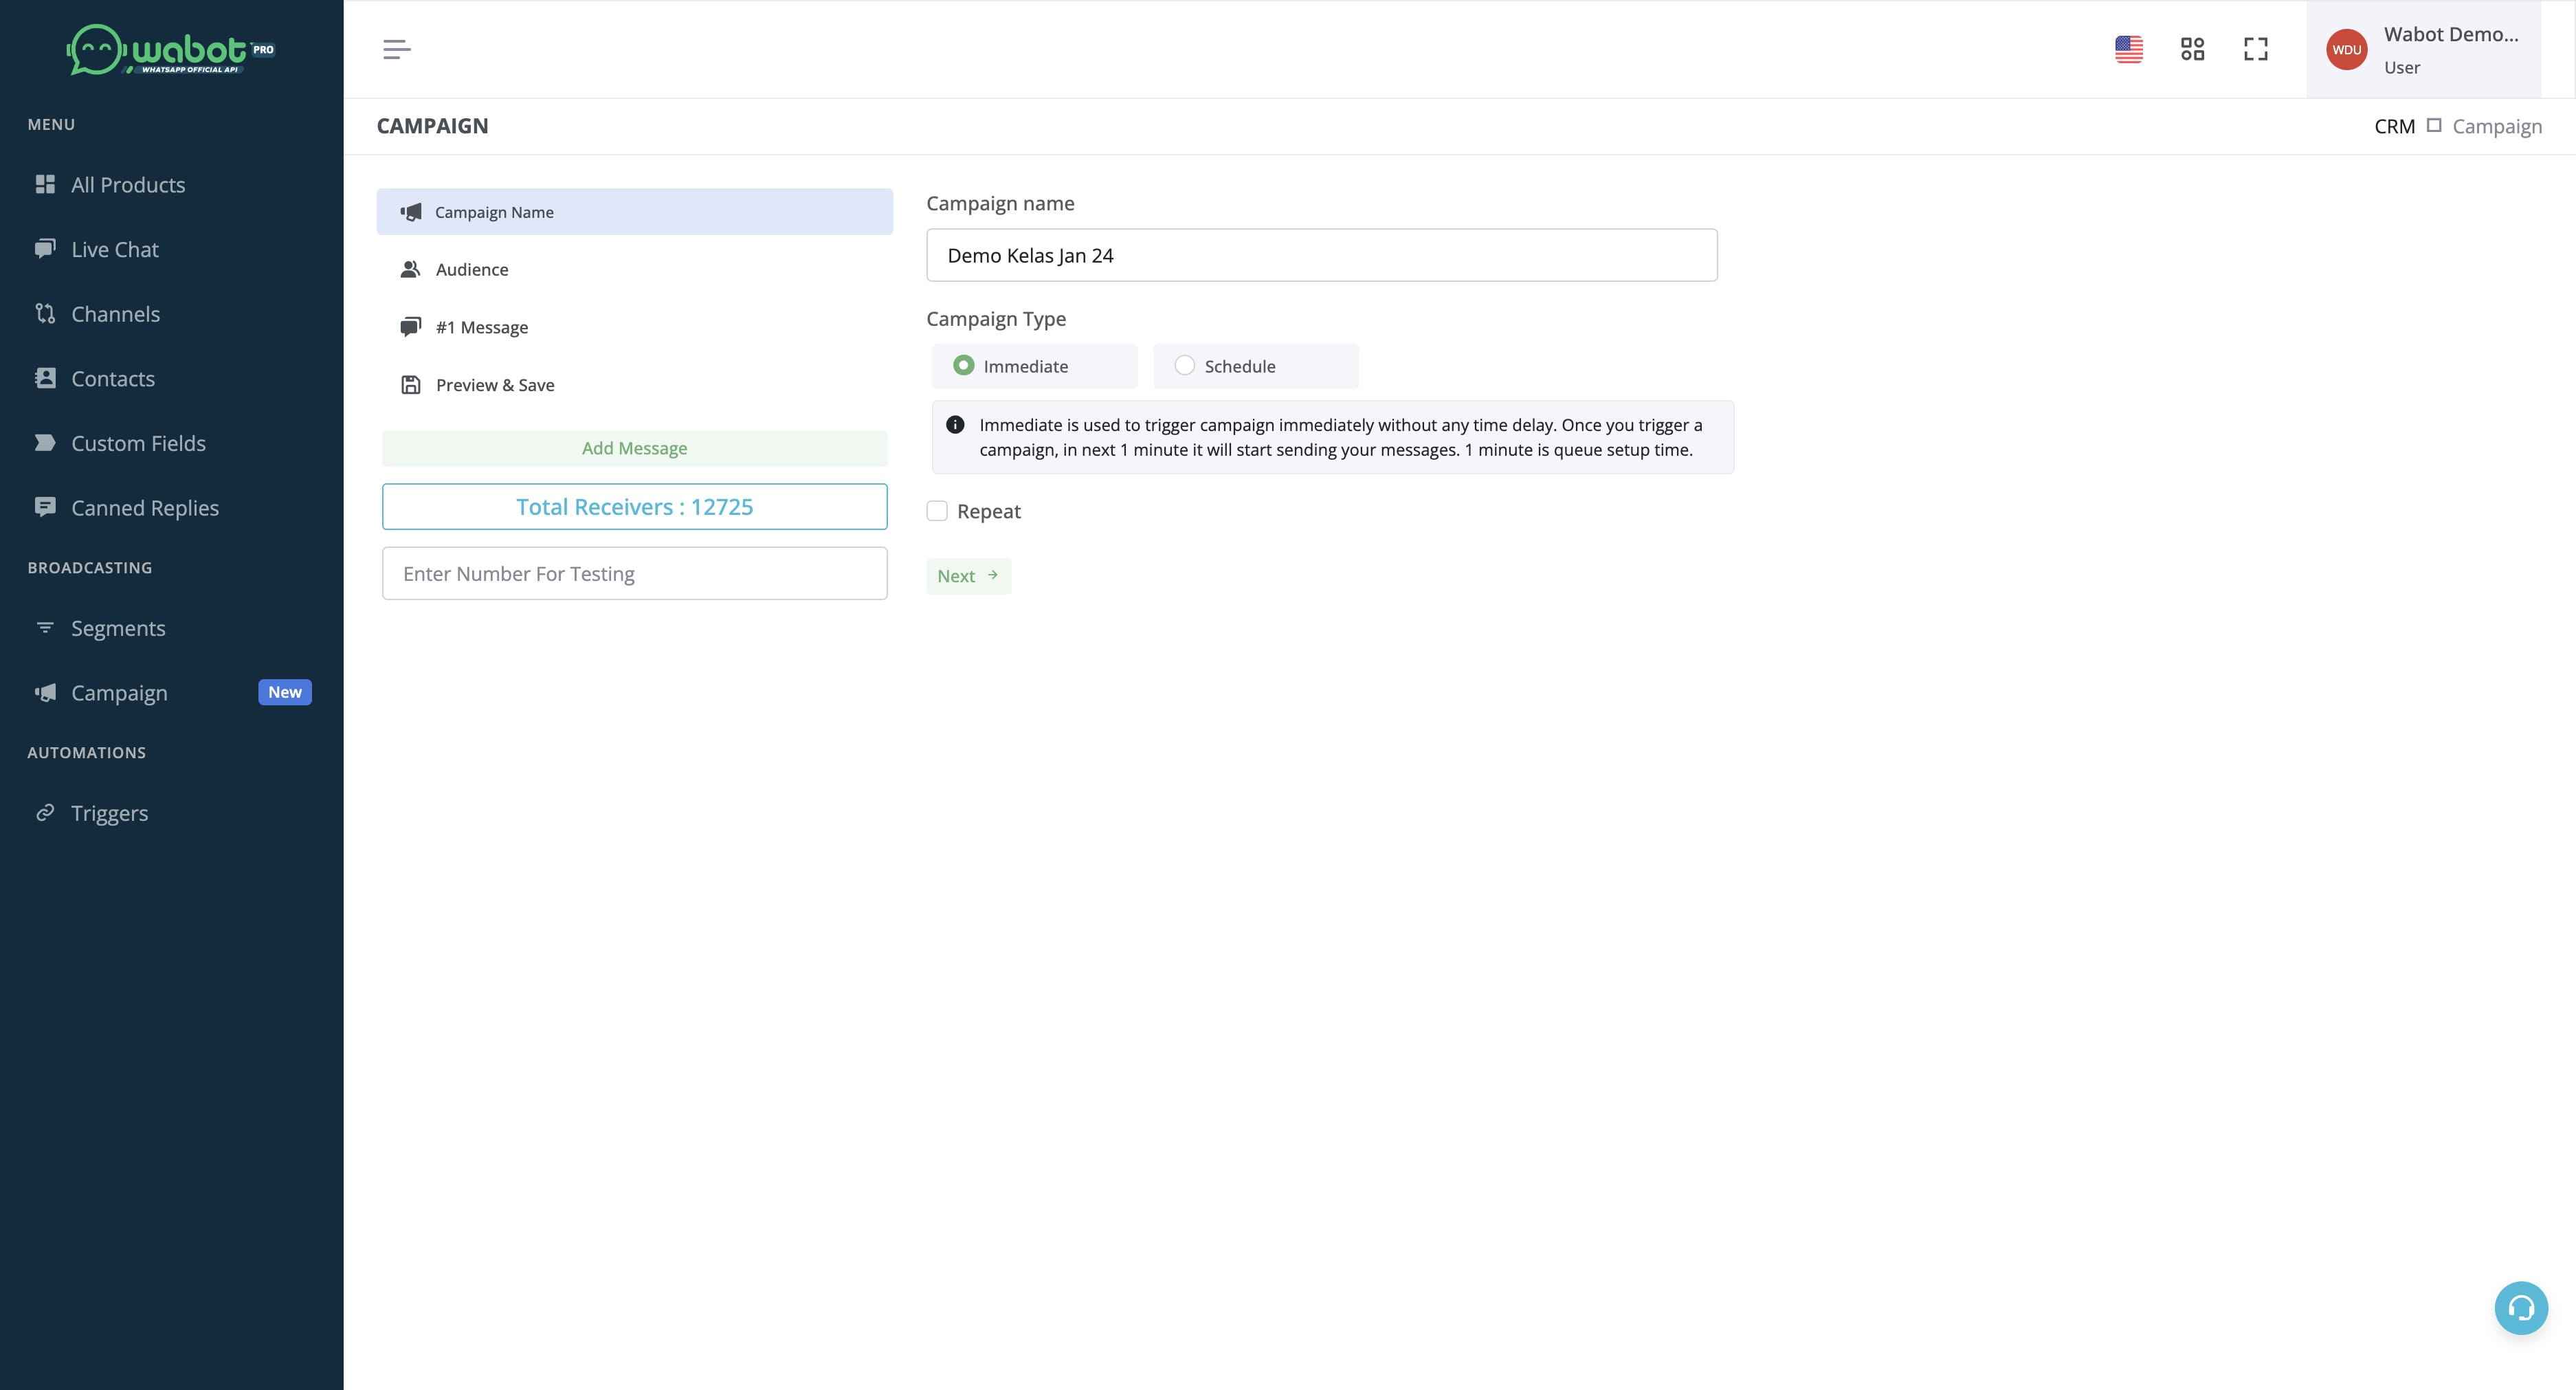
Click here
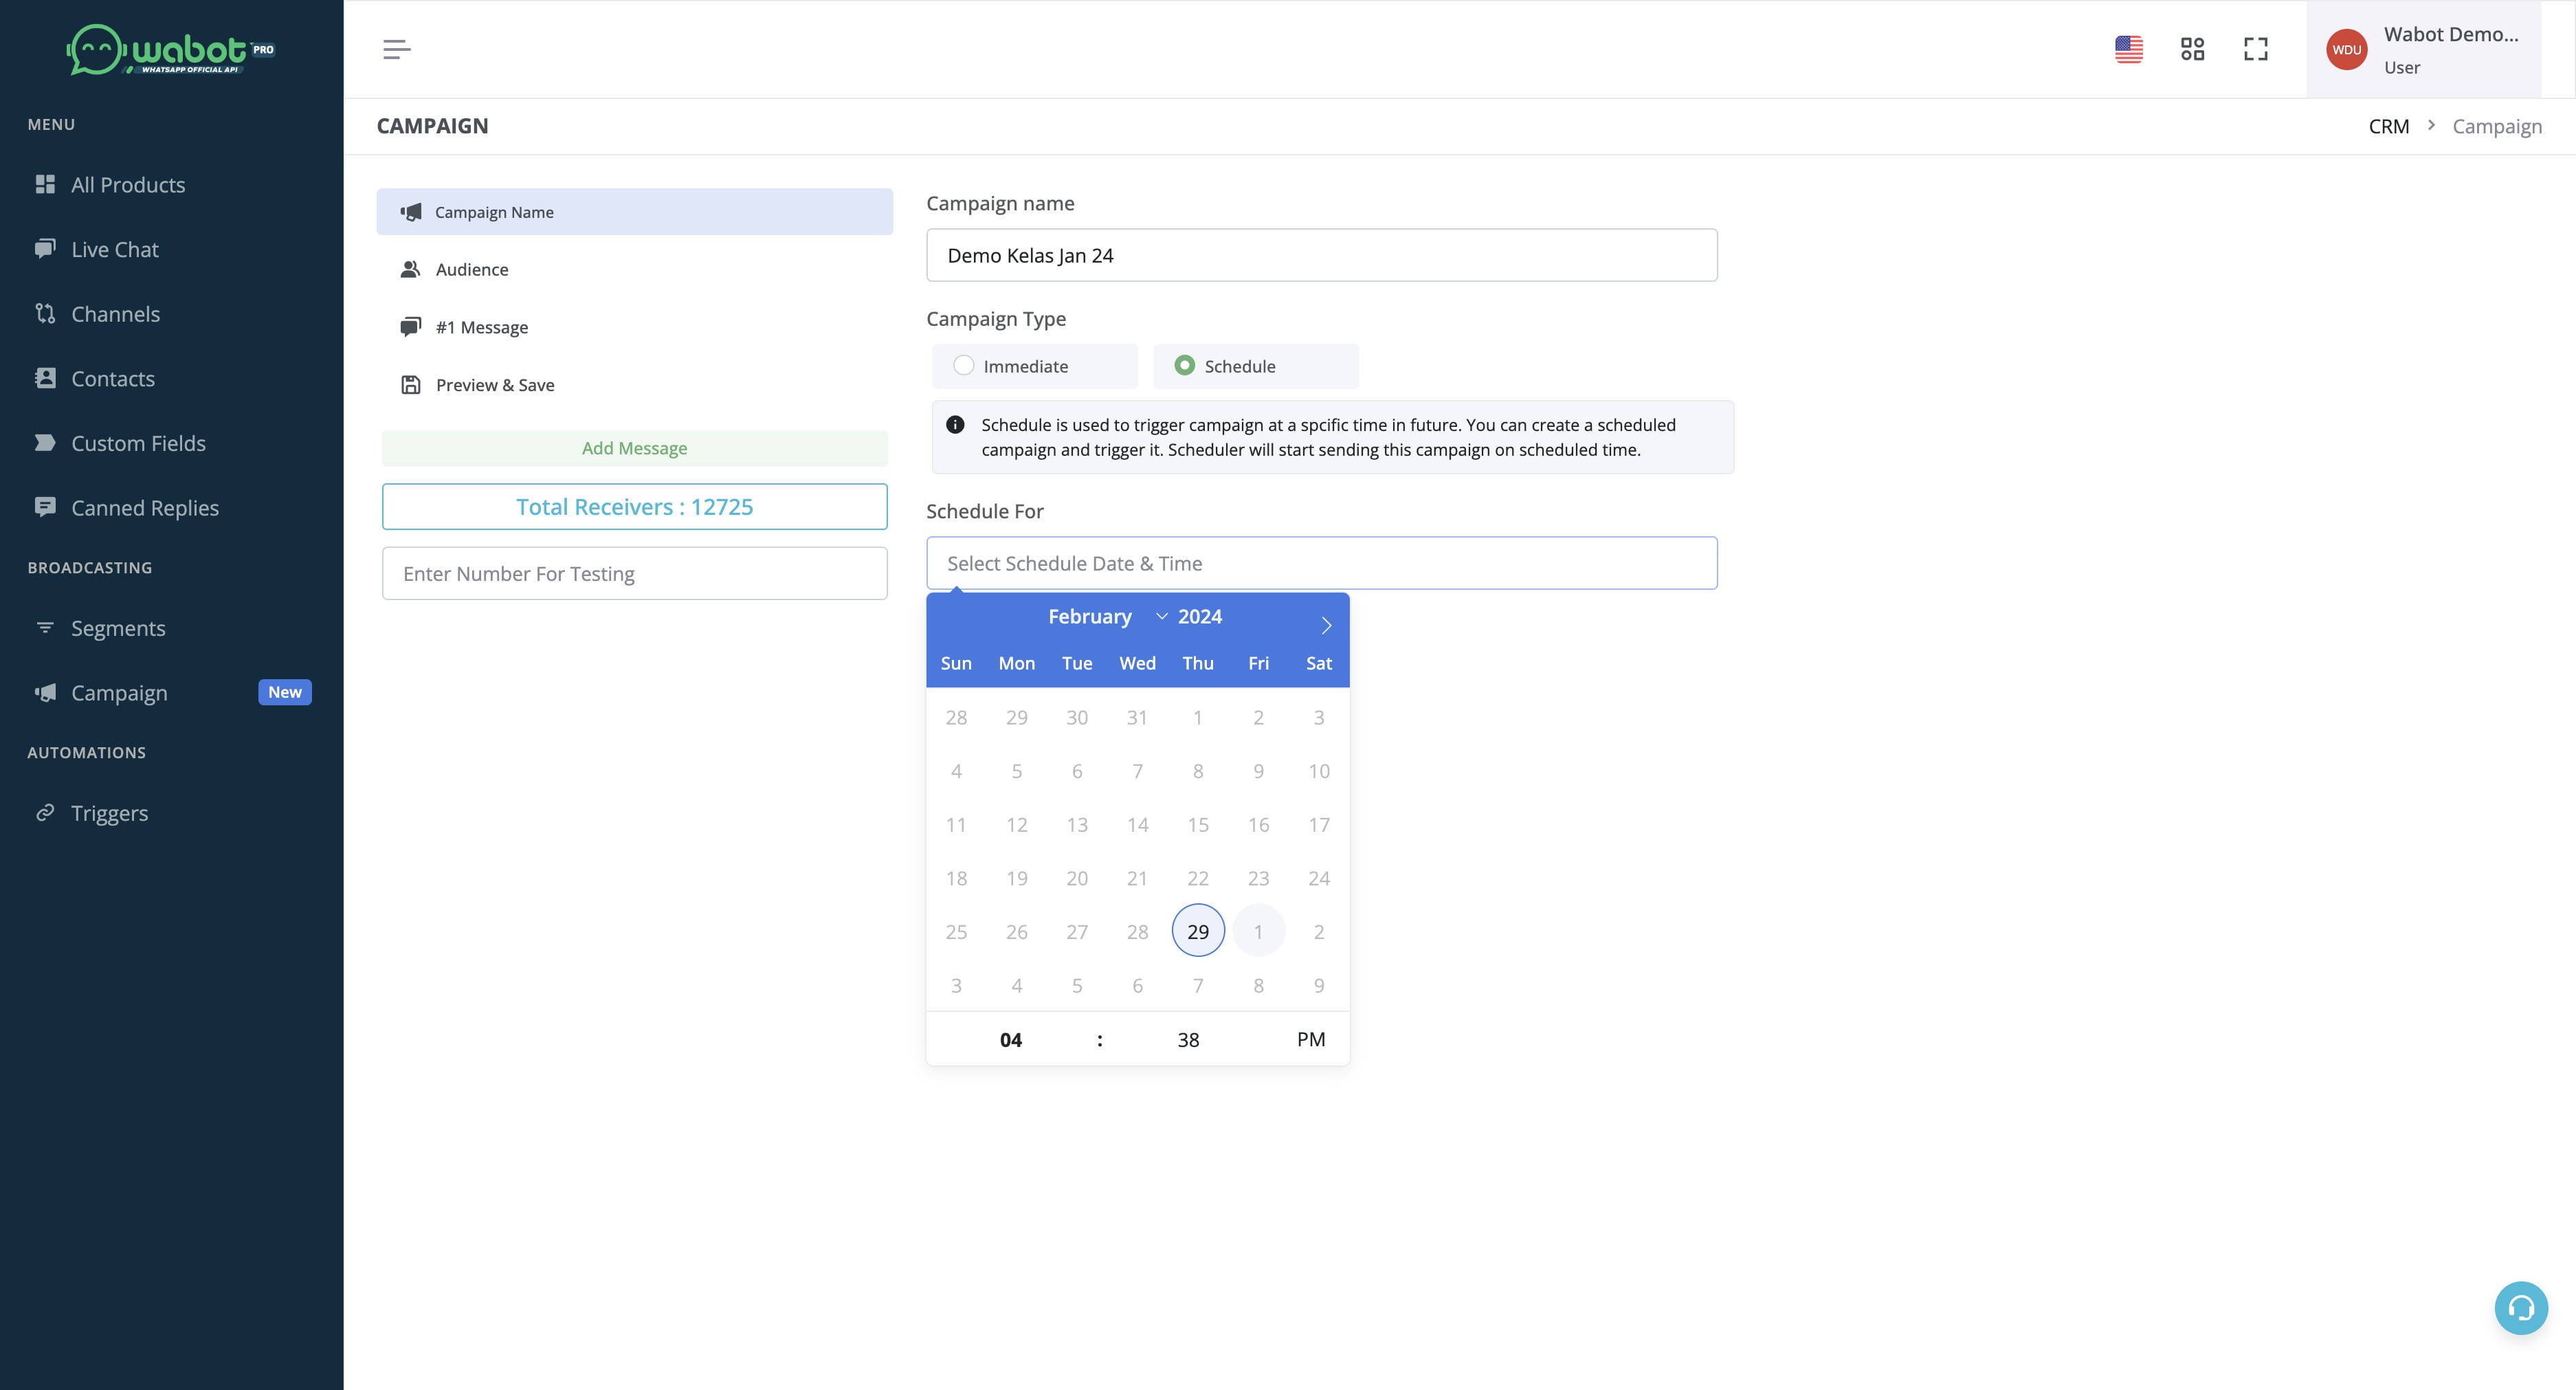
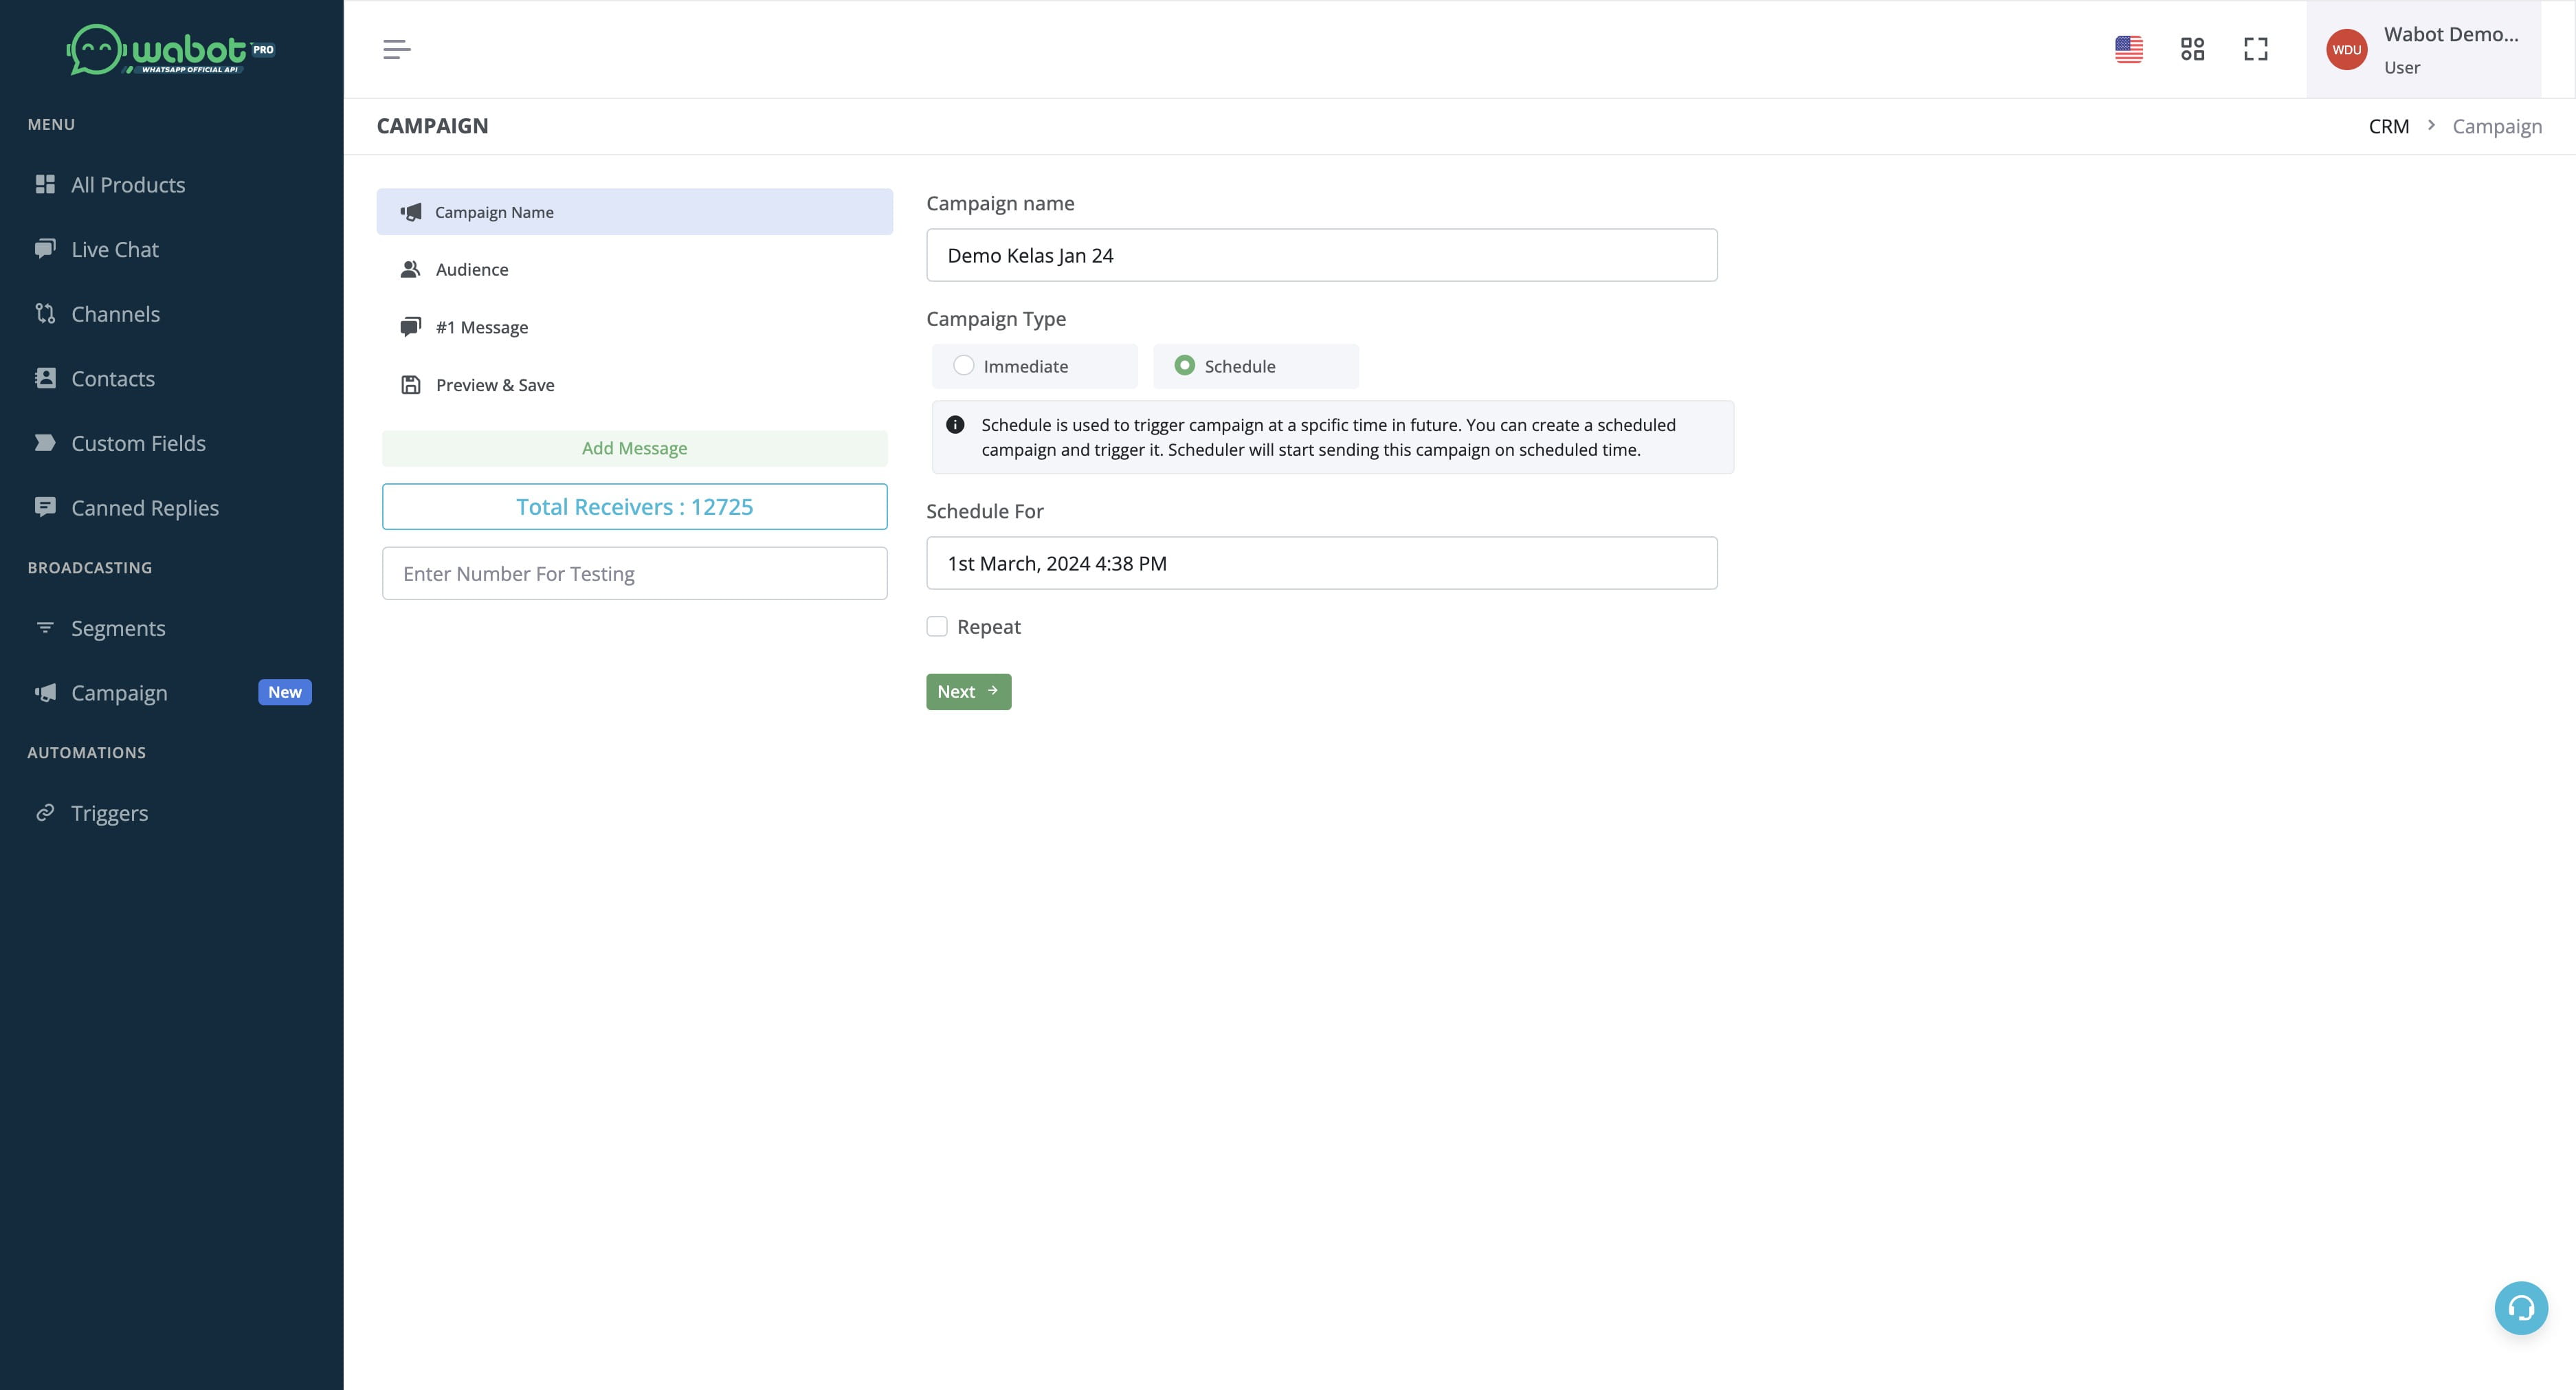
Set your date/time for future schedule.
Click on "Next"
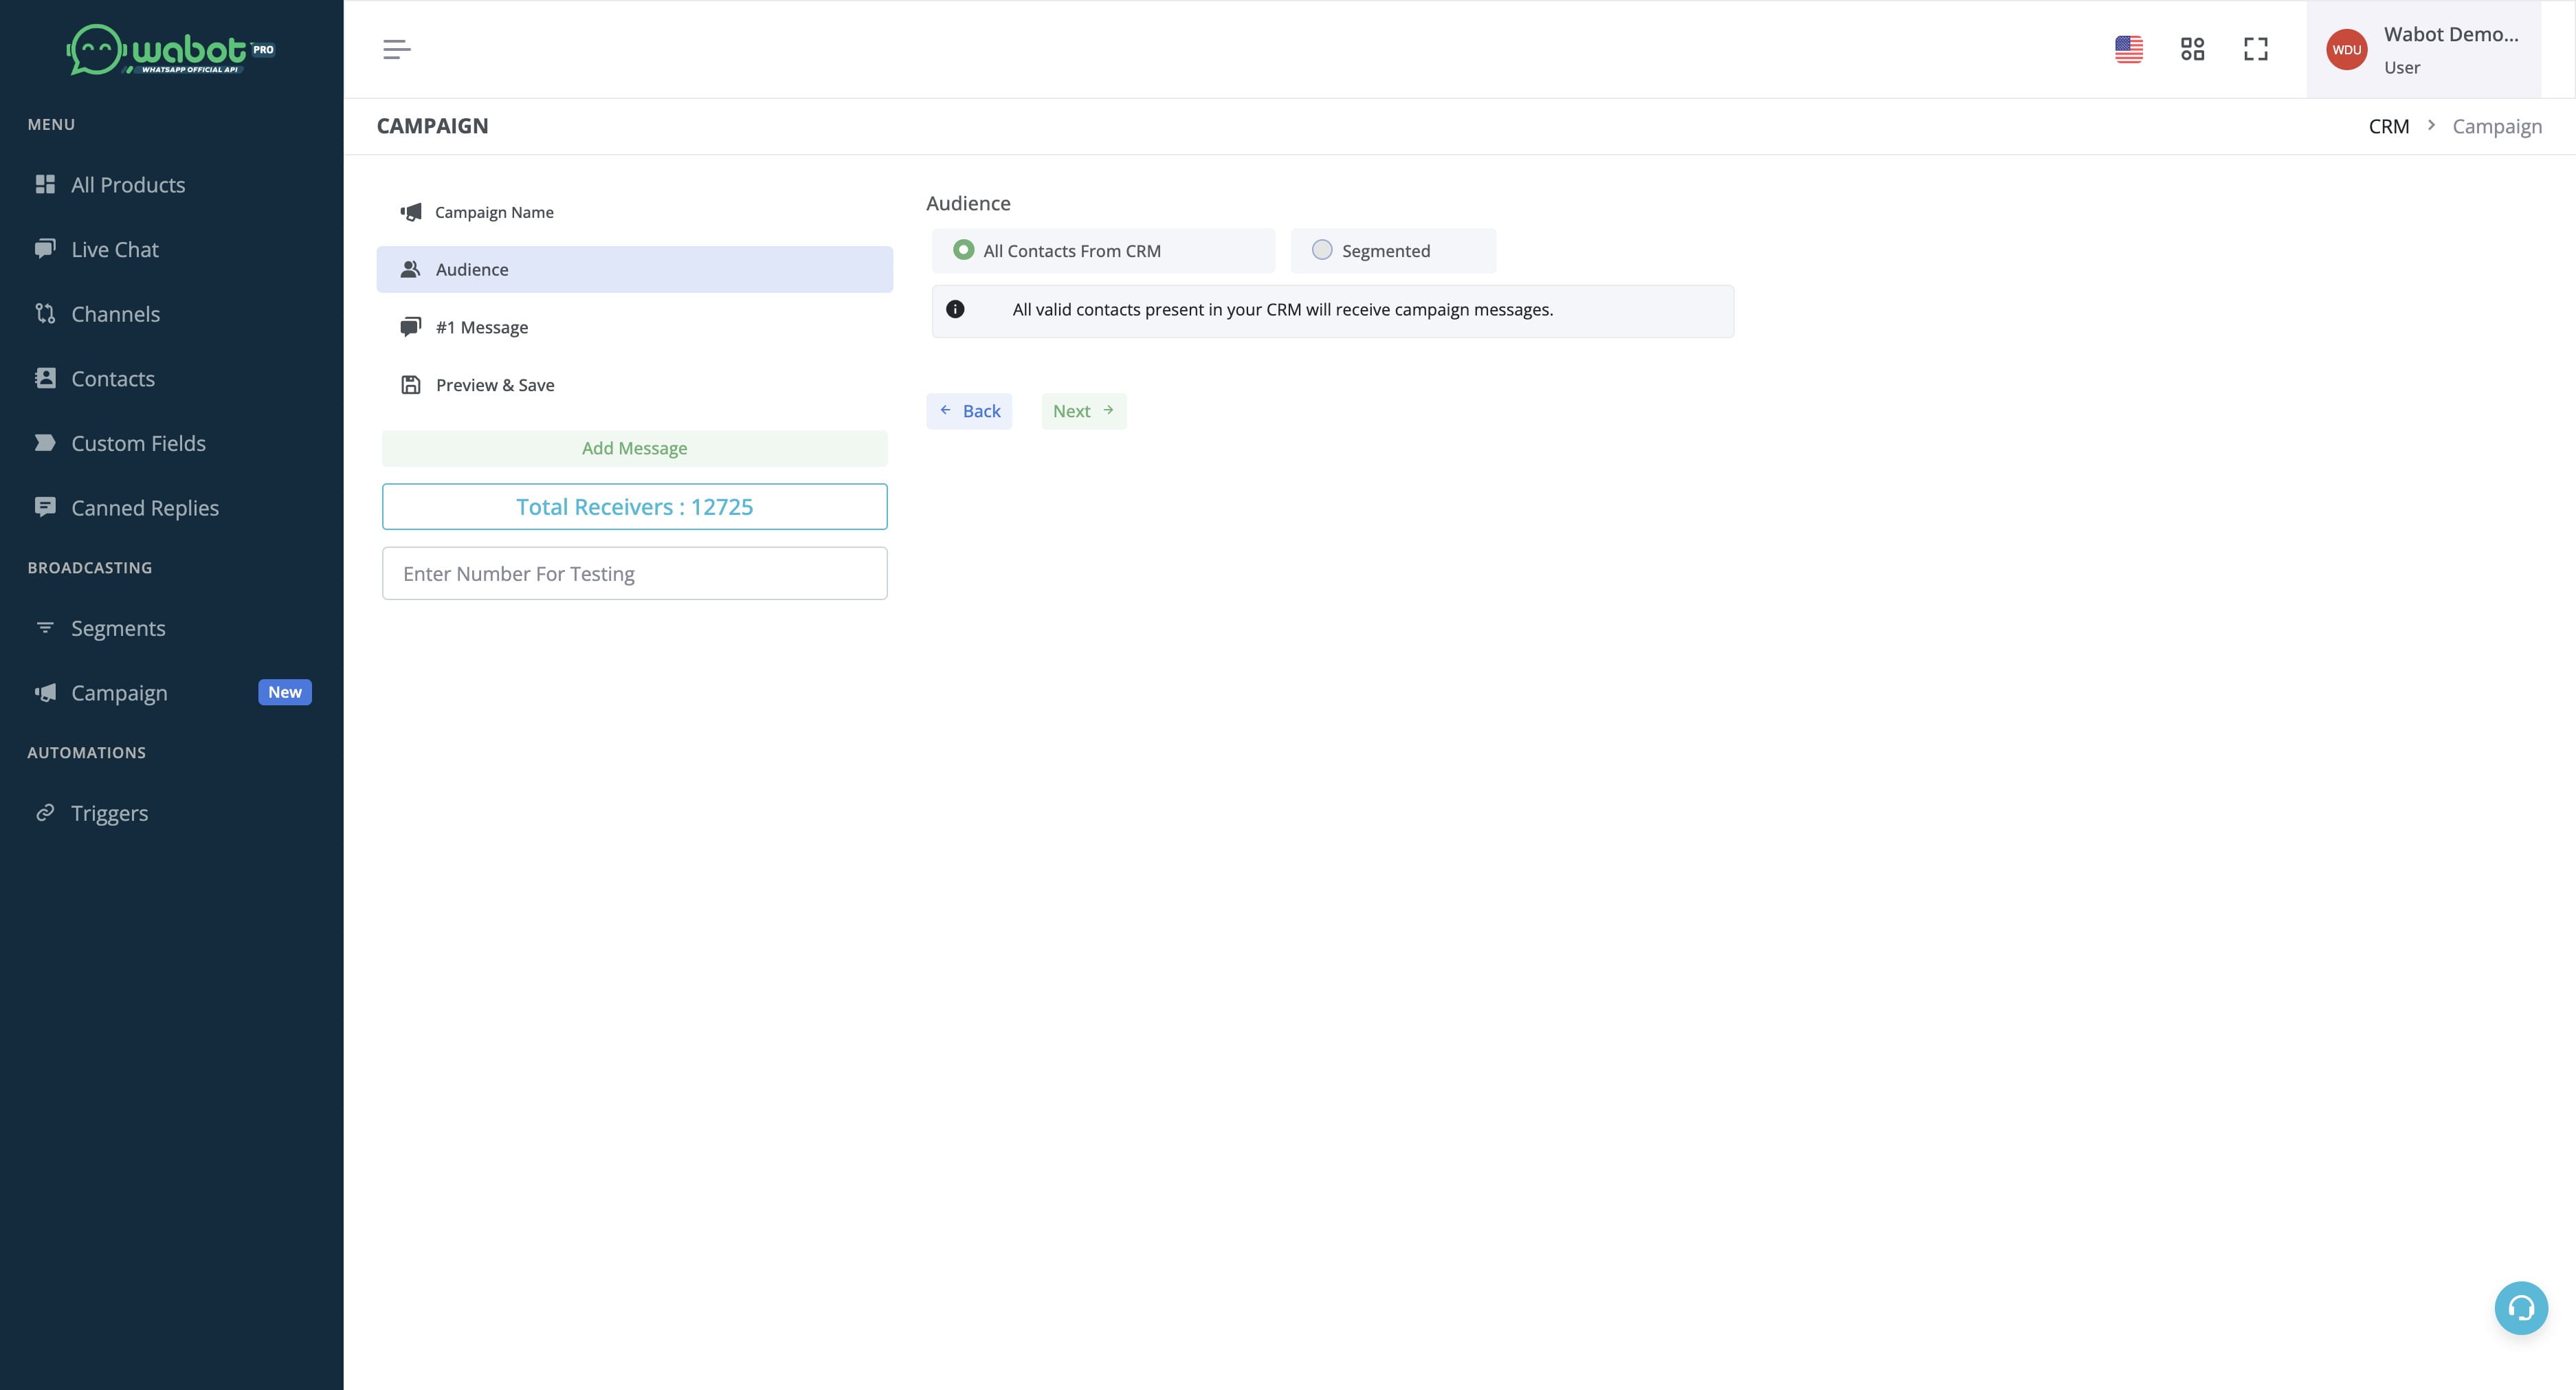
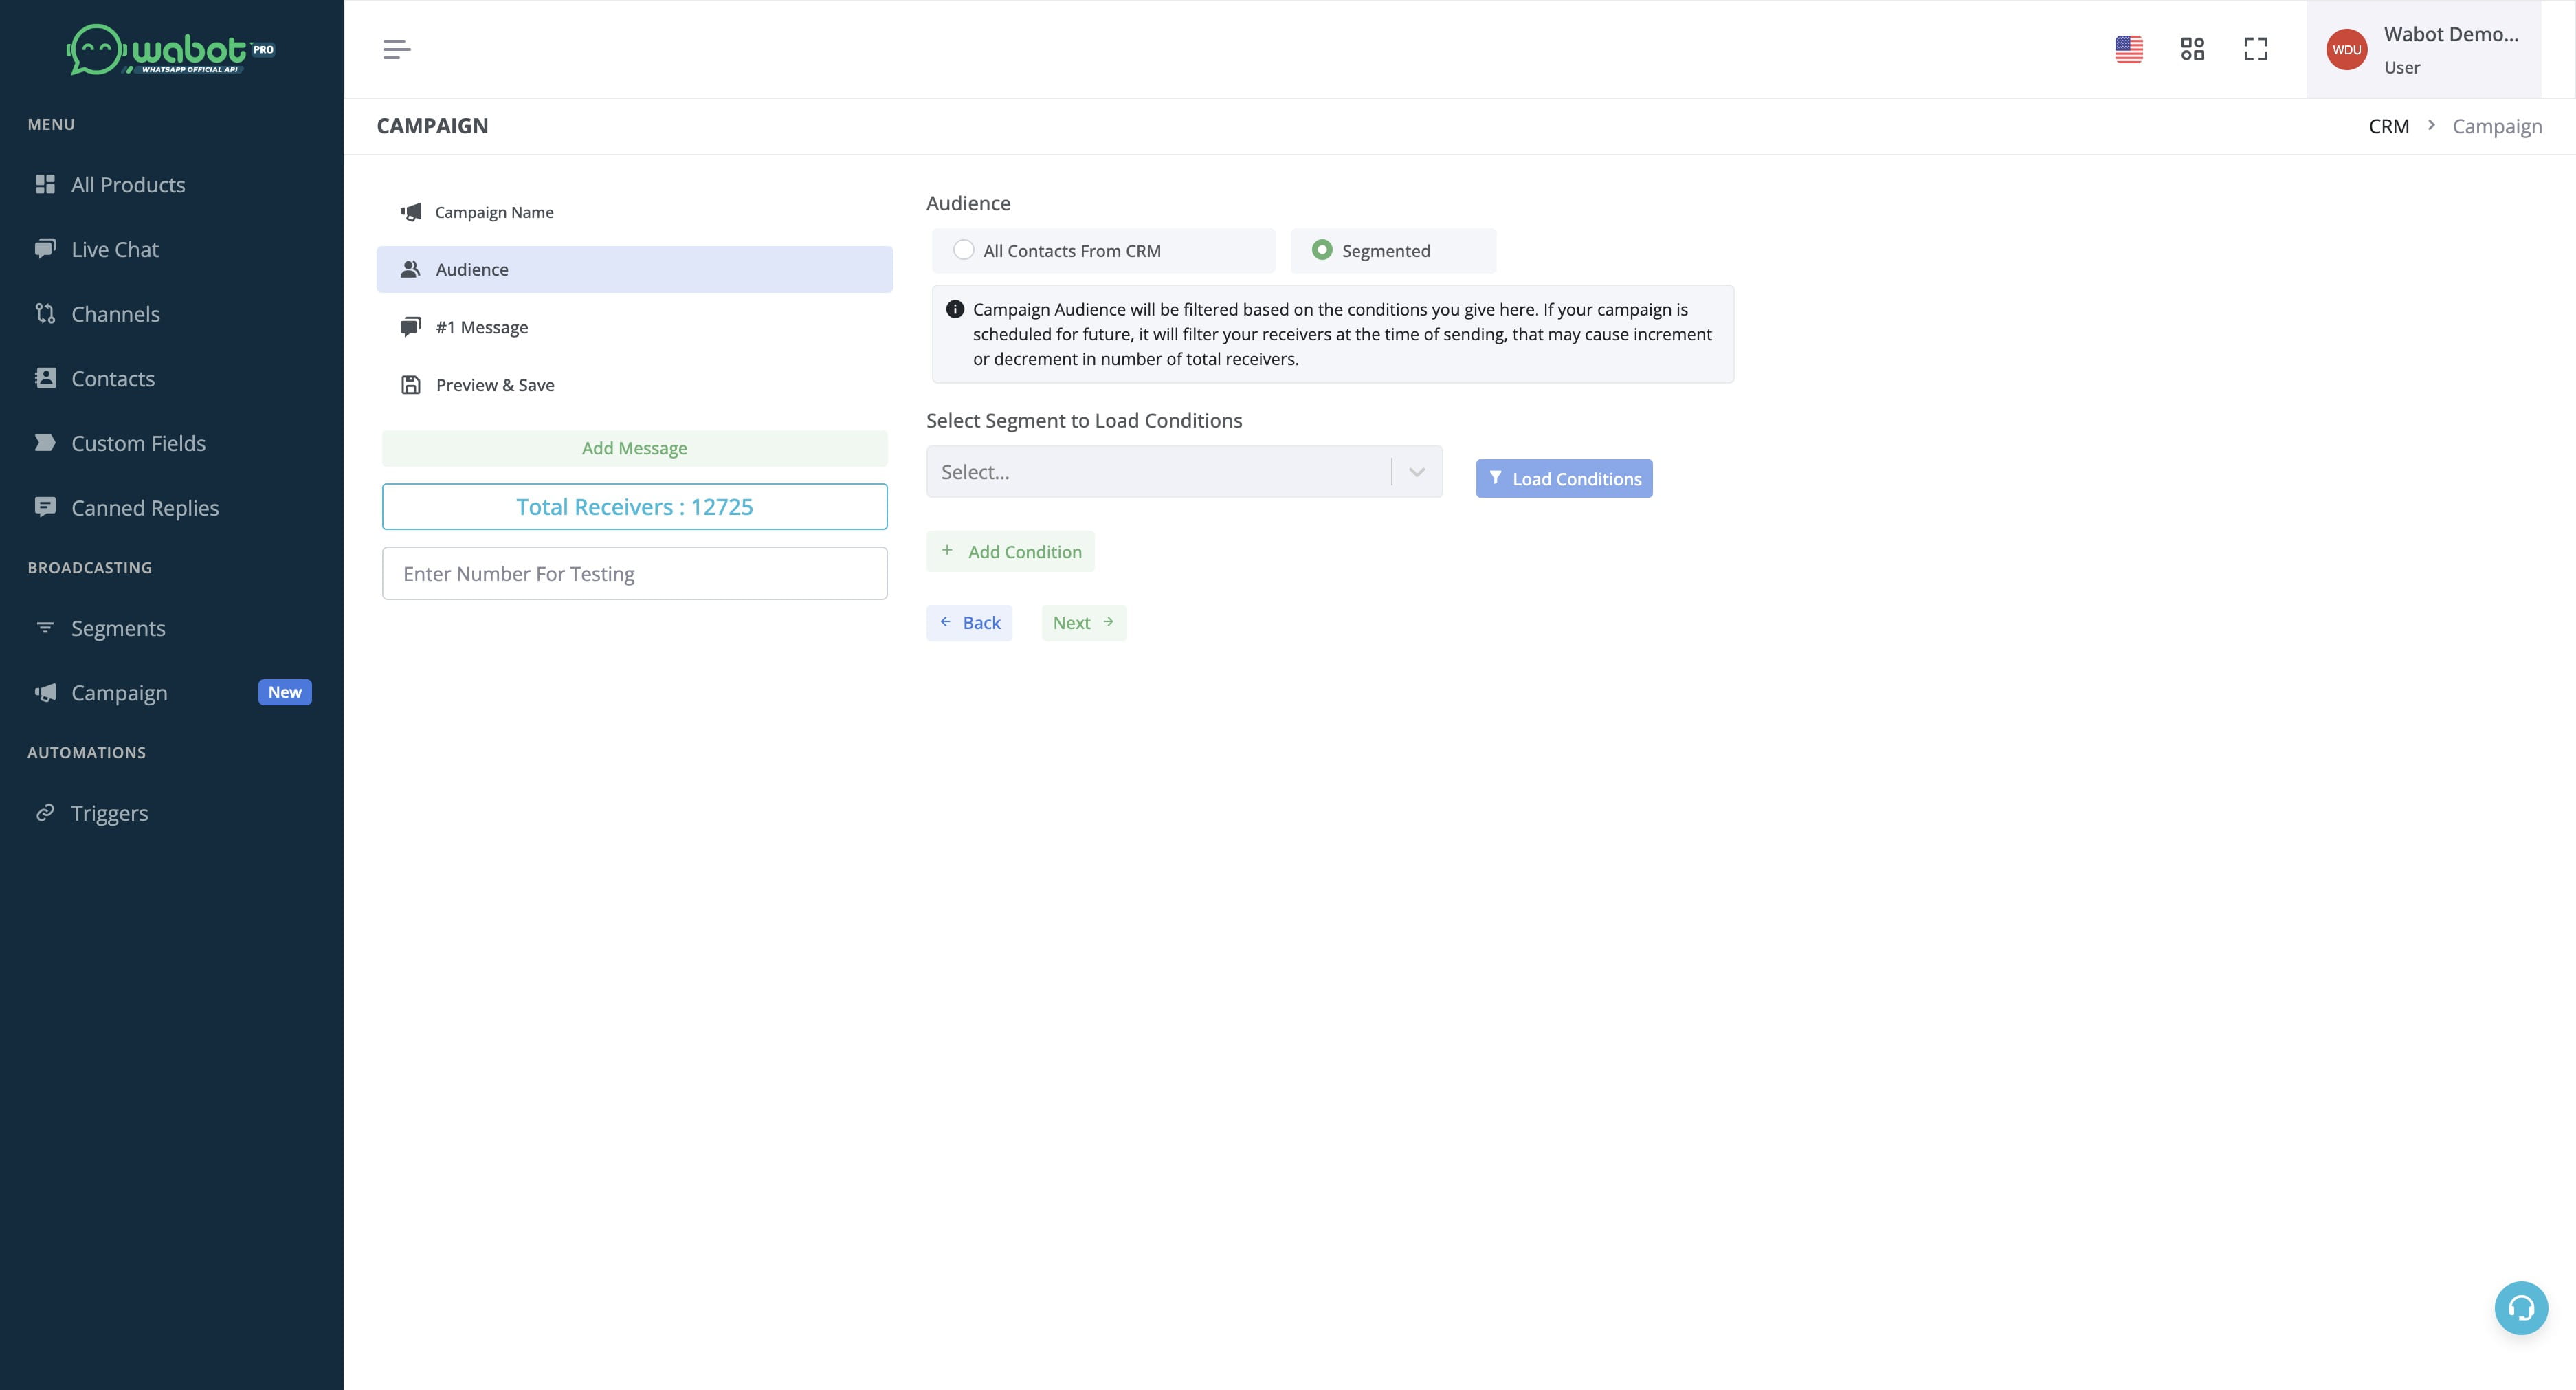
Click "All contacts from CRM" if you want to broadcast to all. Click "Segmented" if you want to schedule for a specific segment.
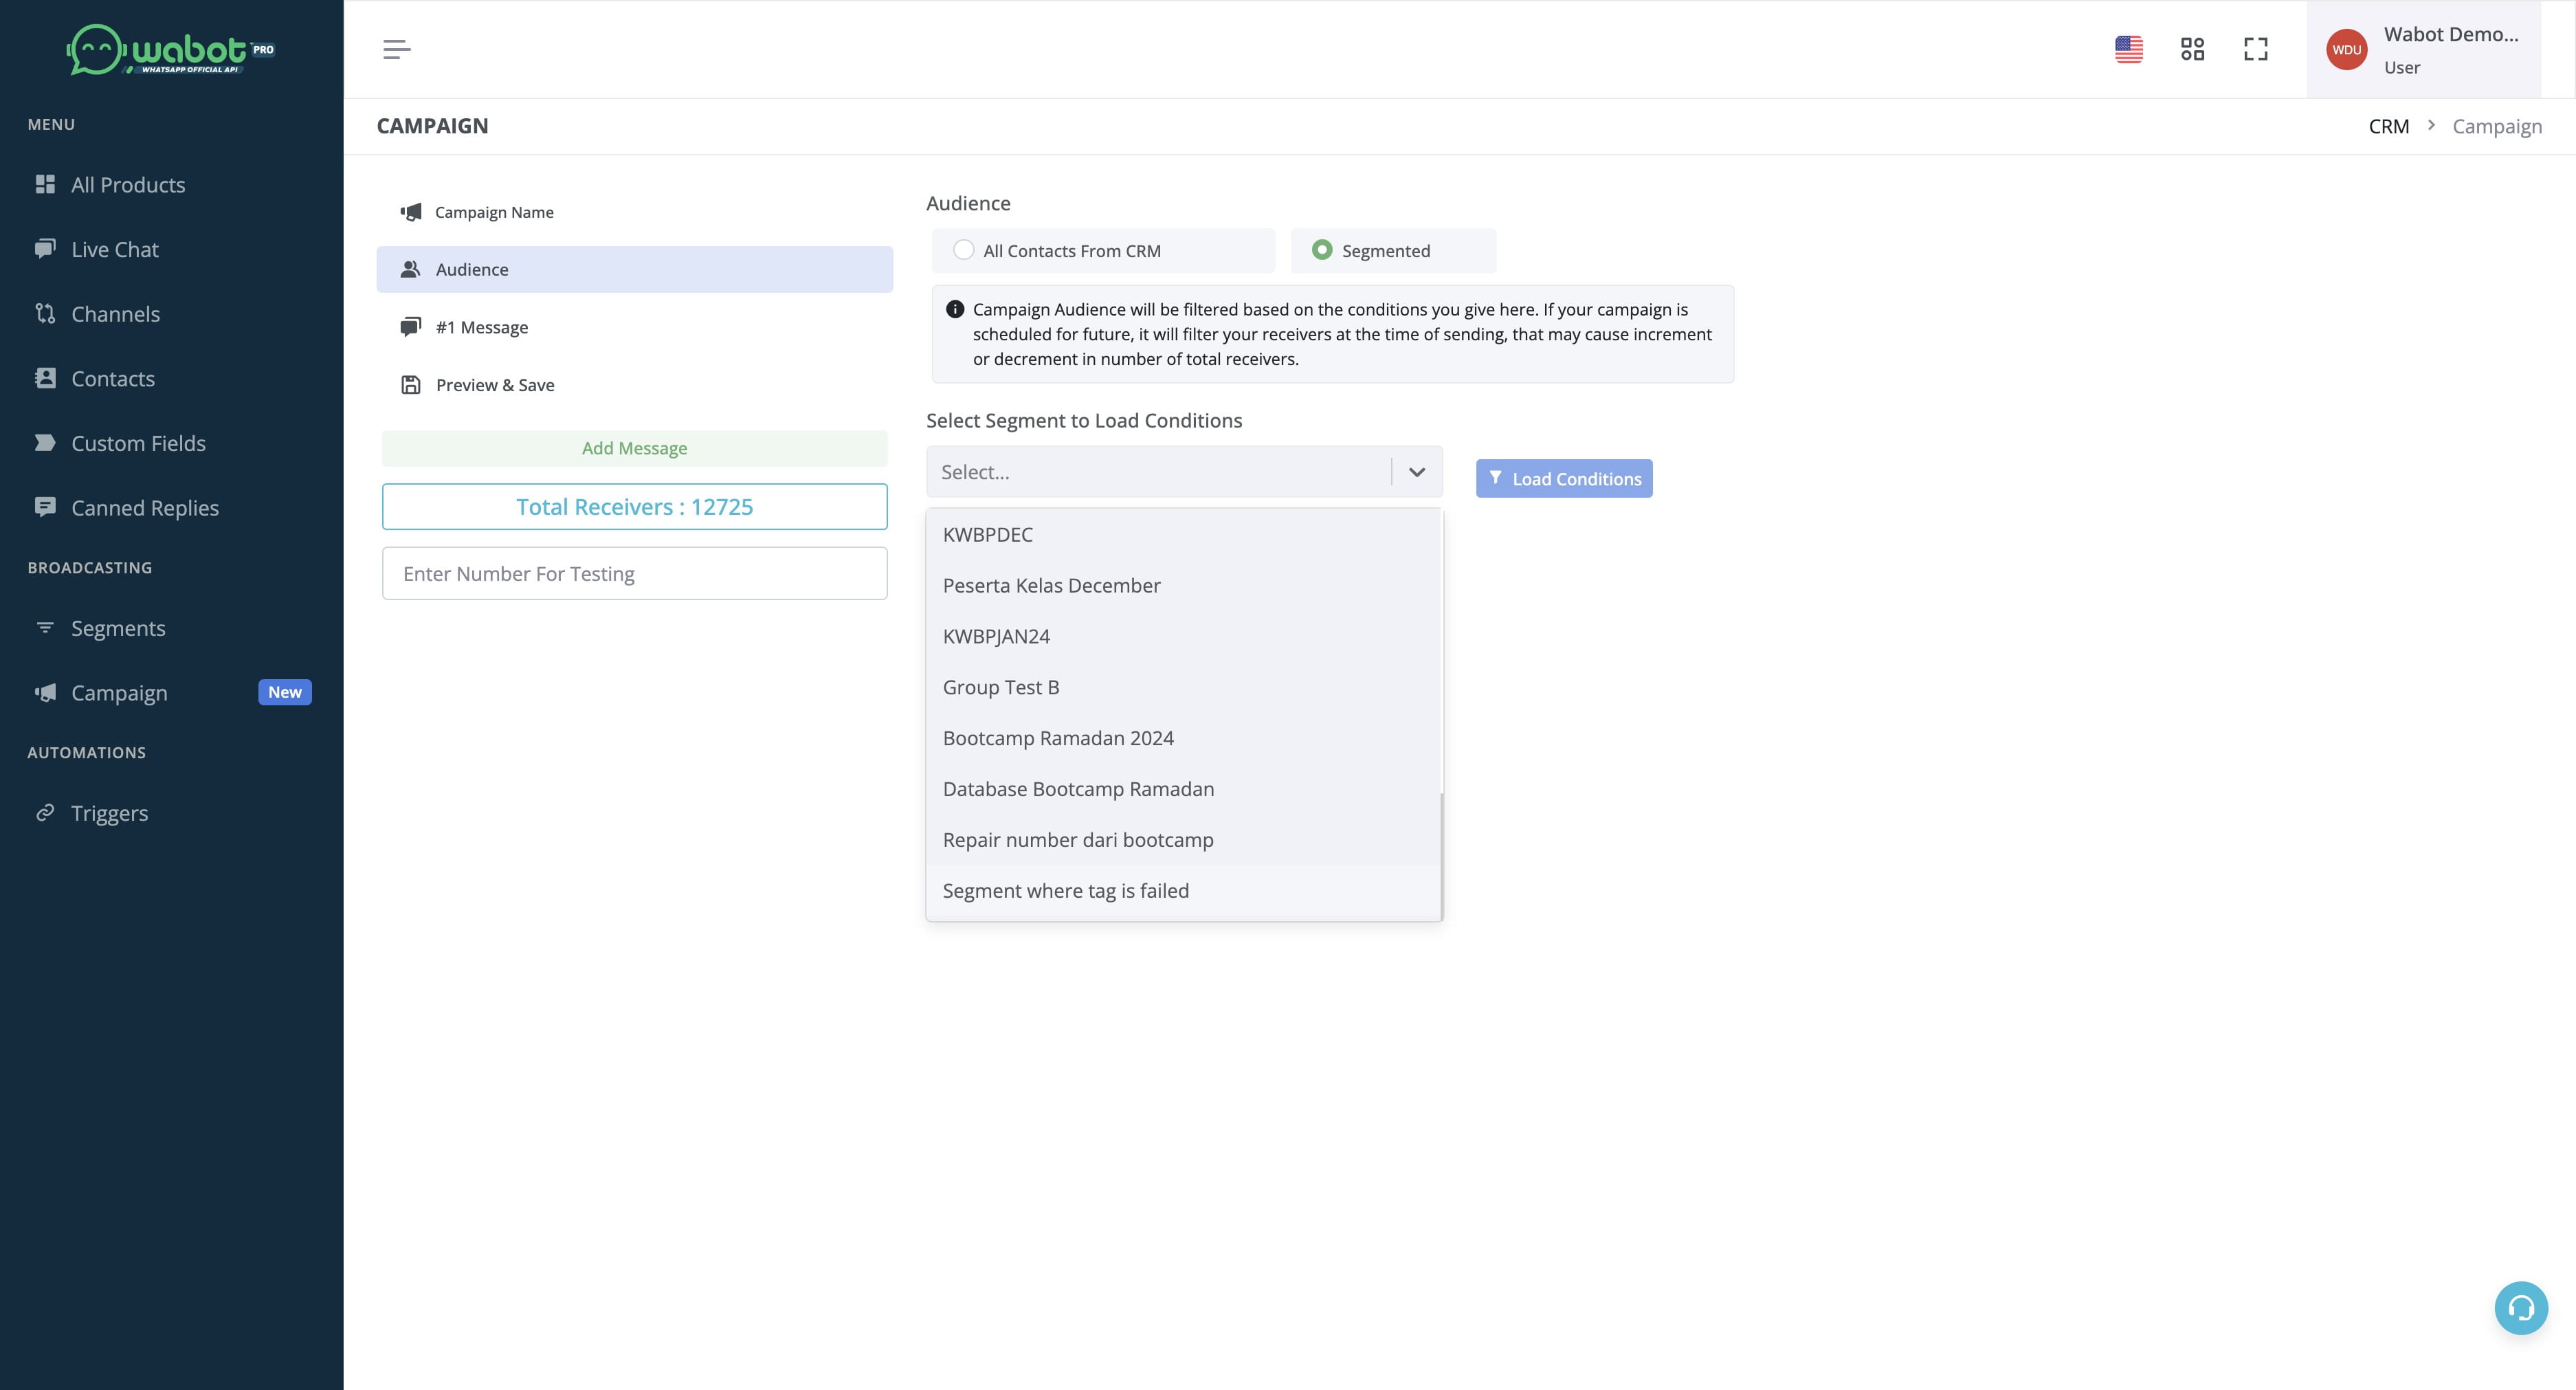
Click on "Select..."
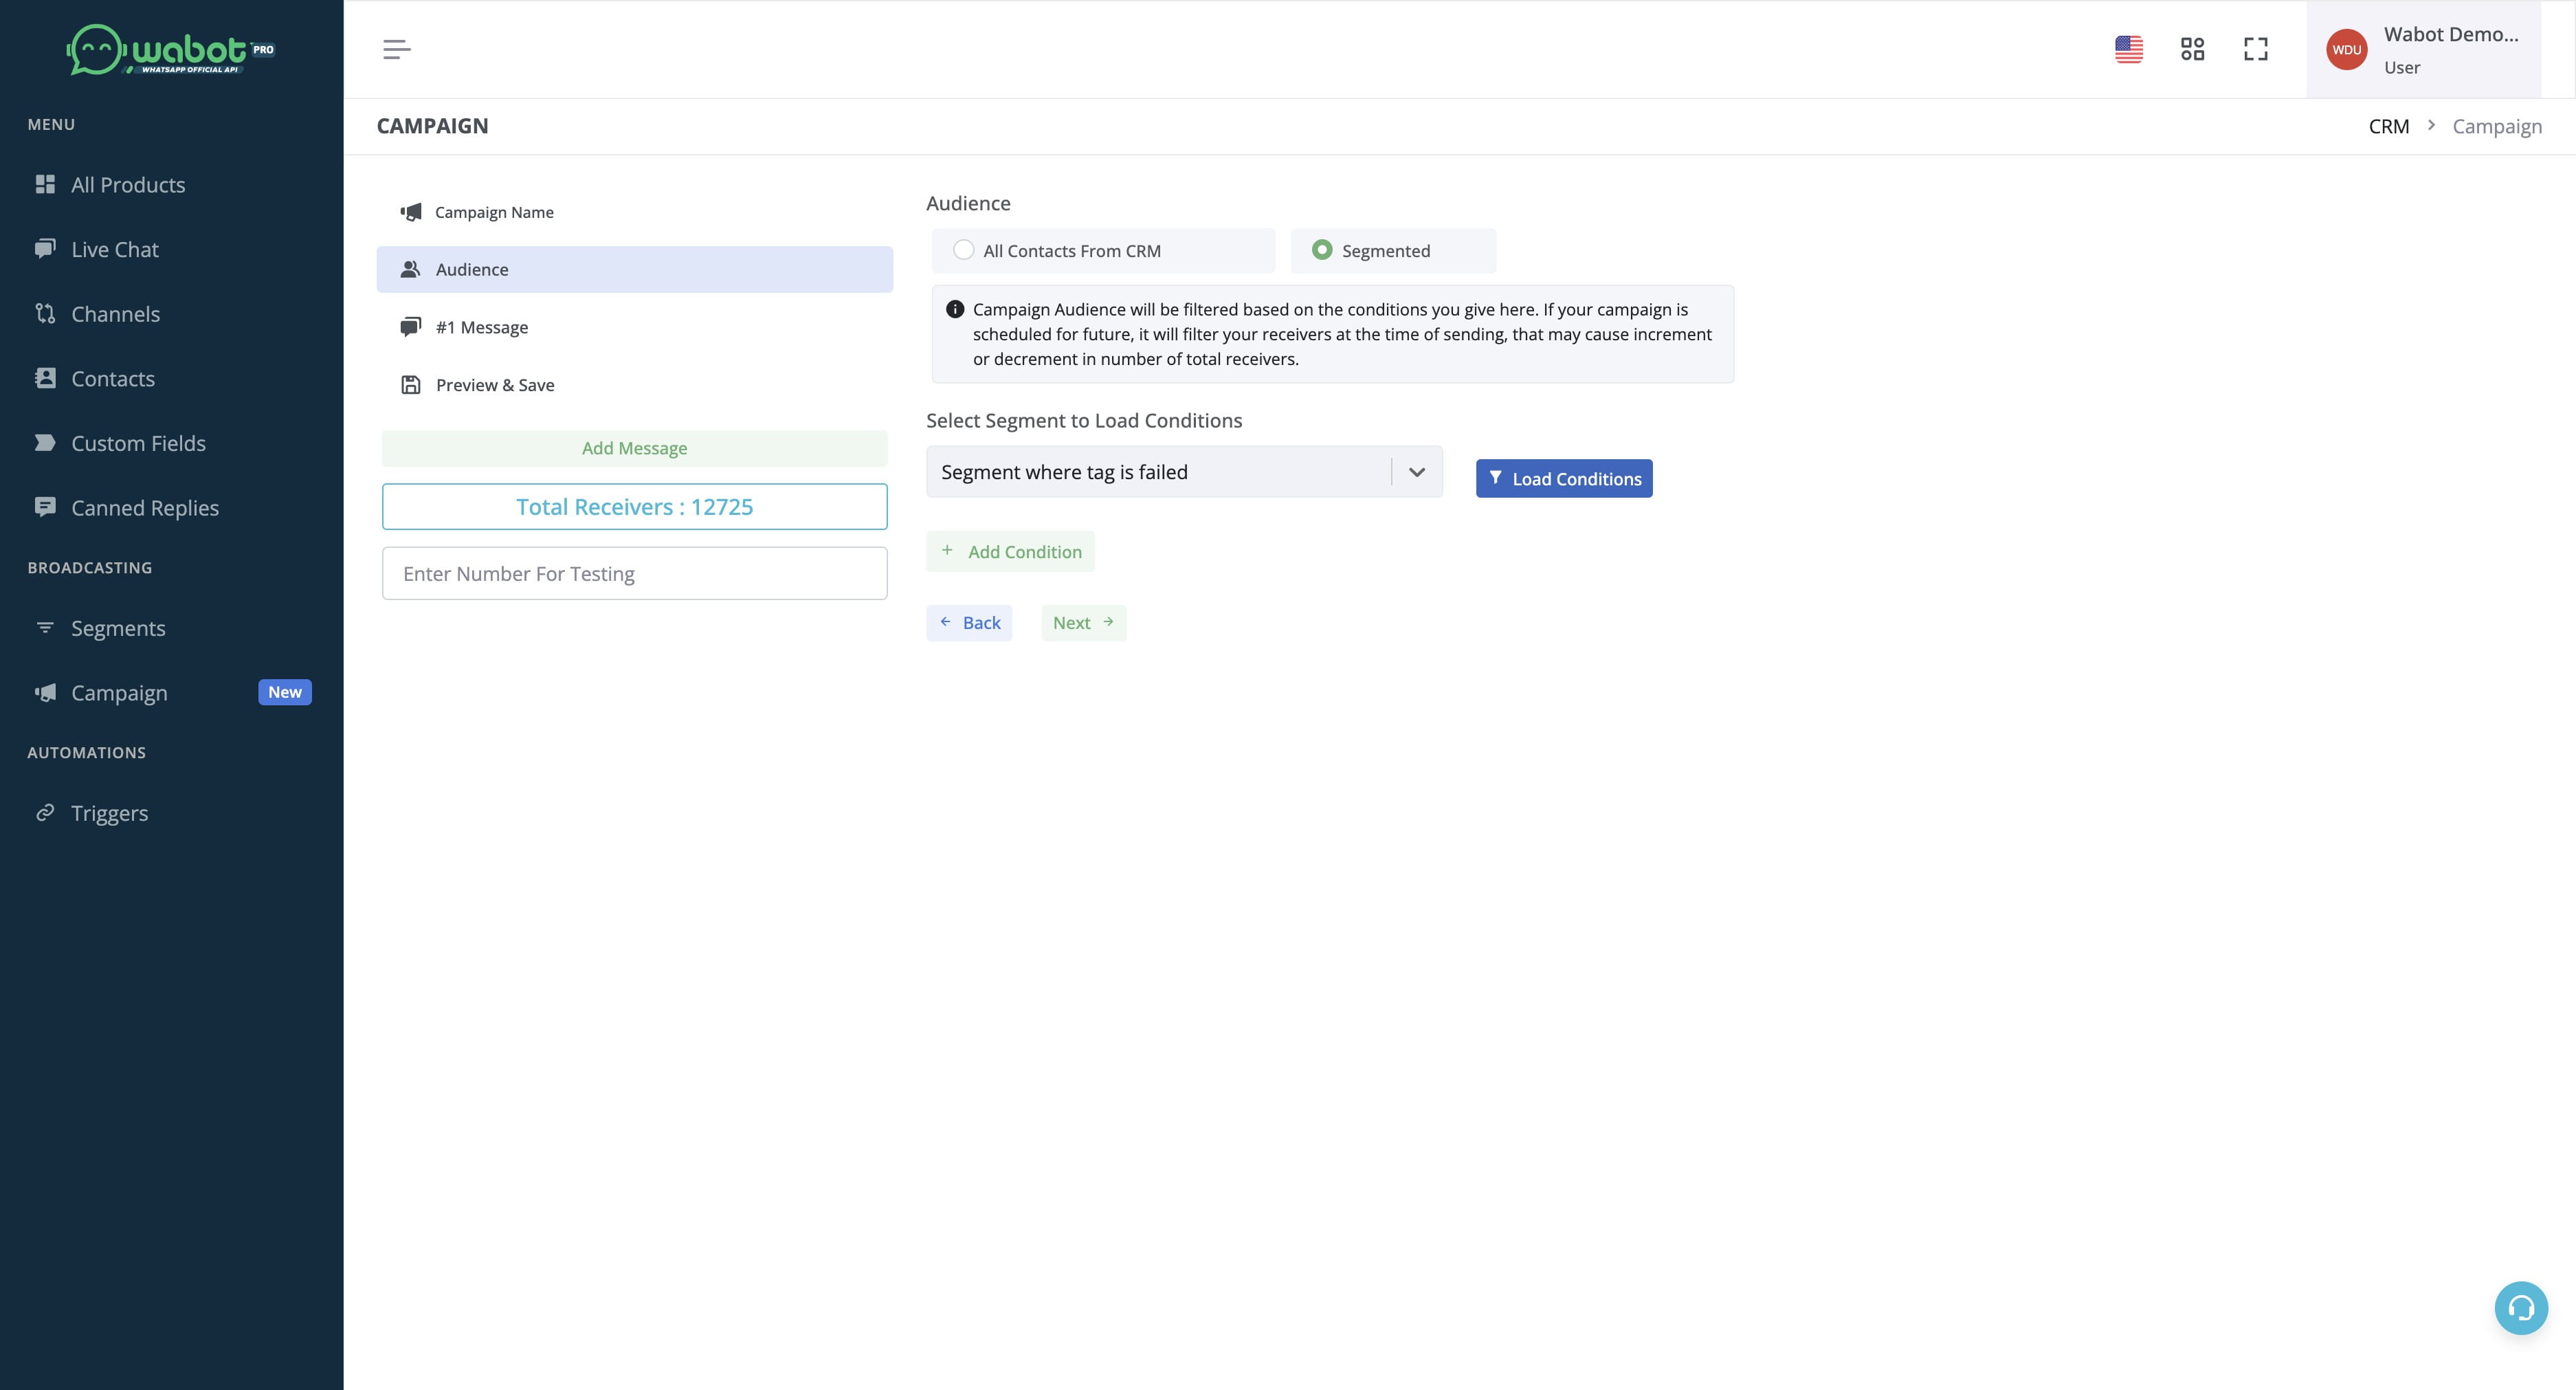
Select your segment name.
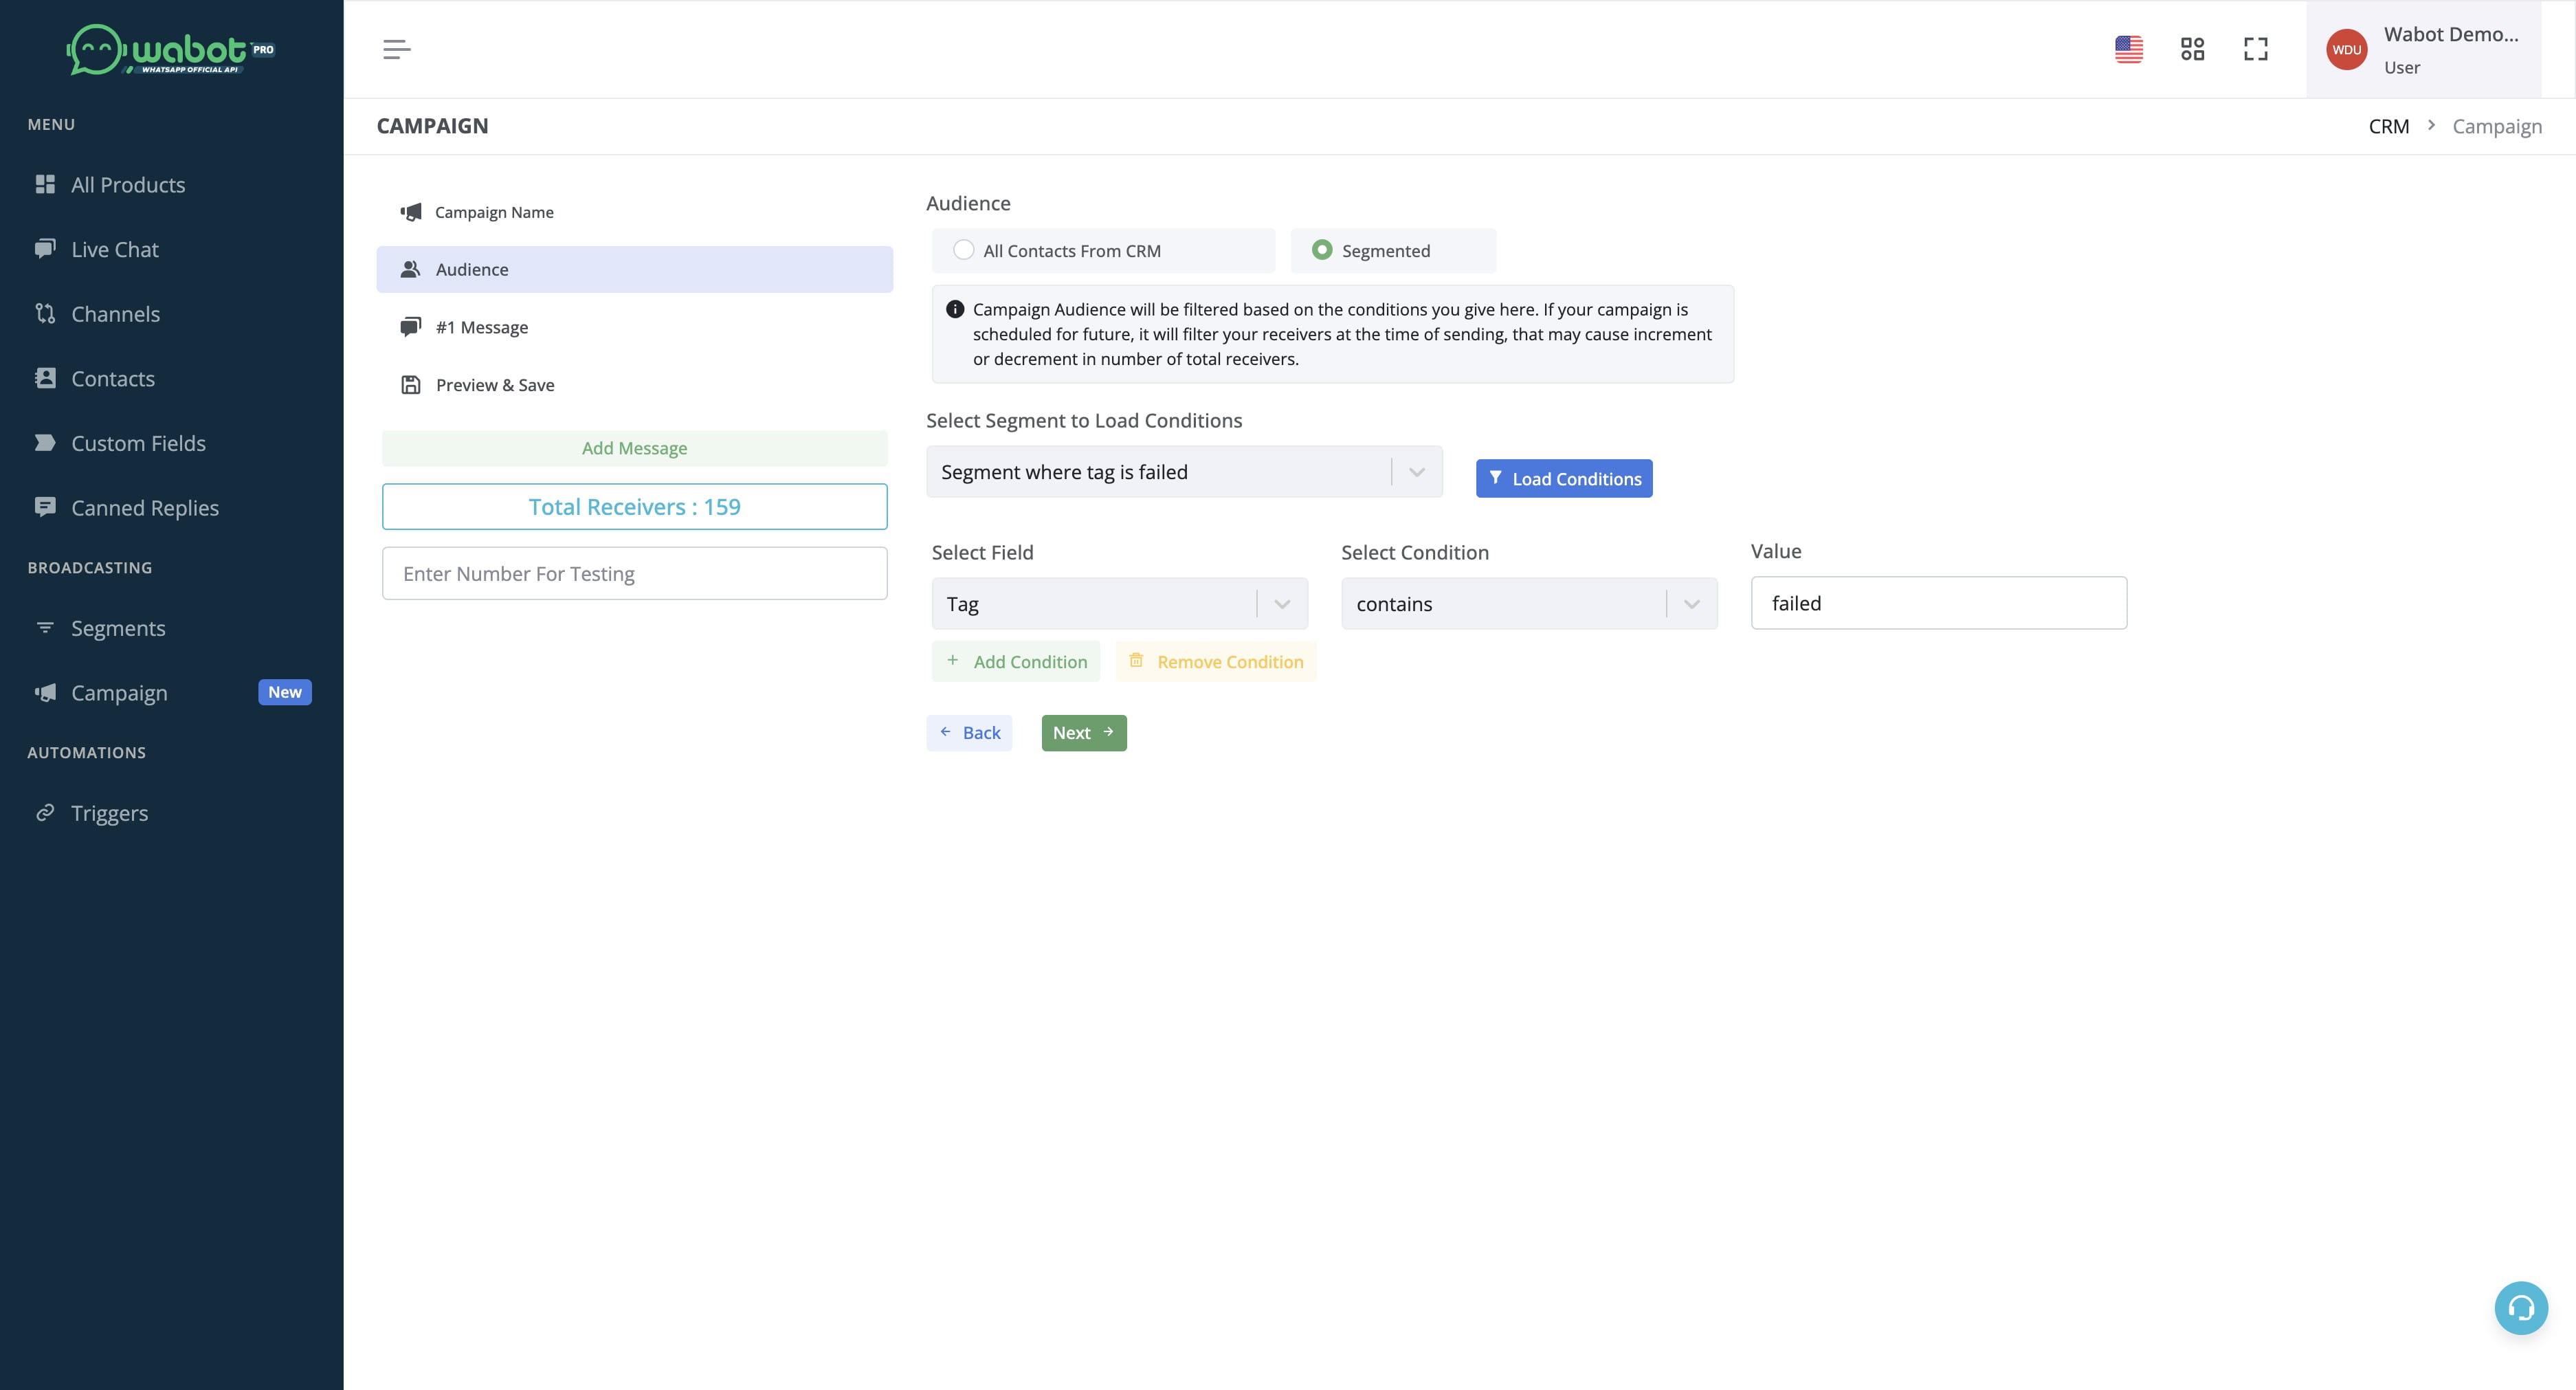
Click this icon
Click this icon
Click here

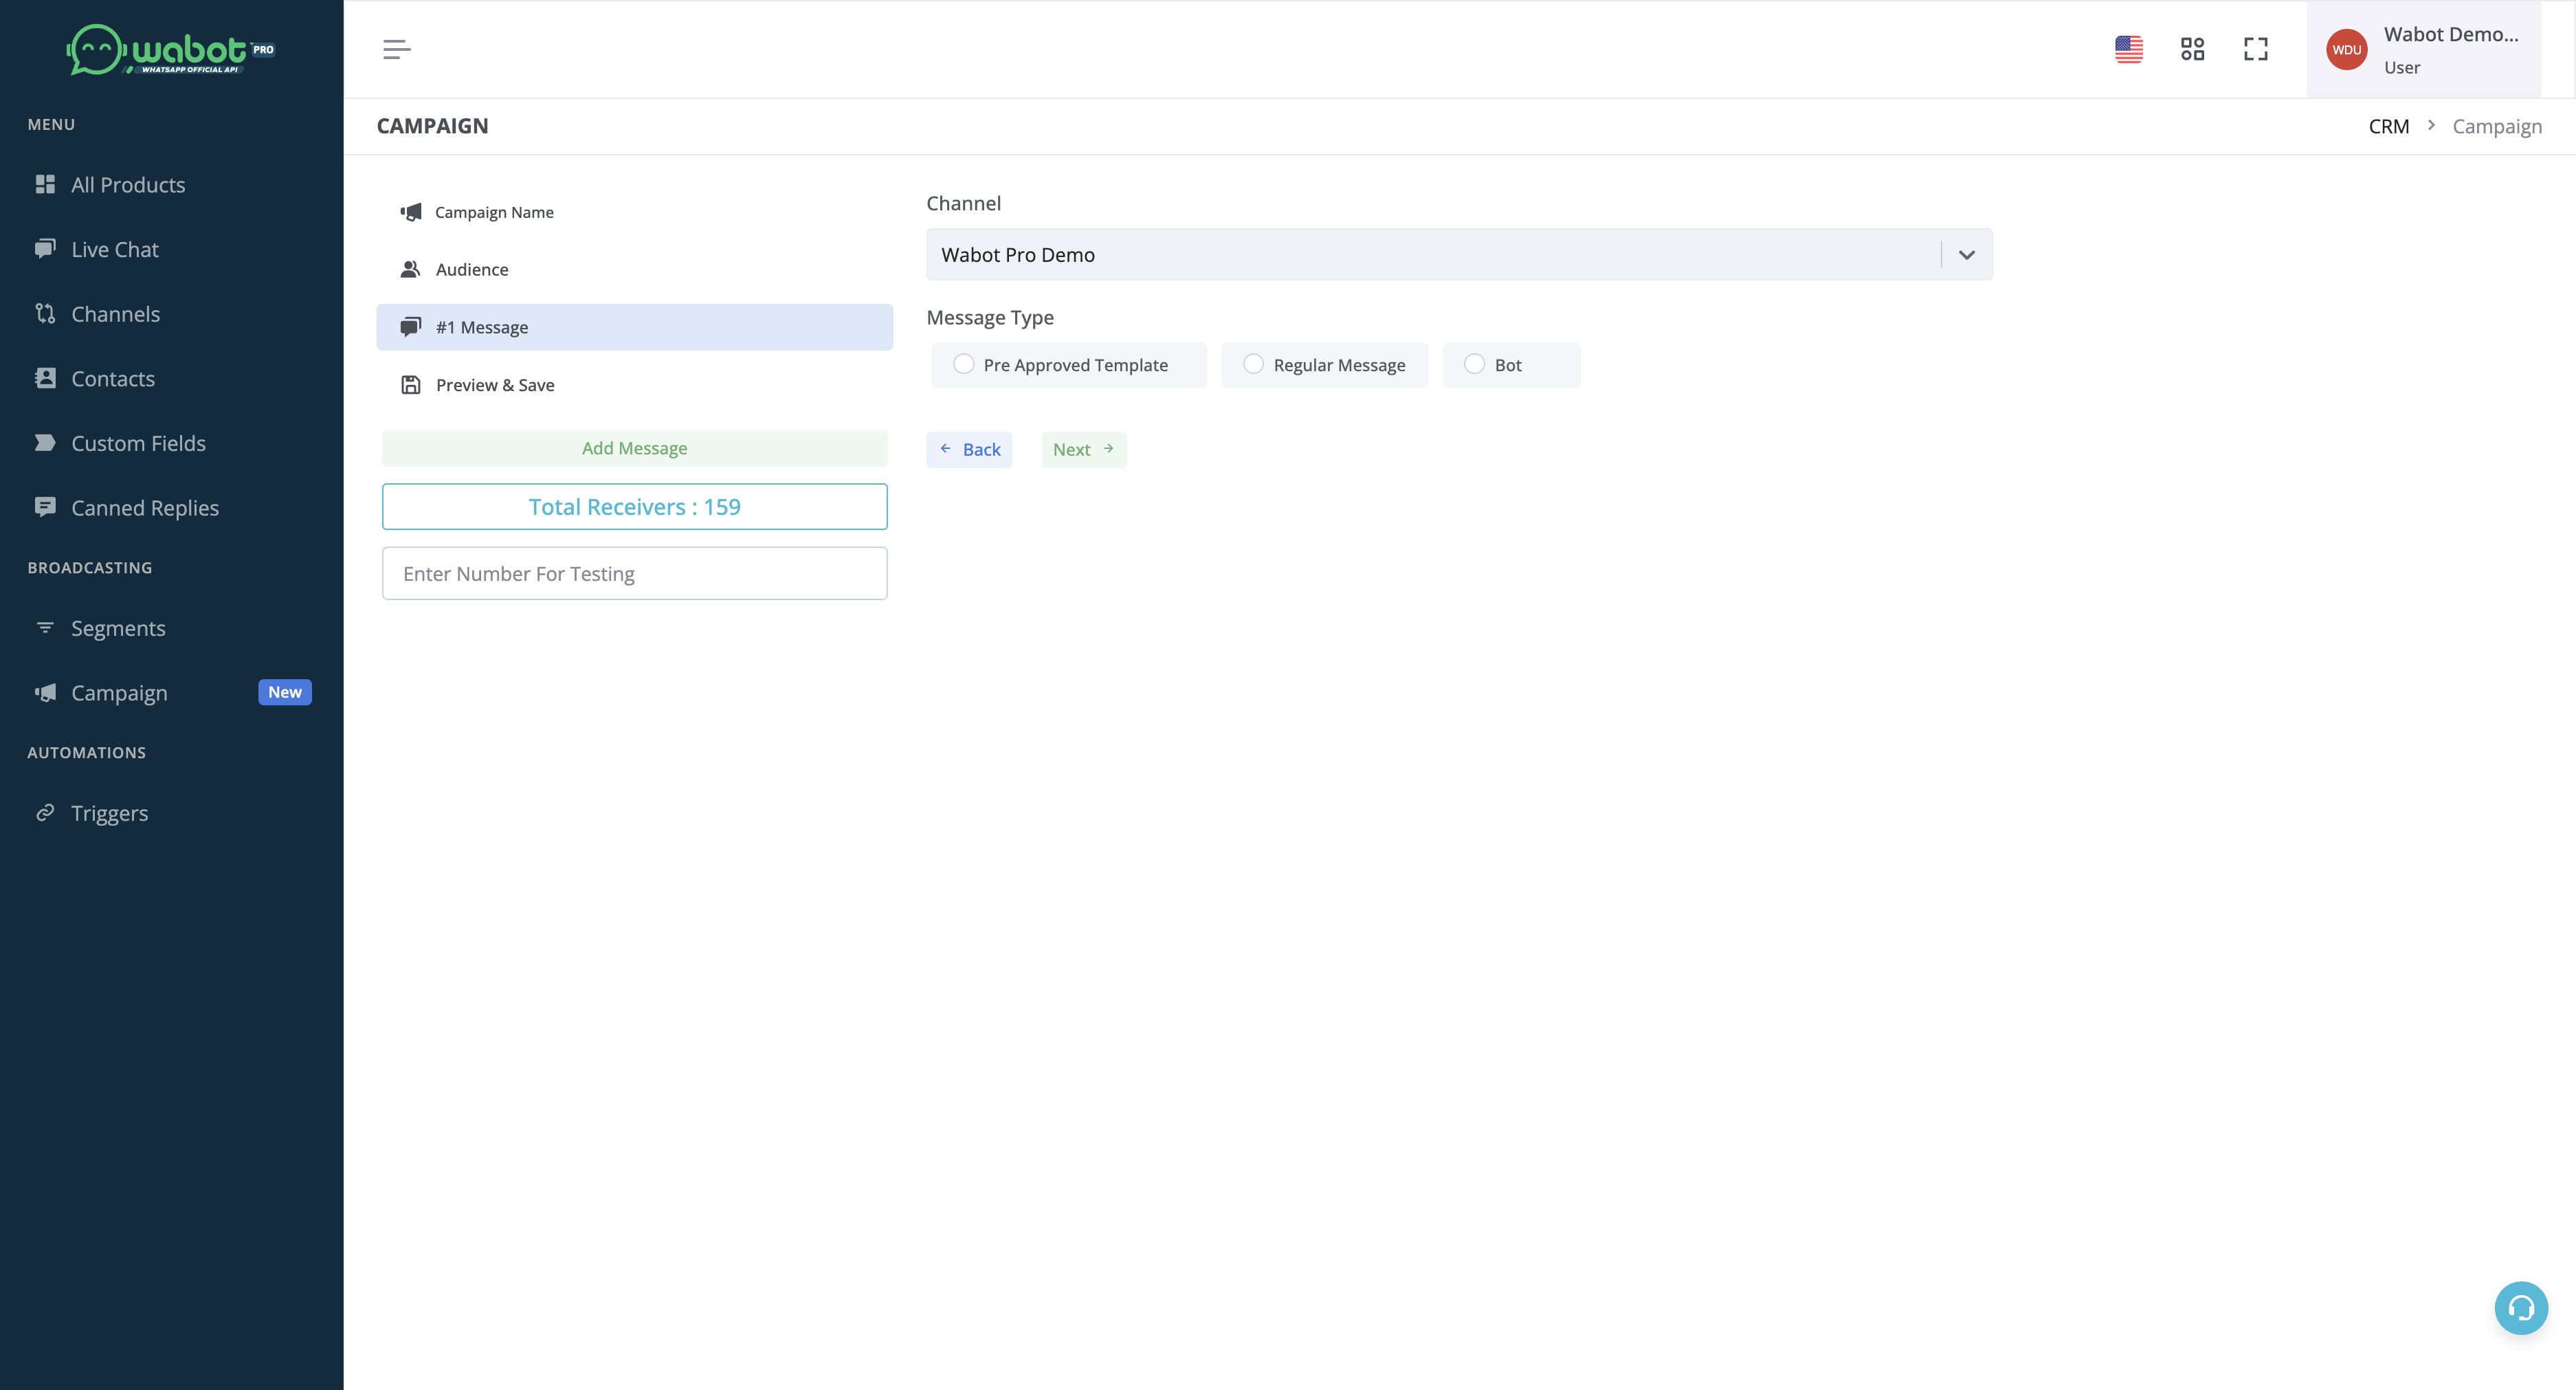
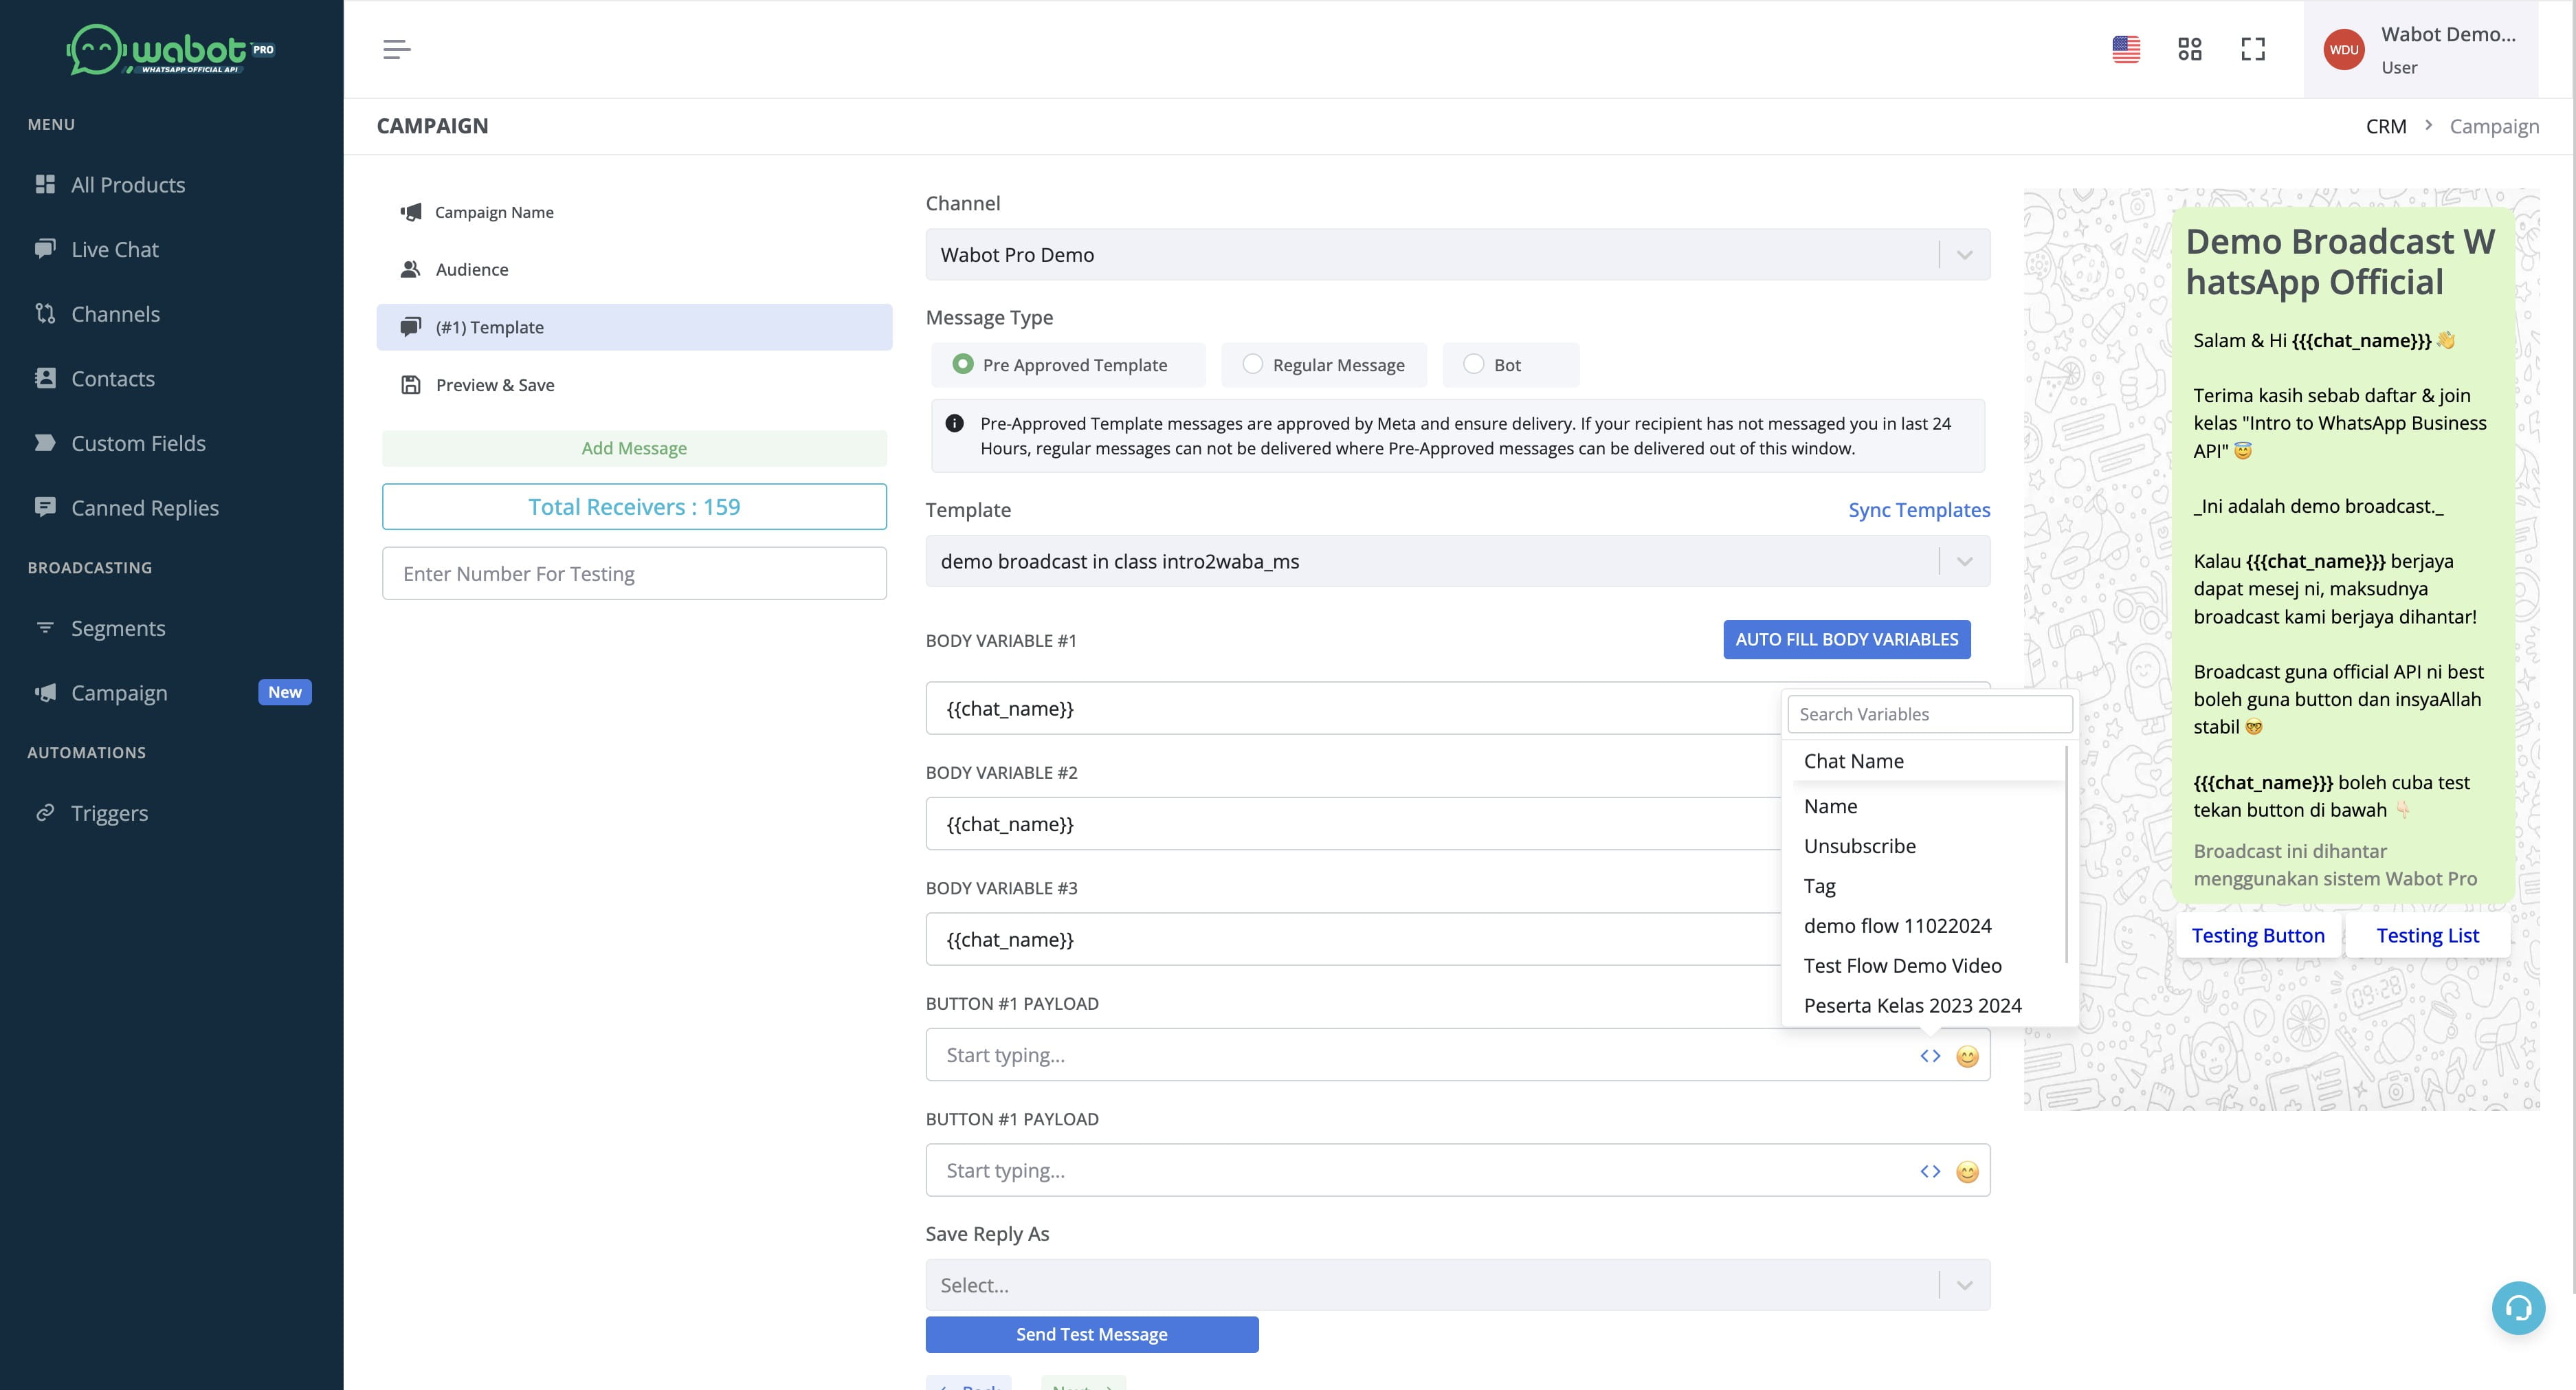
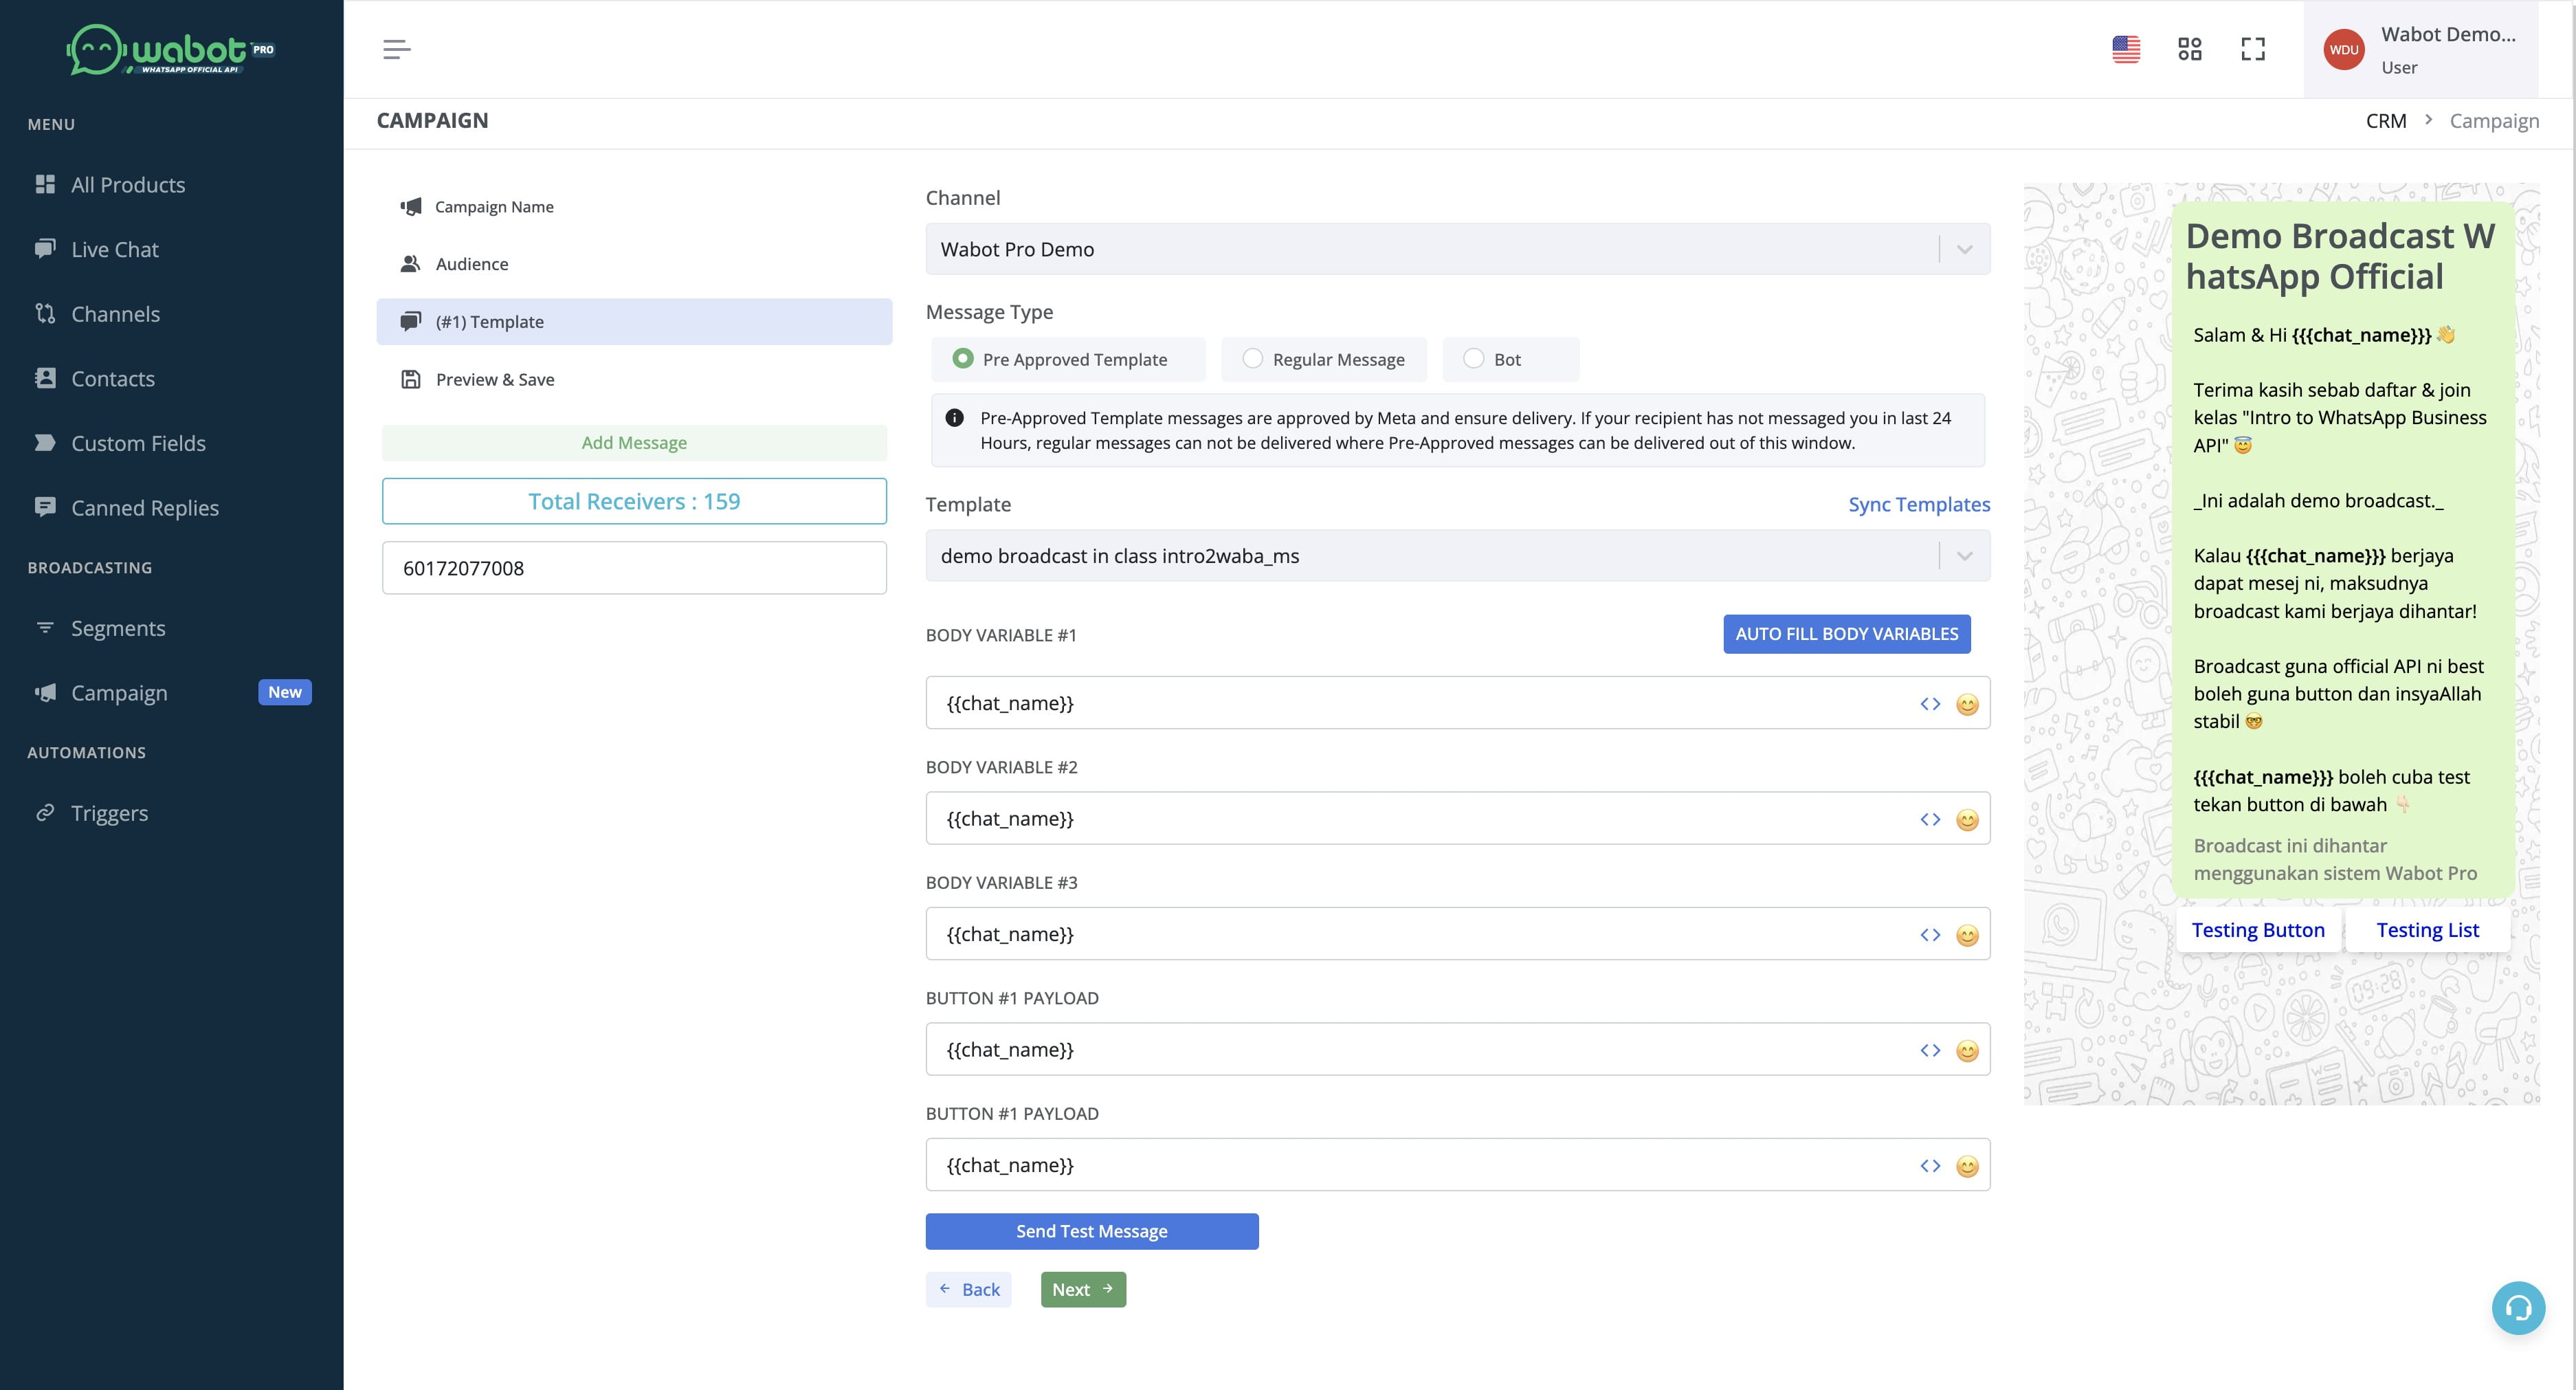
Choose your connected WABA channel.

Click on "Pre Approved Template"
Click here
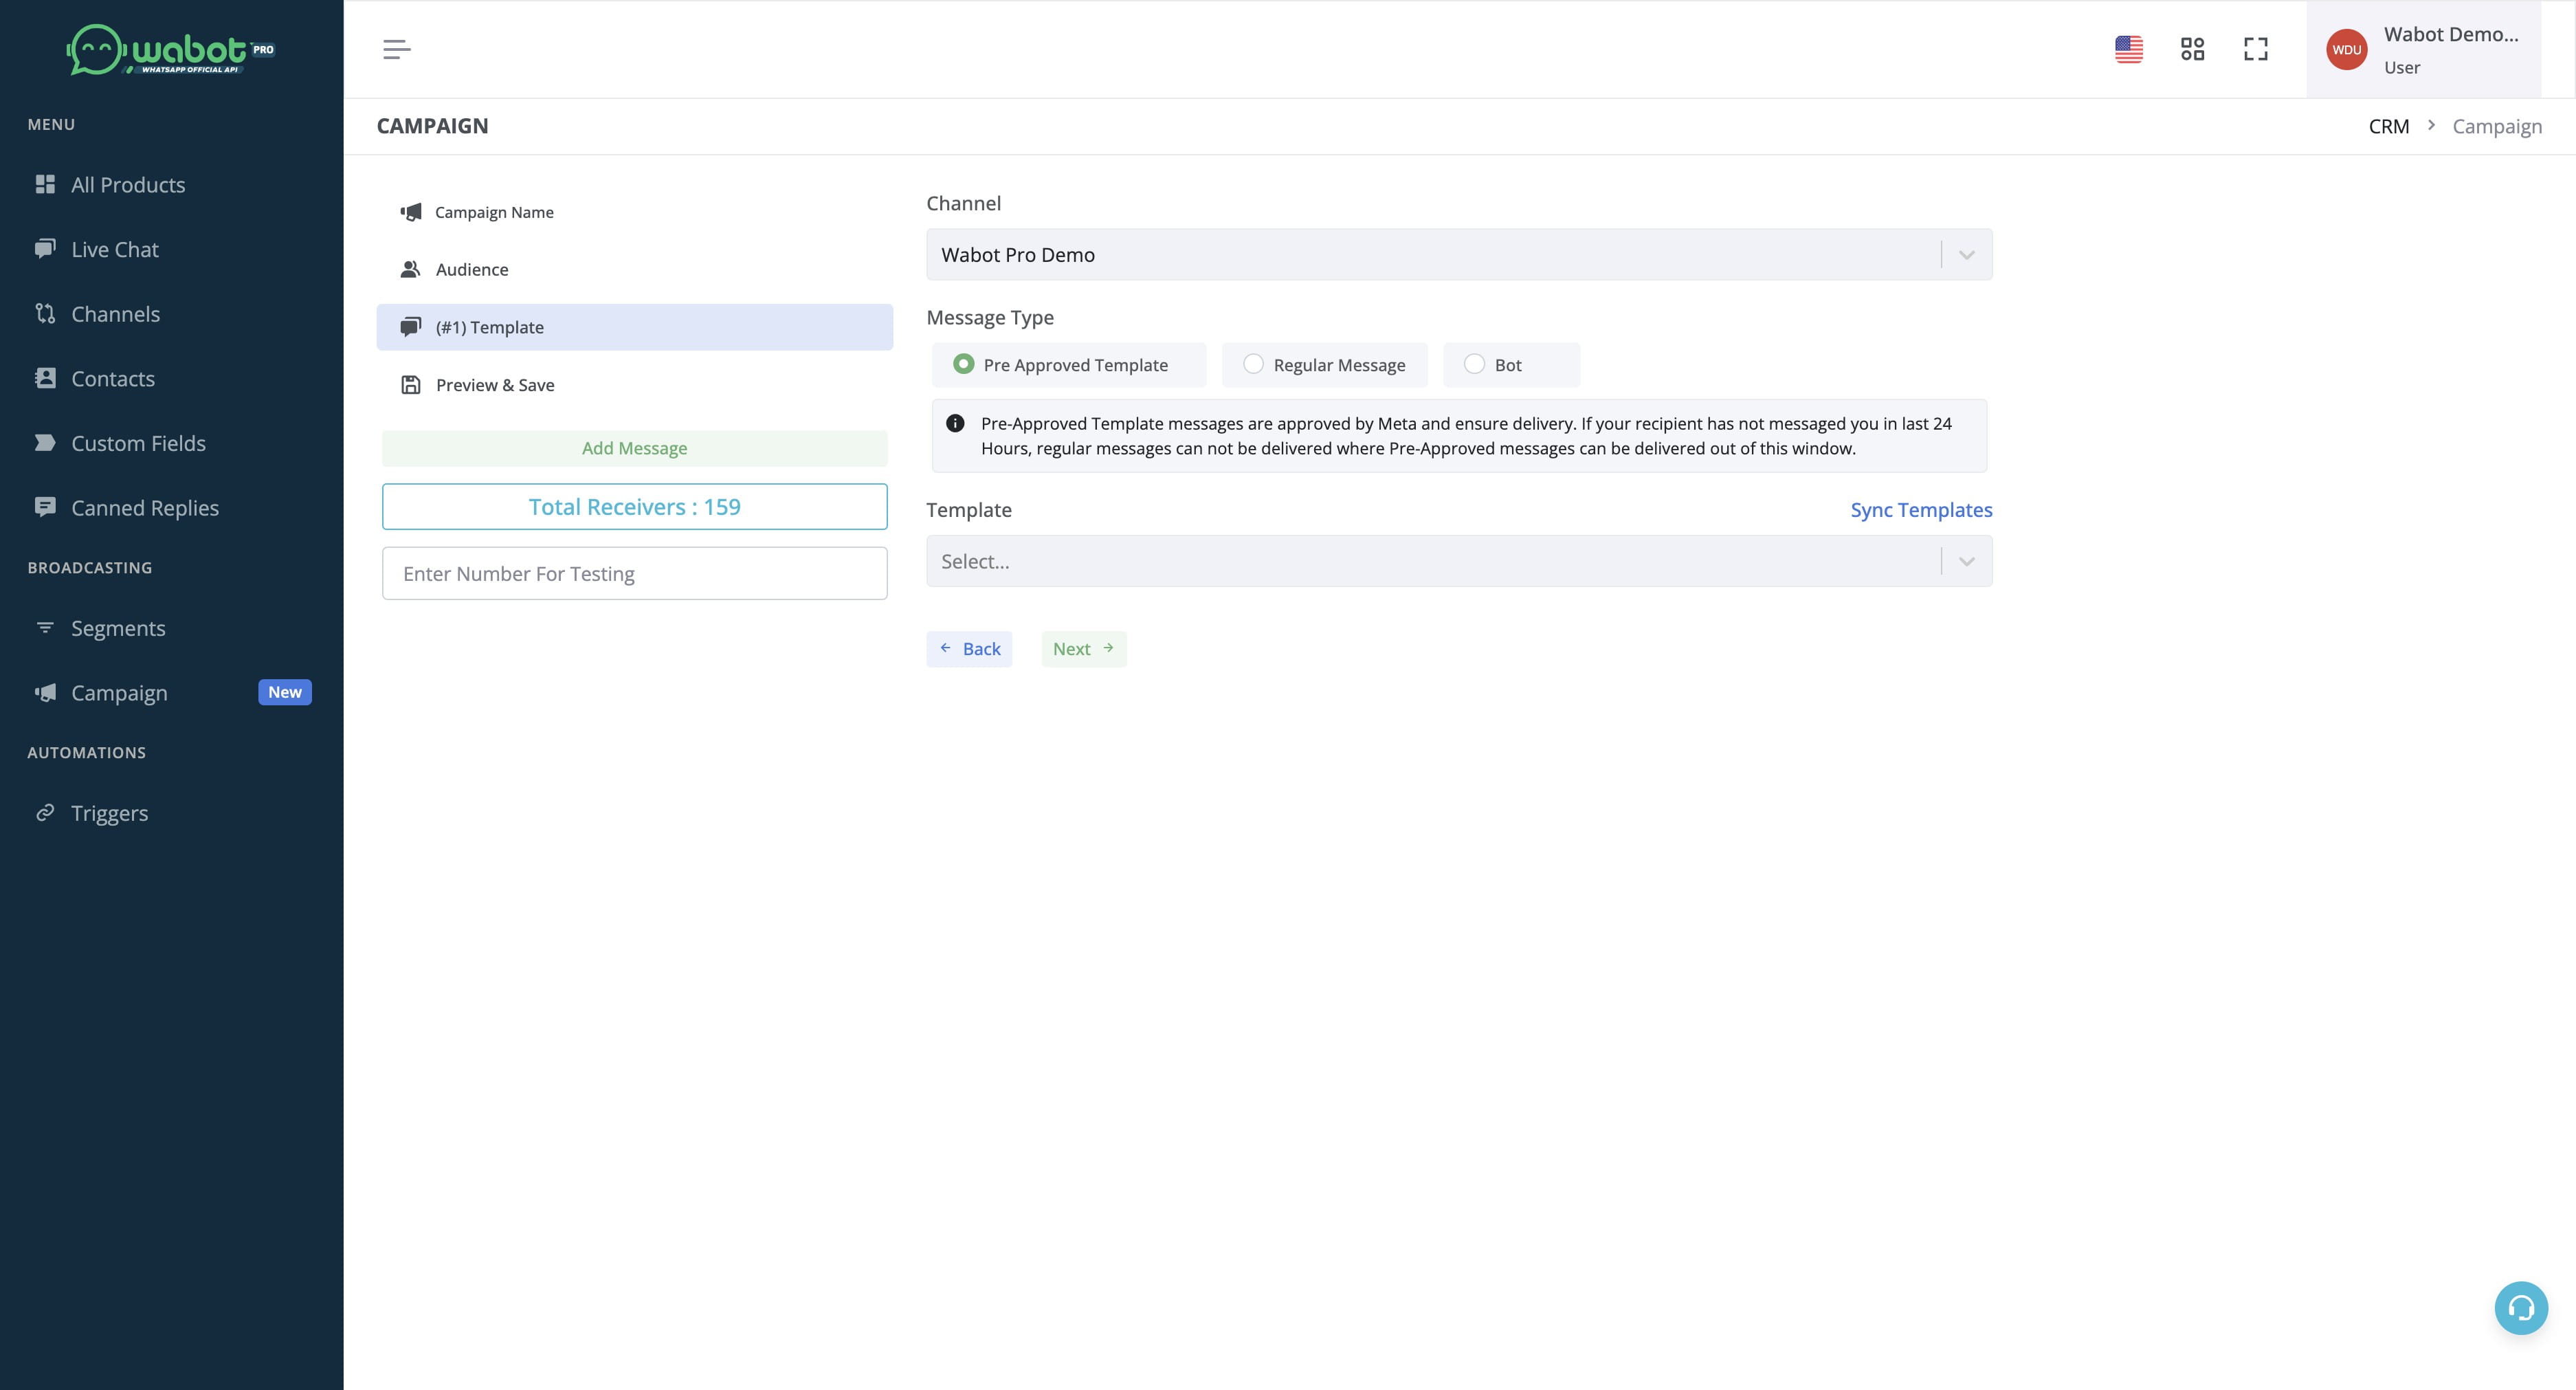
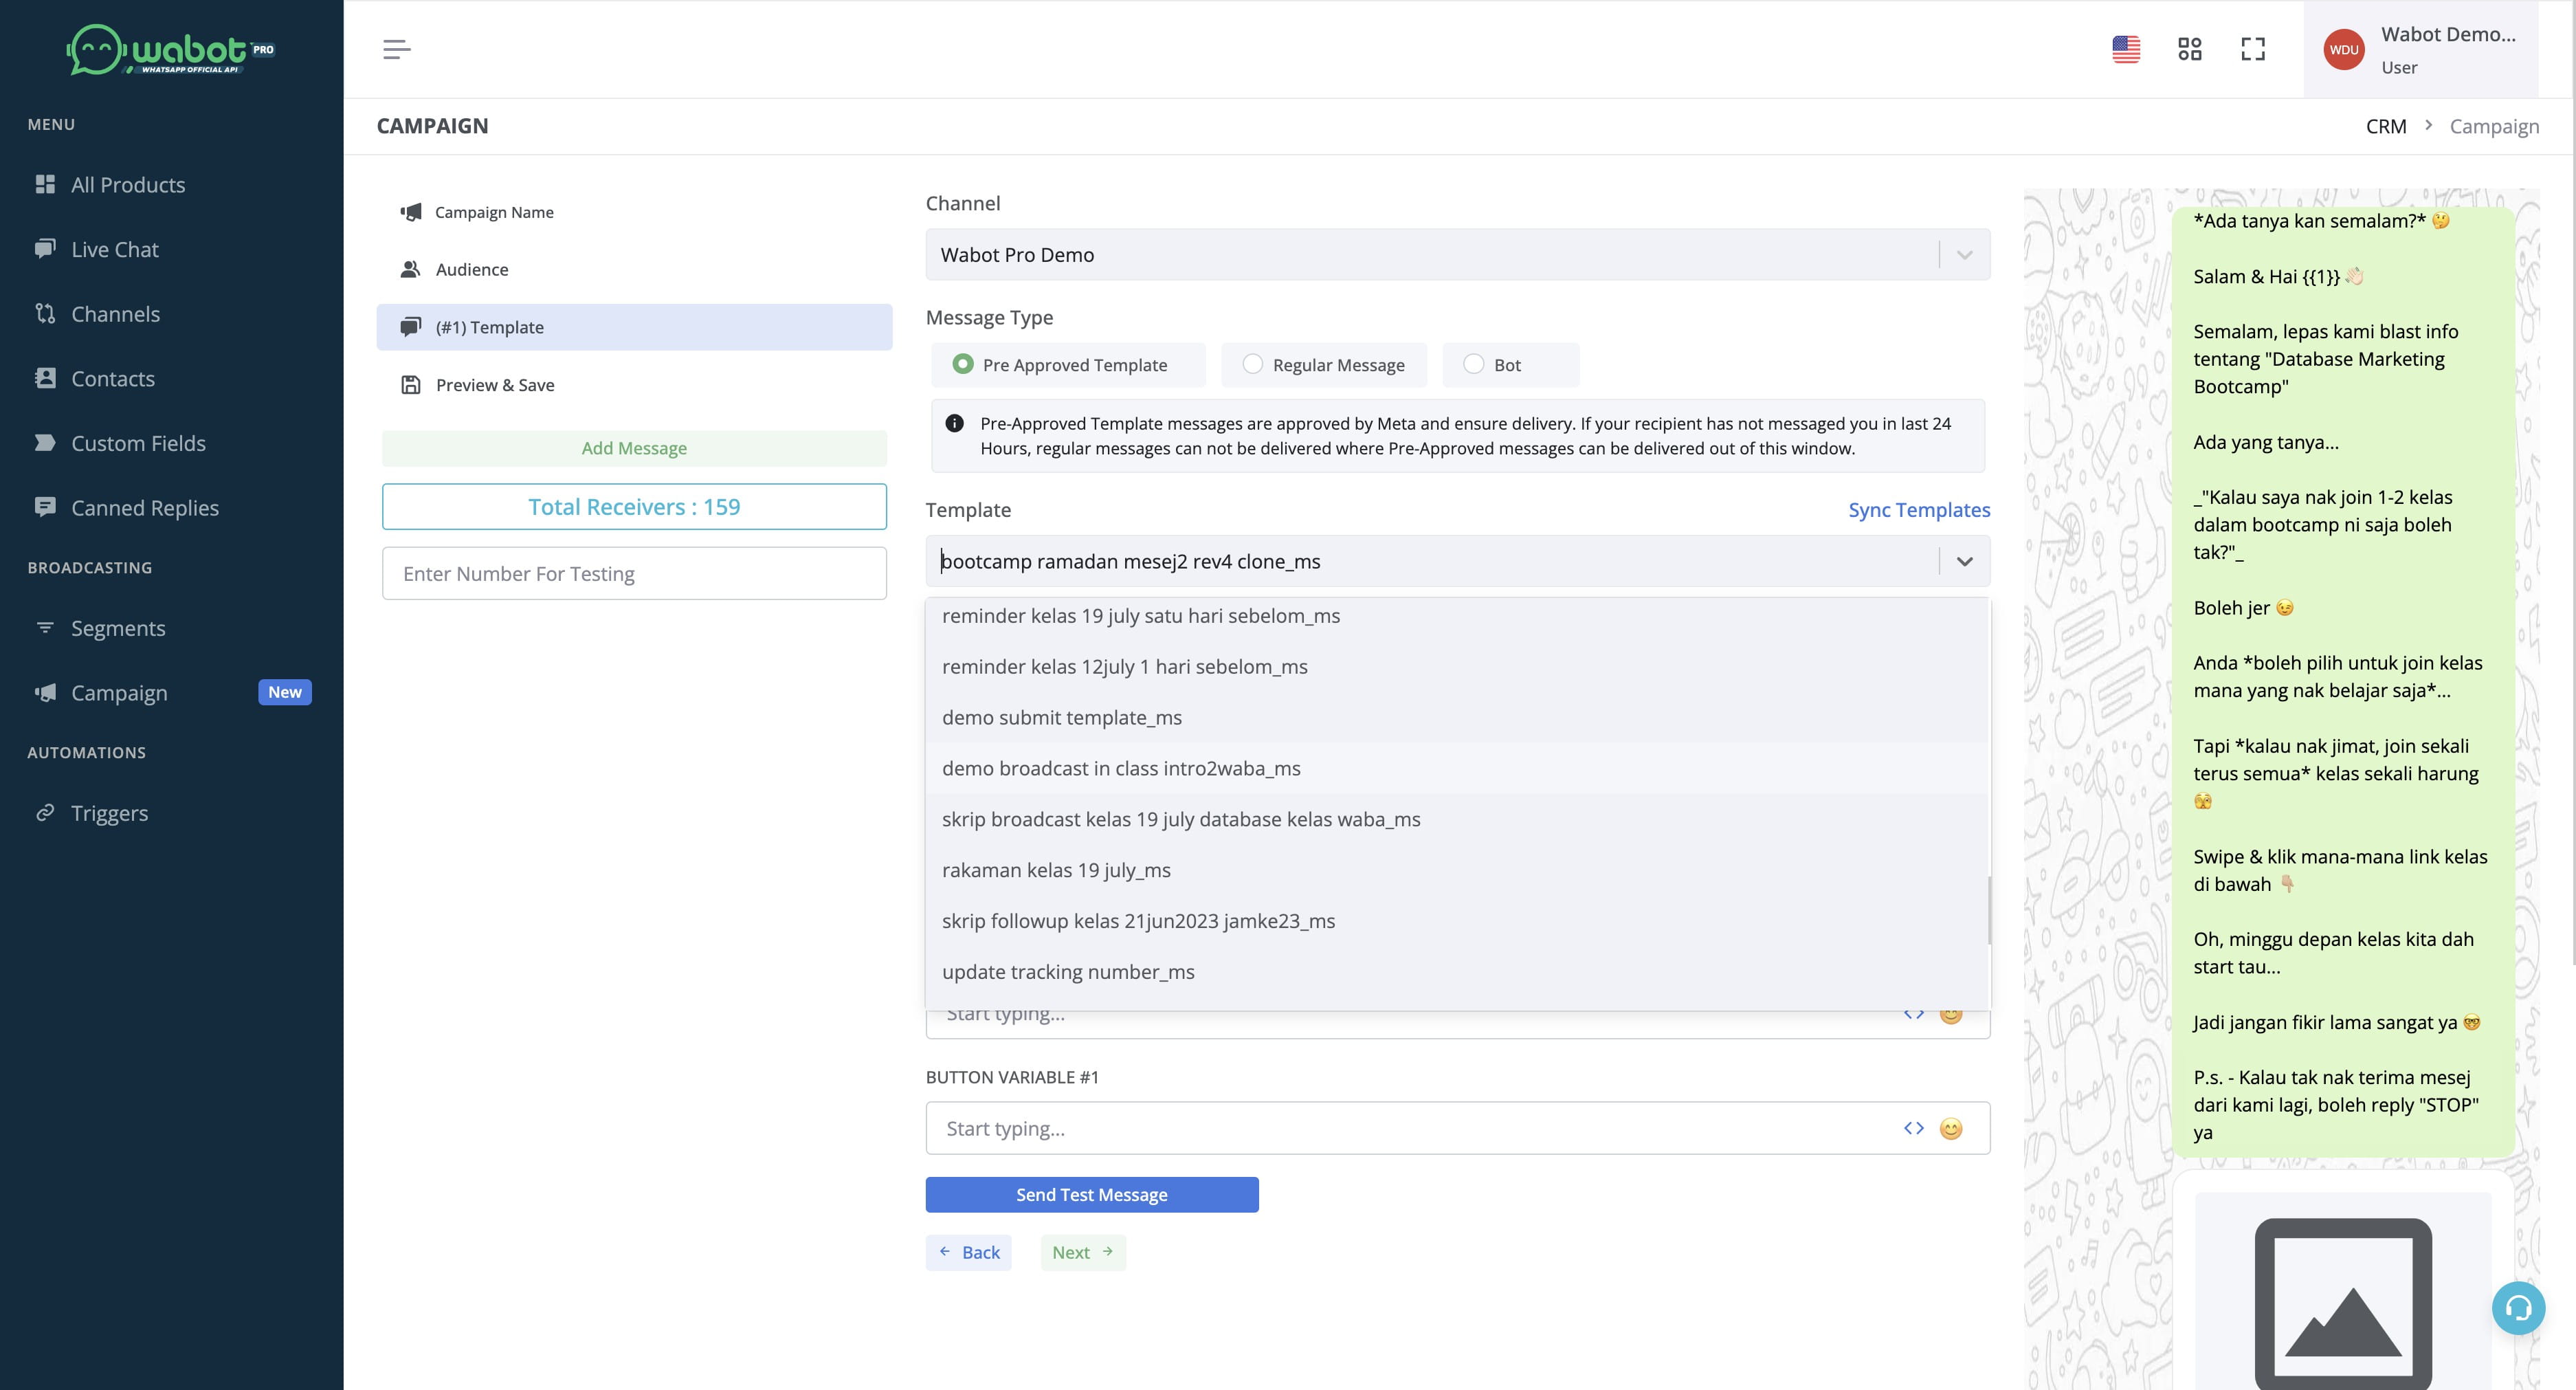
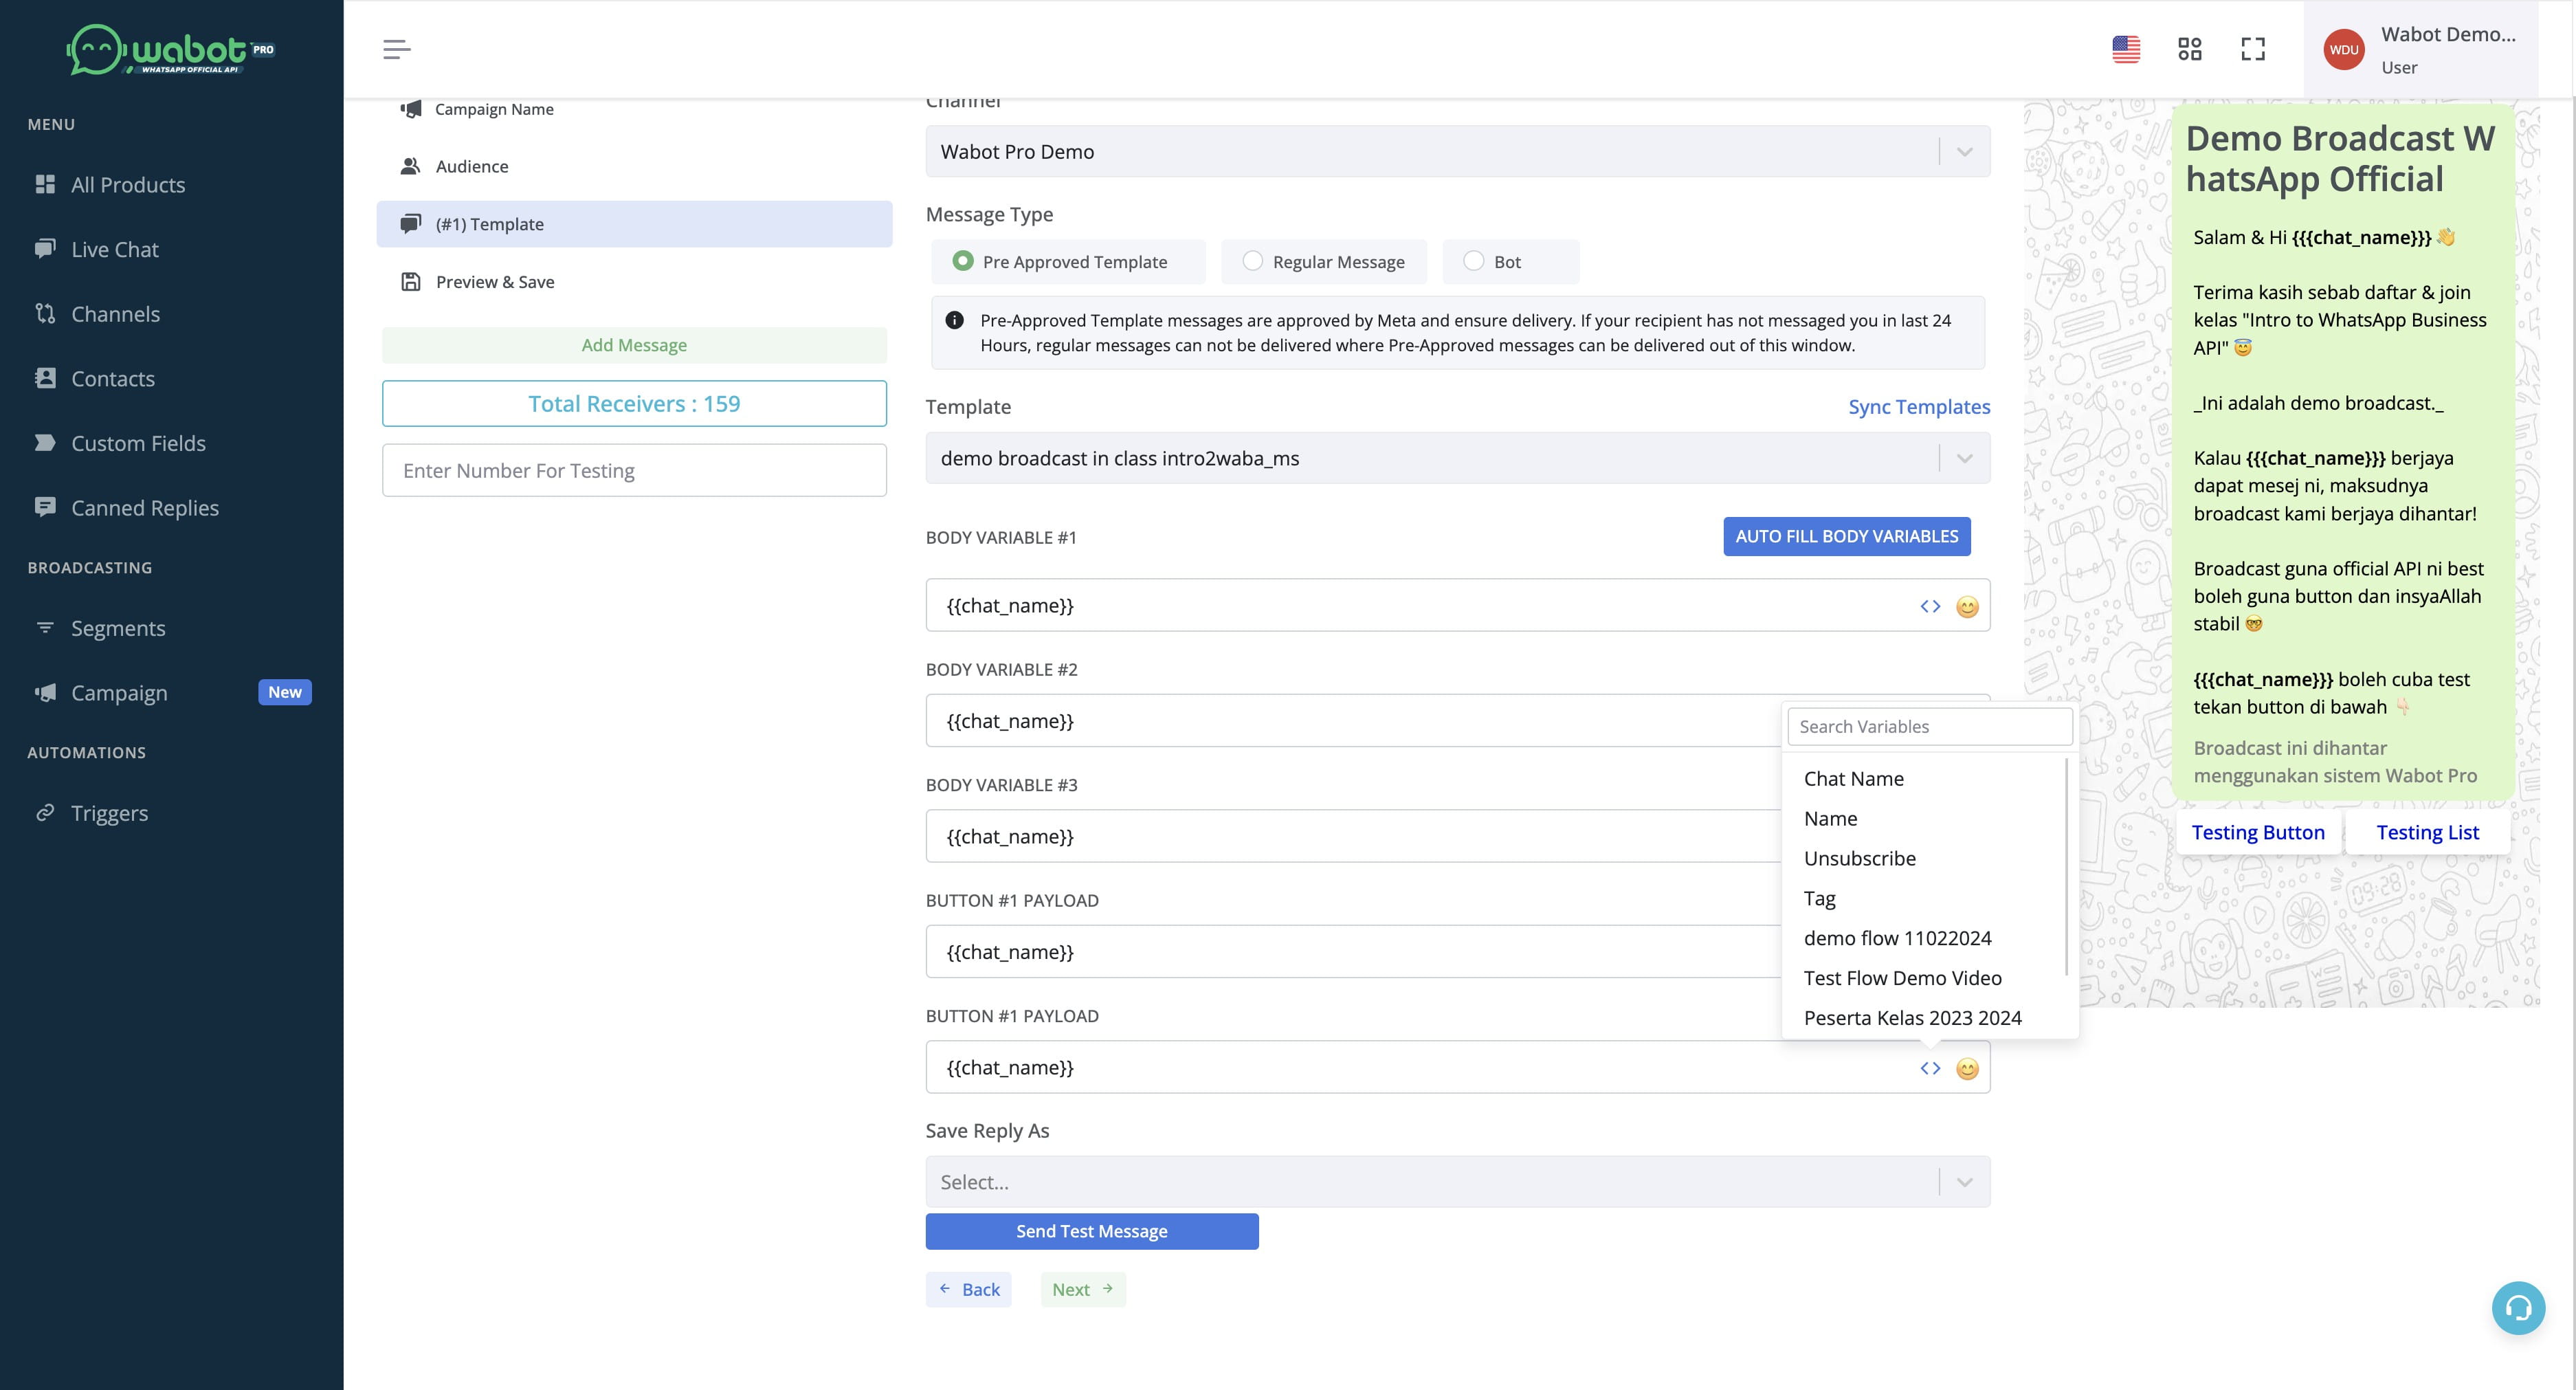
Choose your pre approved template.
Click this icon
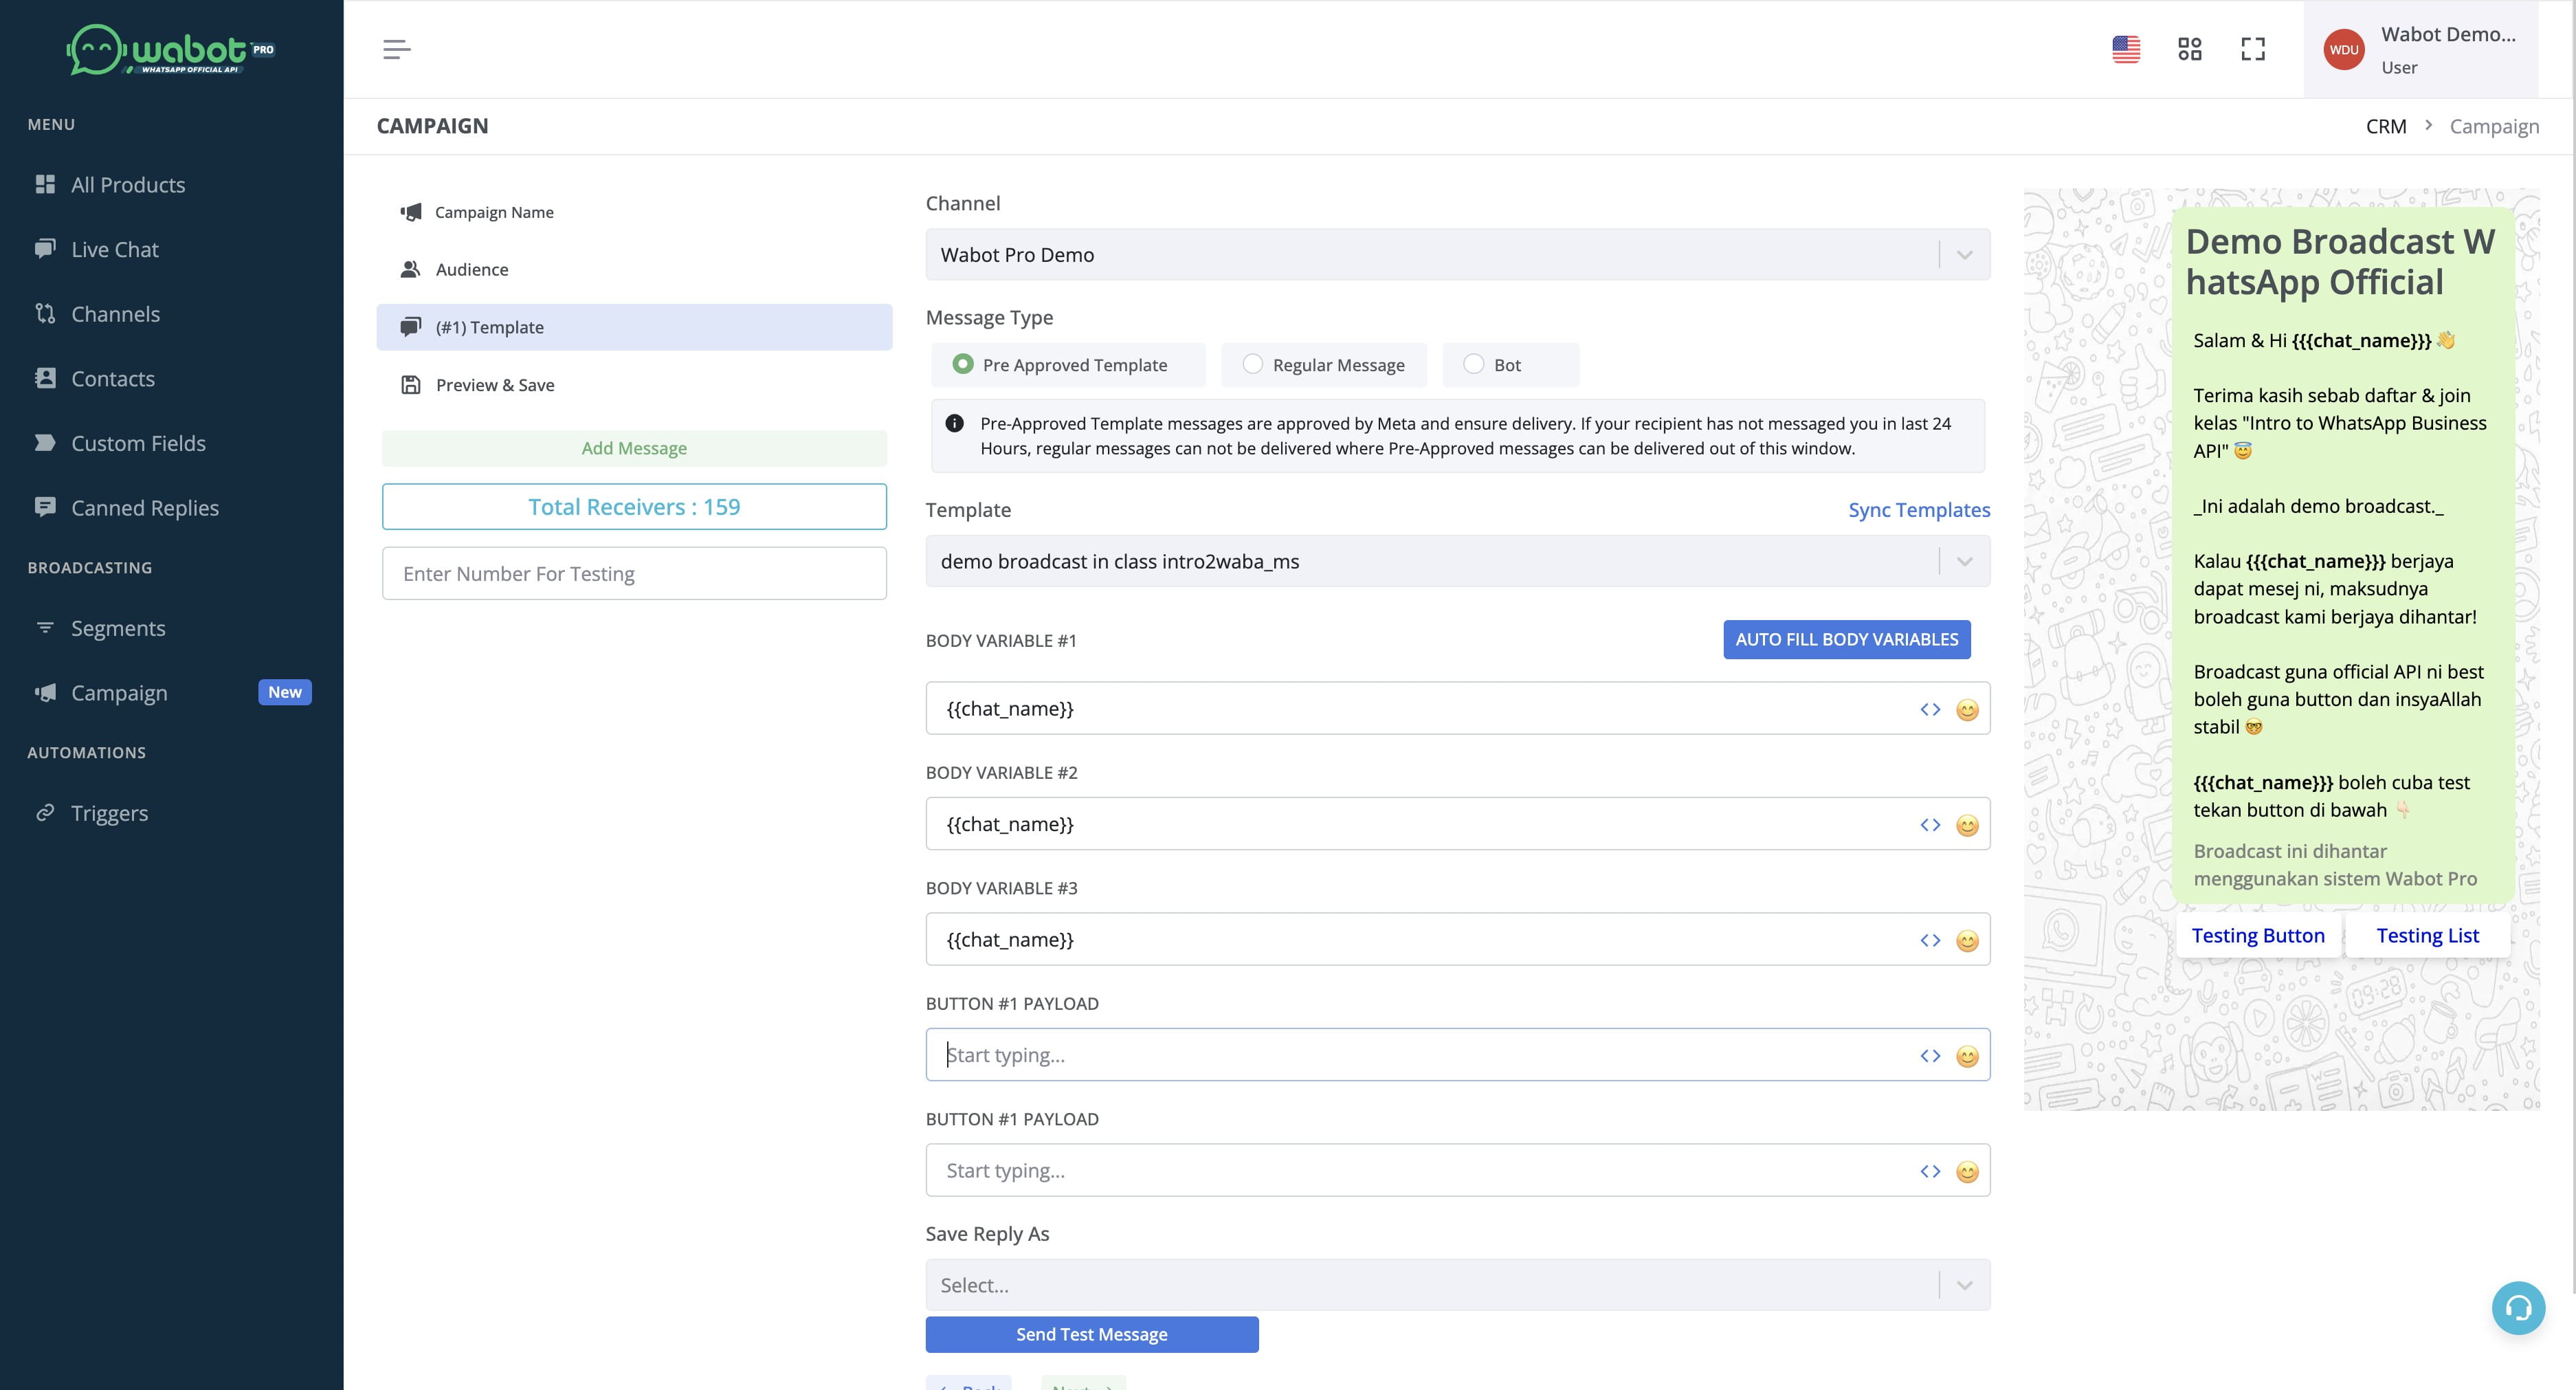
Click on "Chat Name"
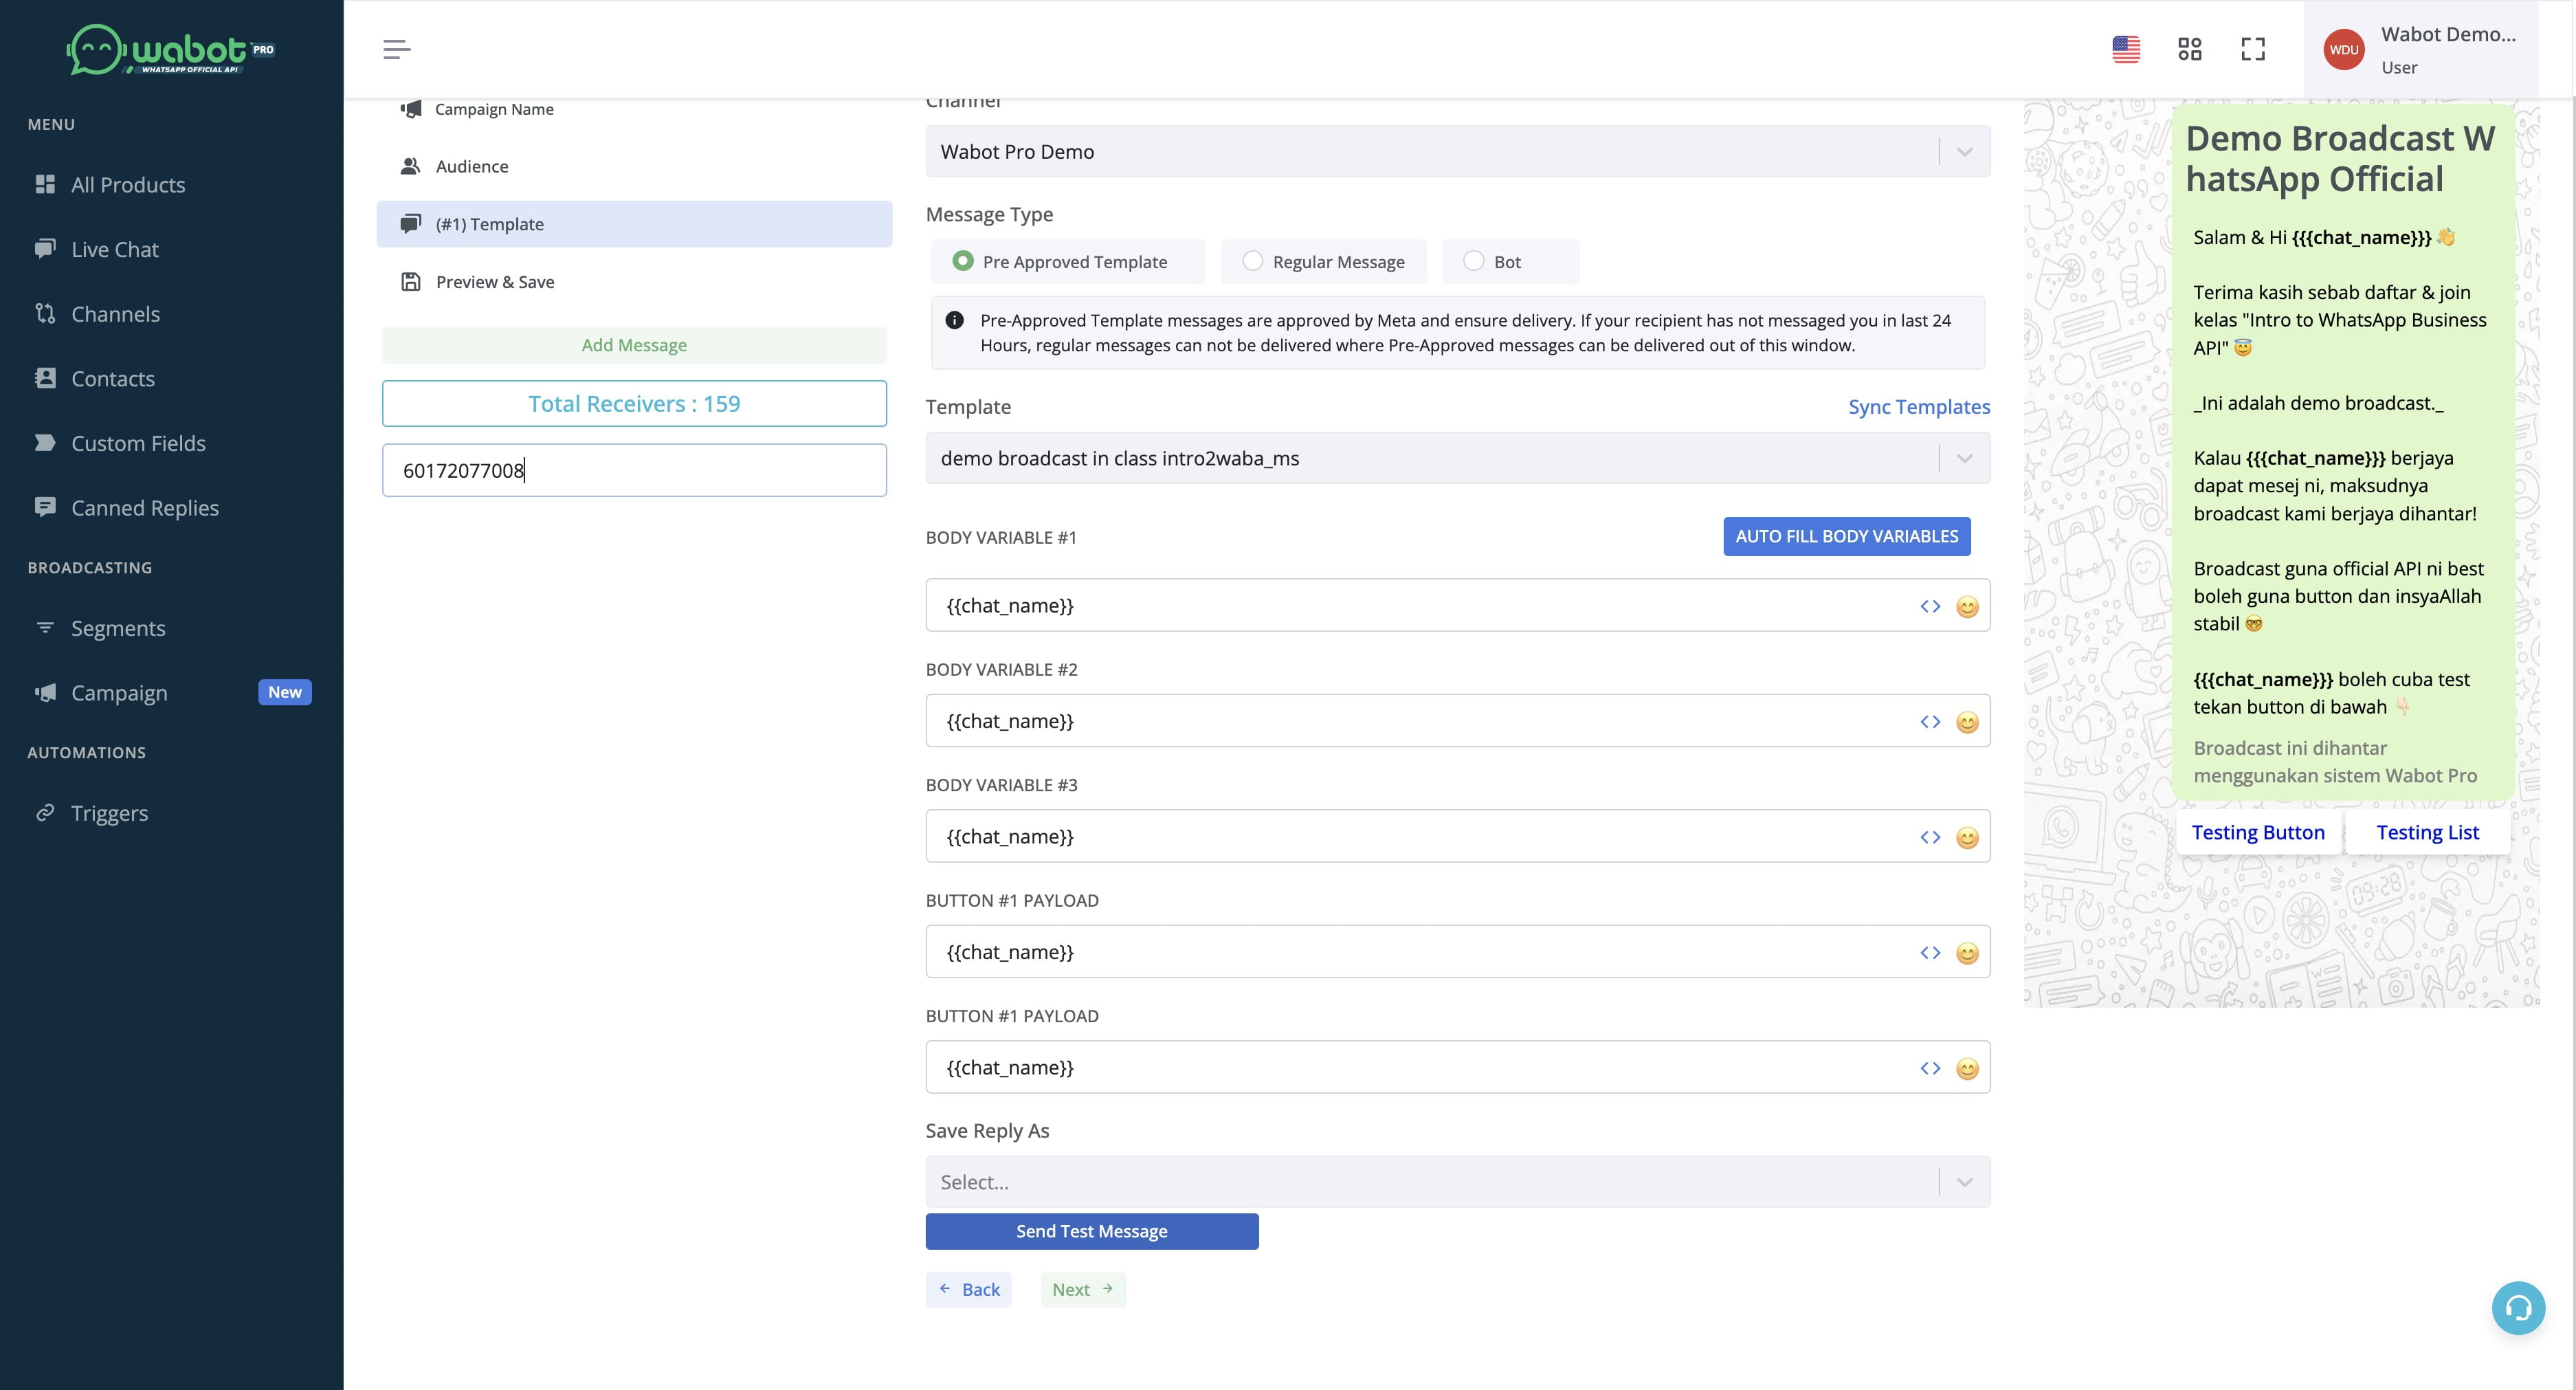
Click here
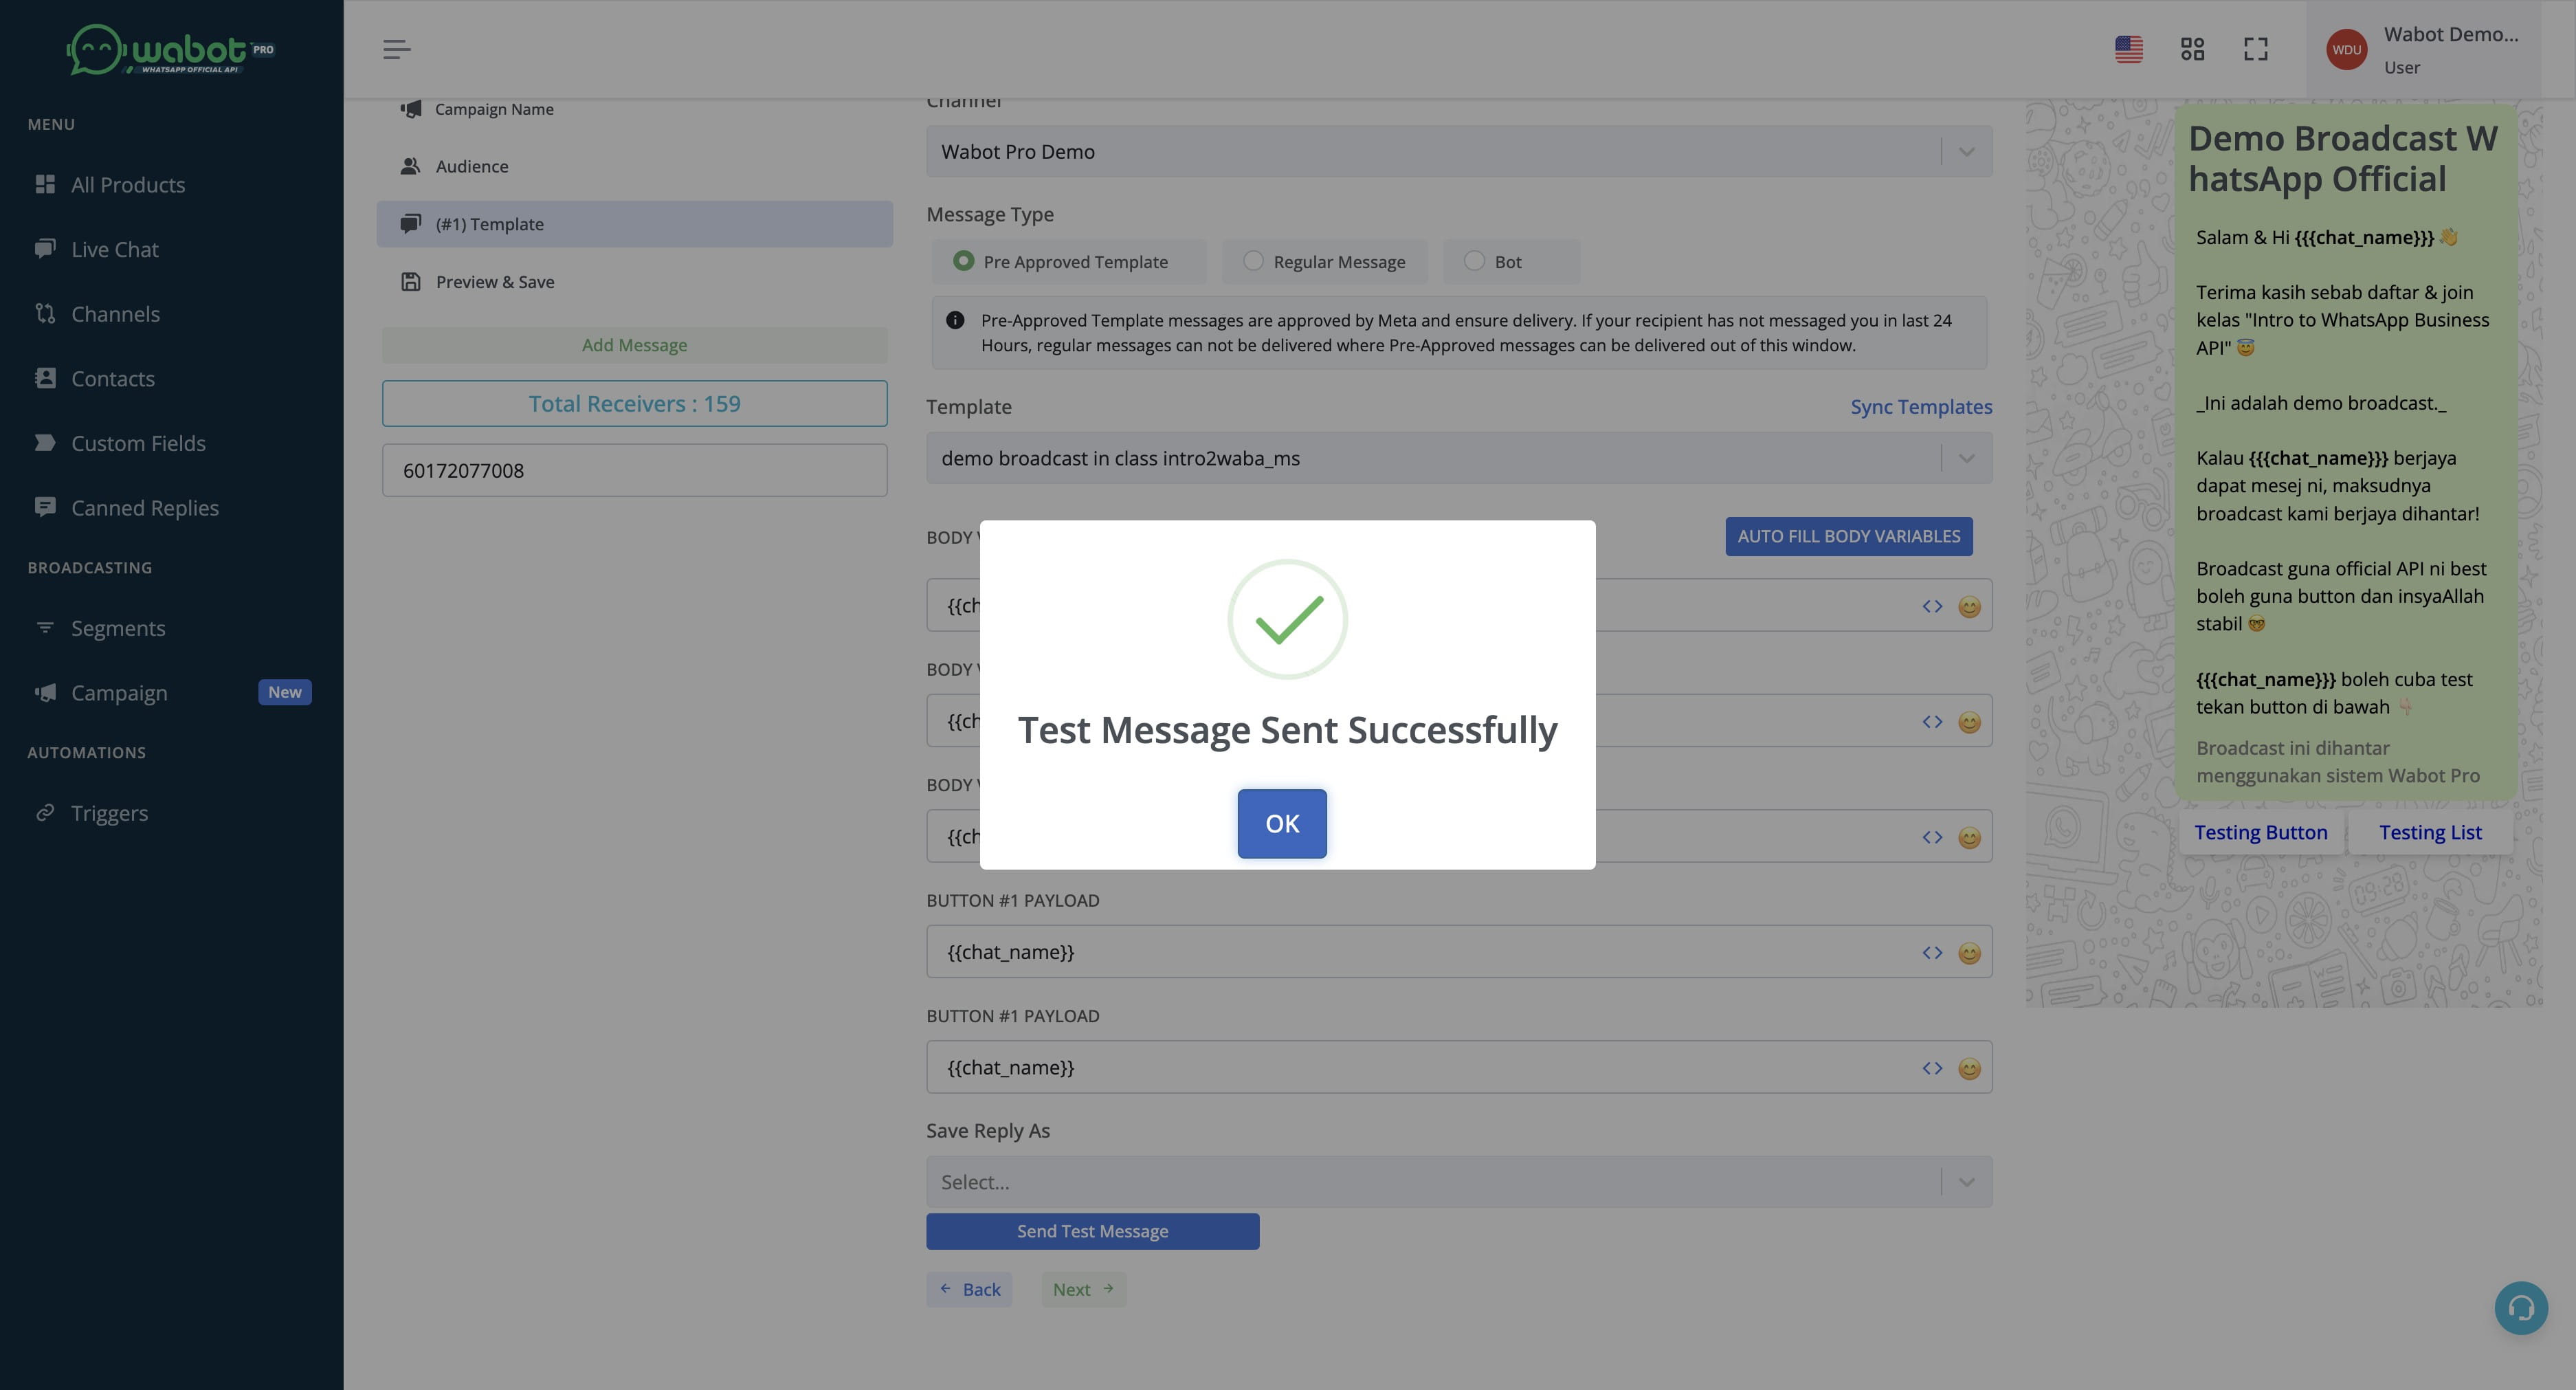
Click on "Send Test Message"
Click on "OK"
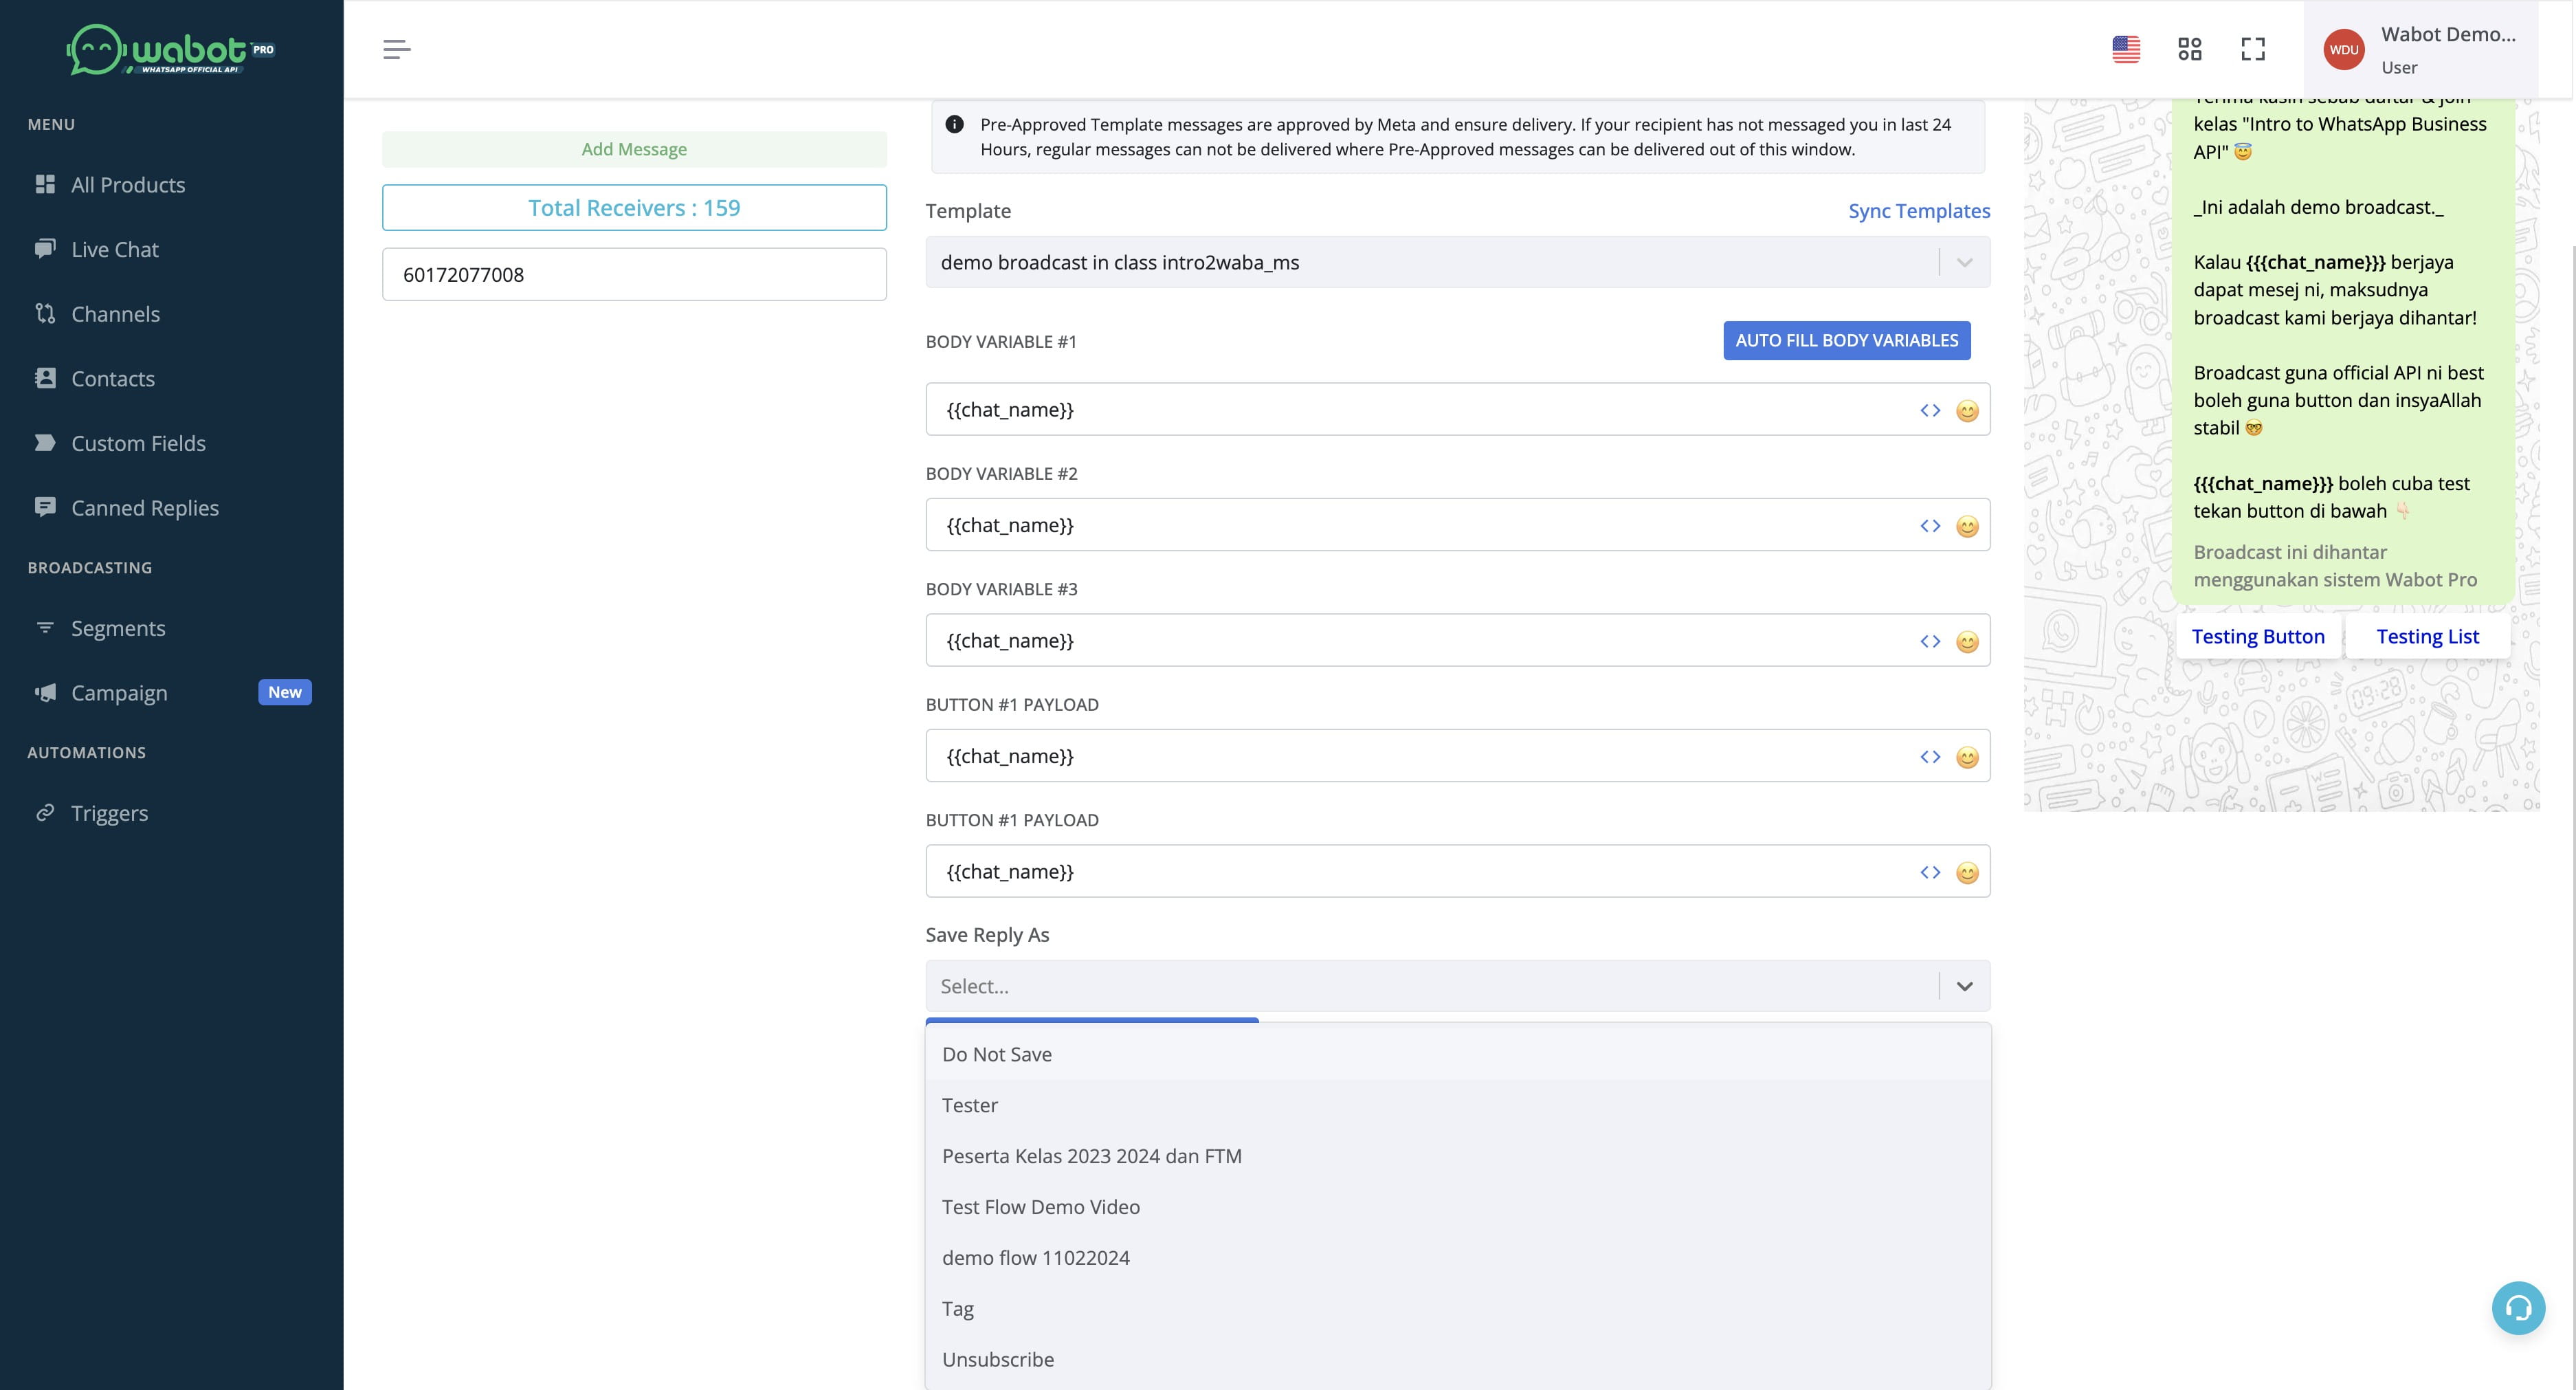
Click here

Click on "Do Not Save"
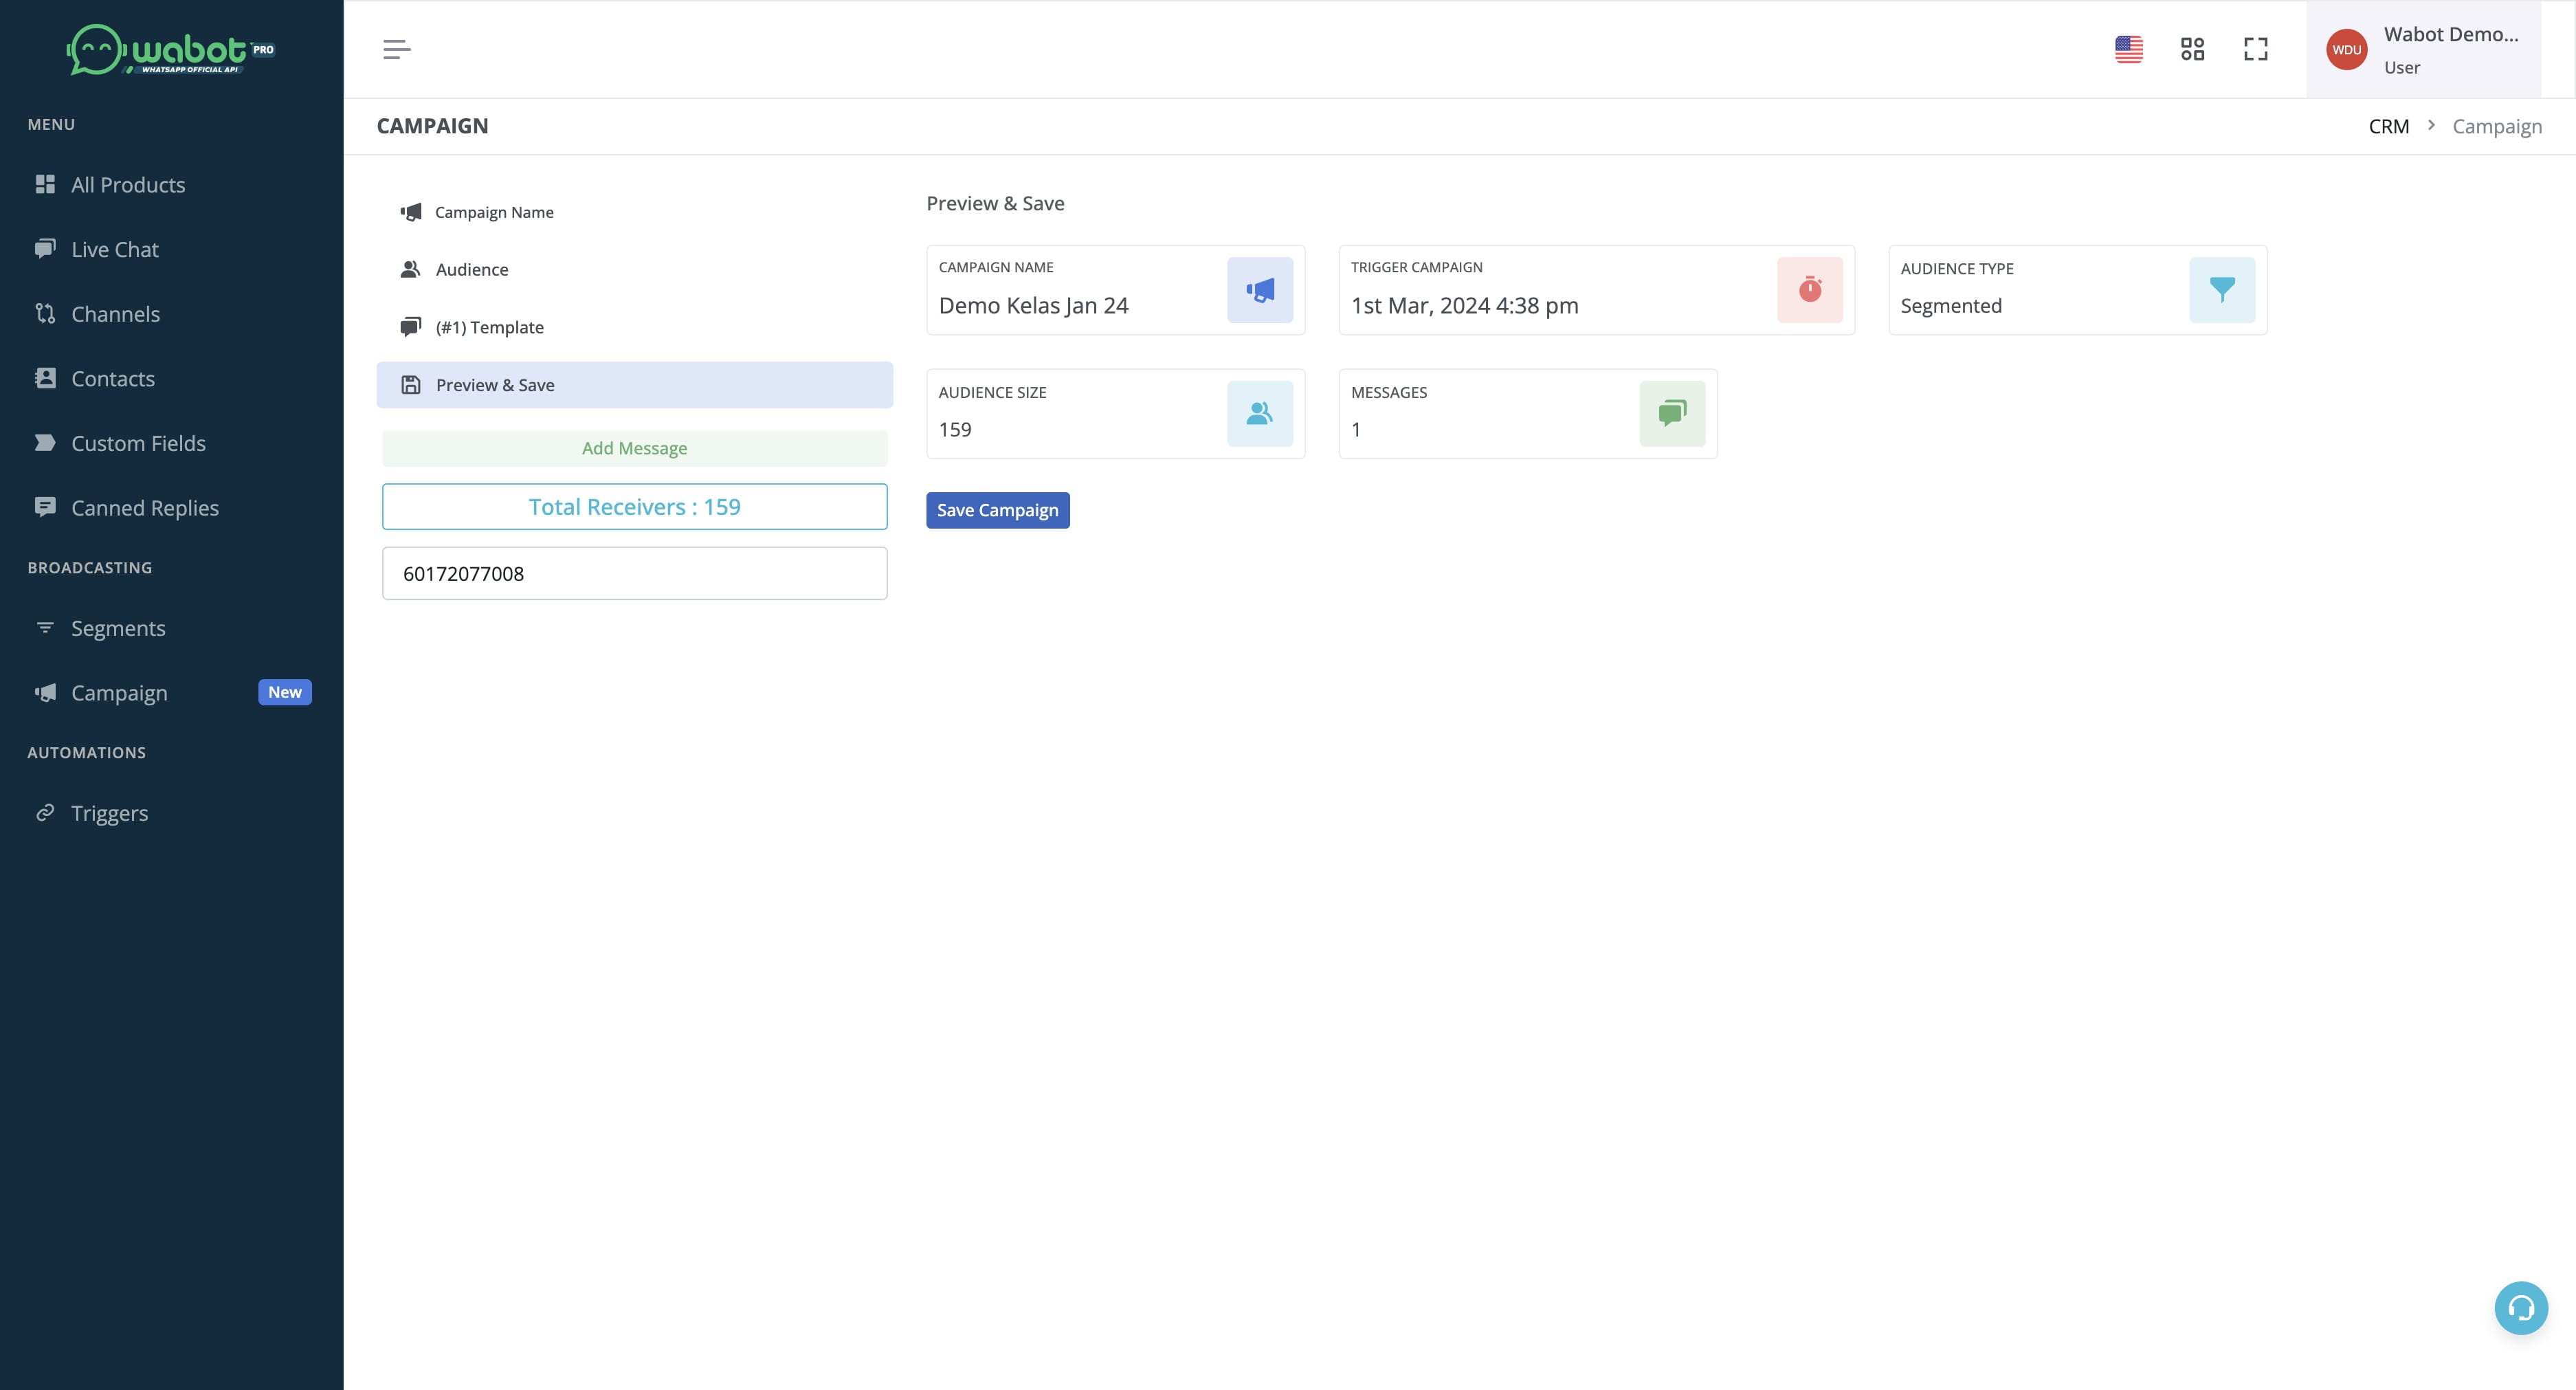
Click on "Next"
Click on "Save Campaign"
Click this icon
Video Tutorial Cara Broadcast Guna Wabot Pro