How To Create Automation Via Webhook in Wabot
Kindly note that WA Automation only available for Wabot Basic, Plus, Premier and Platinum only
Navigate to https://app.wabot.my/dashboard
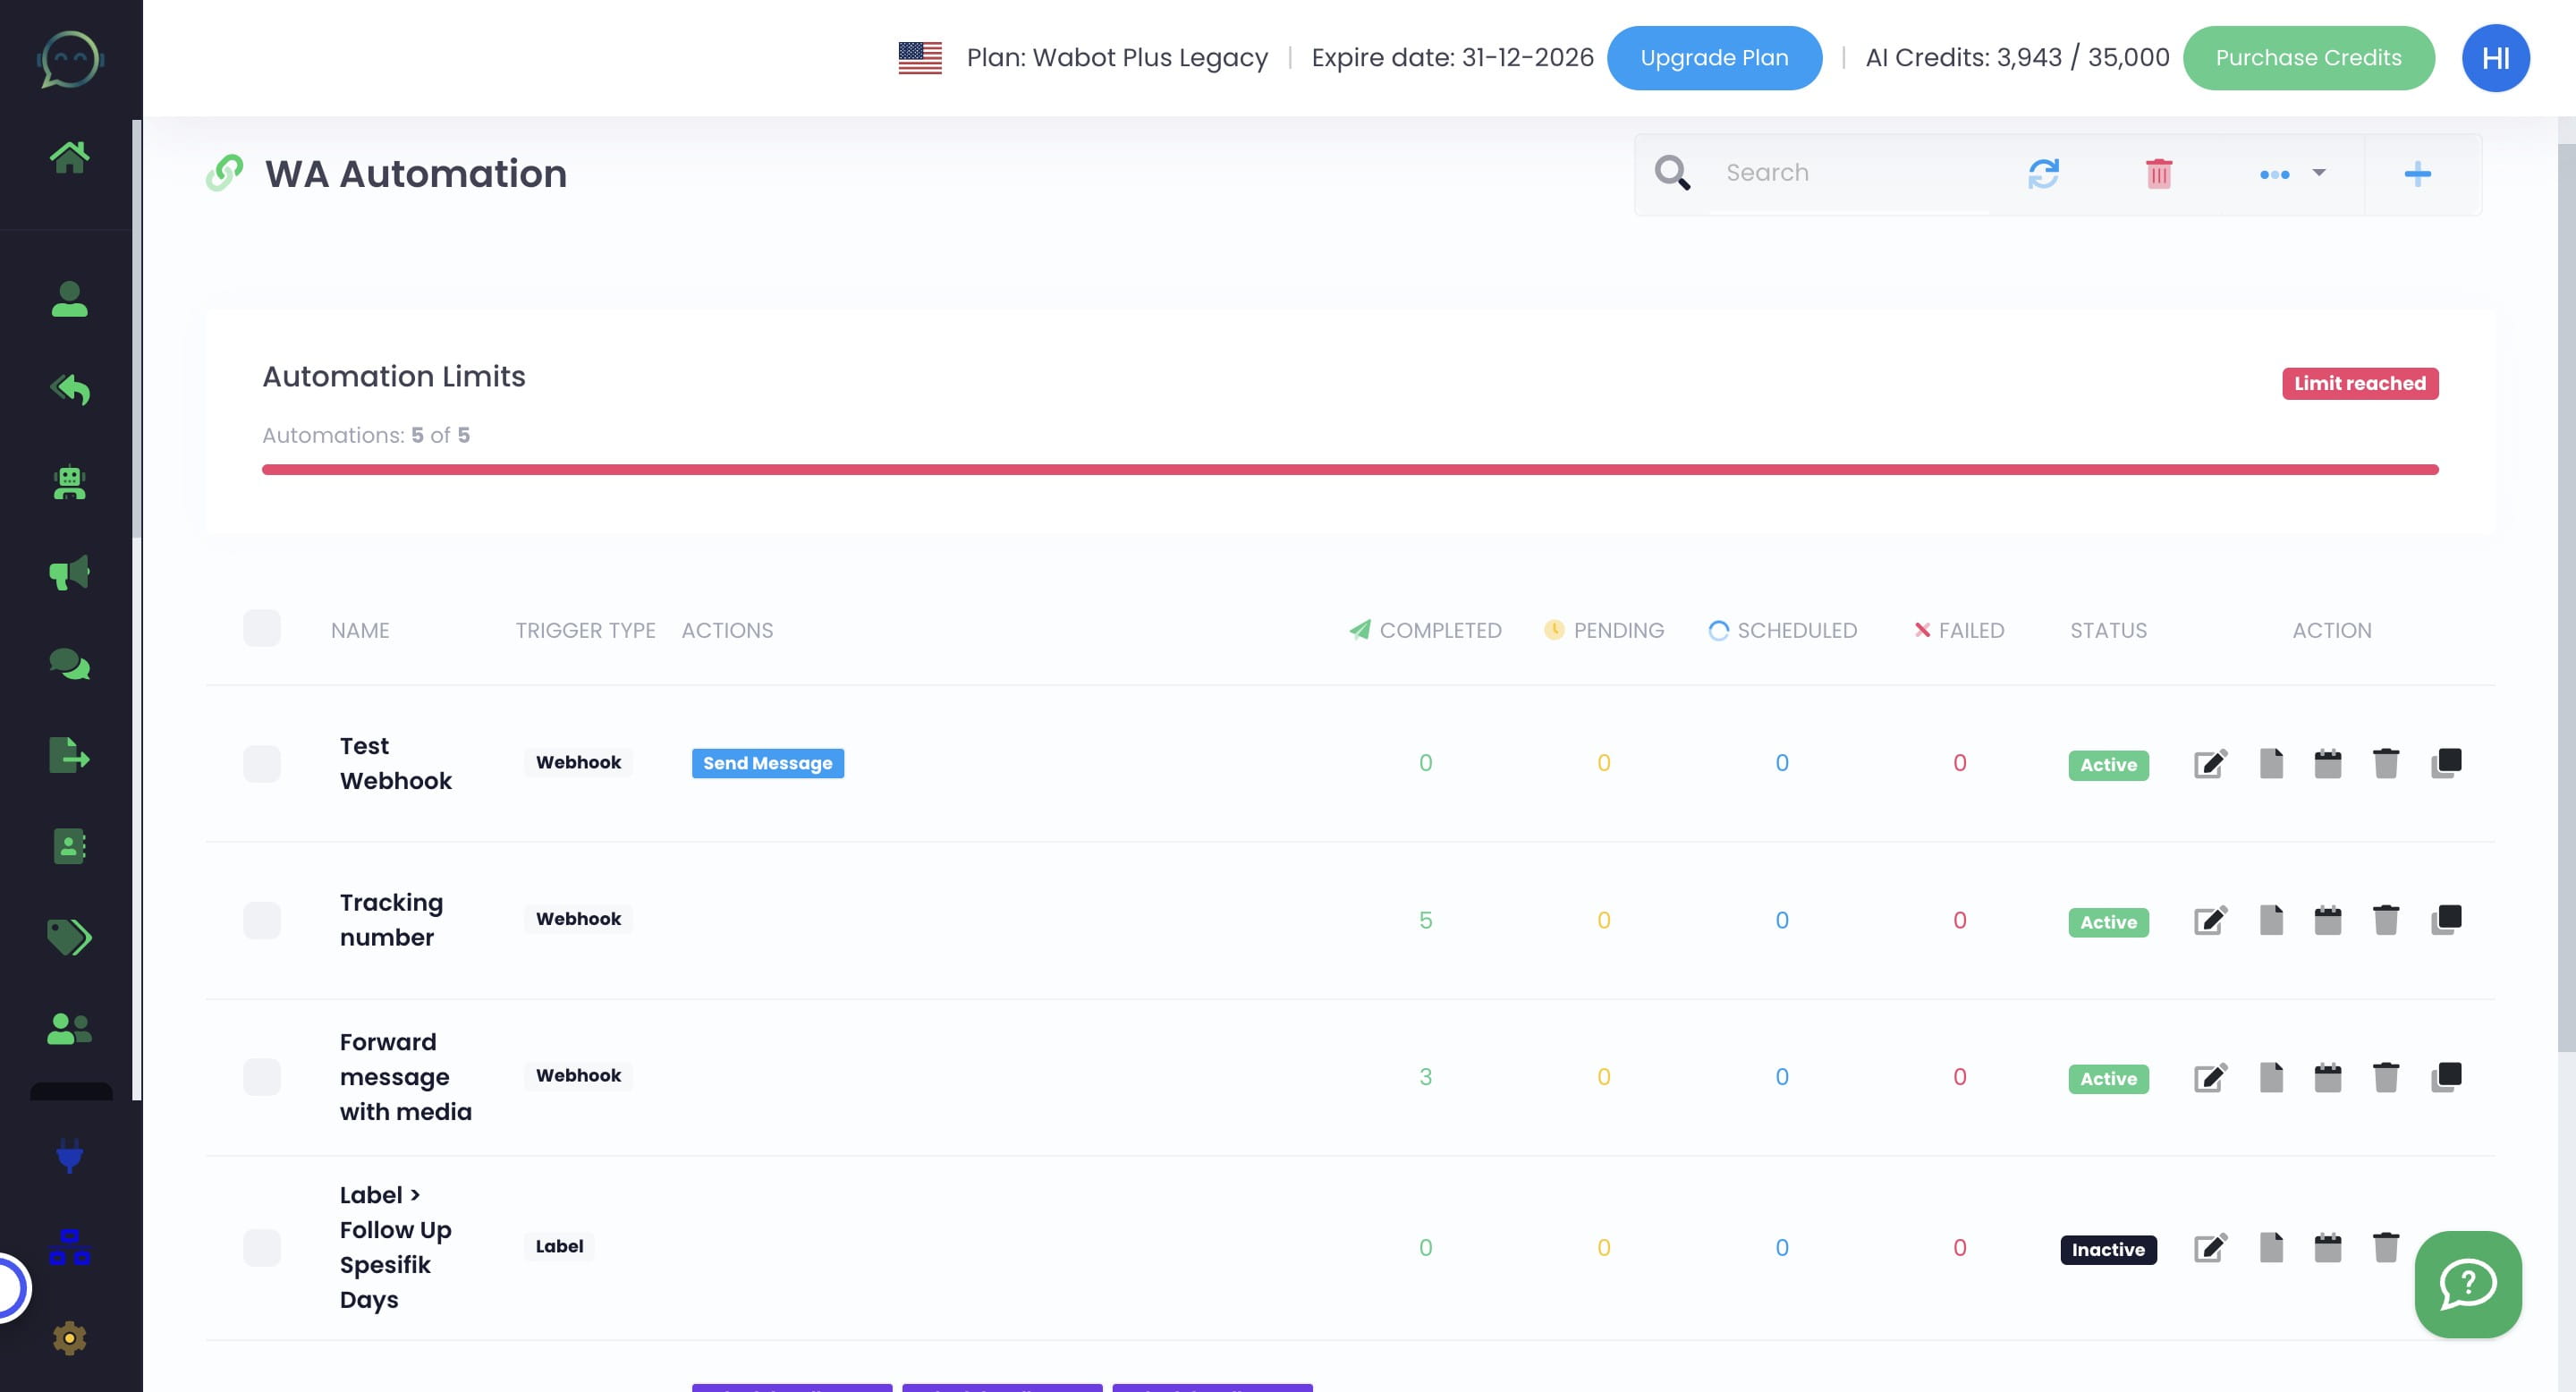
Click on "WA Automation"

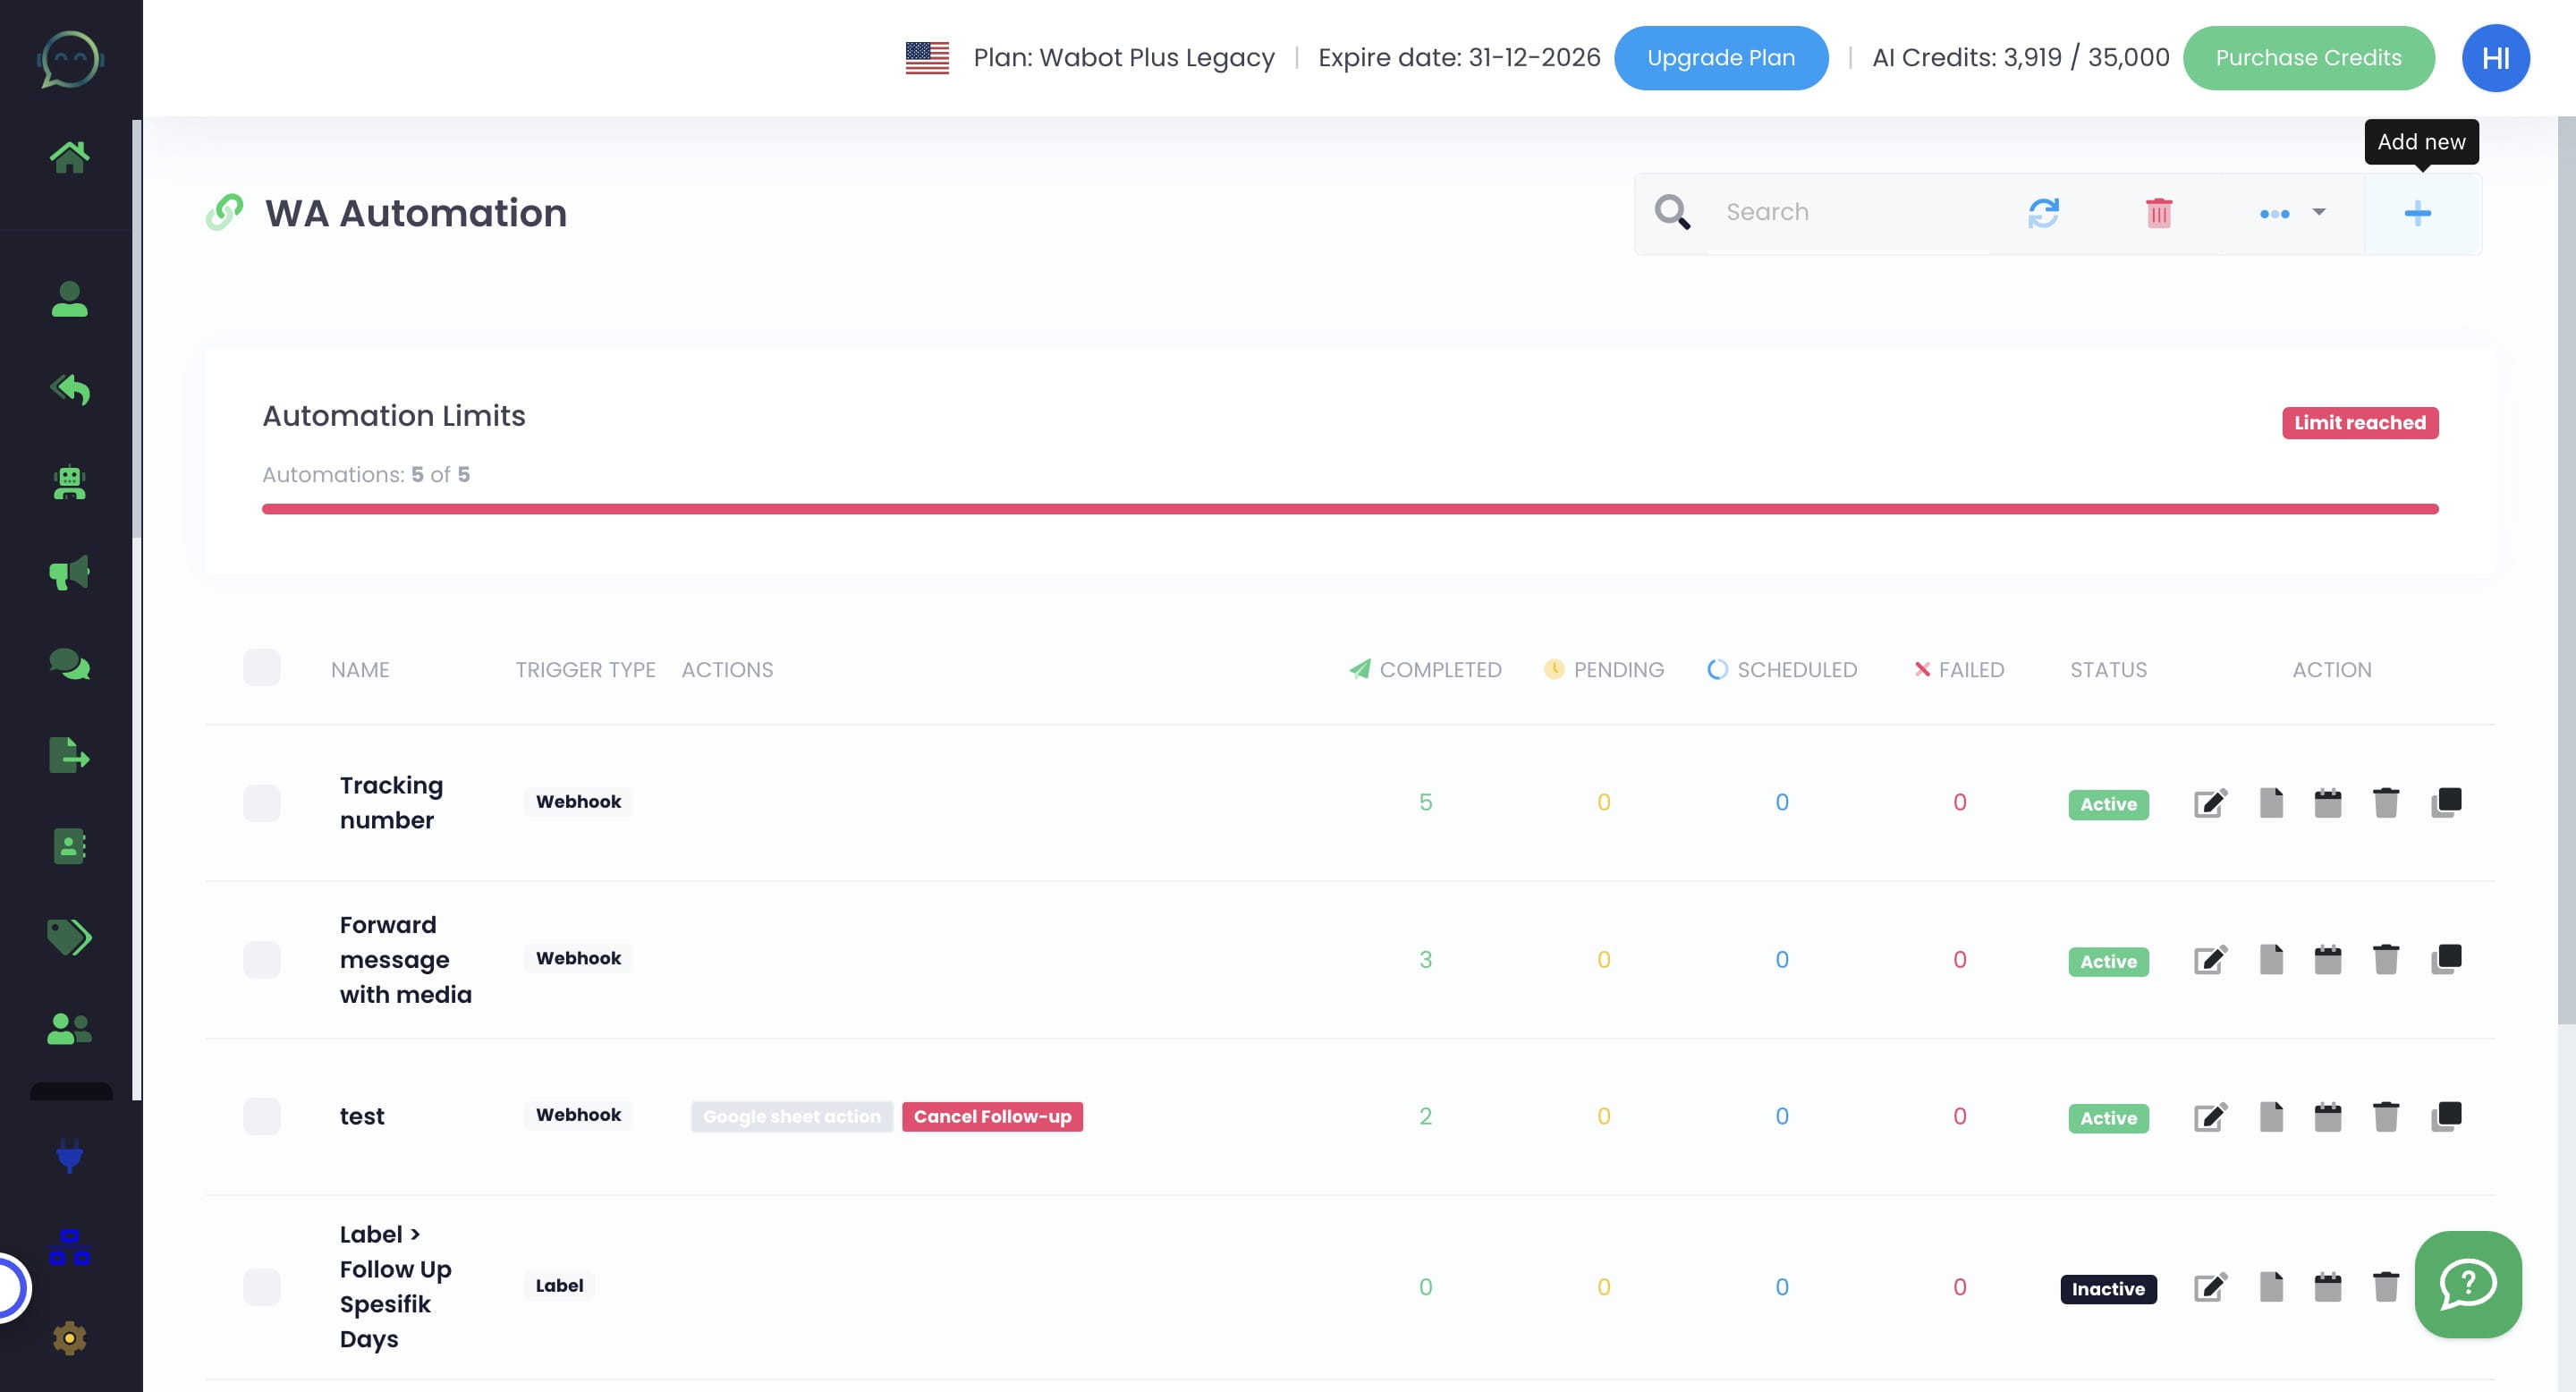
Click this icon to add new automation
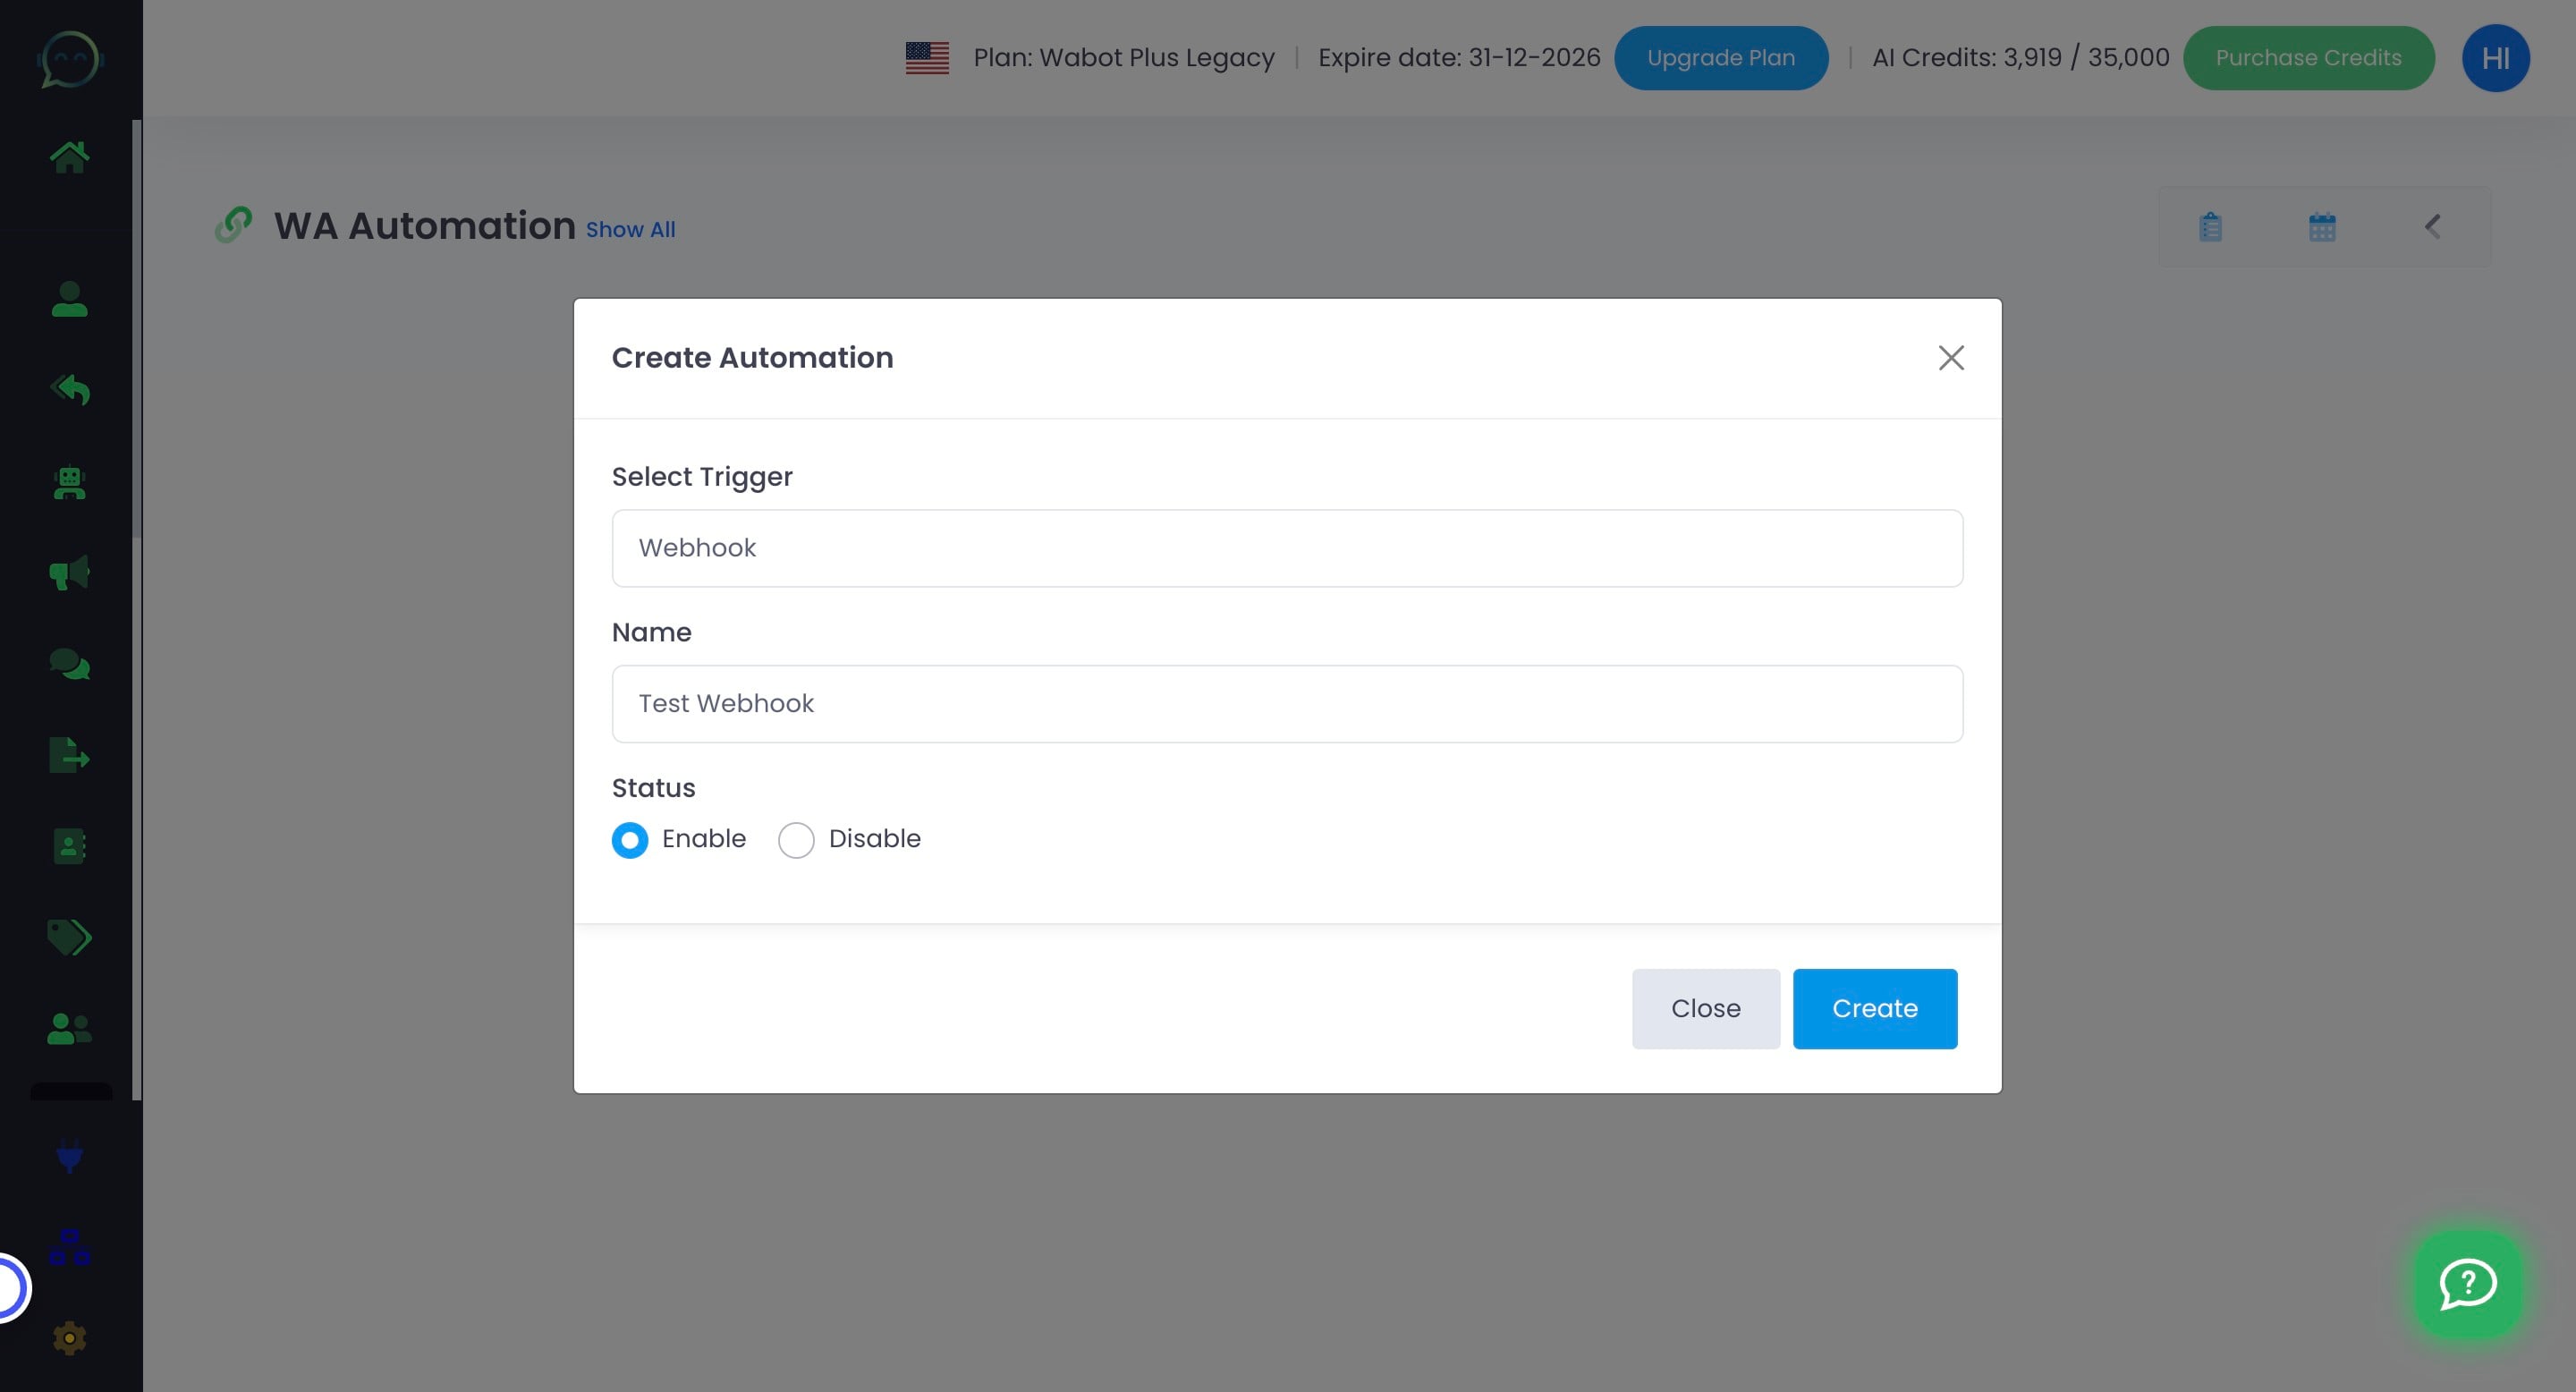
Click on "Webhook"
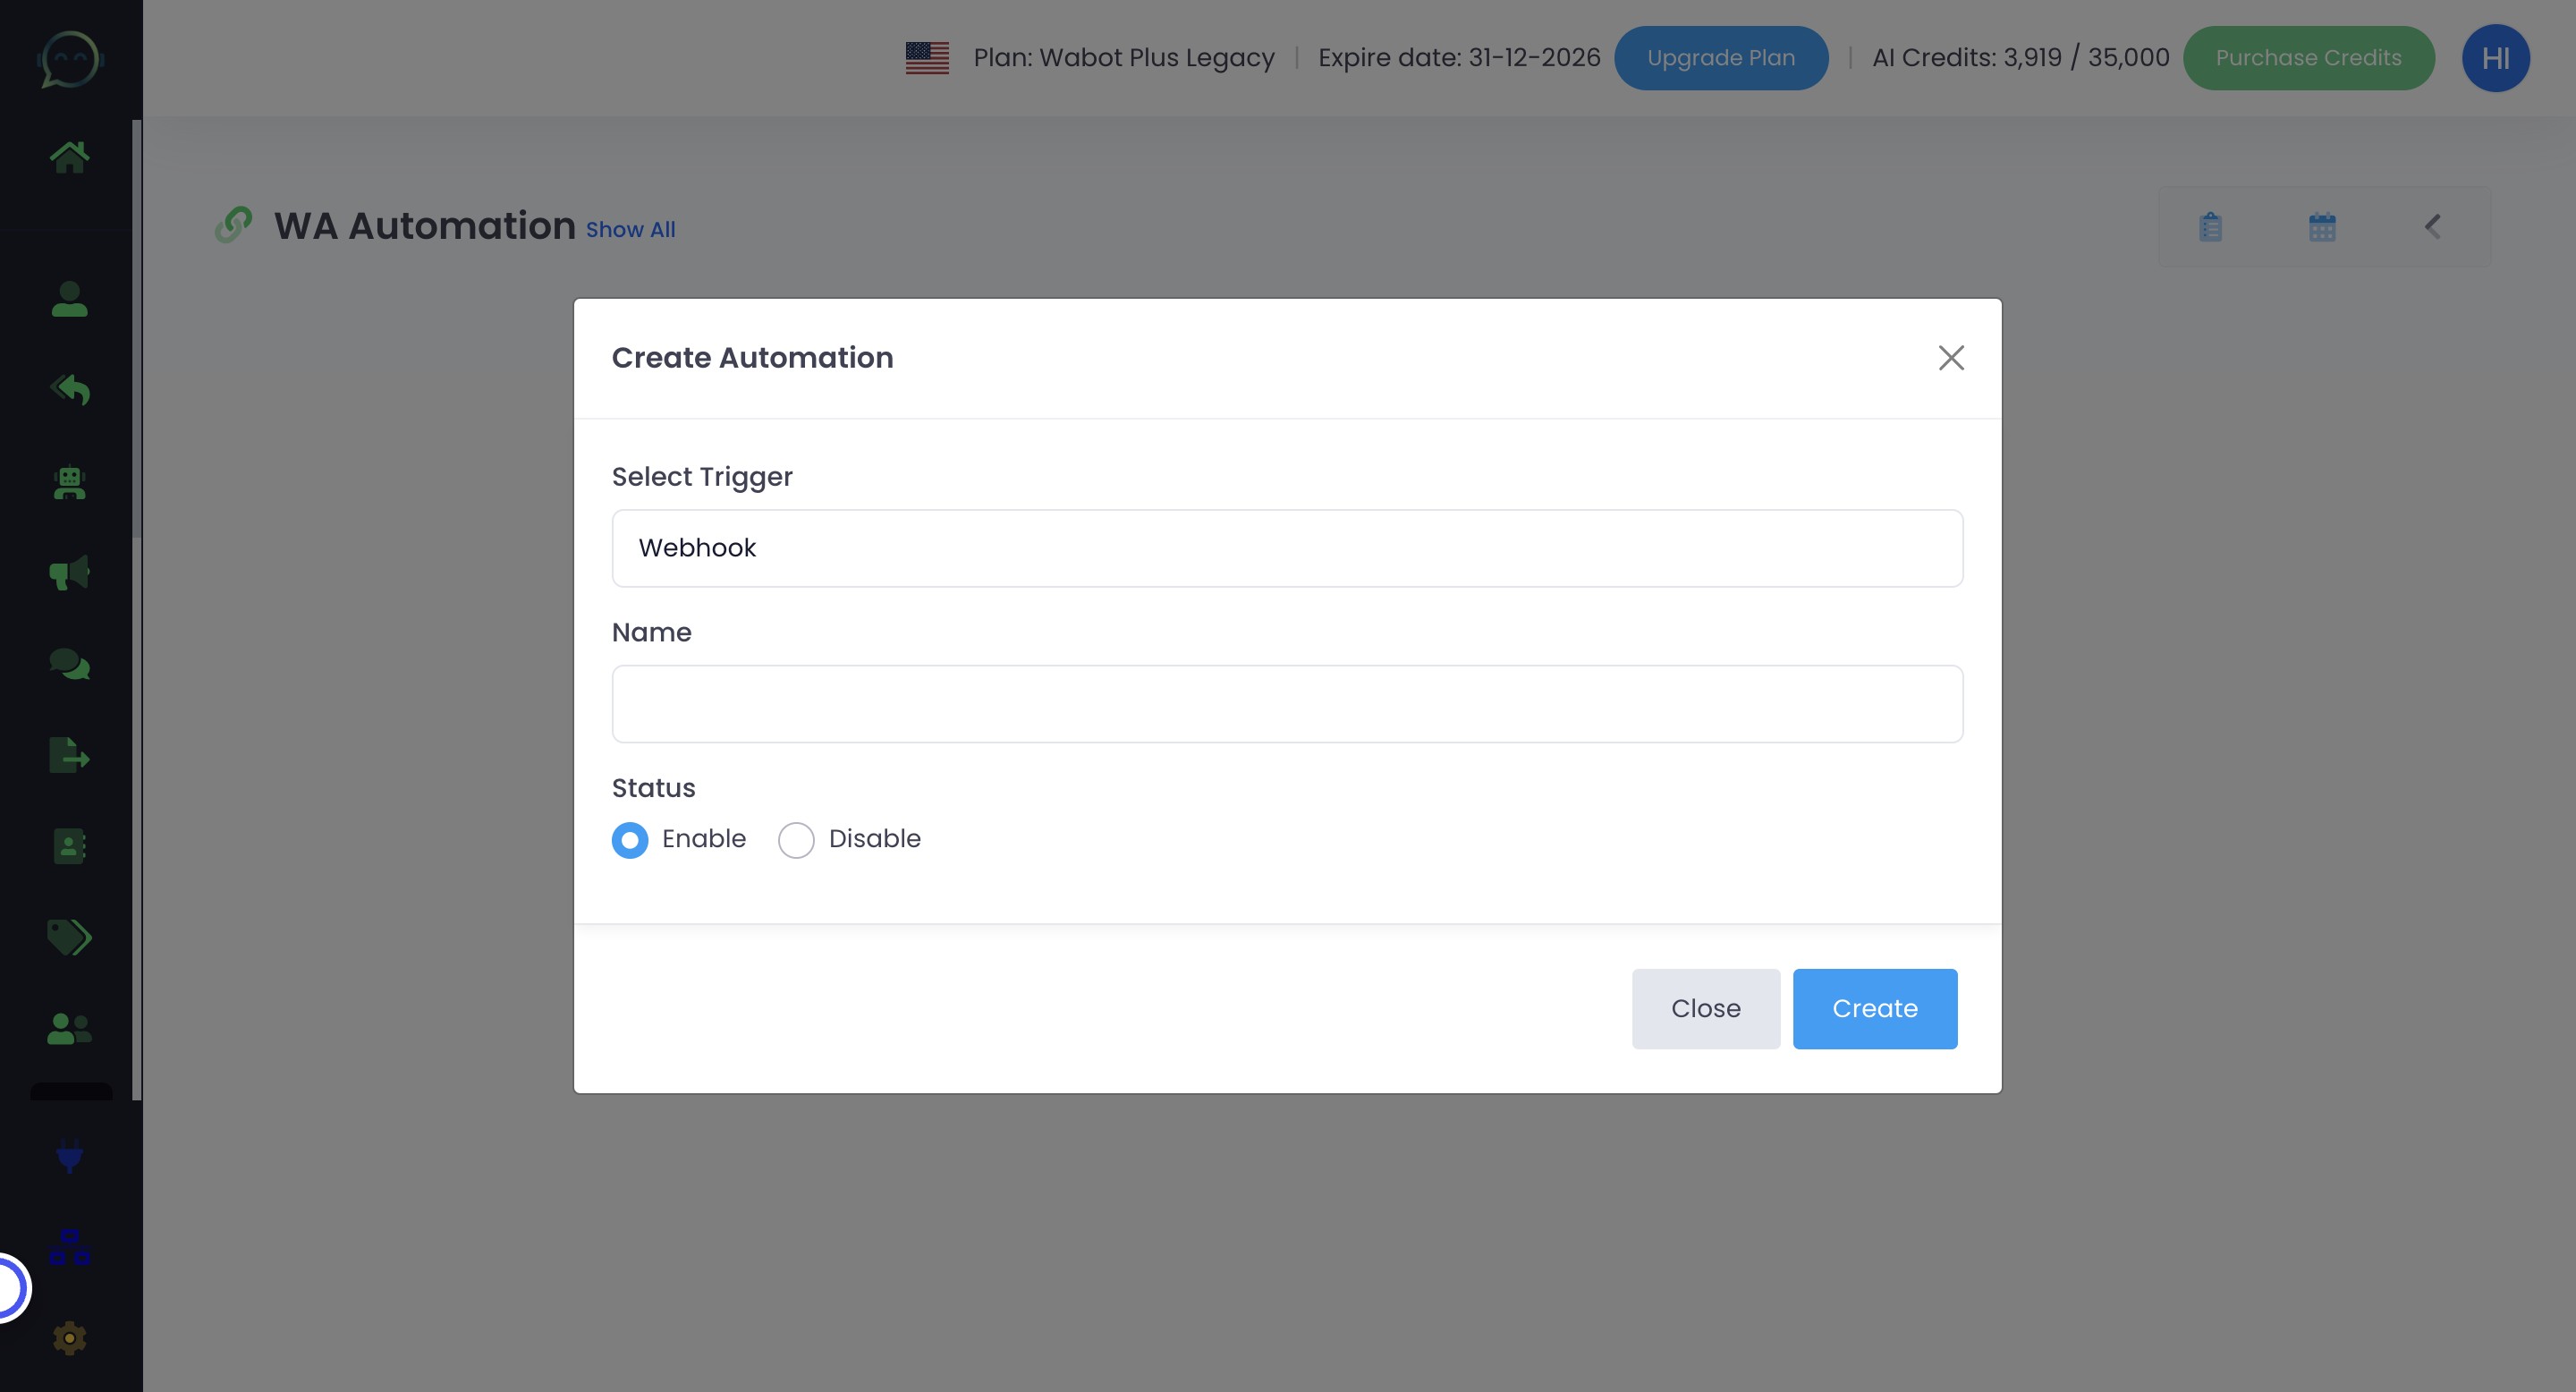
Name your automation

Enable the automation
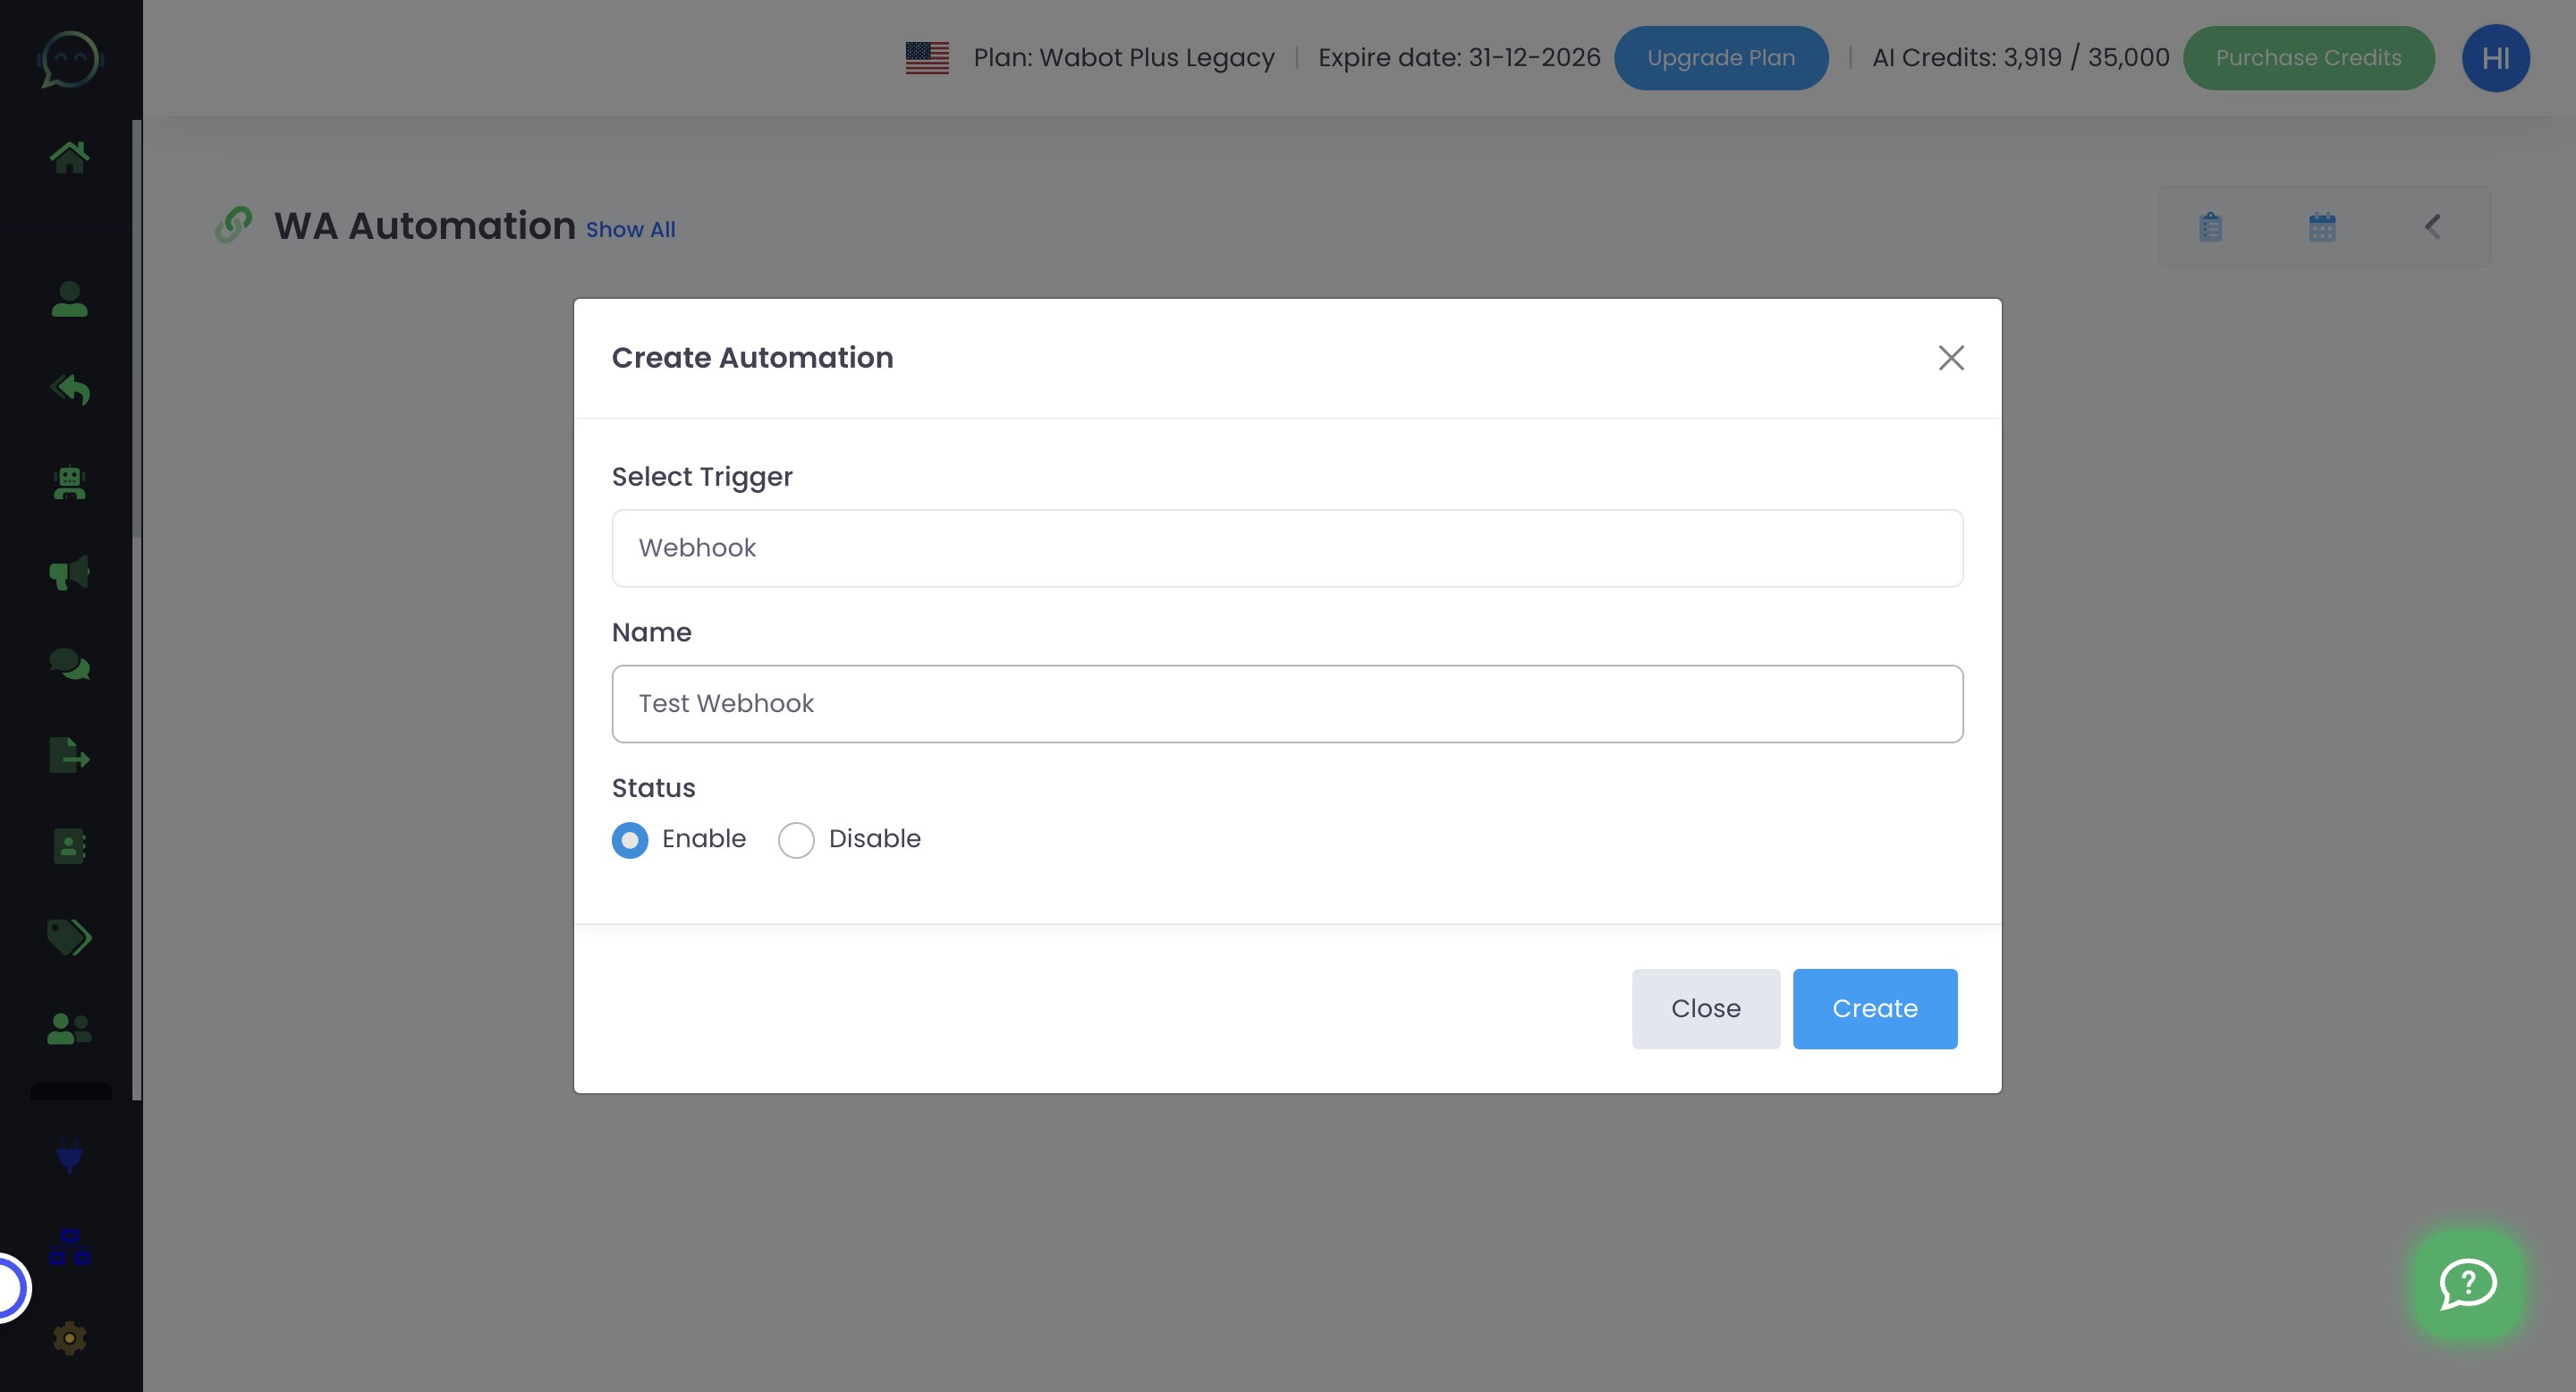
Click on "Create"
Click here to enable
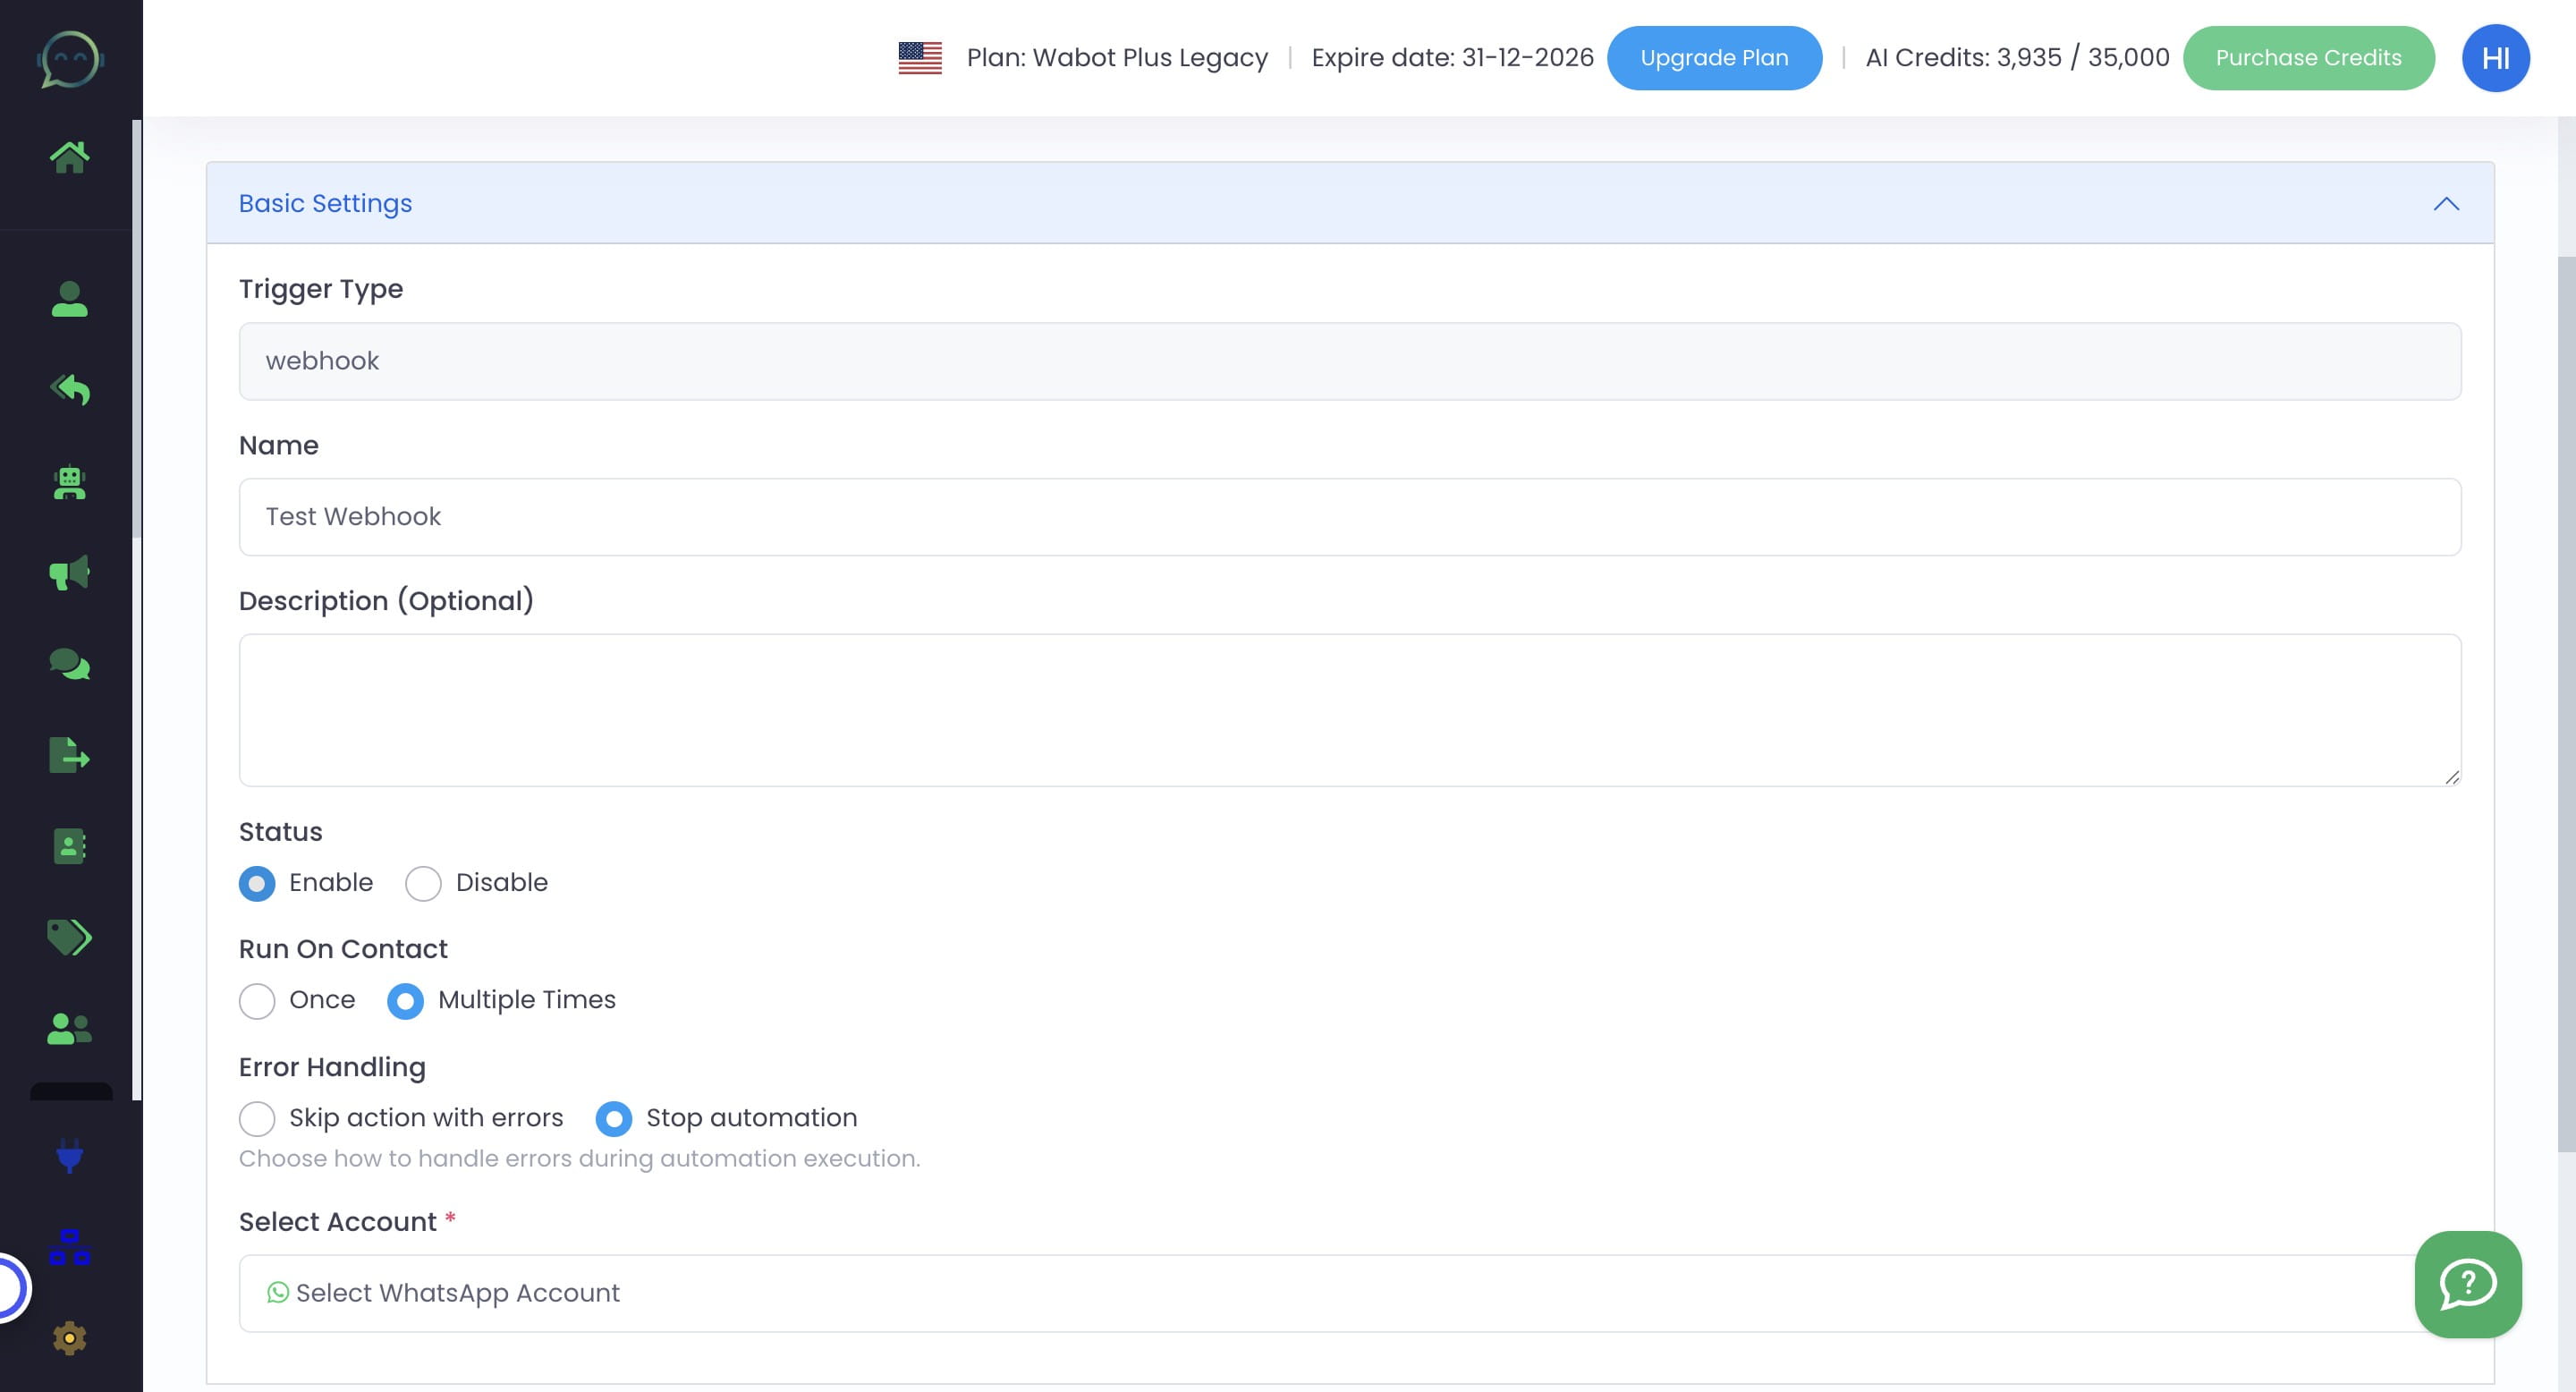
Choose whether you want the automation to run once or multiple times for a contact

Either "once" or "multiple times" depends on your flow
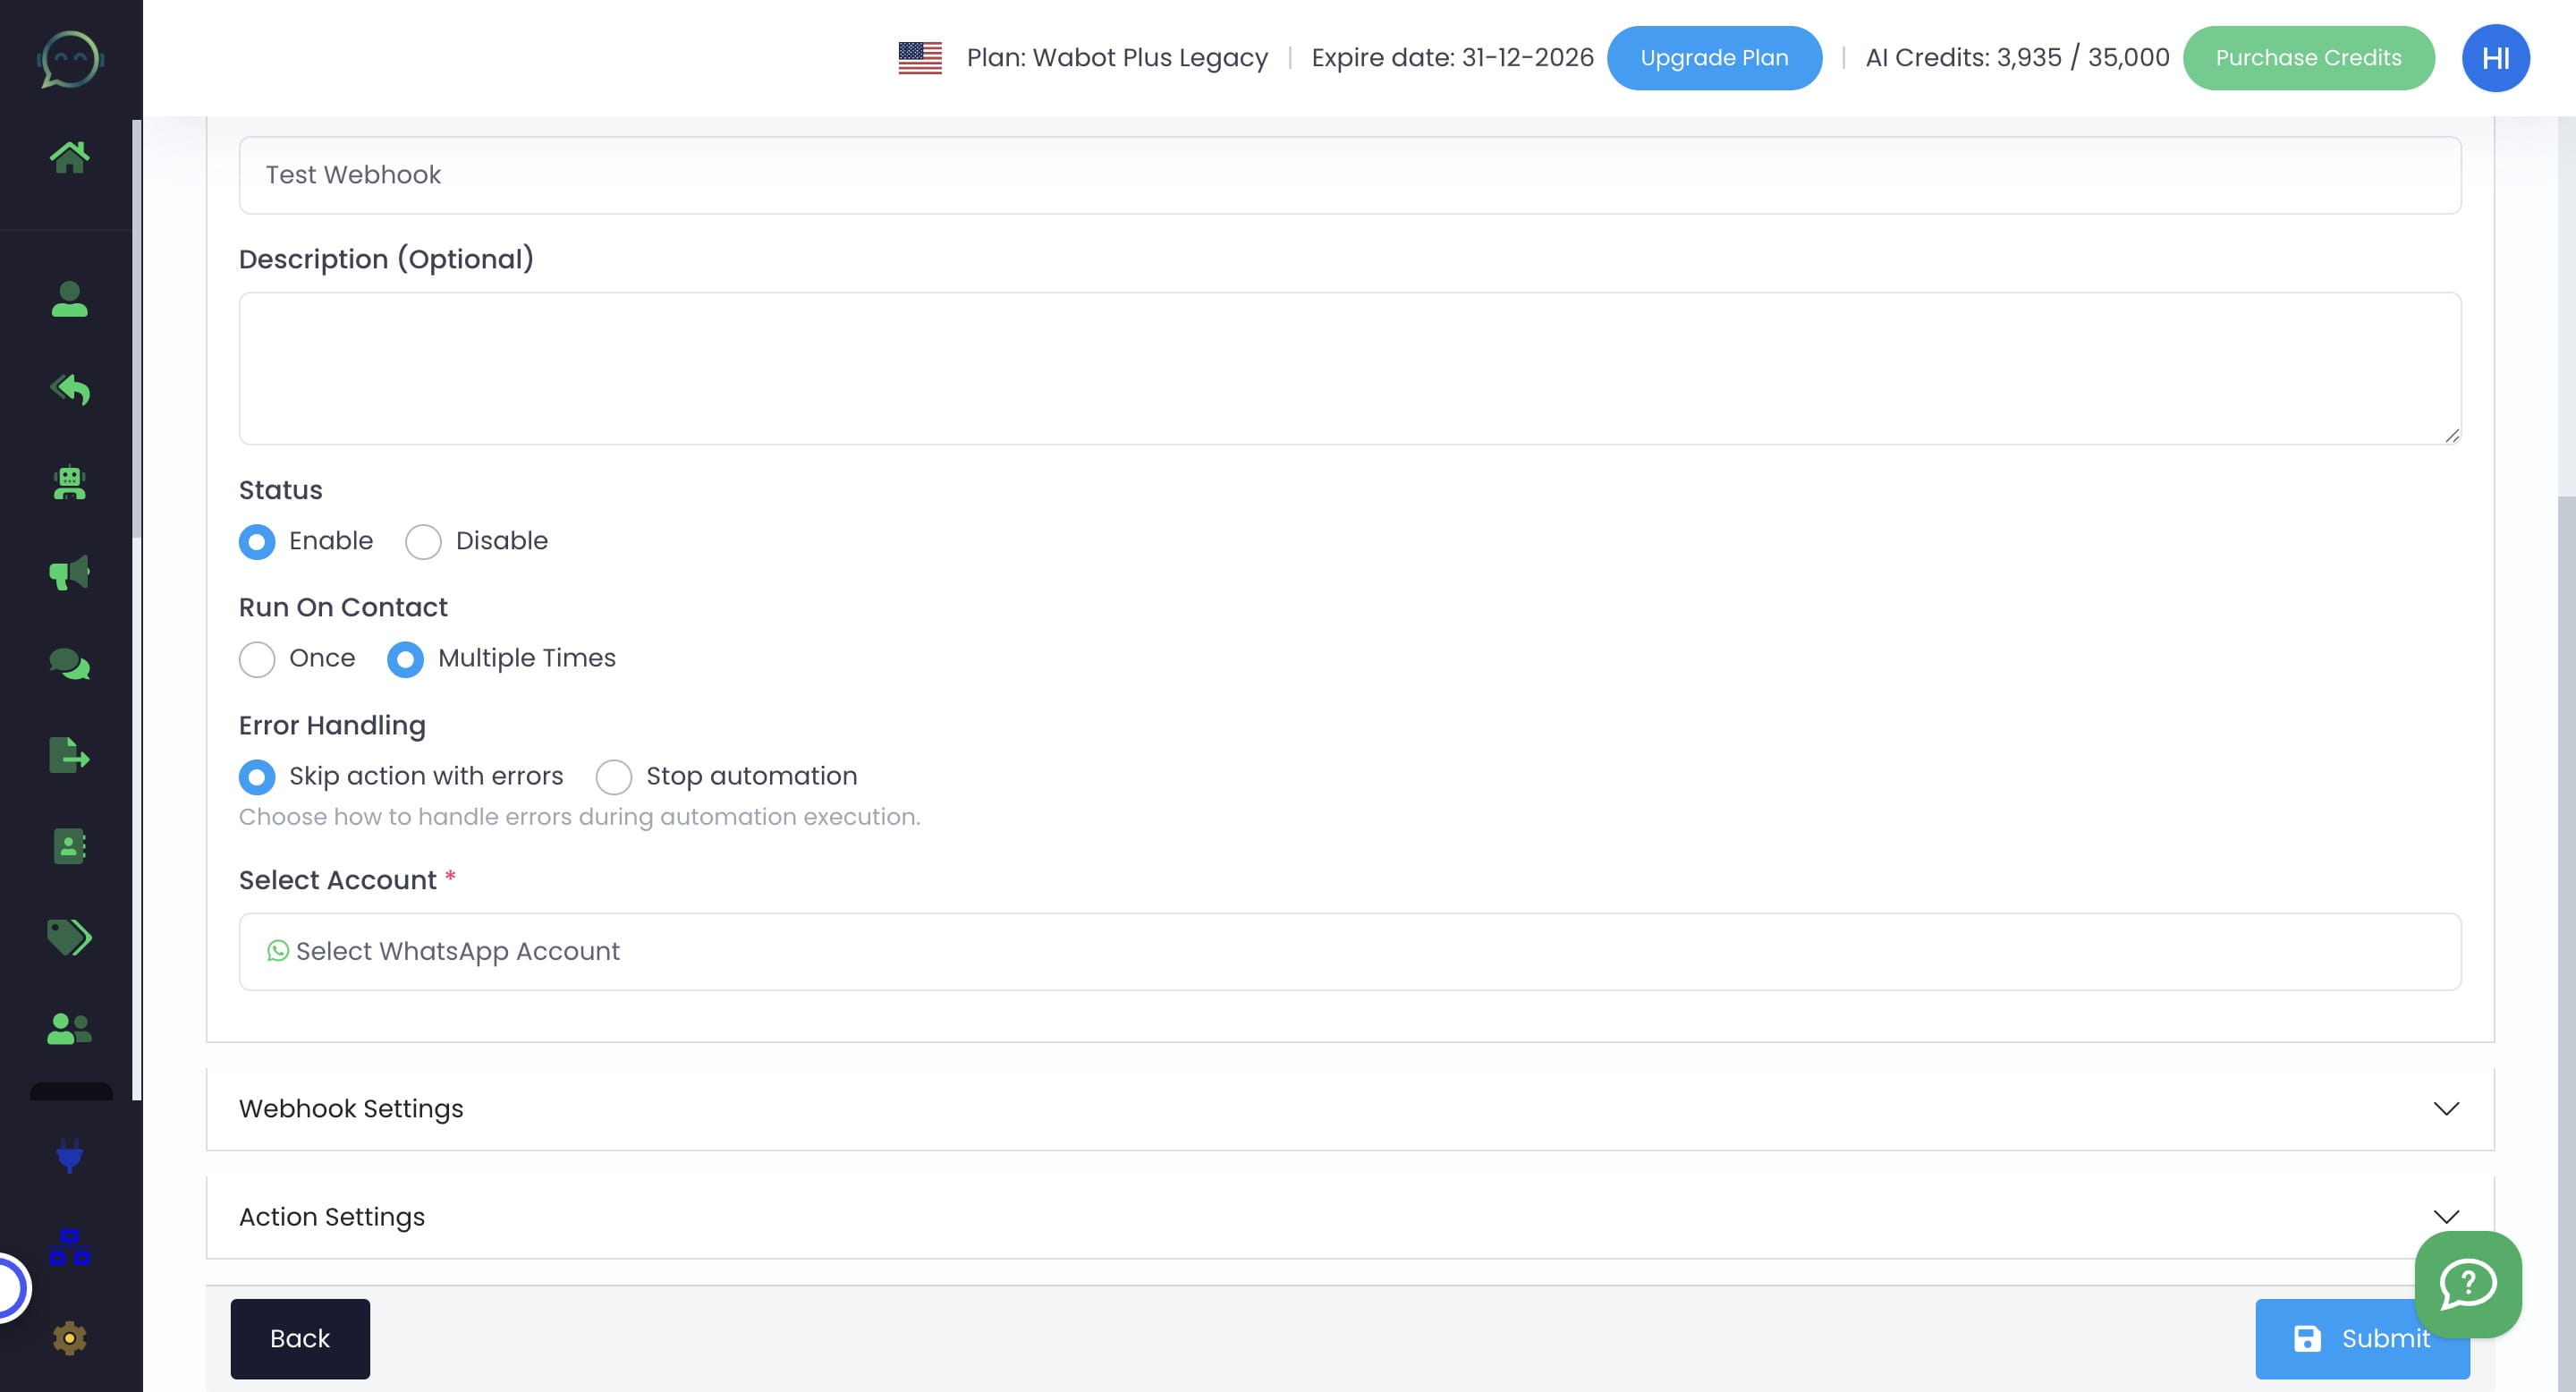
Choose whether to skip action or stop automation immediately during error

Skrip Action With Errors means that the automation will still run, but it will only skip the automation that shows an error. Automation that involves many actions, preferably choose to skip the error instead of stopping all at once
Stop automation is recommended for automation that doesn't involve many actions.
Click this icon to select WhatsApp account
Click the profile

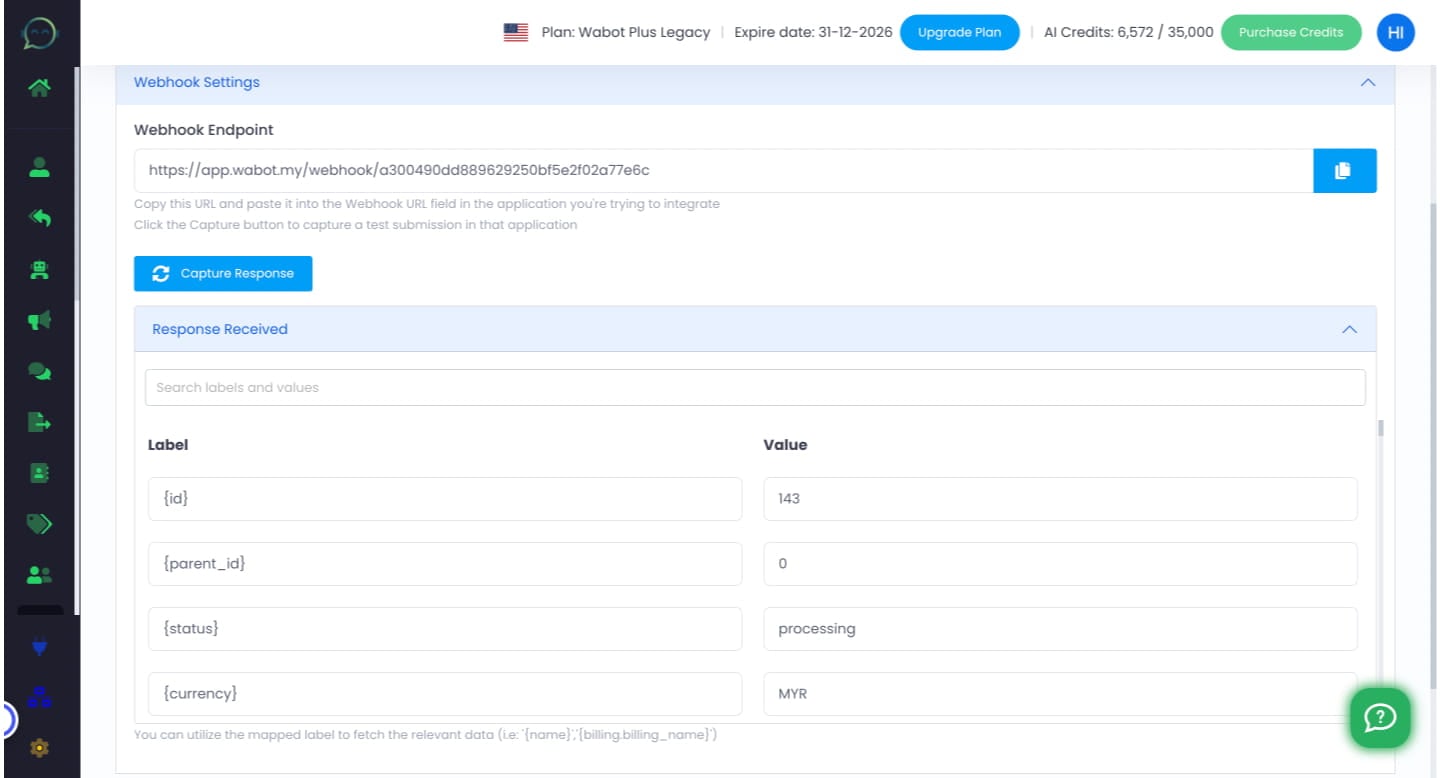
Click on "Webhook Settings"

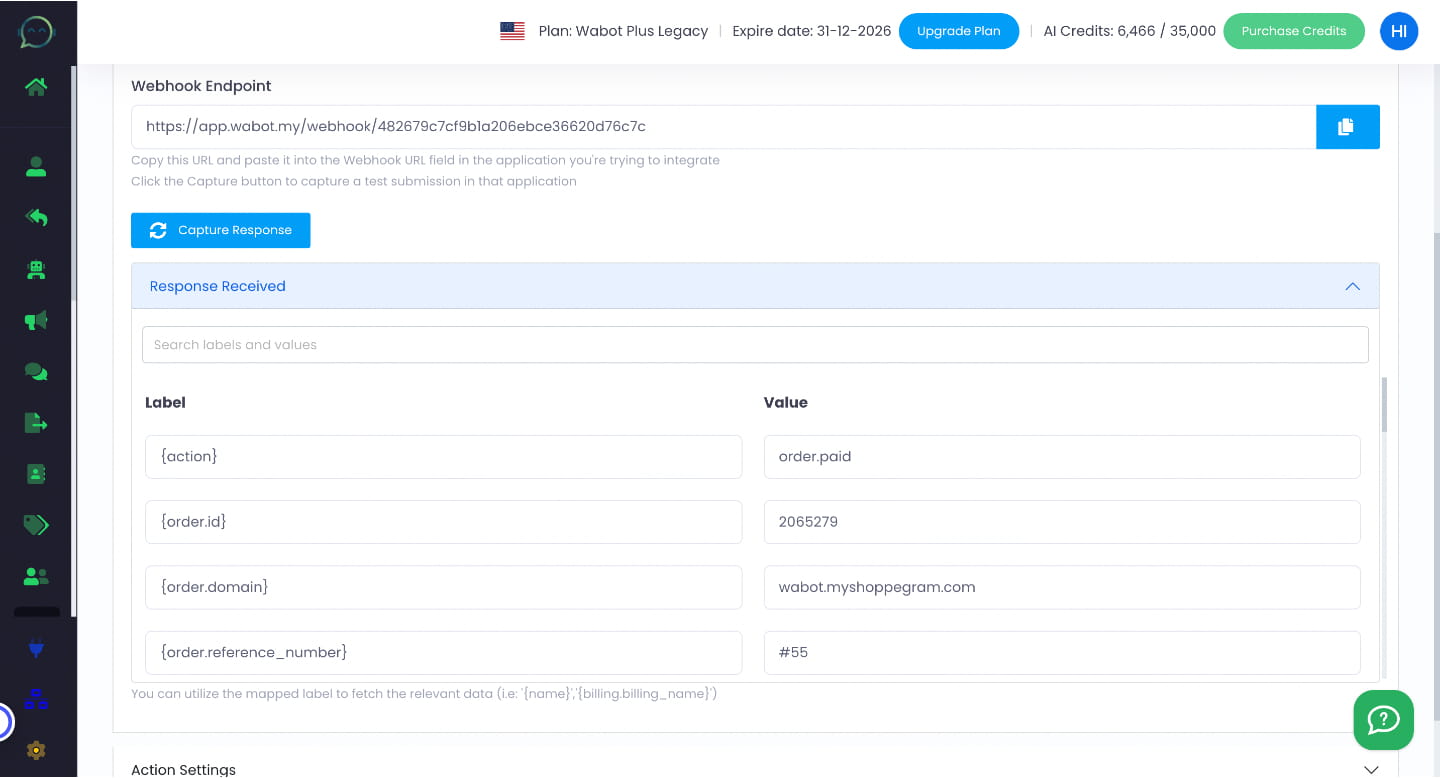
Copy the webhook link to paste onto your system that you want to integrate with Wabot
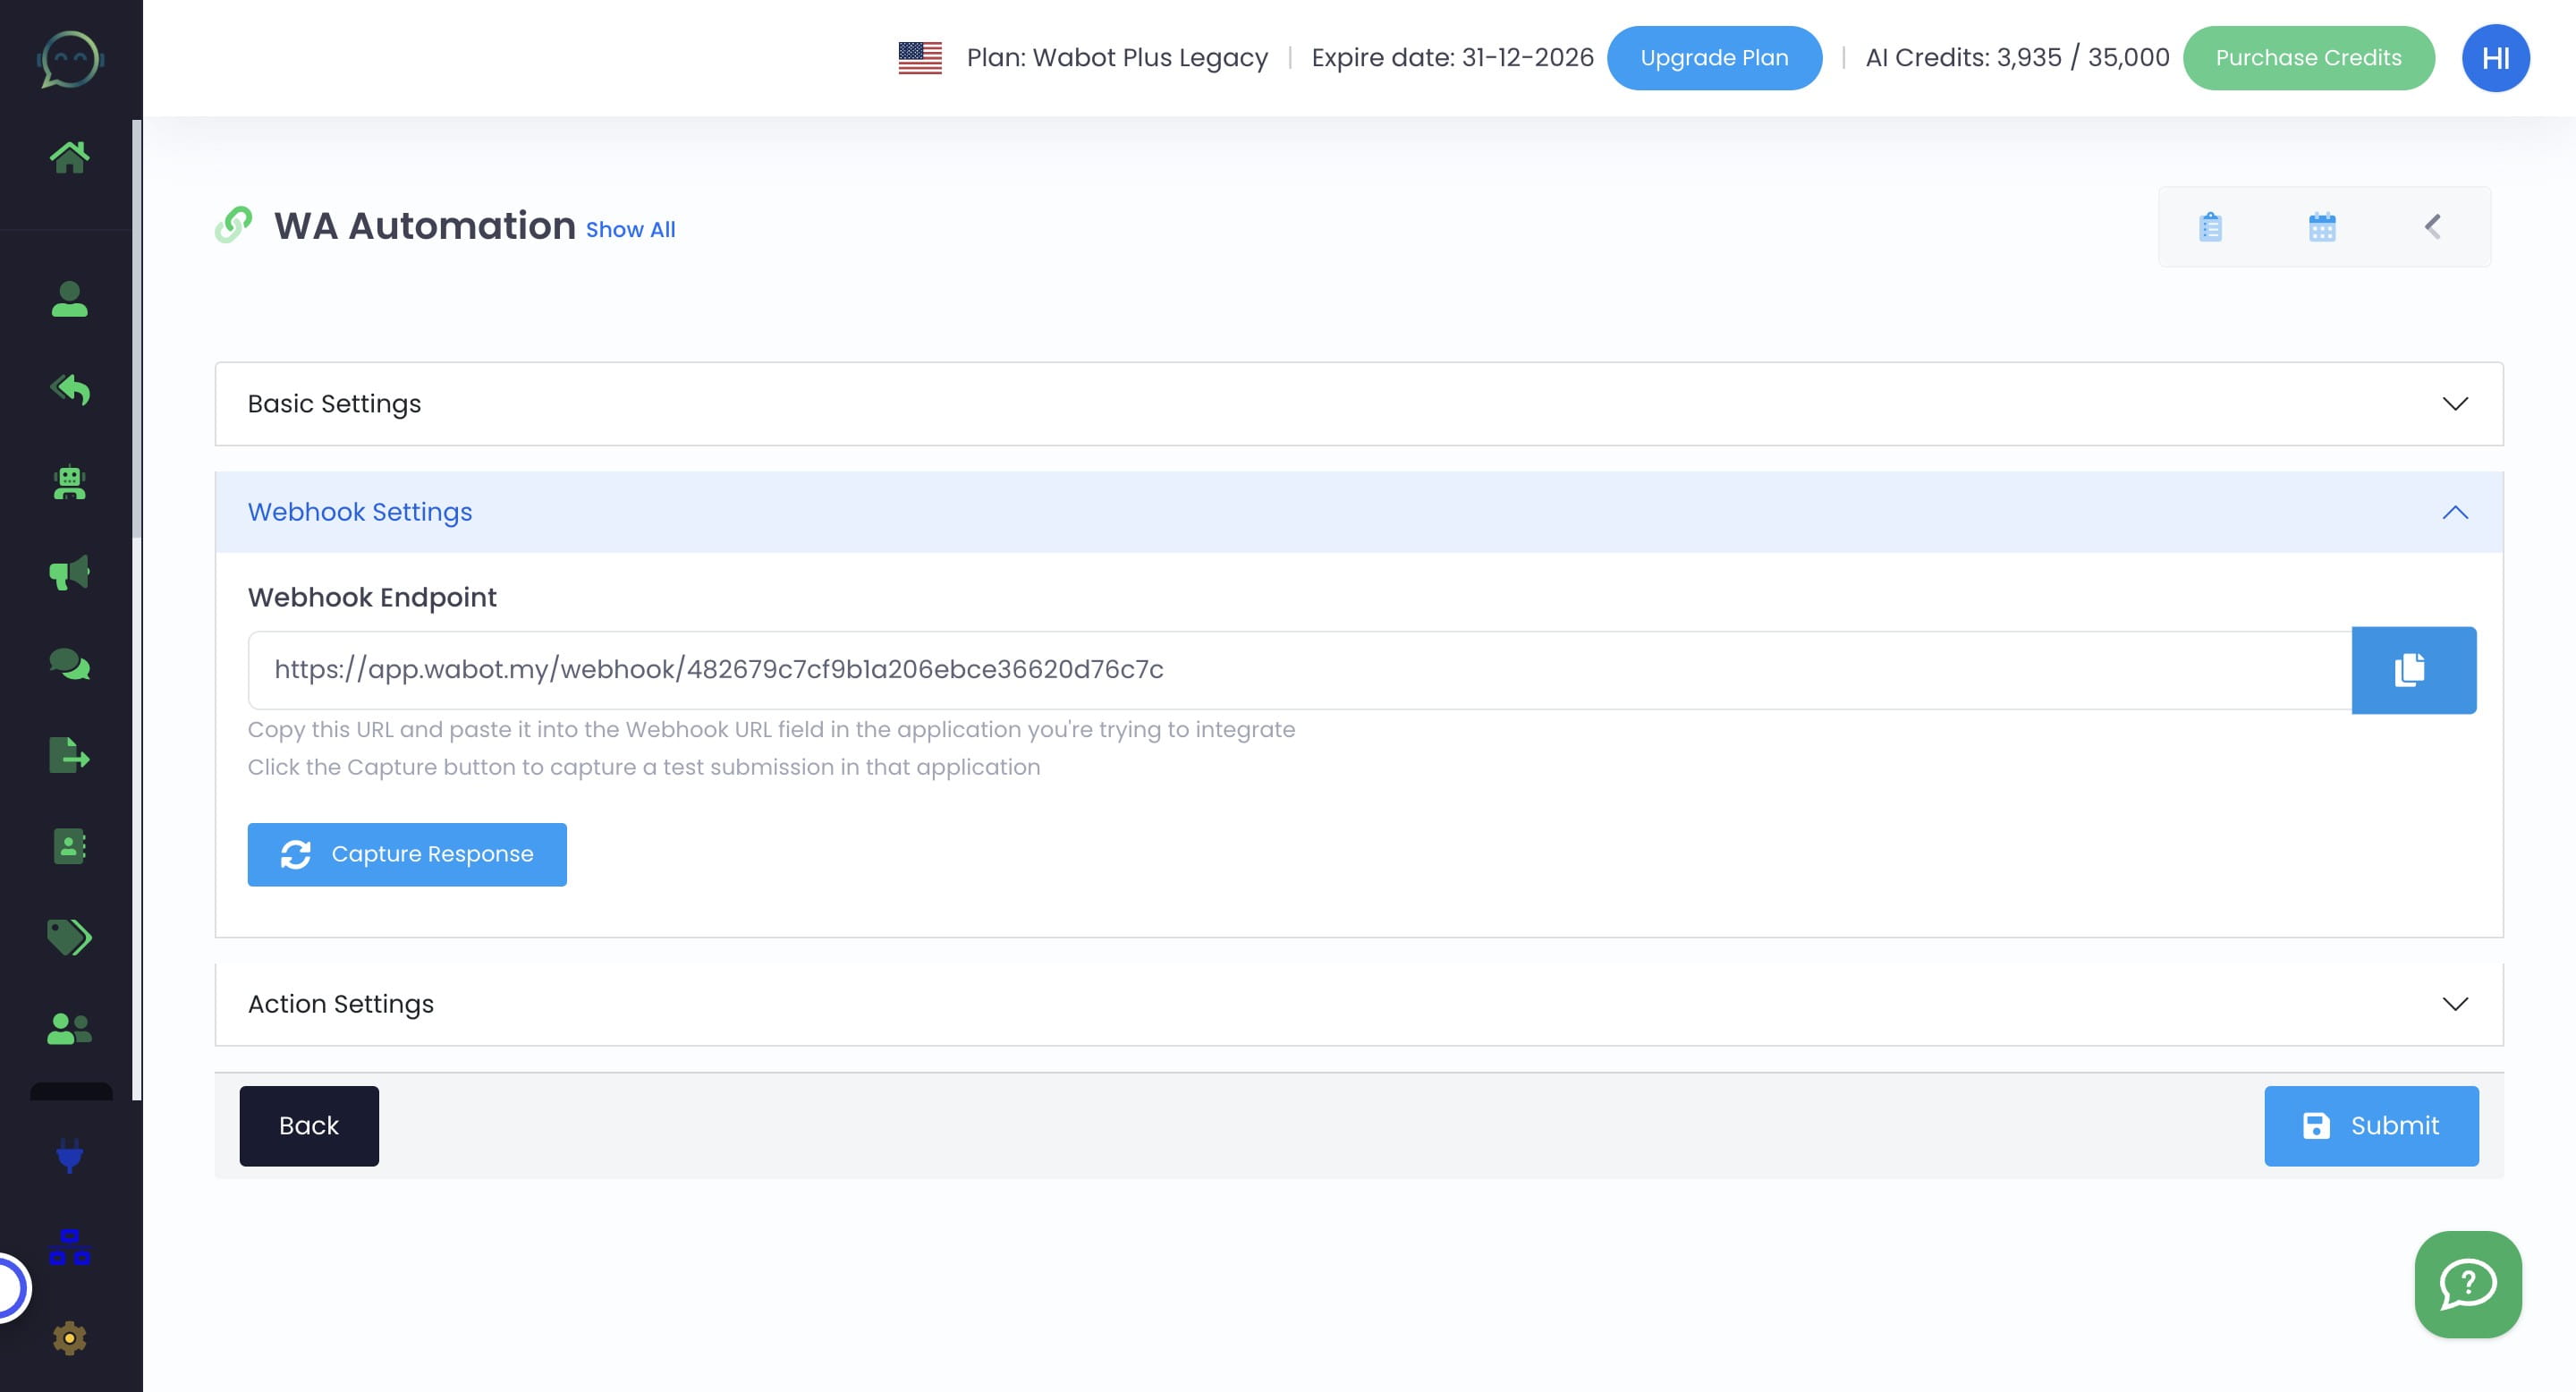
You have to send sample data from your website and then click "Capture Response"
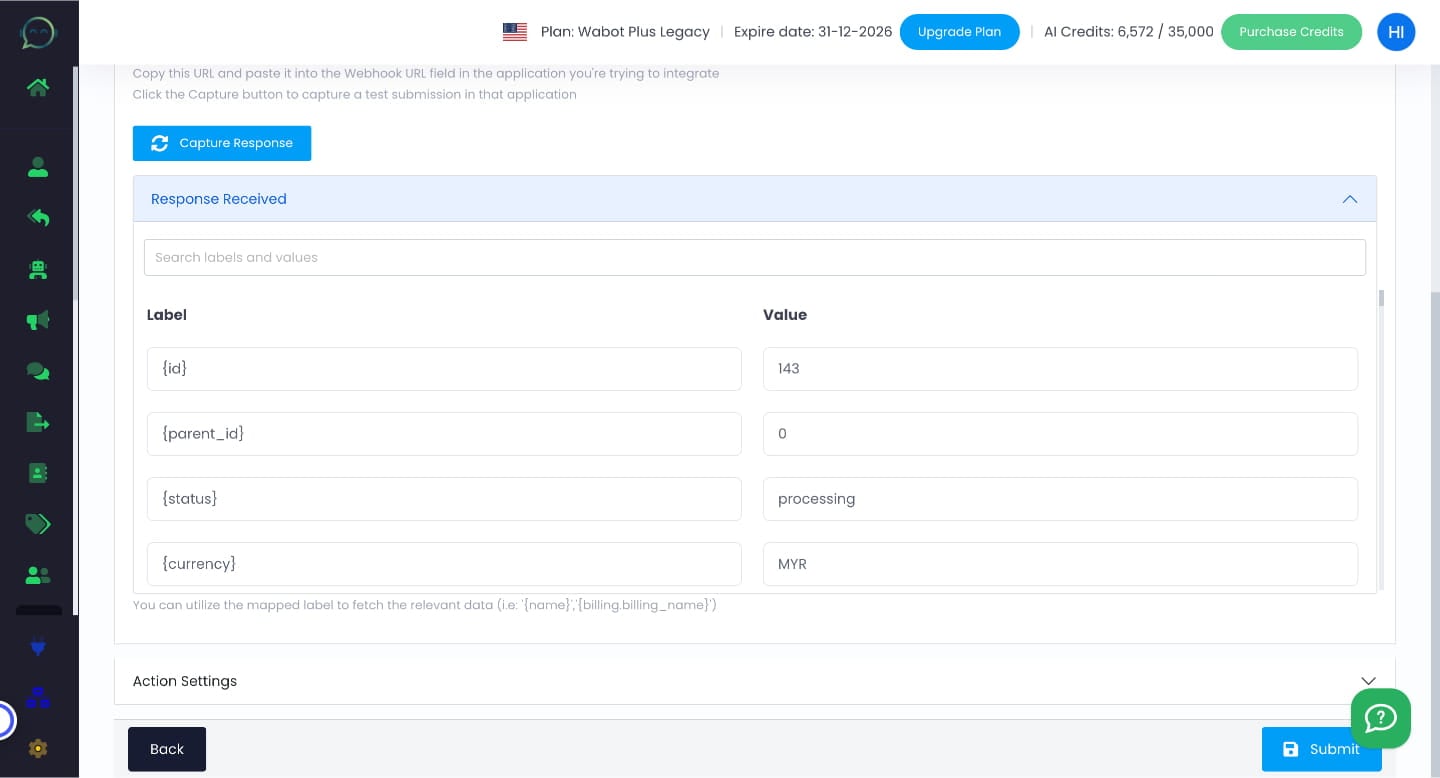
When the response has been received, it will show the table for label and value
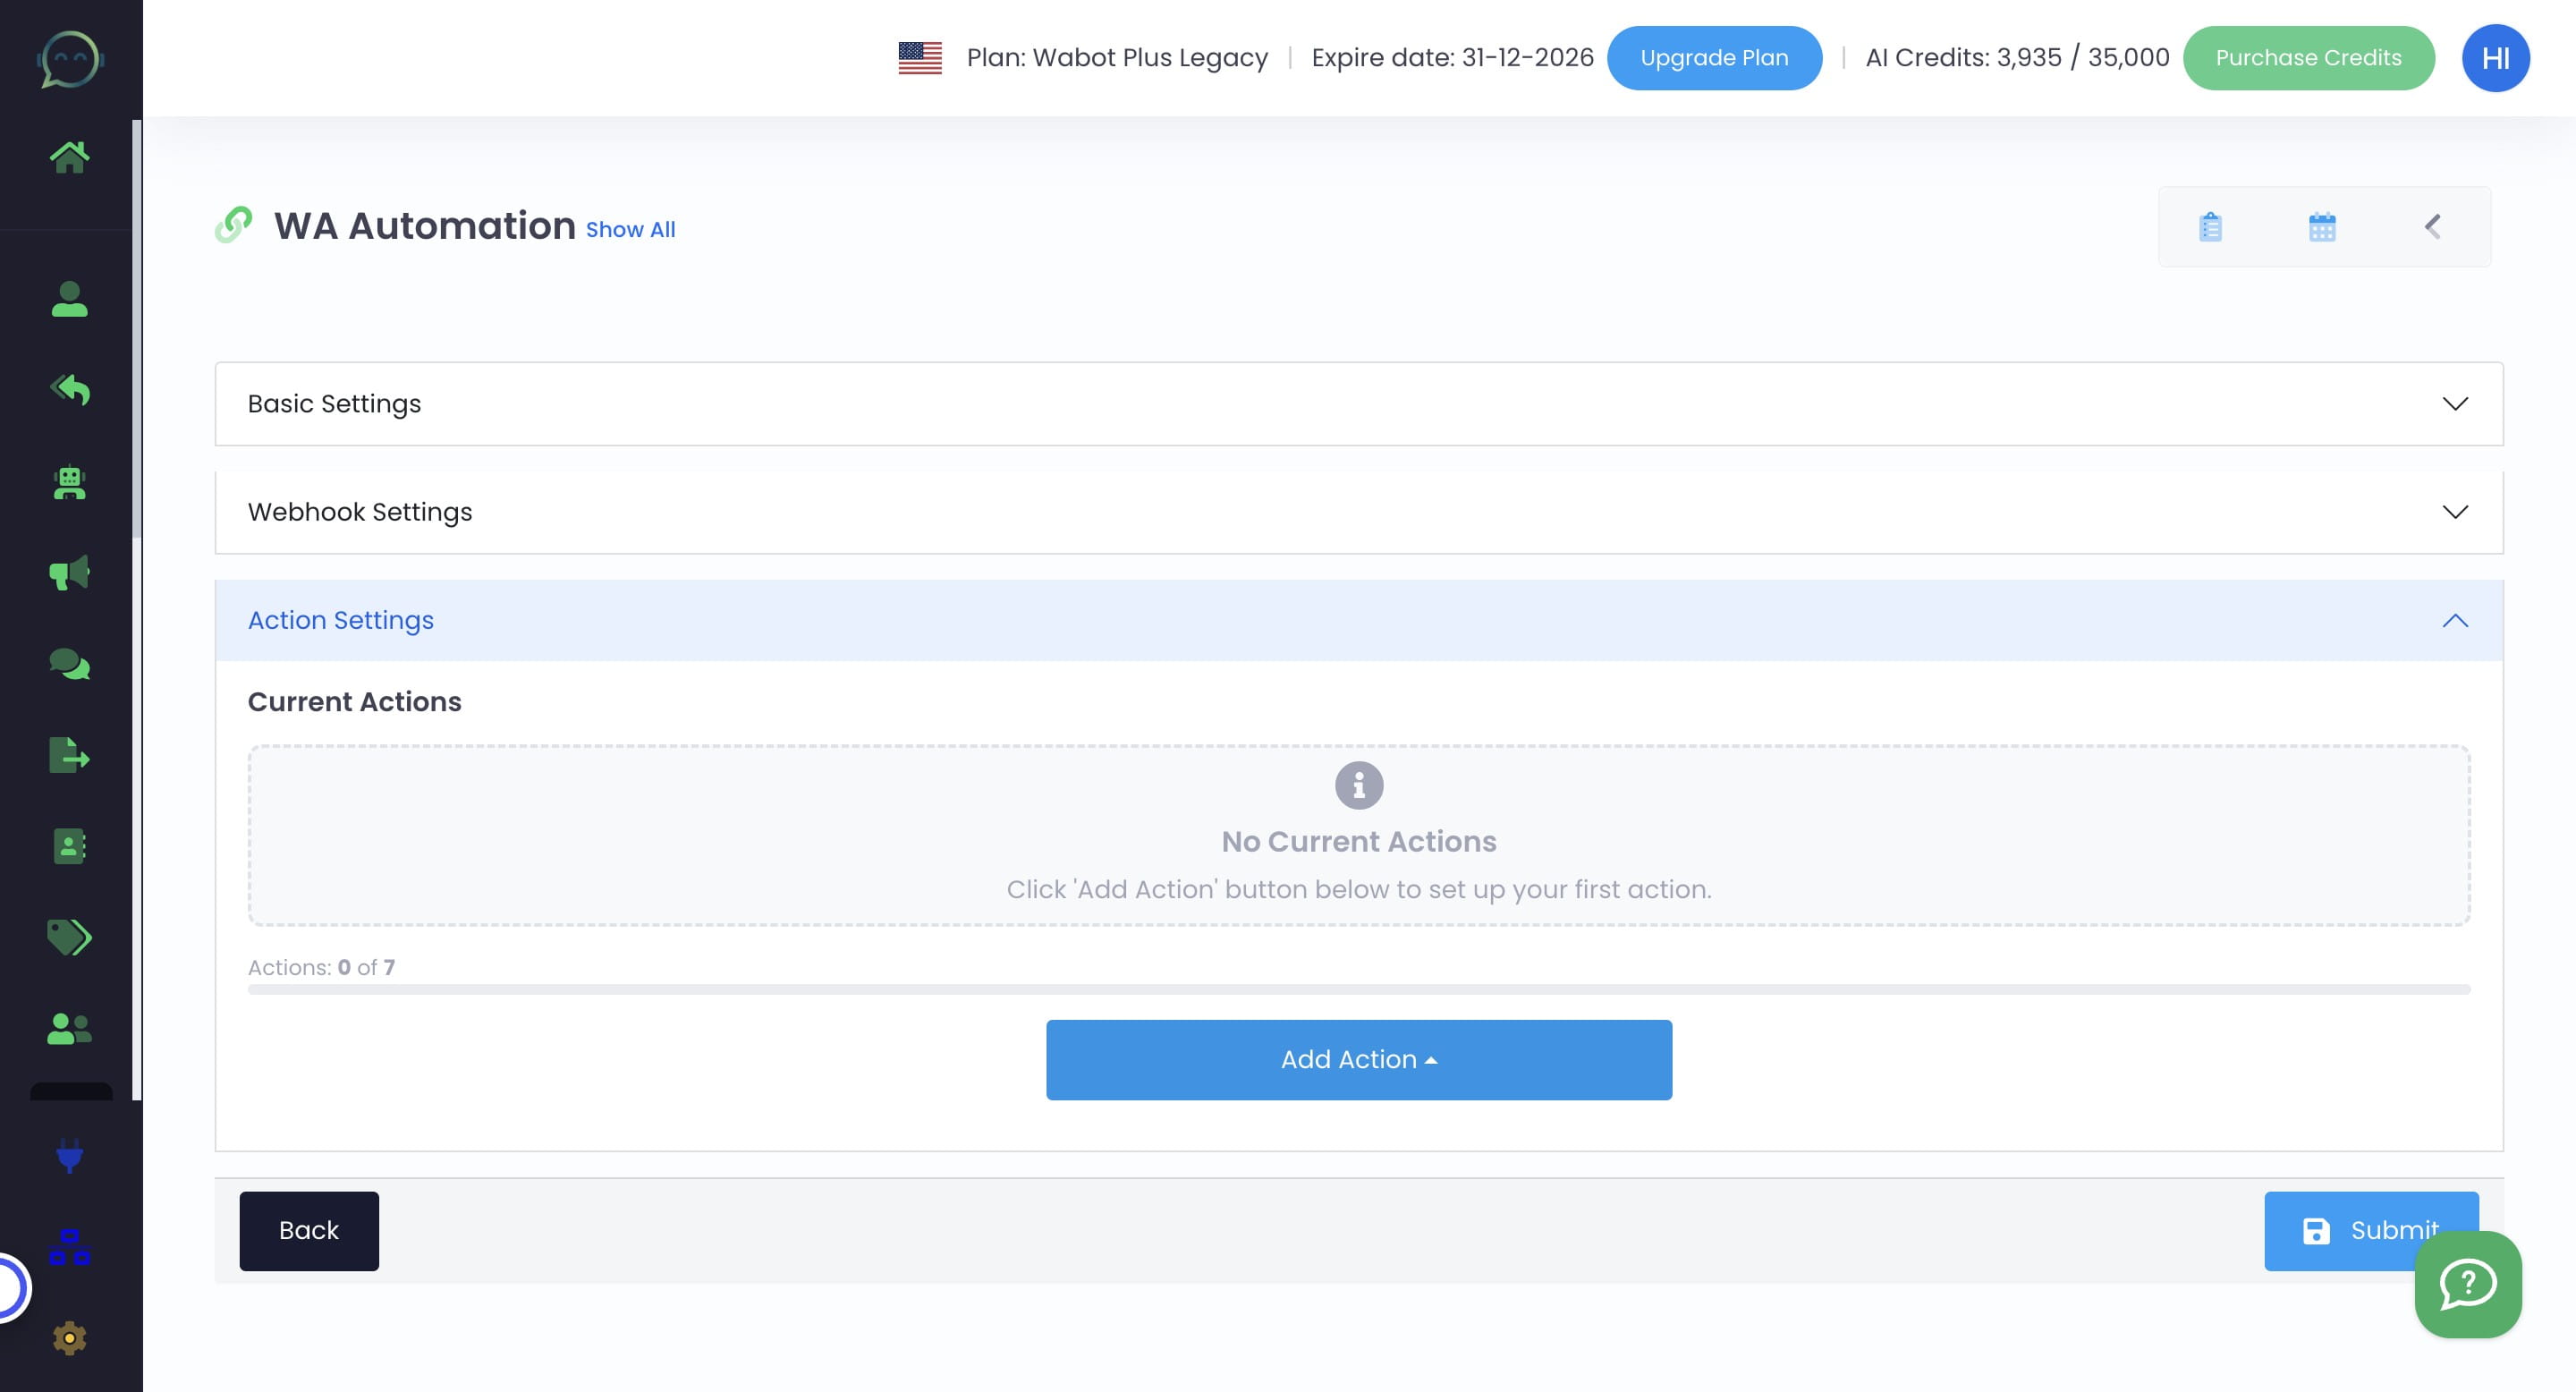
Click on "Action Settings"
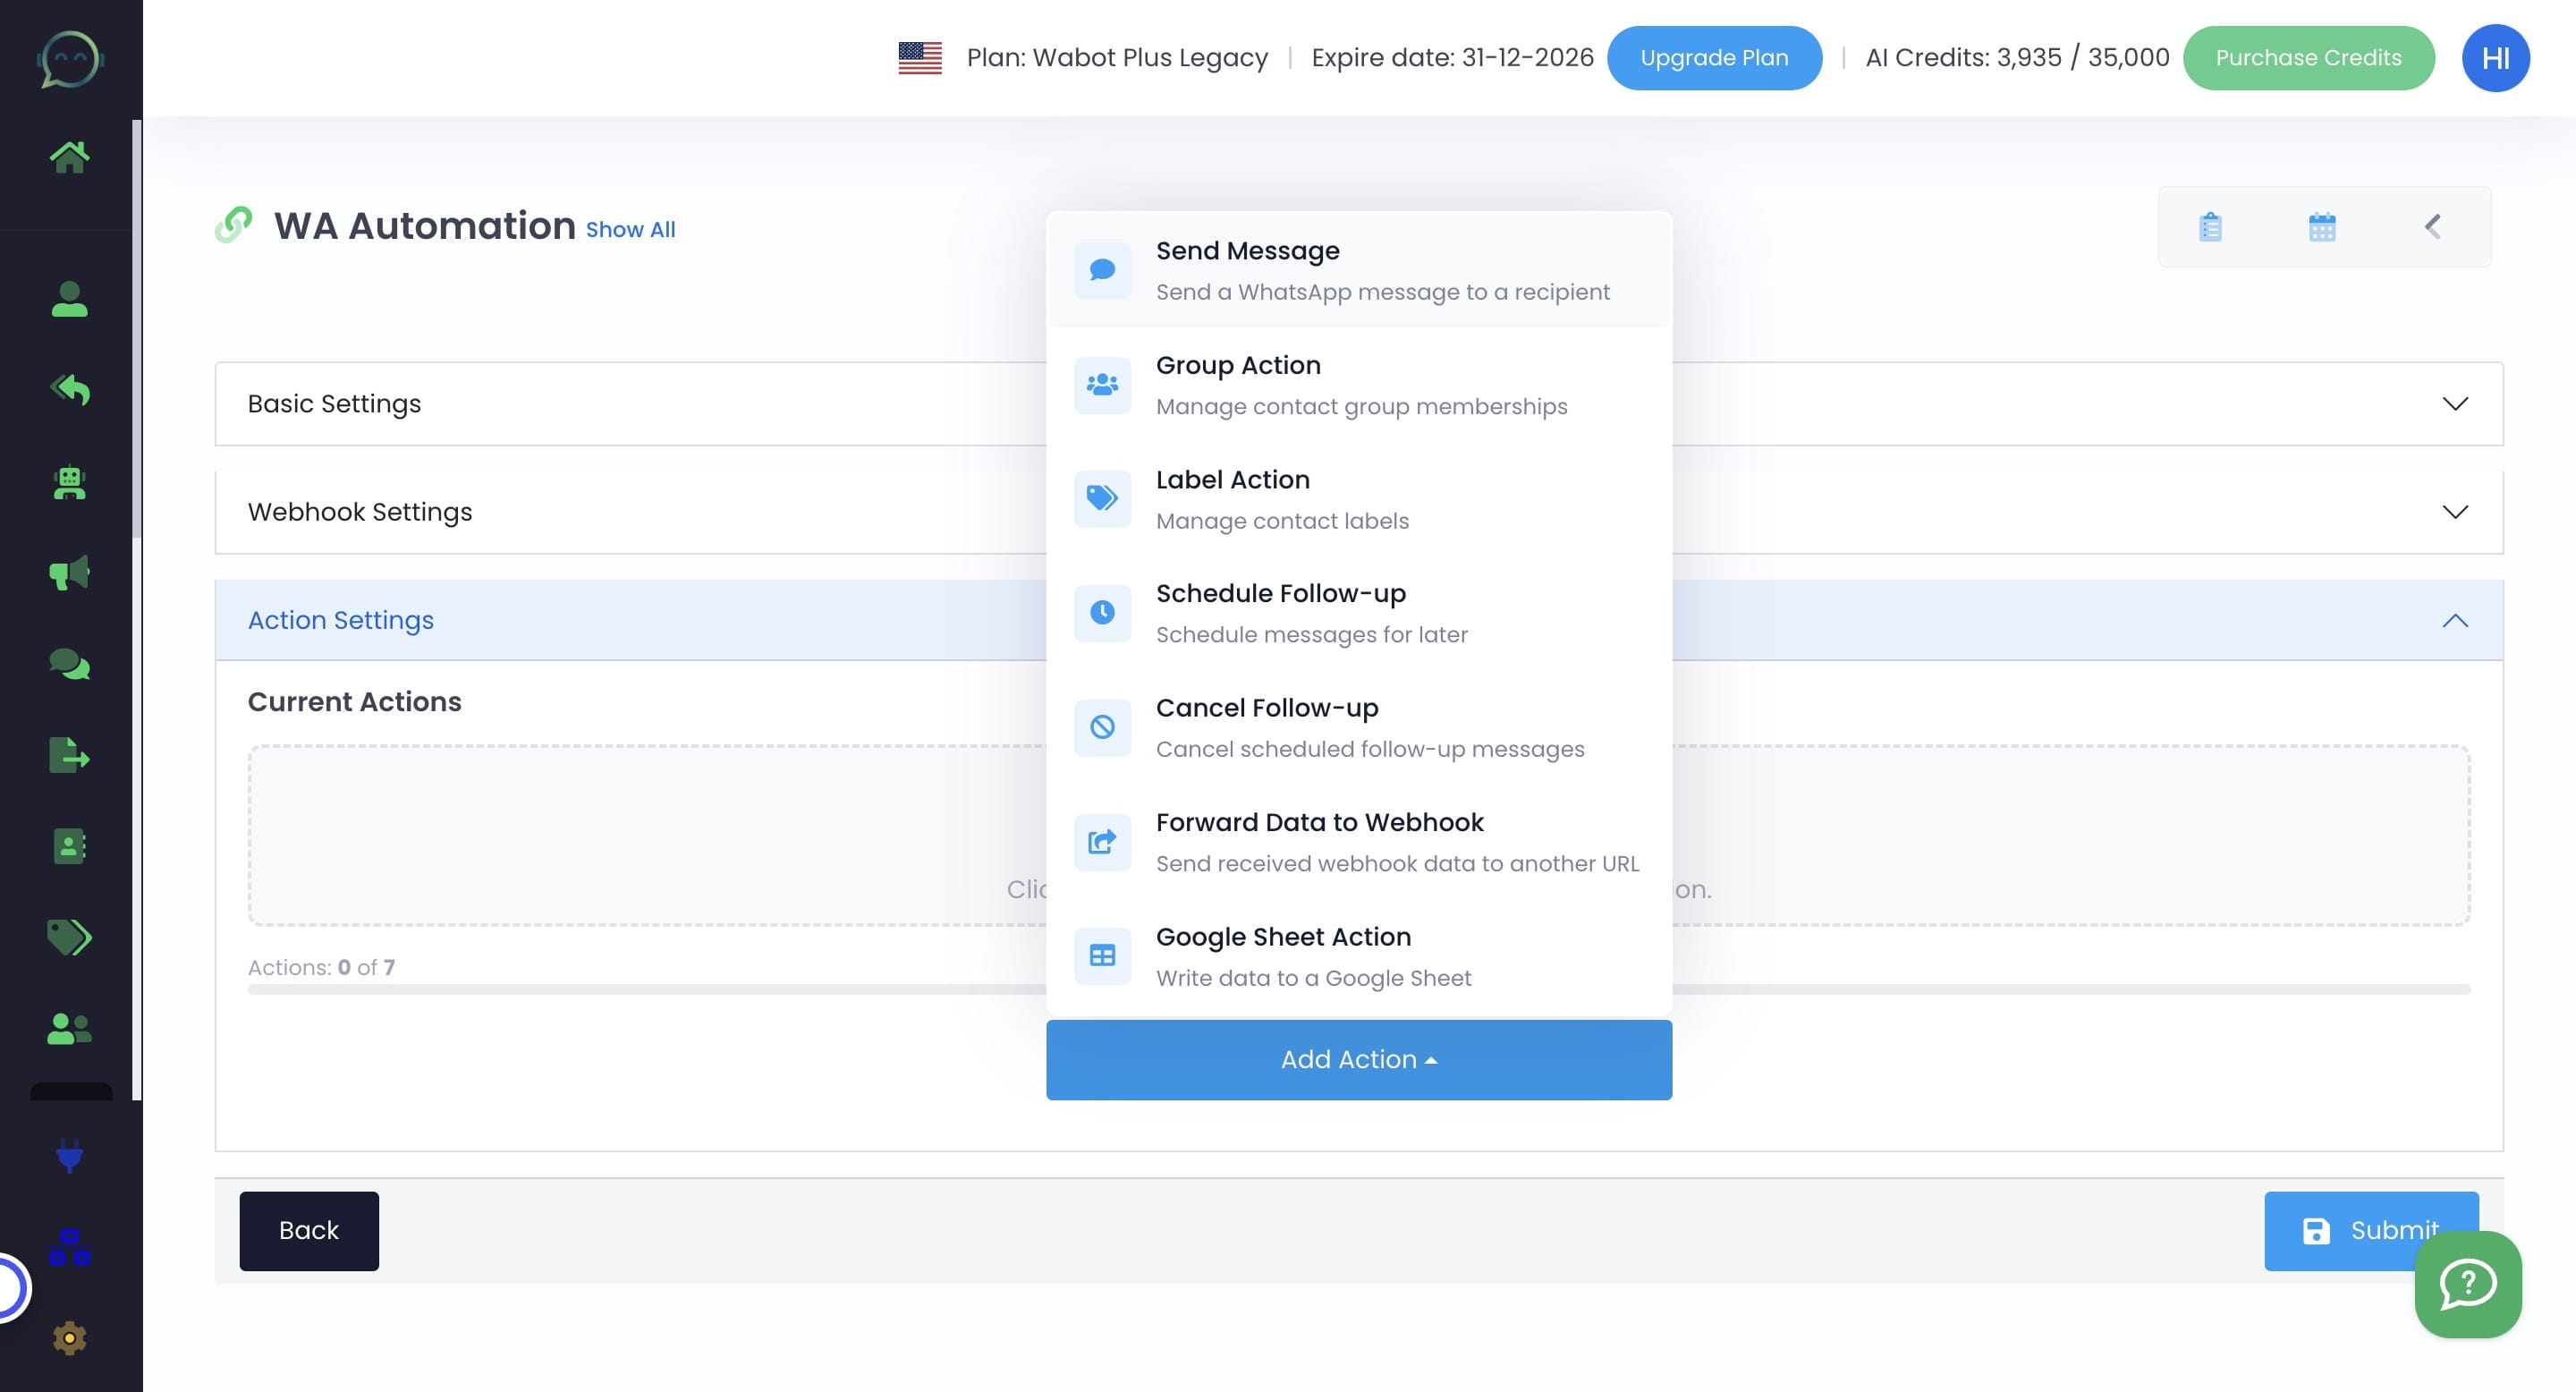
Click on "Add Action"
You can choose which action you want, depending on your flow. For example, here we use send message action
Choose how many seconds that it will show typing in WhatsApp before sending out message
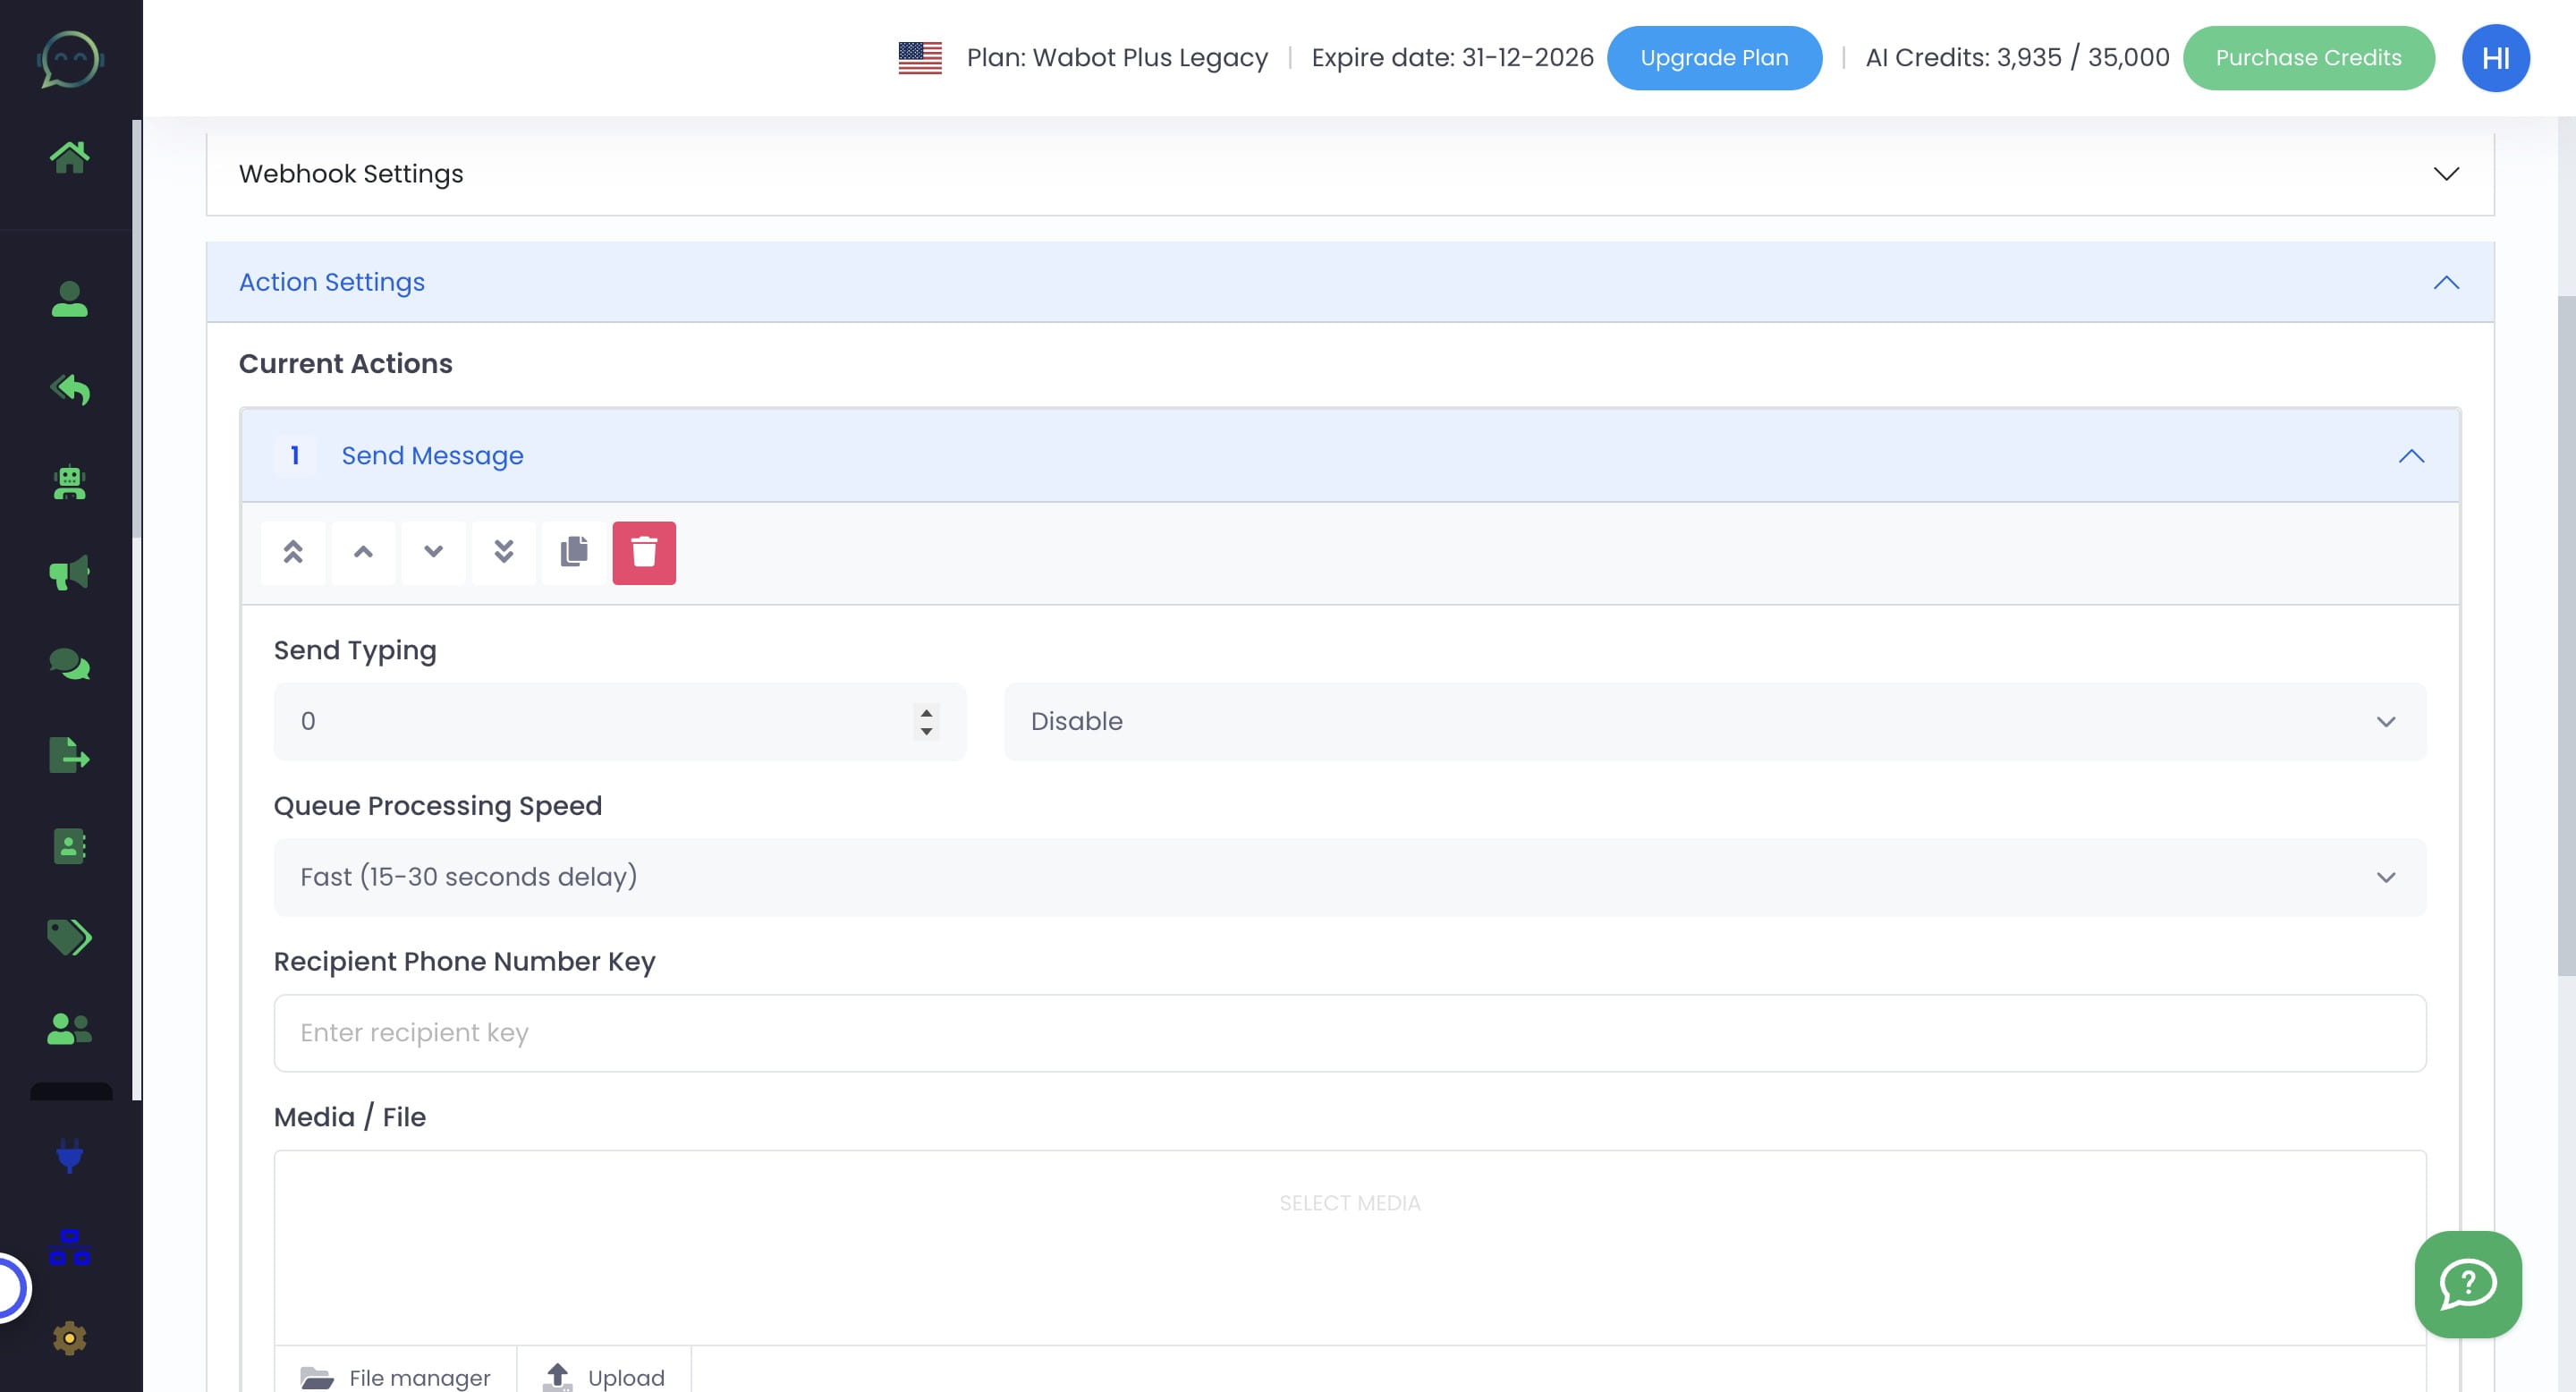
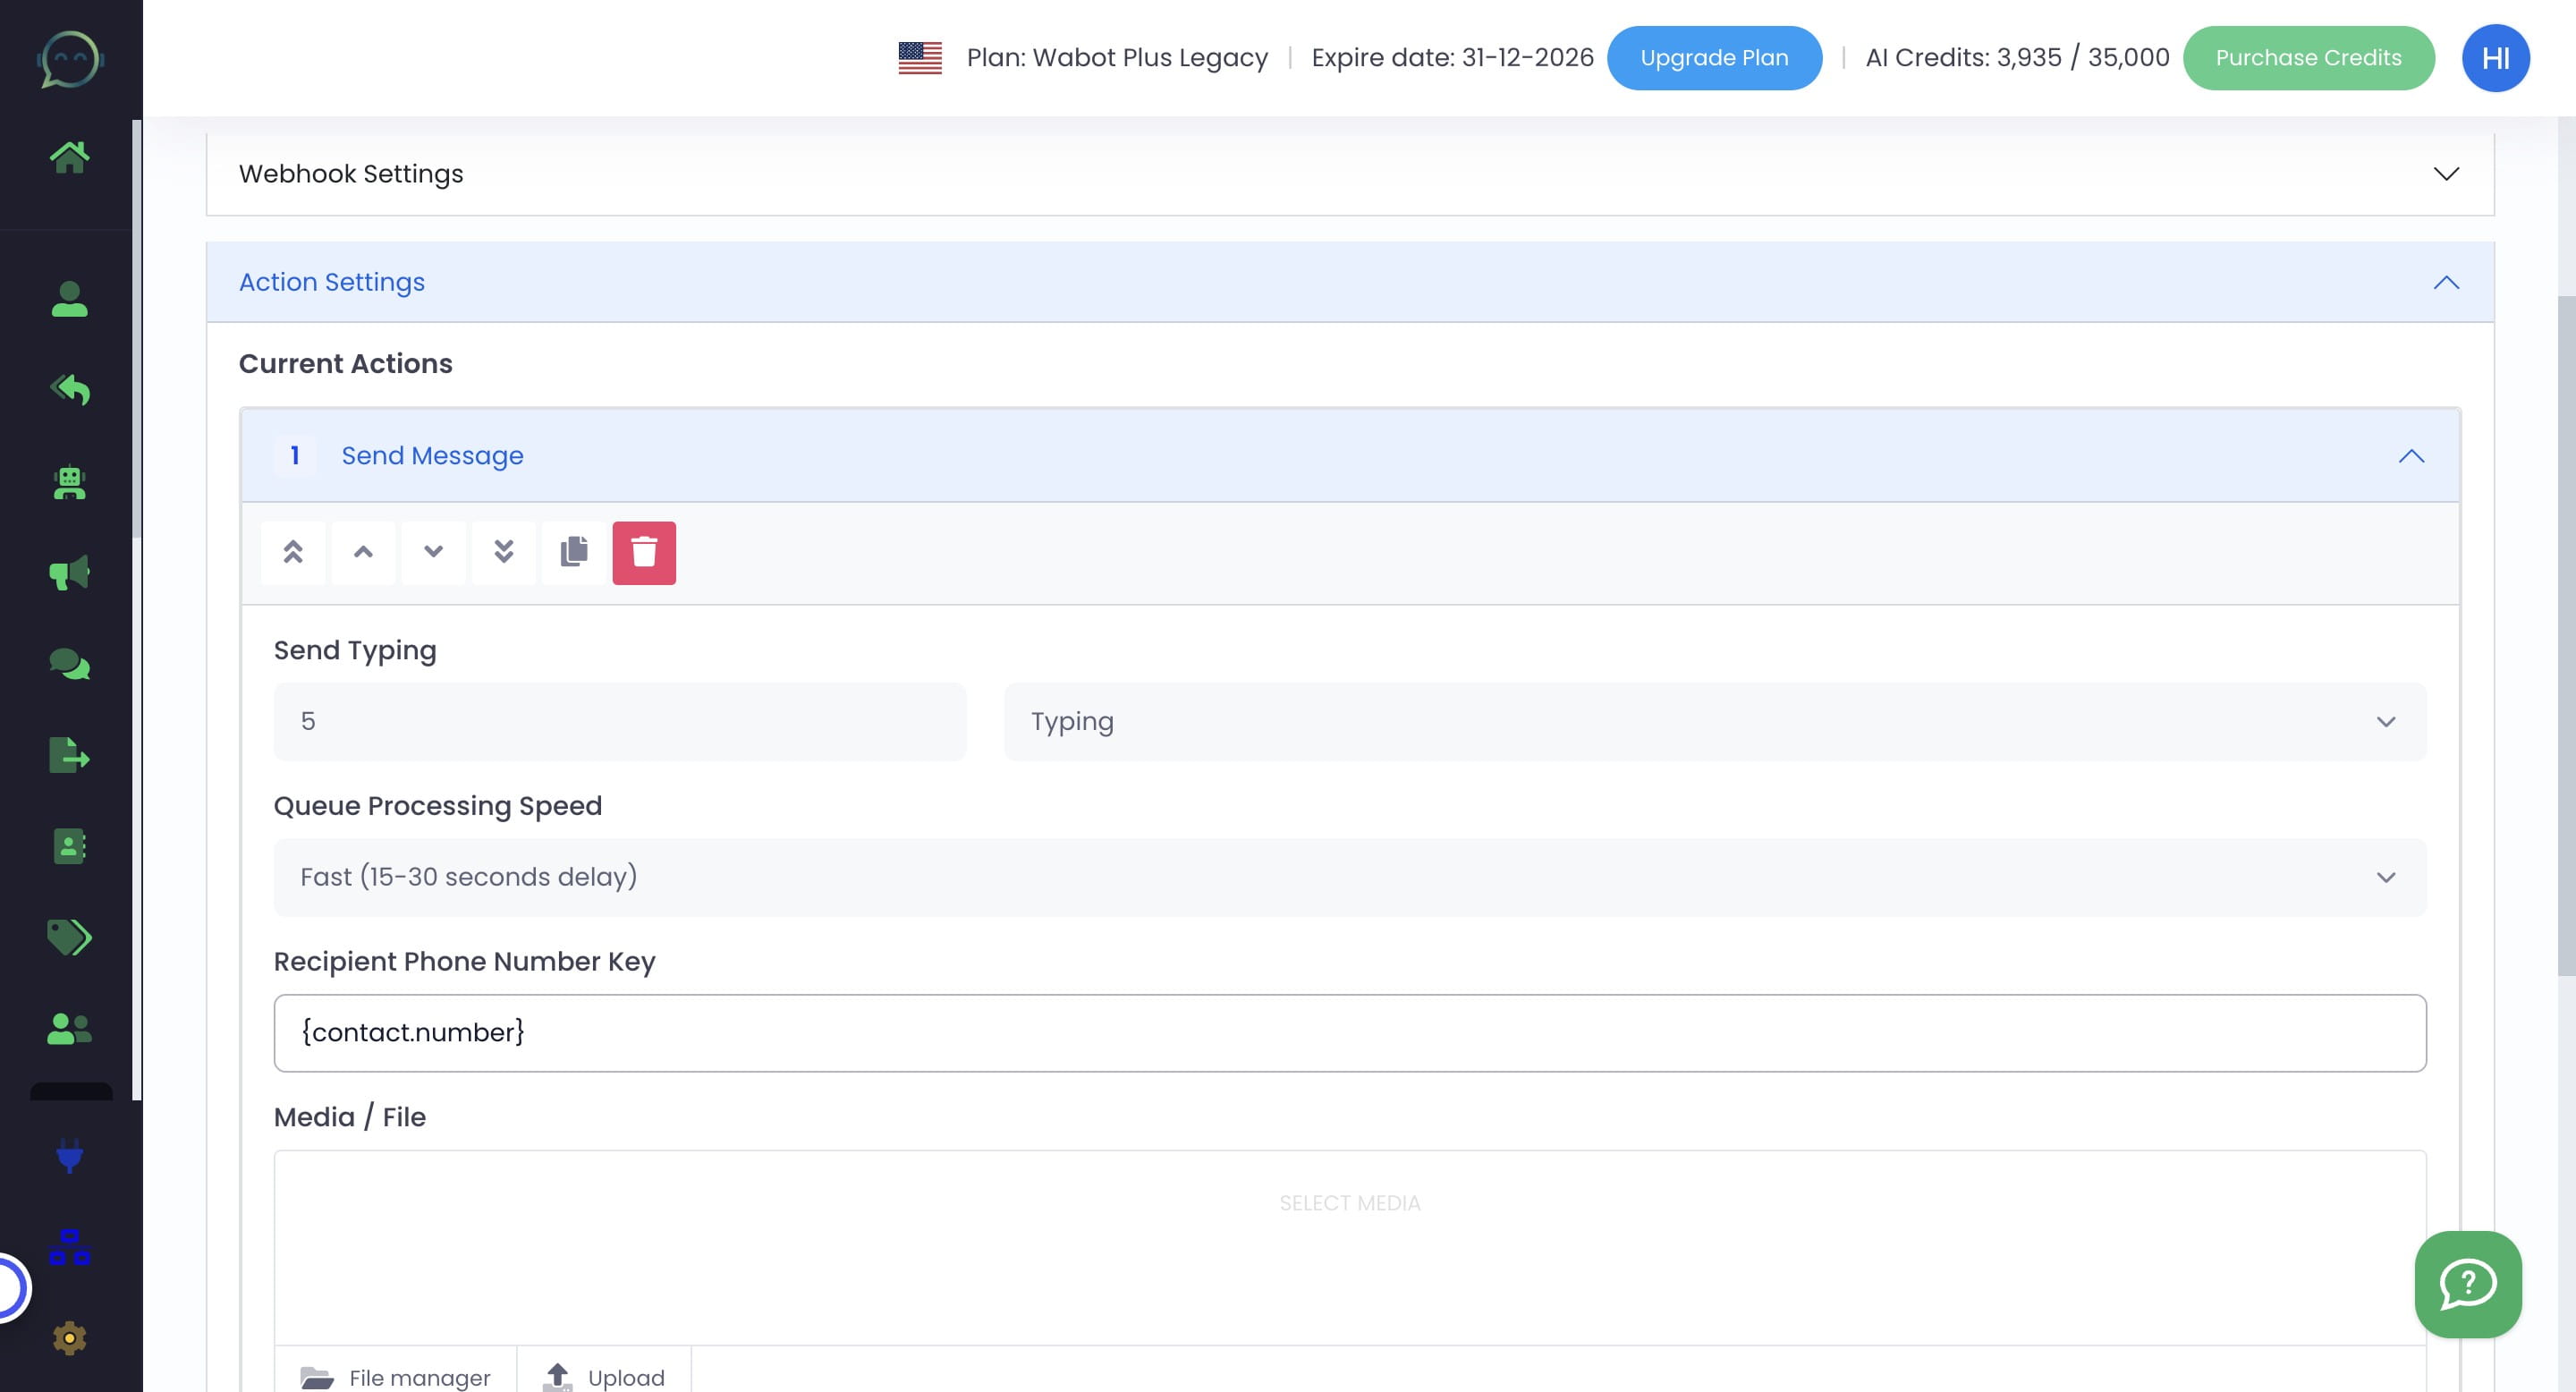
Click on "Disable" and choose "Typing"

Click on "Fast (15-30 seconds delay)" or choose the speed depending on your preferences

Enter recipient phone number key, this one is depends on your response received for phone number
Click on "Upload" if you want to insert any media in the message
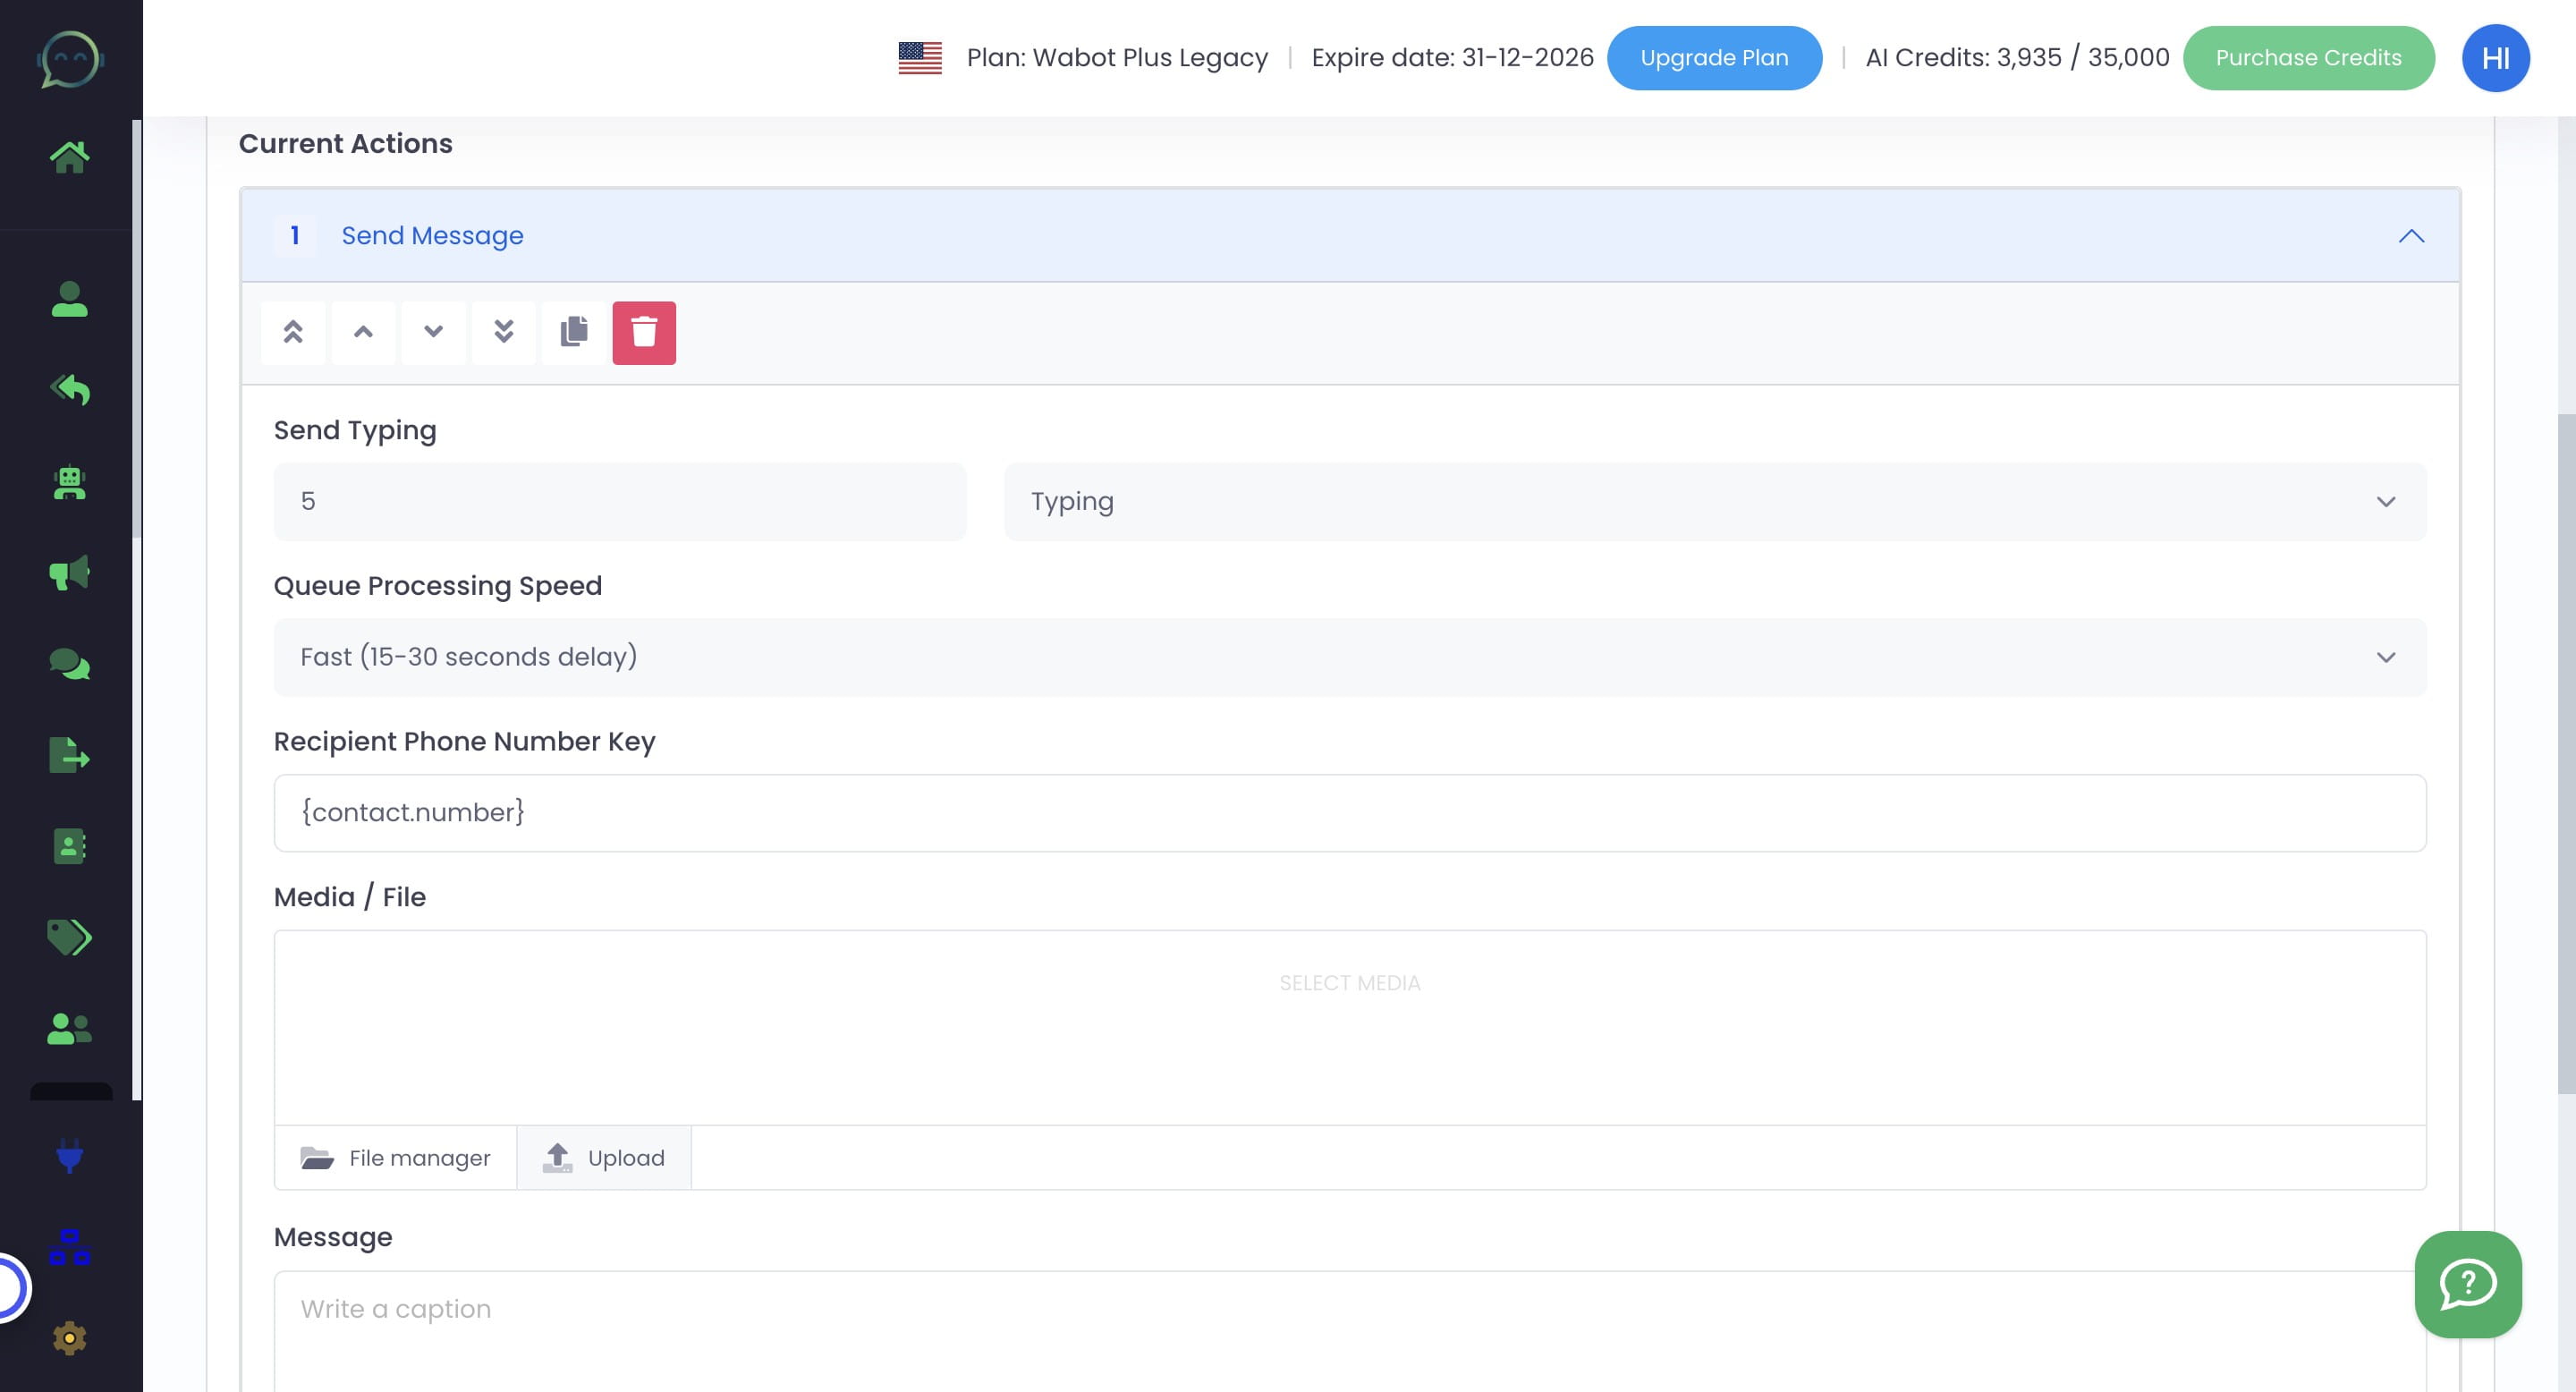
Insert the message you want to send
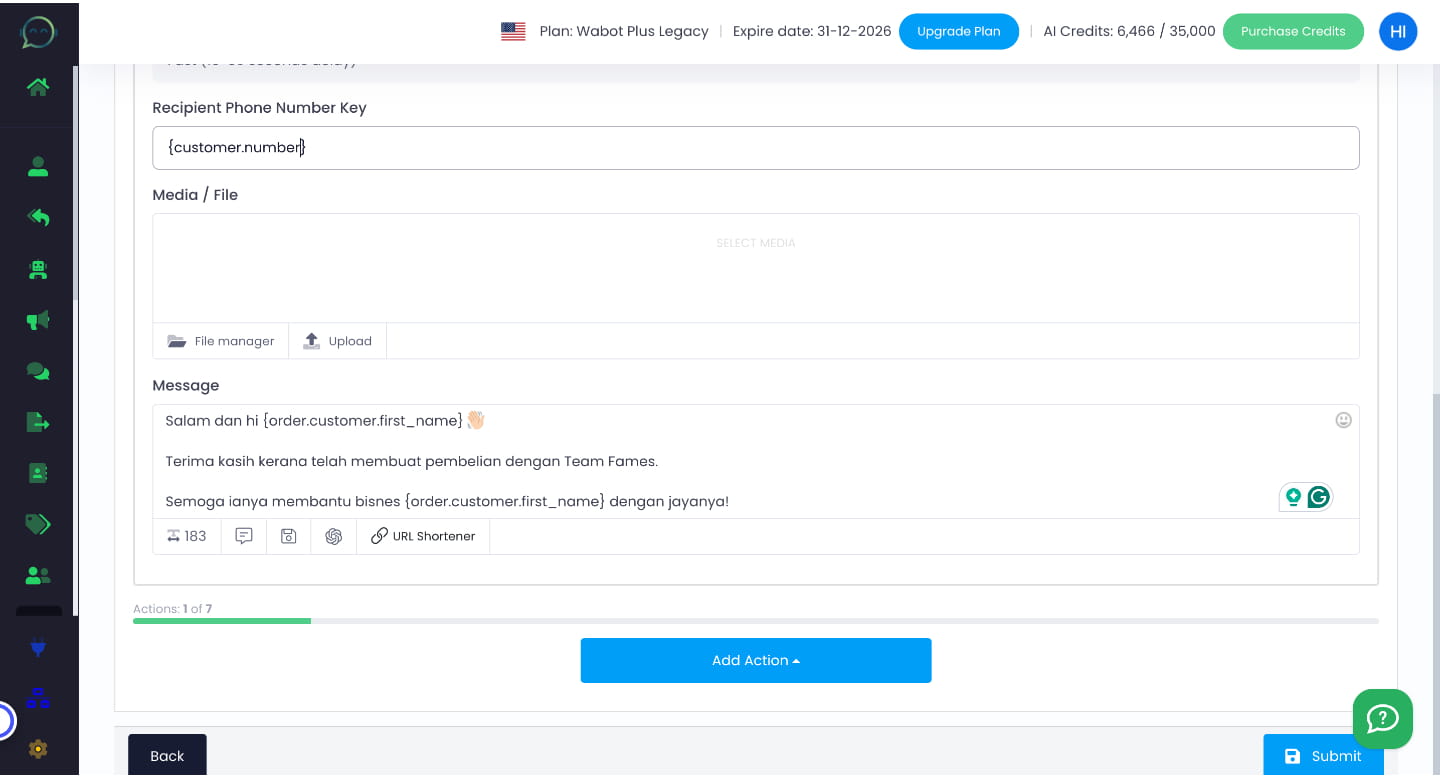
You can mention any information about the customer using the label here. You can search the label or simply scroll down to the bottom
The data above will only appear if the webhook has been passed and the response has been received. Or else it will not appear
You can still add action after another. The limit is based on your Wabot plan whether it is Plus, Premier or Platinum
Don't forget to click submit
Done 🚀