How to Create Contact Group & Uploading Contact
Learn how to upload and manage contacts in a WhatsApp bot. Ensure your contact list is organized and verified before broadcasting for effective communication and engagement.
Navigate to https://app.wabot.my/dashboard
Click on "WA Contact"
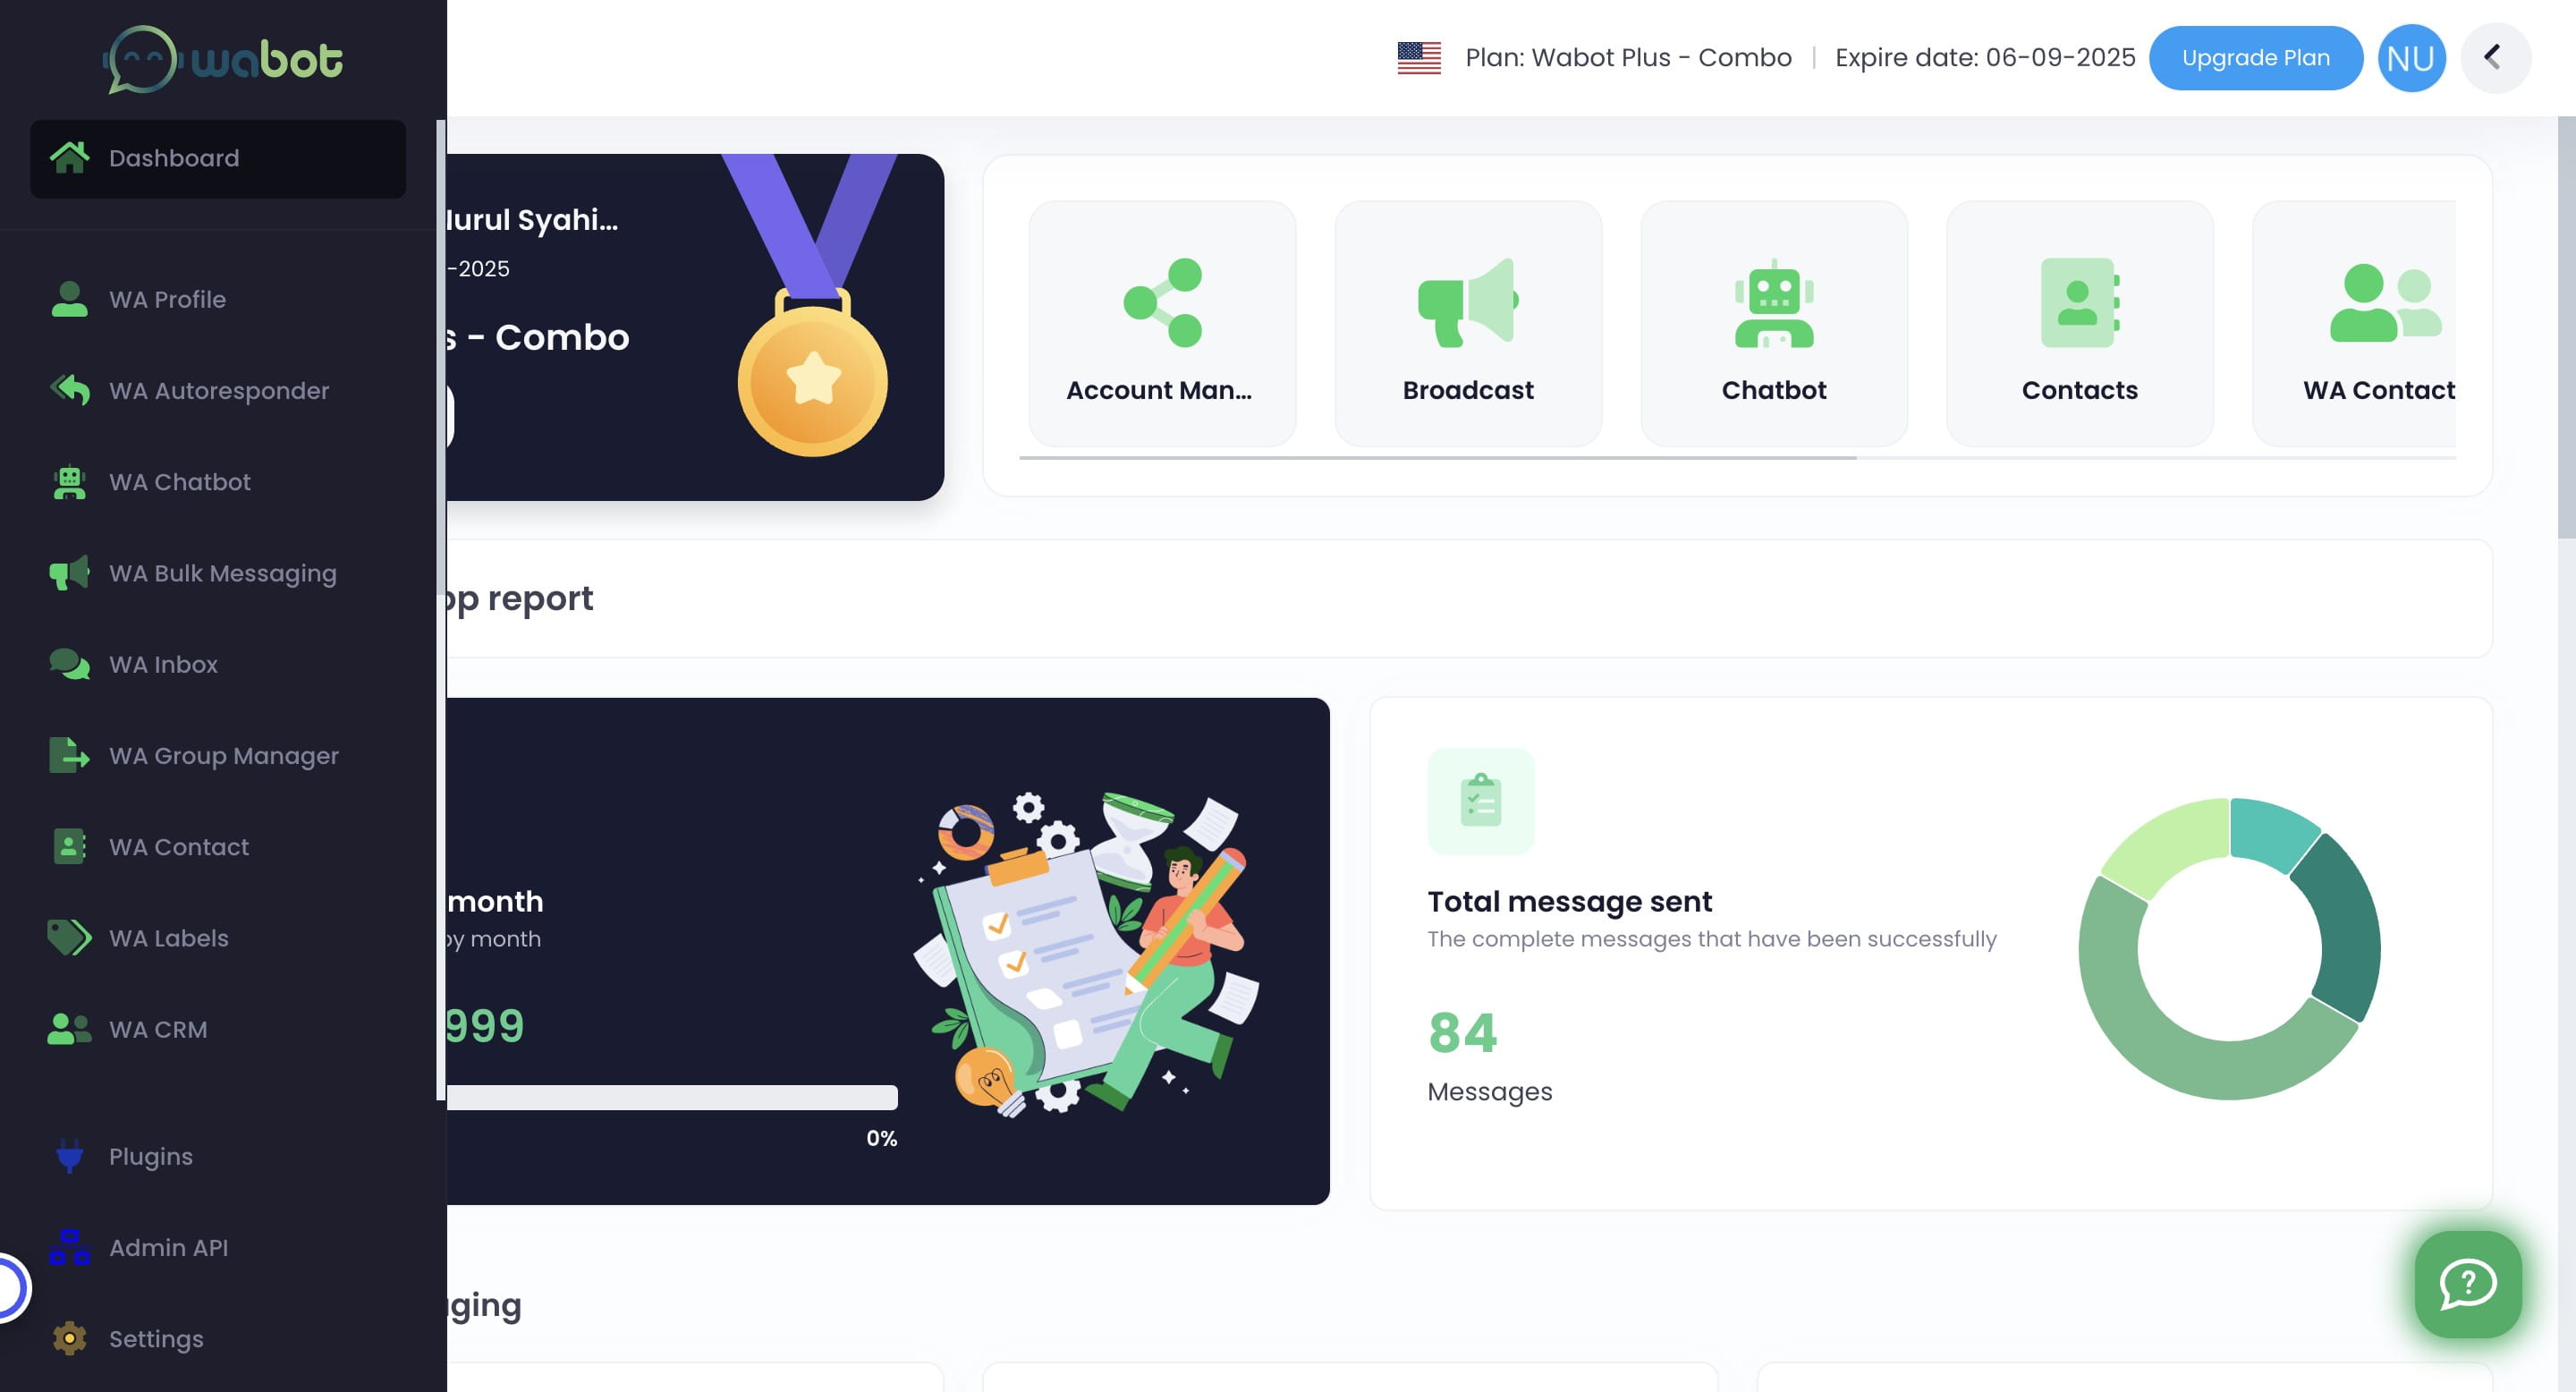

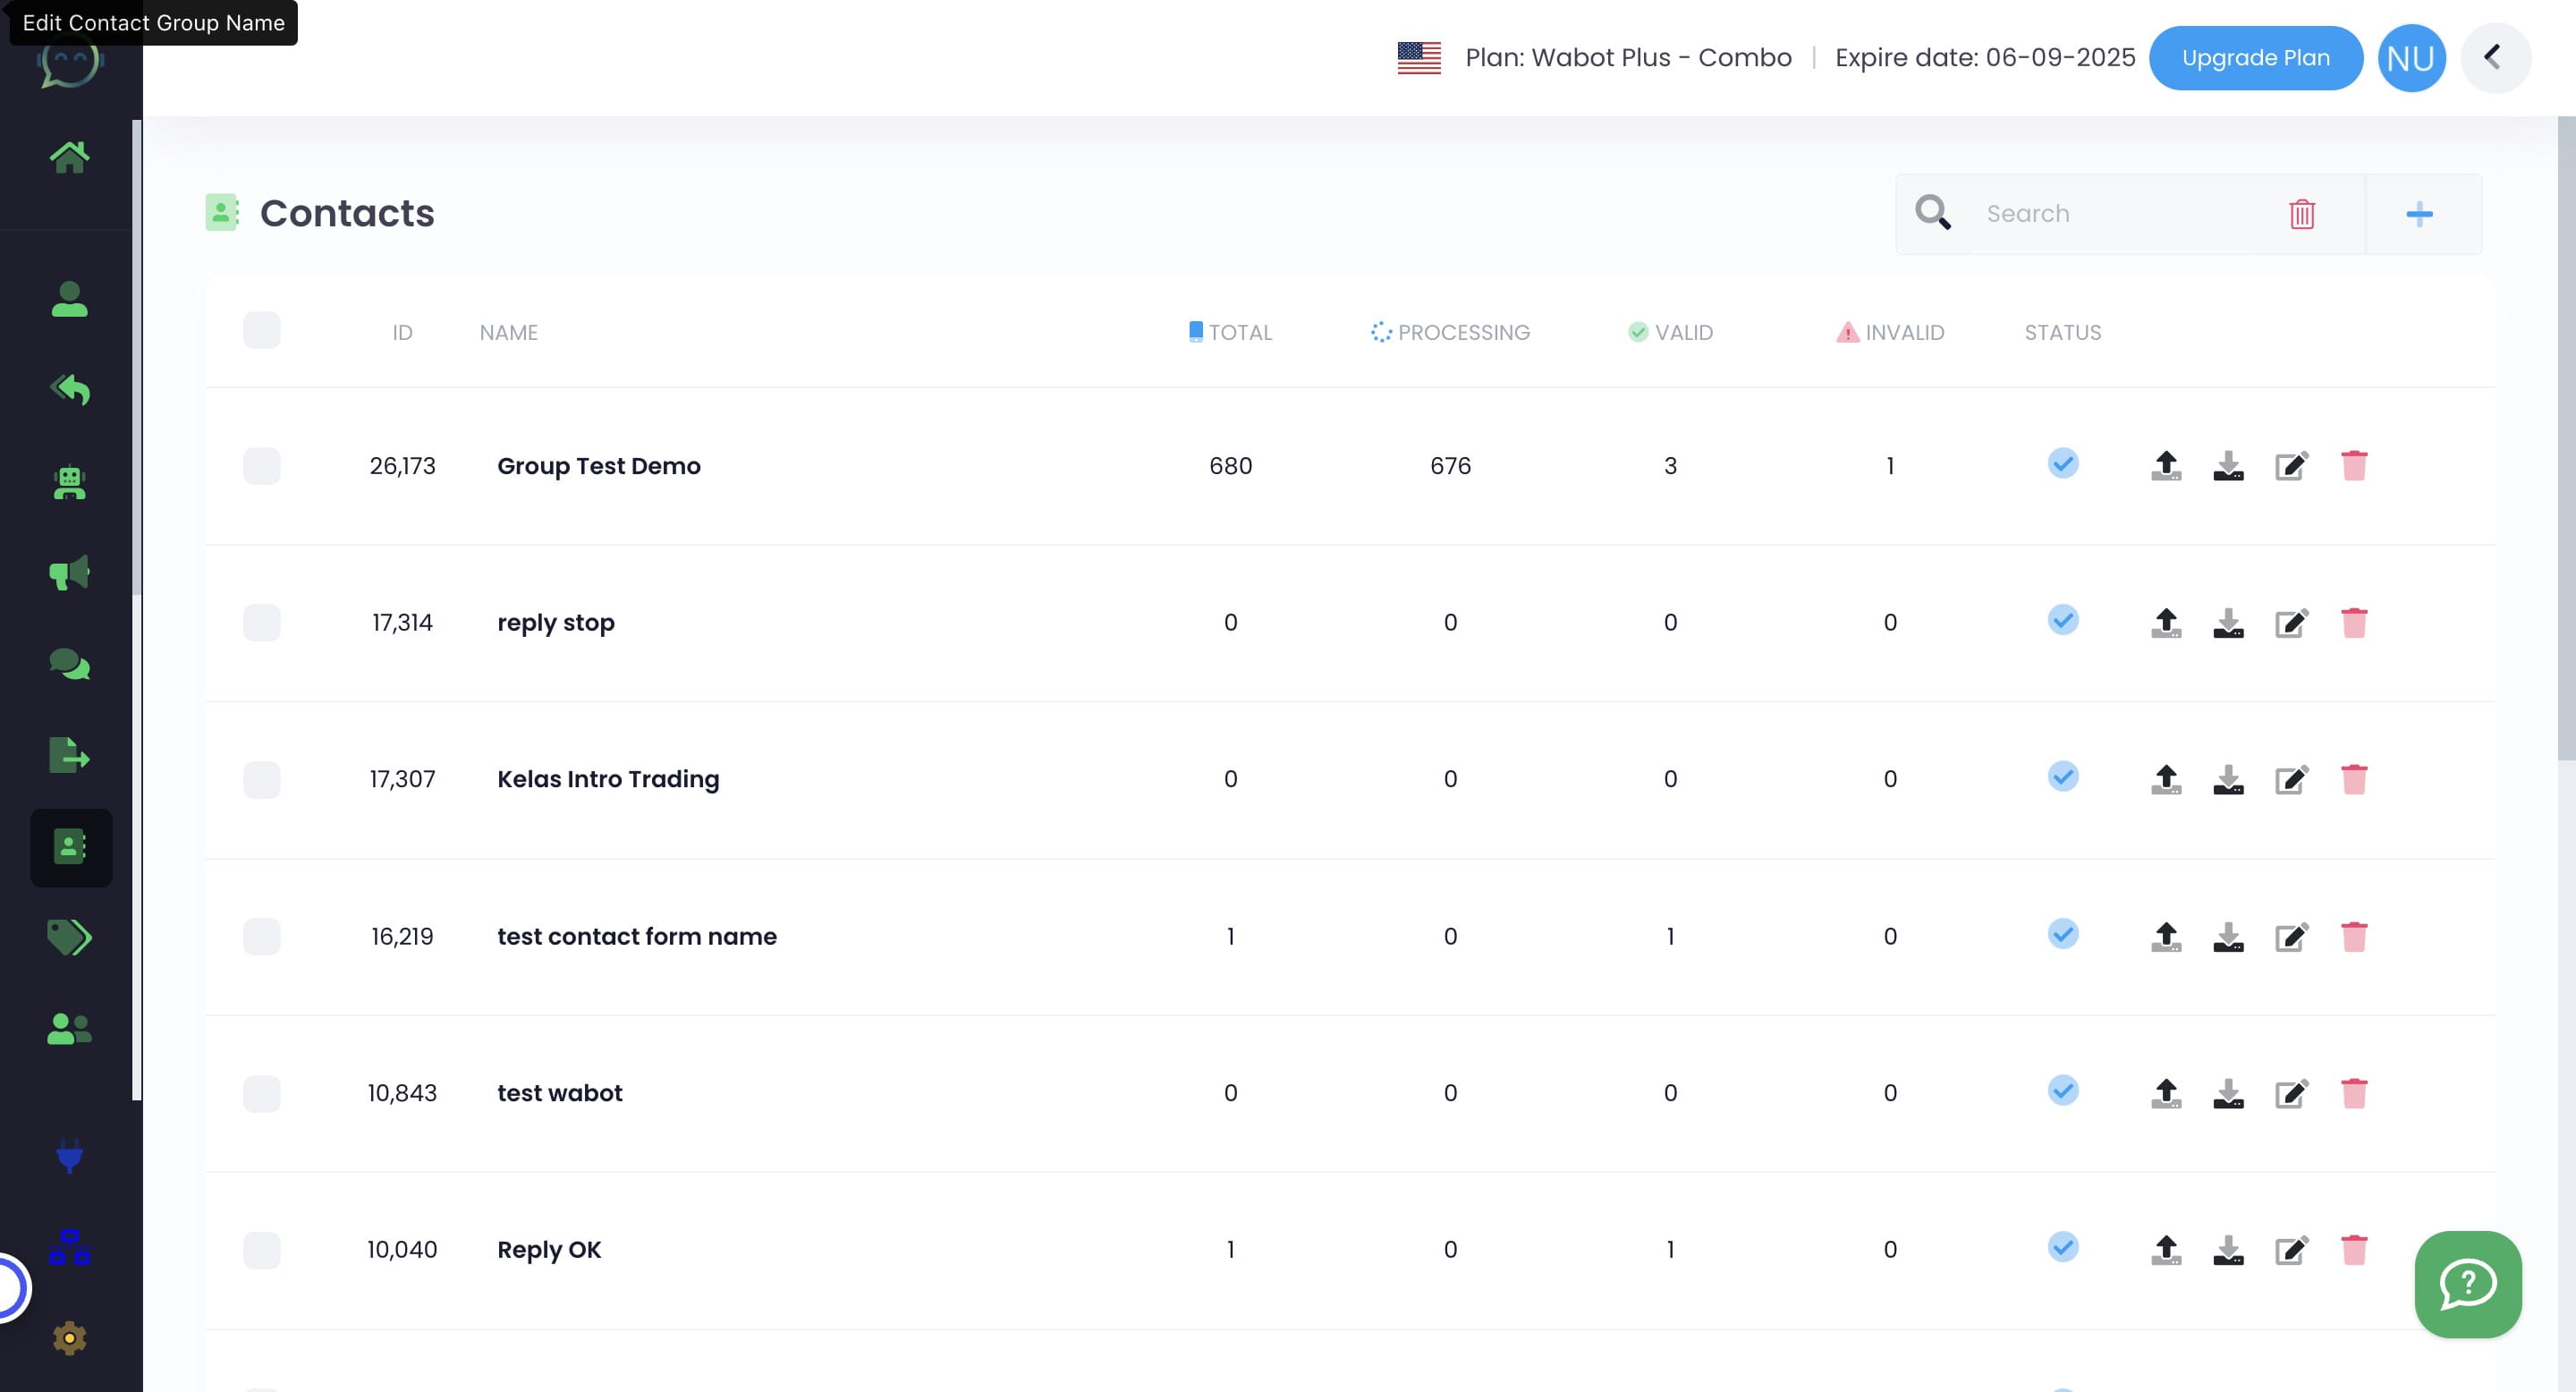
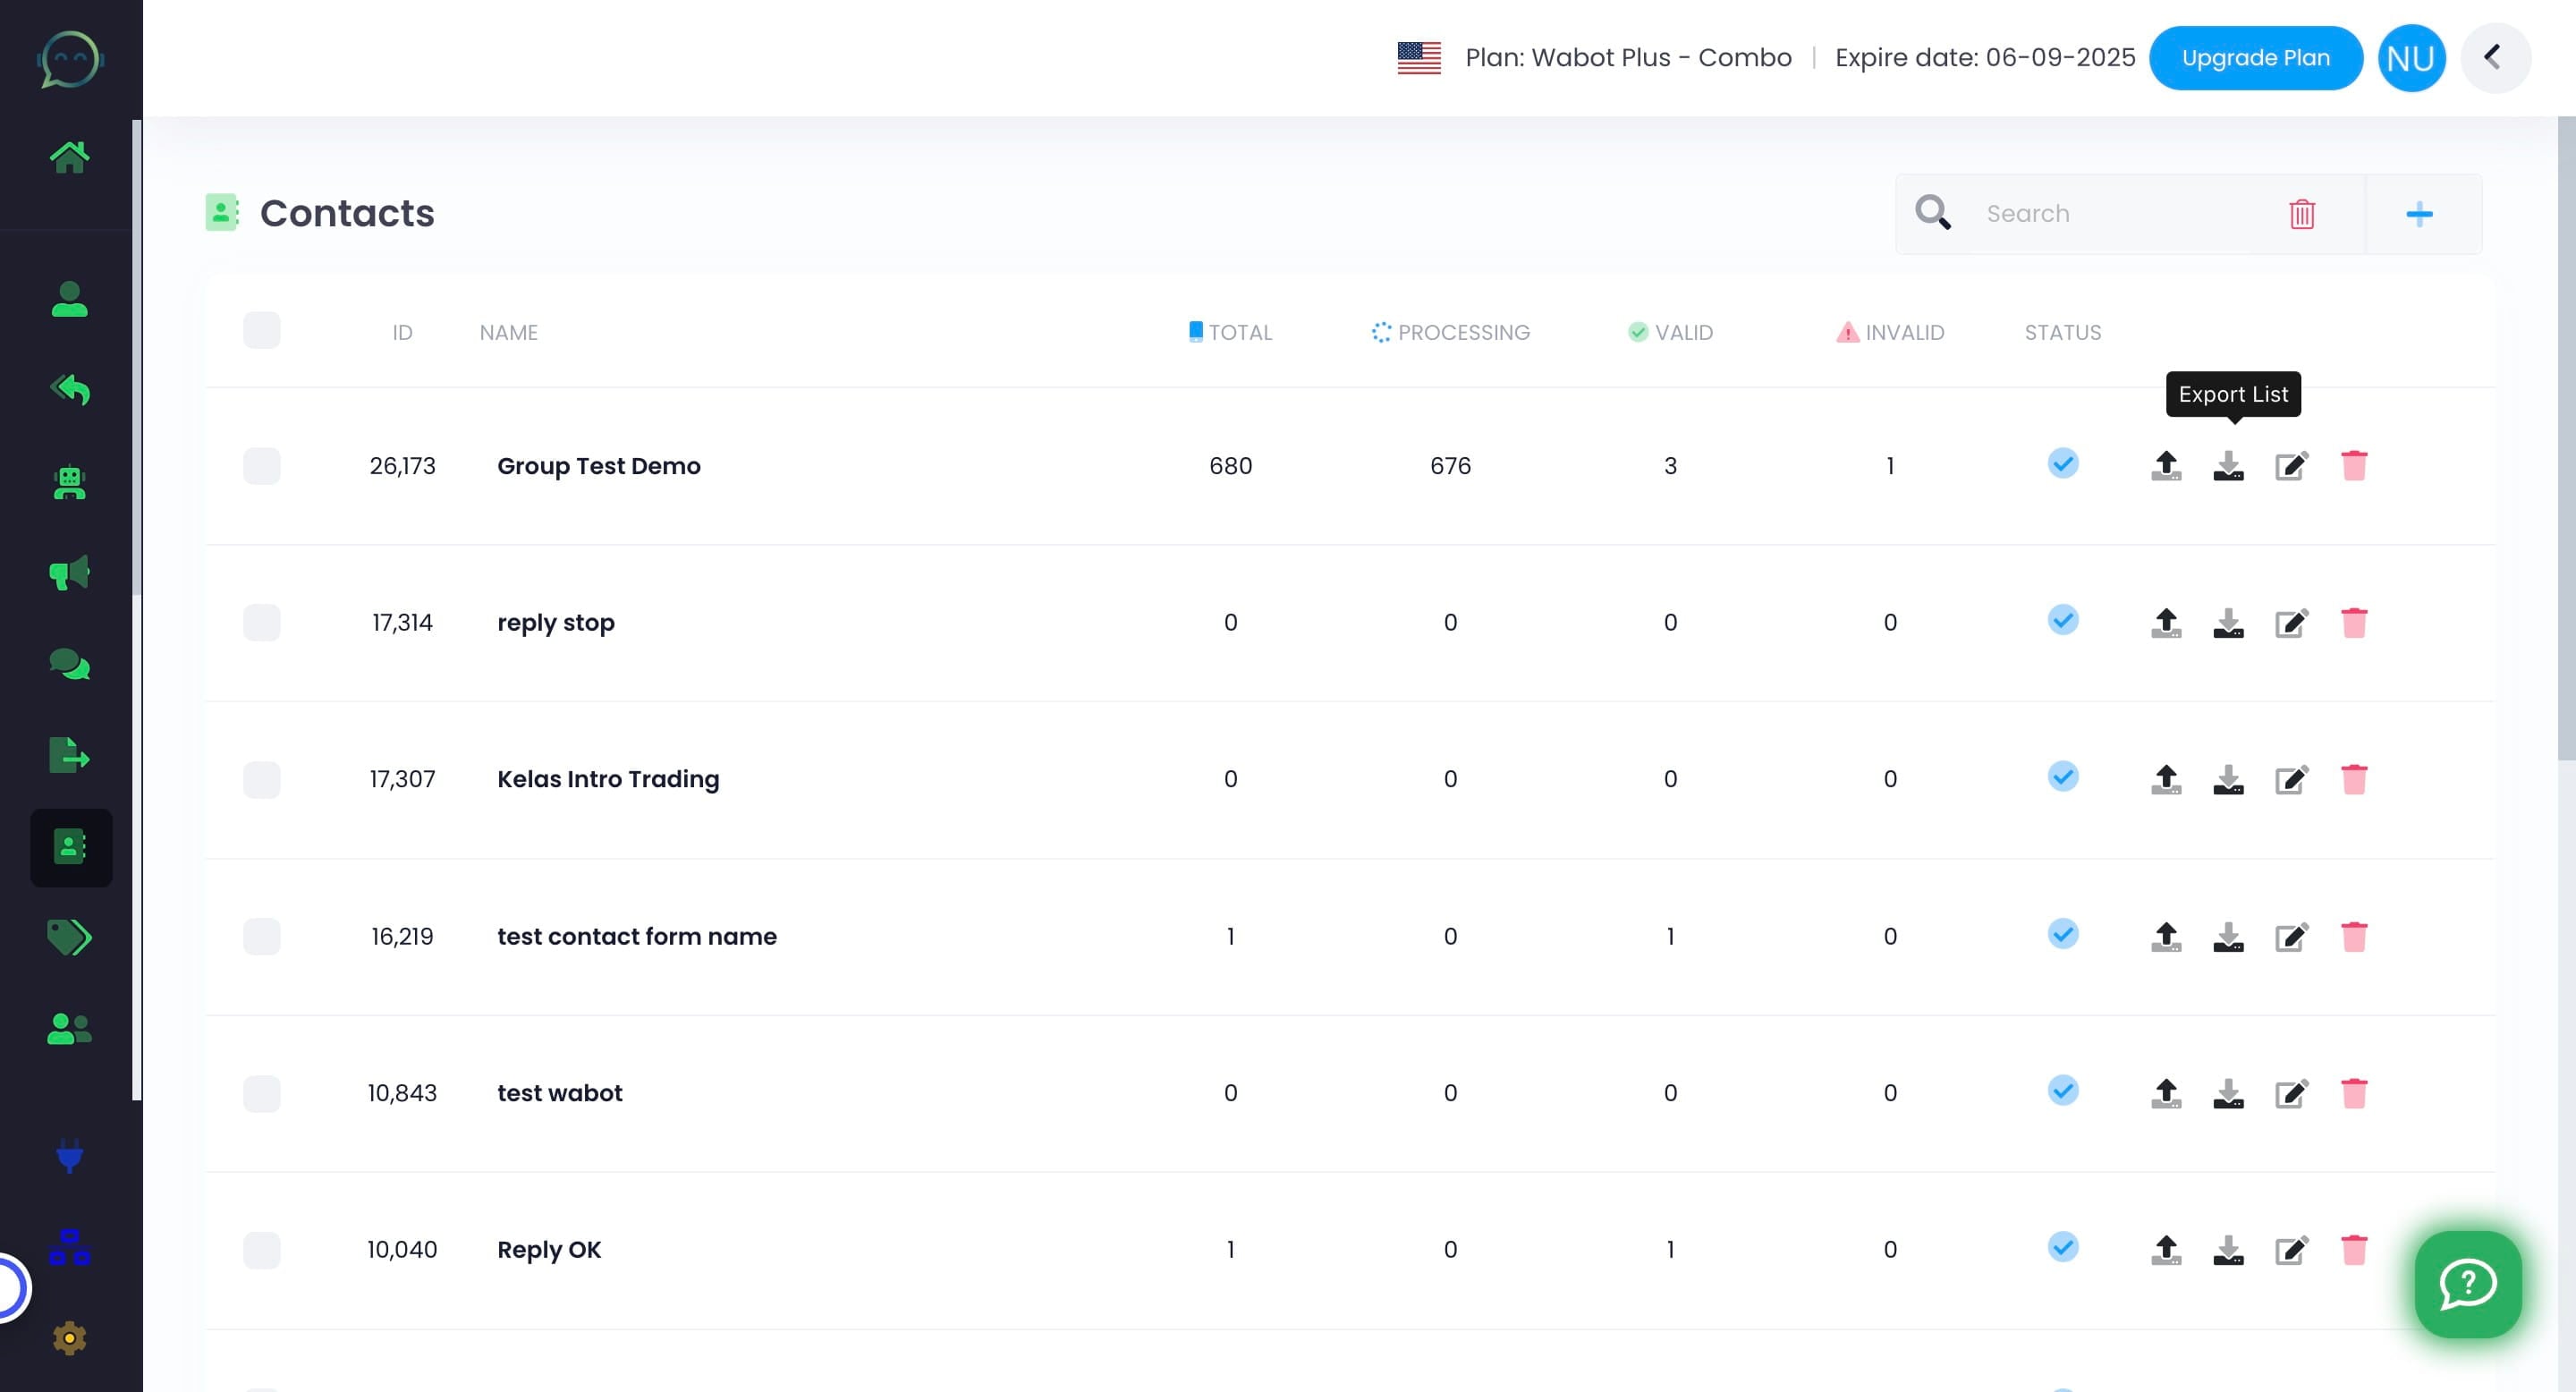
This is where all the contact group in Wabot located
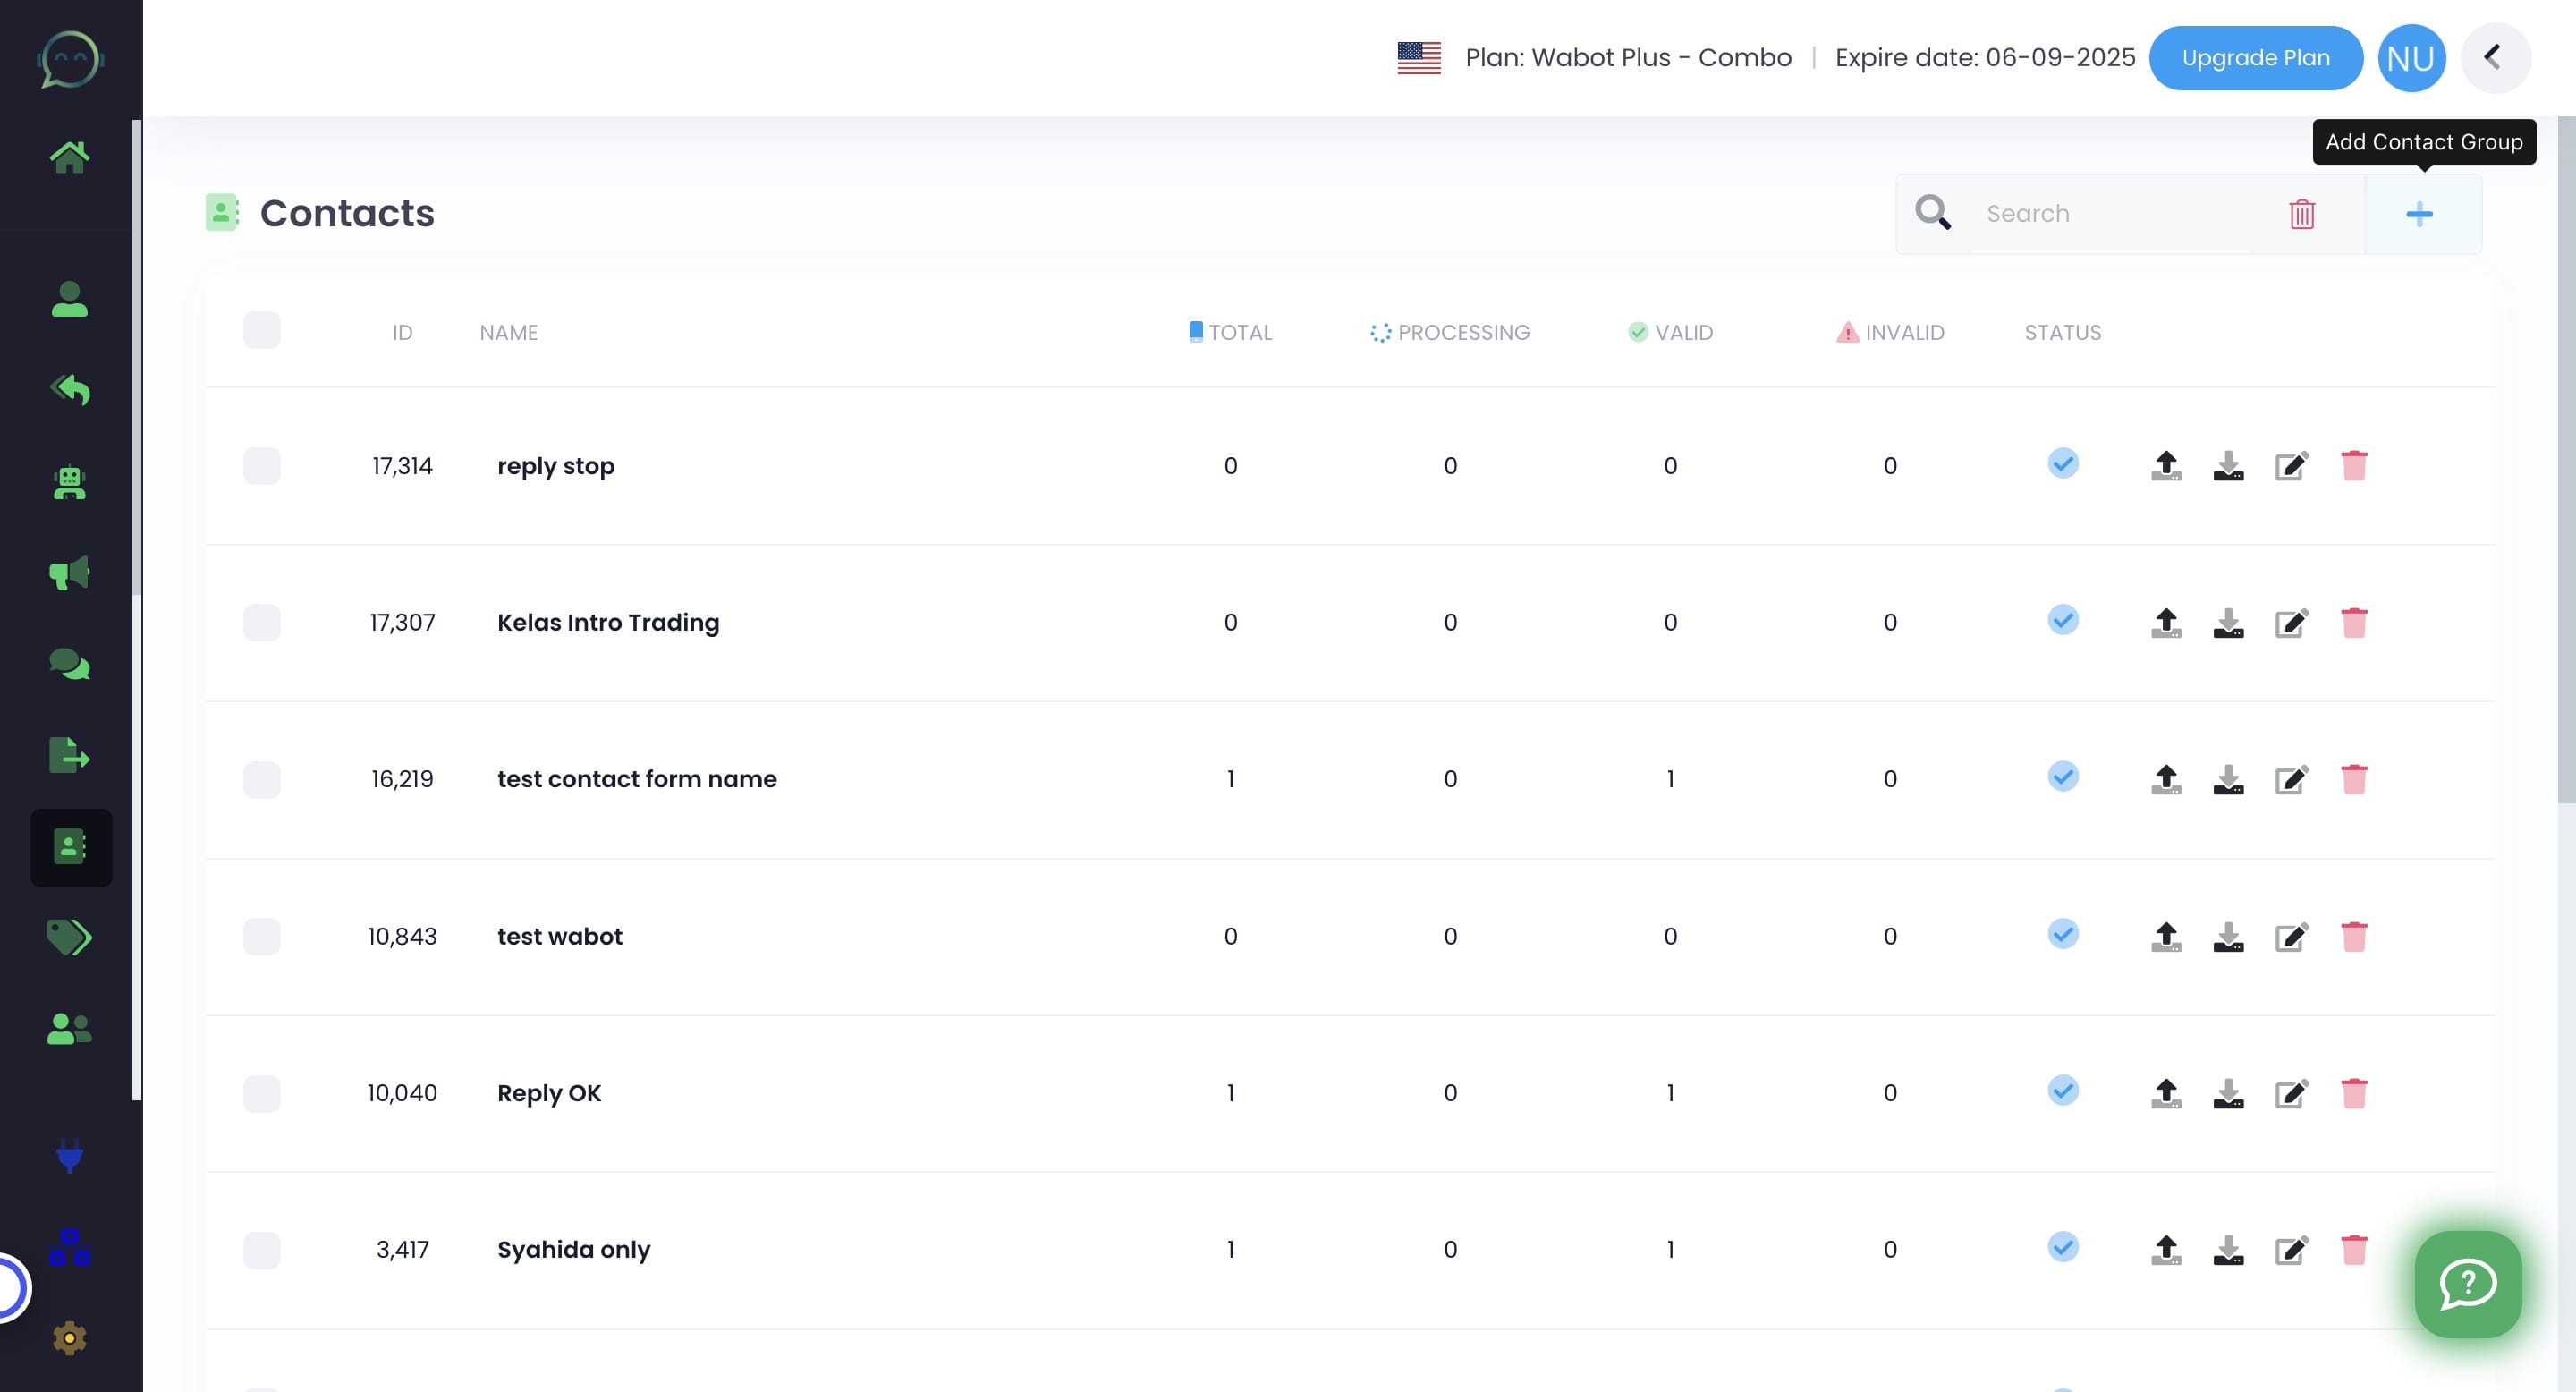
This is a very important step before you can do blasting / bulk messaging
Simply click "+" icon to create a new contact group
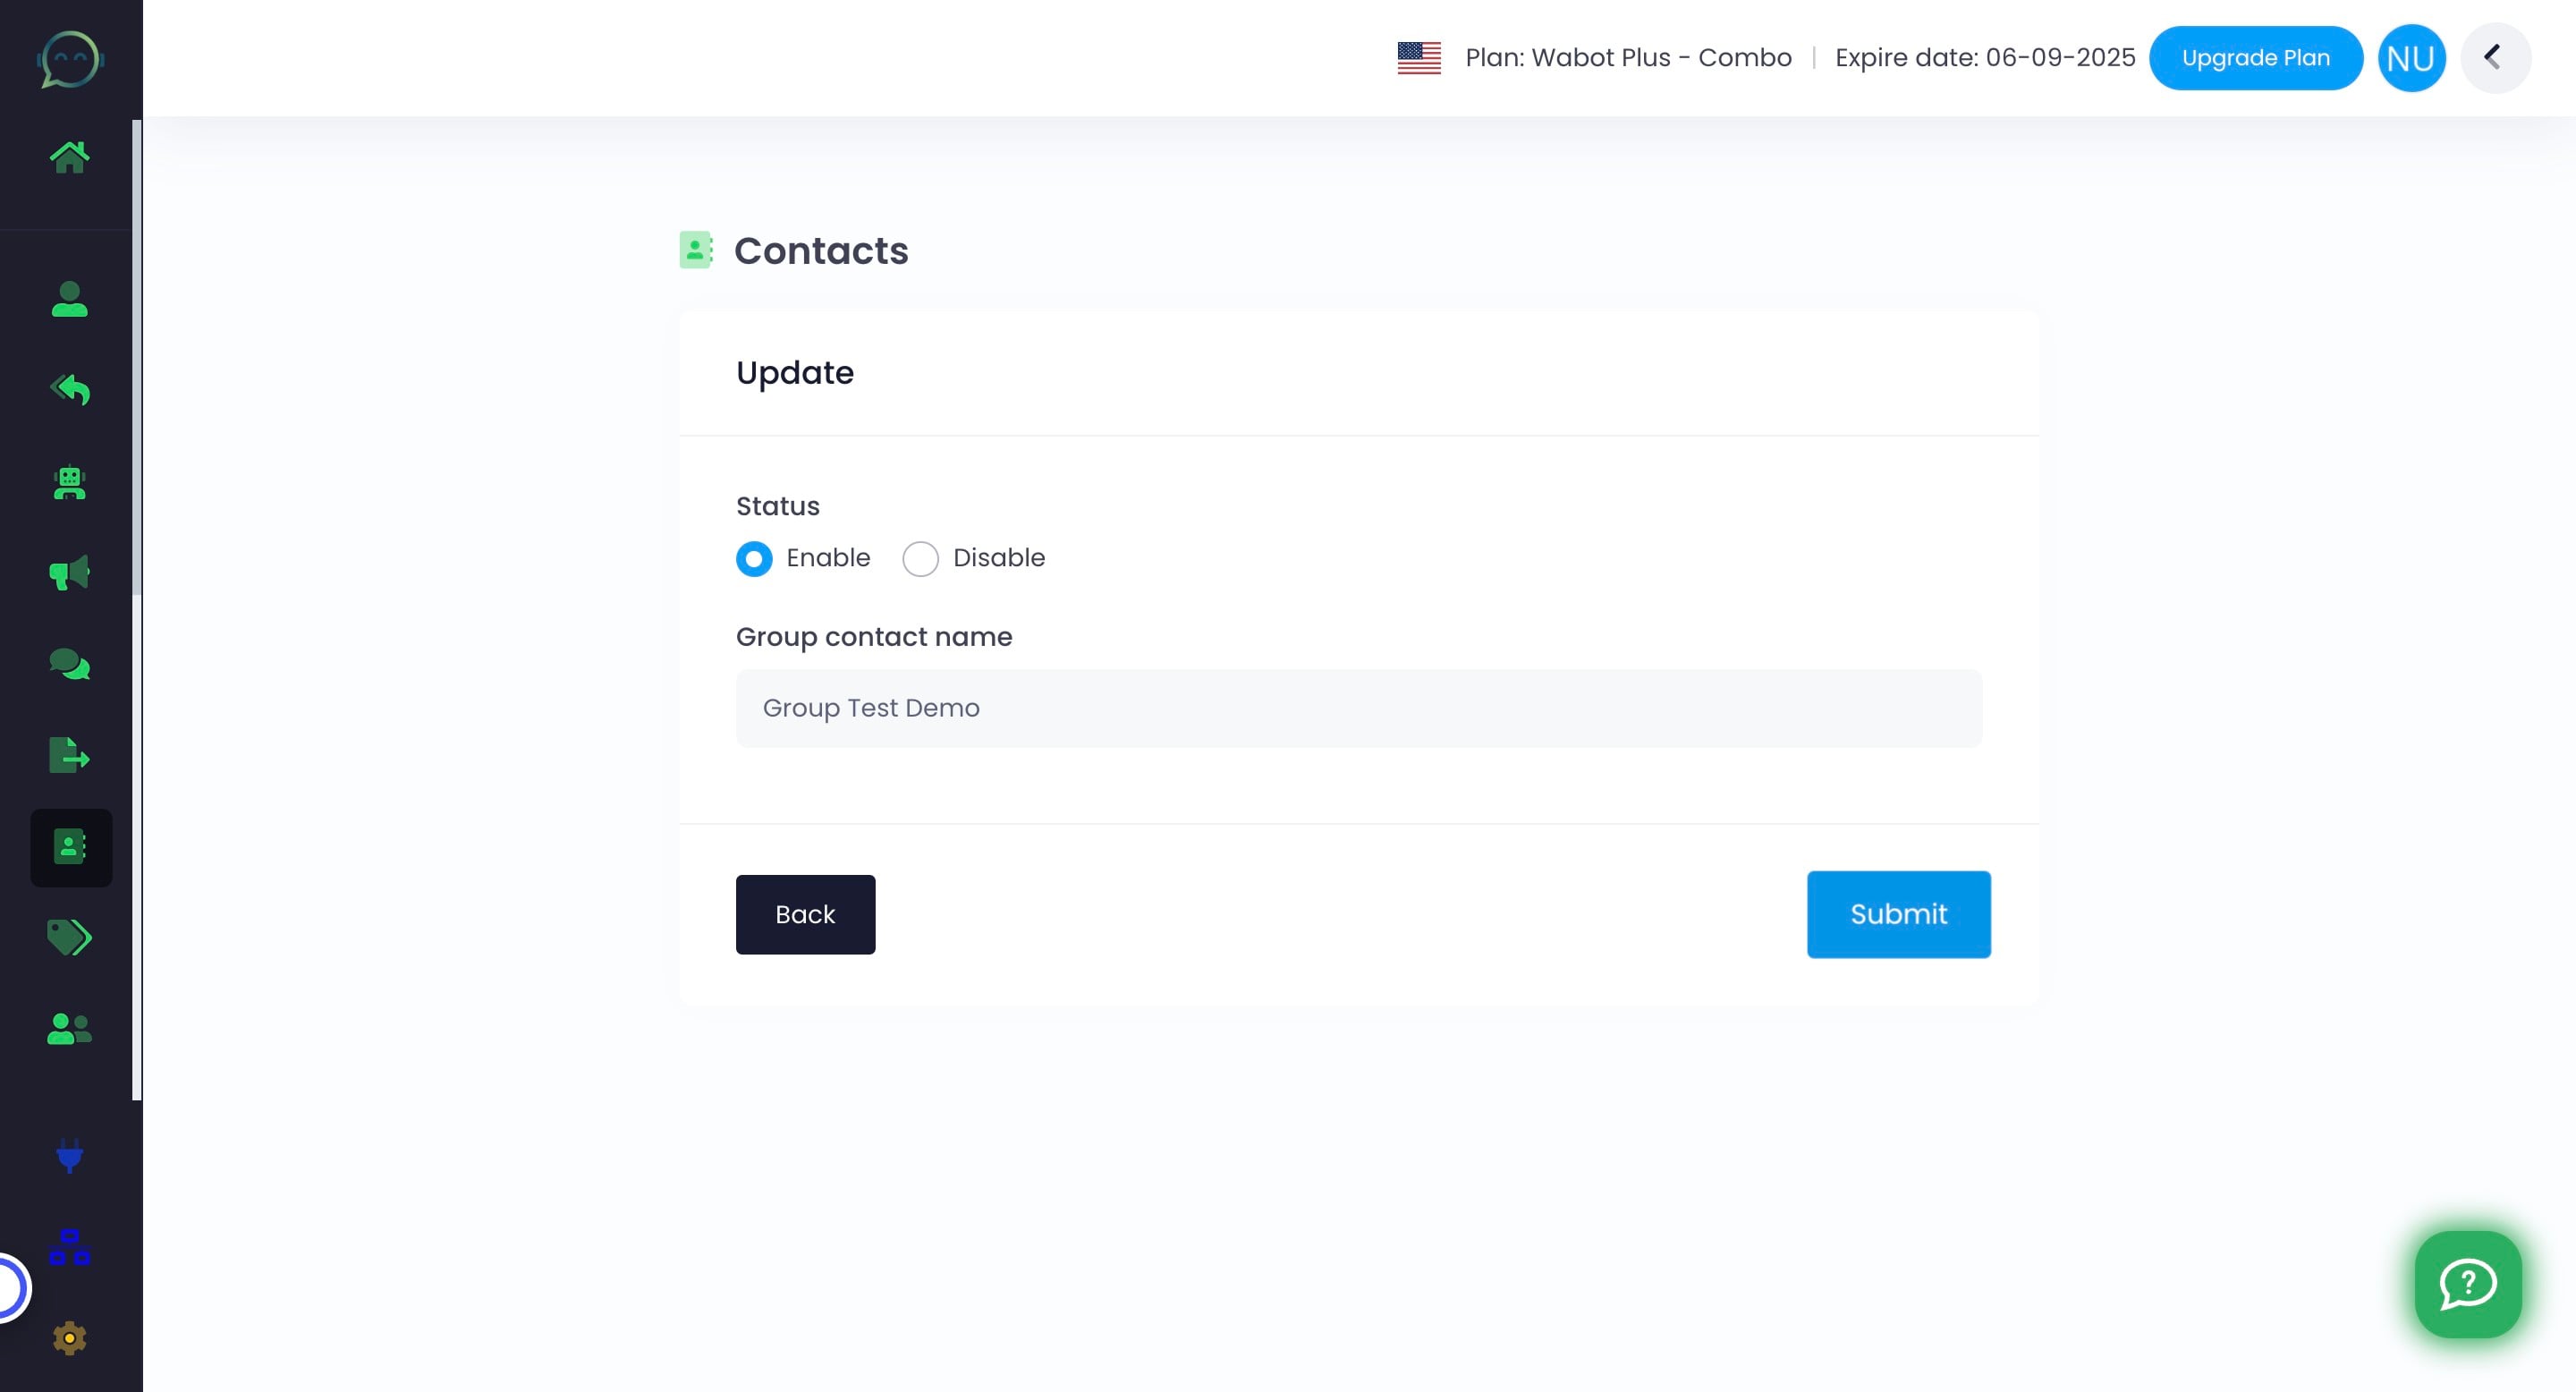
Insert the name of the contact group and click on "Submit"
Click this icon to upload the contact
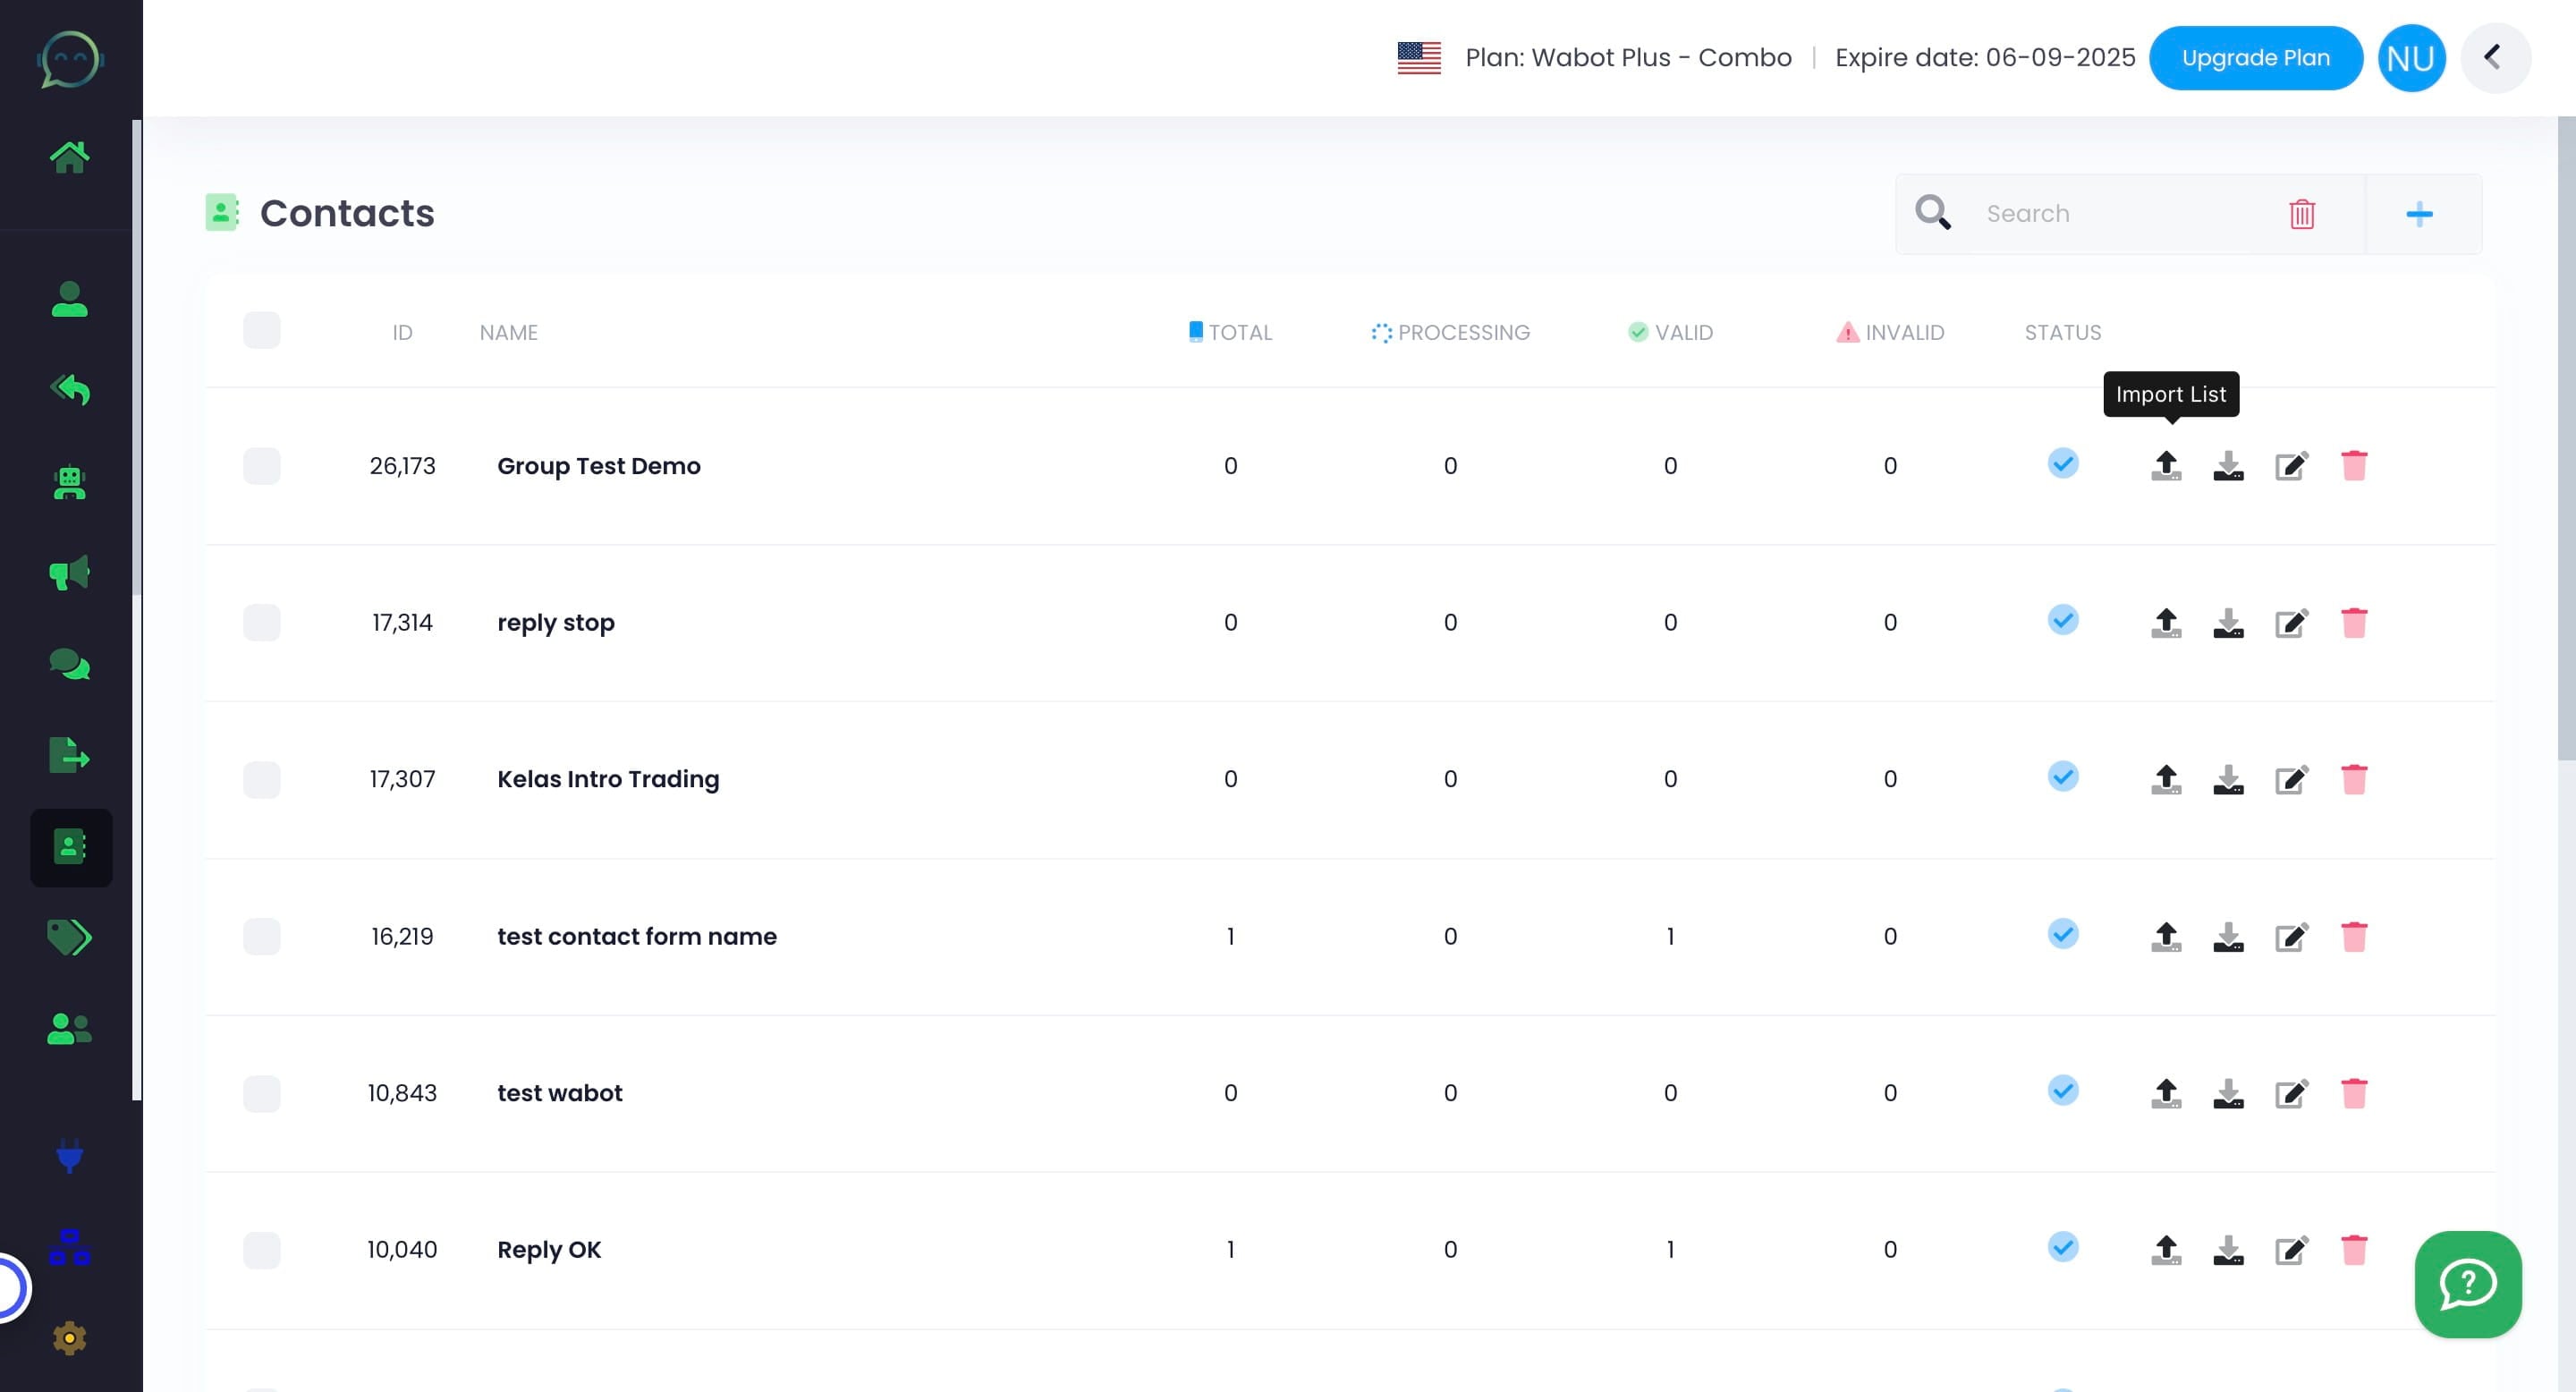
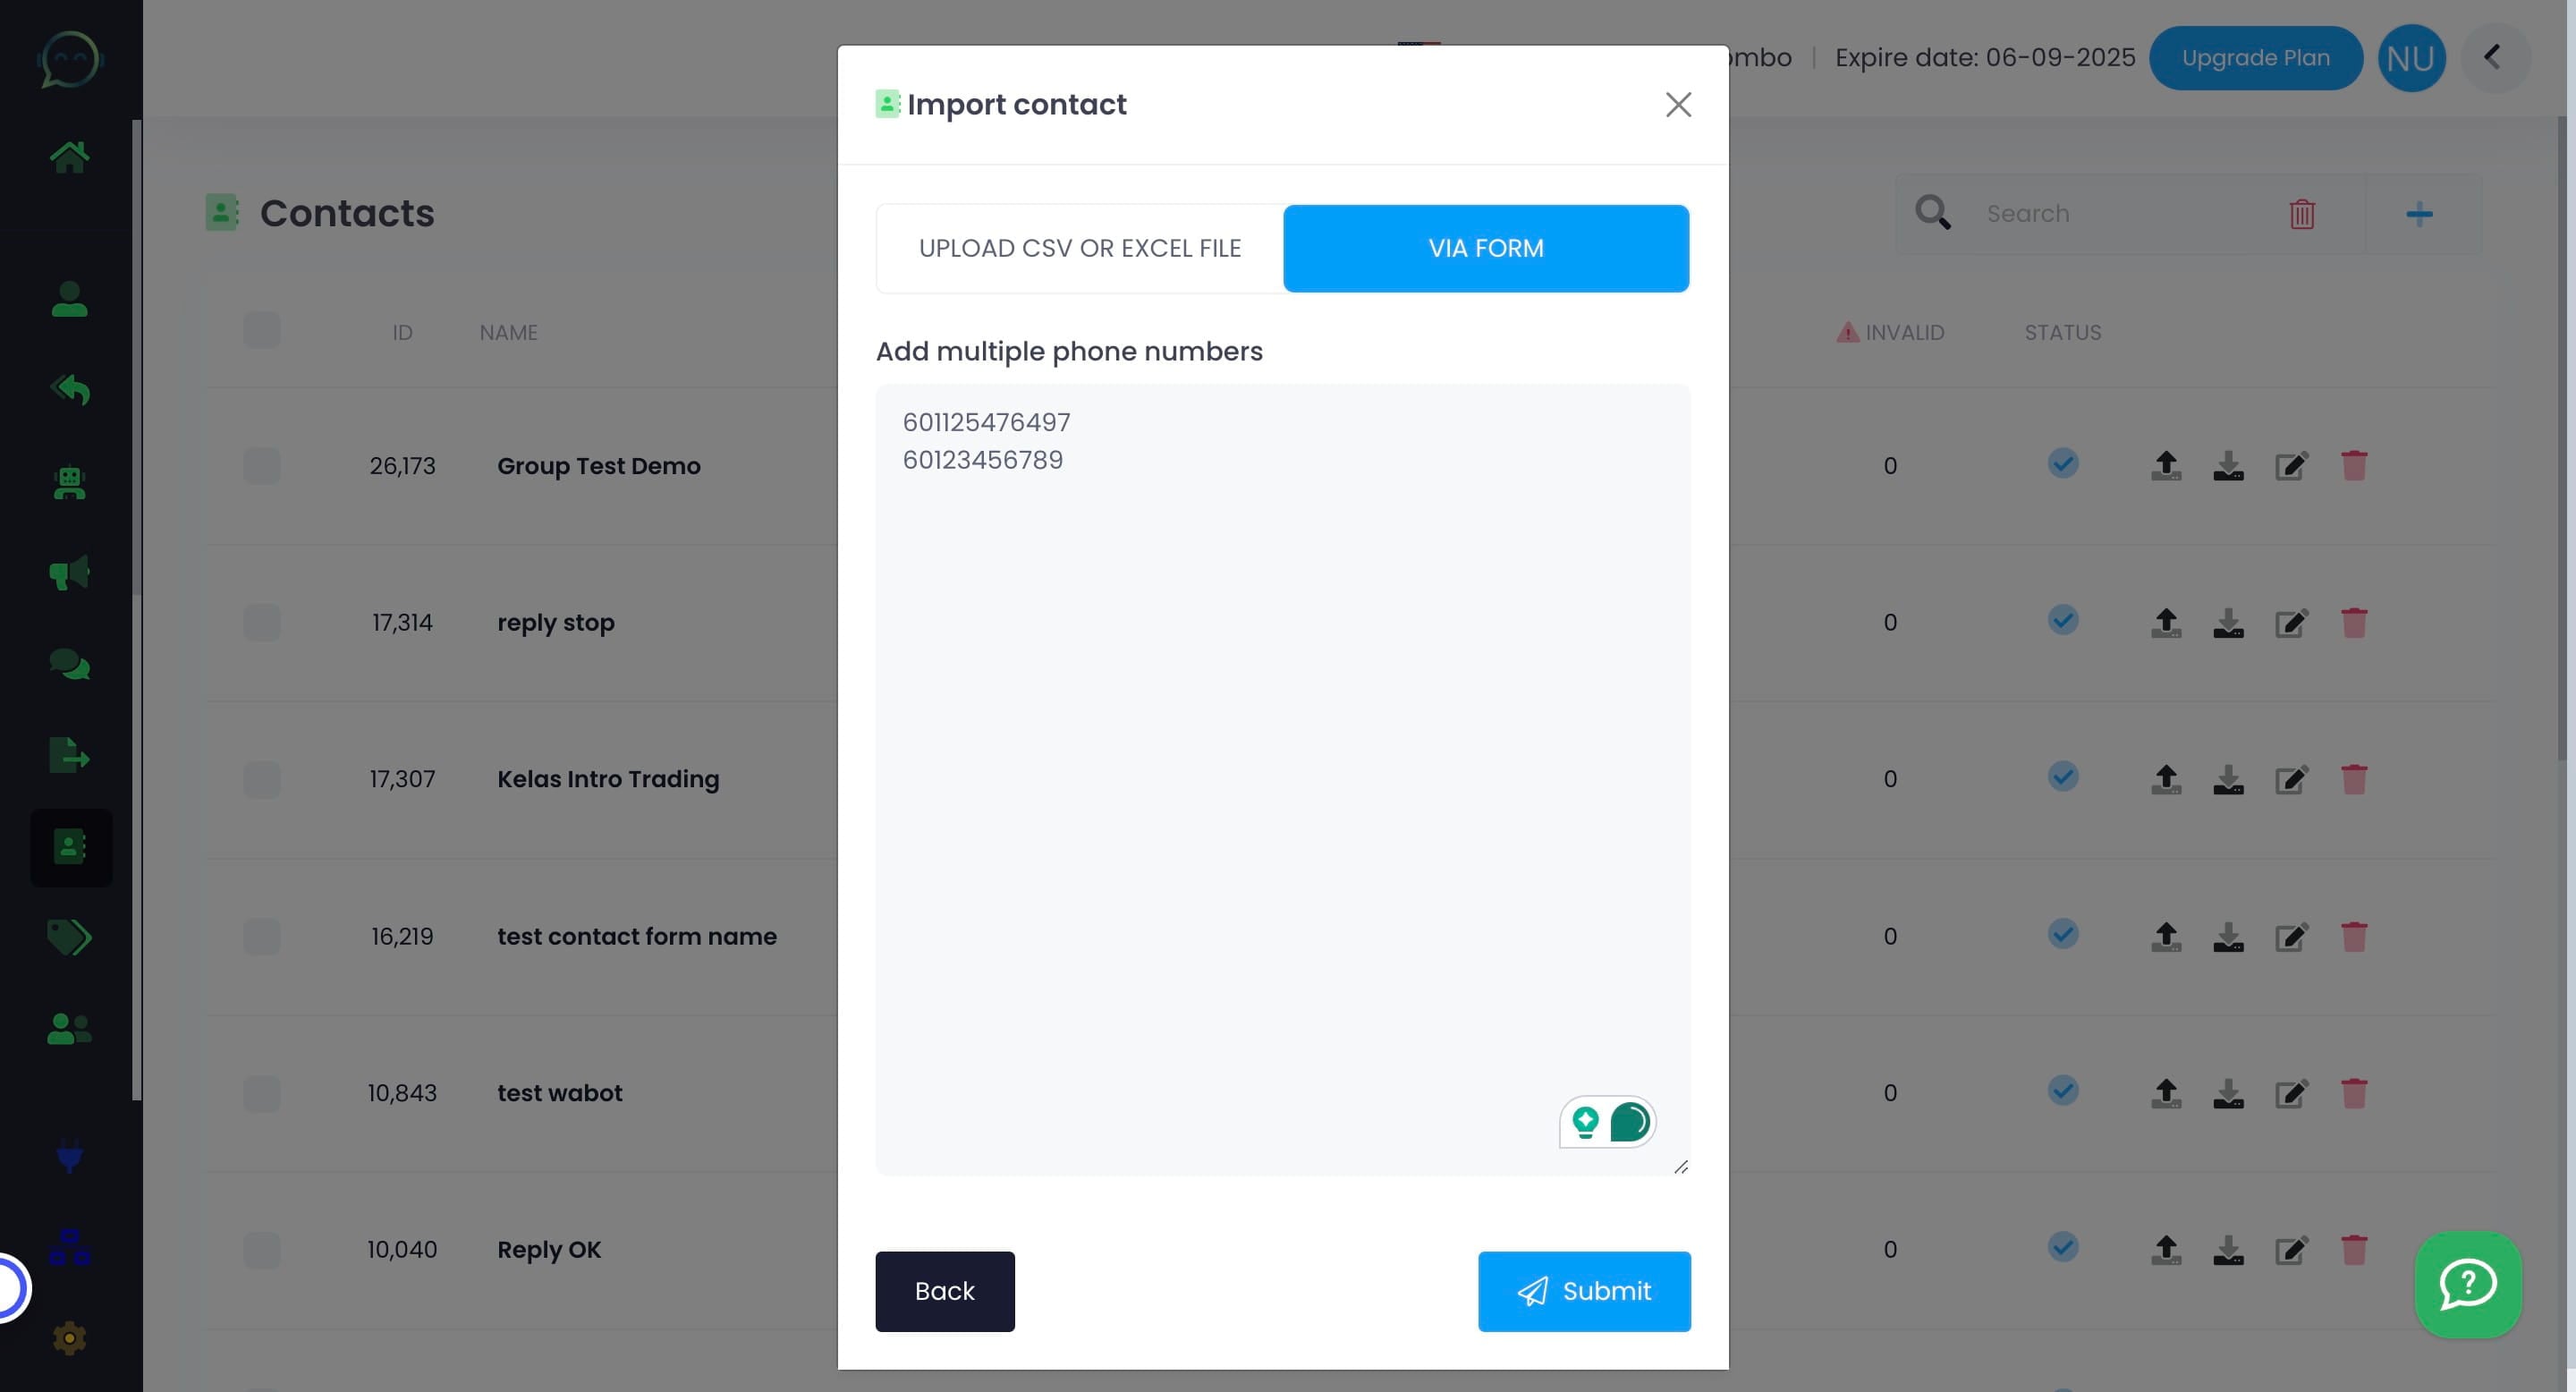
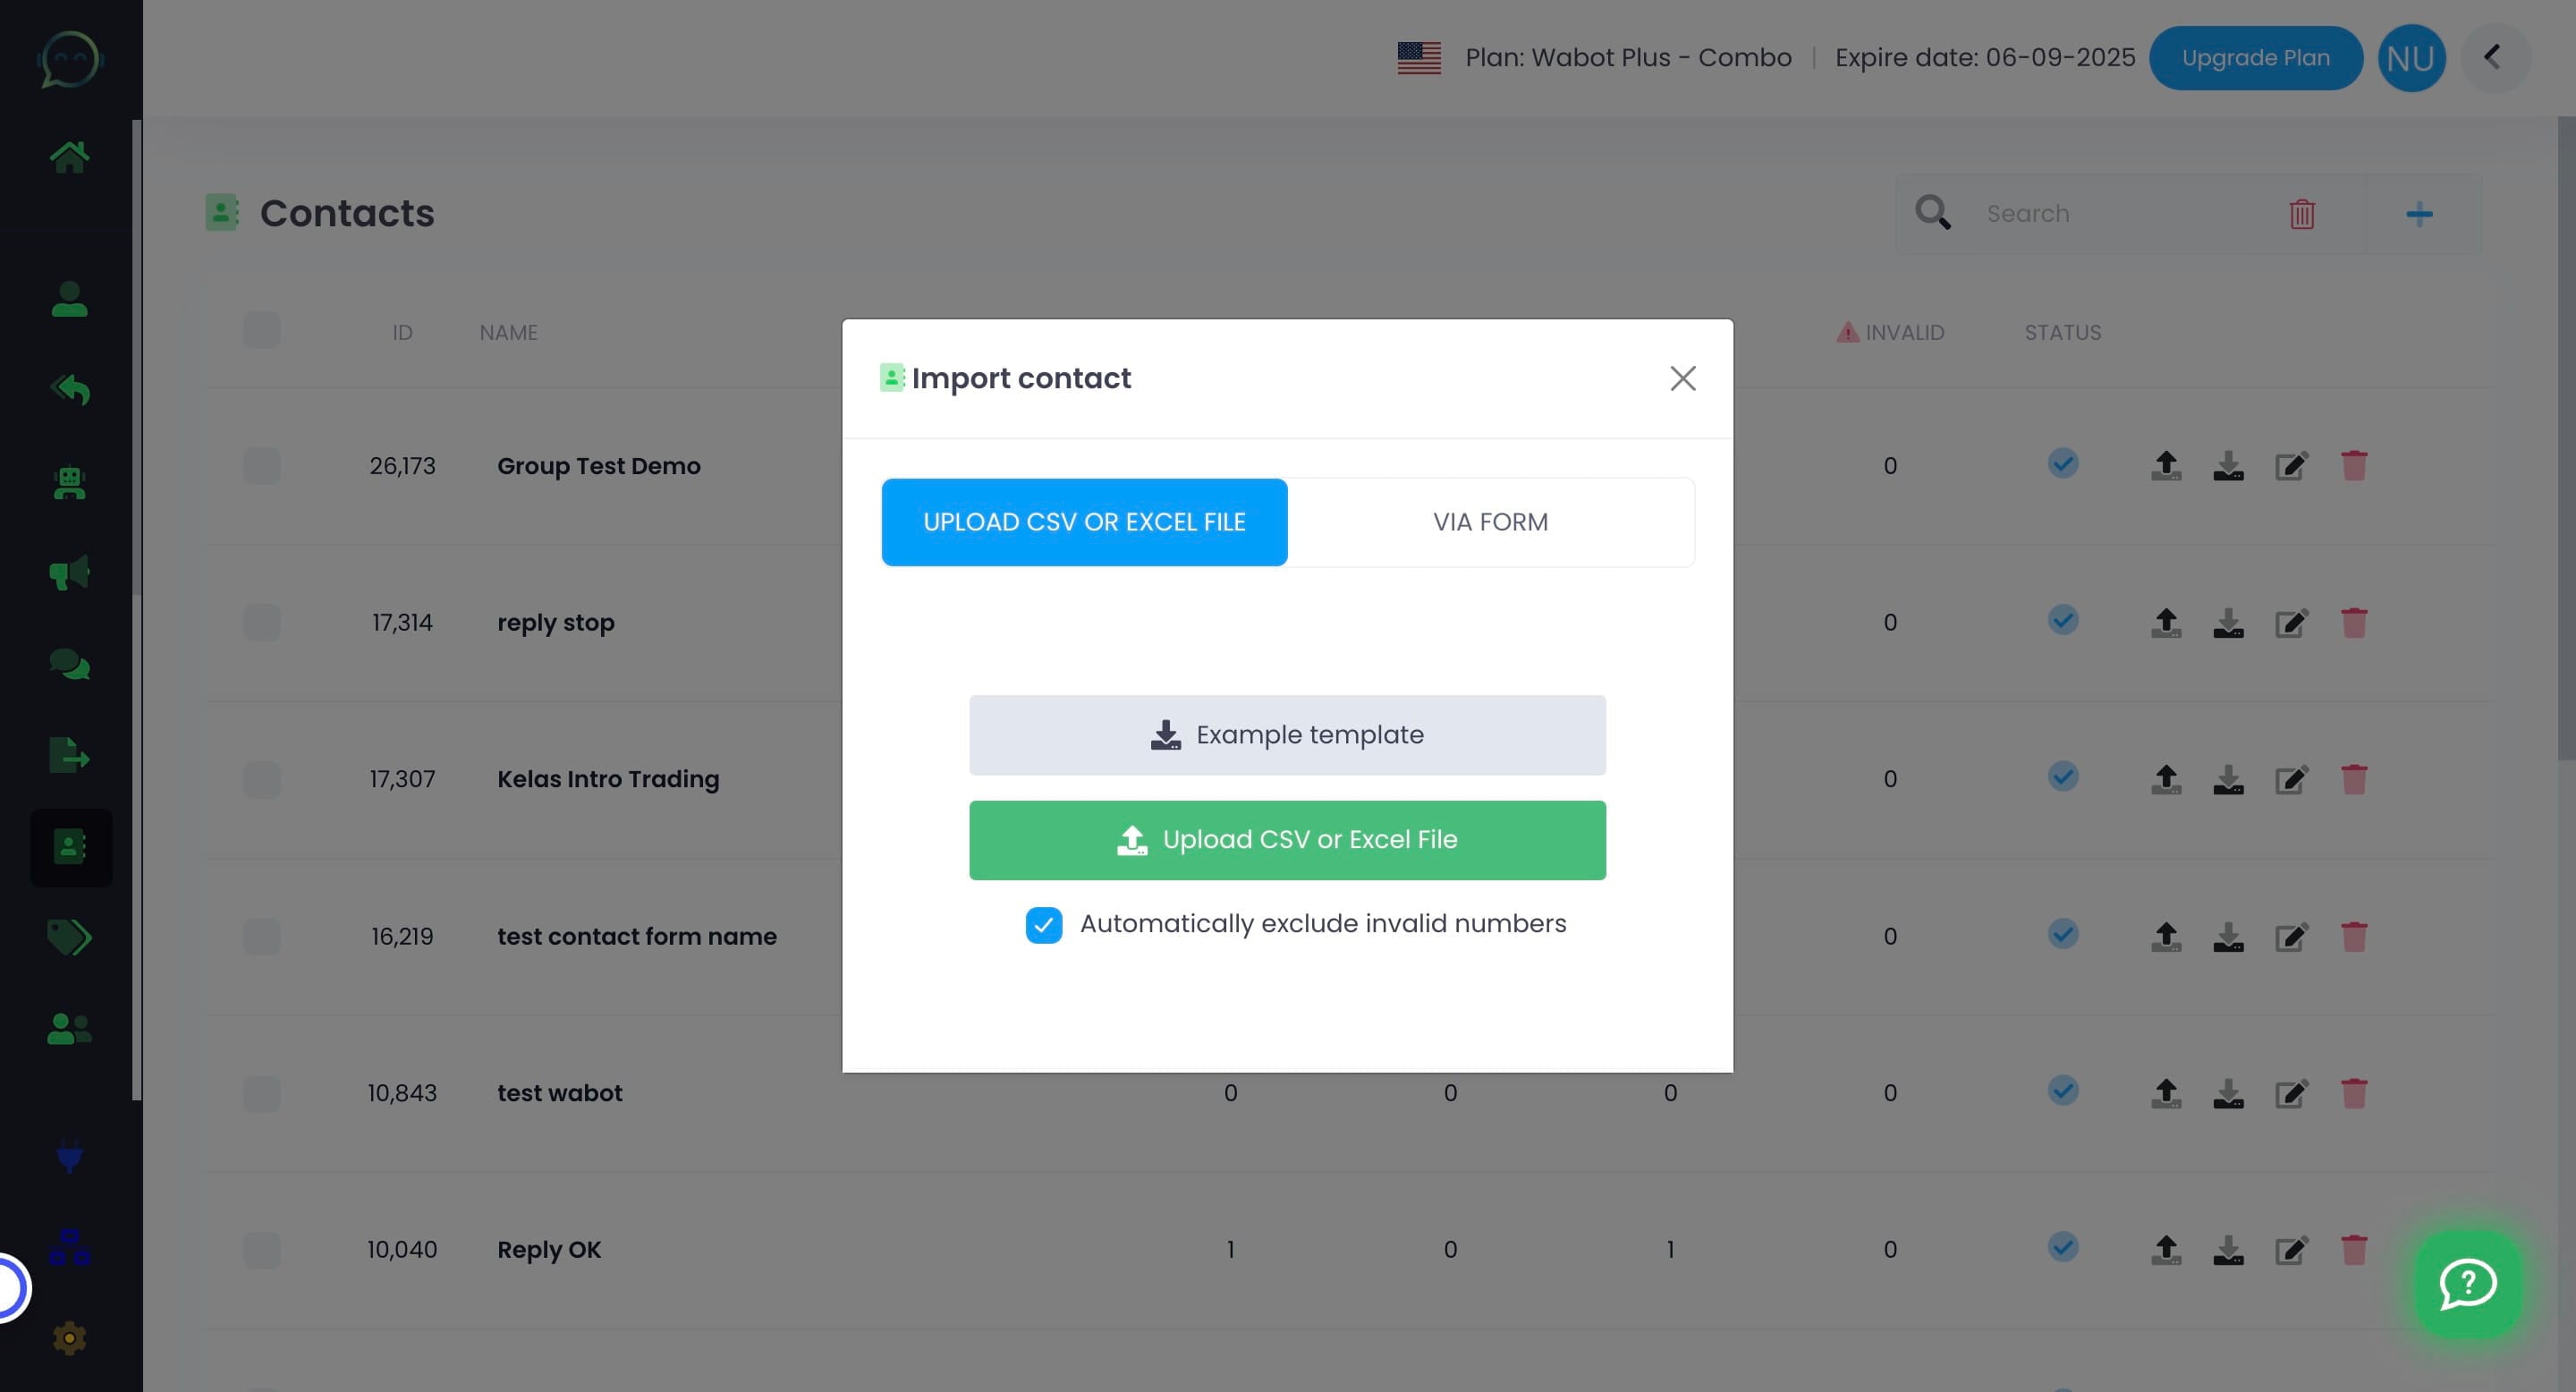
You can choose to upload the contact via file or via form
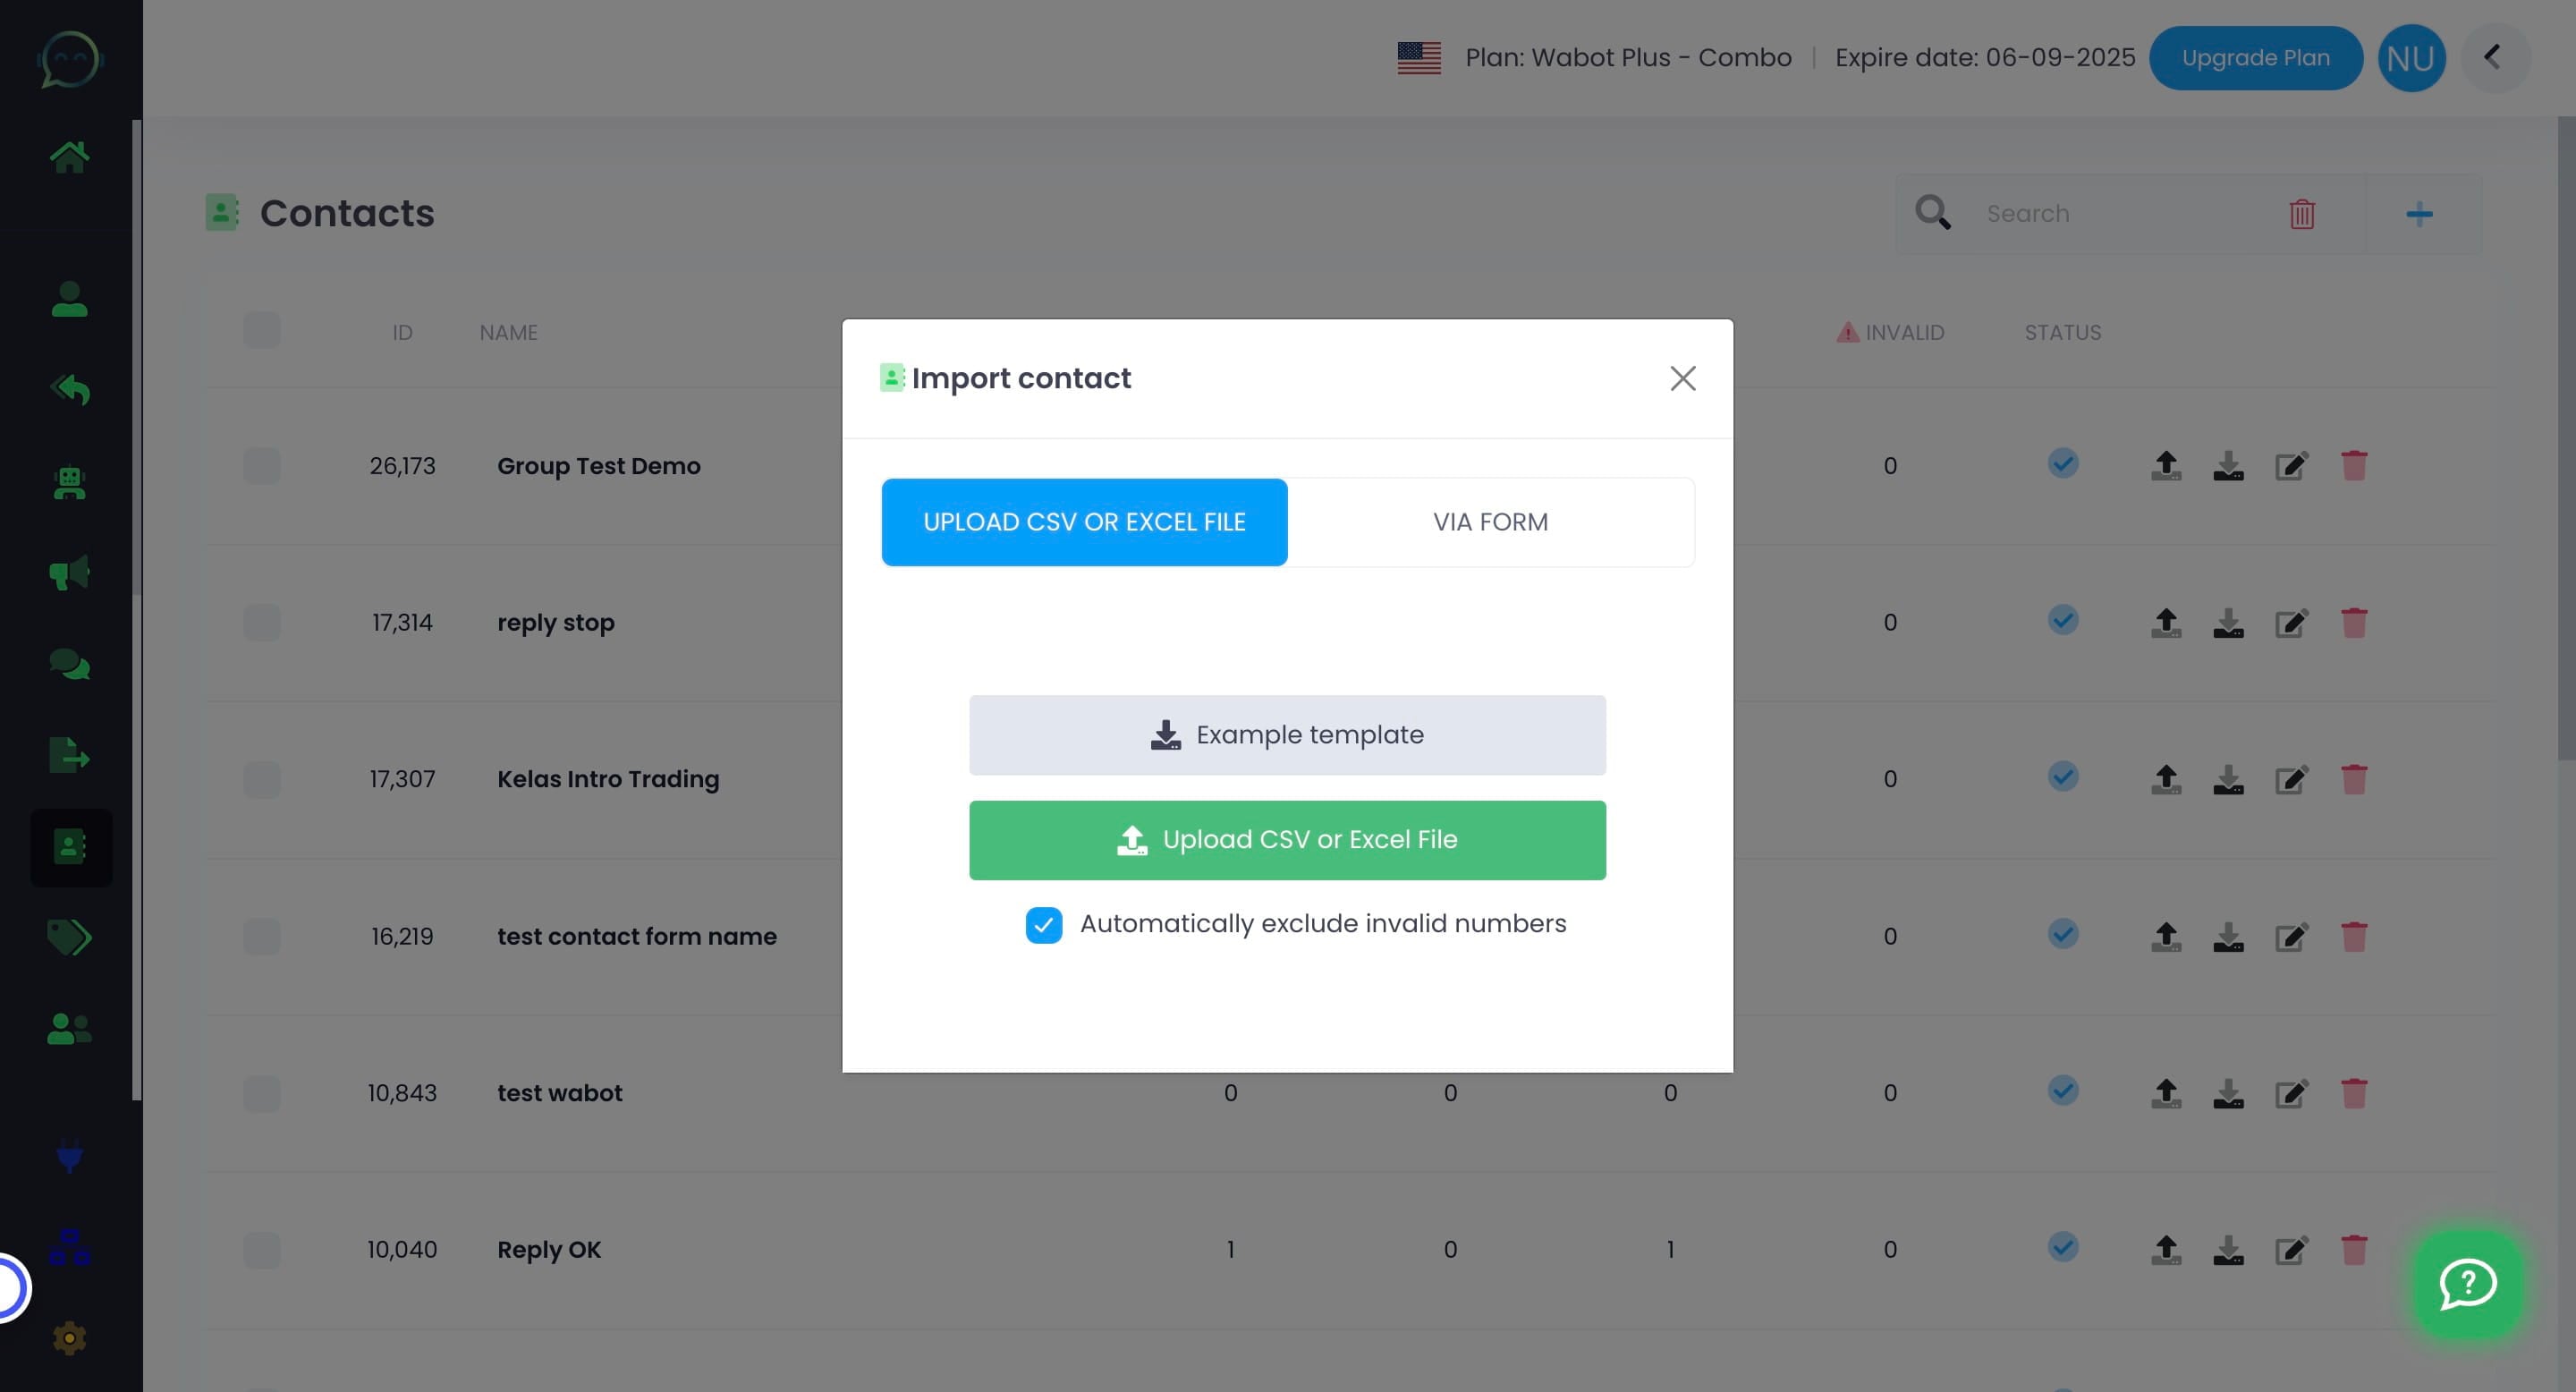
Click on "Via Form" to upload contact via form
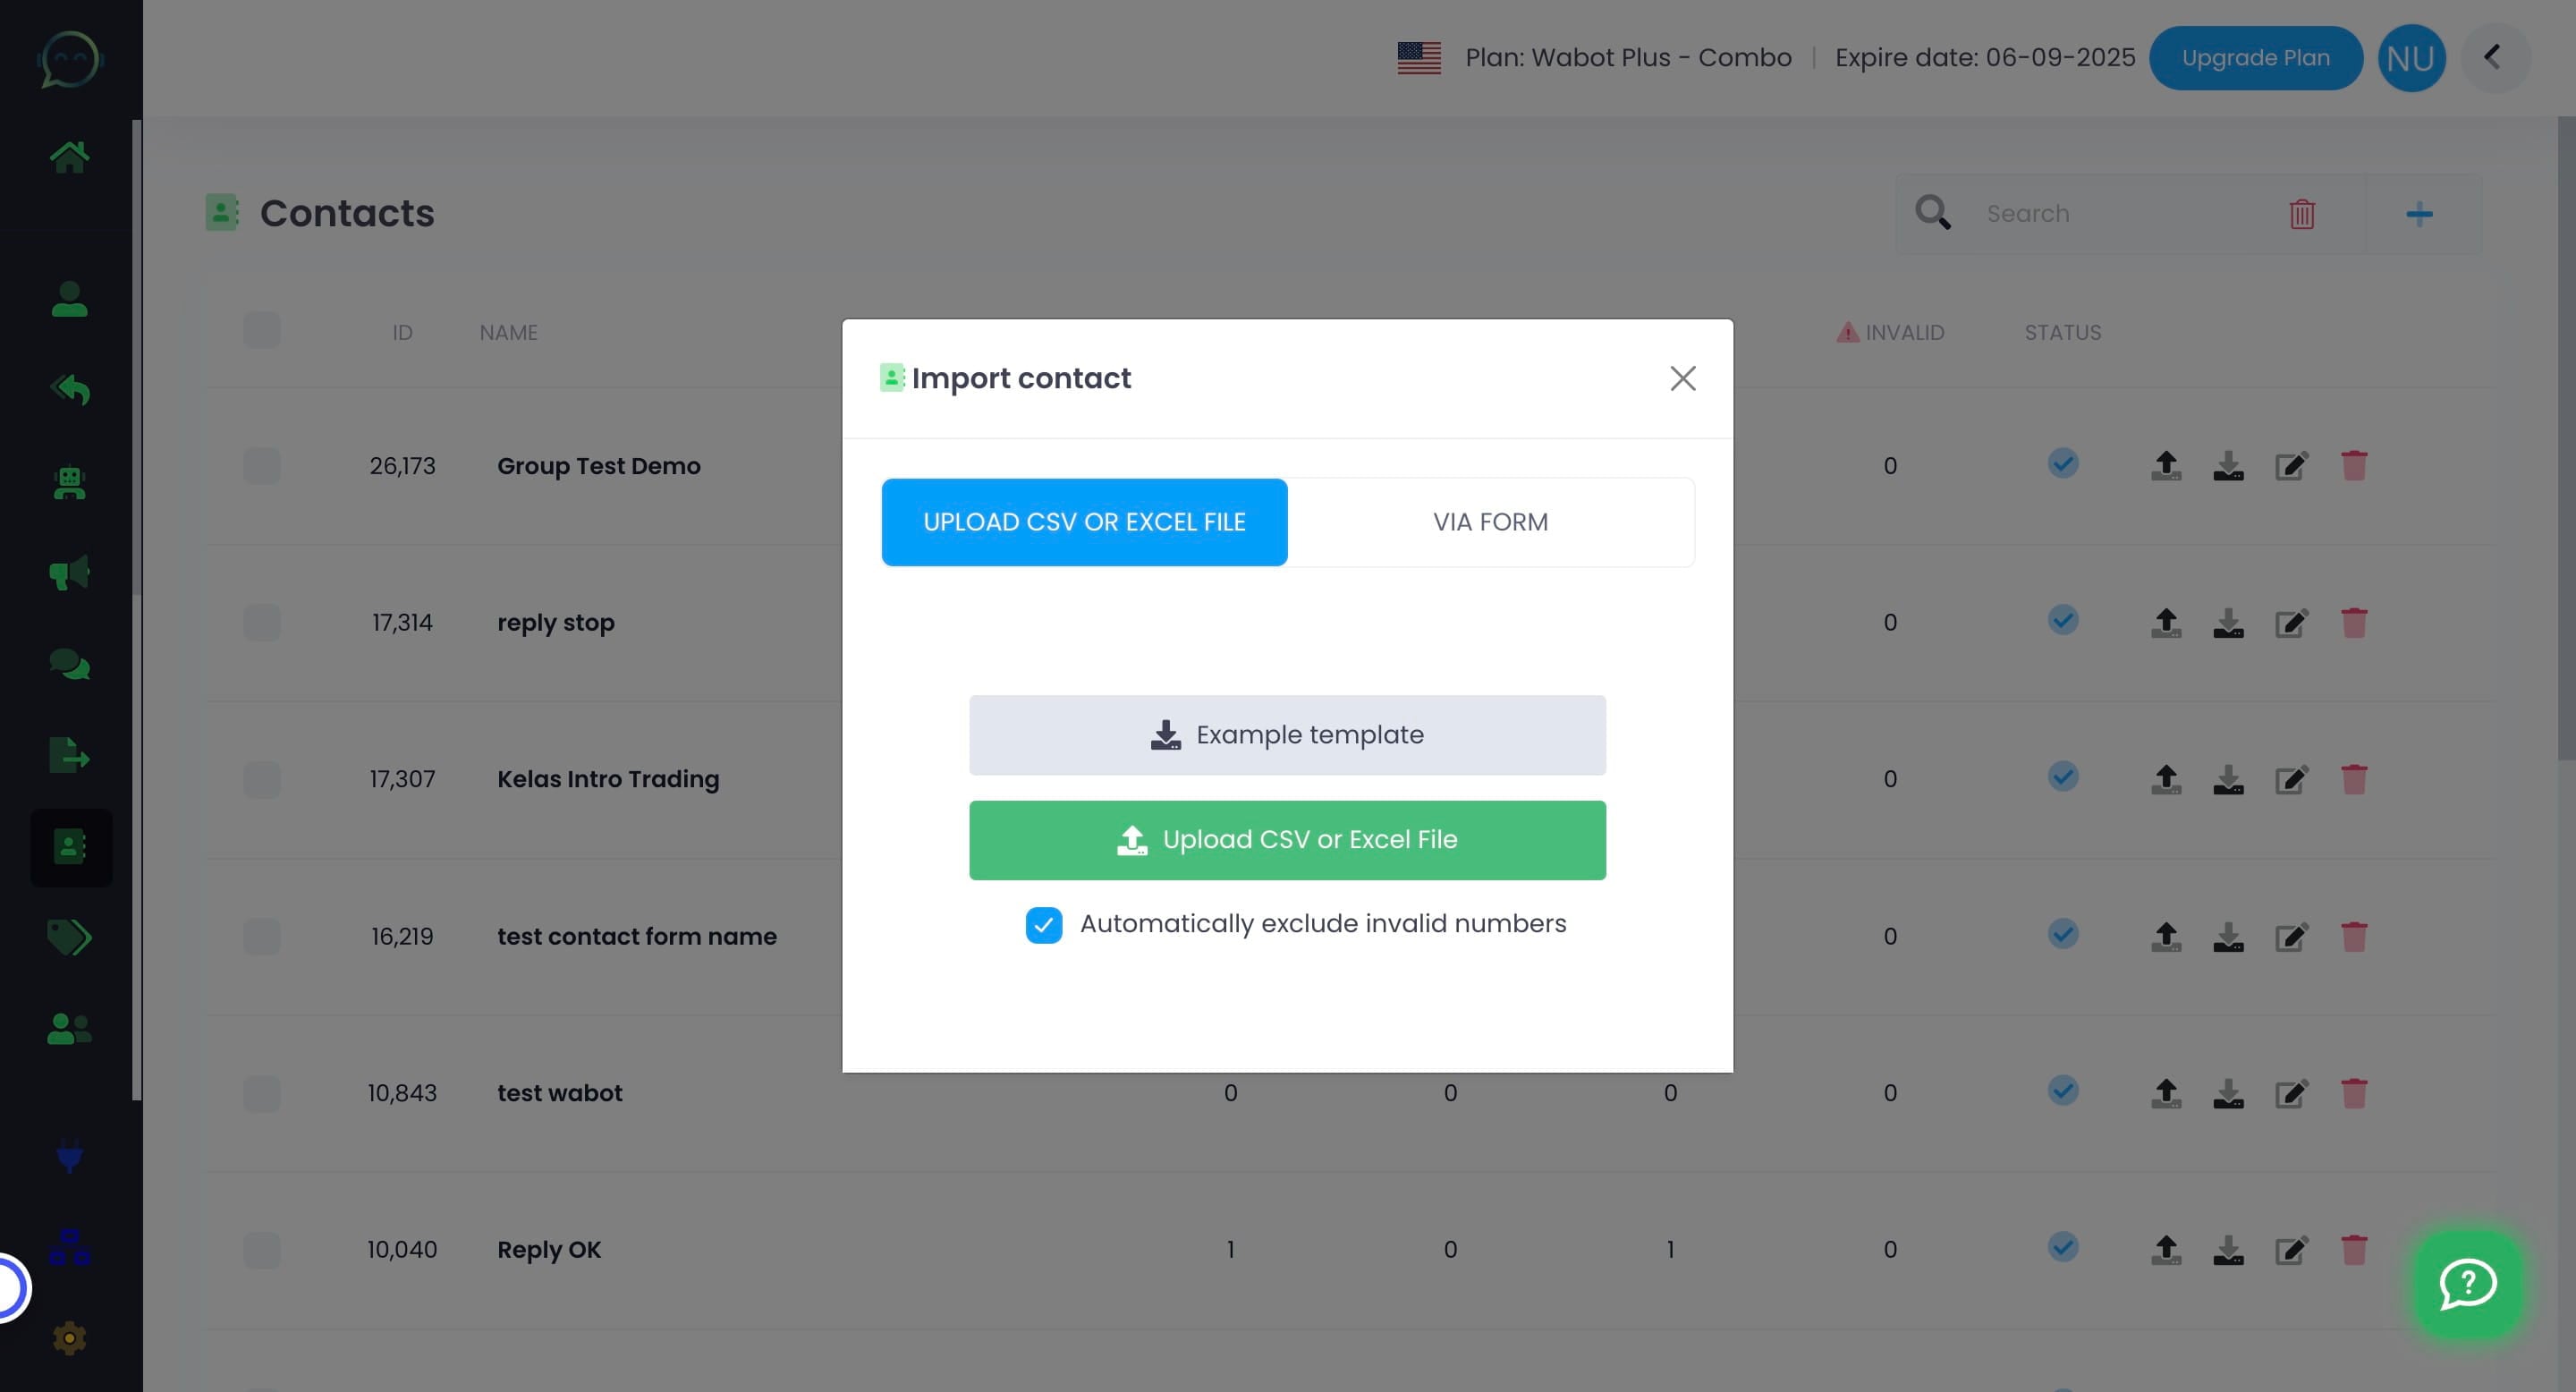
This feature lets you easily copy paste just the phone number! It’s perfect if you only have the customer’s number and don’t need to include their name when blasting
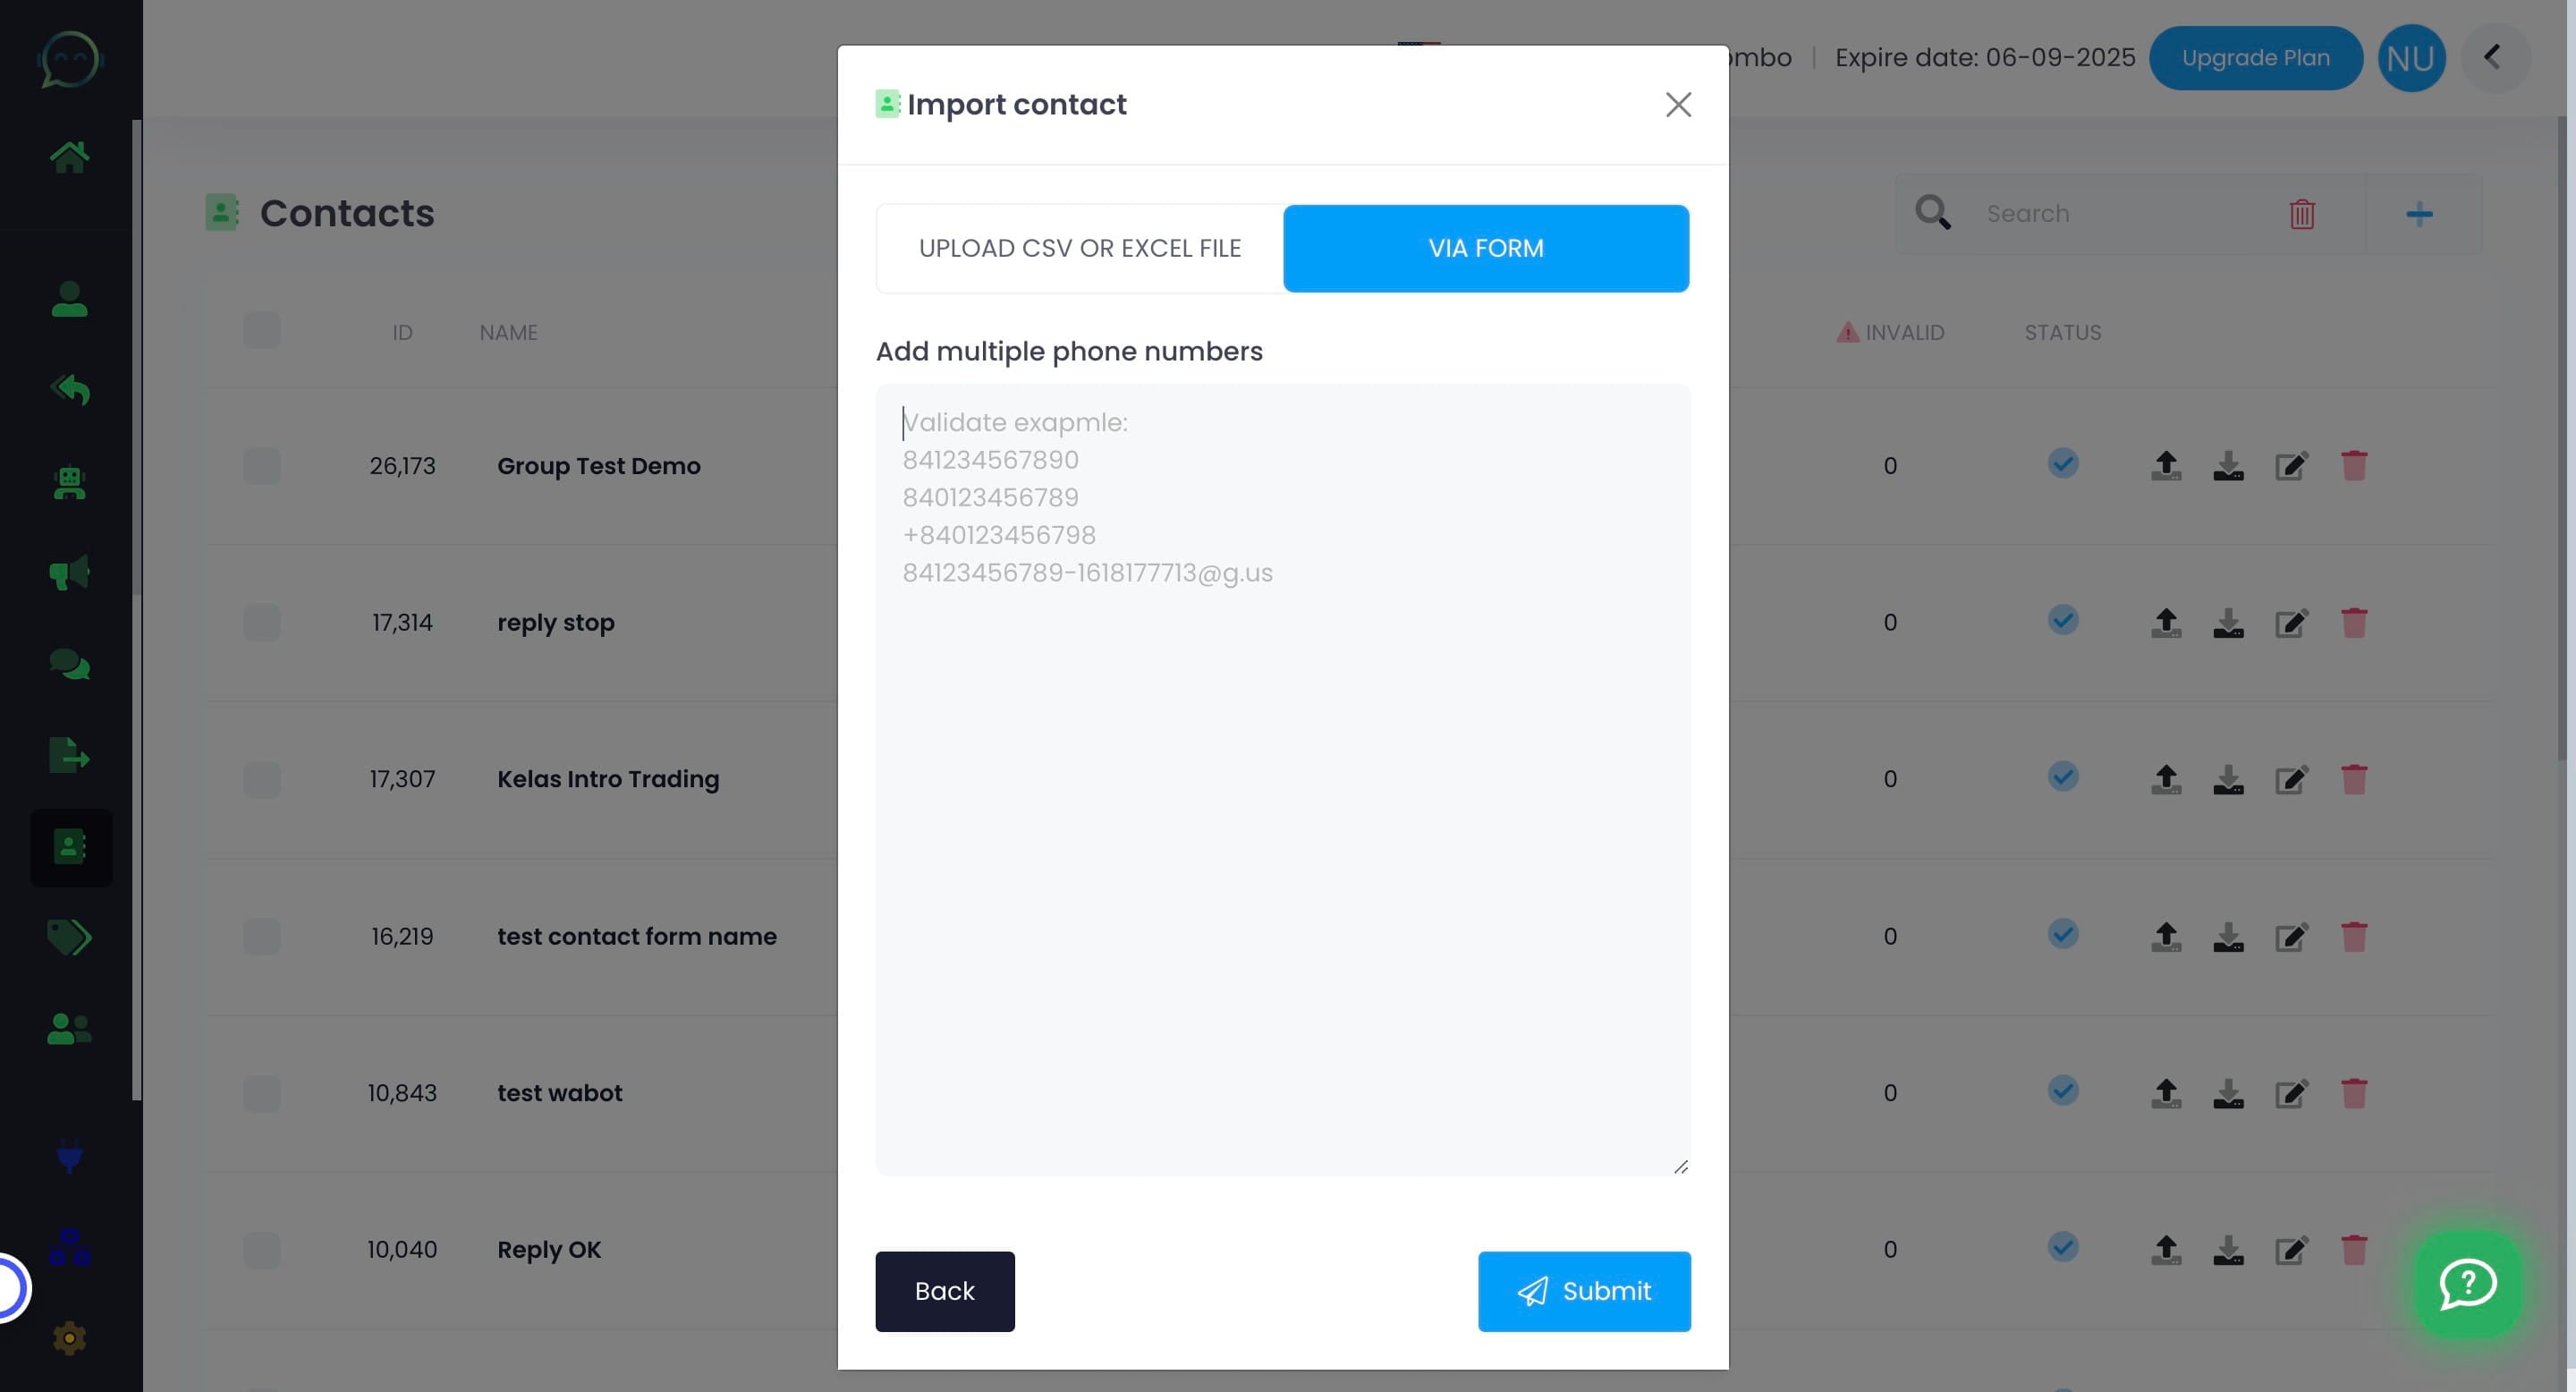
Make sure to include the country code. "+" symbol in front of the phone number is fine
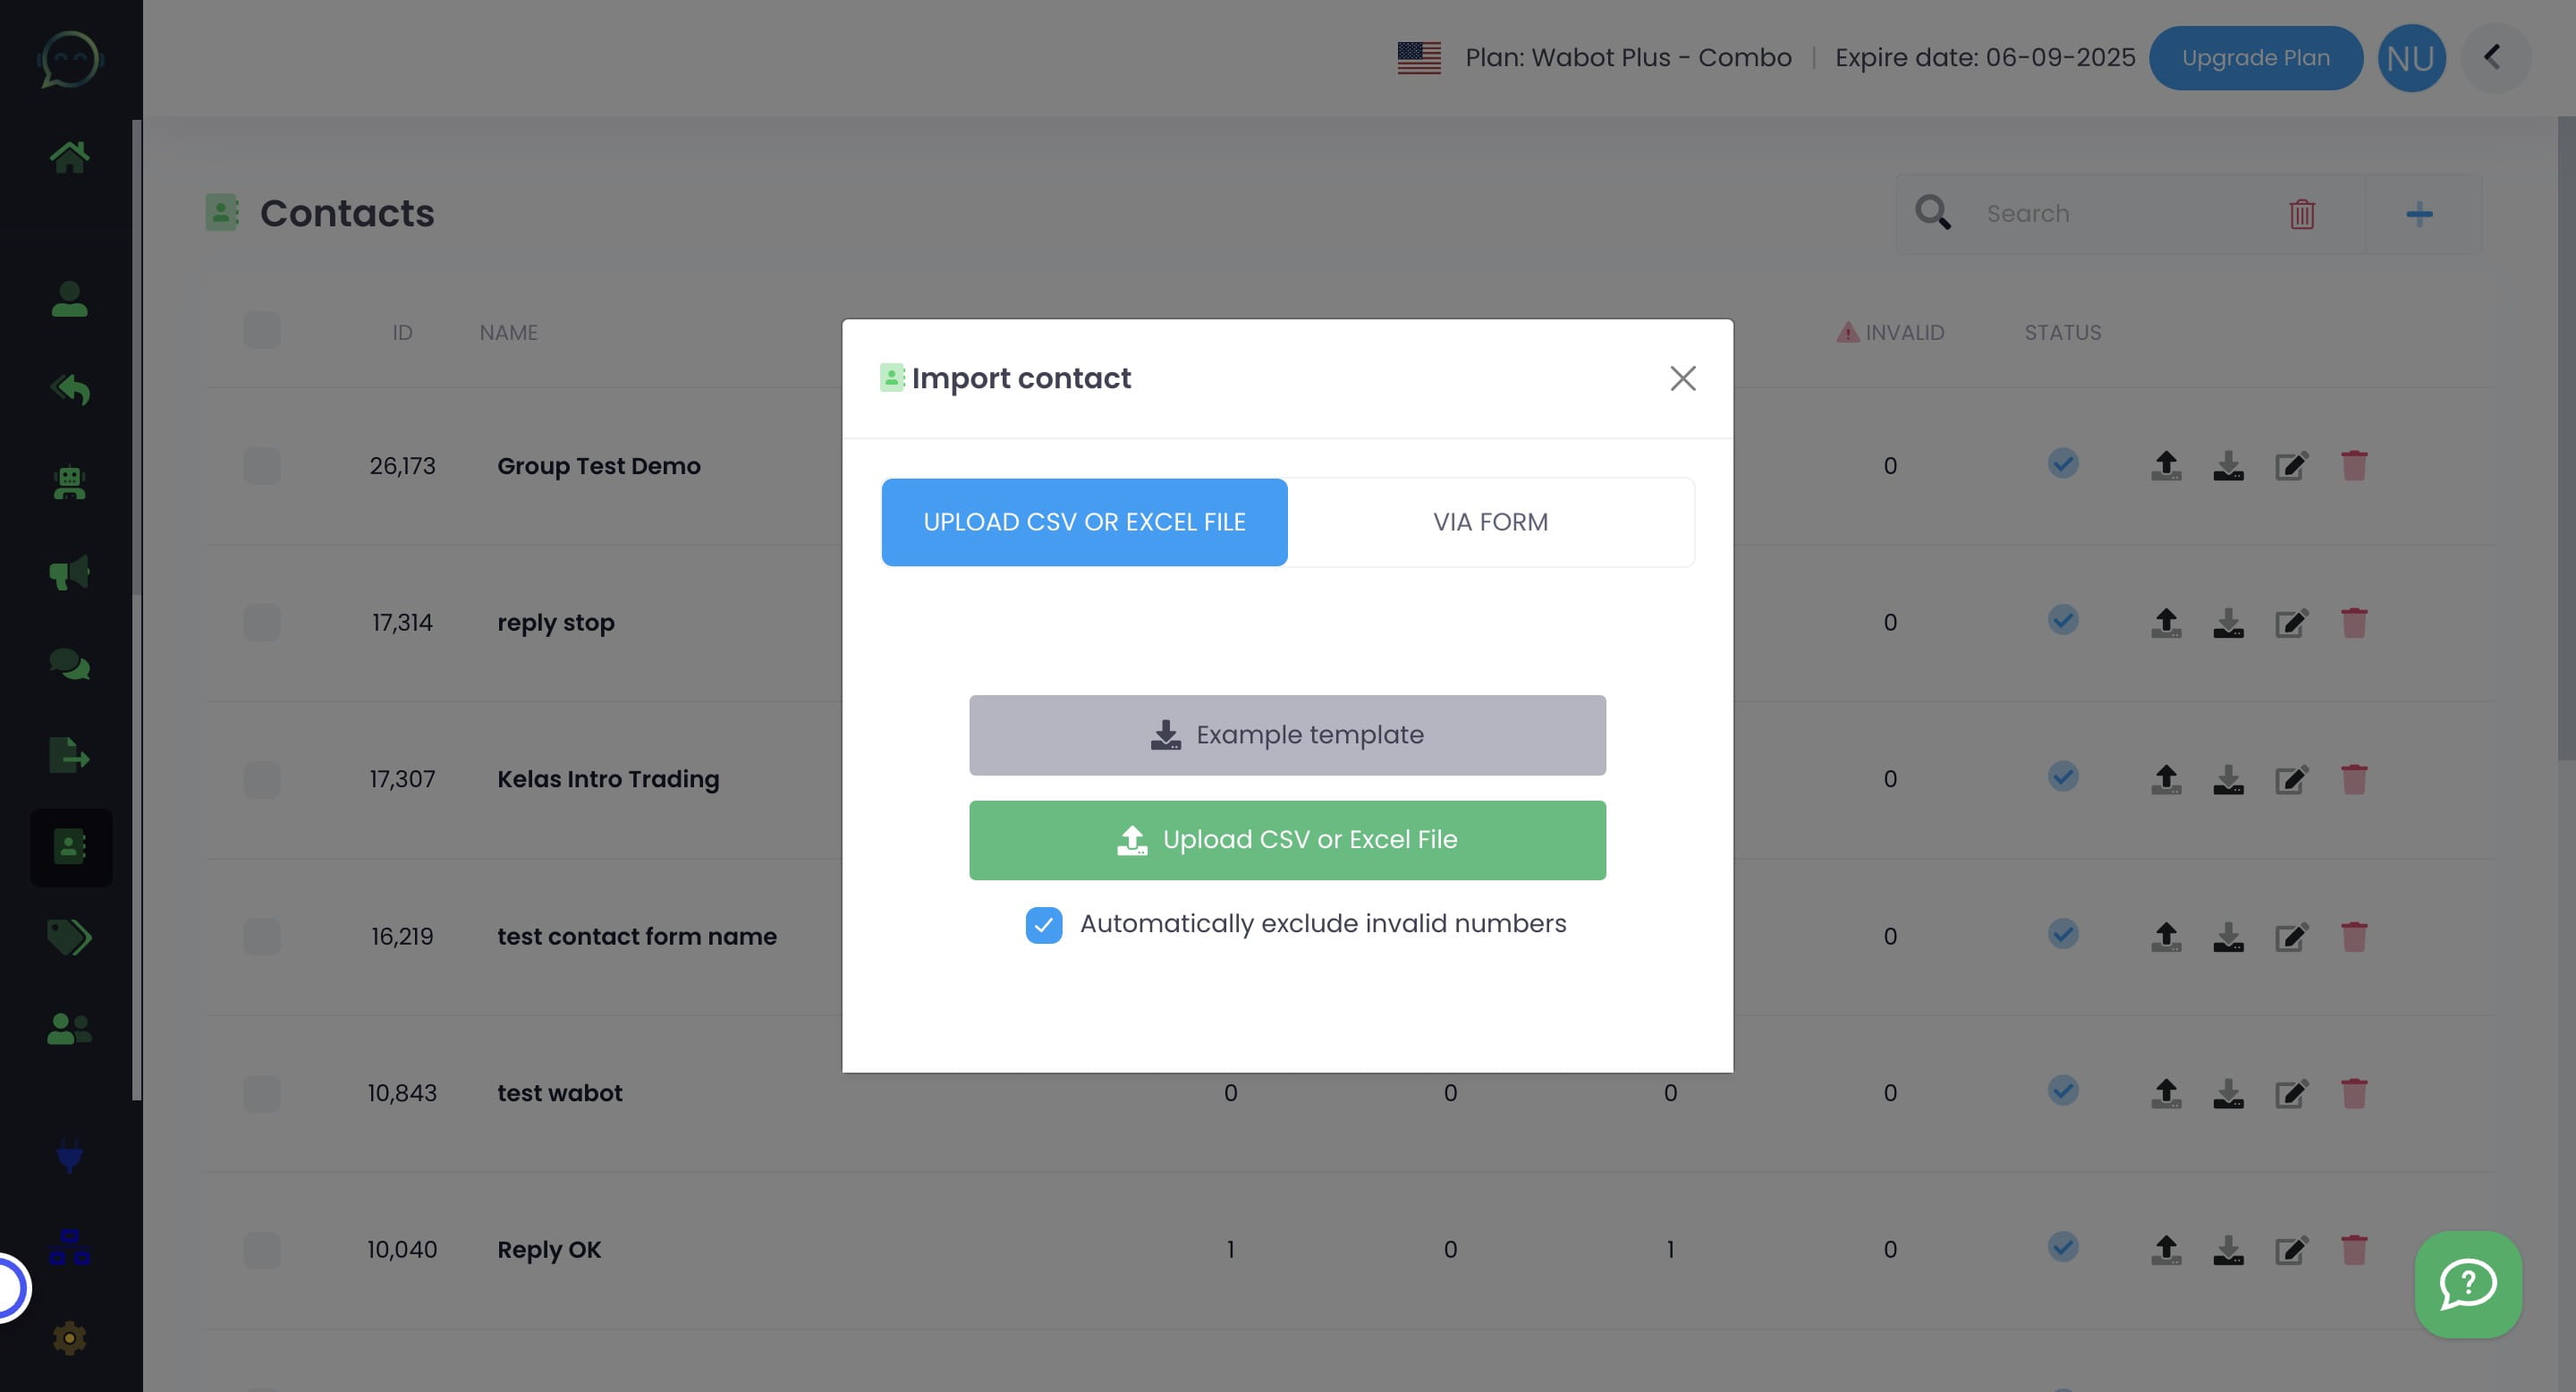
Click on "Upload CSV or Excel File" to upload the database file that you keep either in Google Sheet or Microsoft Excel
Click this icon to download the example template
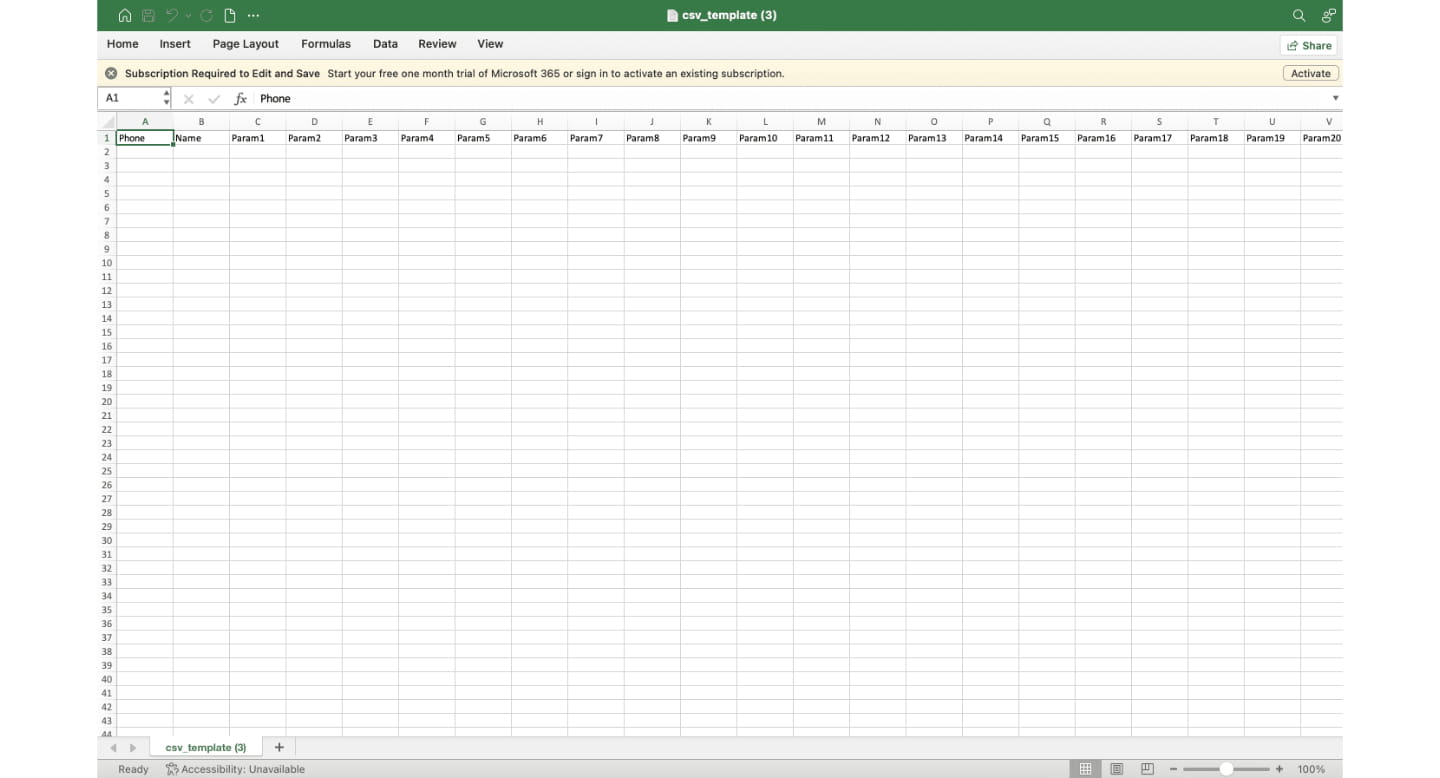
Please ensure that you adhere to the order of the columns as indicated in the template. Failing to do so may result in invalid numbers.
Column A is for "Phone", column B is for "Name" and any additional column depends on the information needed, like "Product" or "Tracking Number". If an extra column isn't necessary, delete it before uploading to Wabot
You can also upload existing file in CSV or xlsx formate. Just make sure to adhere on the column positioning
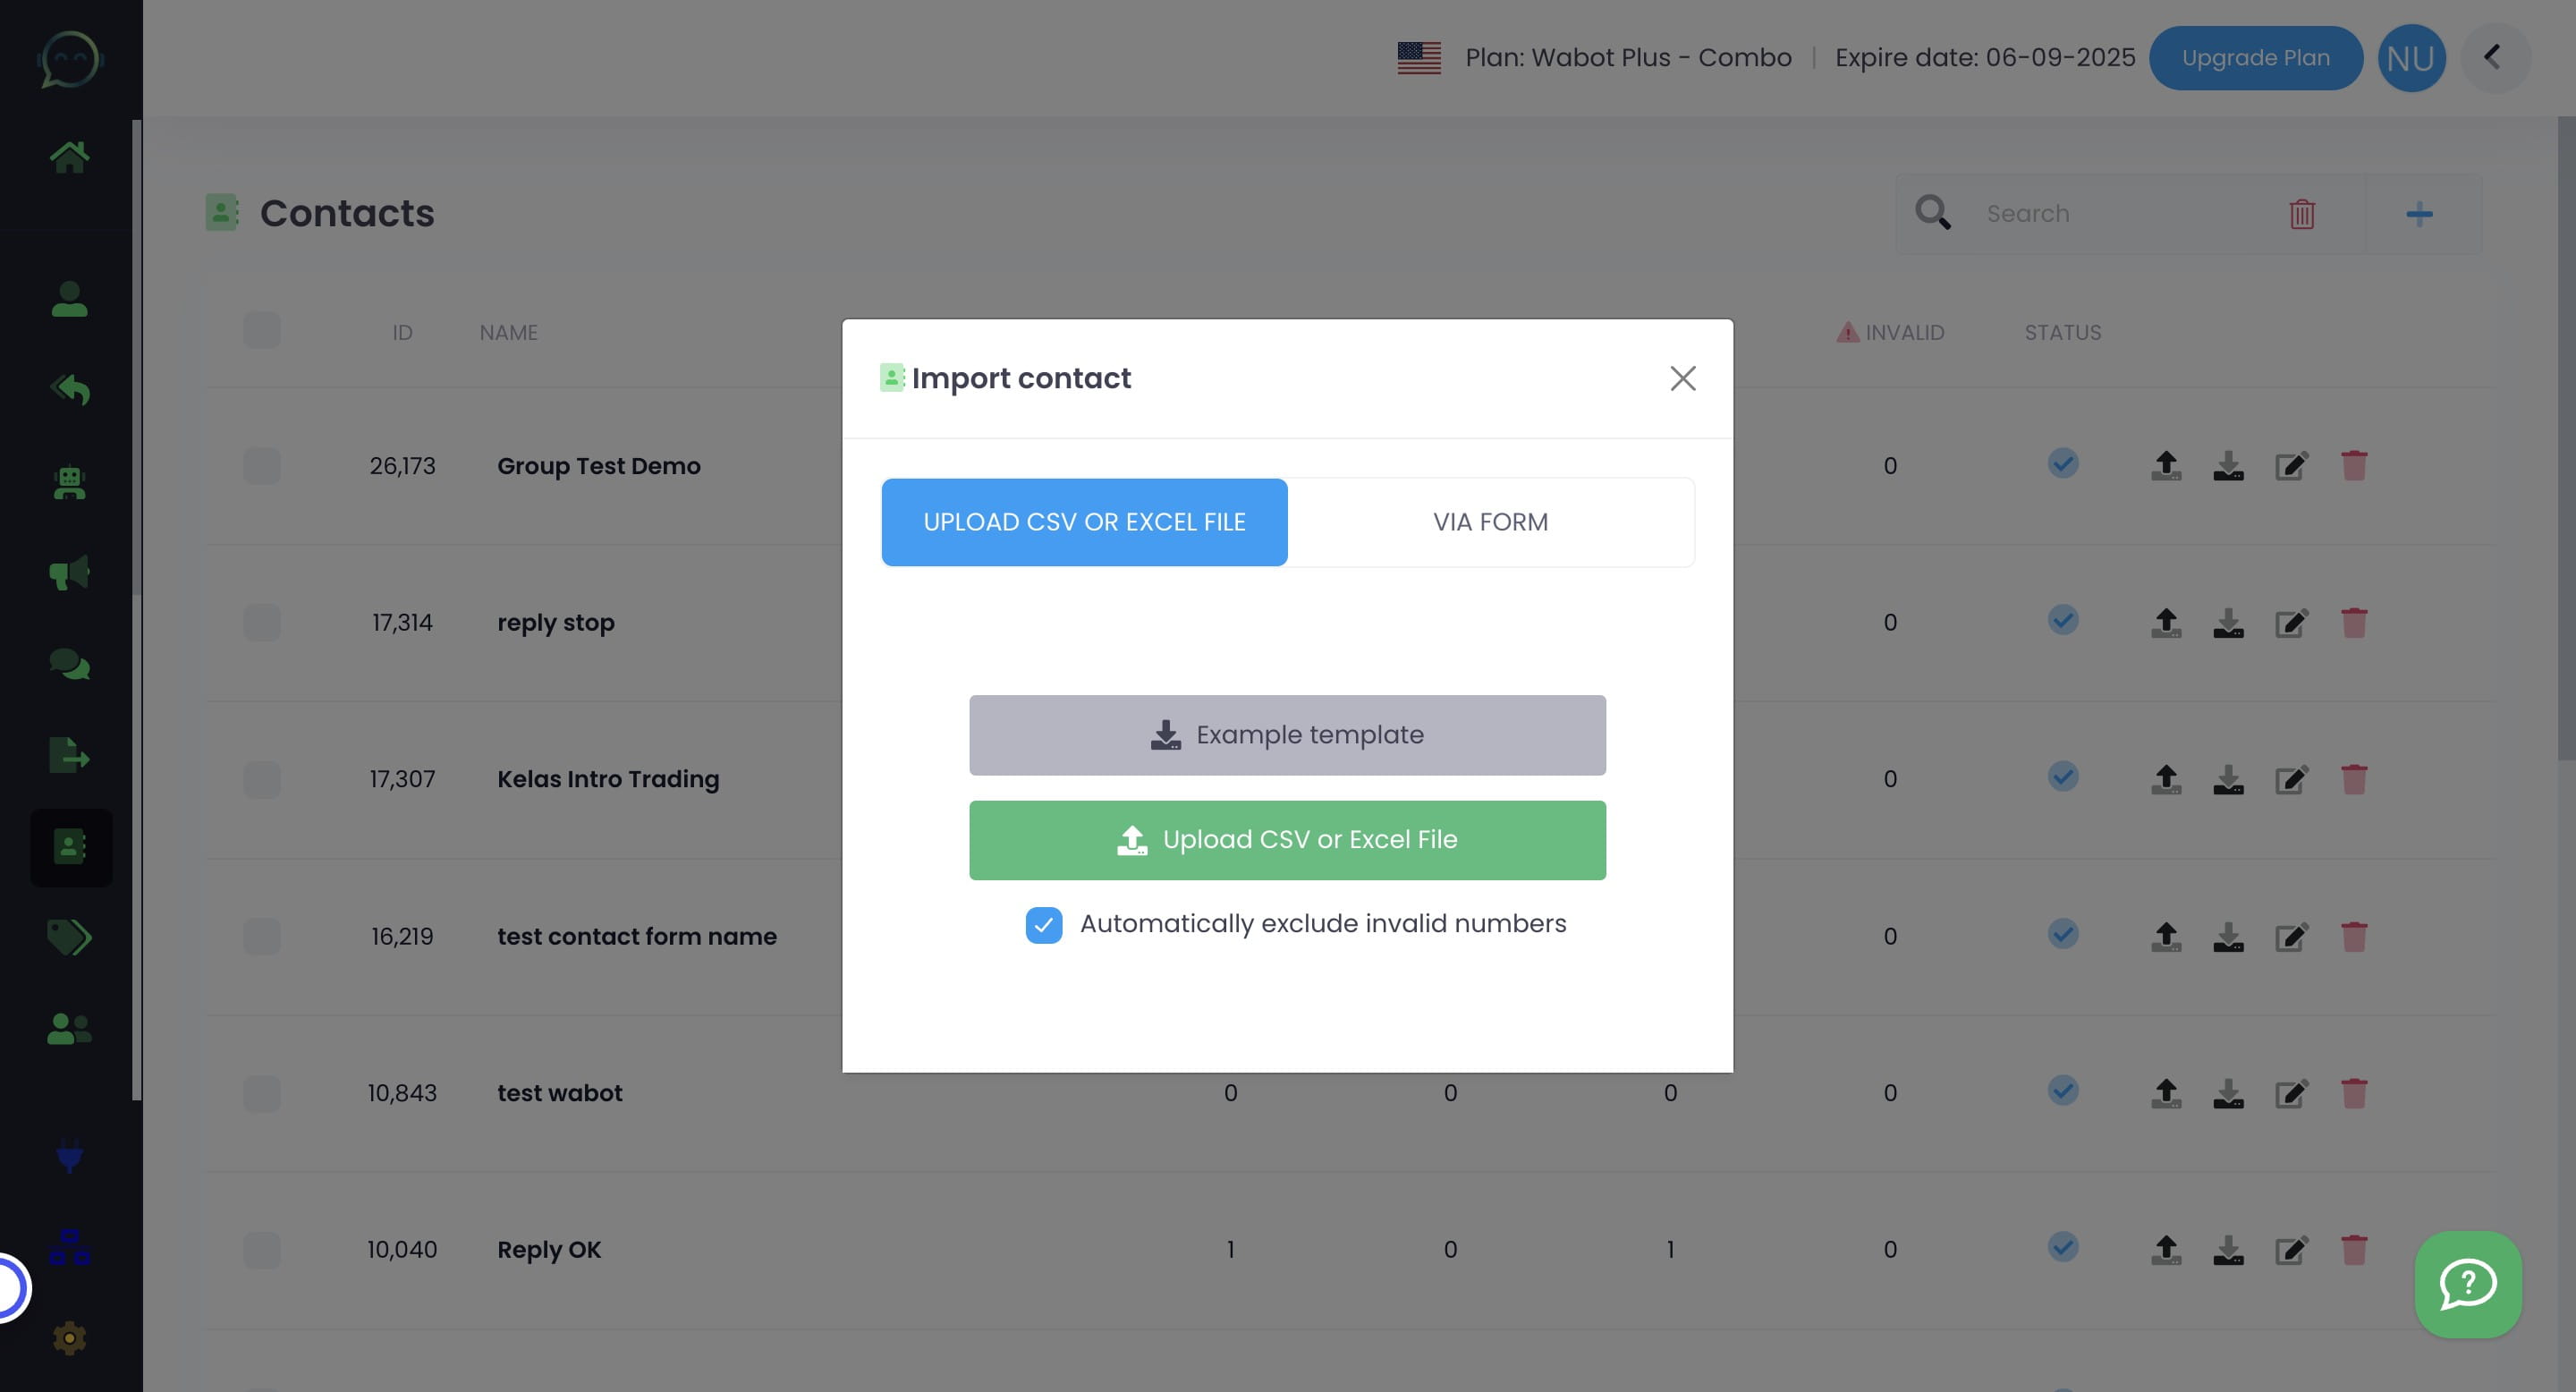
Click the icon to import the database from the document you created earlier
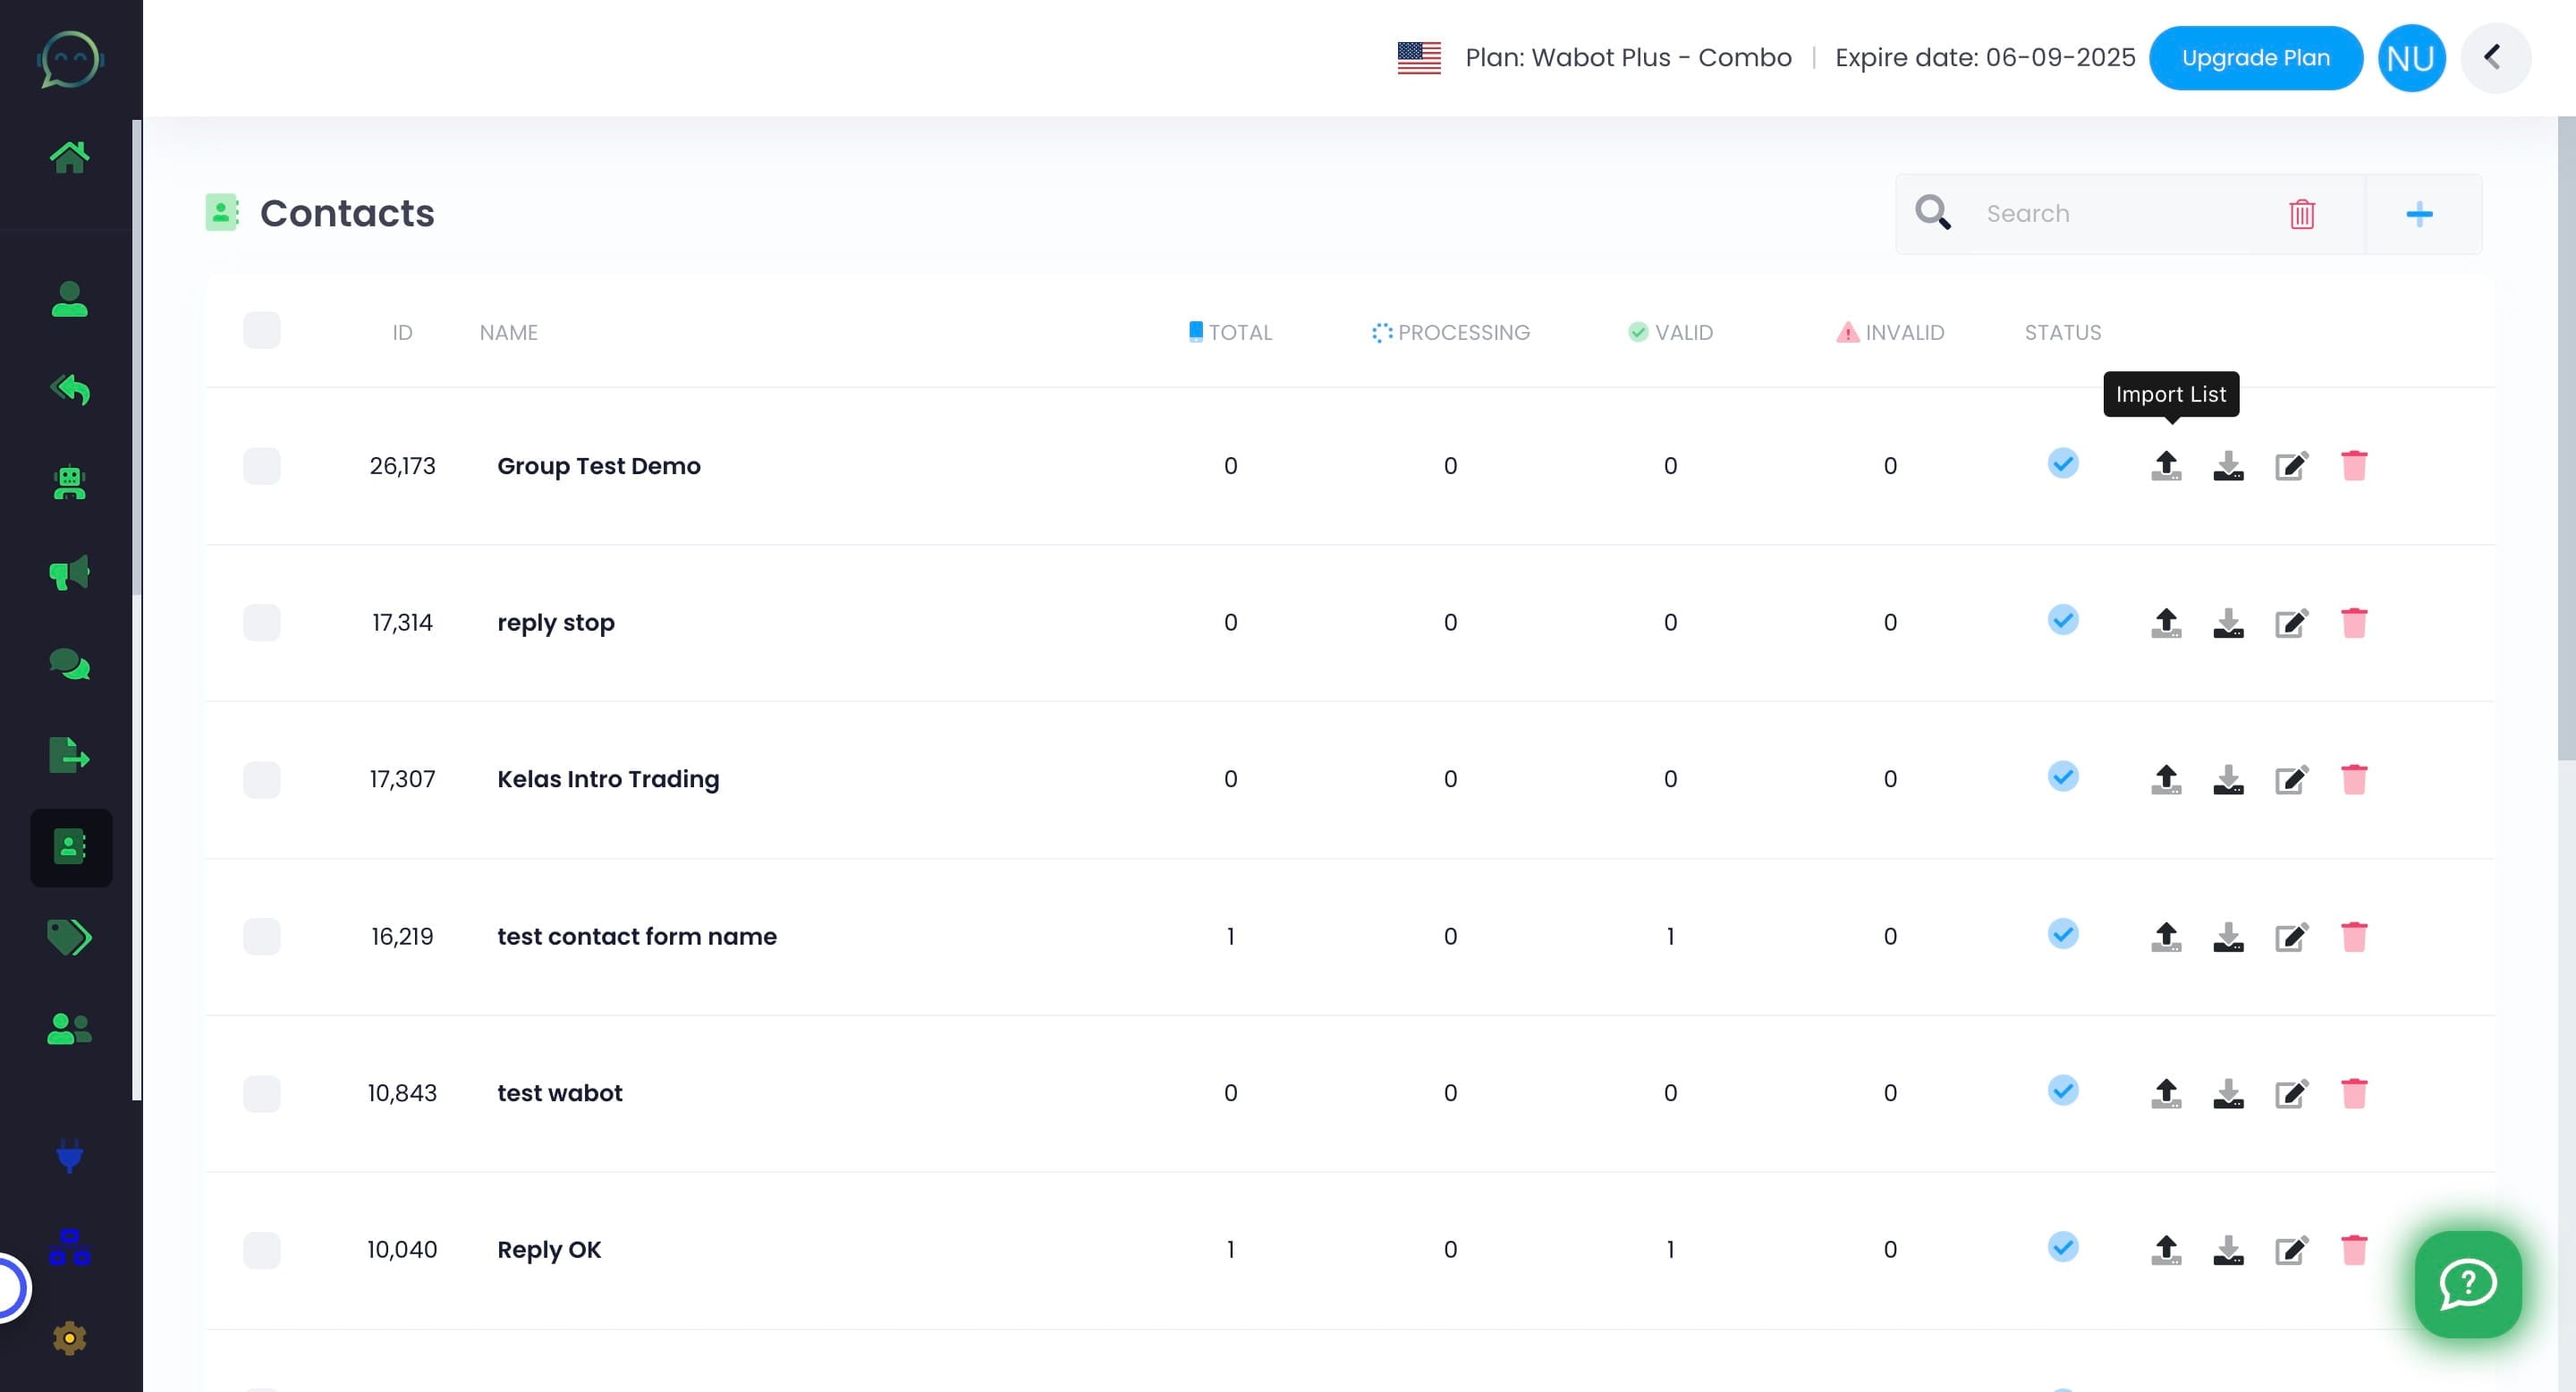
Click here and choose the document
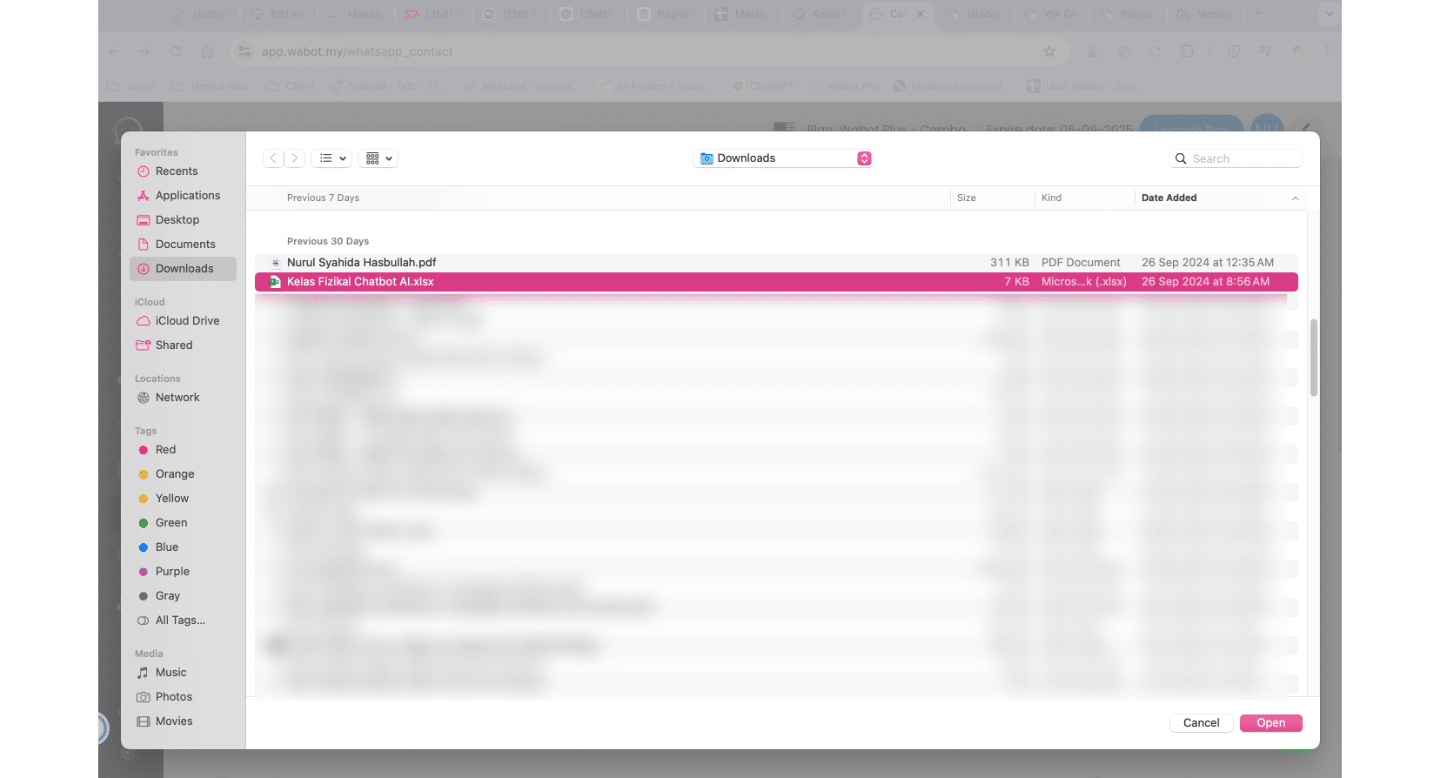
Choose the file needed
It will be uploaded and here it will show the total database. If the total number is reduced, most probably because it has duplicated numbers. So, no worries
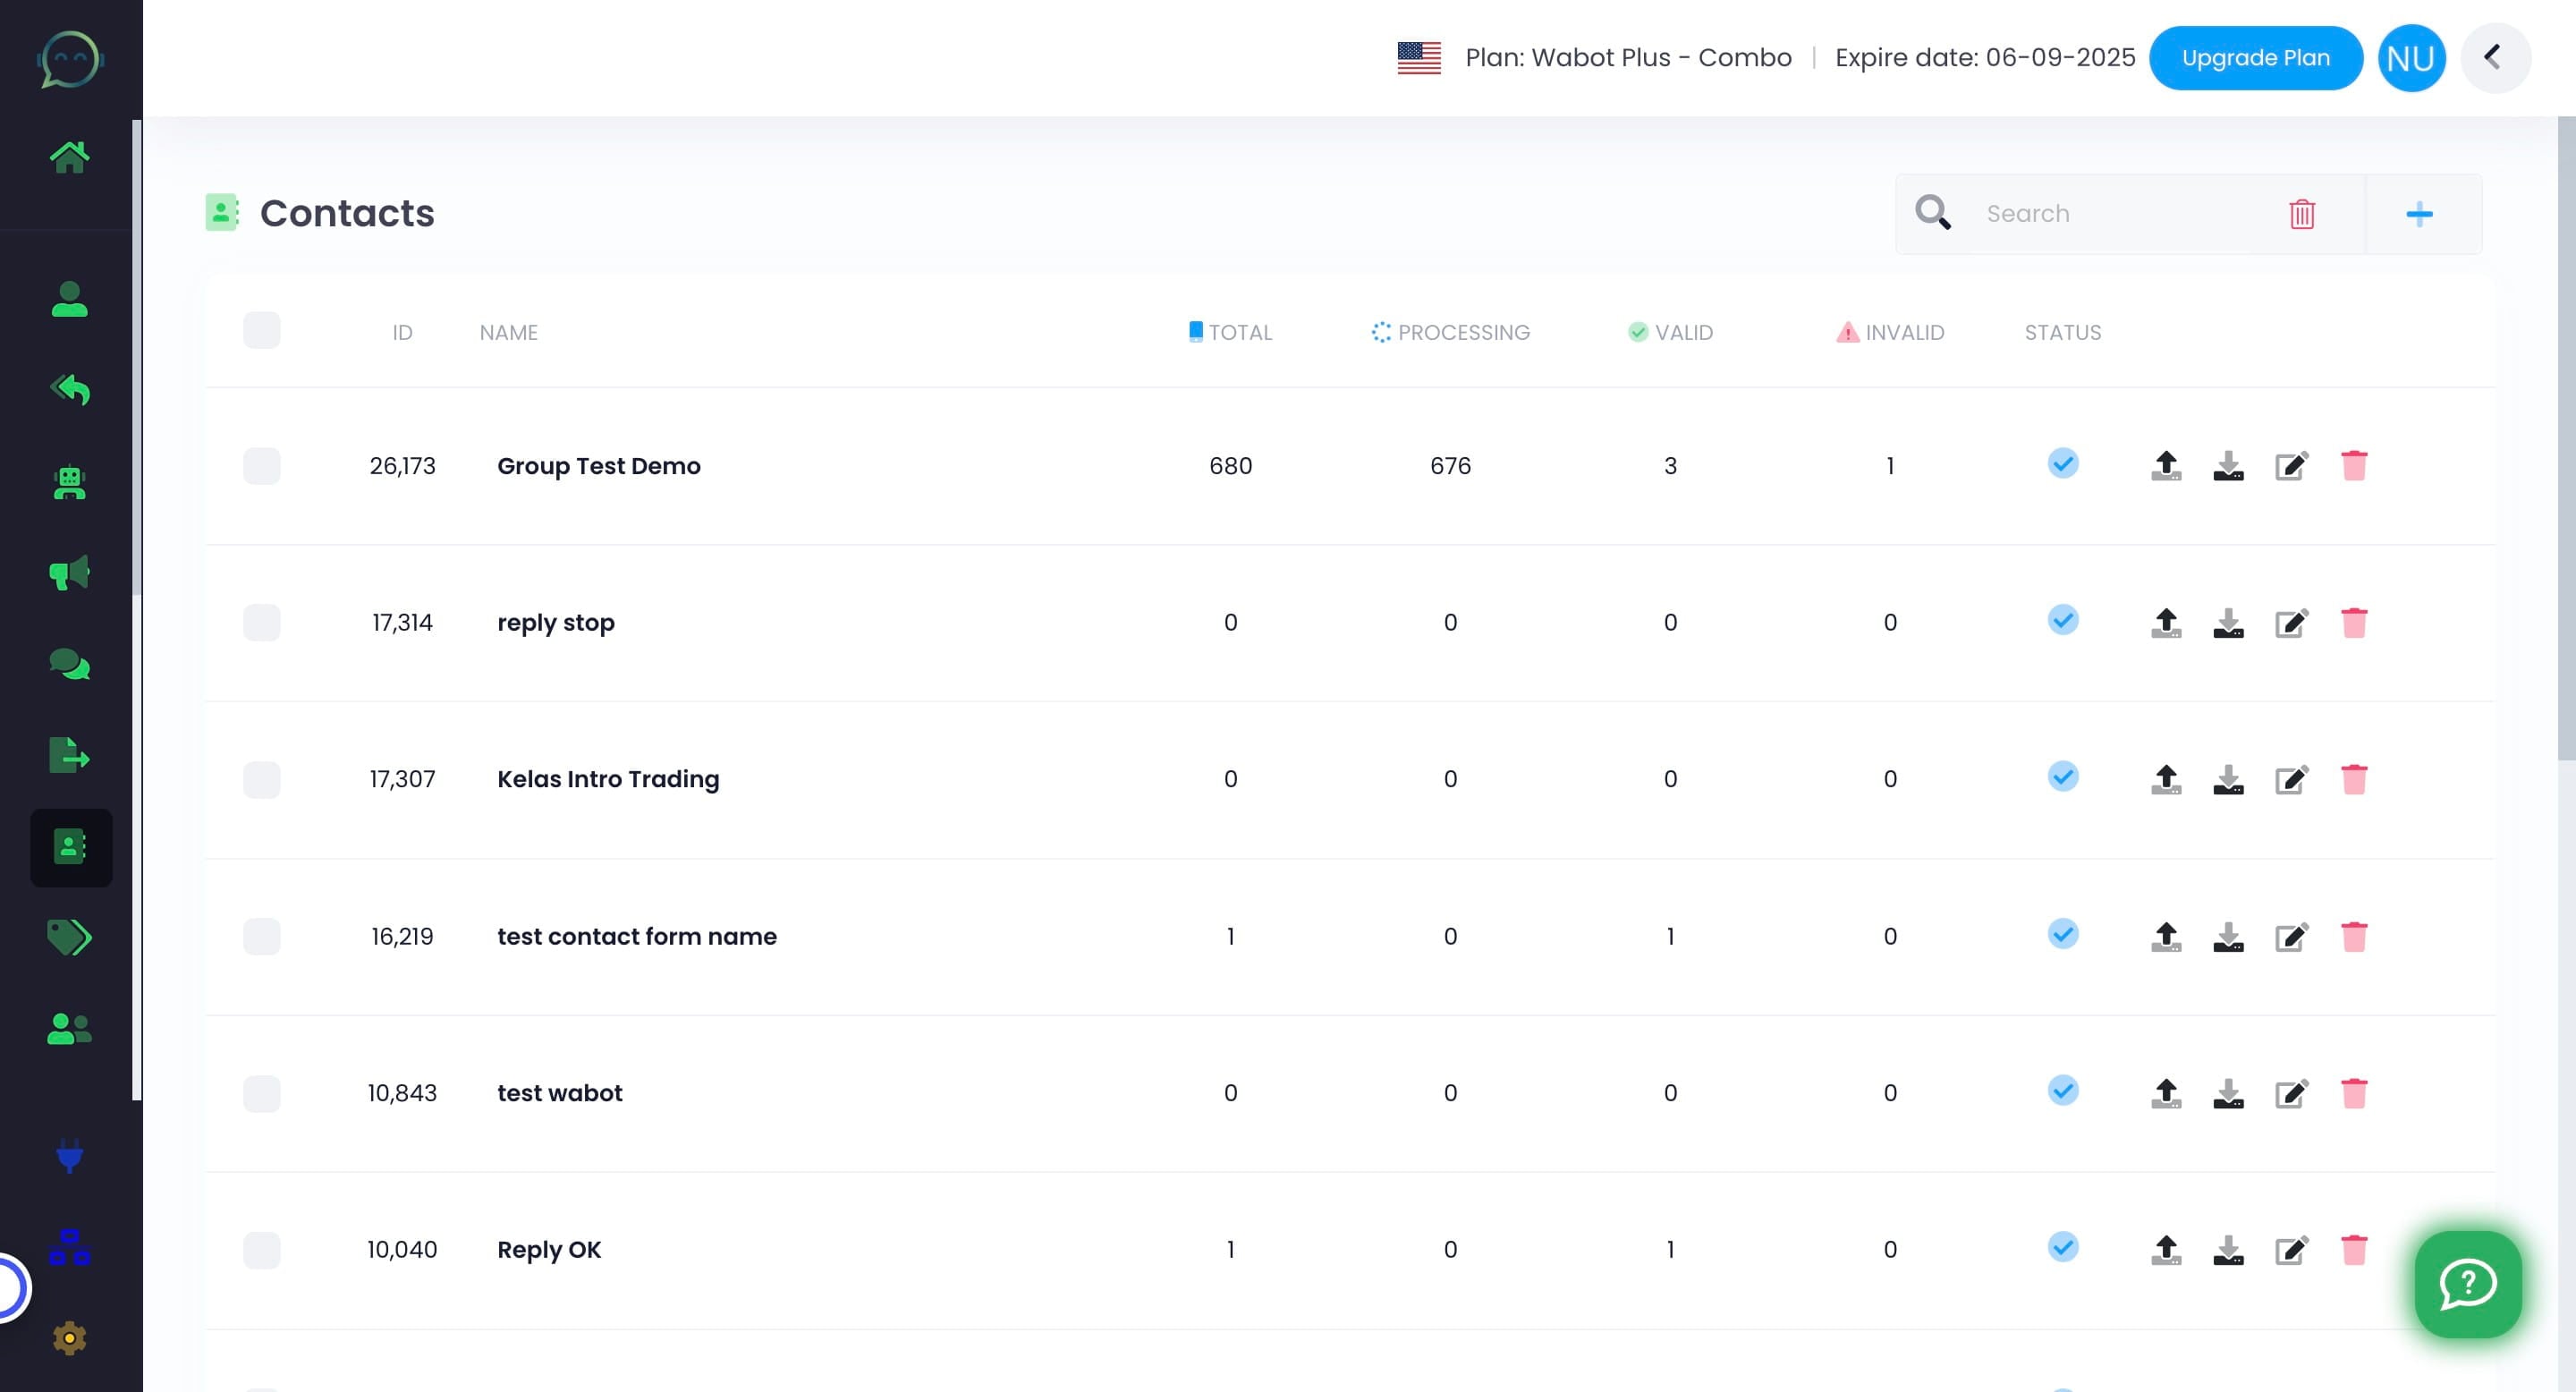
If the number is still in processing even after quite some times, no need to worry. You can straight away proceed to blast, as it is just part of the validation process
You can also export the list by clicking the downward icon
Done 🚀