How to Upload Contacts & Schedule Broadcast in Wabot V3 (Bulk Messaging)
Creating Contact Group
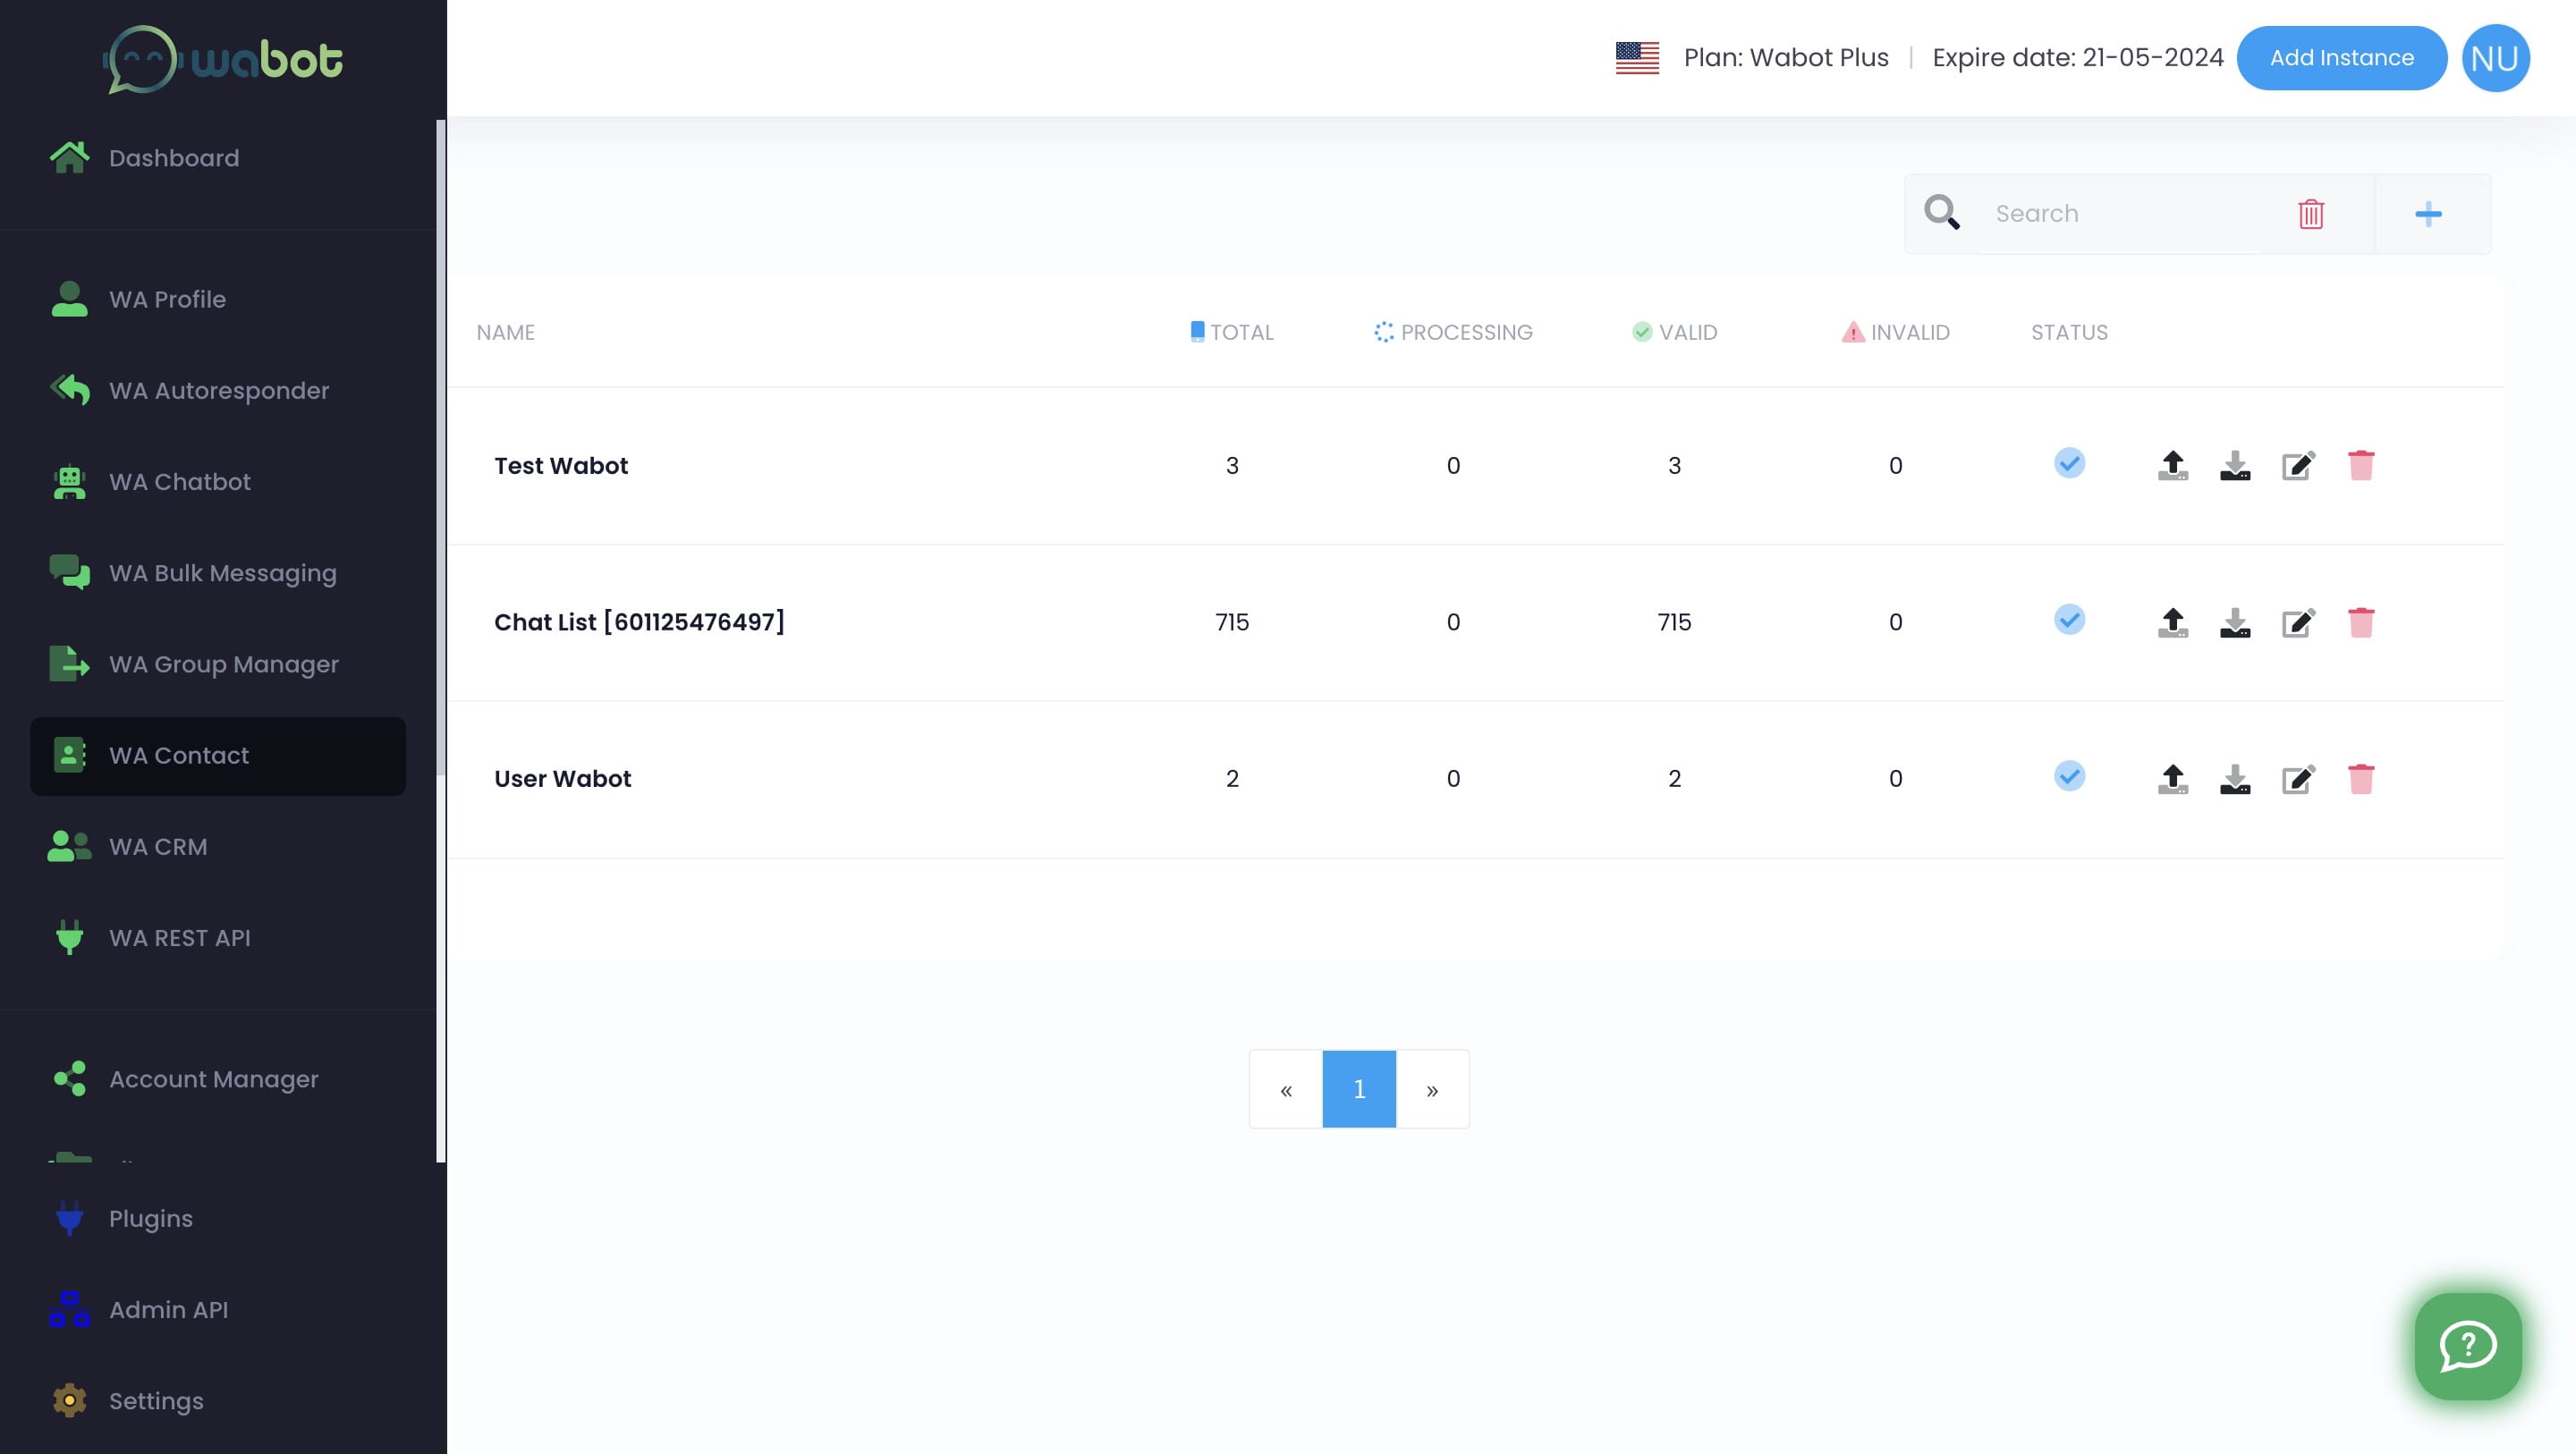
Before you start scheduling for the campaign, you must create contact group and upload the contacts first. Navigate to https://app.wabot.my/whatsapp_contact
You can either click this icon
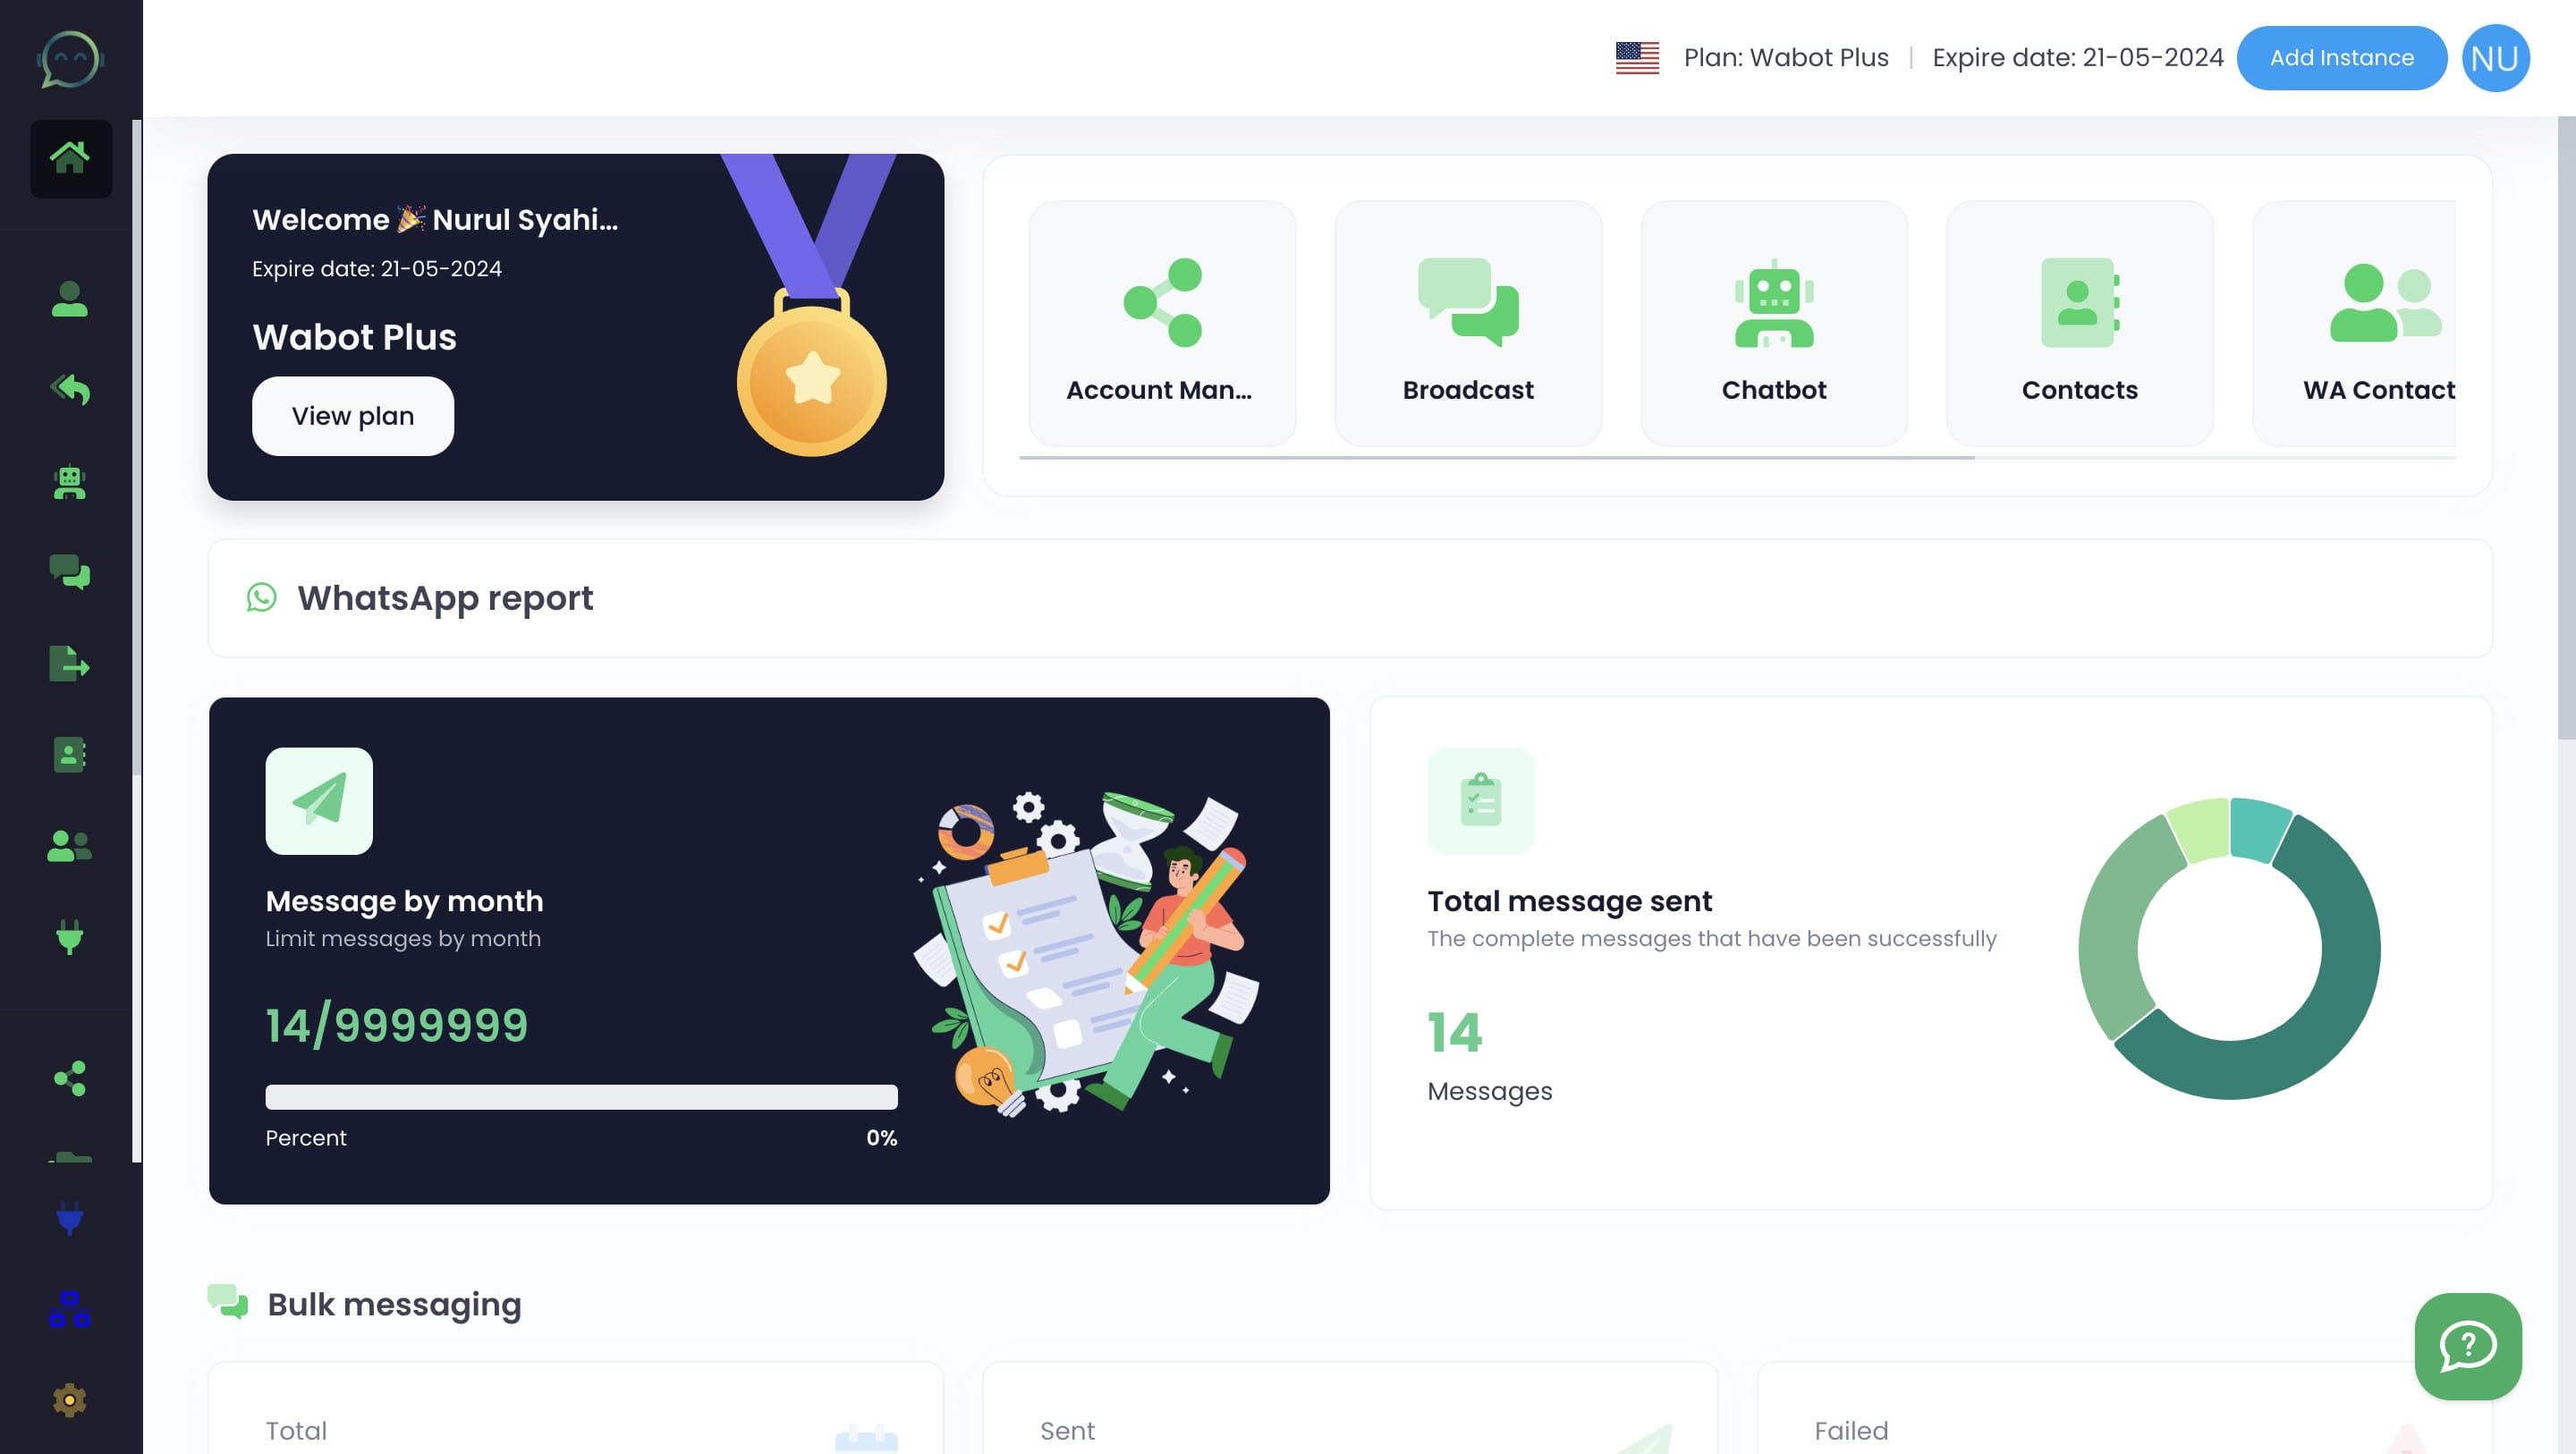
Or you can click on "WA Contact". Both are the same
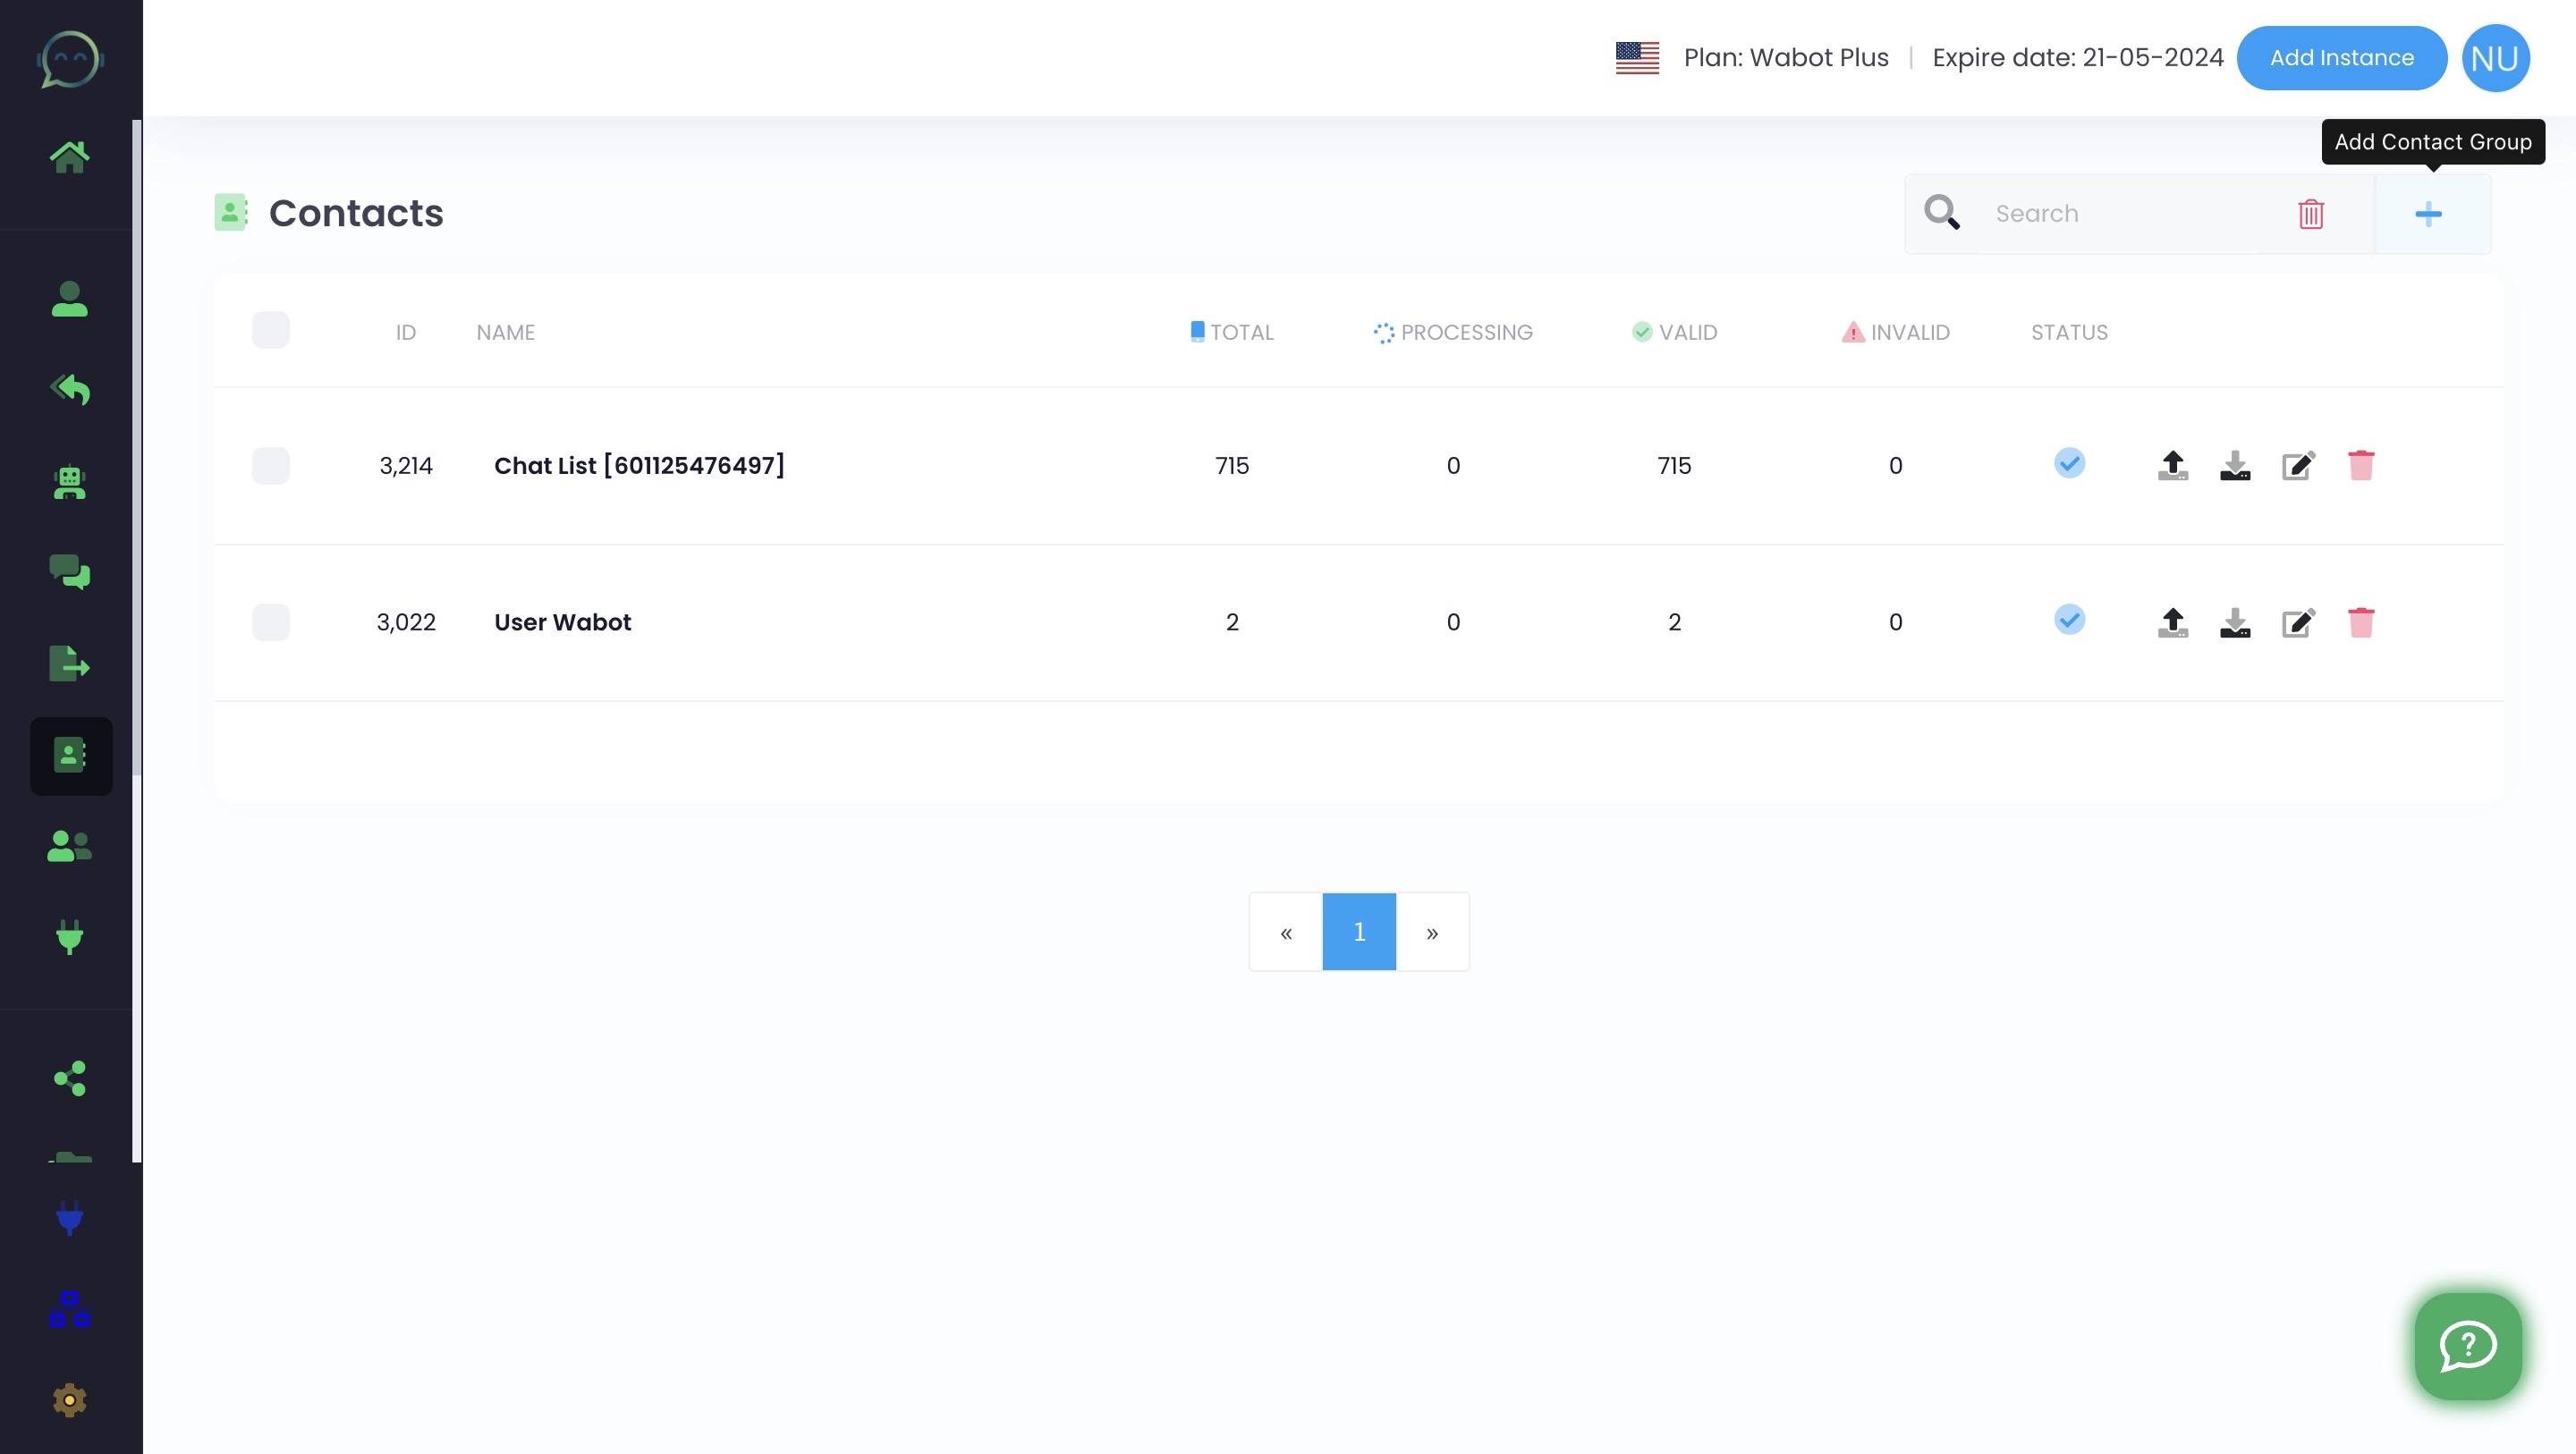
Add contact group by clicking "+" icon
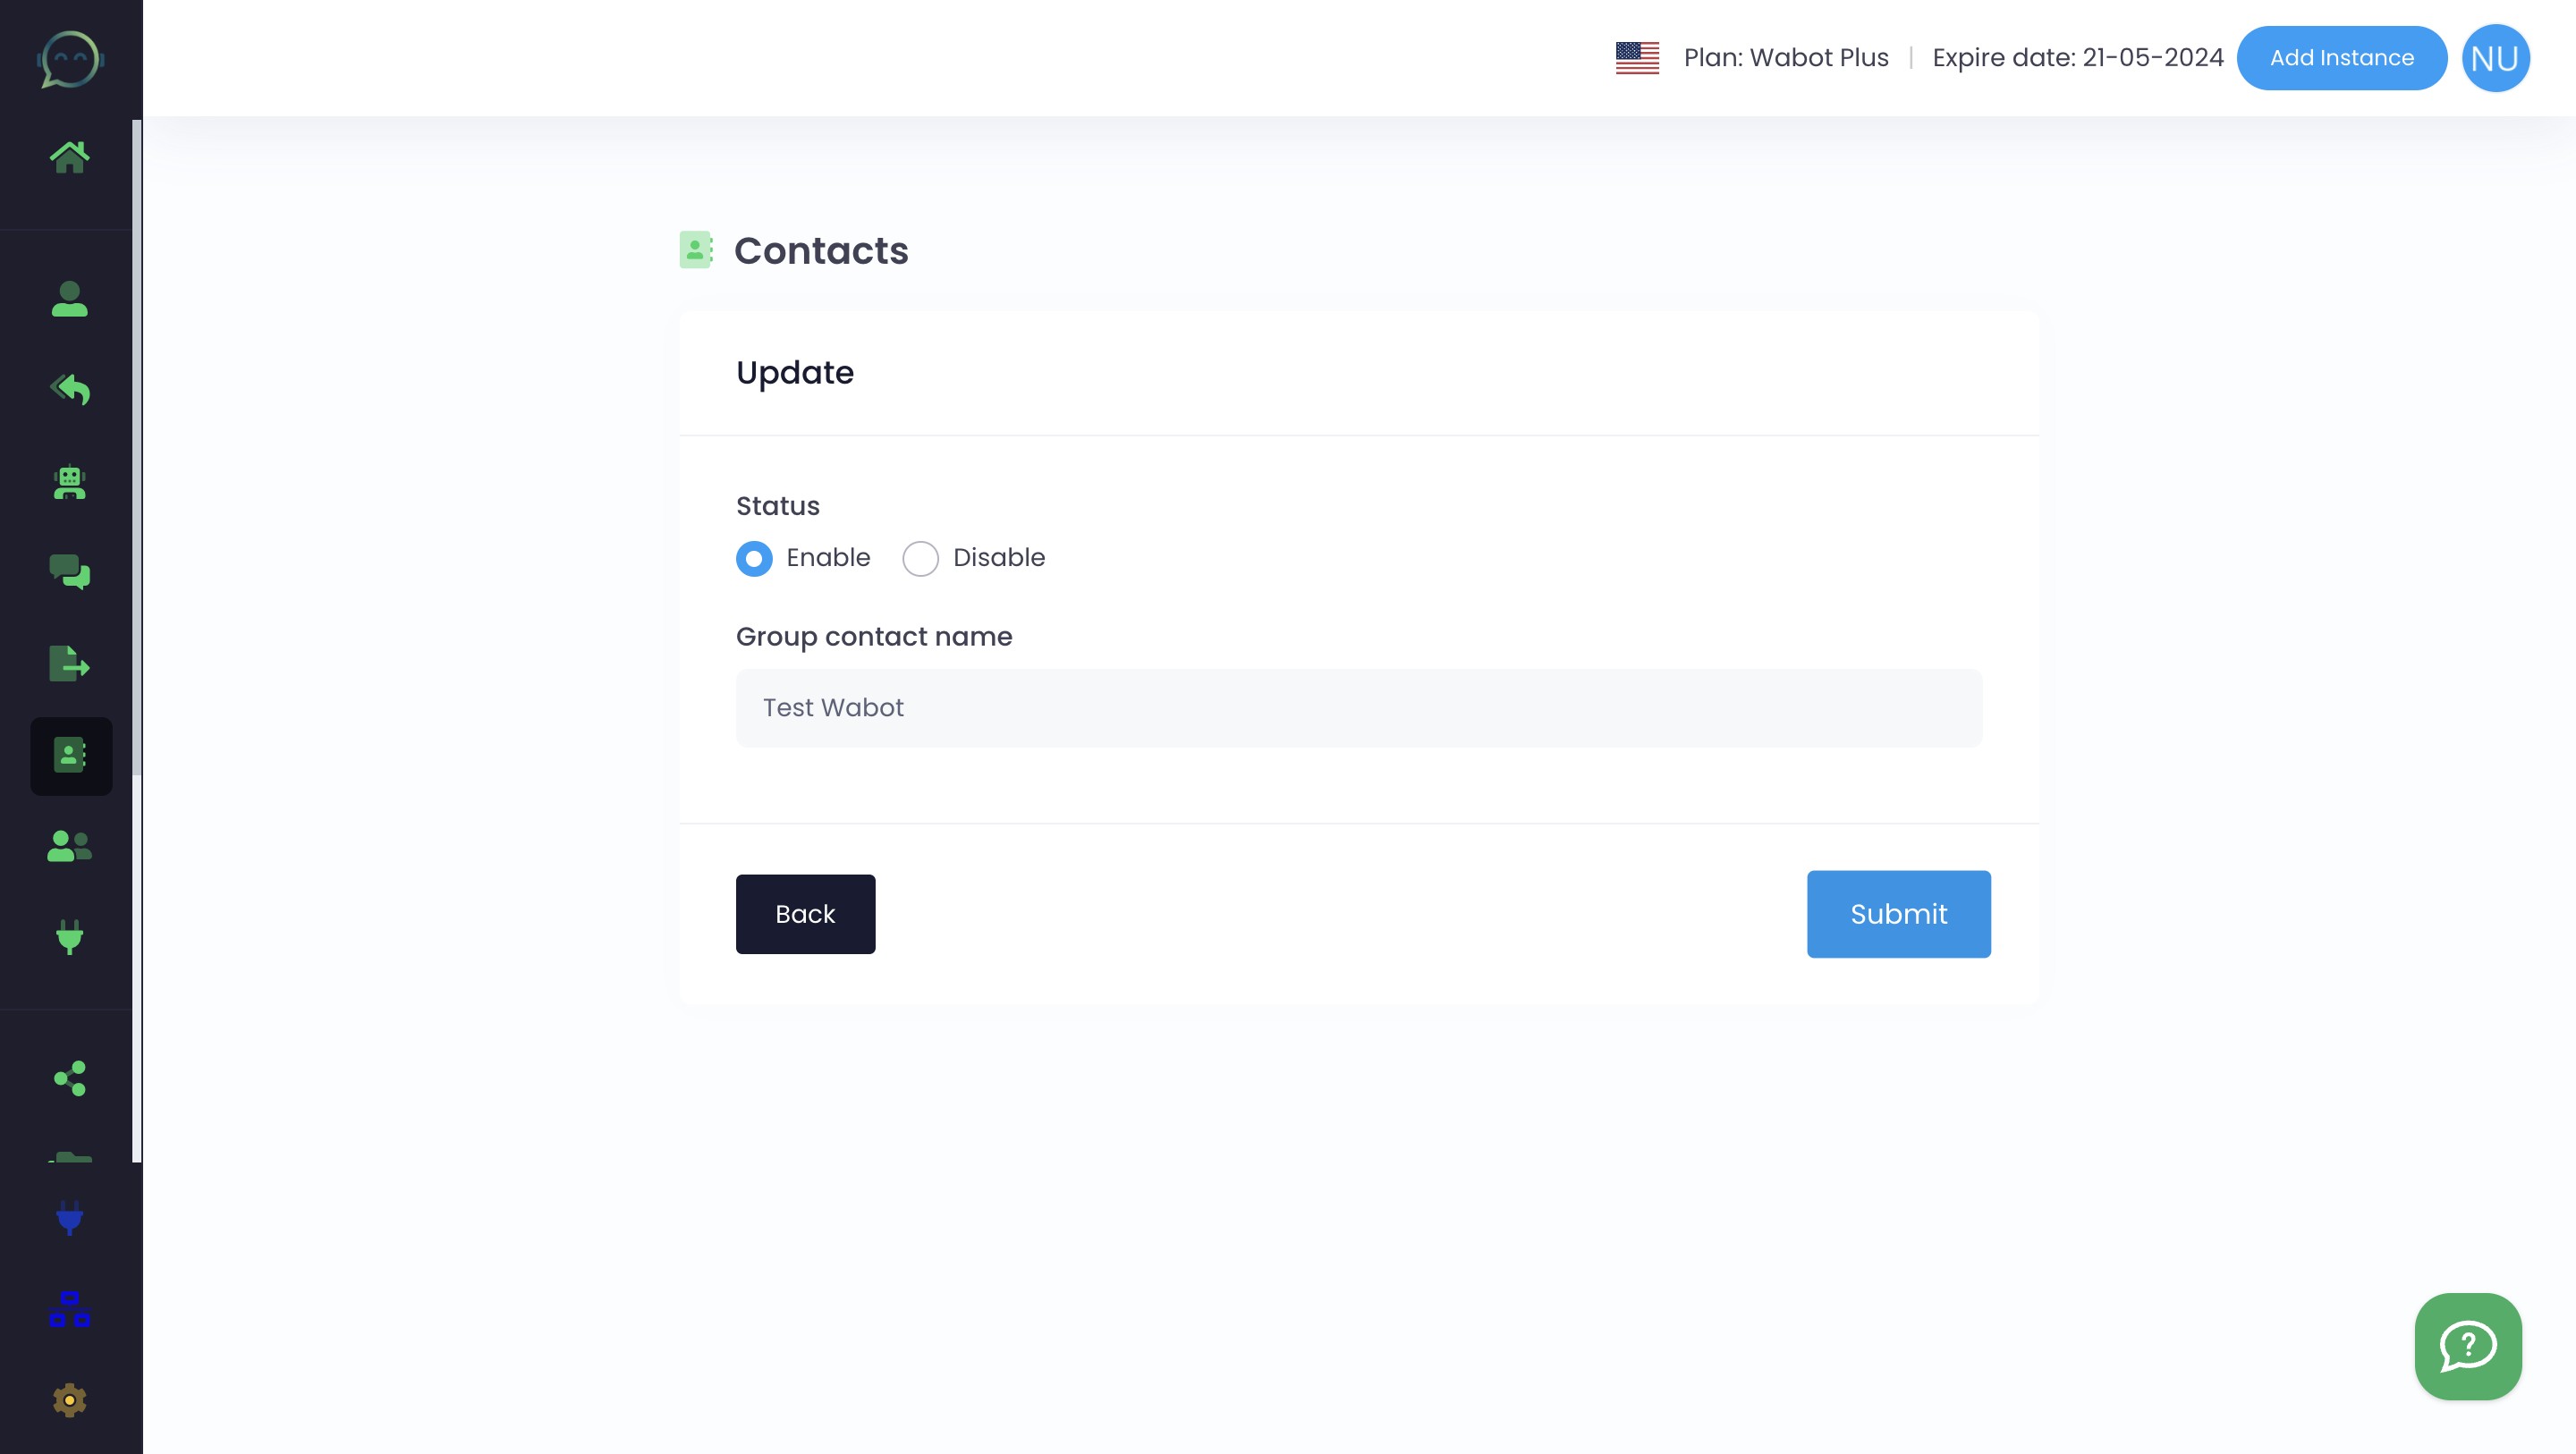
Make sure to enable the status and insert the group contact name
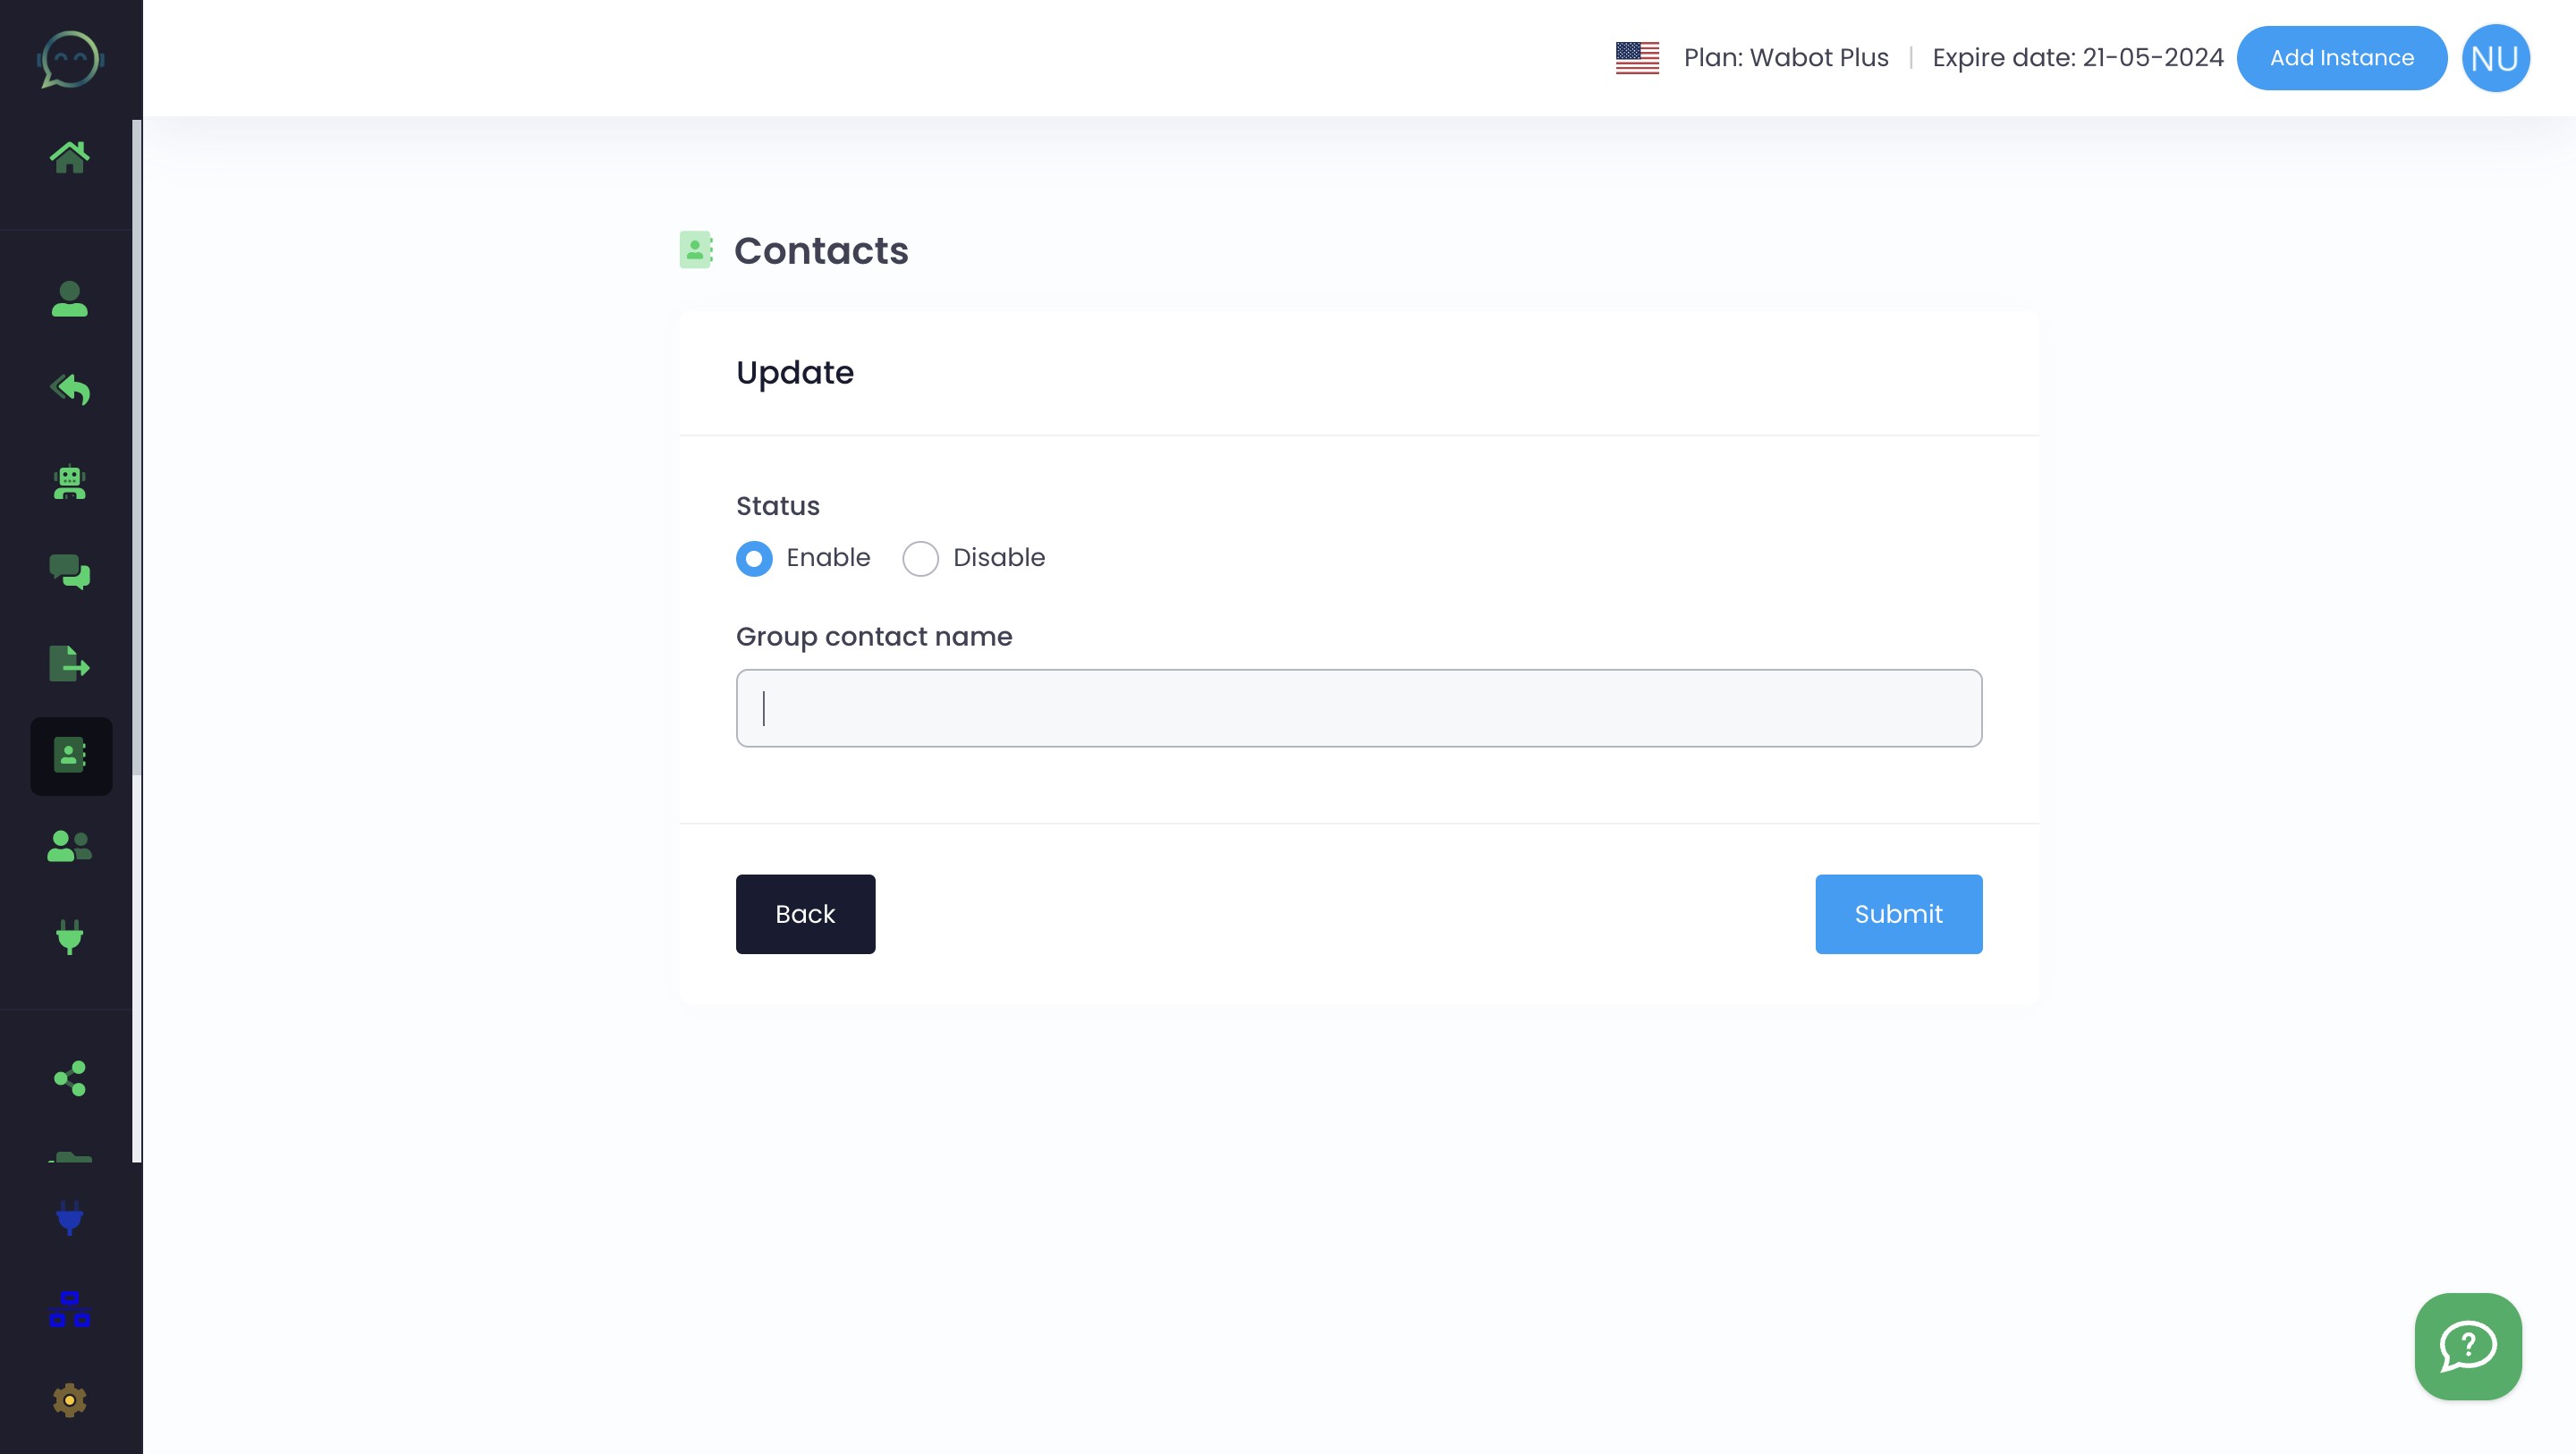
Click on "Submit"
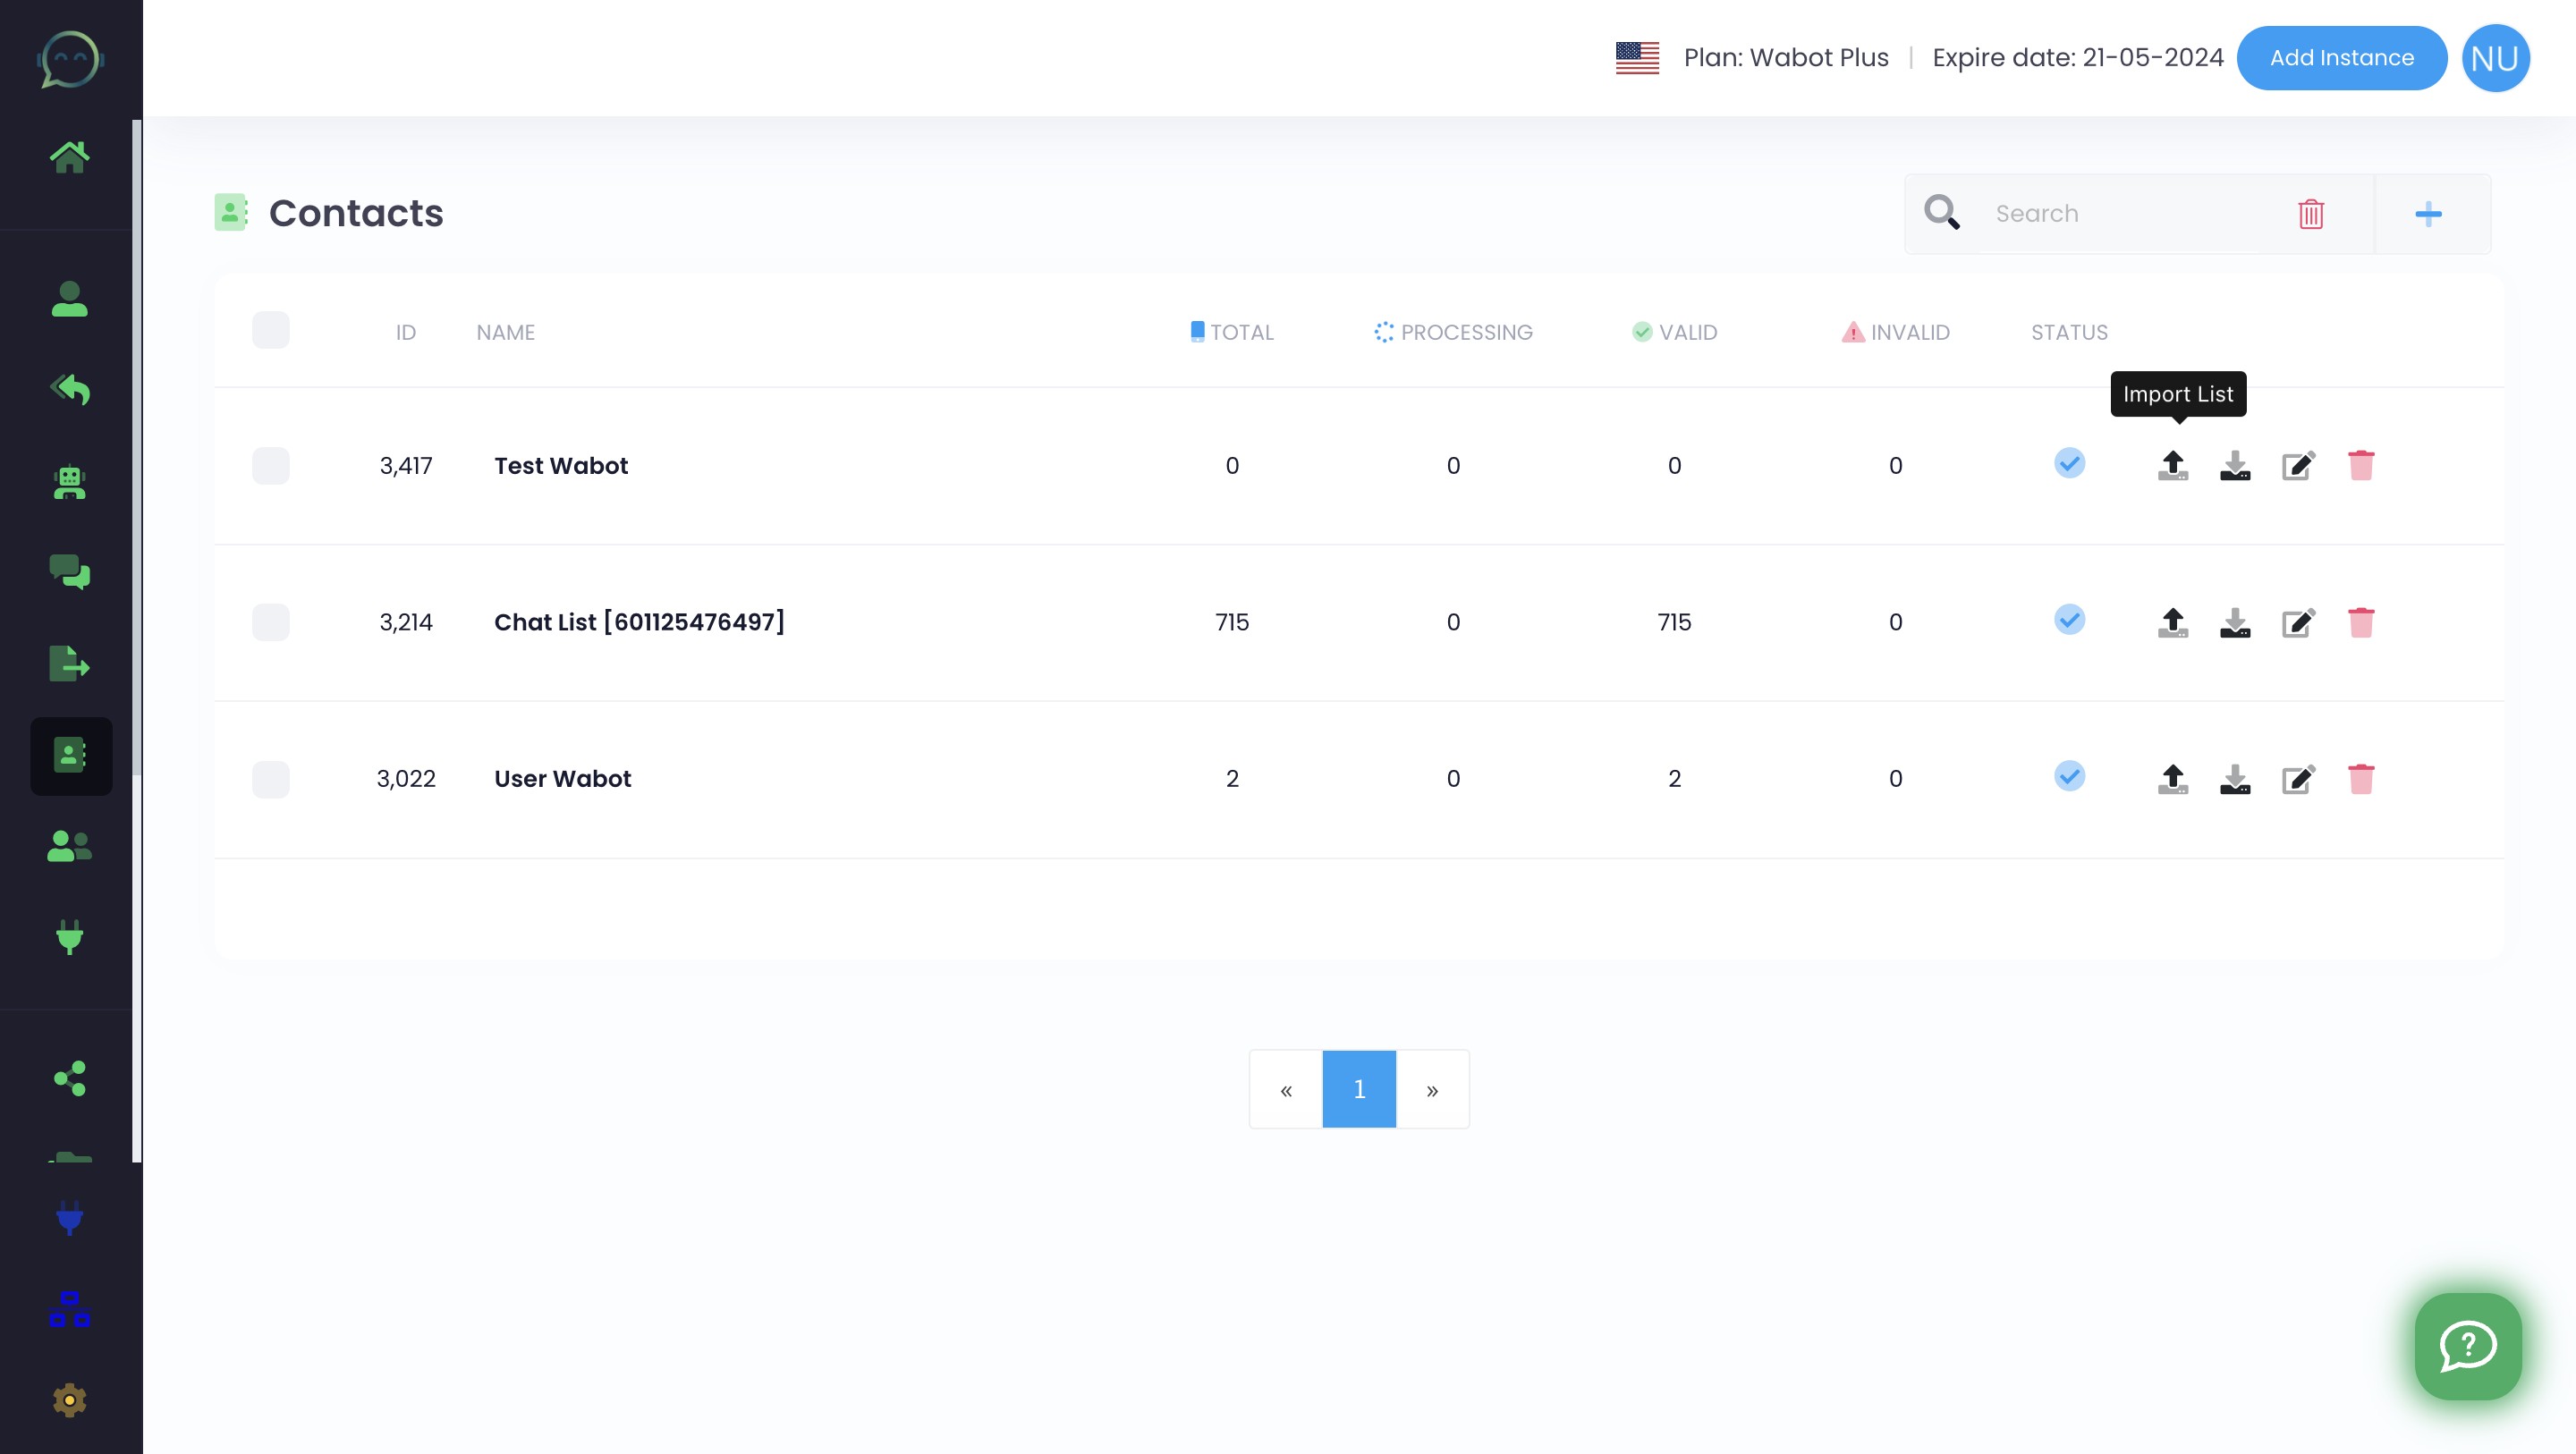
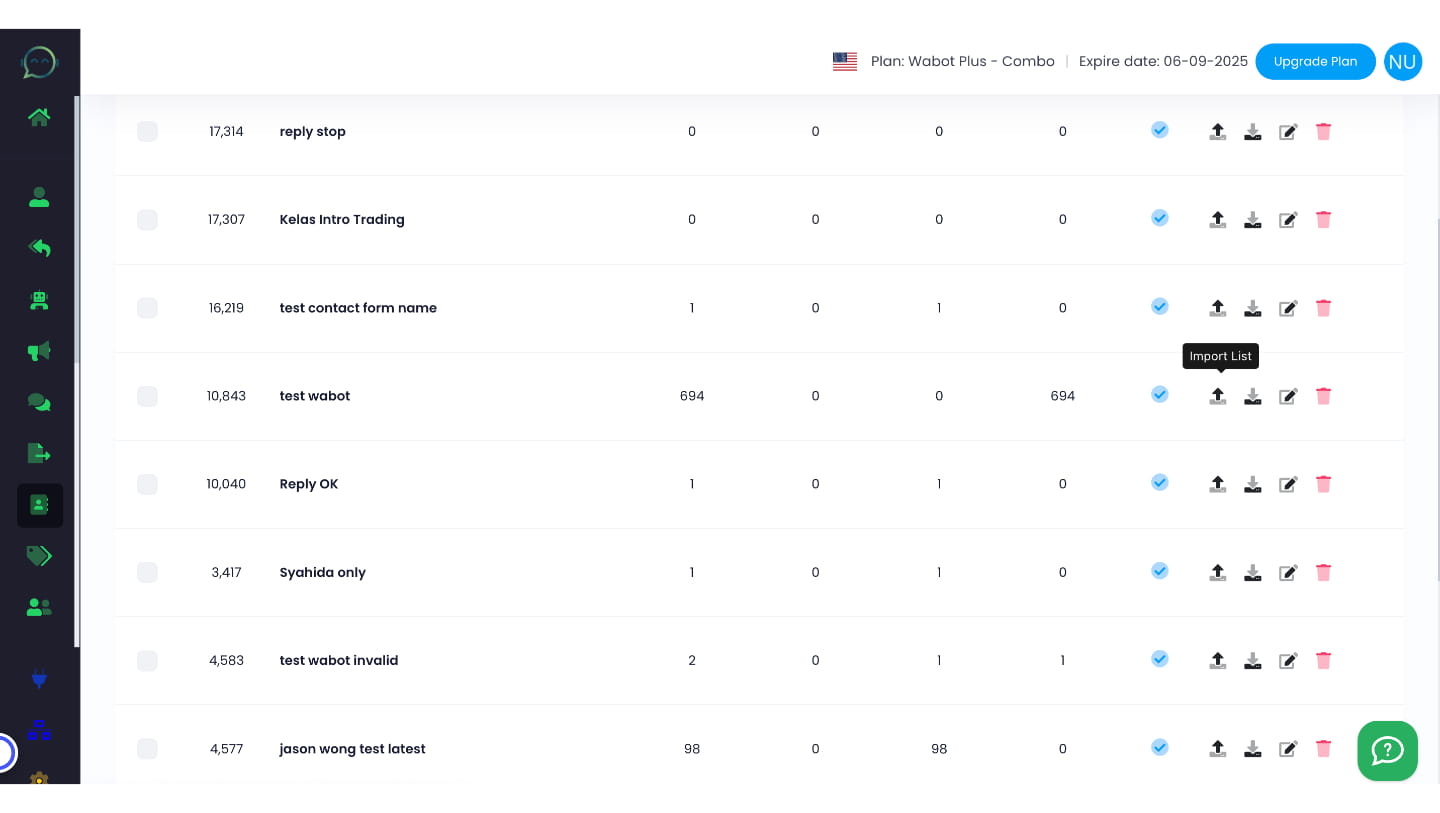
Start to import the list by clicking the icon
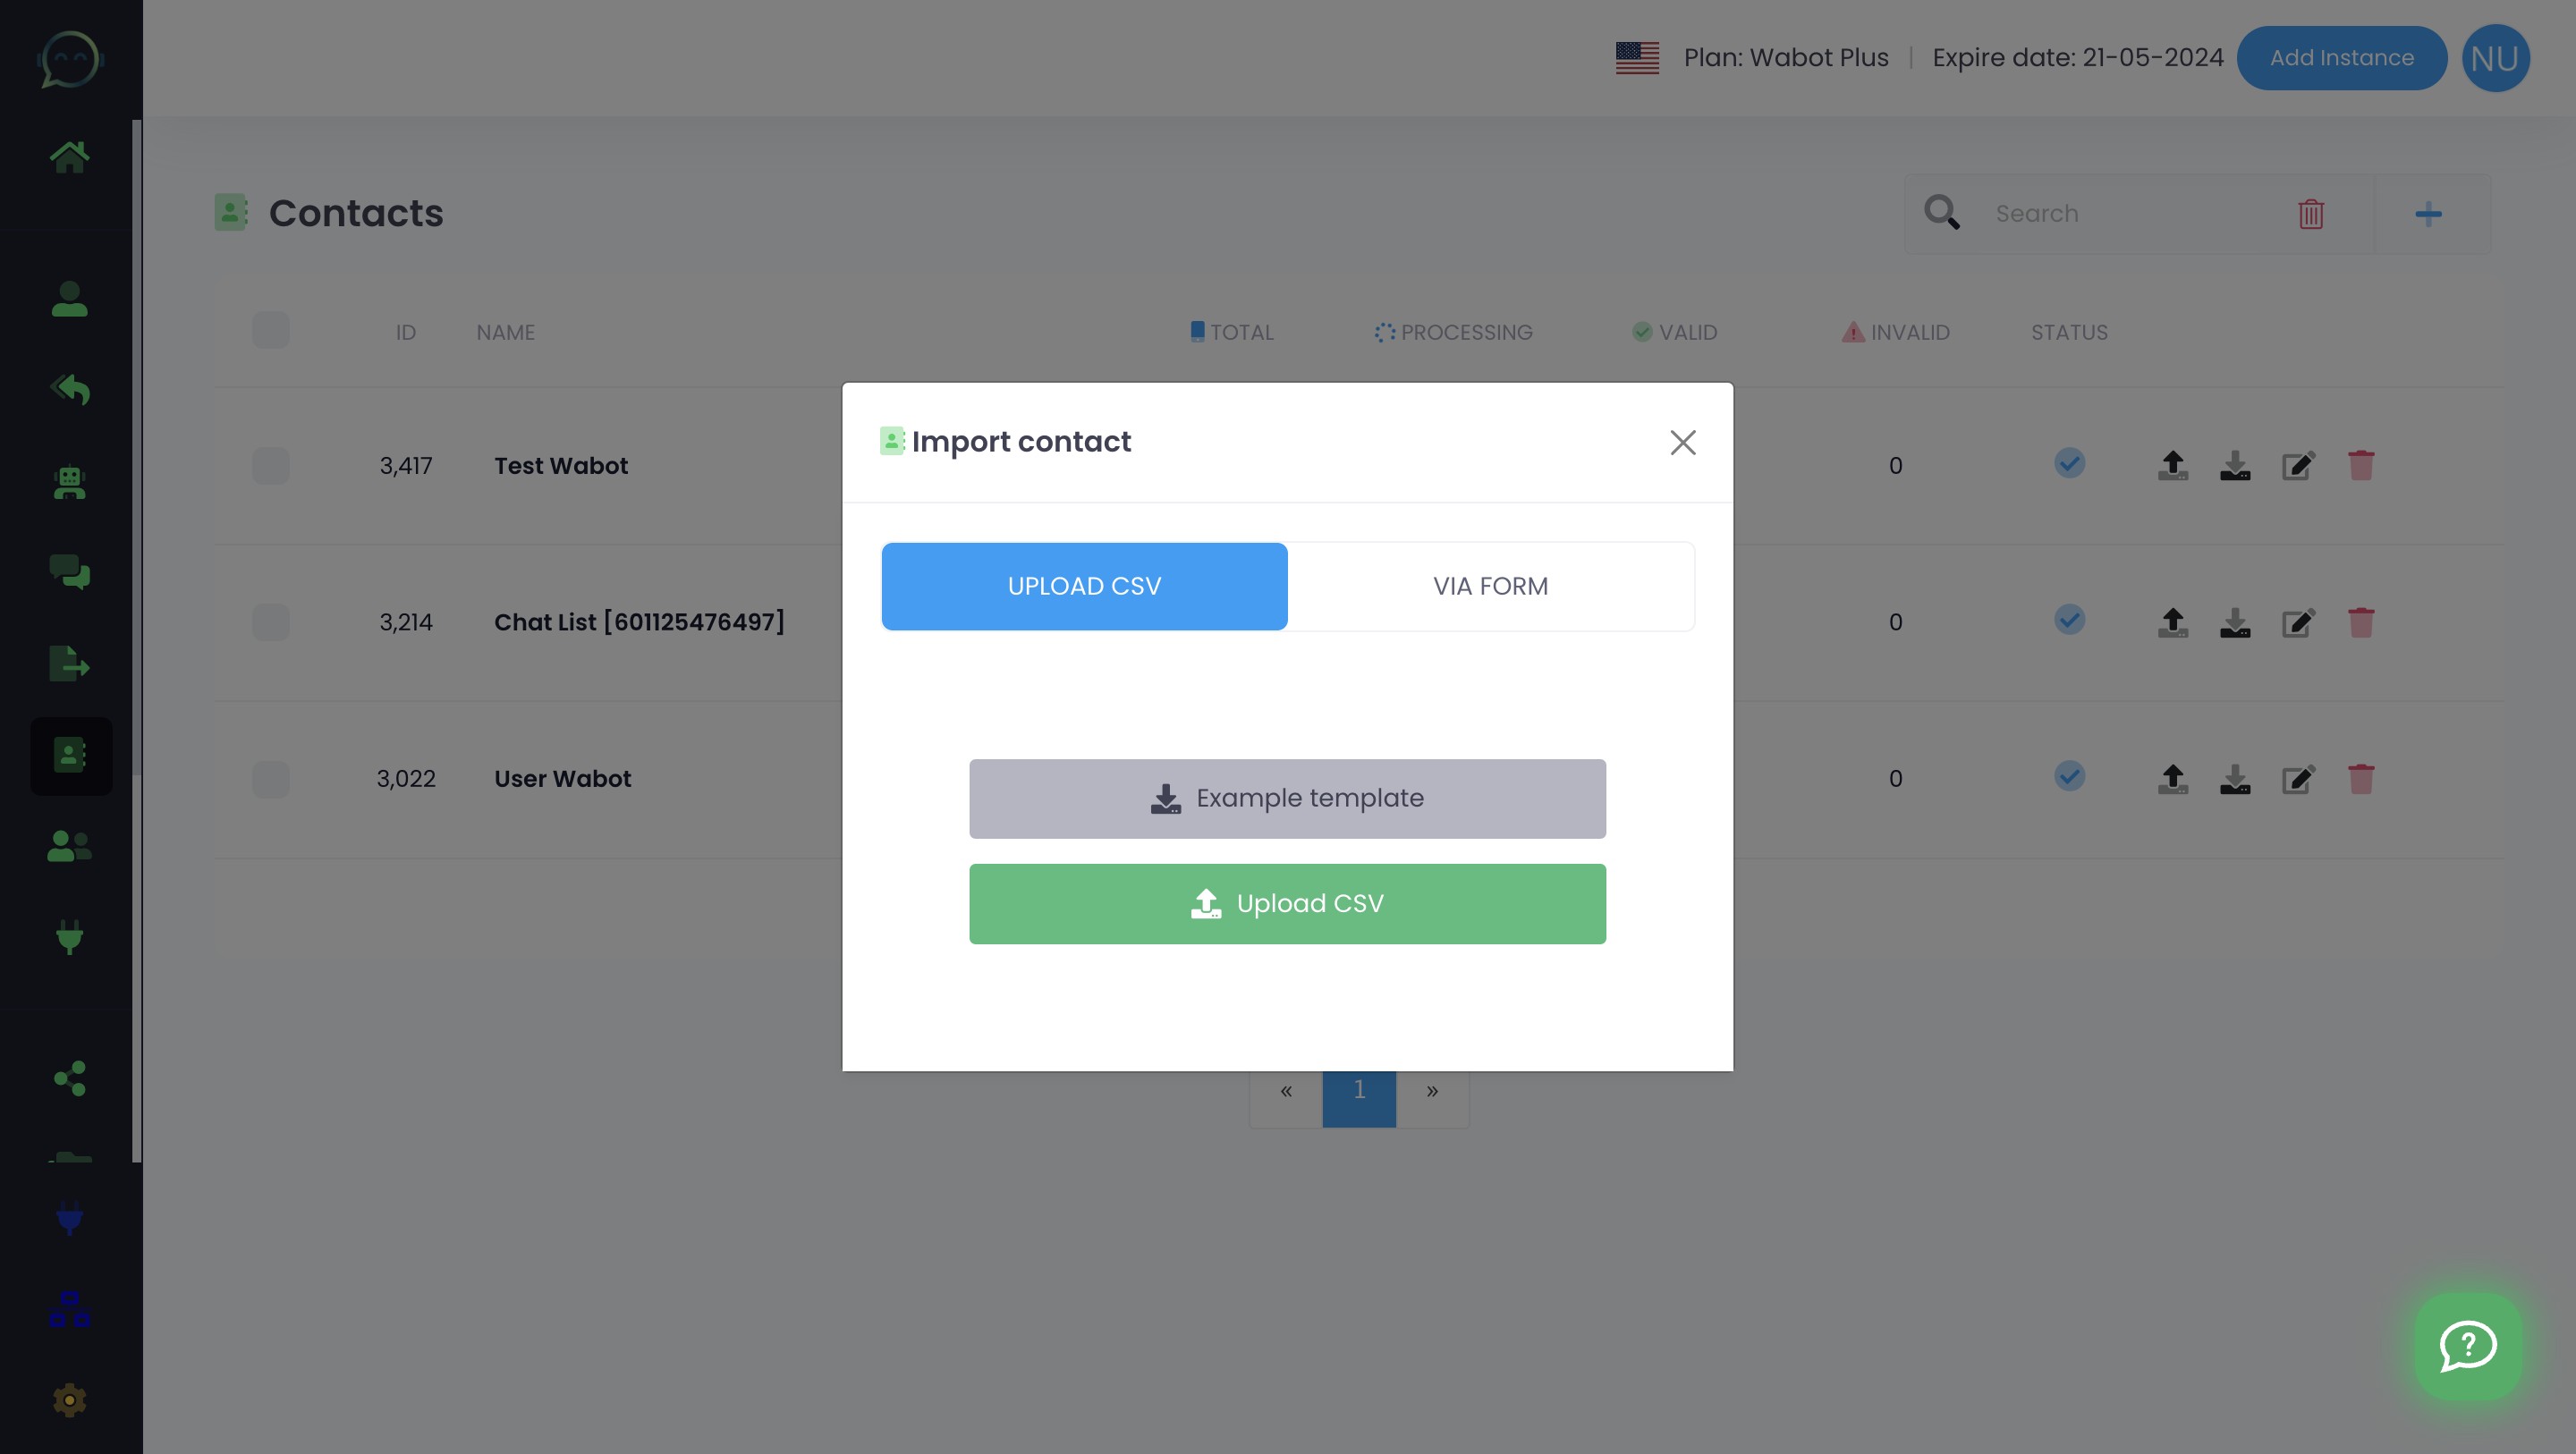
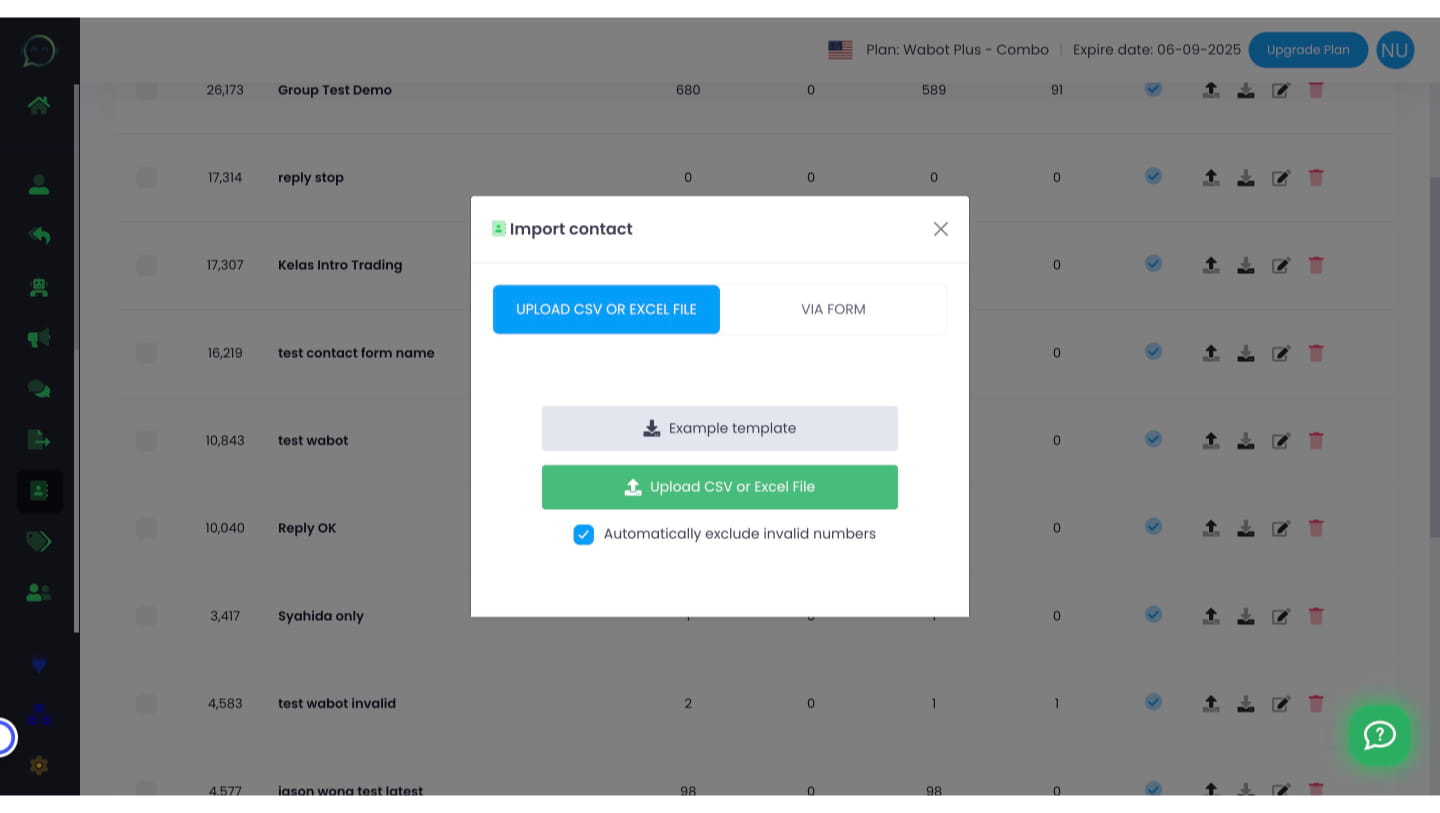
For first-timers, download the example template to ensure you follow the required parameters. If your document matches the template, you can then upload your CSV file.
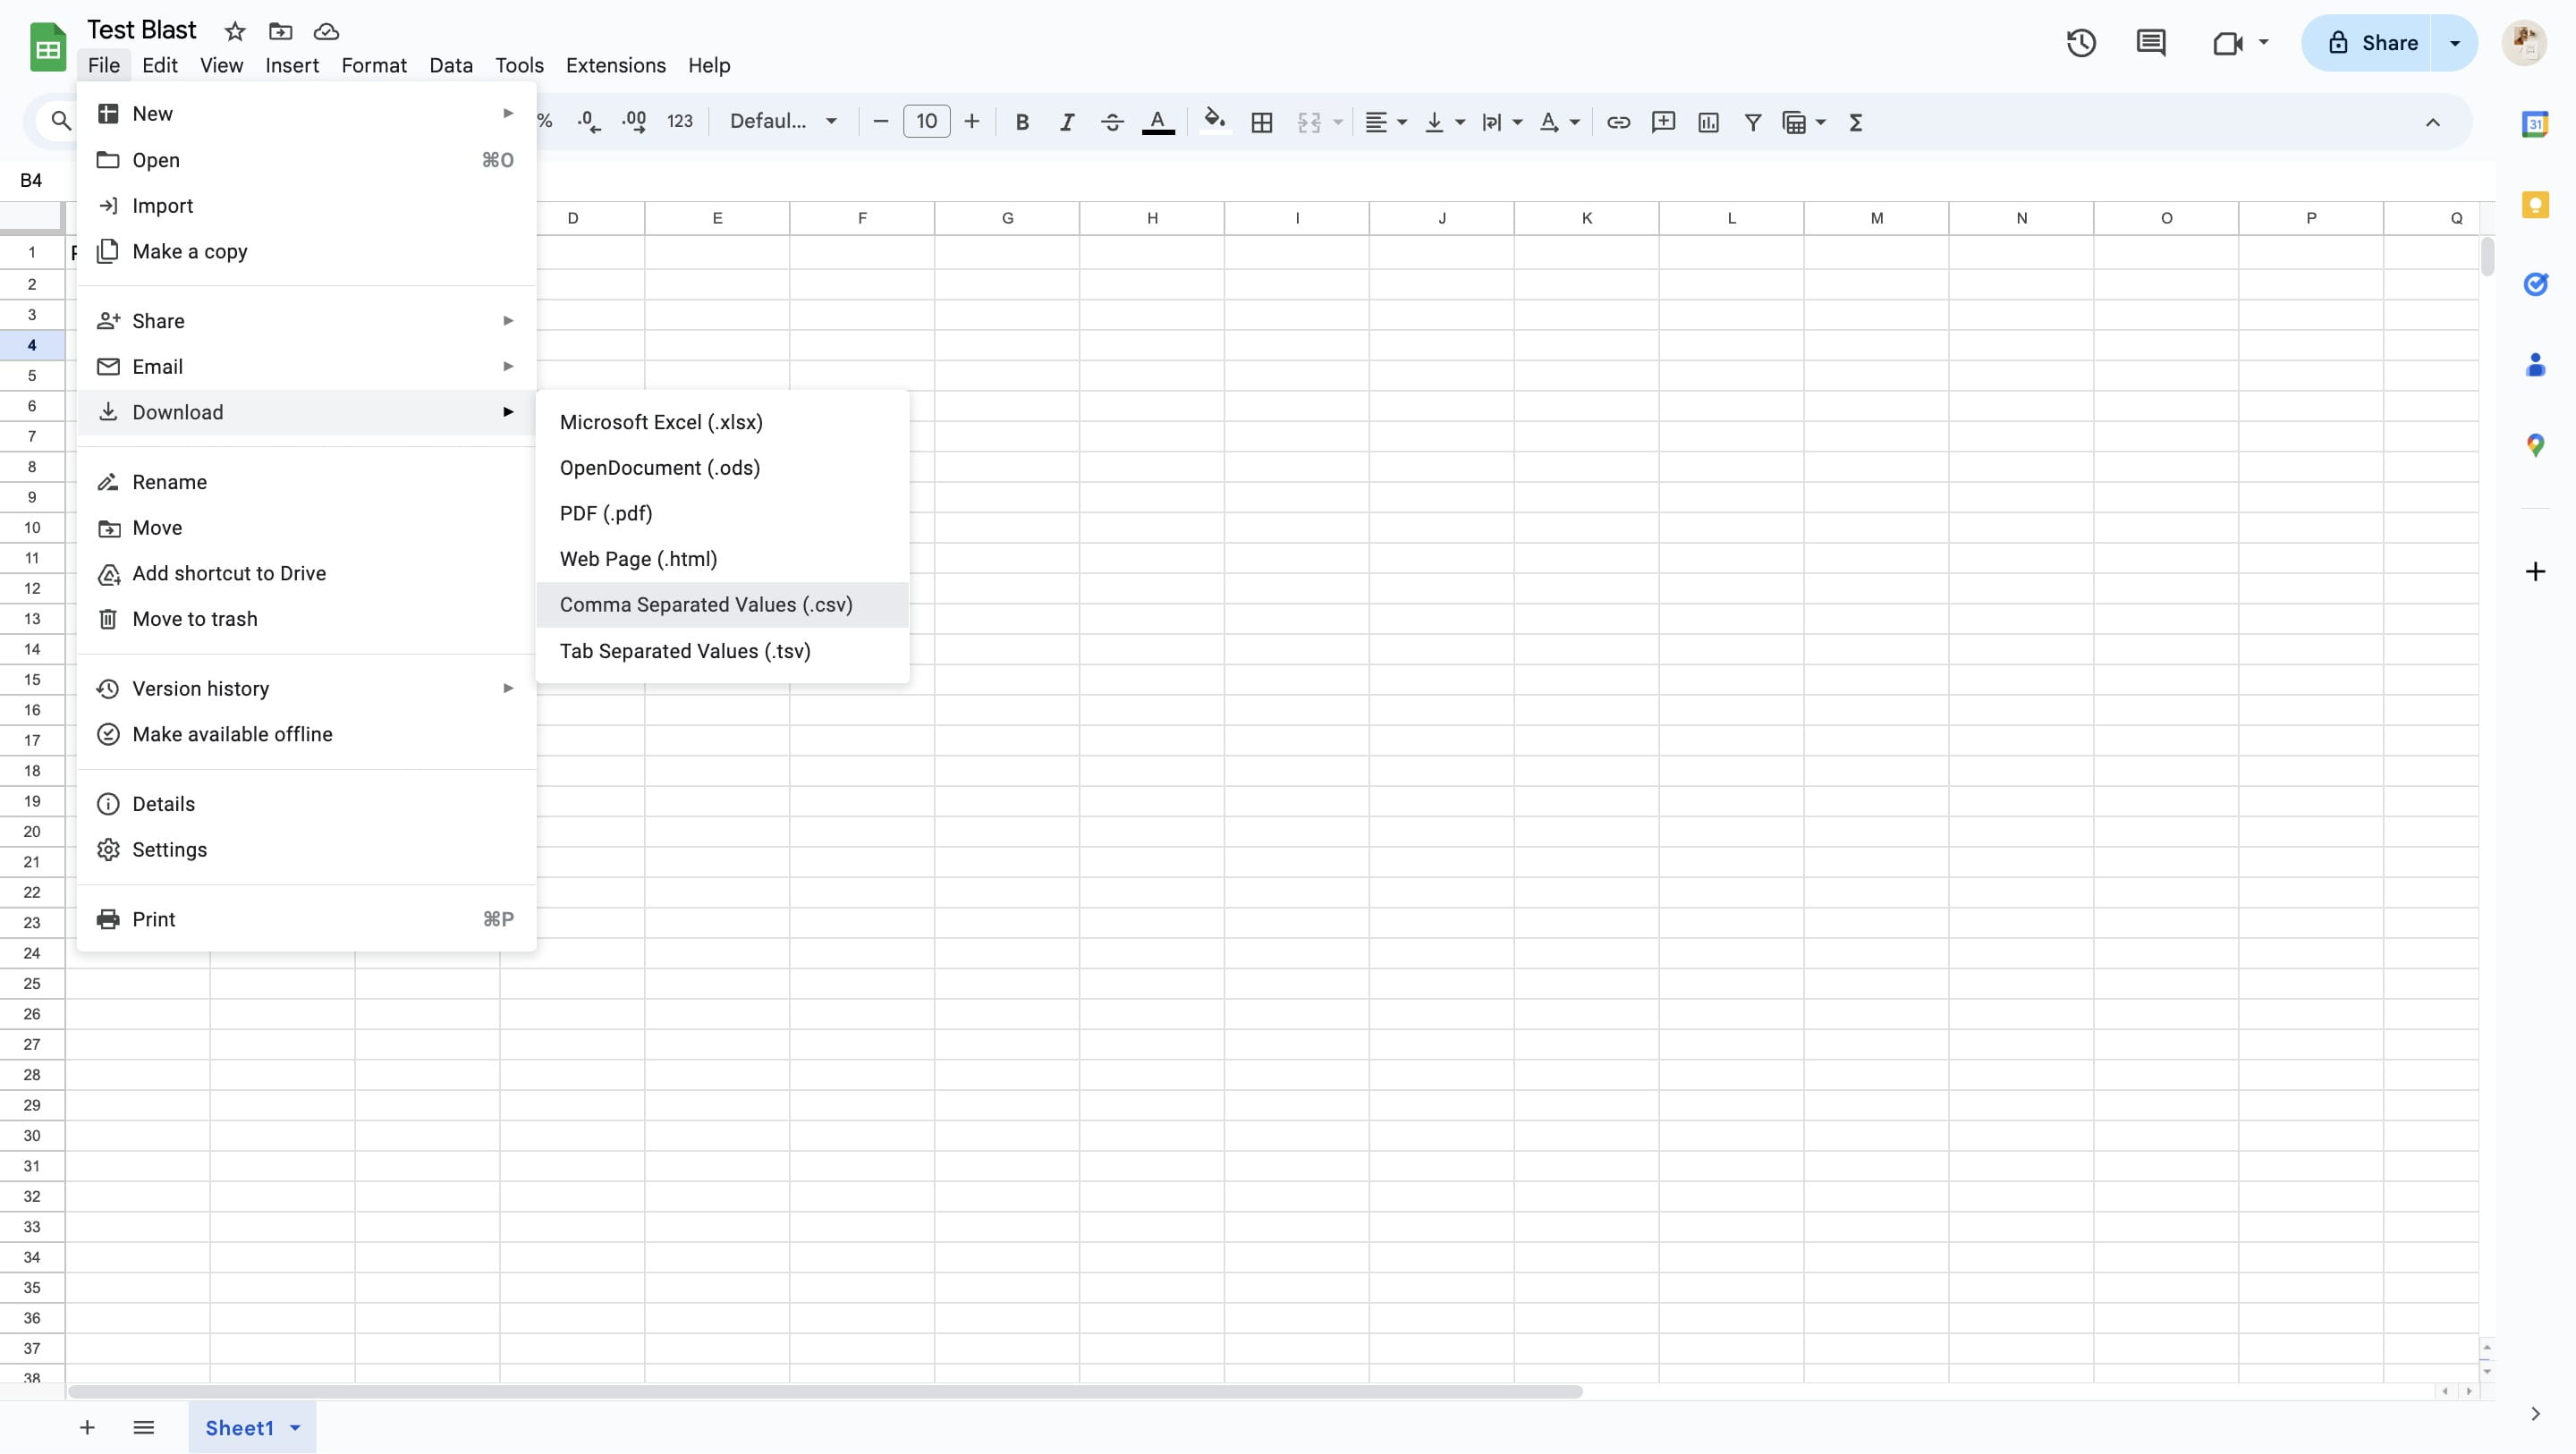
Ensure the phone number format is accurate with the country code included. Once everything is correct, download the document by selecting "File."
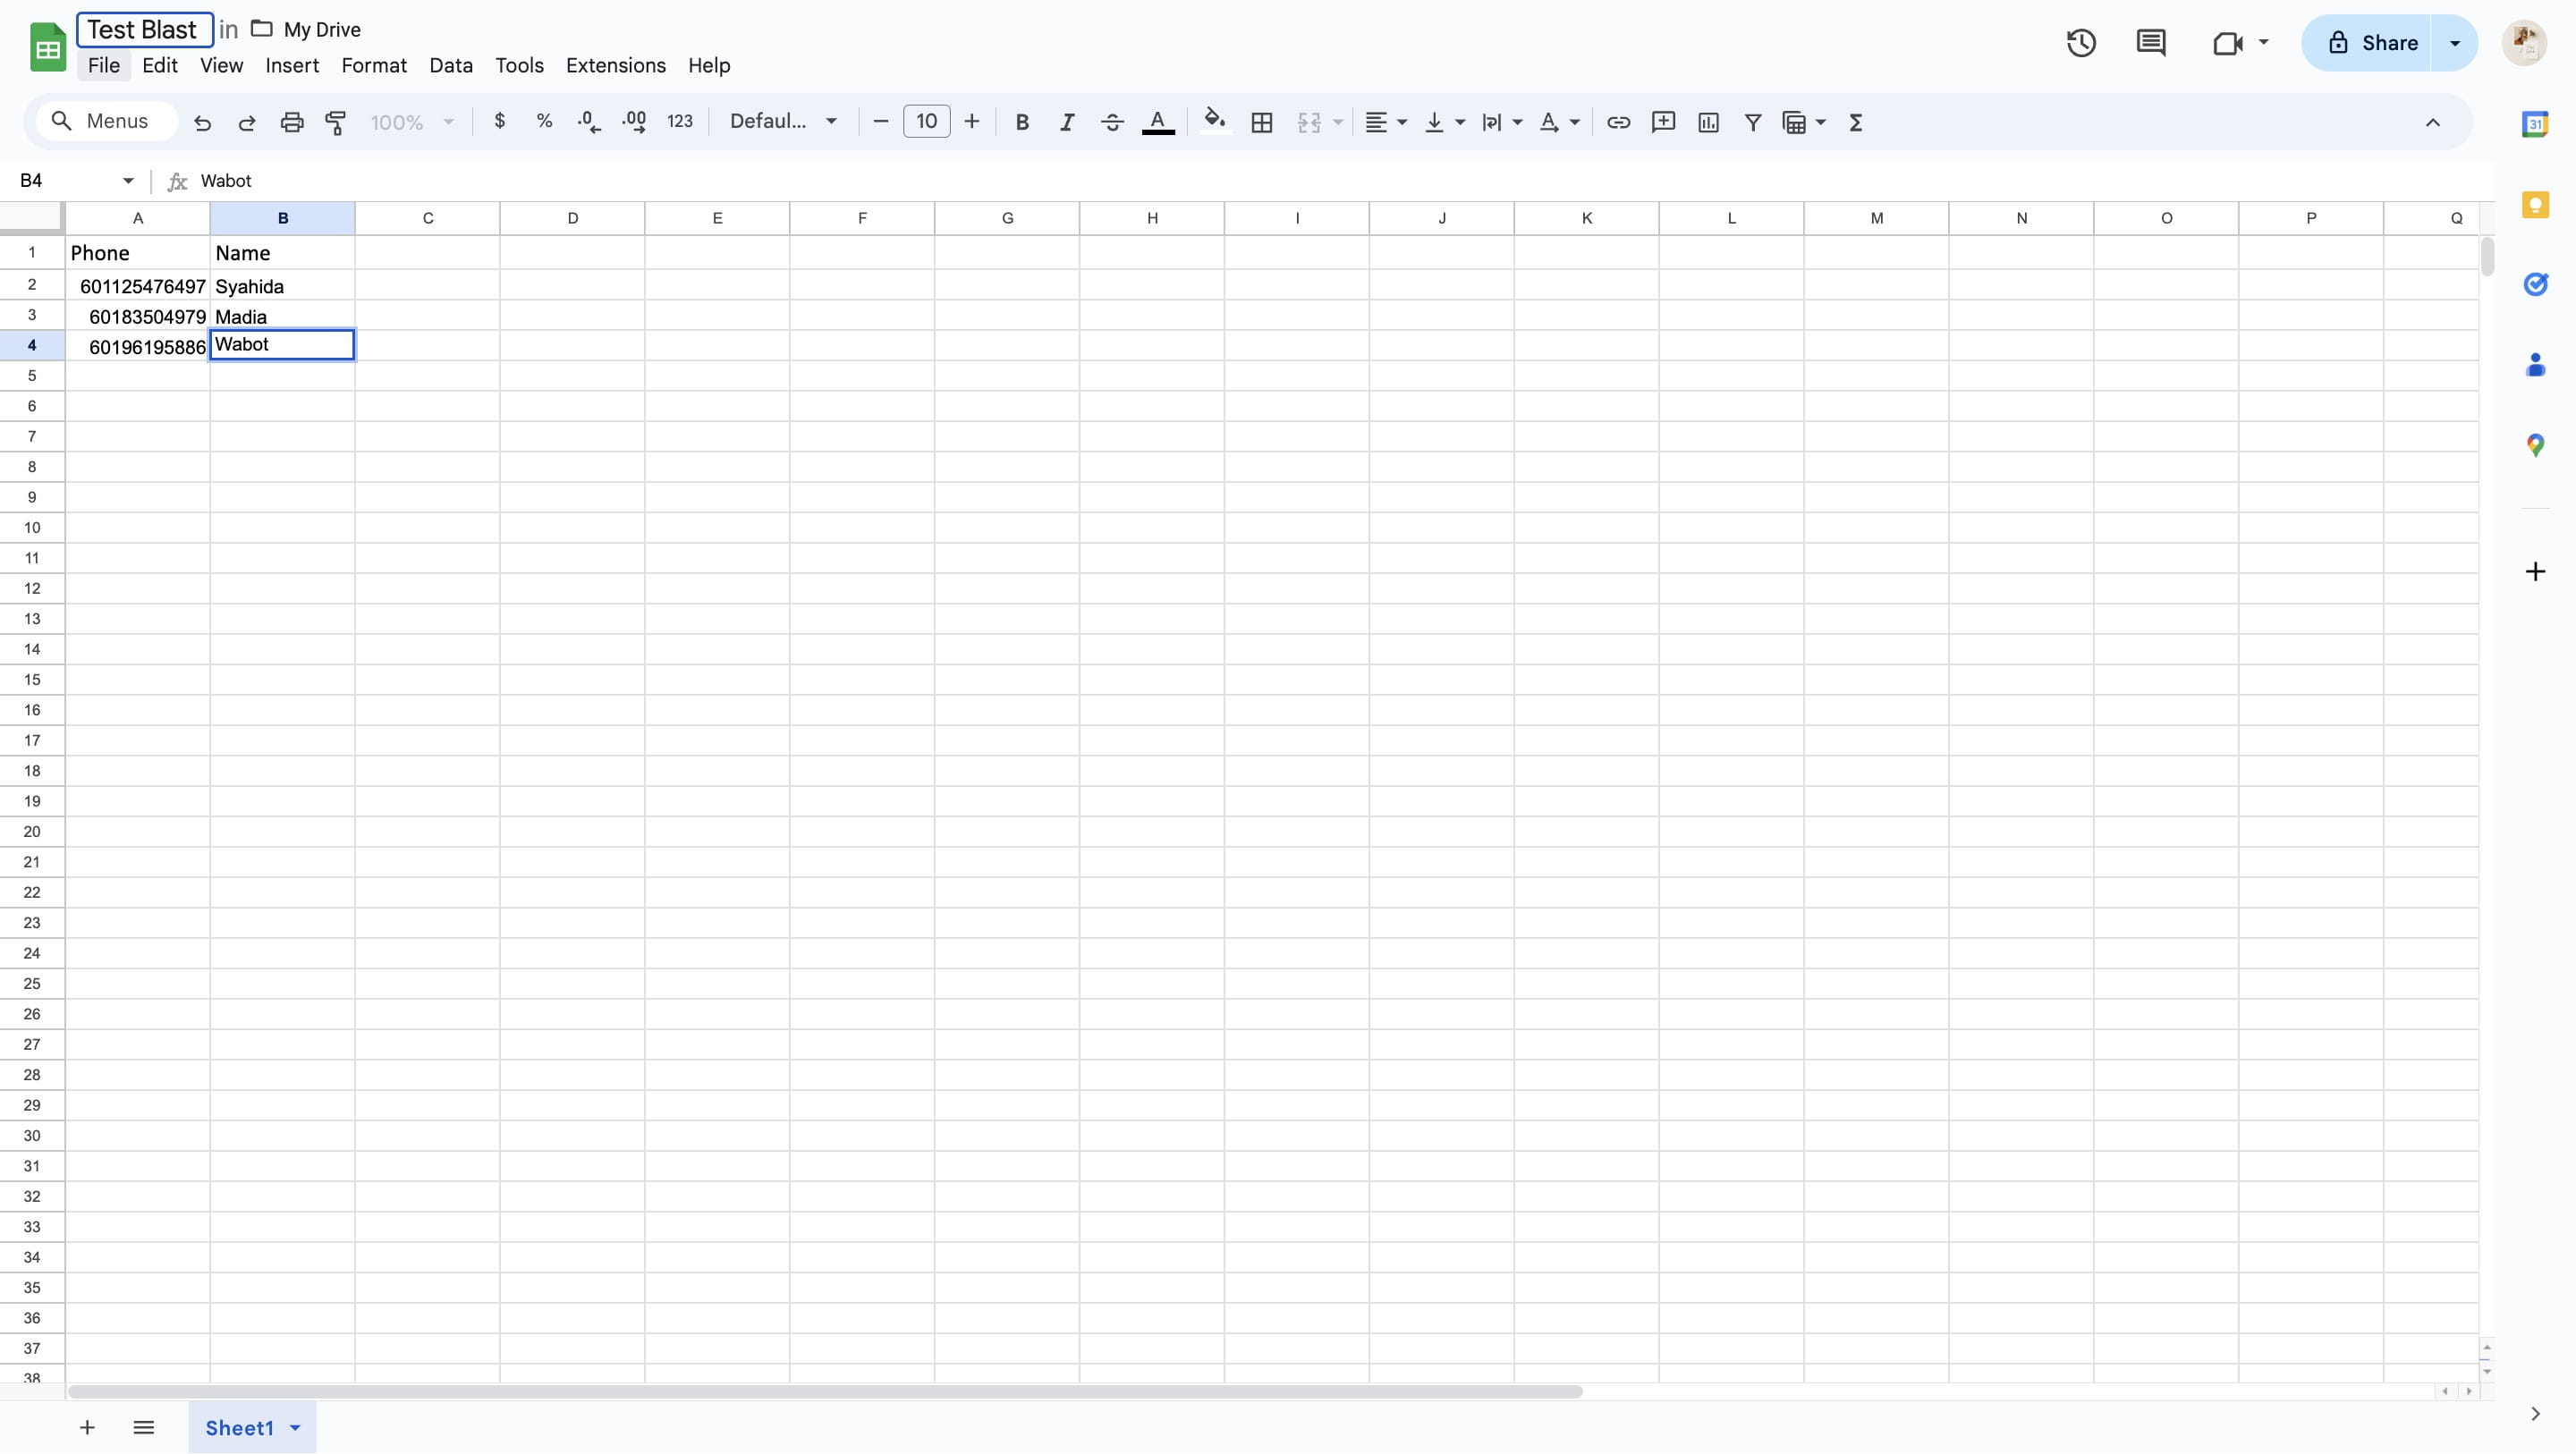
Click on download in the "csv"/ "xlsx" format
For Microsoft Excel user, simply save it. And it is ready to be uploaded
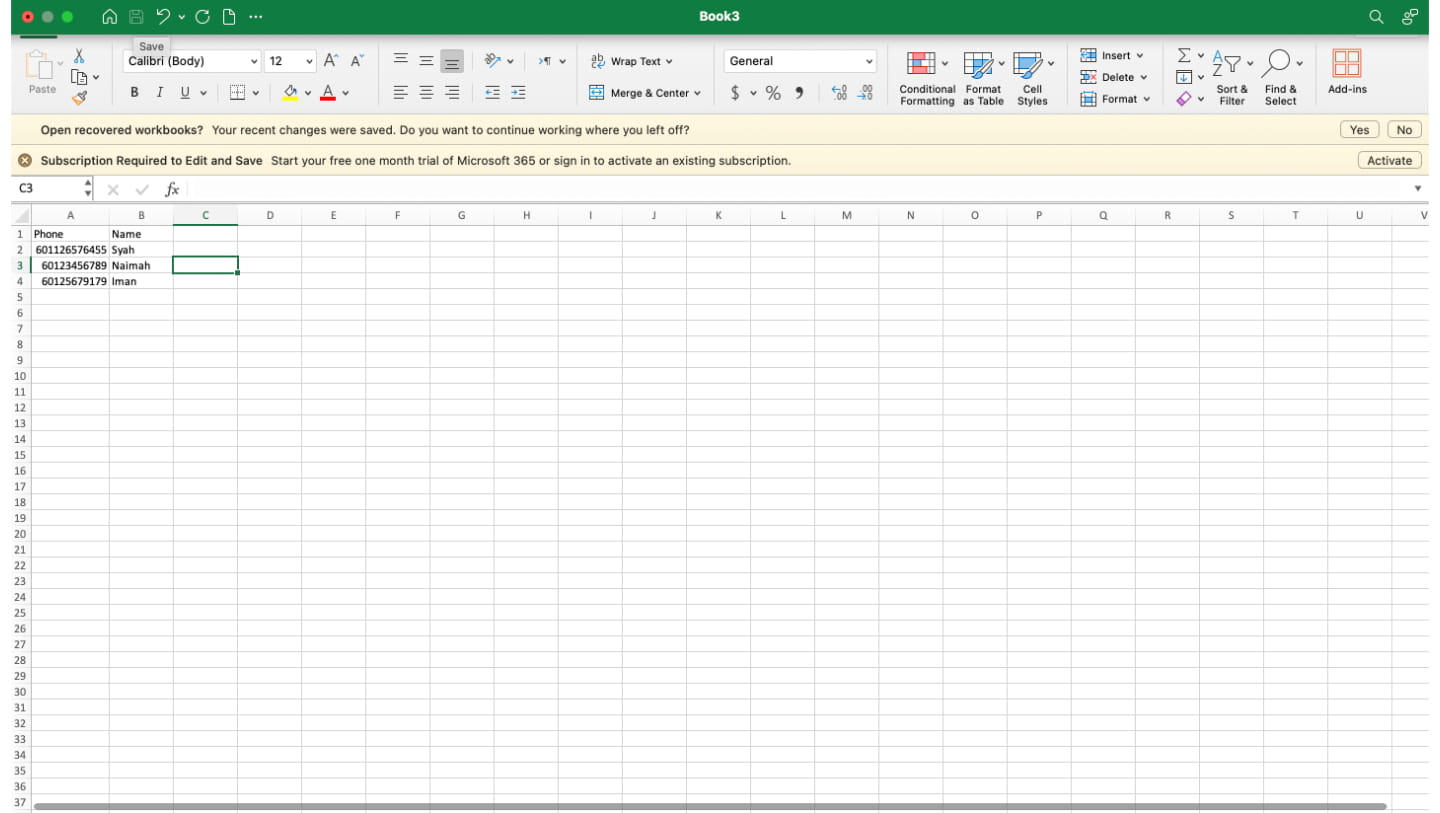
Always remember that the first column should always be "Phone" and the second one is "Name". Or else the broadcast will fail
Uploading Contacts
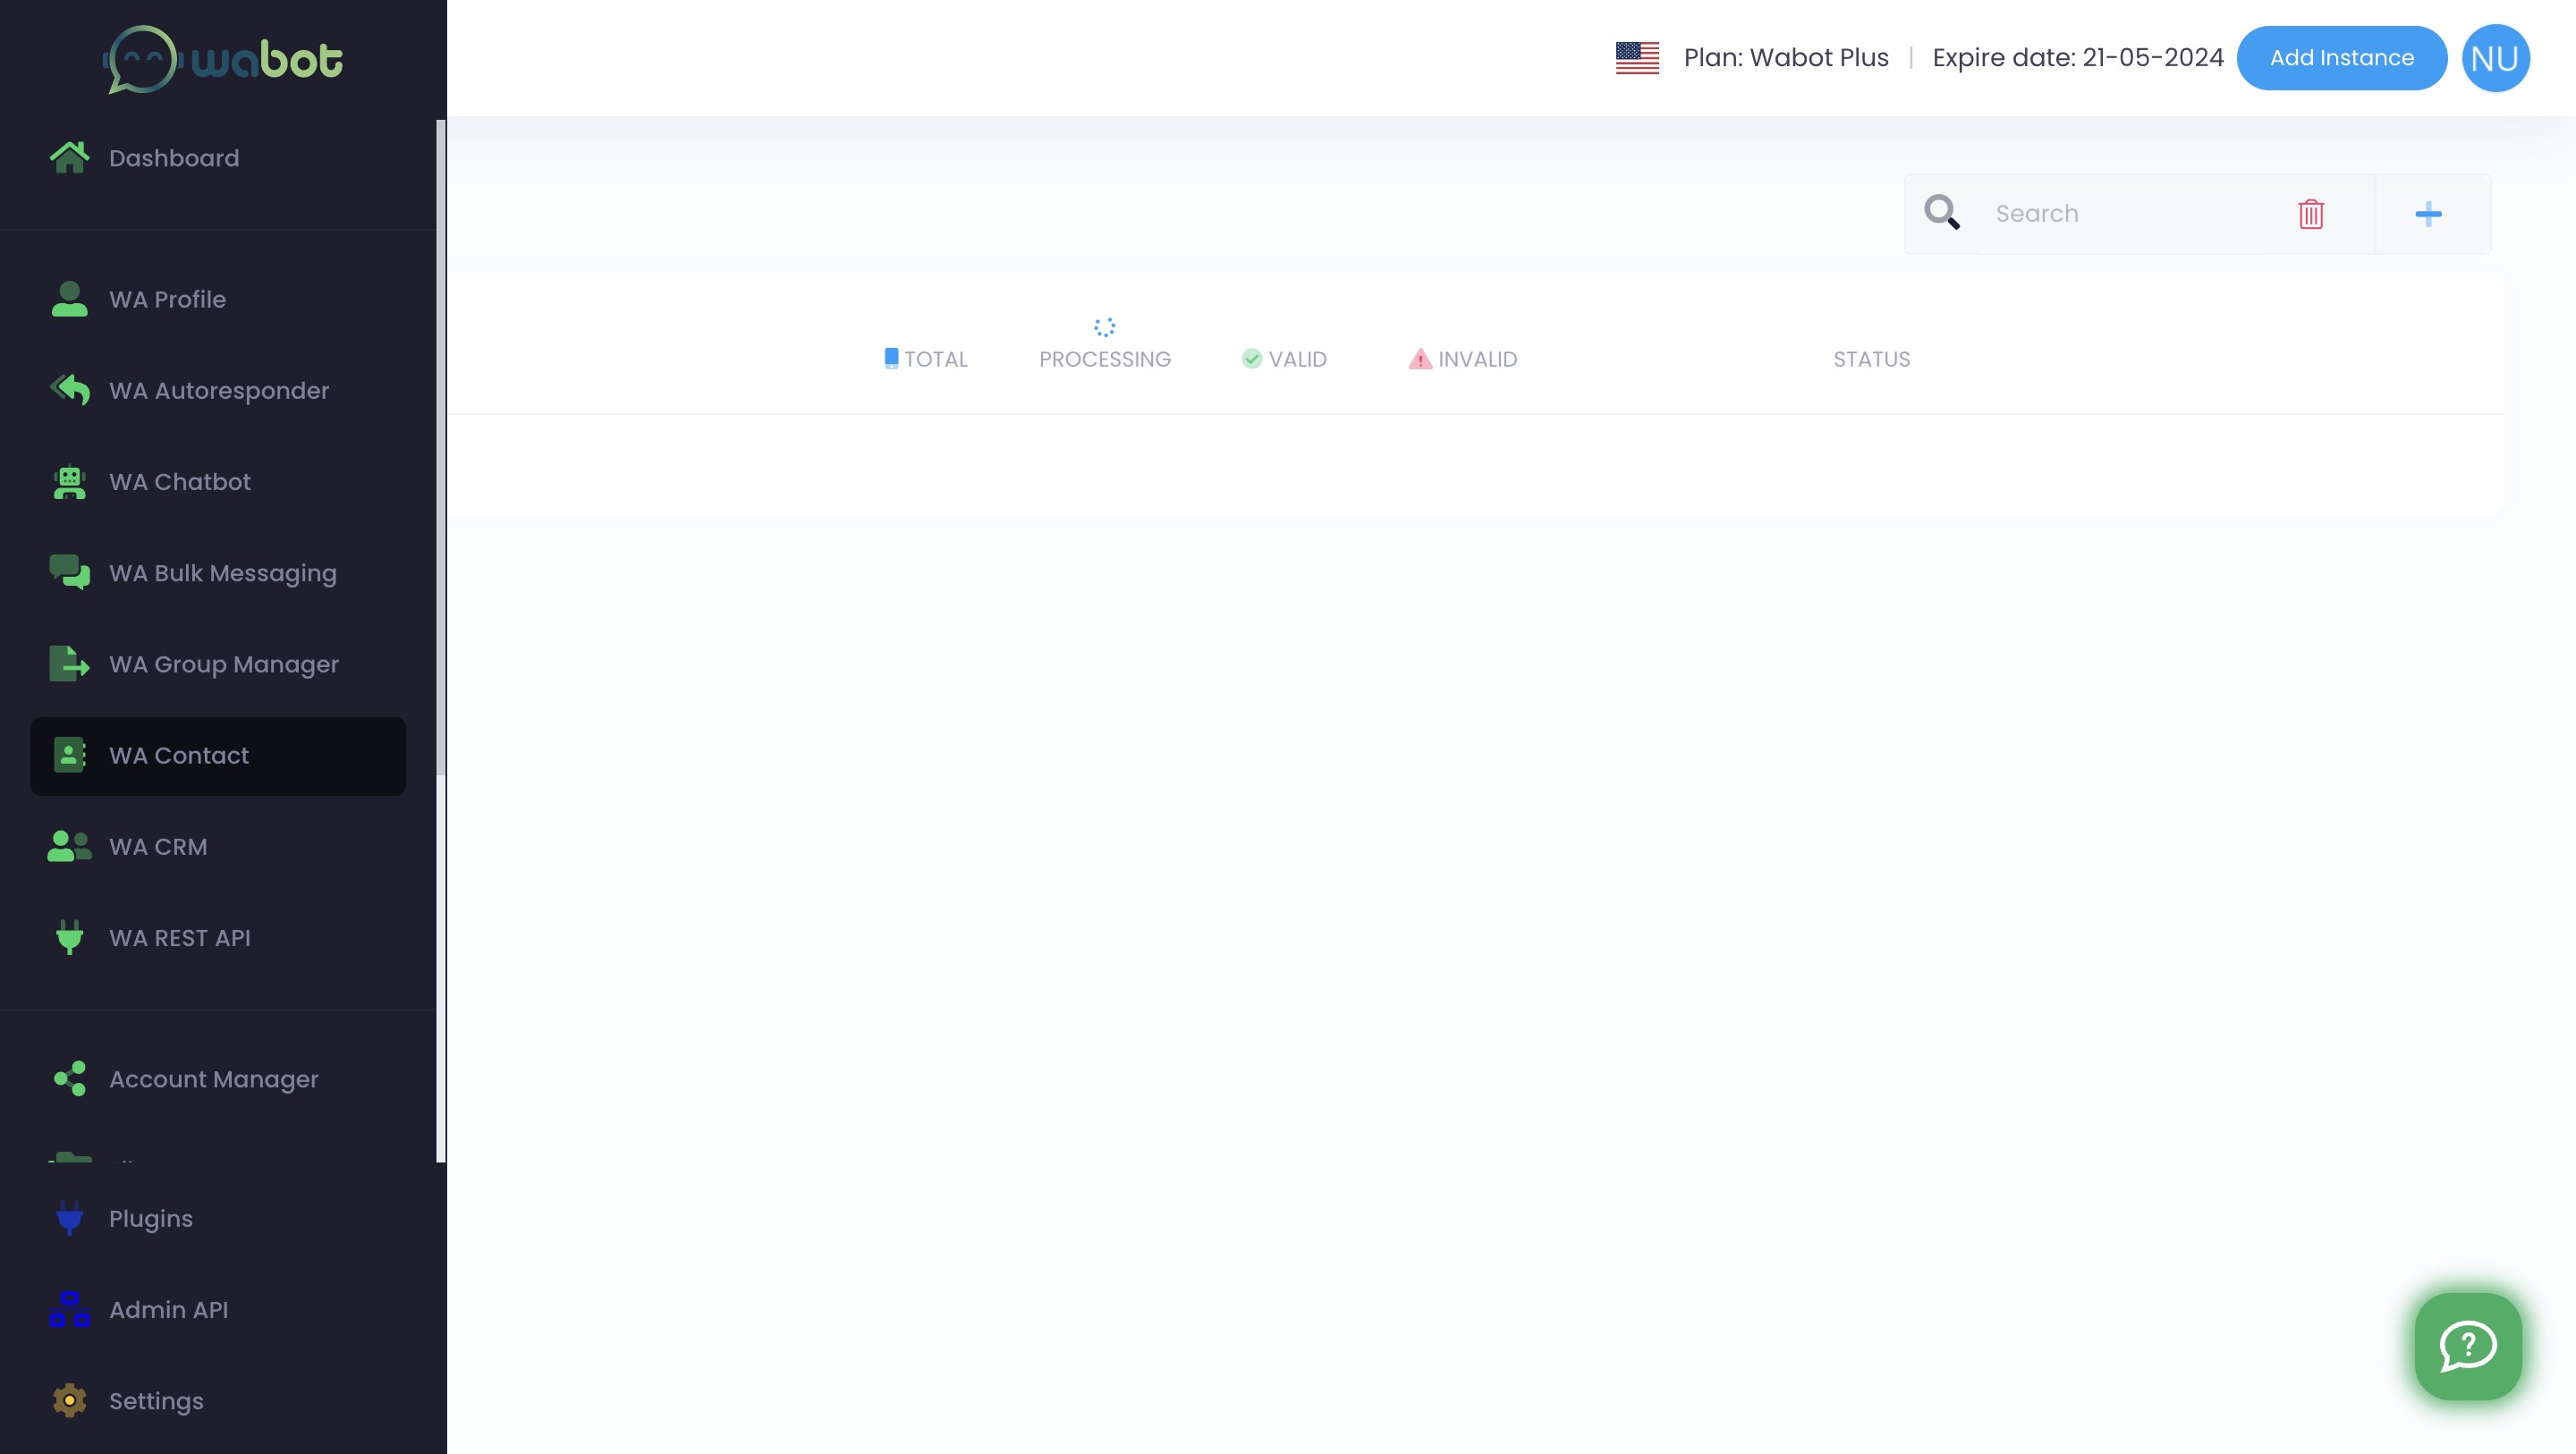
Now your contact is ready to be uploaded into Wabot. Head to WA Contact
Then go to the contact group that you have created and click on the ⬆️ icon to import the list
Click to upload file
After uploading, it may still loading in the "processing" section for validation. You don't need to wait, simply proceed to blast.
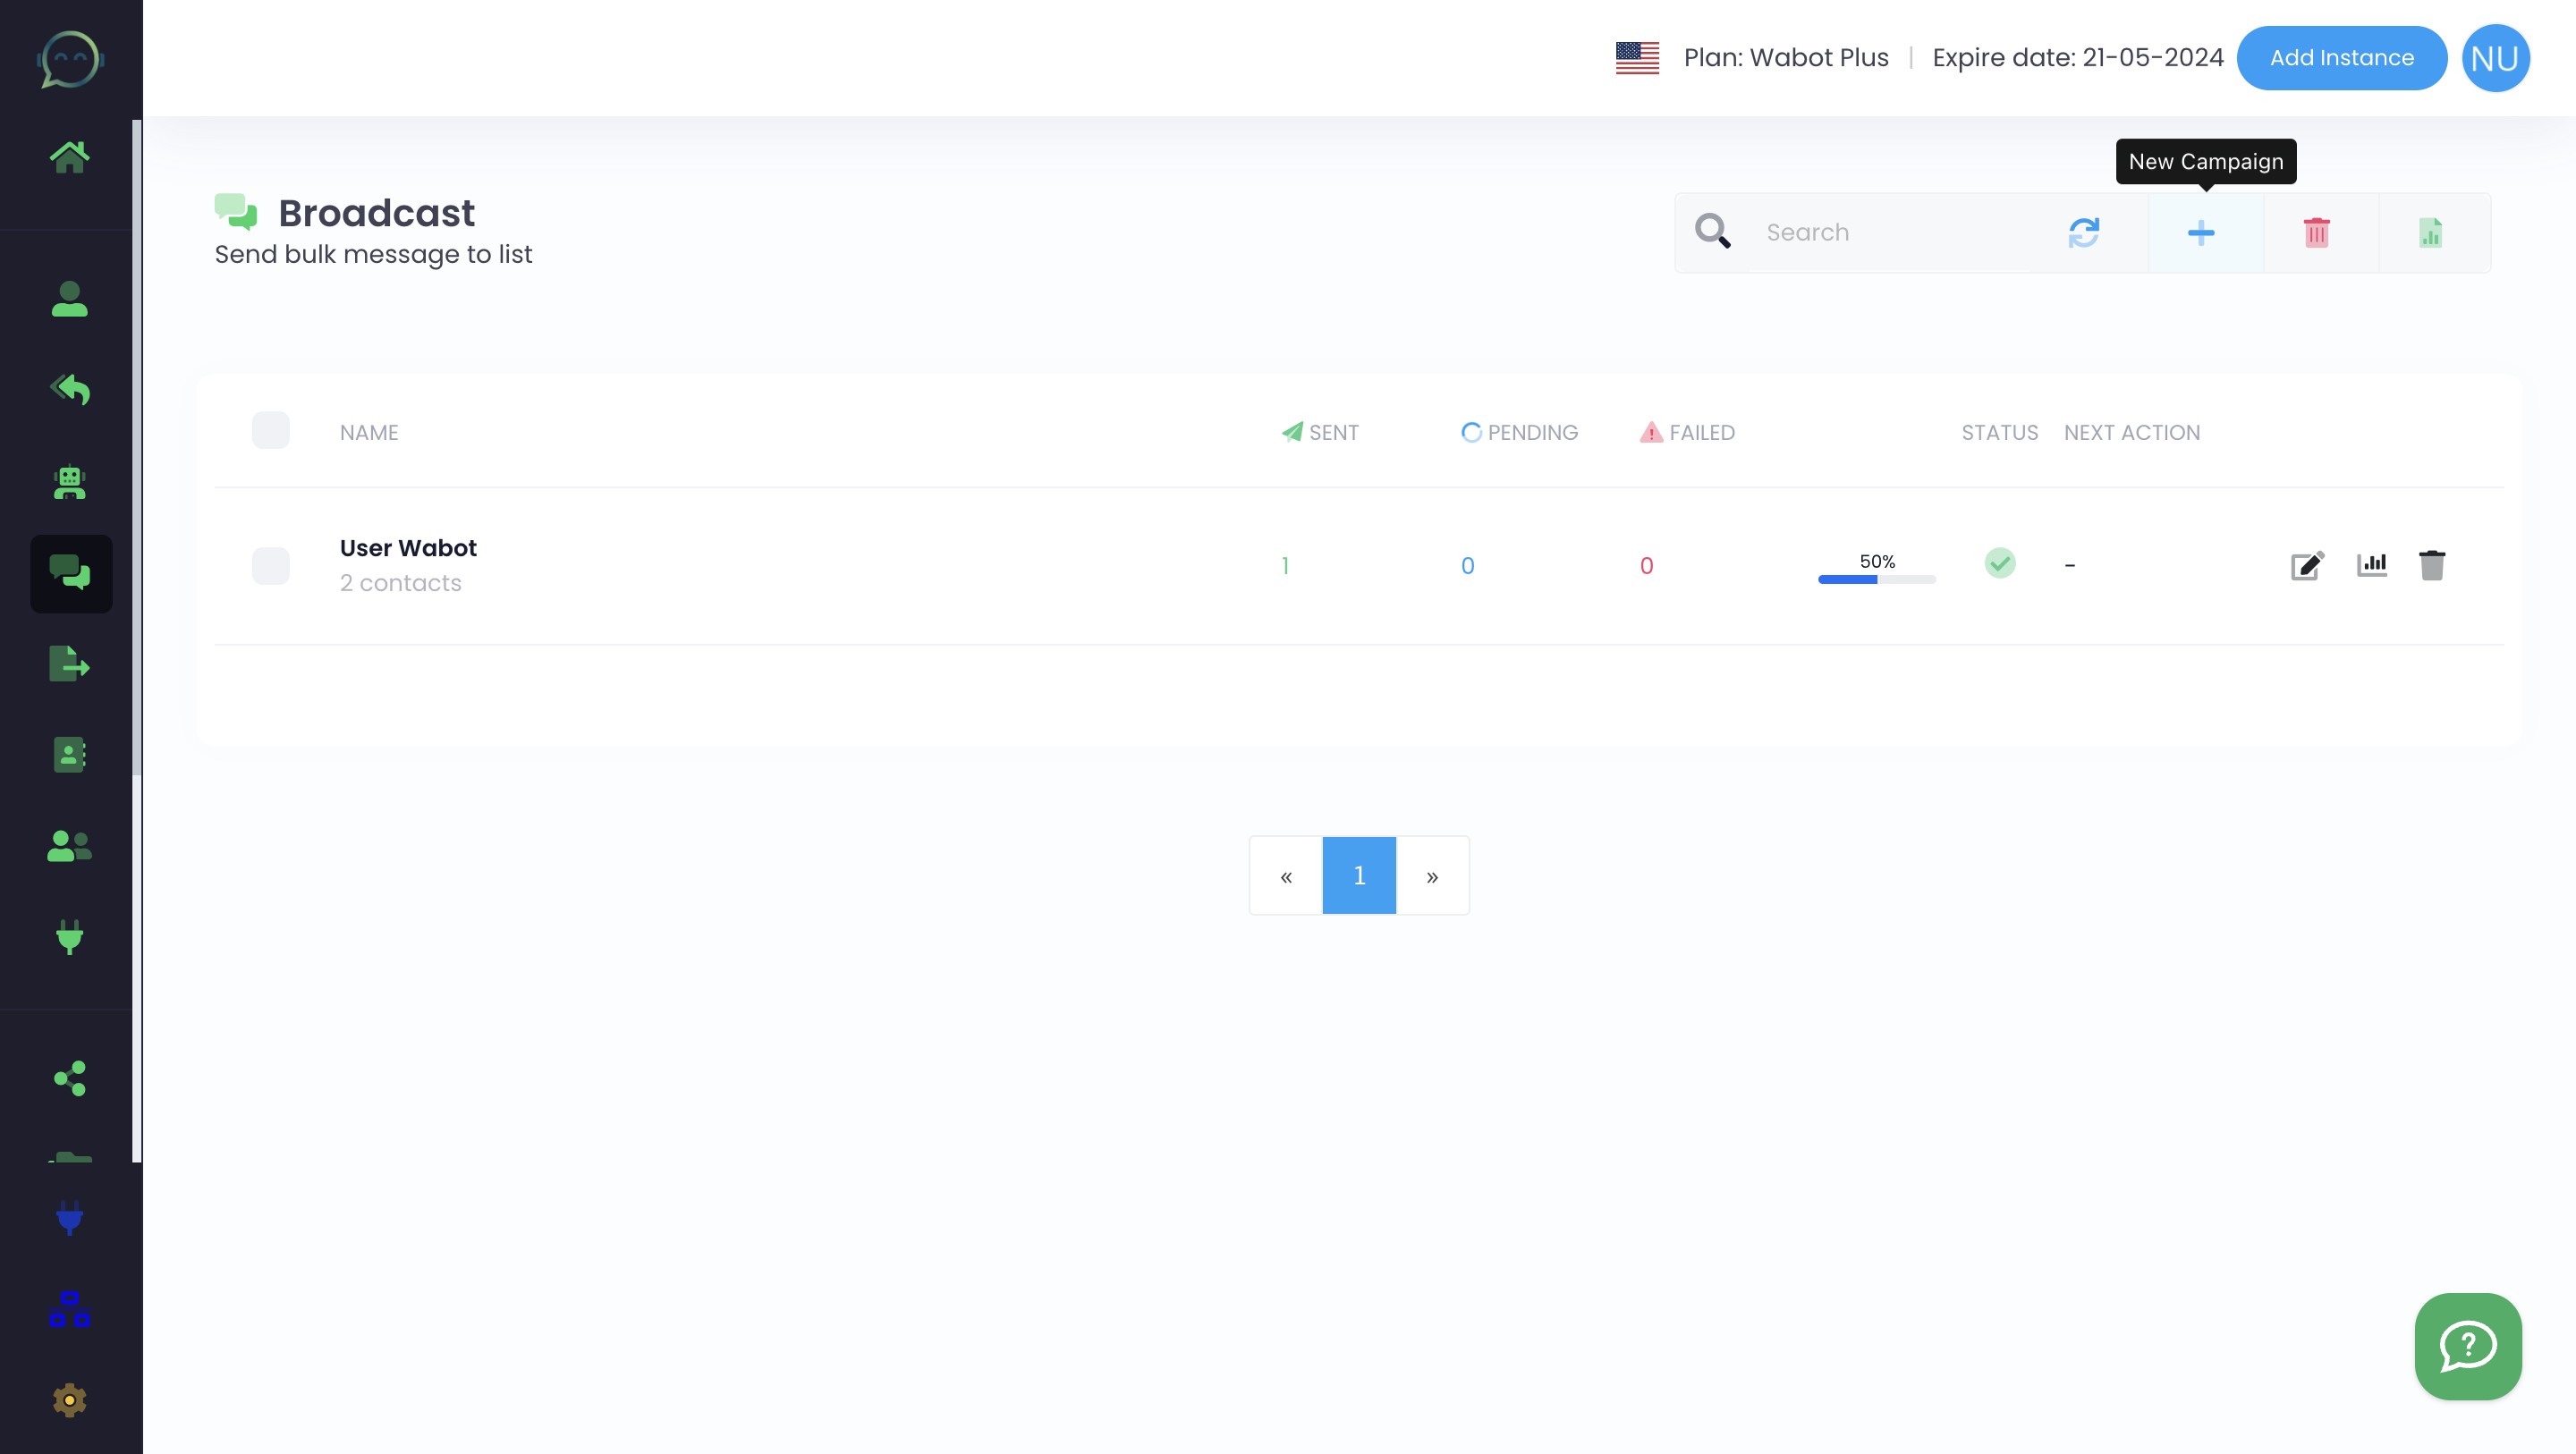
Creating Broadcast Campaign
After the contact has been uploaded, we can proceed to create the broadcast campaign
Click this icon
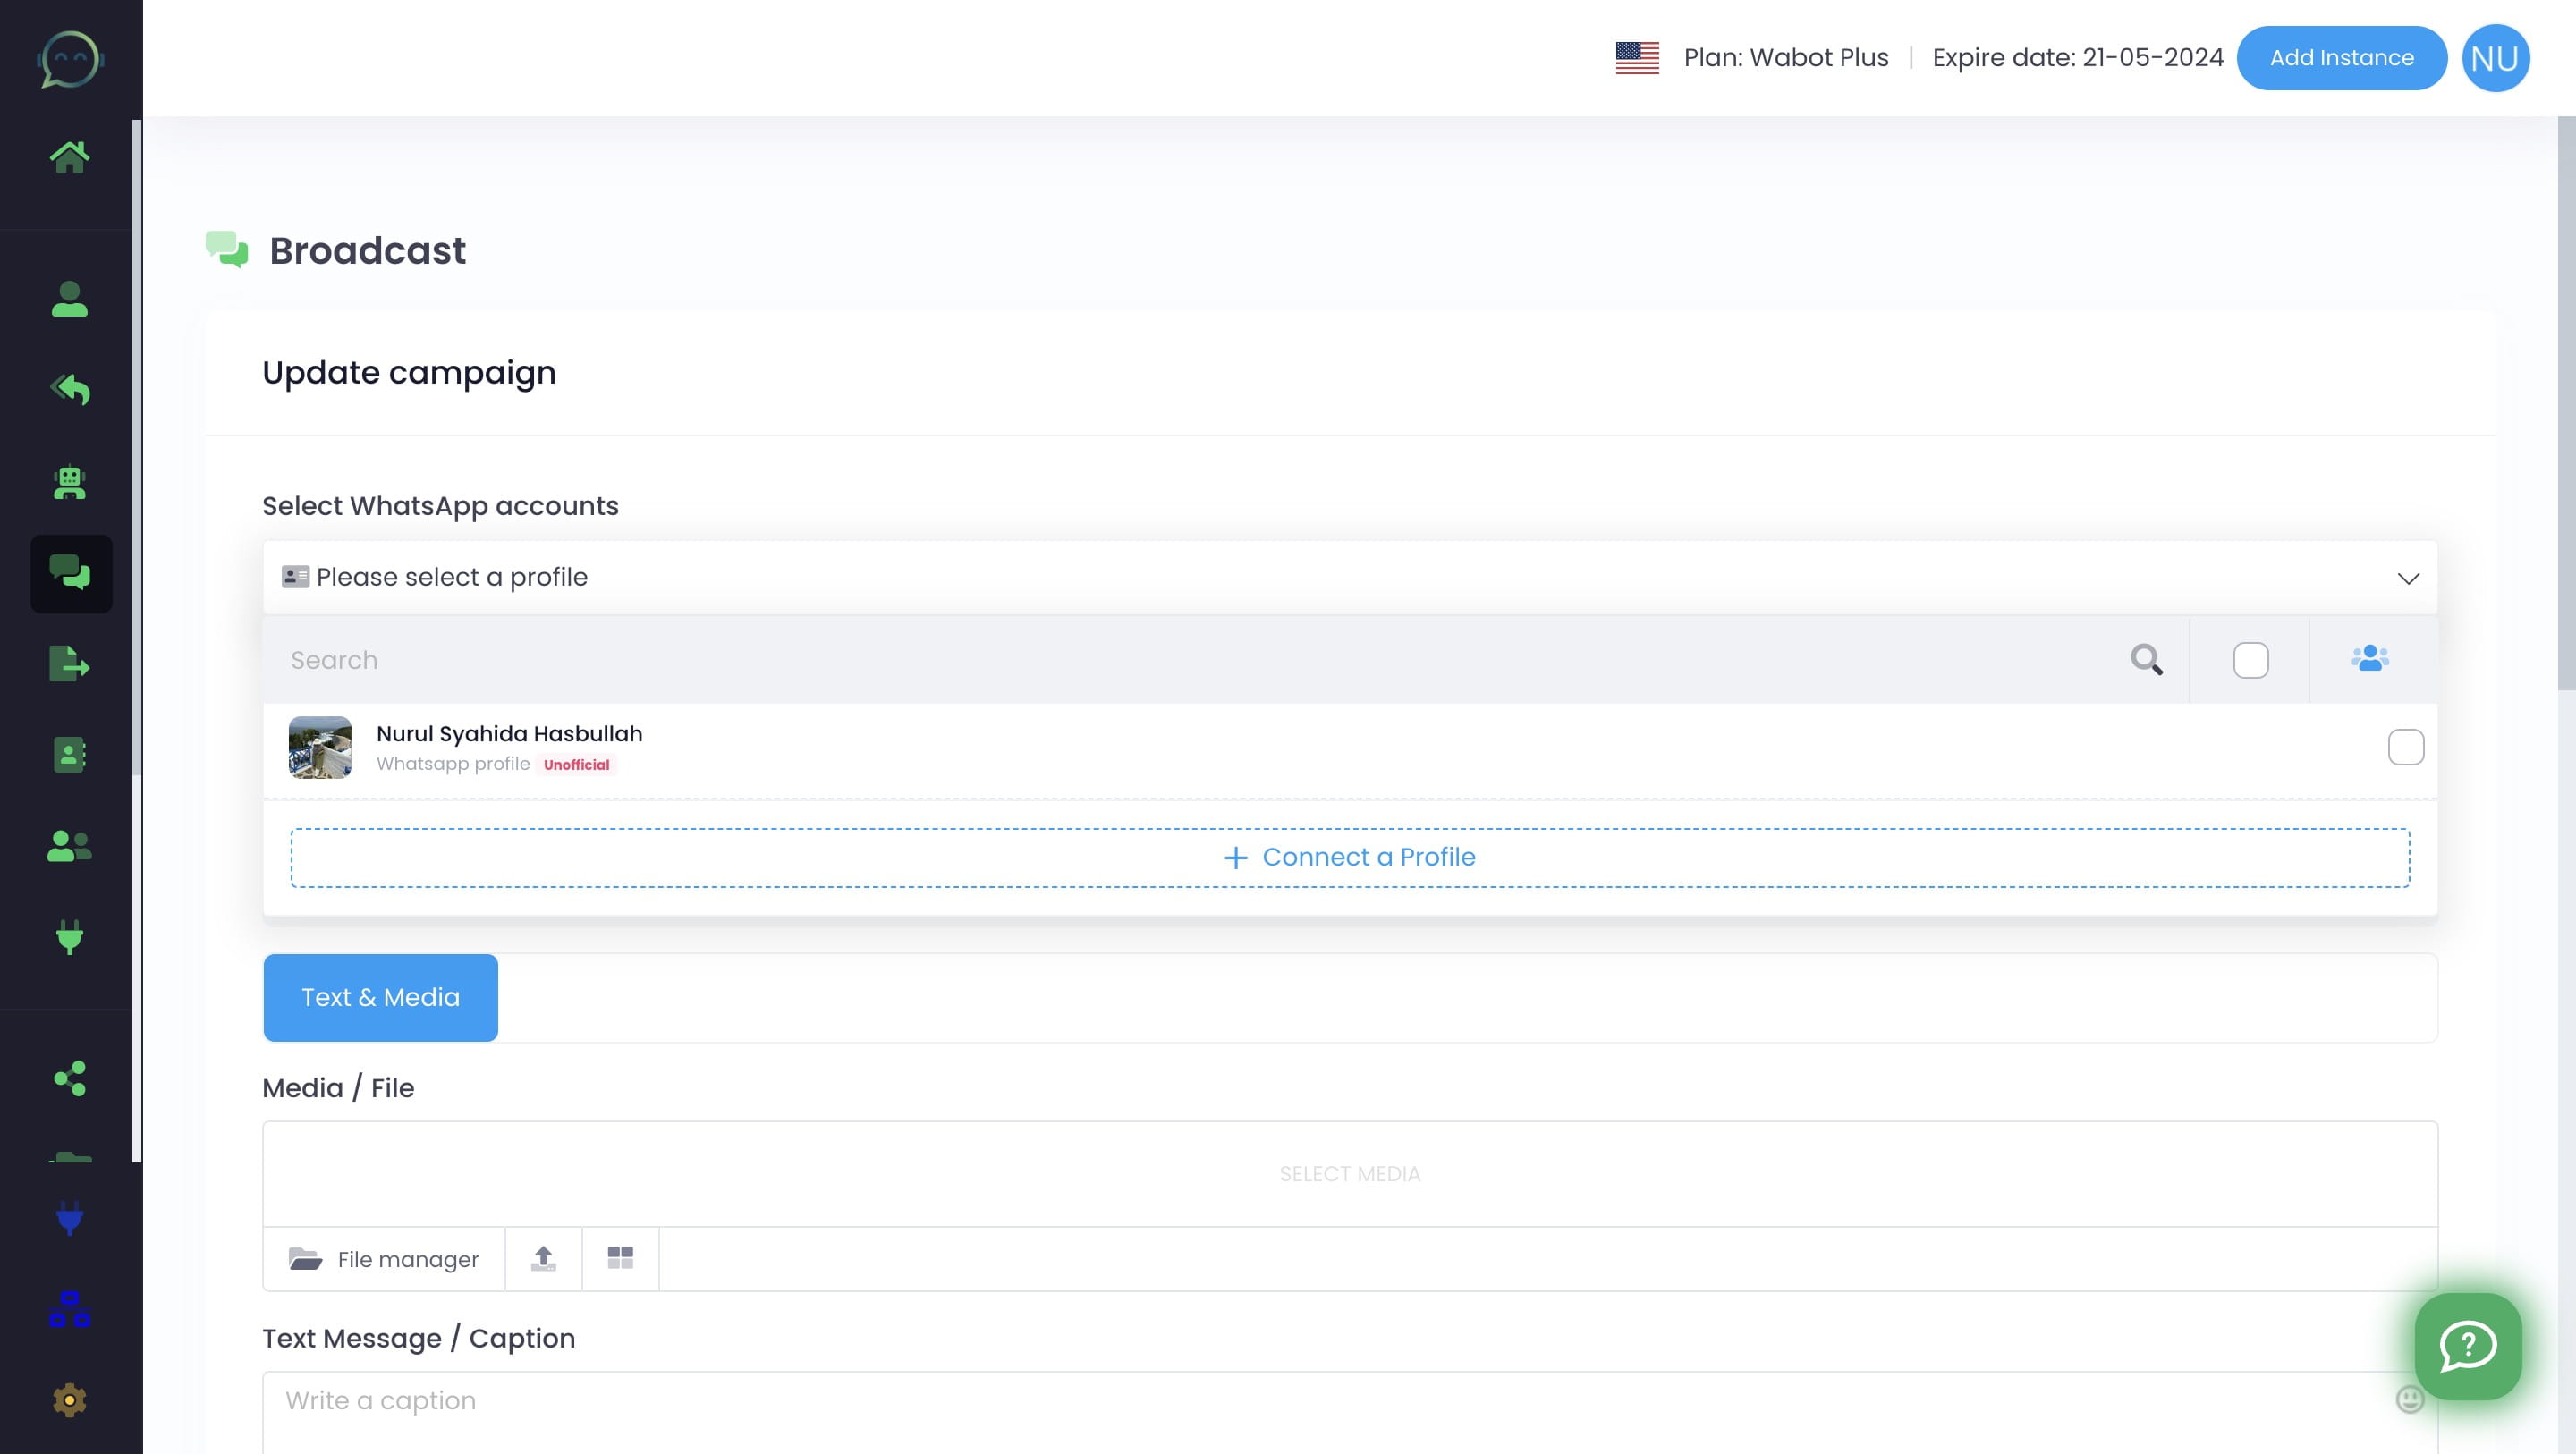
Select which account you want to blast from
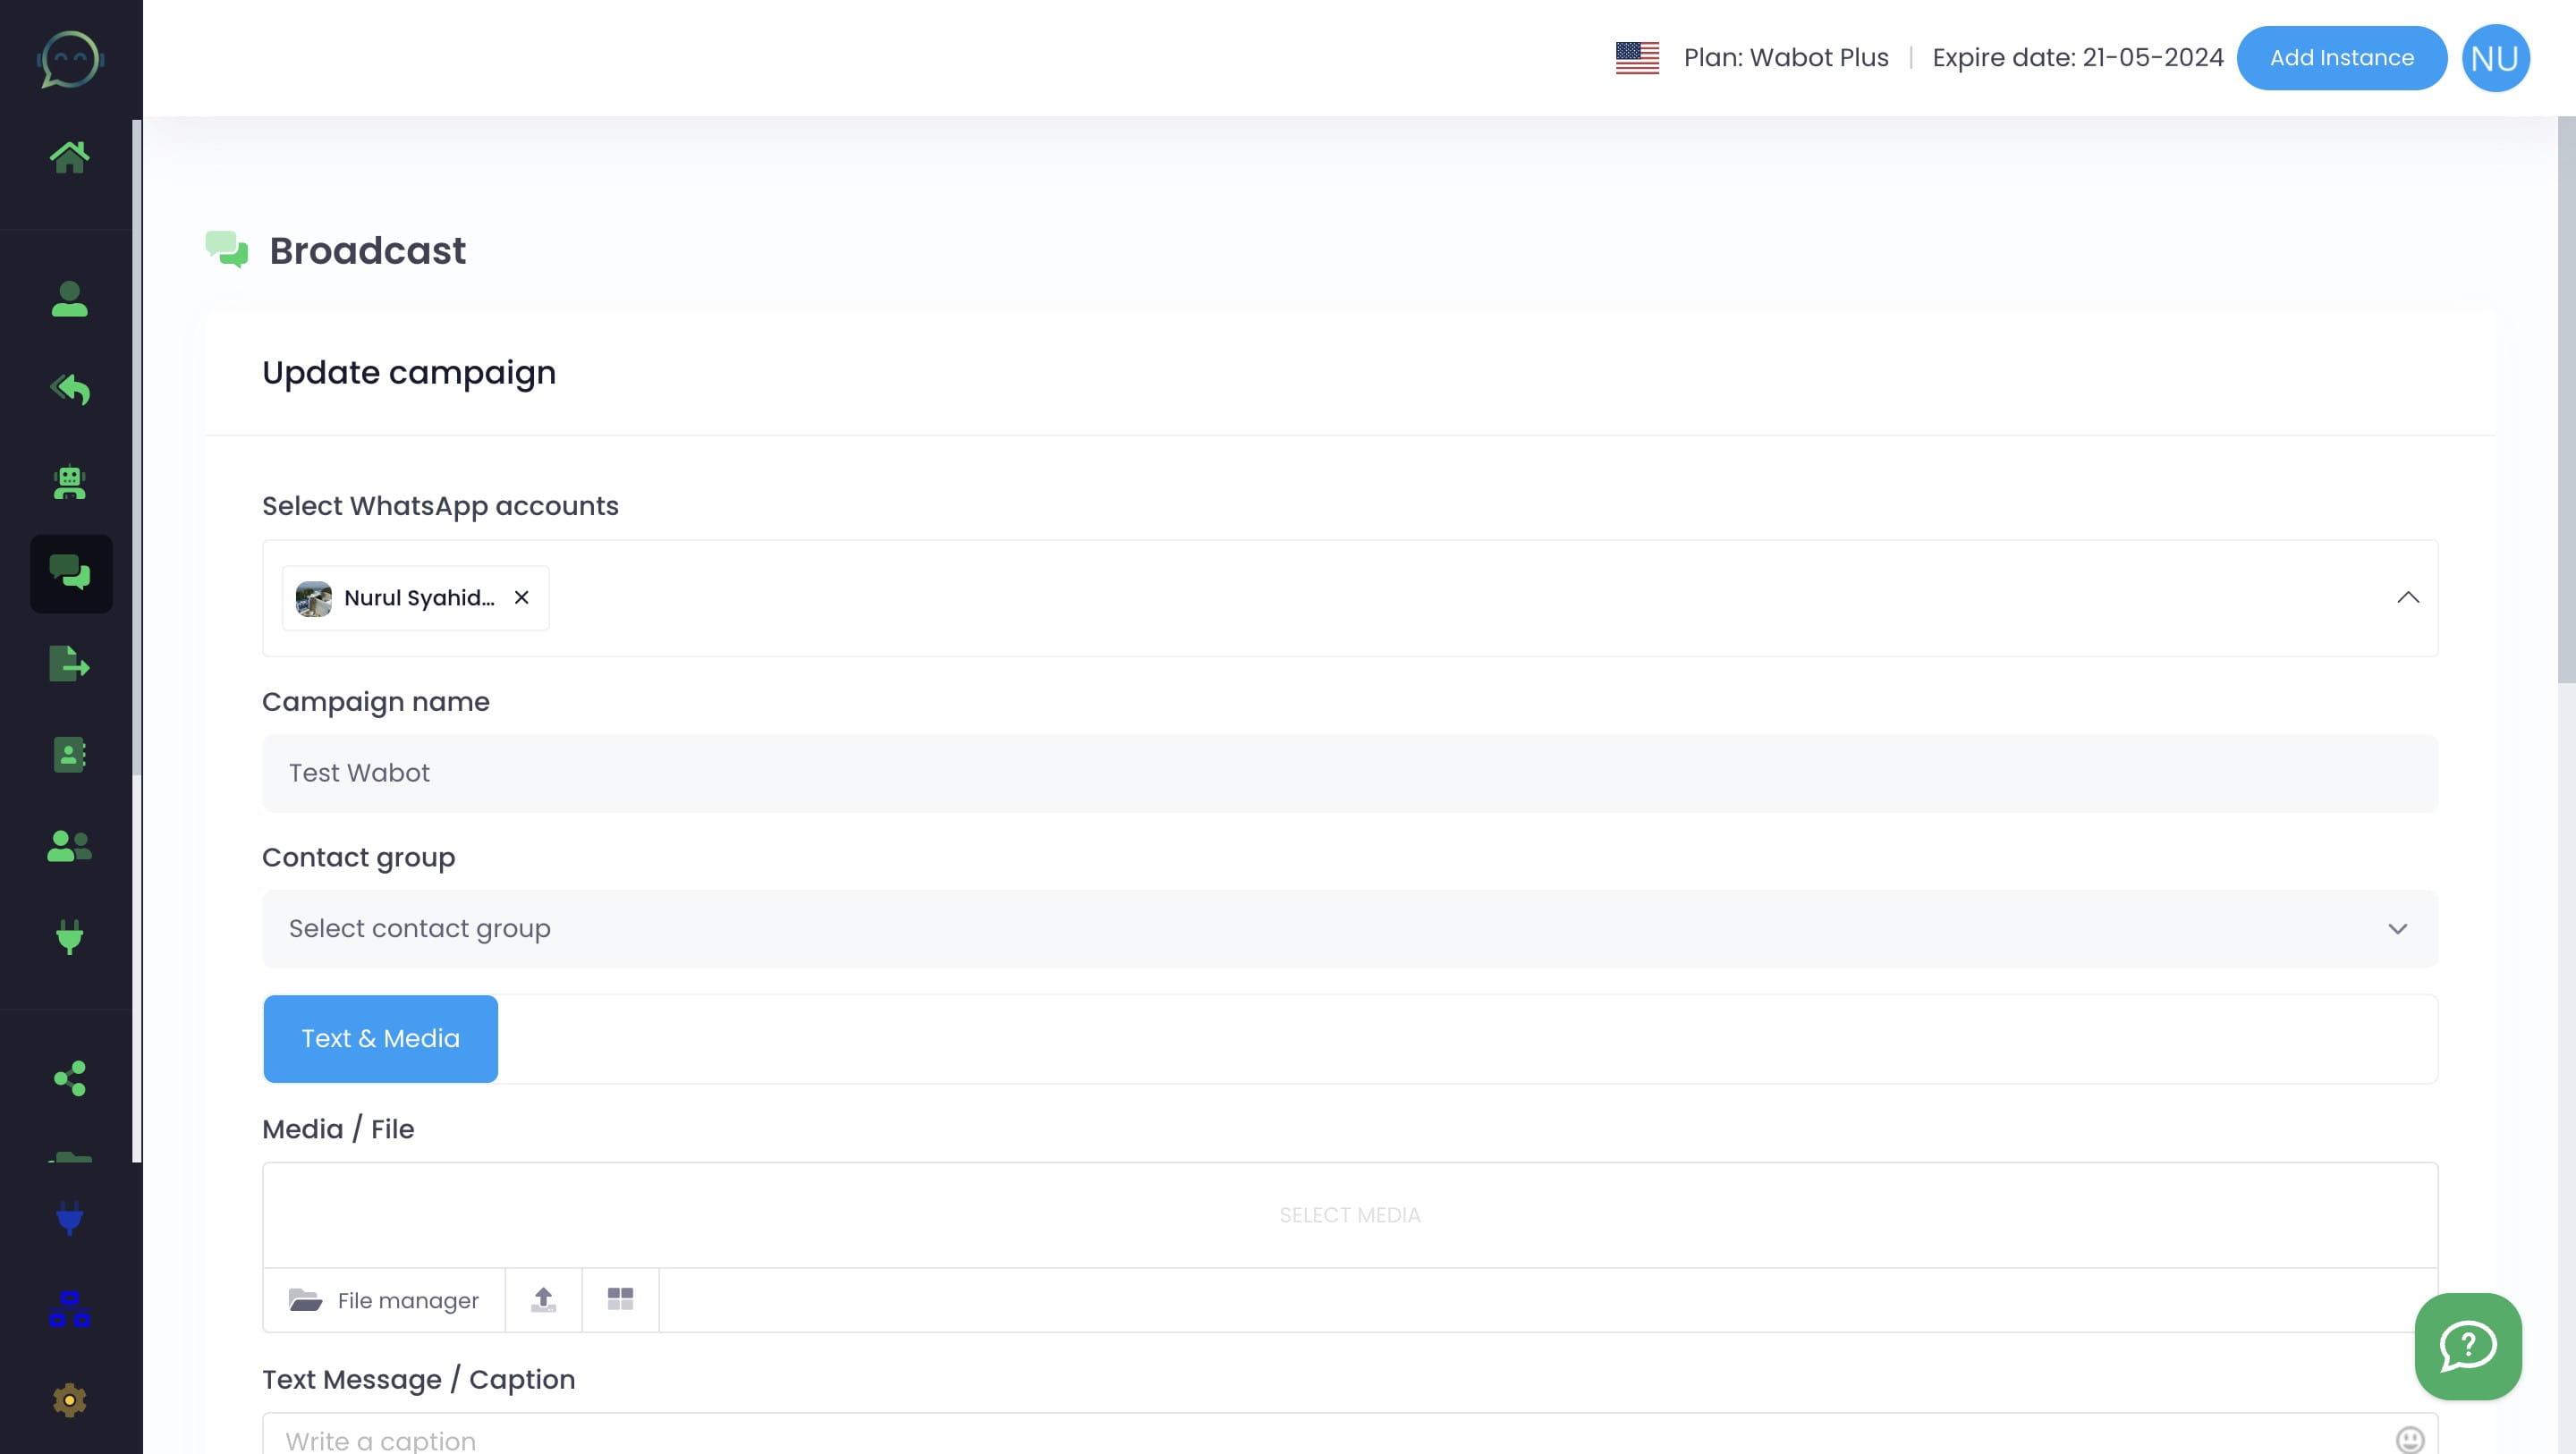
Insert the campaign name
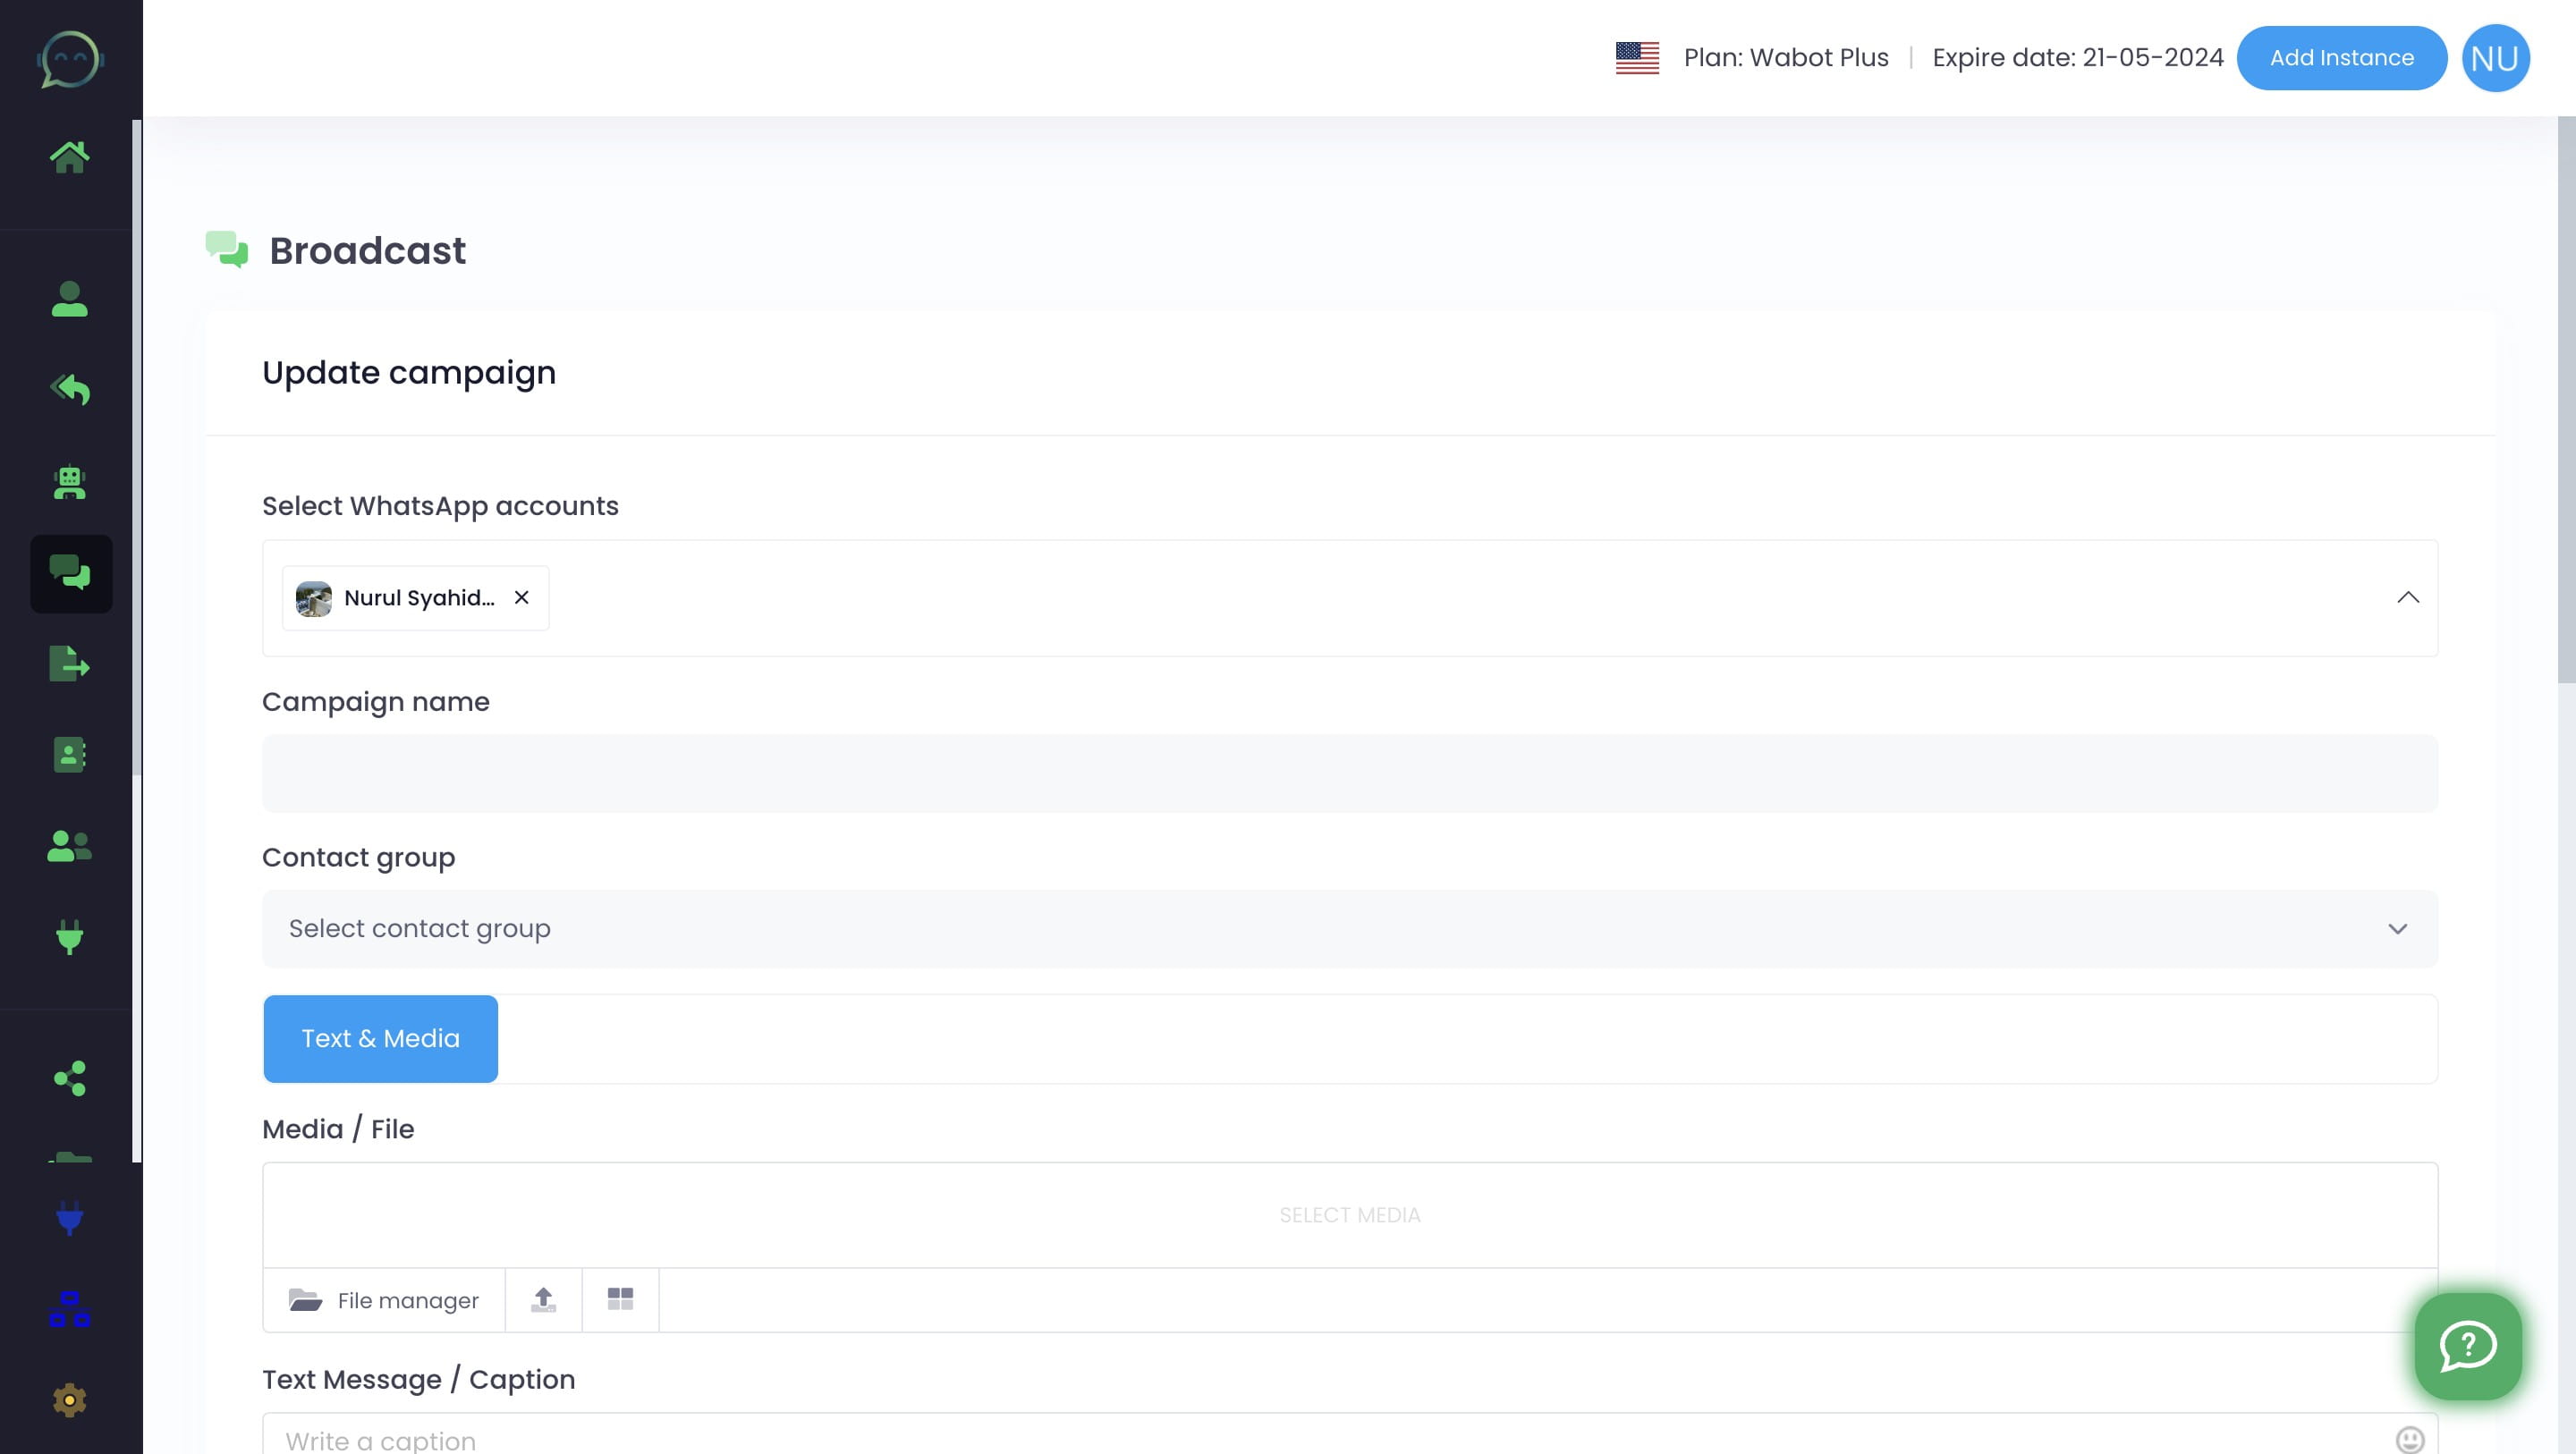
Select the contact group that you want to broadcast
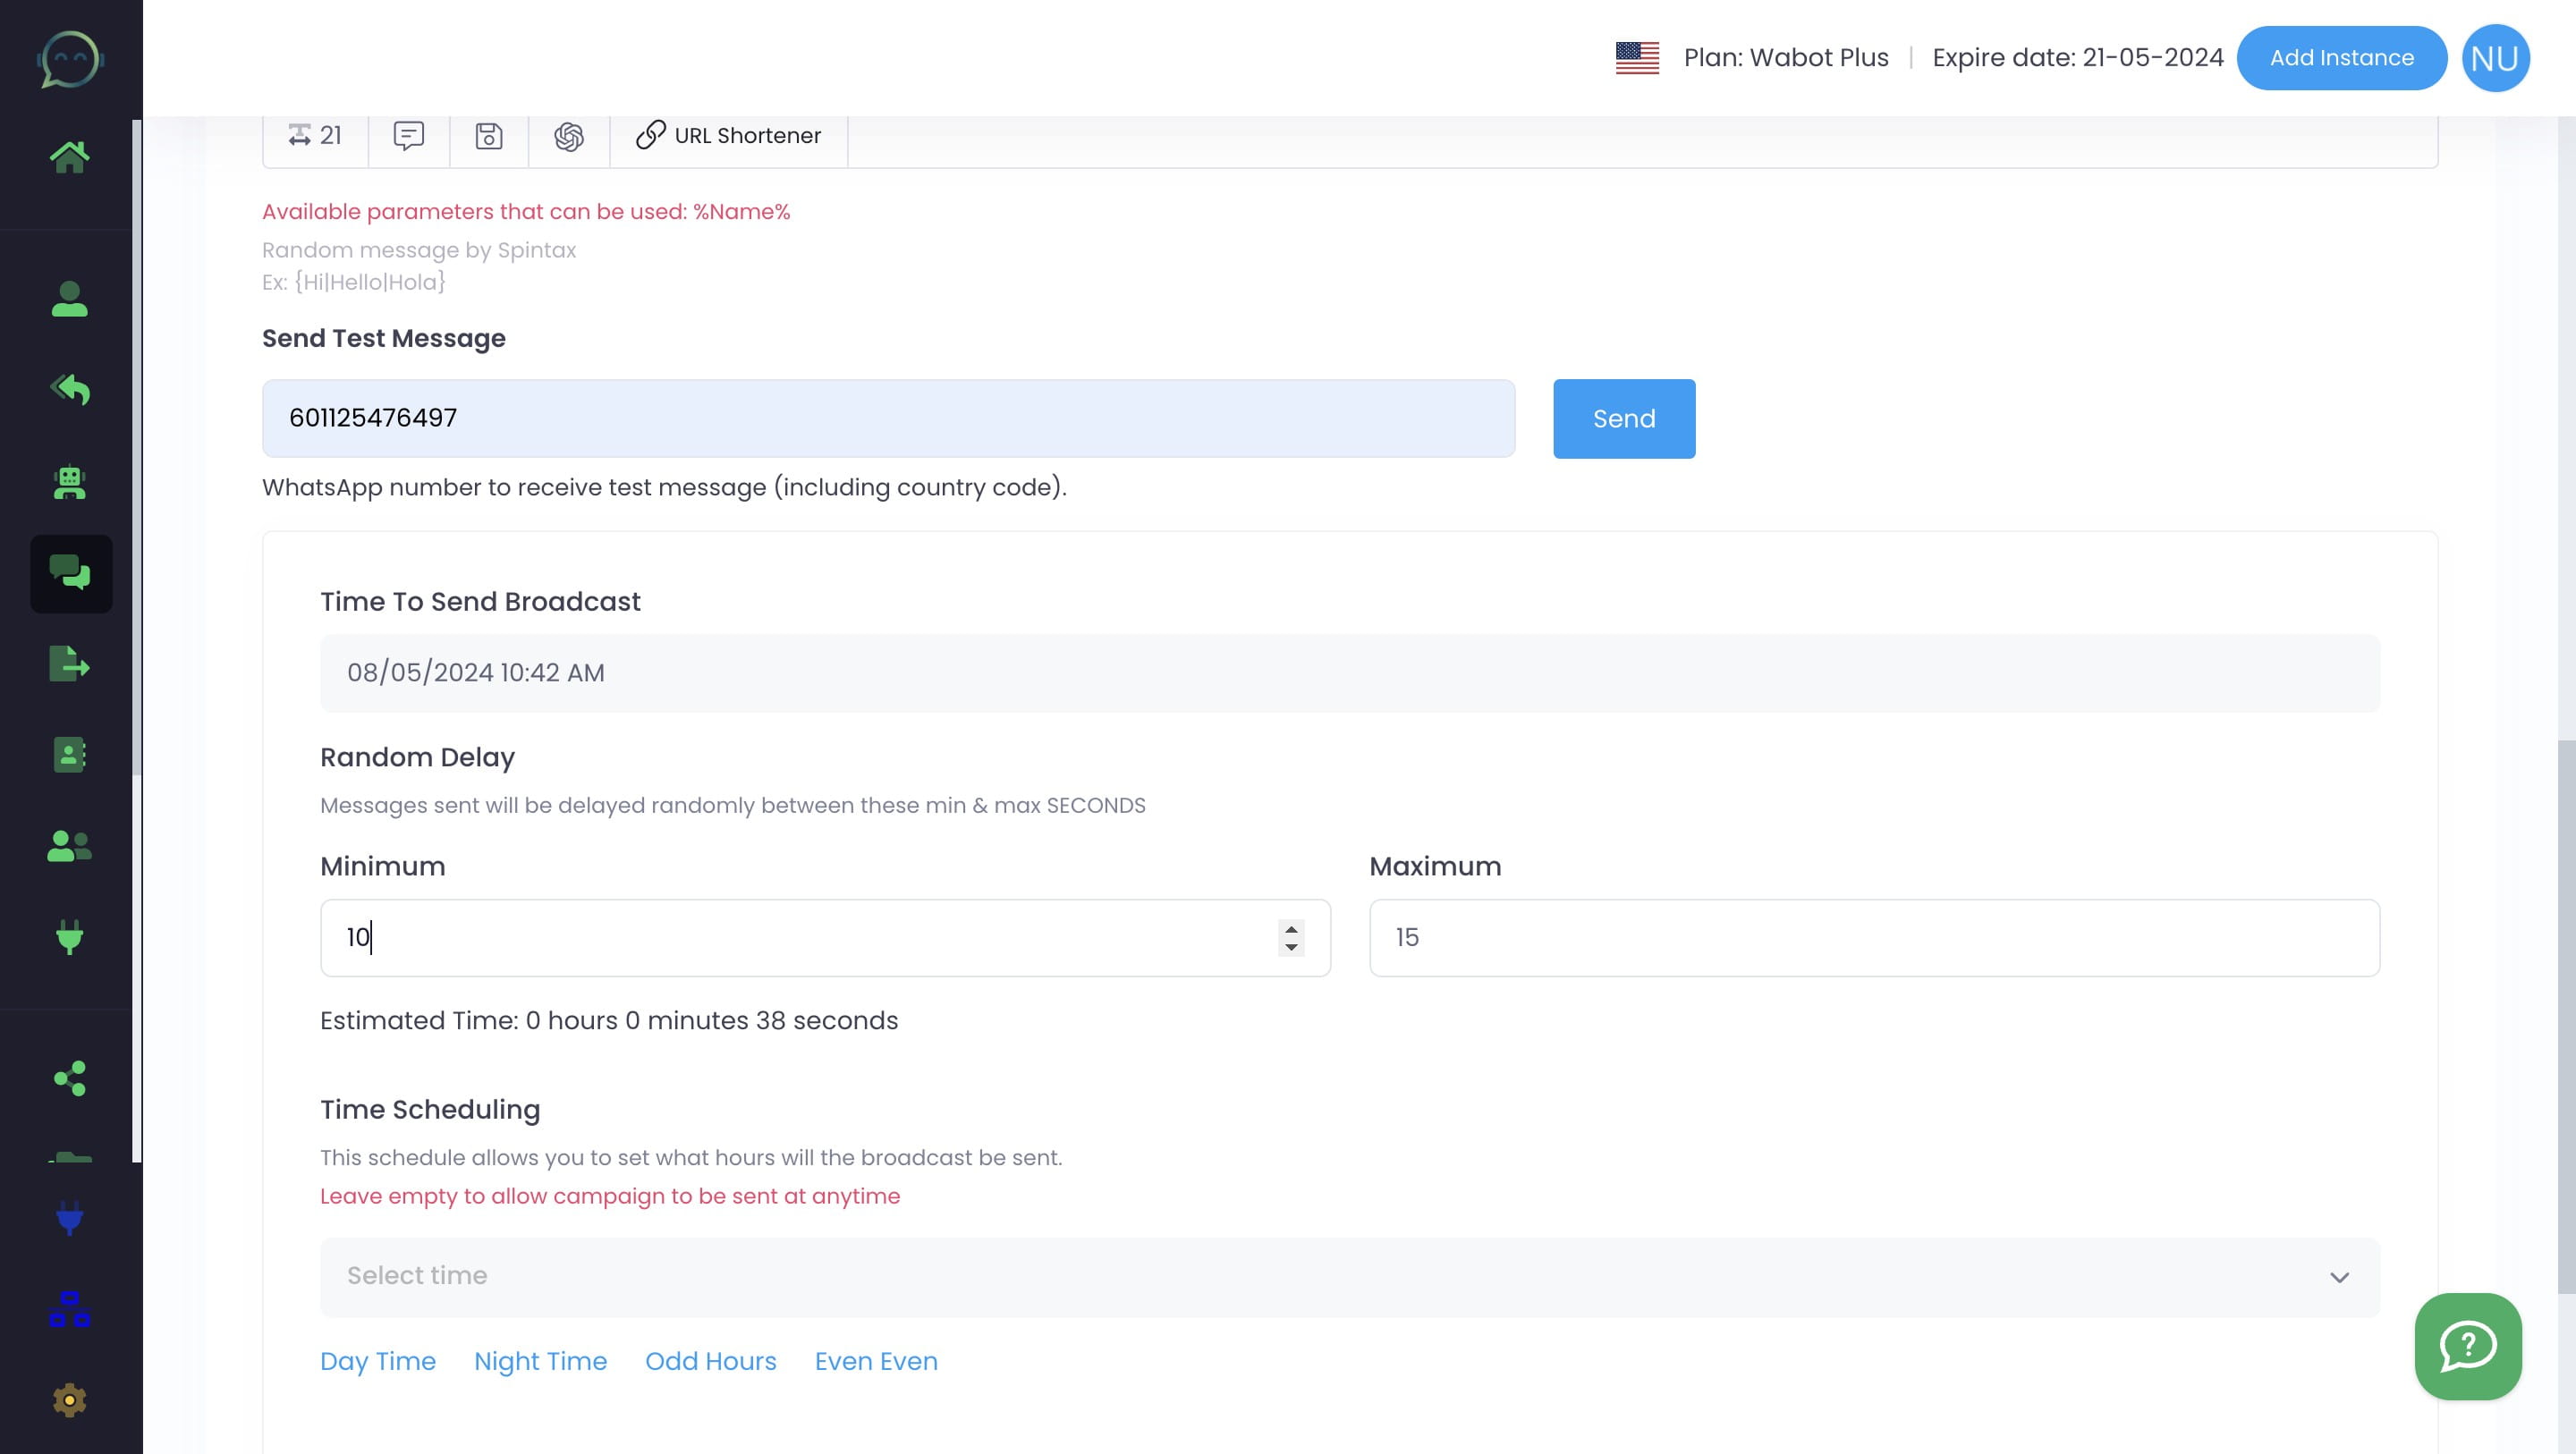
Insert the text message
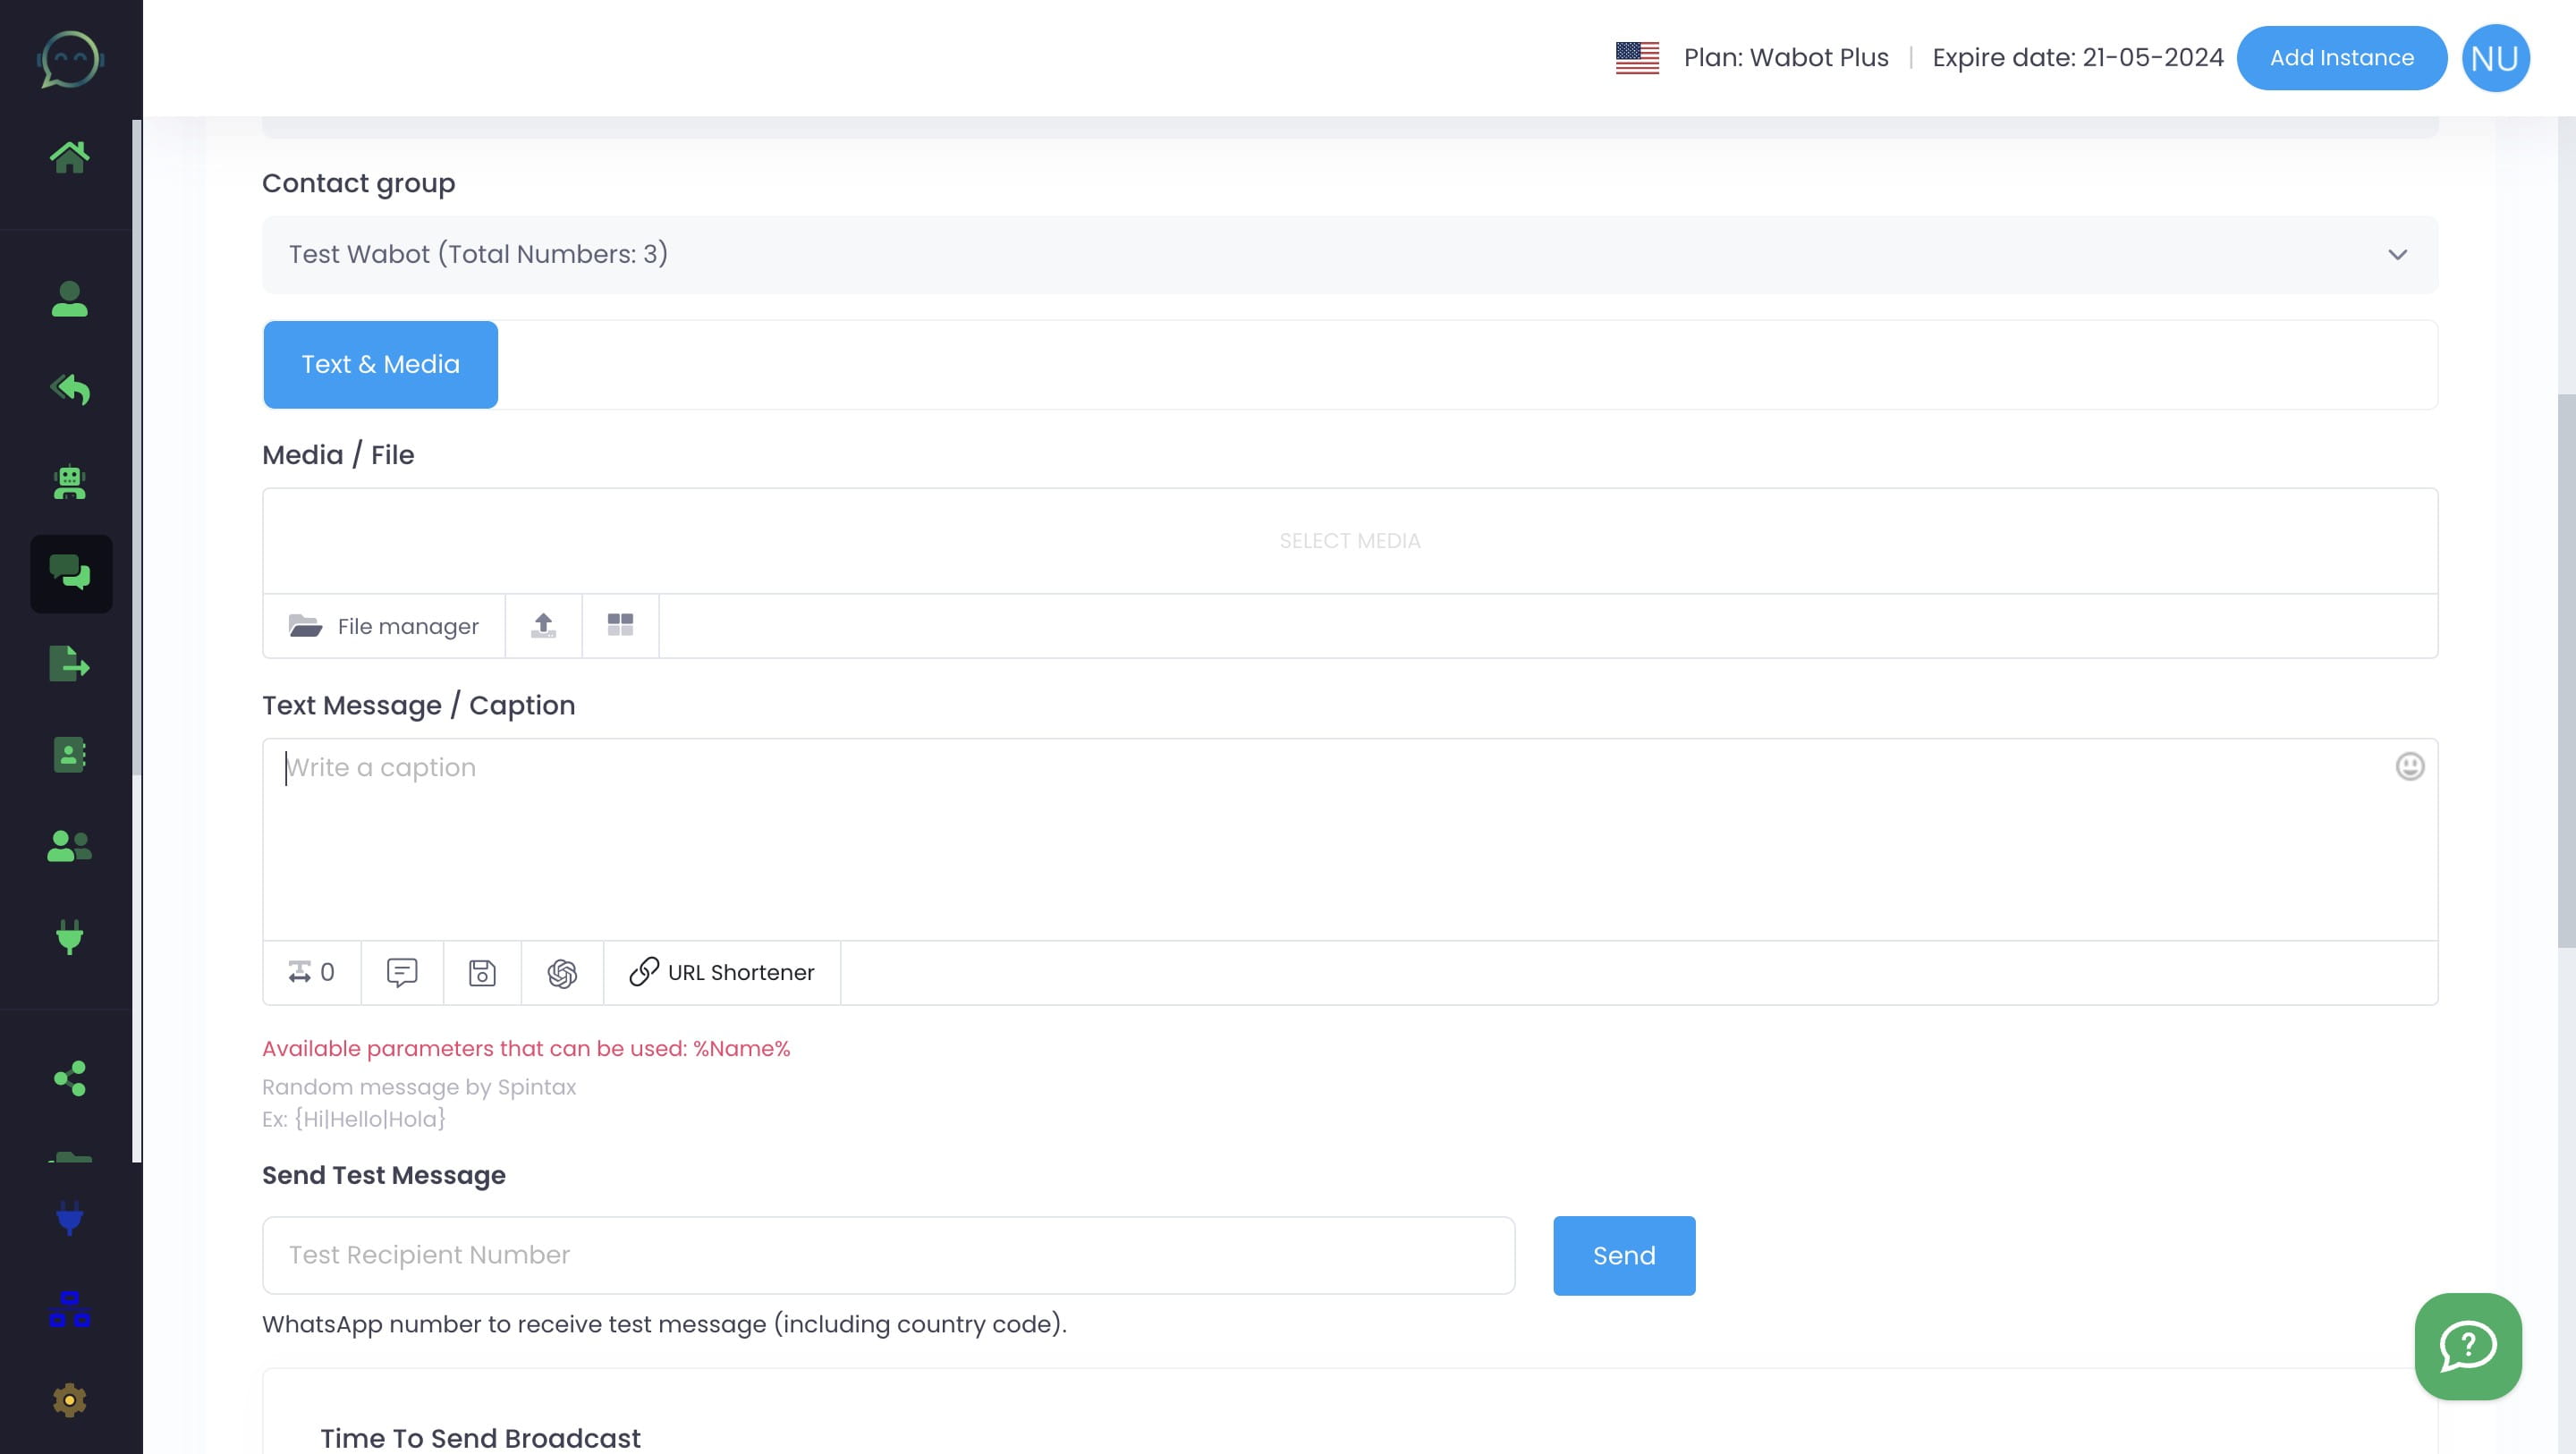
Check the message format by sending a test message before scheduling the broadcast
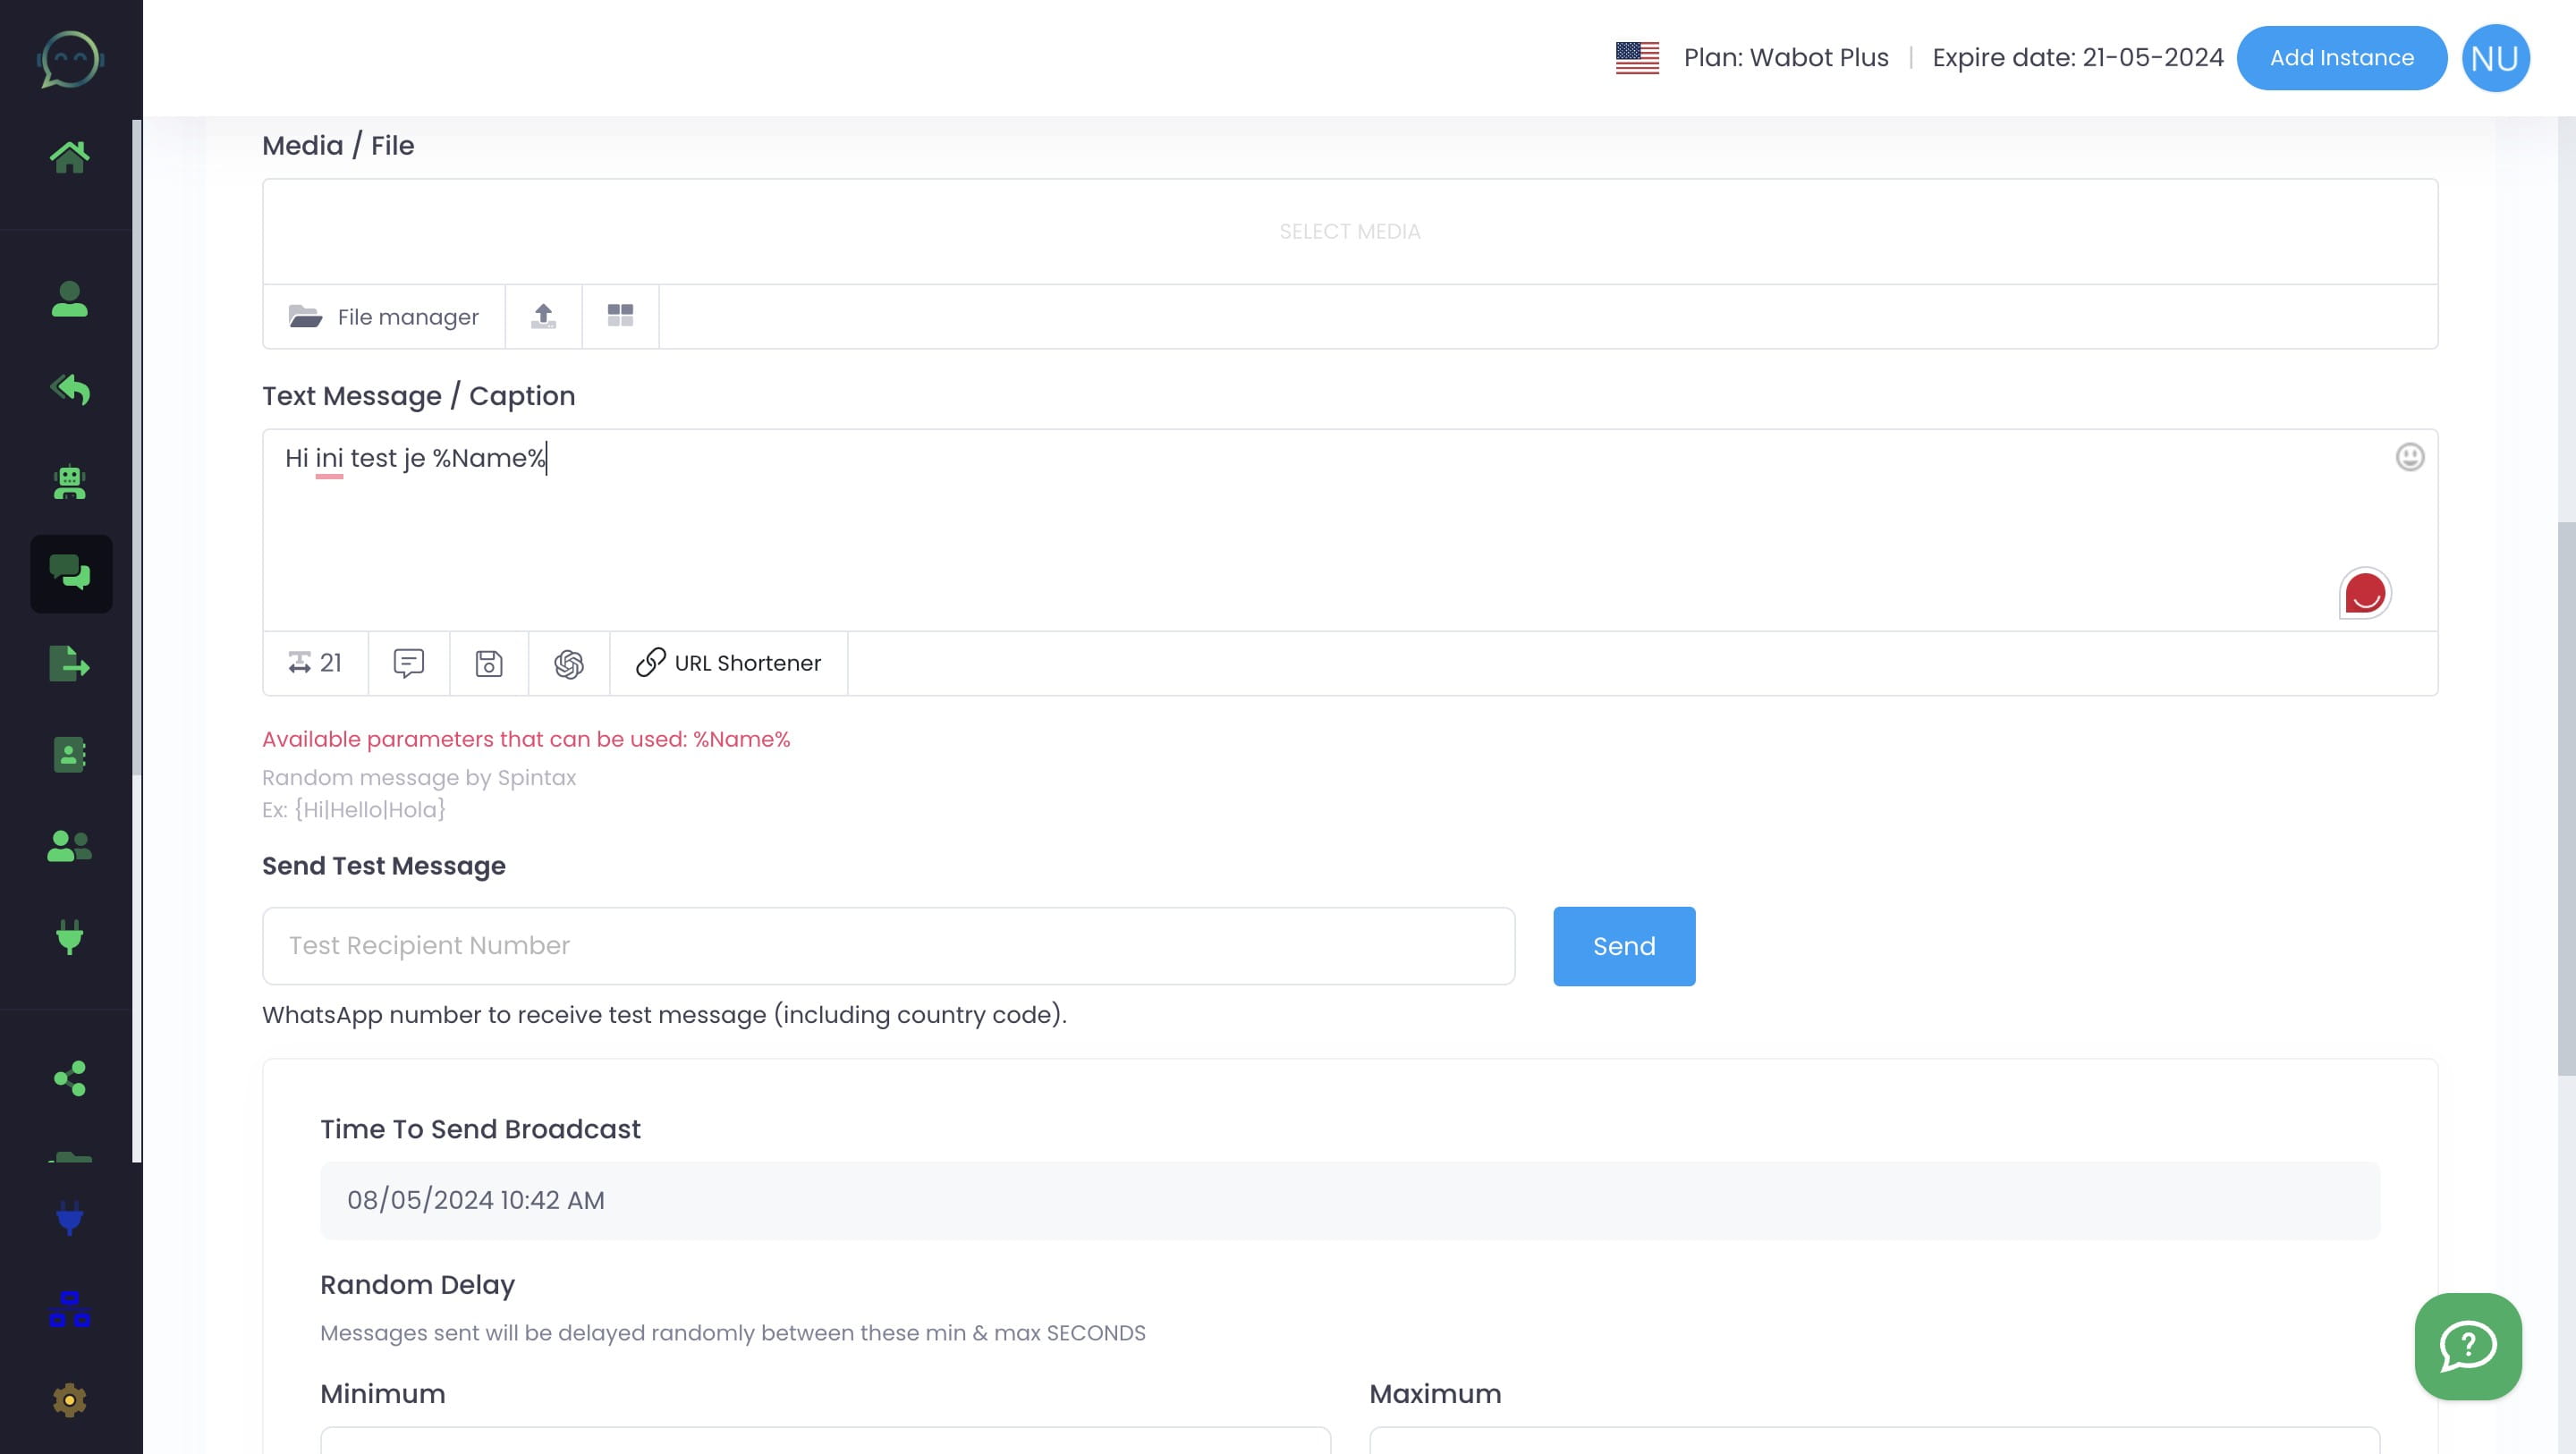
Click on "Send"
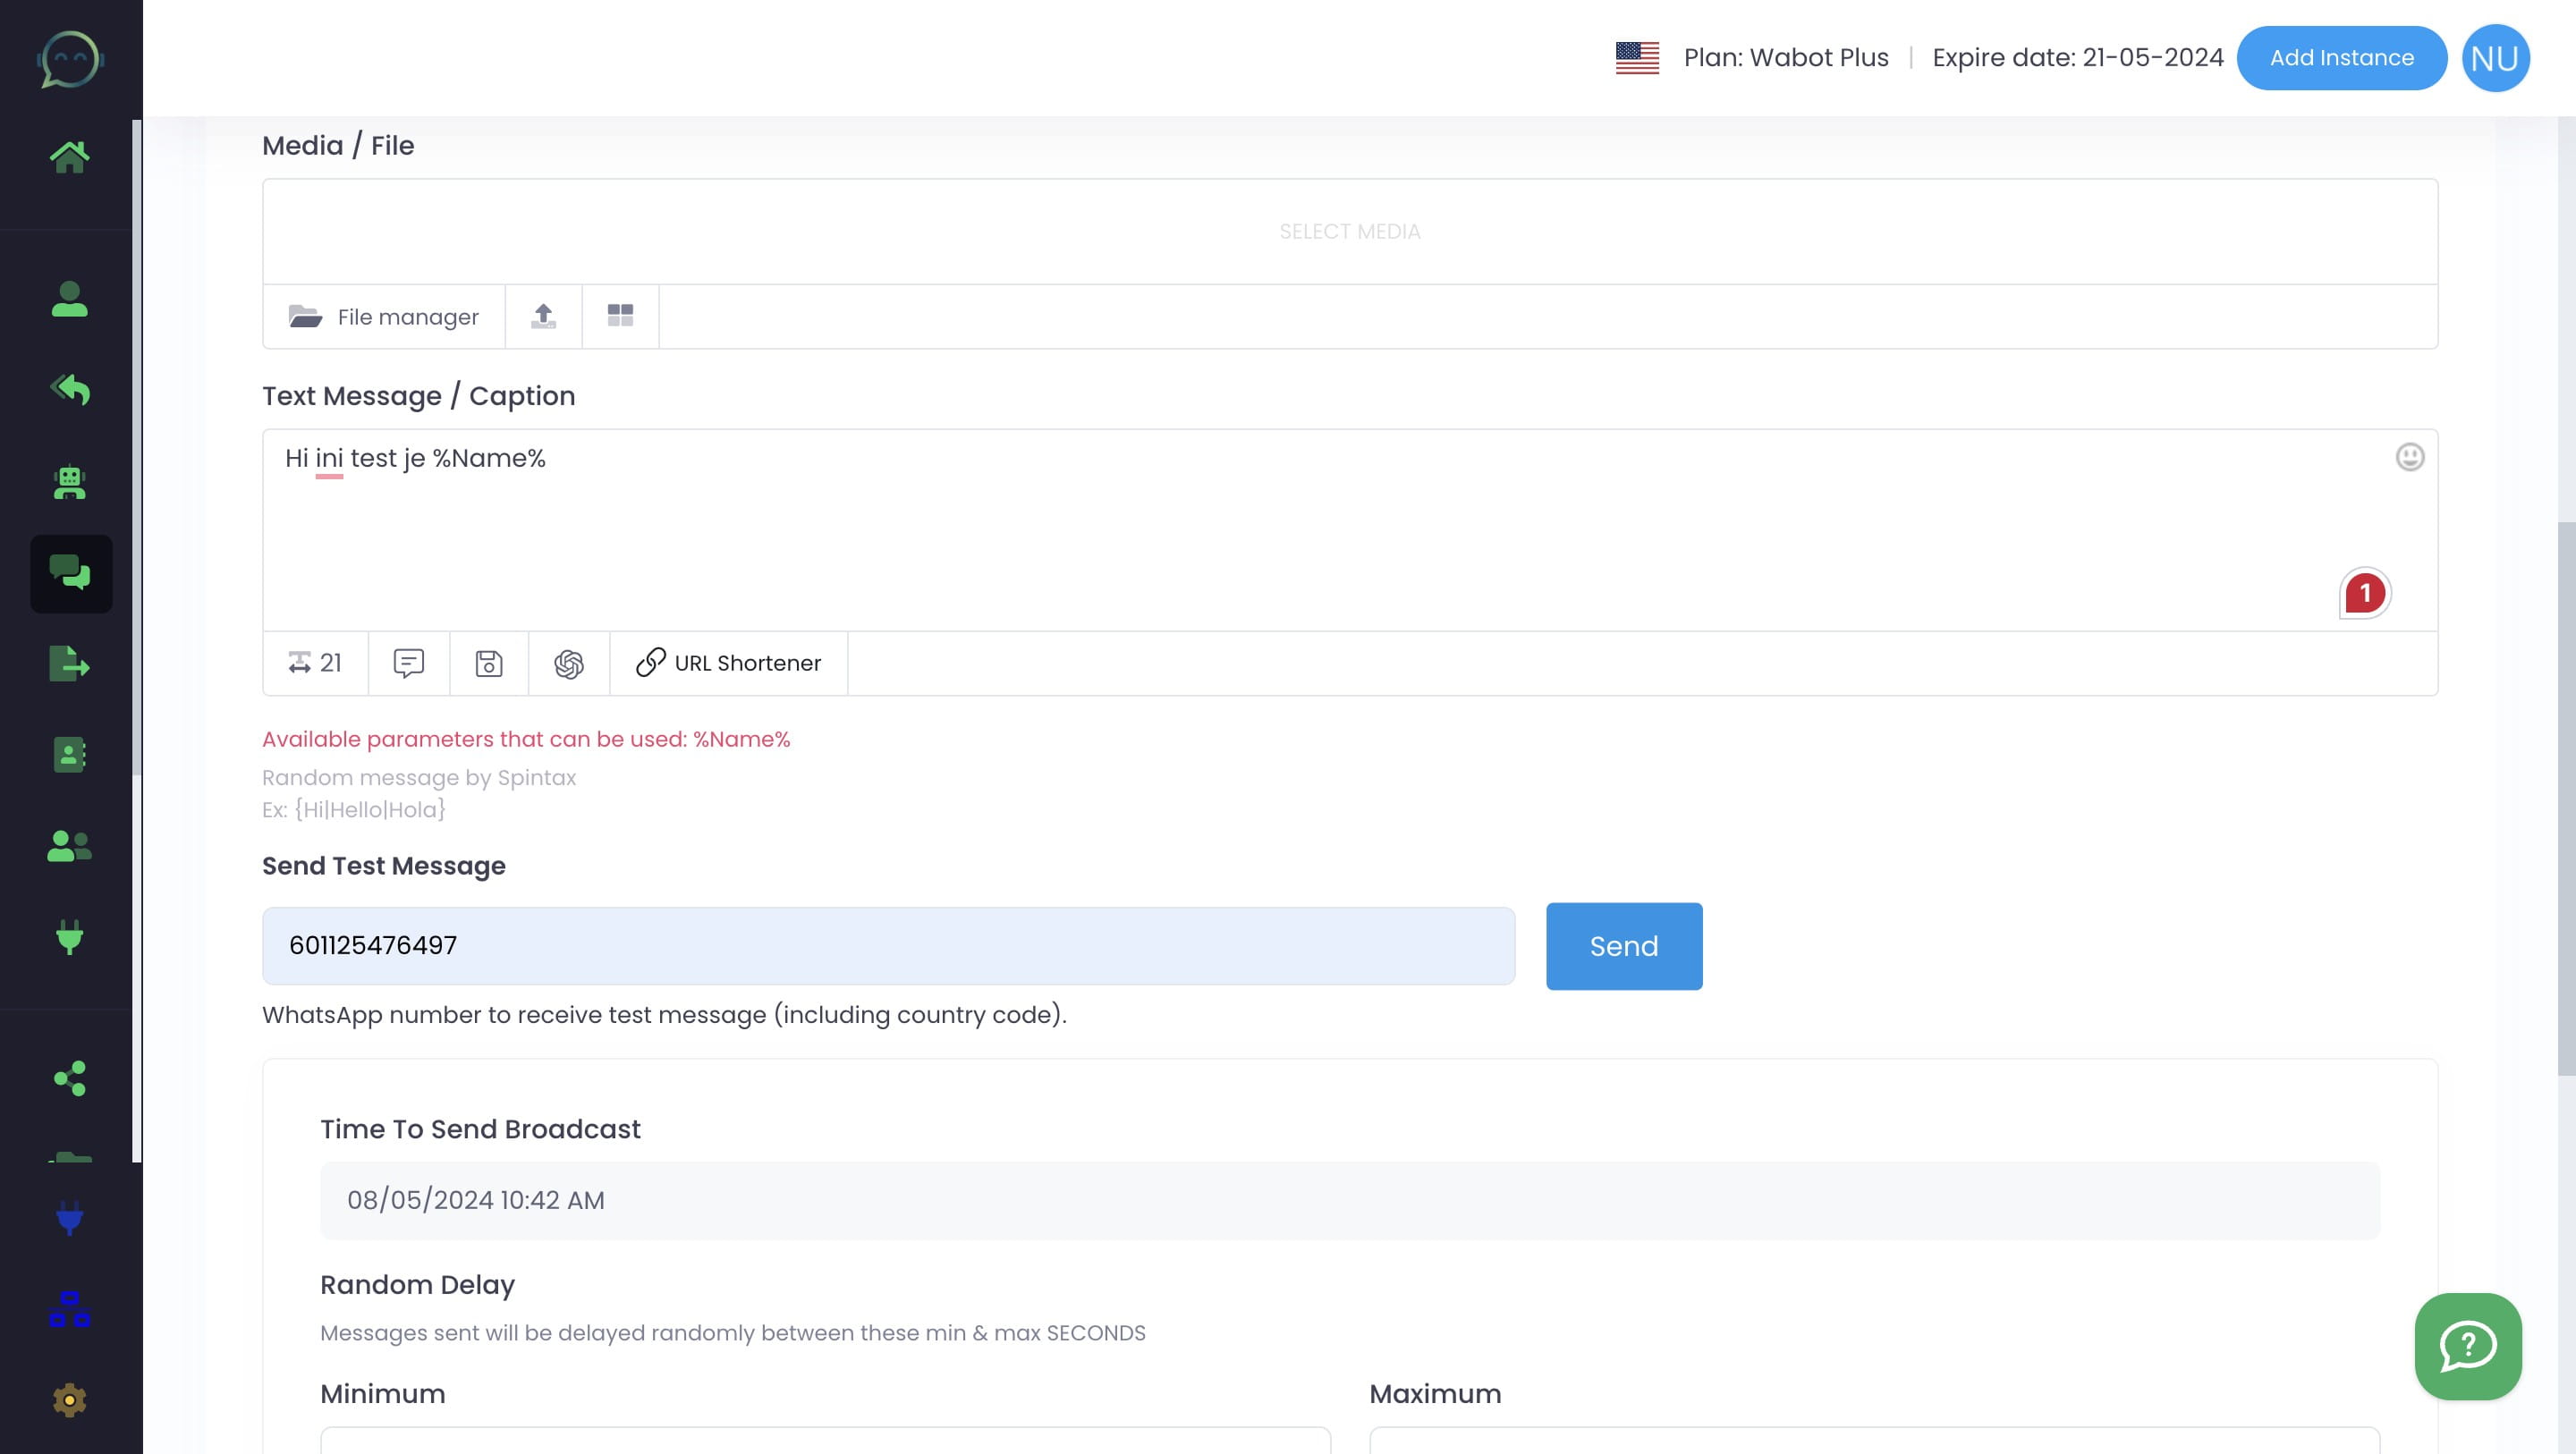
Make sure to click "Send" and DO NOT CLICK ENTER / RETURN ON YOUR KEYBOARD. Or else the broadcast will be sent instantly to the recipient
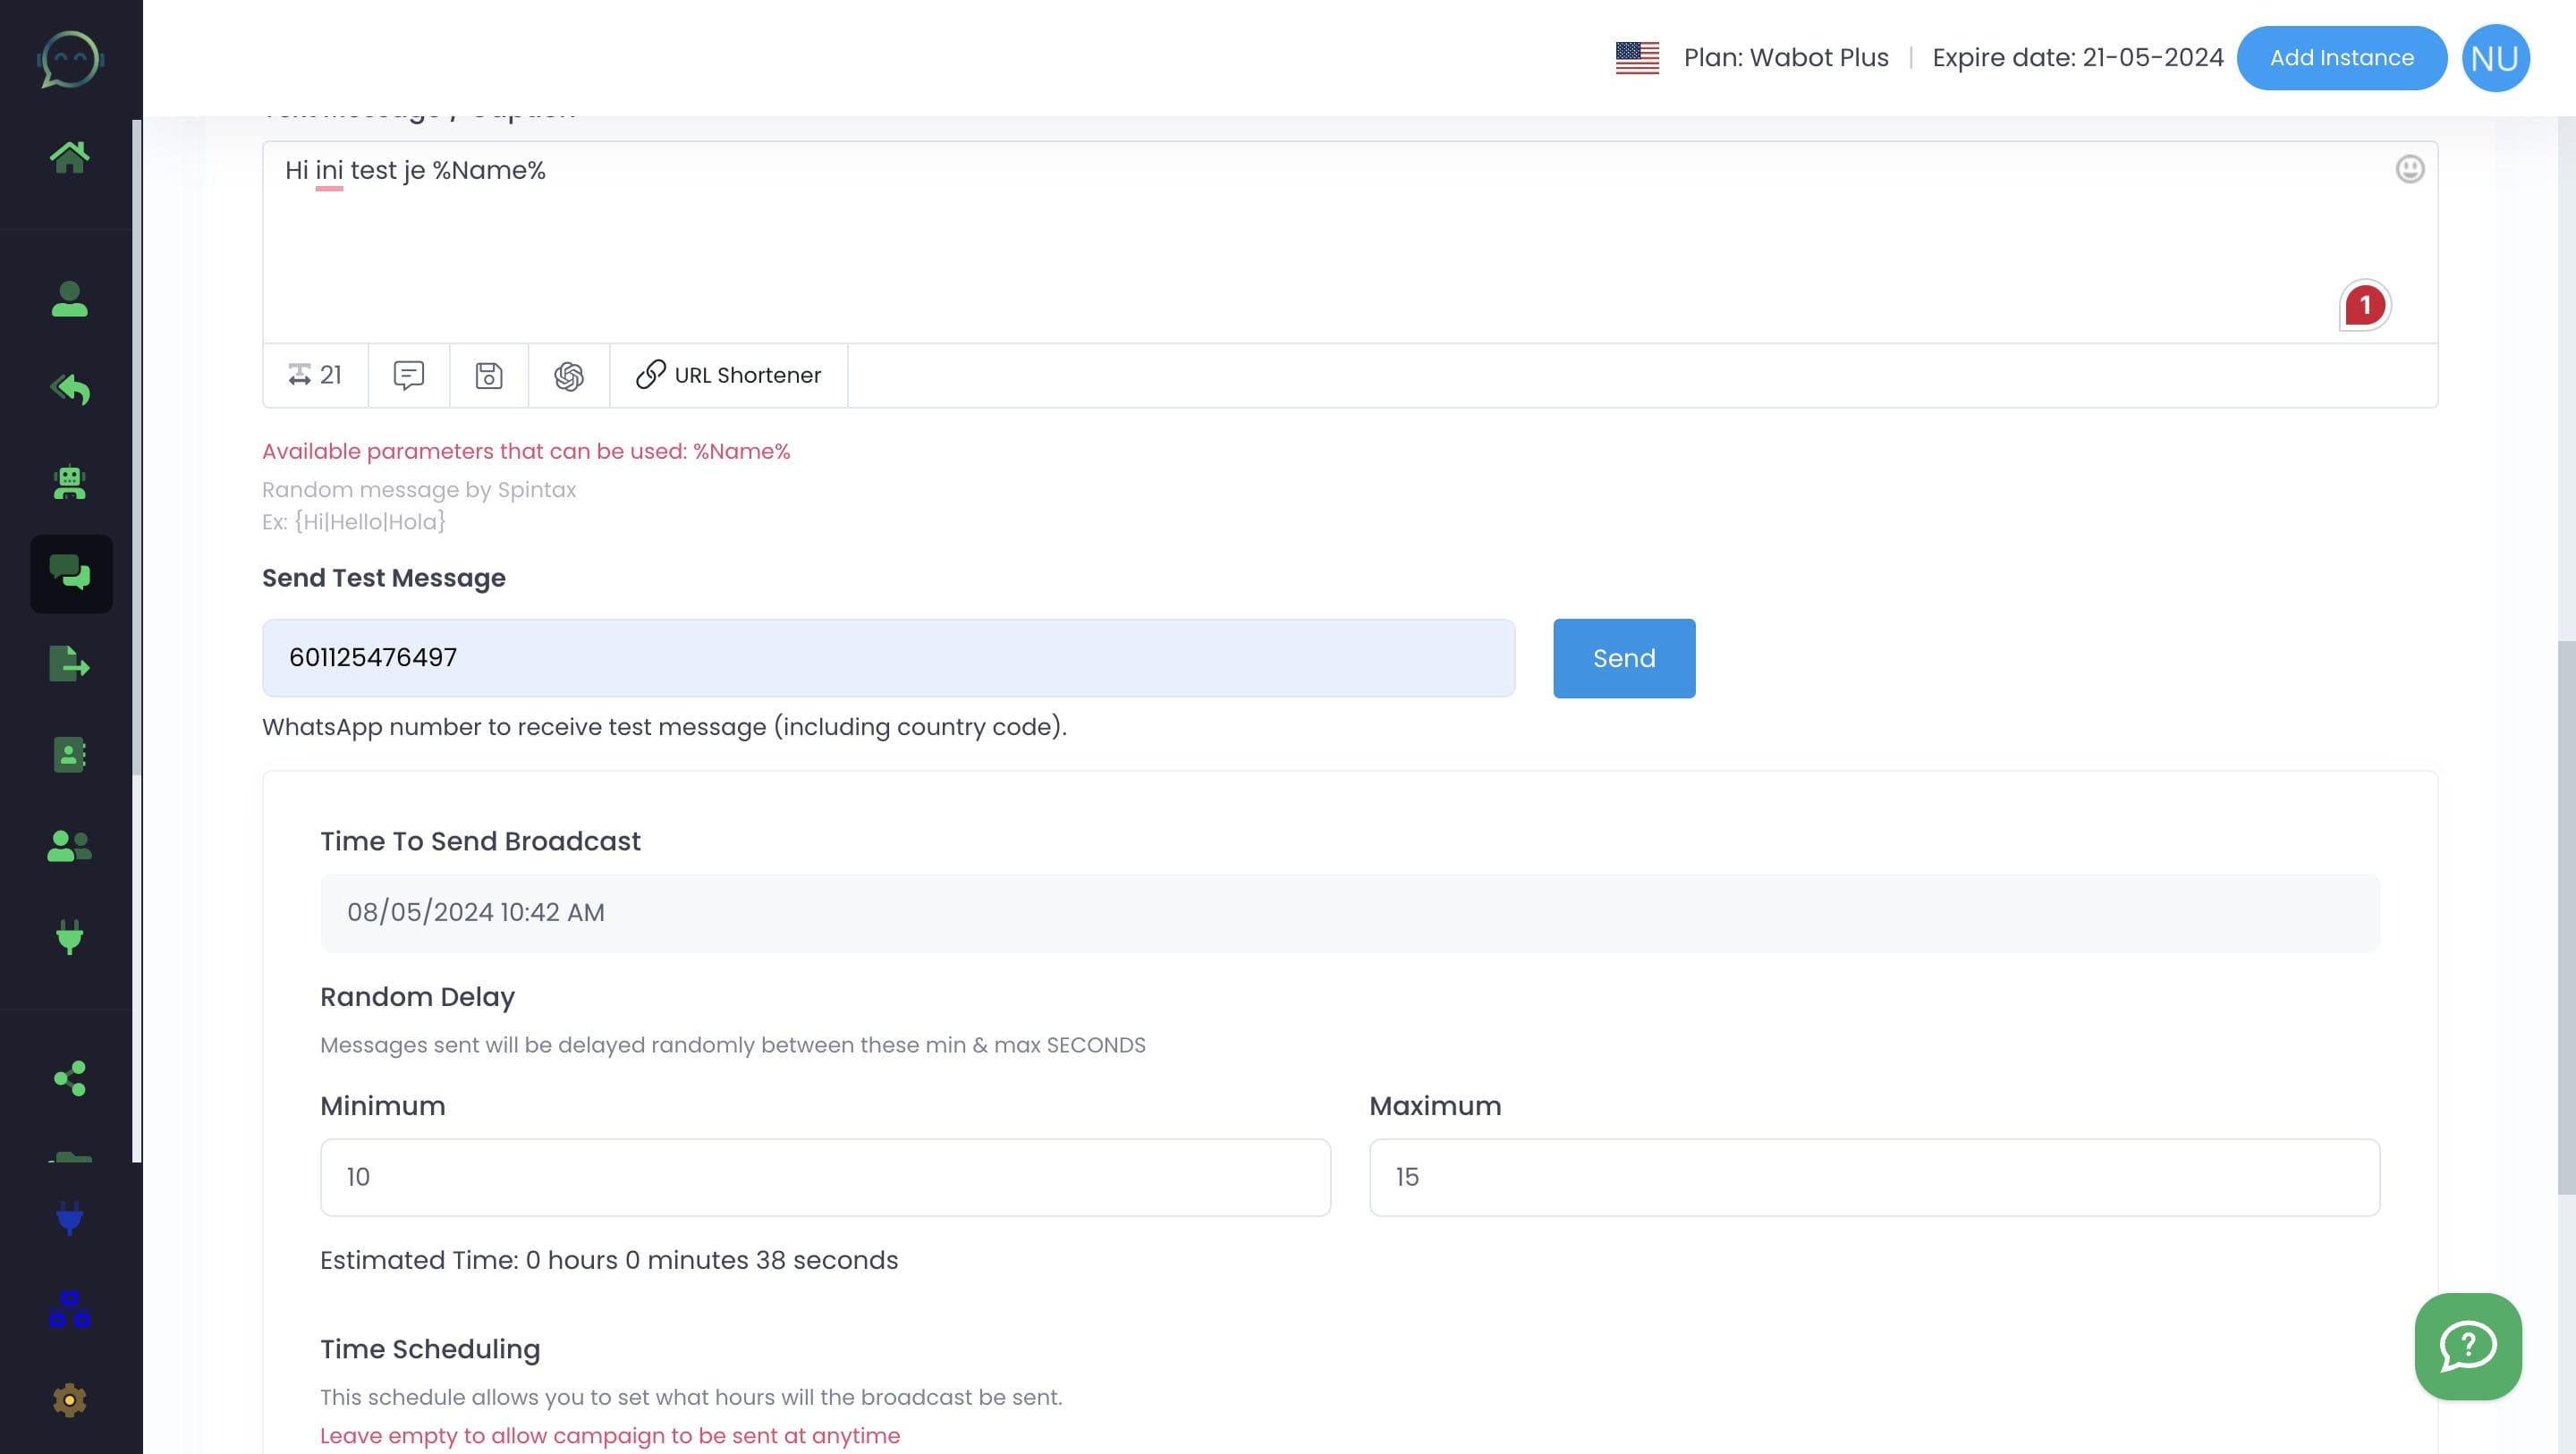
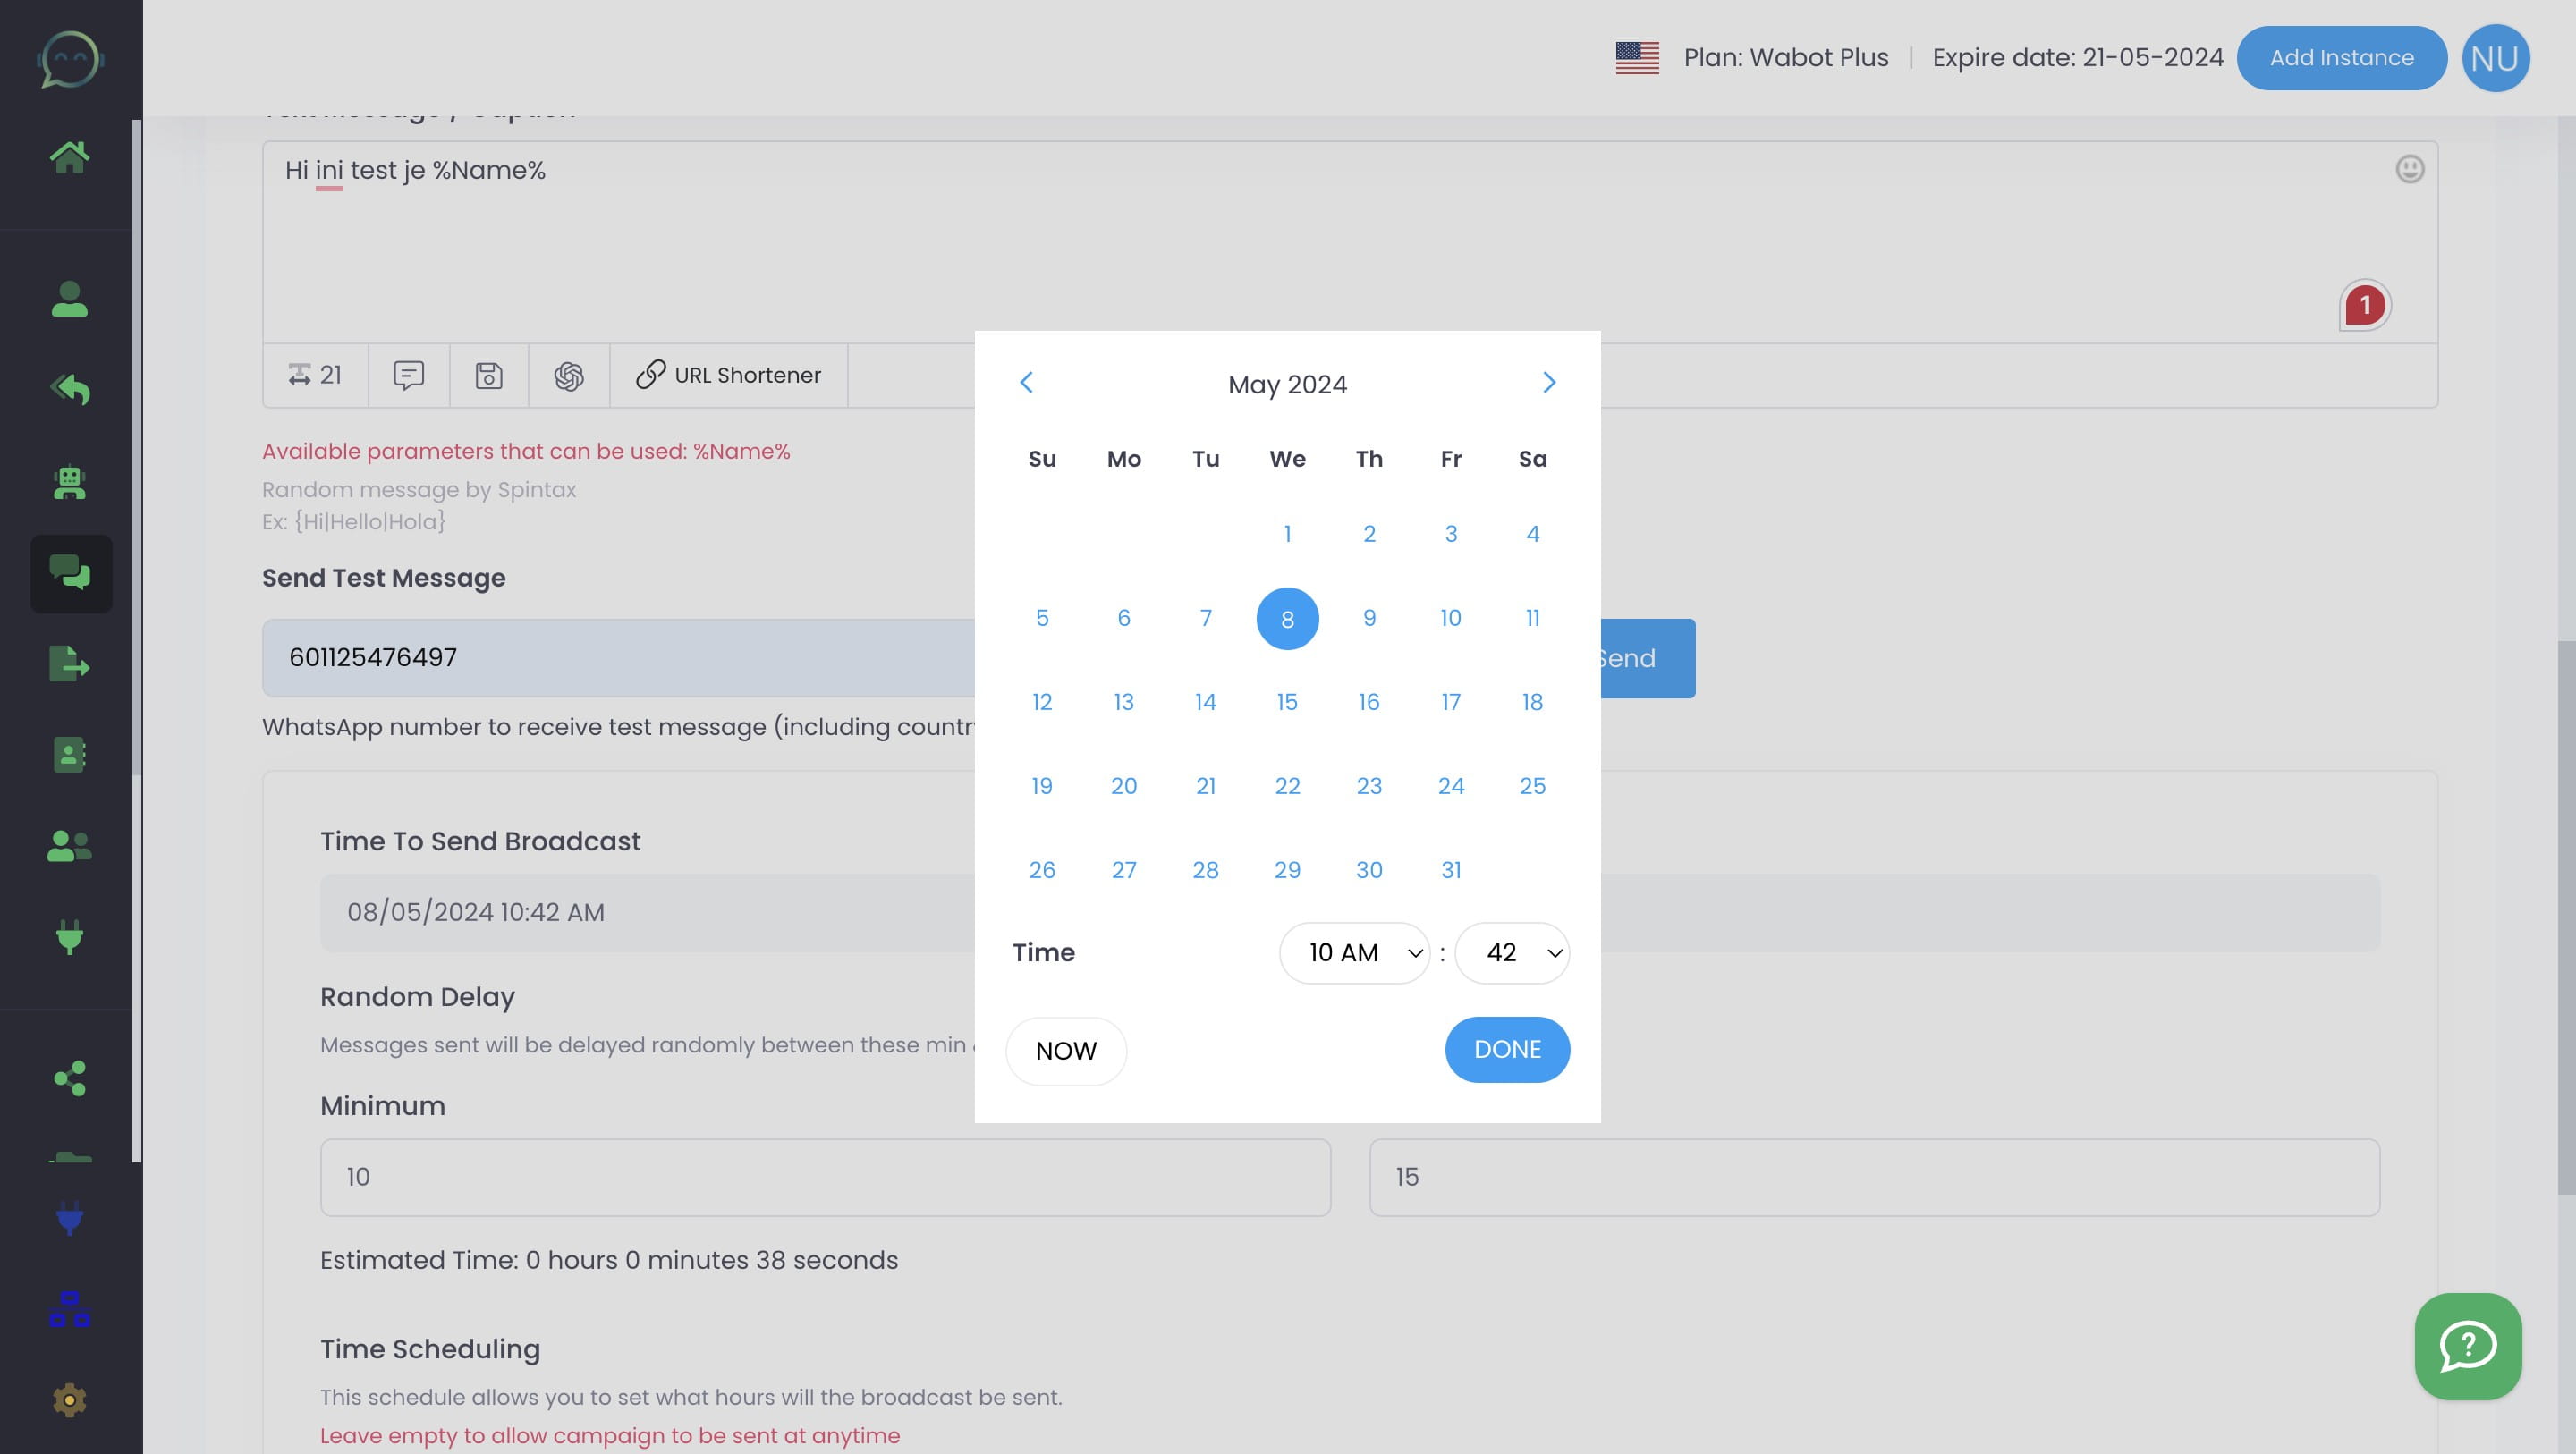
Then choose the timing for the broadcast
Click on "Done"
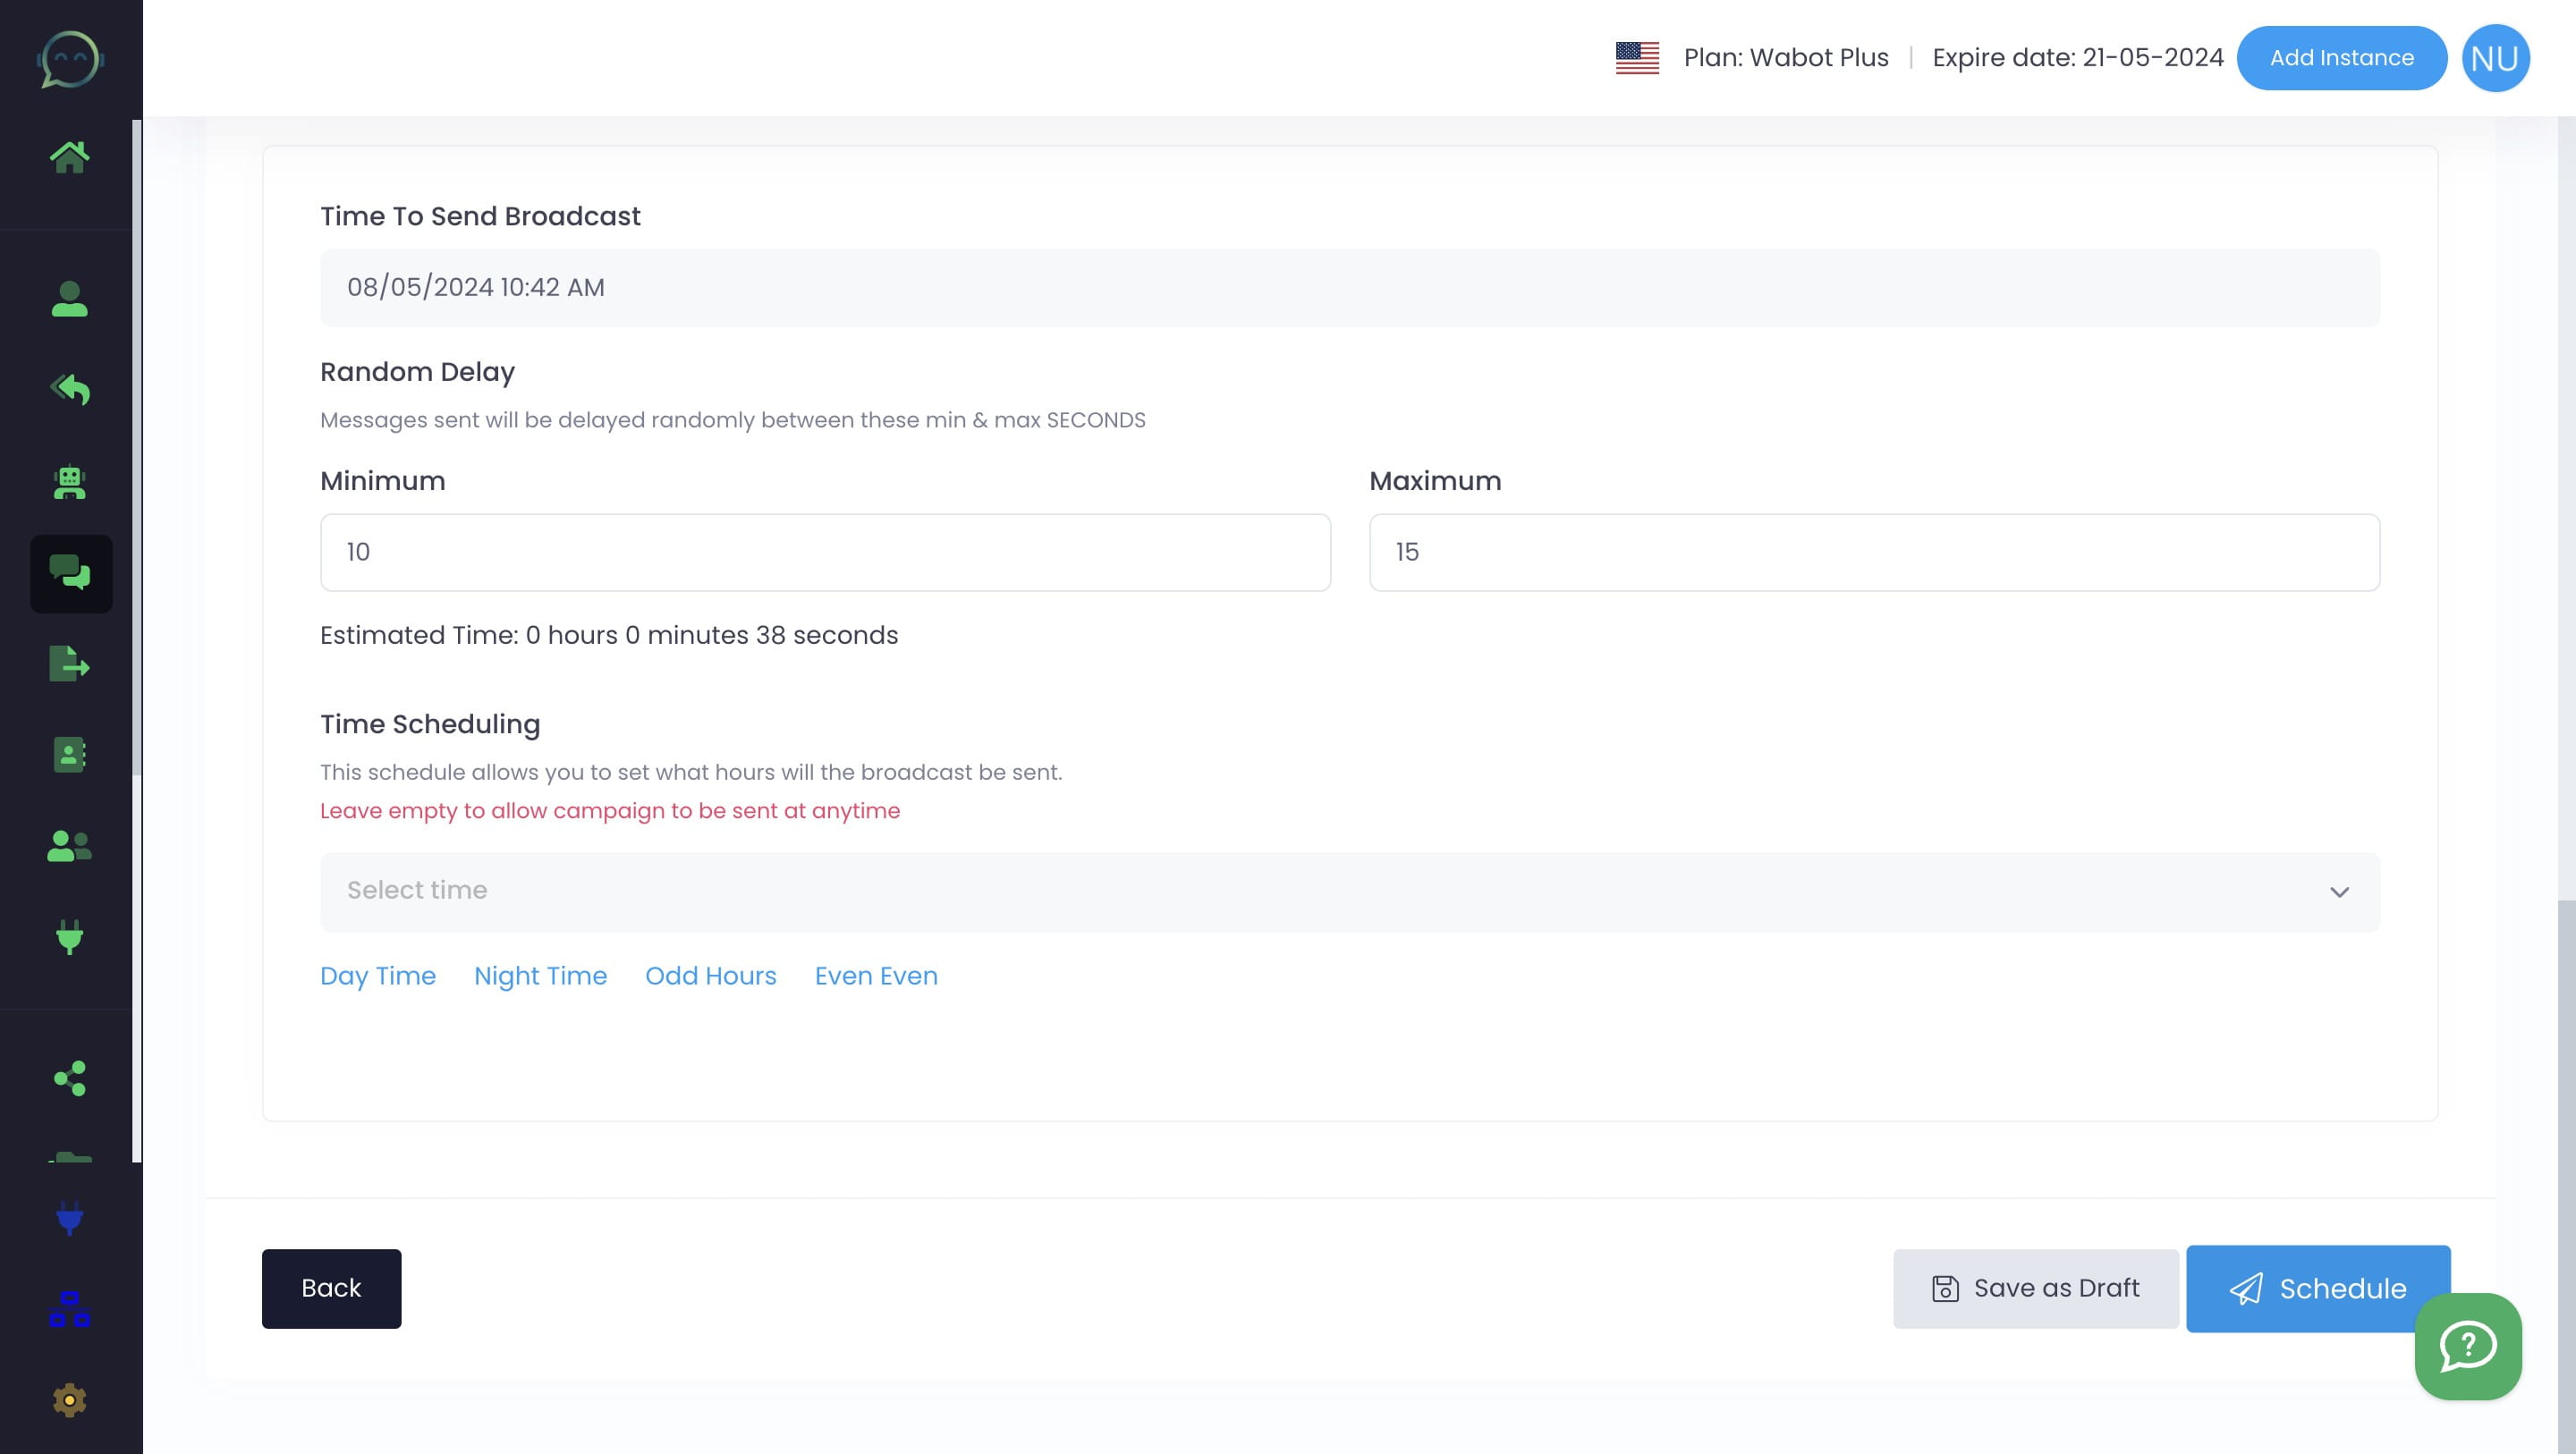
Adjust the minimum and maximum delay as you wish. For Wabot Basic, the minimum delay would be 30s and for Wabot Plus would be 5s
Alternatively, you can also choose to send your message during the day or night to not disturb the recipient
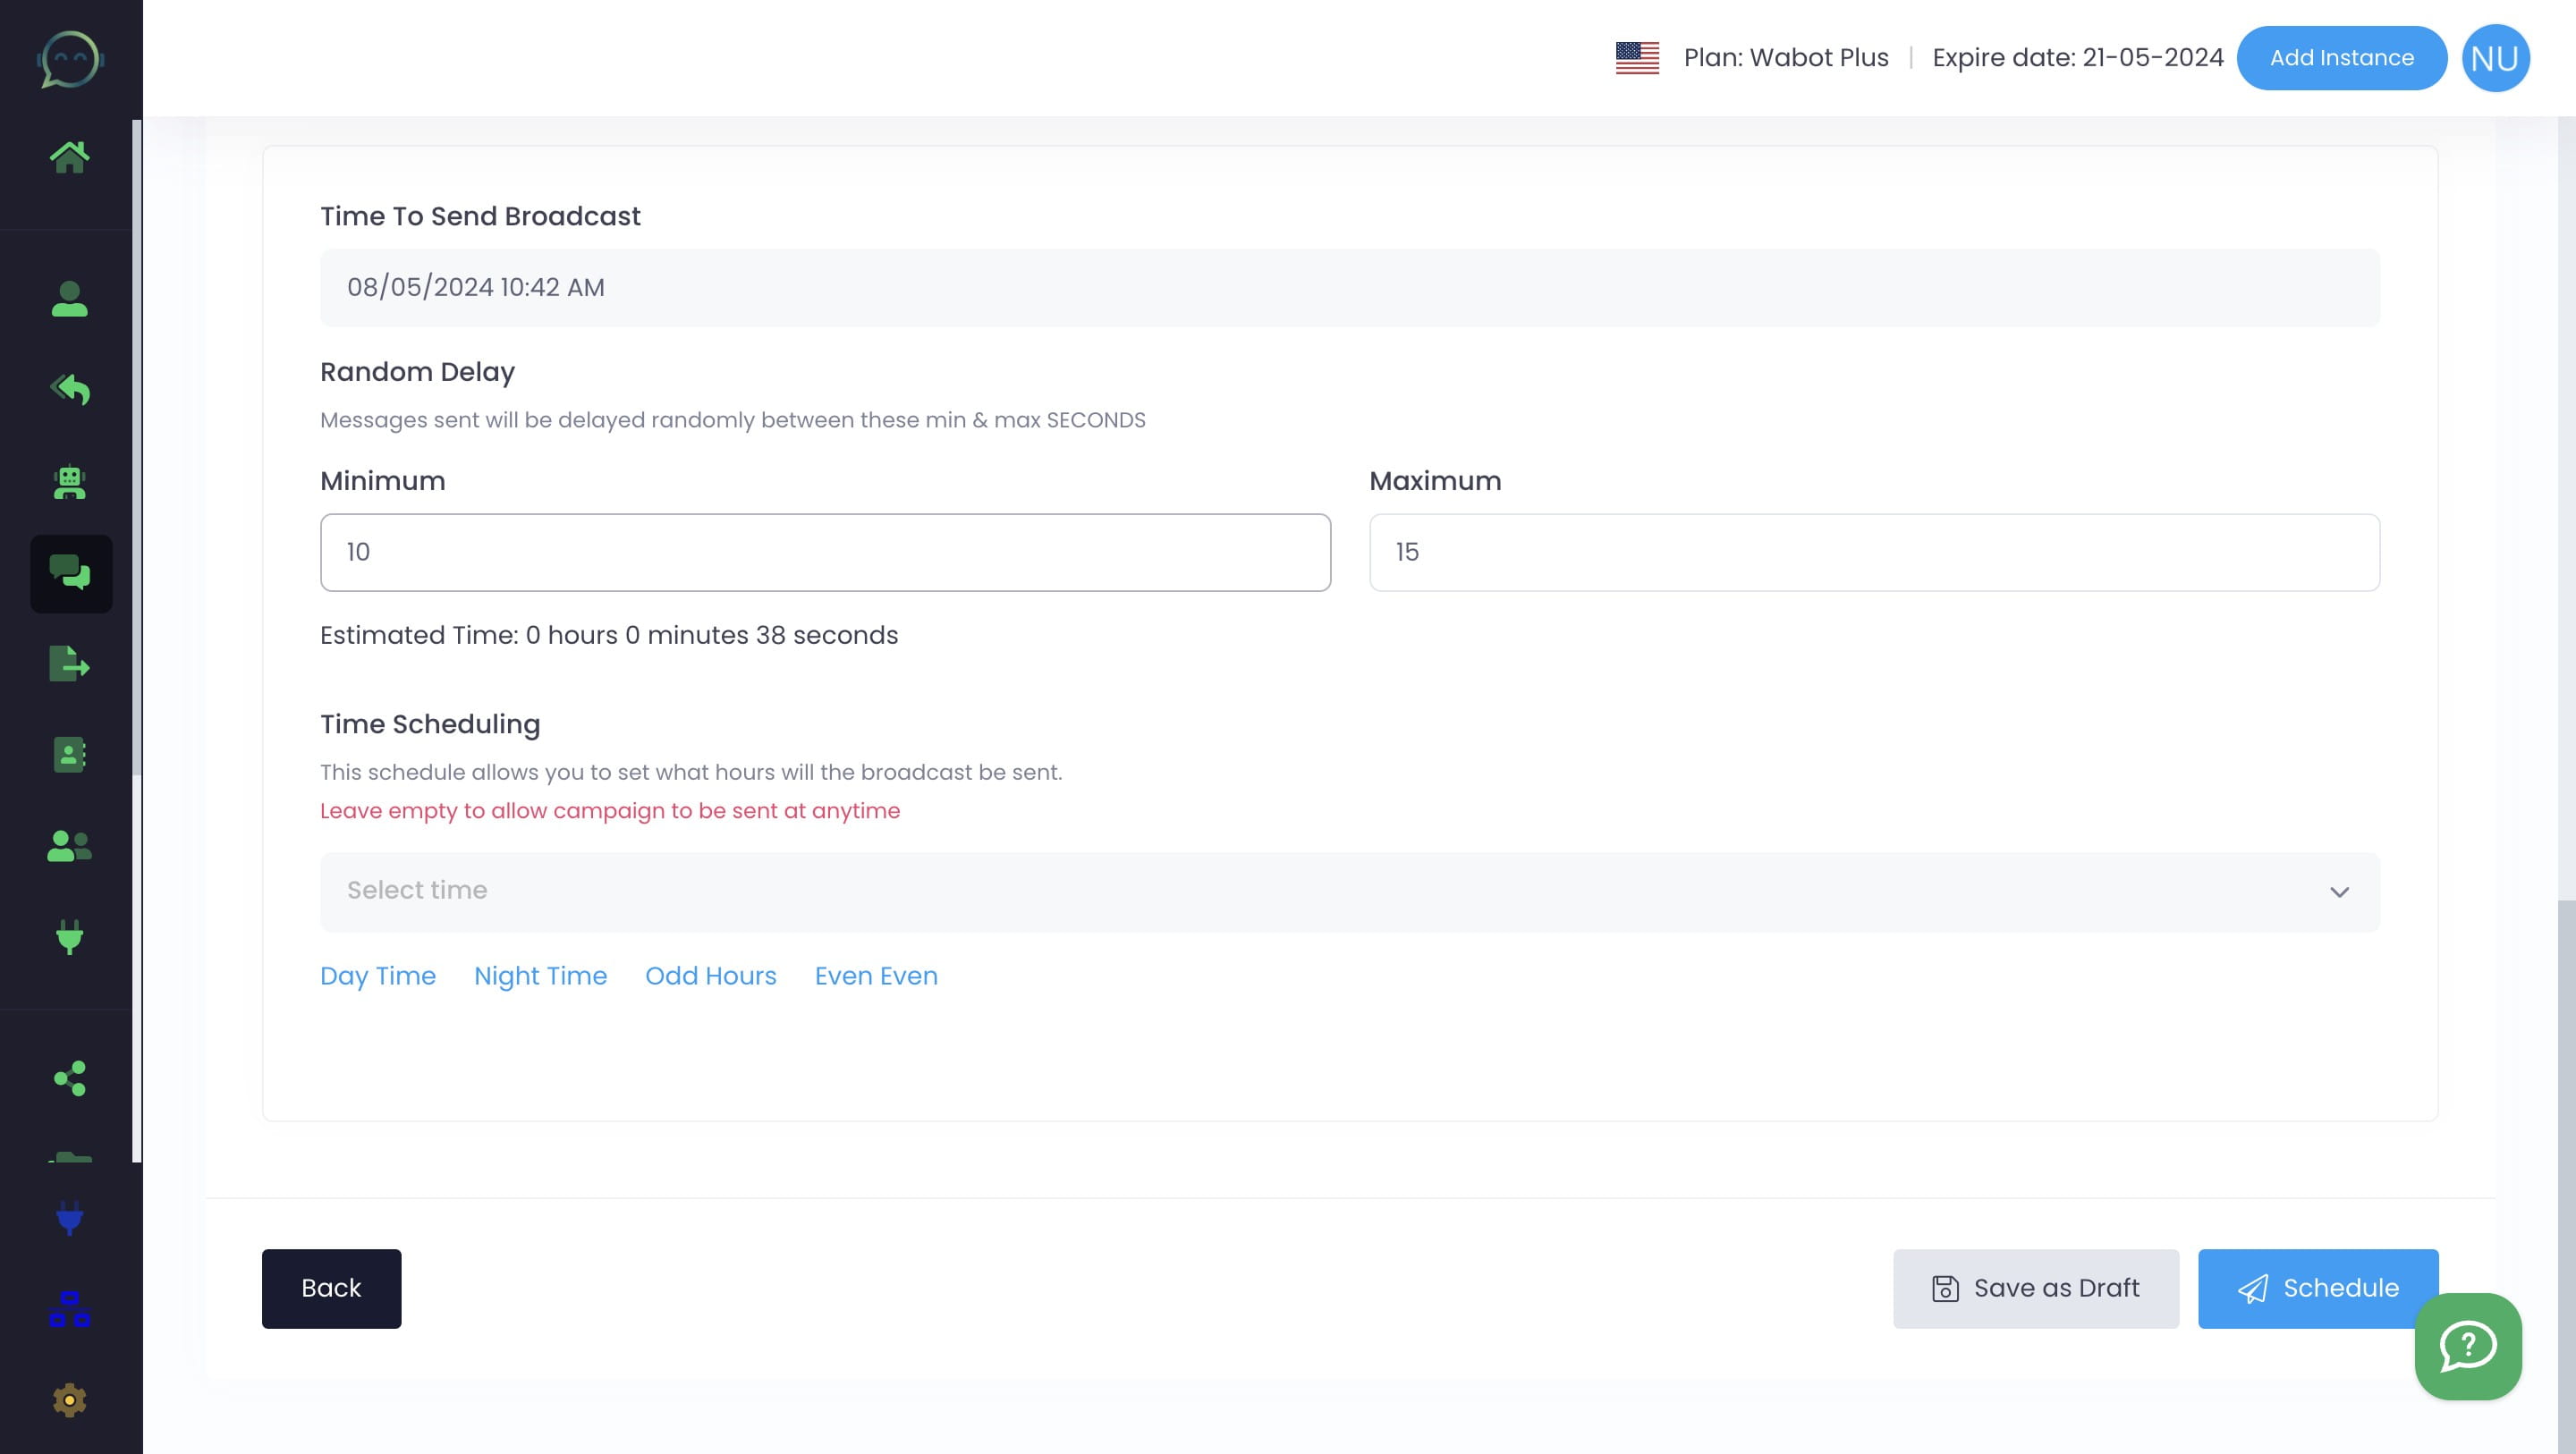
Click on "Schedule"
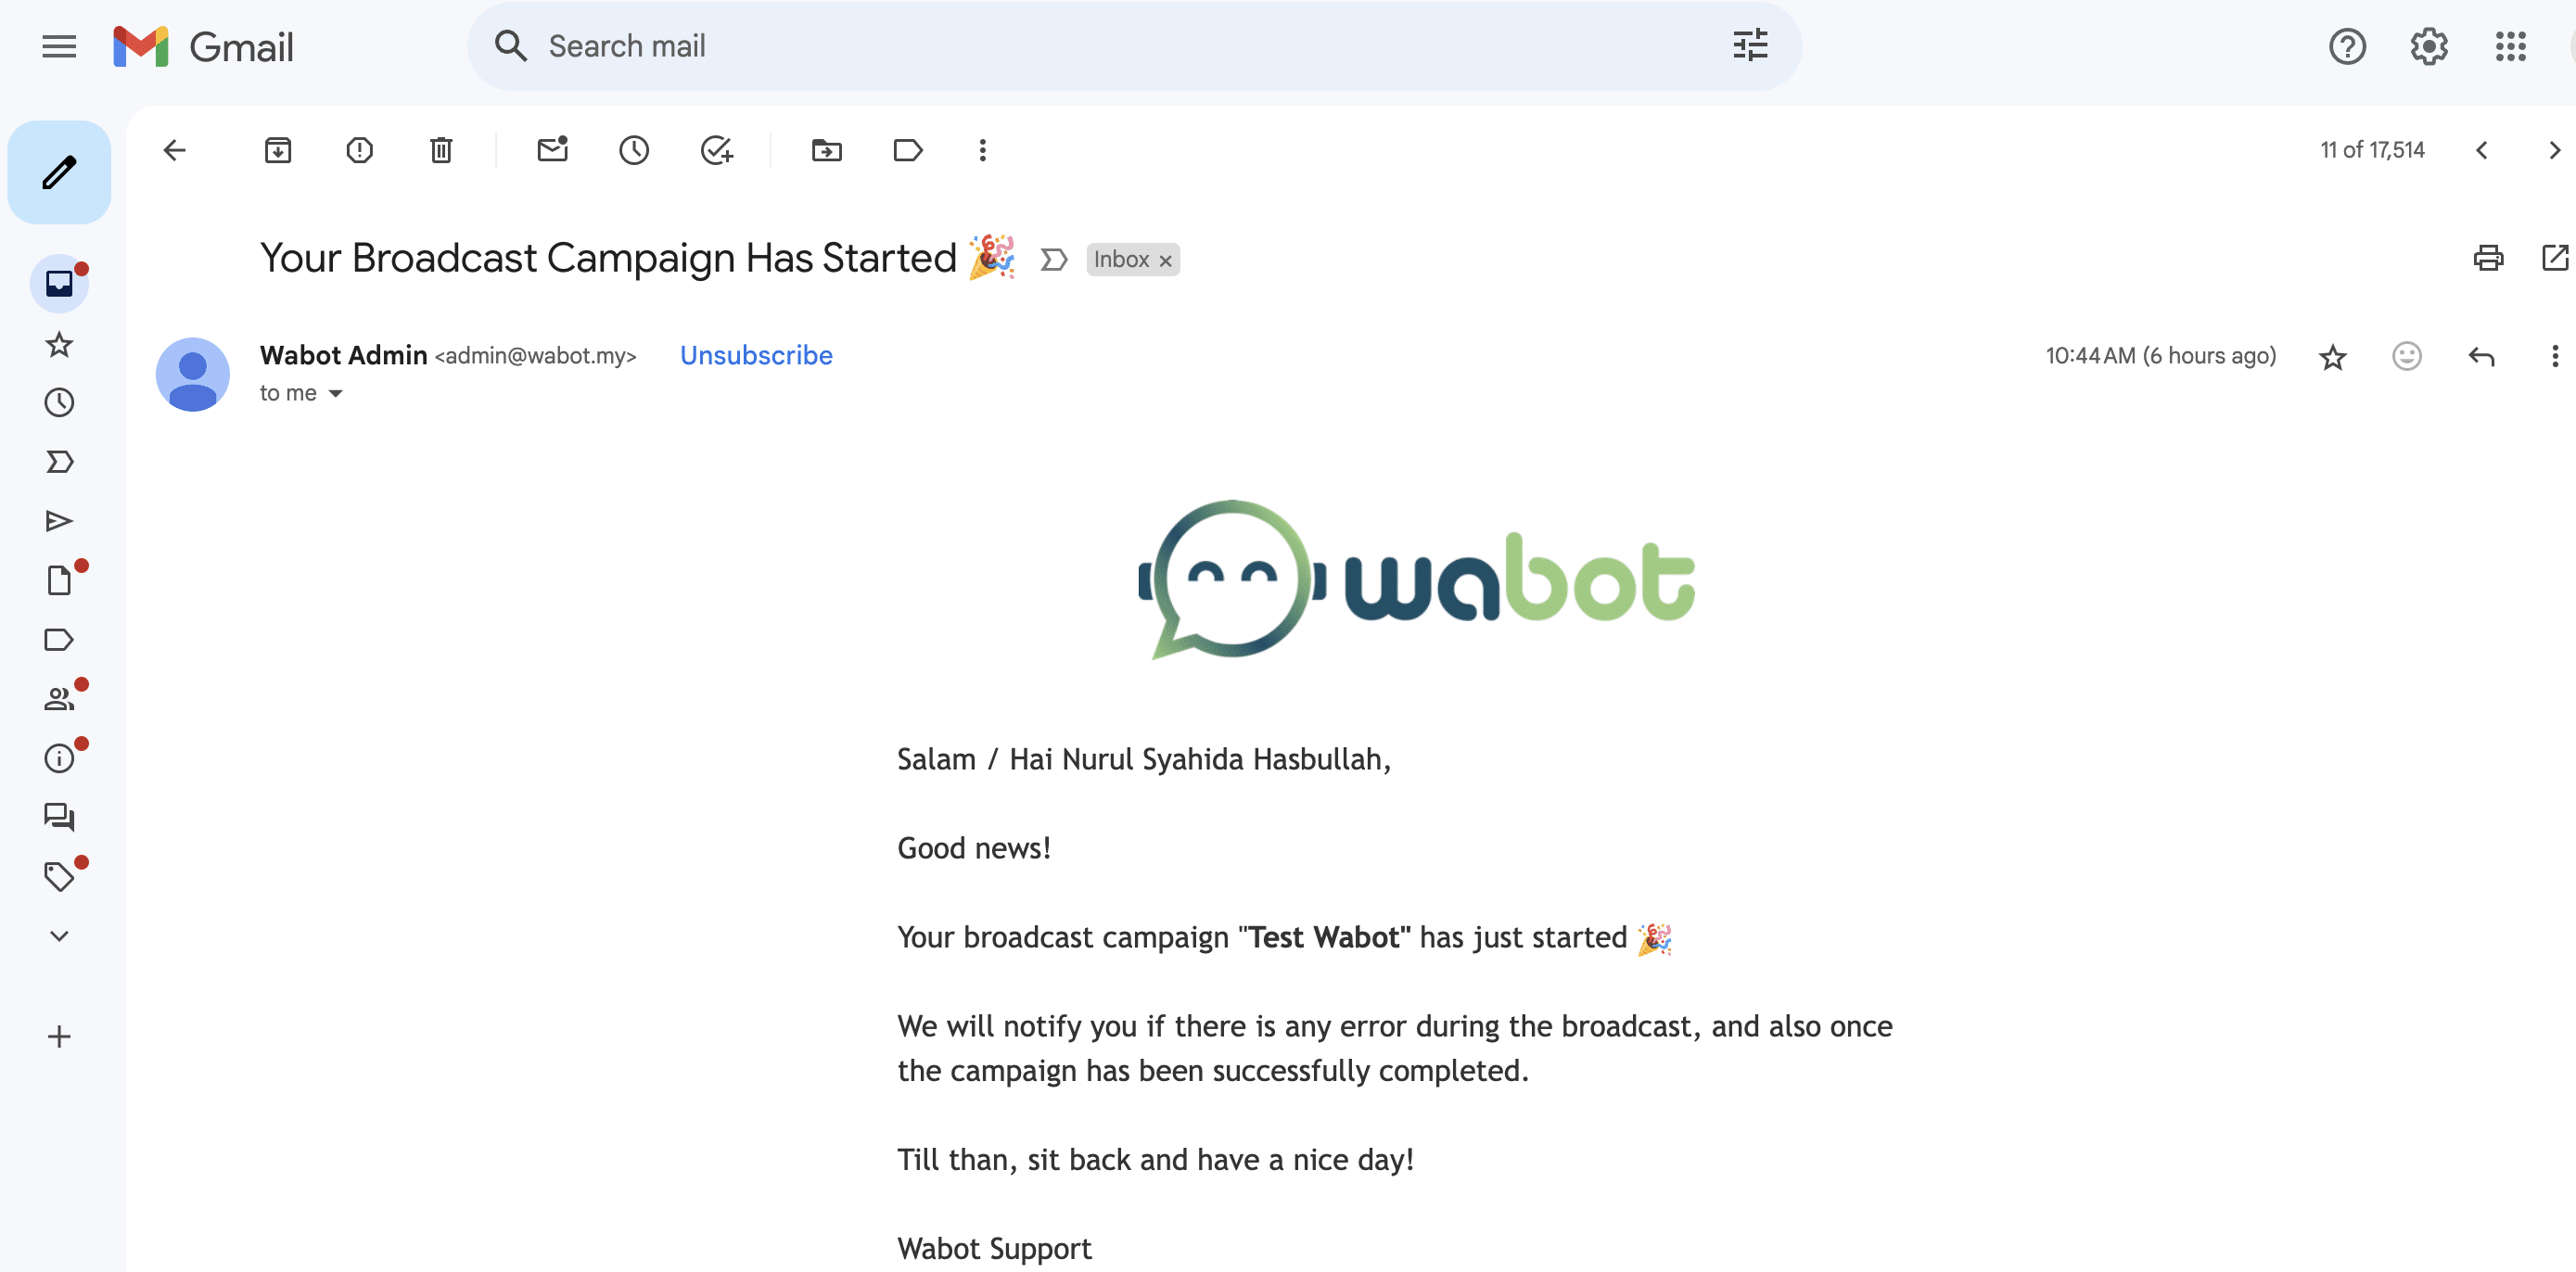
Post-Broadcast
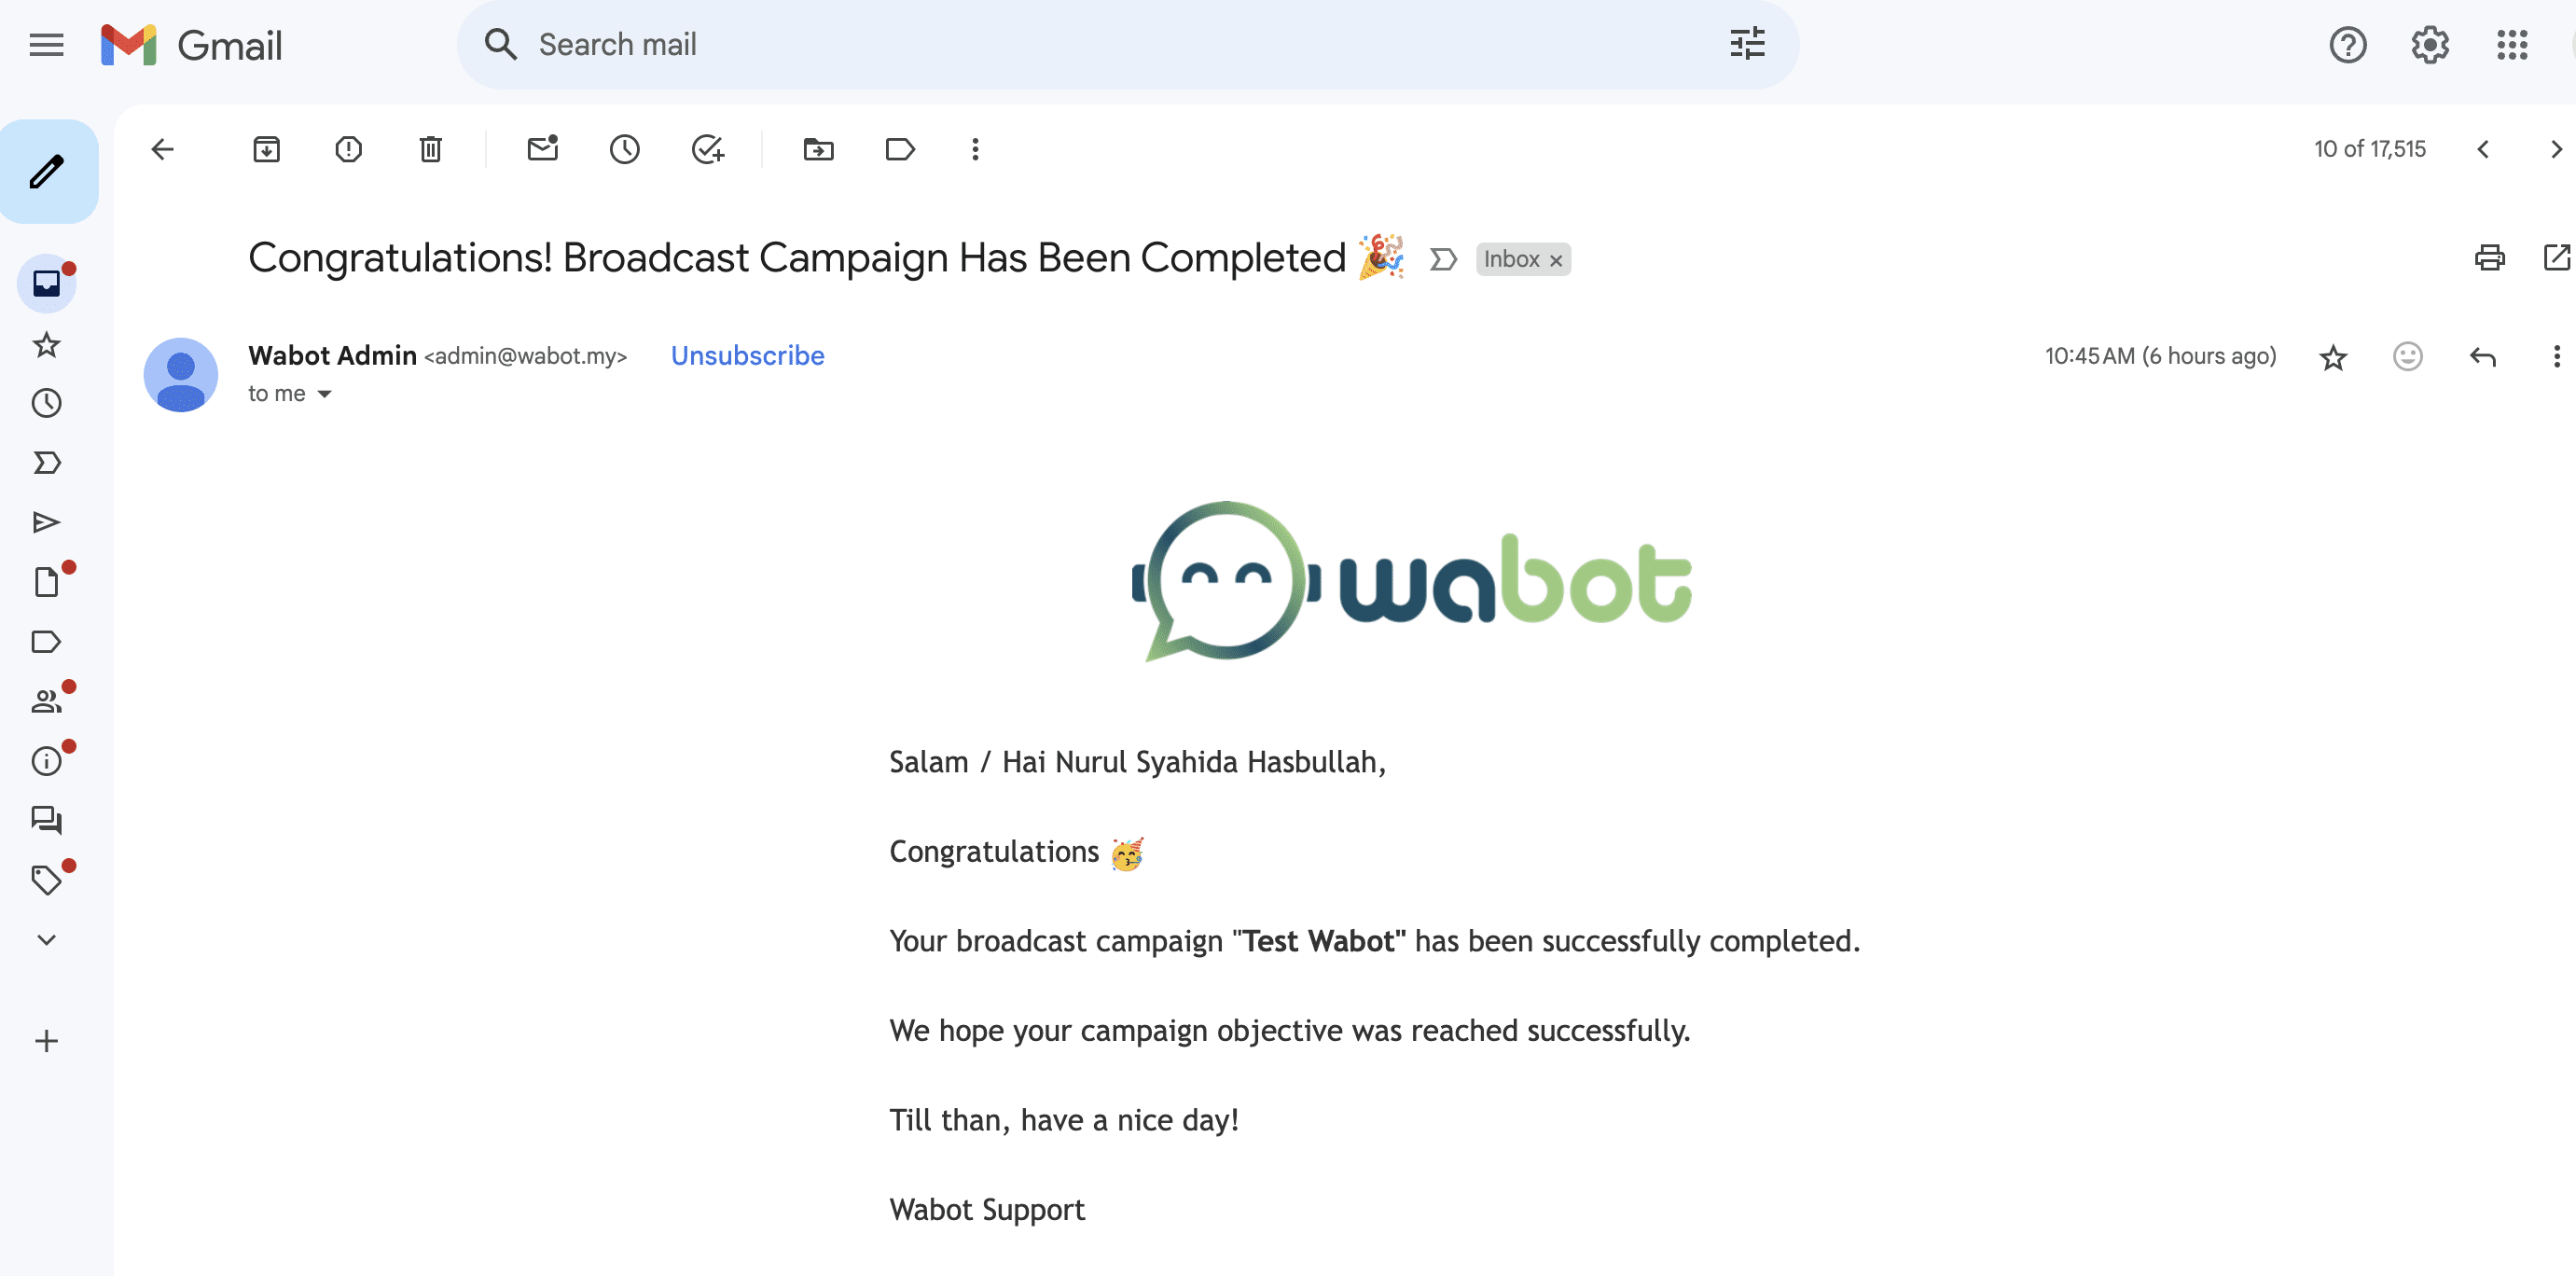
You shall receive an email like this saying your broadcast campaign has started
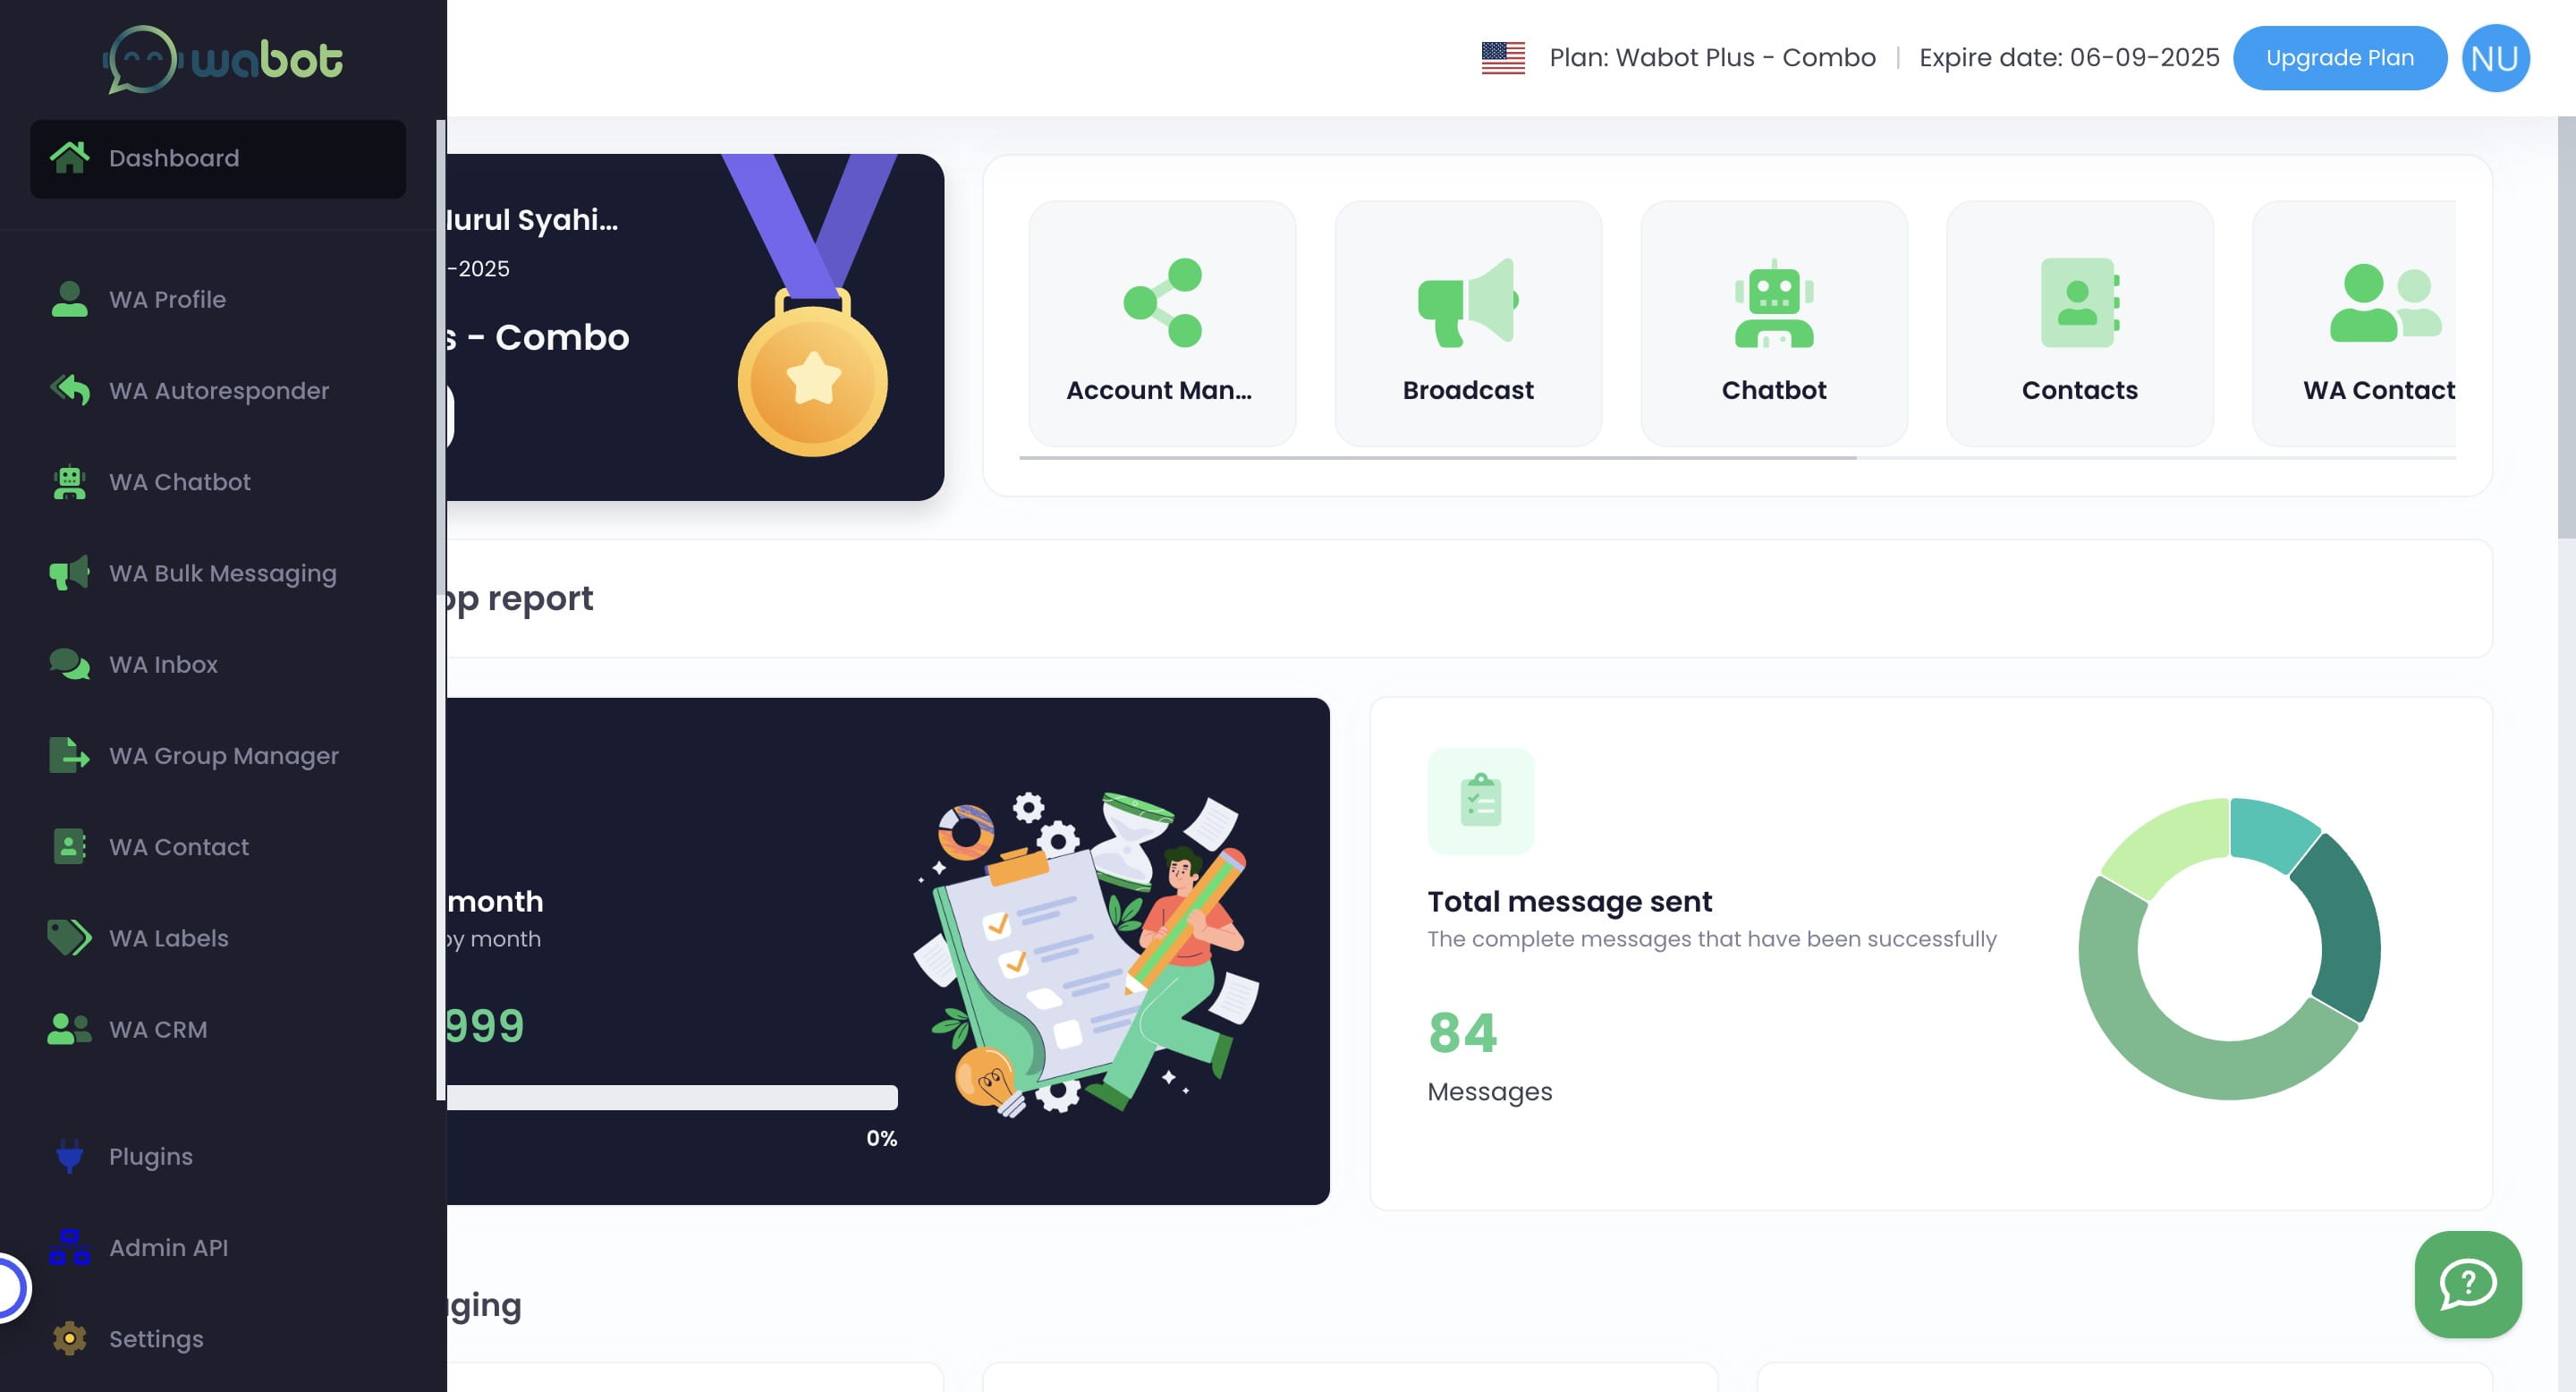
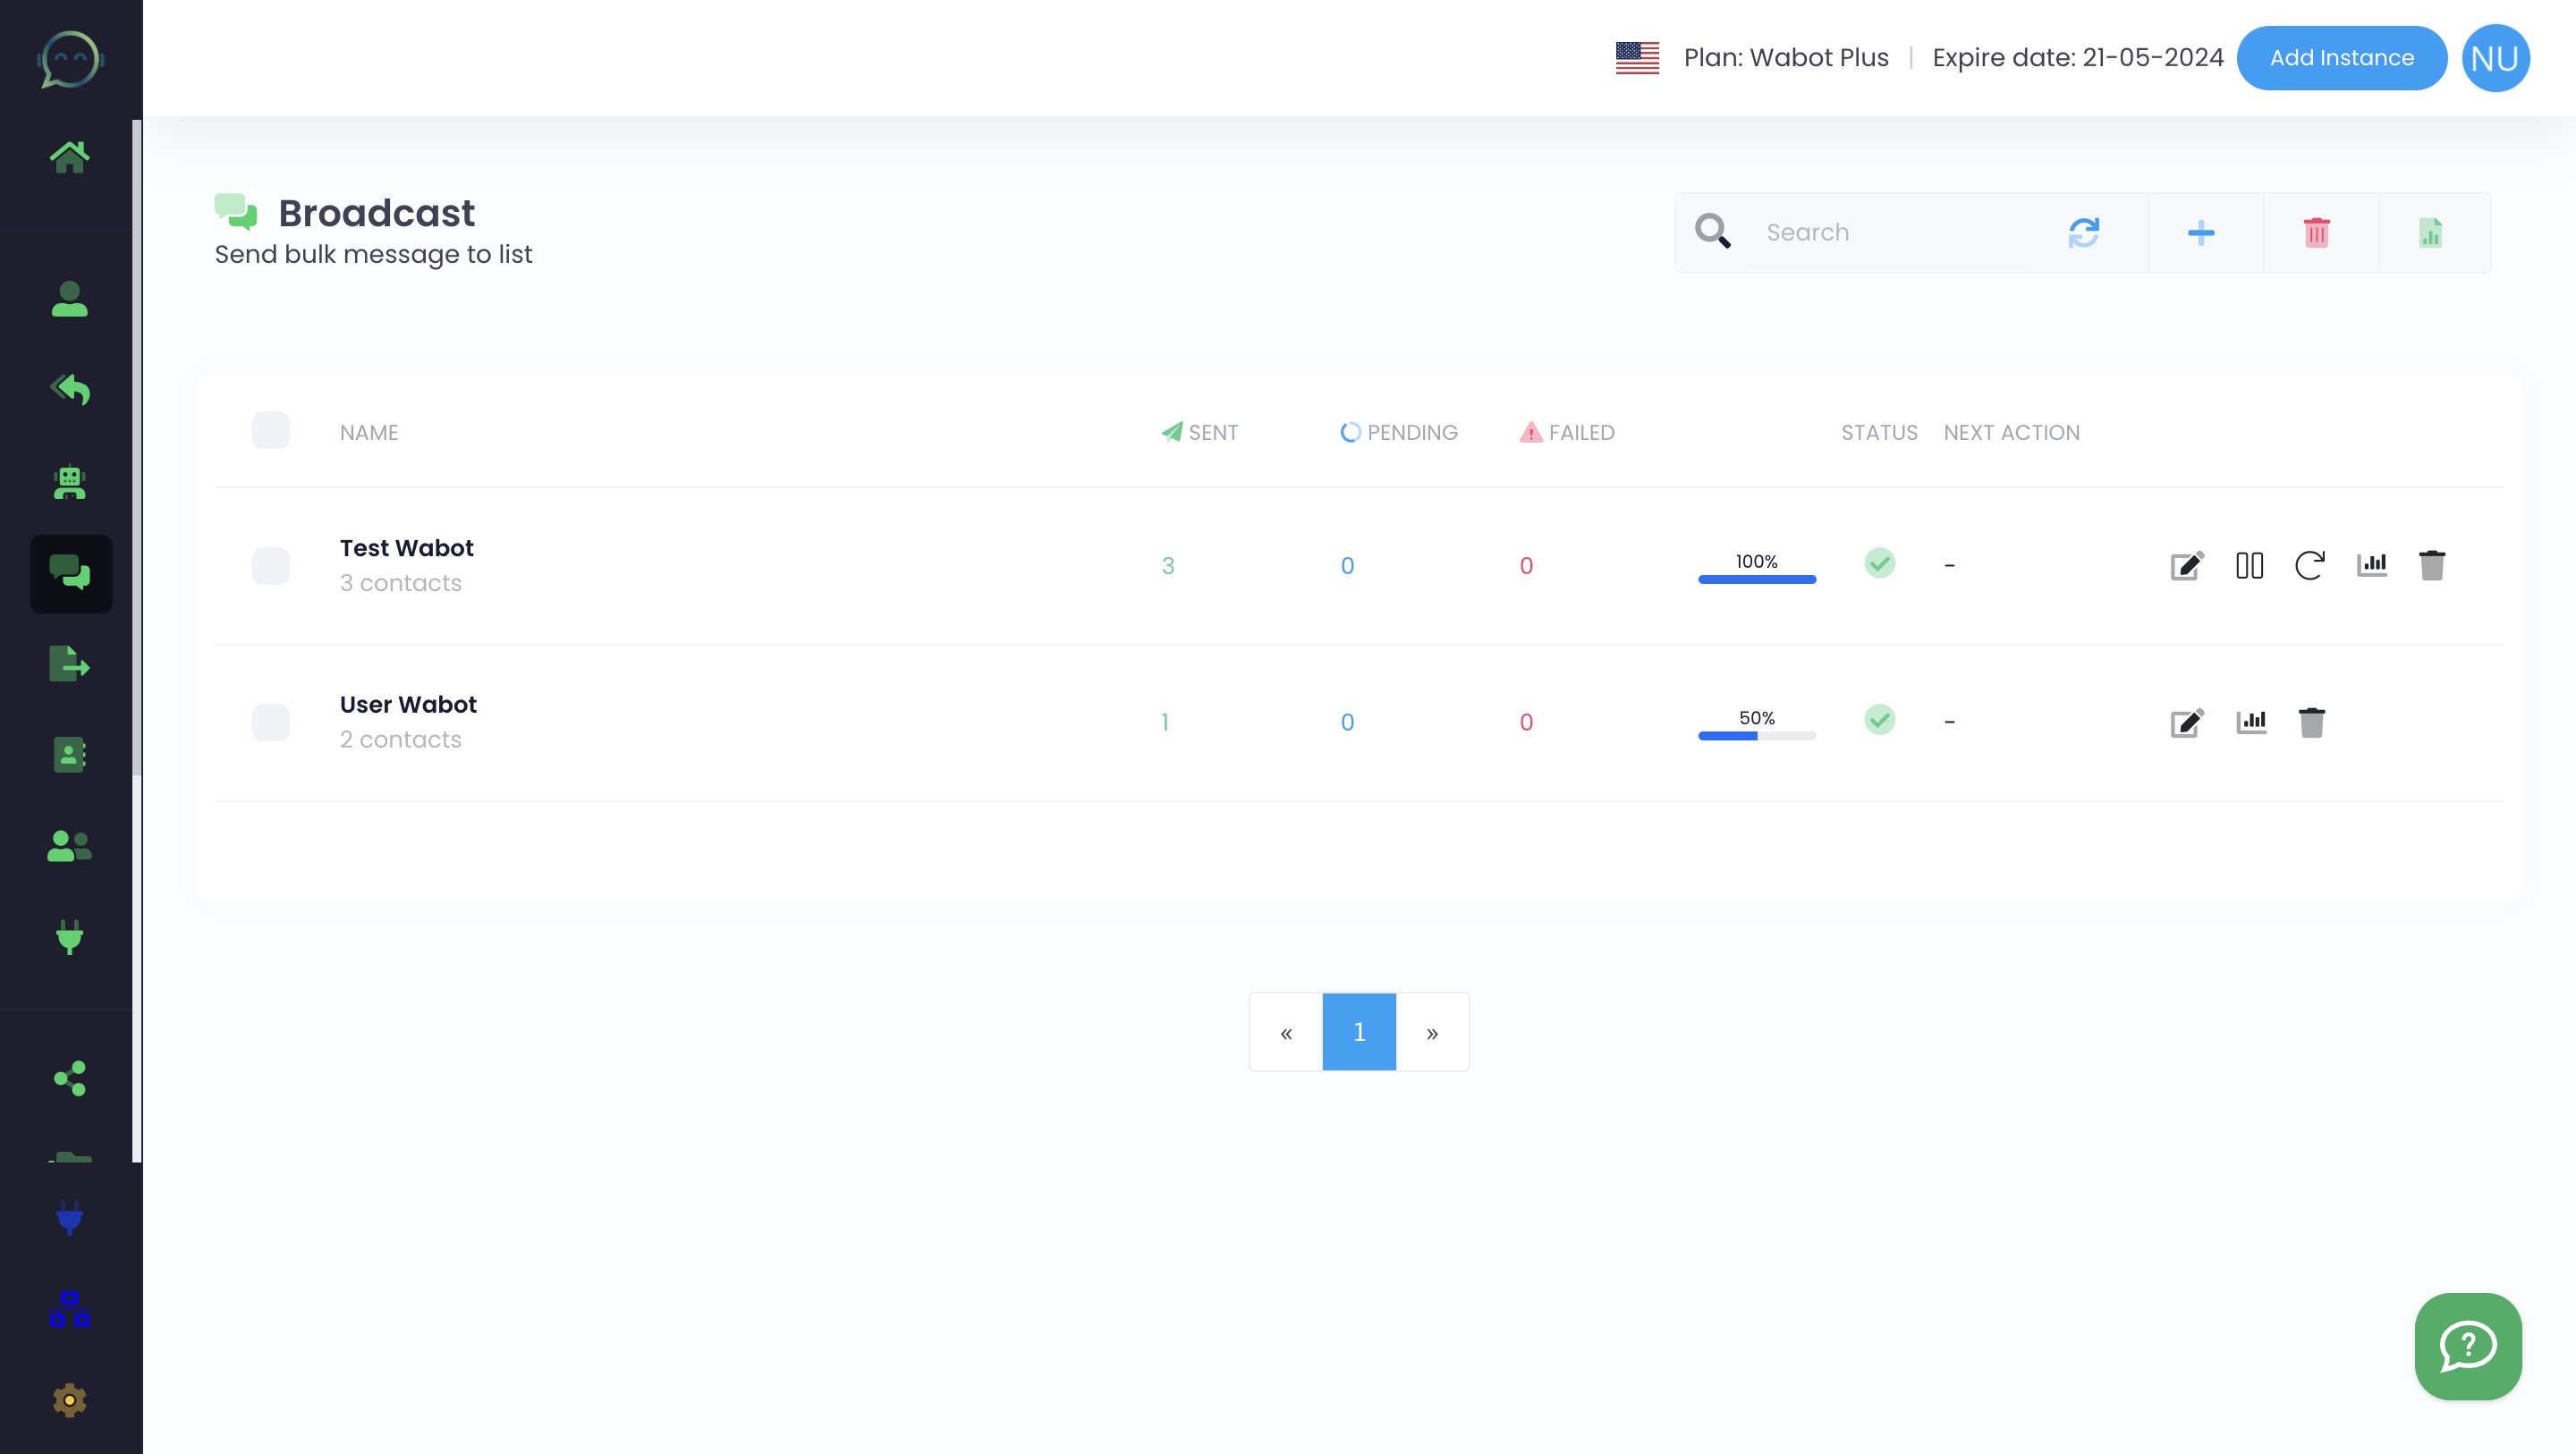
When the percentage has reached 100%, meaning your broadcast has already been completed
Upon completion, you will receive this email. Broadcast done 🚀